I thought I’d look into these cheap lightbars you find on ebay. For less than $20 I couldn’t pass up. Here’s a quick teardown and mod I did to it.
-replaced r130, 0.13 ohm sense resistor with r100 0.10 ohm which I ripped off of another driver. Took it from a 12w driver to about 15w.
-added a lenticular lens (70LPI) to widen the beam. Worked better than I expected. Looking over the LPI ratings again, the lower the number the wider the beam… woops. Should have went for a 30LPI :8)
I might also try something that I thought was really clever and would really allow me to bump up the current. By drilling and hammering in some copper into the mcpcb for better heatsinking. I also found that the mcpcb was warped and had sharp edges and may need some extra screws to distribute the clamping to the extrusion. Modding my 1st SRK style light starting with the Aluminum mcpcb to DTP
Here’s my photos. They are clickable for a link to a larger image.
.
.
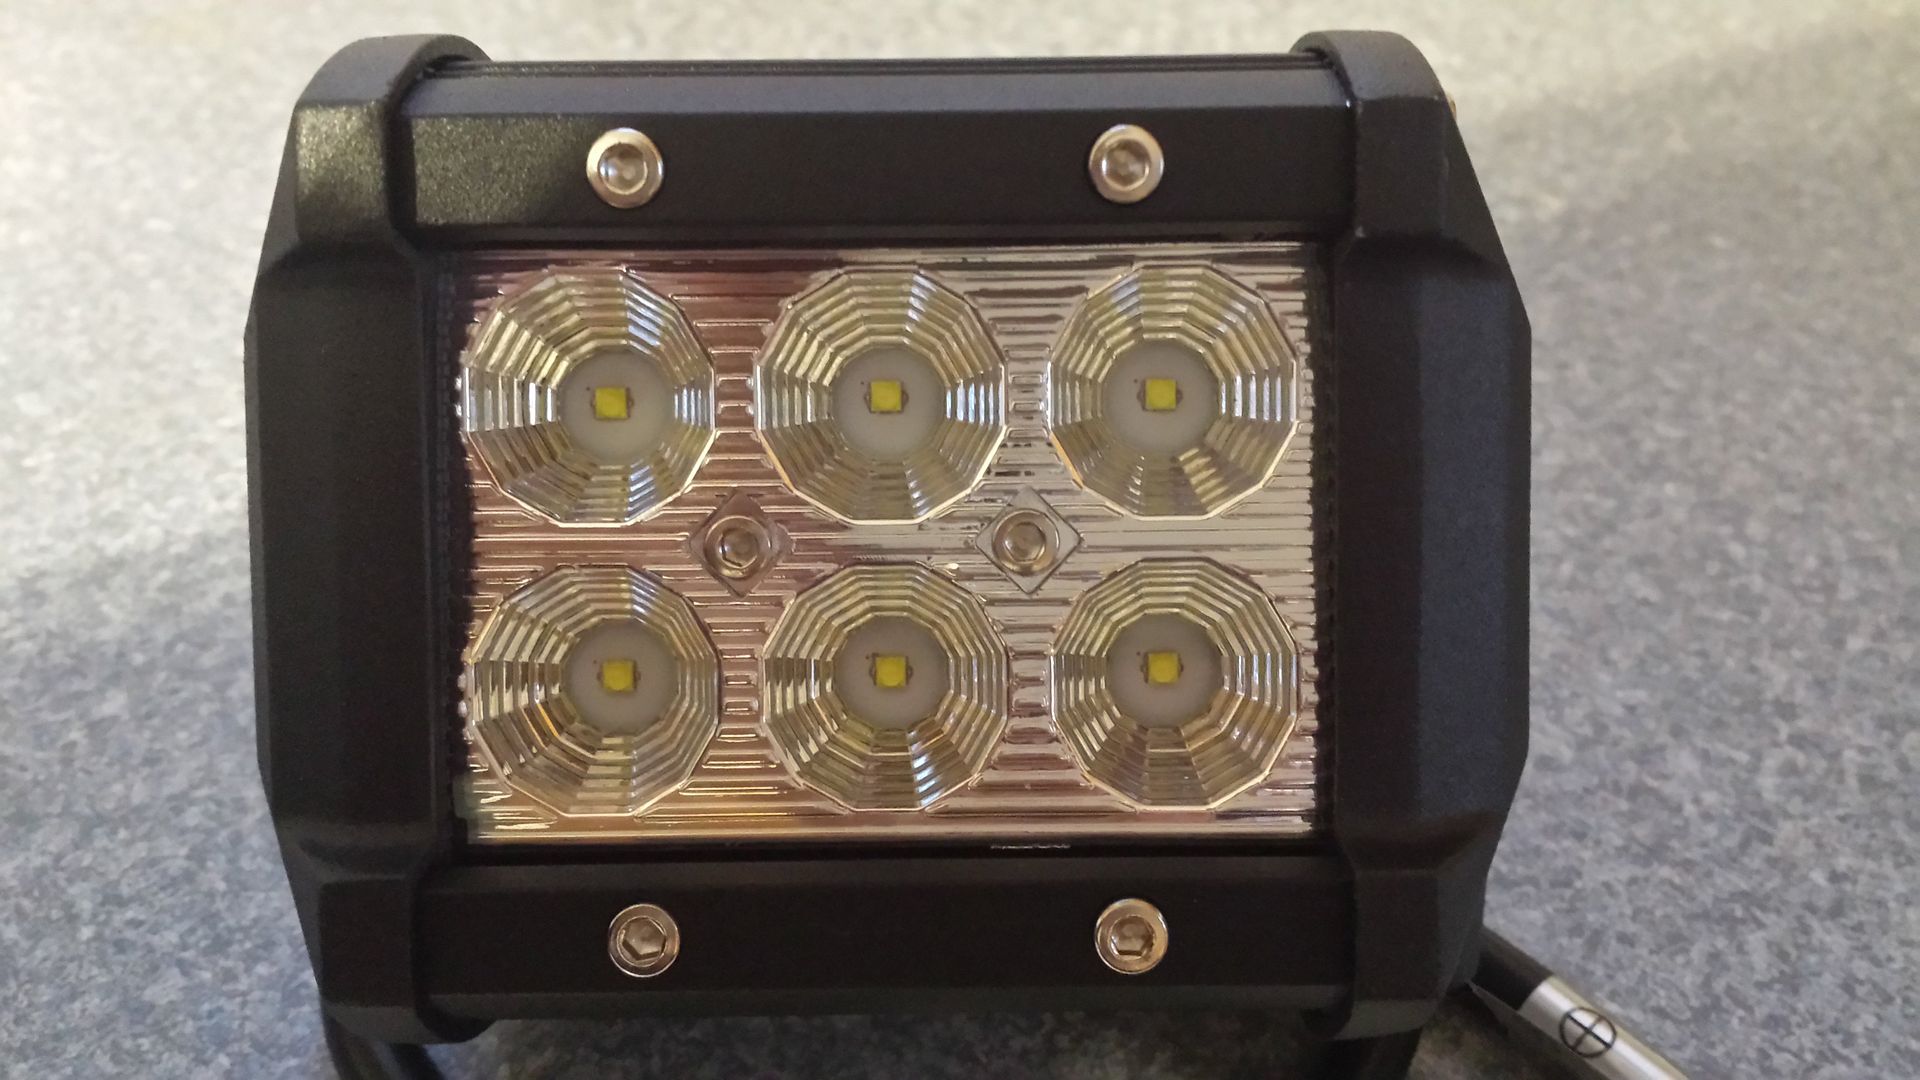
They used thermal compound! although It doesn’t work to well with the sharp edges and warping…
.
.
I sharpied the traces:
.
.
I saw a 0.11 voltage drop across the 0.13 ohm resistor. With 13.5v, I should see 18w with 0.08 ohms for the sense resistor. I see a 0.68 ohm resistor I could pull off of another driver to tag on it hehe.
.
.
I set my htc camera to manual to keep the brightness relative. The ceiling tiles are perfect for this test to measure.
.
.
No matter the distance, the Lenticular sheet keeps a perfect angle. I tested it out as well to a Zoomable flashlight till It was smallest possible, and it did not gain in height. Could almost be DOT legal lol. (Zooming flashlight with lenticular sheet )
Here’s the after:
What a coincidence that we're posting about the same light at nearly the same time. Where did you get the "Lenticular sheet"? I'm pretty happy with the beam pattern from mine though. Did you measure the current pulled from the 12v battery? I should be able to measure mine shortly. I thought my PCB mounted down pretty well to the heatsink/body (though that could just be variance in Chinese quality). It could use more screws. but the stock lens tightens down against it too. Mine had thermal compound, but very little; I cleaned it off and applied new.
Wait a minute . . . you stock light looks way different than mine. Yours has a "bubbly" or aspheric-like lens while mine used a plastic reflector. I've never seen one like yours in my searches; you have a link to yours? Does that stock lens (without the lenticular sheet) make for a wide even flood pattern? You mentioned " less than $20" - was this for one or two? I got two for about $18.
-The “4d lens 18w” lights cost more. Not sure what 4d means with those lenses. There are different designs to the lenses too only offered in the “36w” and up variety. Not many are labeled and when they are, most are the combo type. 60 degree flood and 30 degree spot.
-I planned on spacing the lens away from the led to get a tighter beam. With the lenticular sheet it would be more of a driving light. I wonder if de-doming it would allow this. I have a XP-L High intensity led I’ll try this out on possibly today. They come without a dome.
The sheets I got from Lenticular Store from eBay. There’s not too many selling blanks. These sheets are adhesive.
-The thinner the thermal compound, the better the sinking. You can teeter the mcpcb on a flat surface. It’s pretty bad lol