I received an order to provide a working sample to test Nichia 3000K 144AM from my friend for his client. I decided to make a rather stylish prototype using scraps found in my workshop. The sample light must has easy access to replace the LED and optics using various MCPCB and LED setup. And the most important thing is it can be tested in actual working conditions for several days.
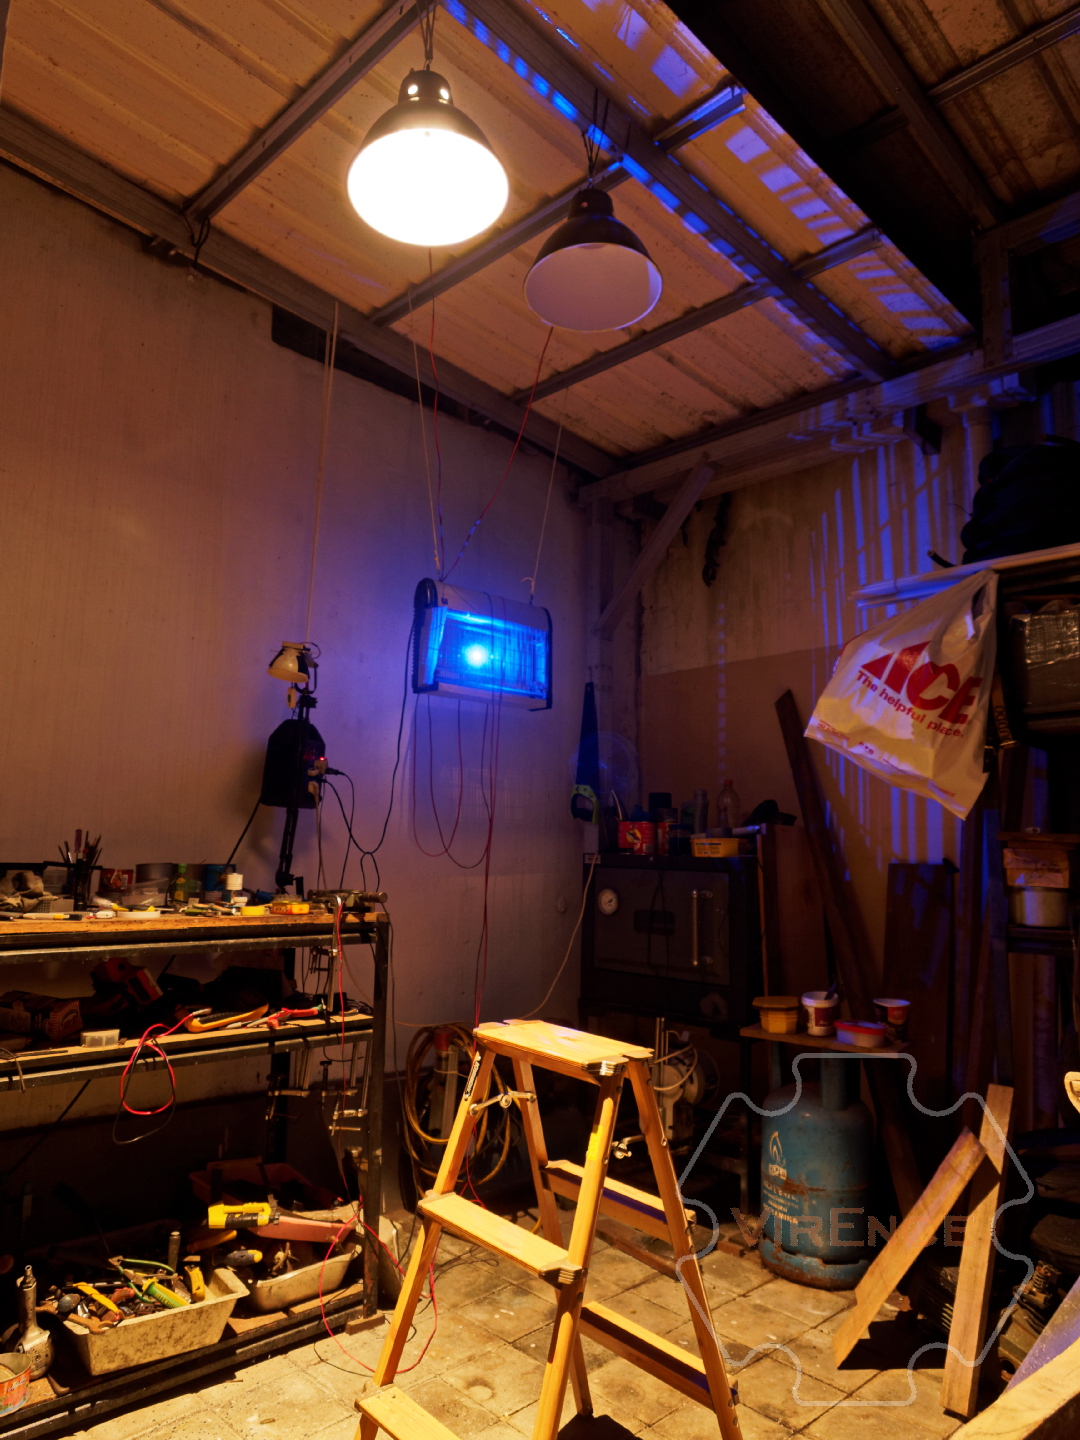
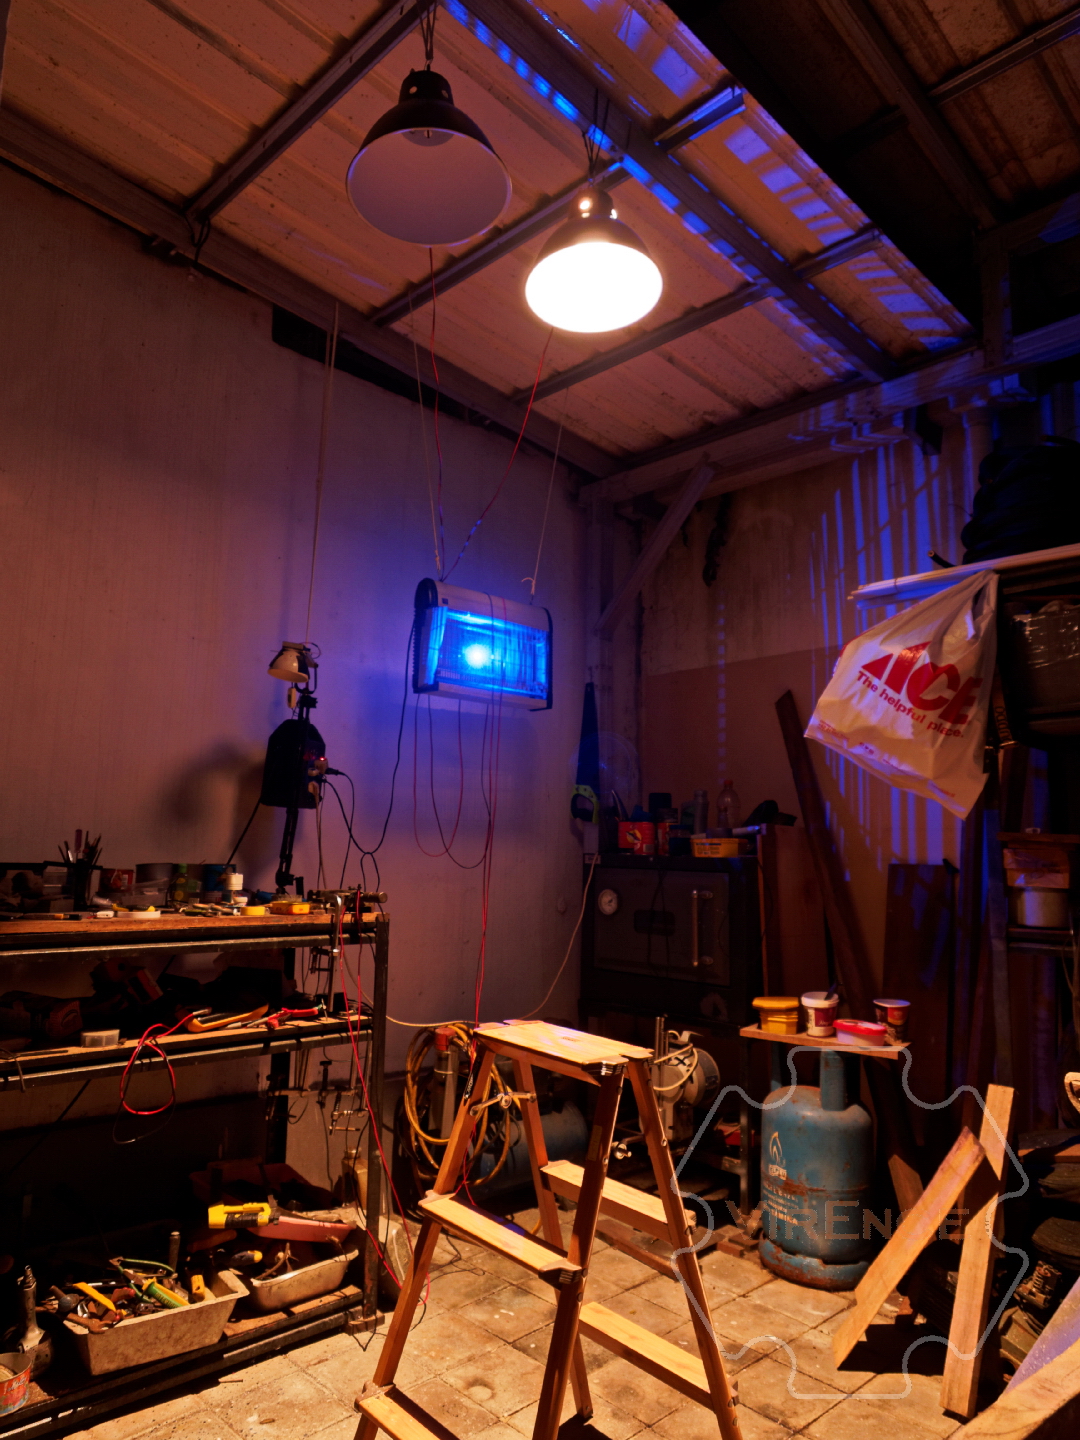
I made two prototypes, one for the actual request and the other for the marketing guy to keep for his presentation in the future. This is a good chance to show them the difference between “common” CRI 80 standard vs CRI 9080 in real condition.
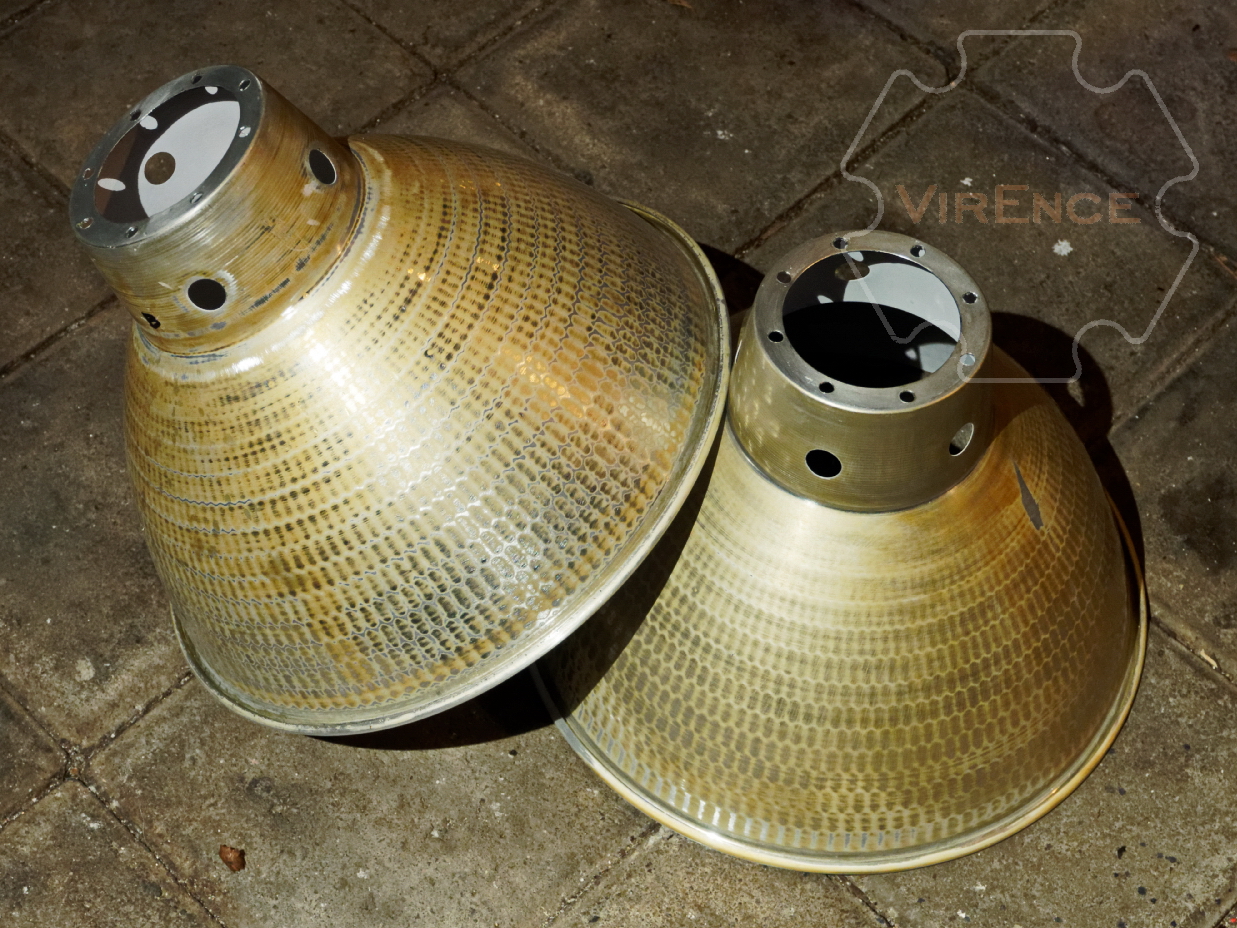
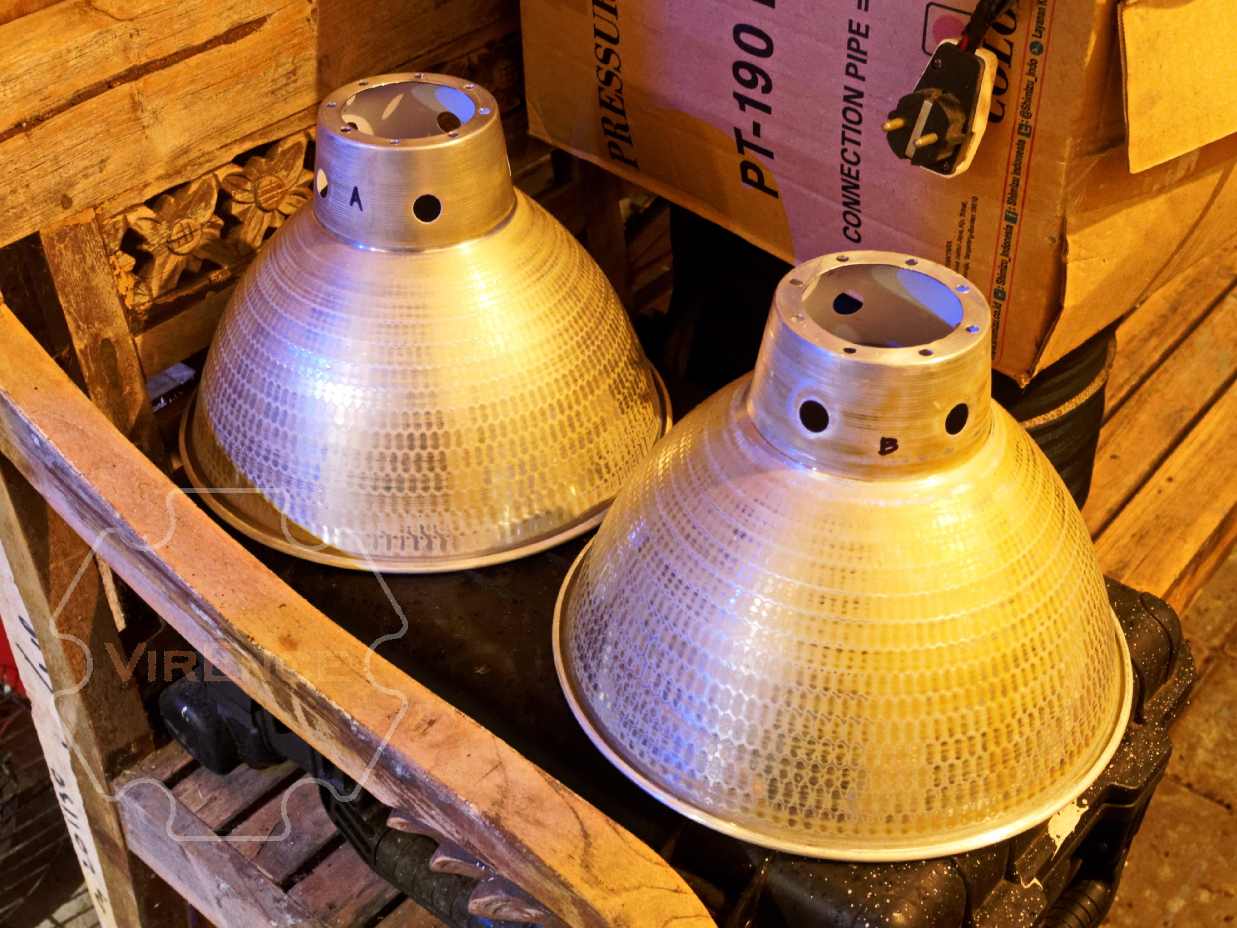
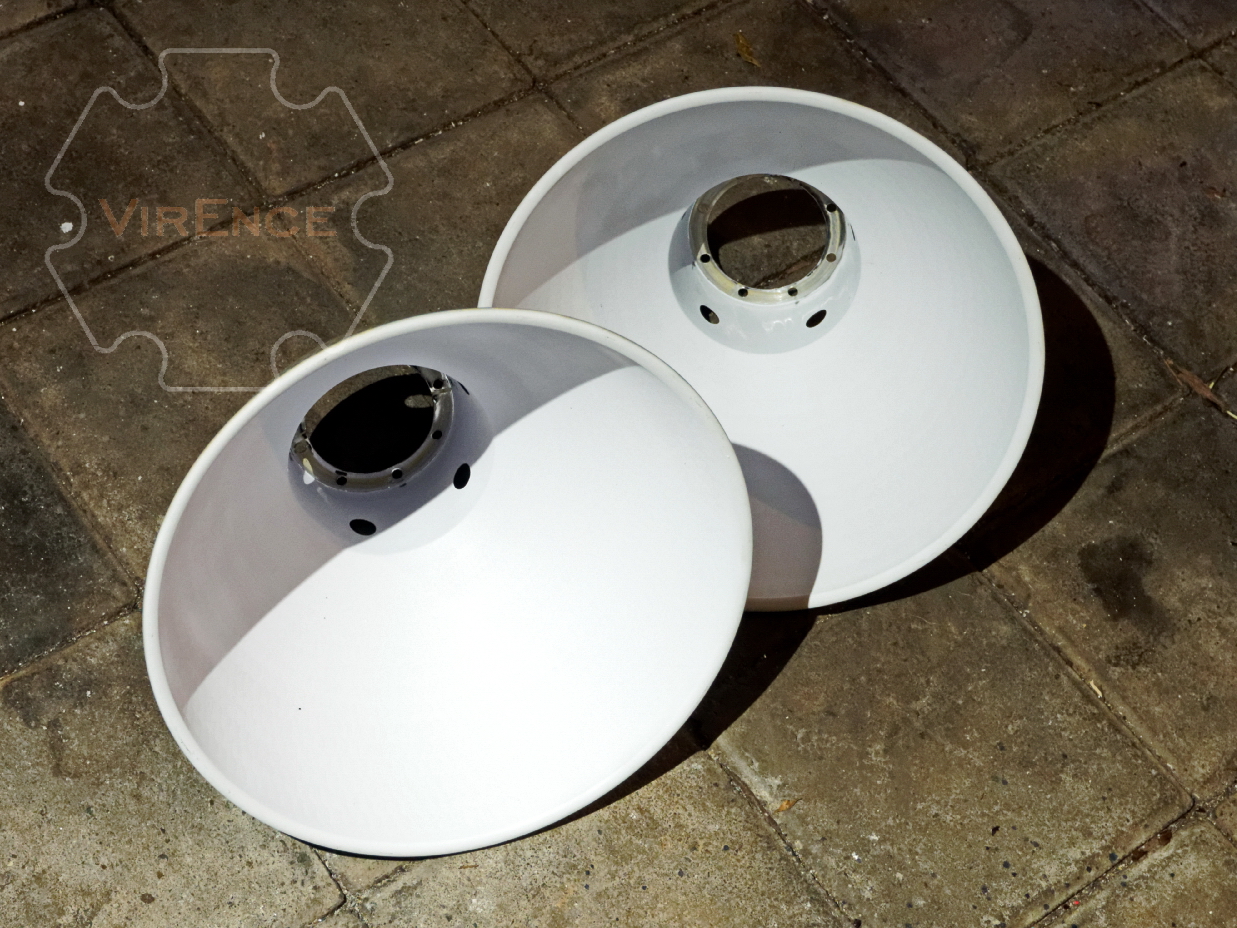
I have some big aluminum 40cm reflectors like this from my former company inventory (wedding project). Later I used the smaller 35cm for easier packing. The idea is to make the reflector as passive cooling radiator. The large surface area should be enough to cool up to 30 watt LED module.
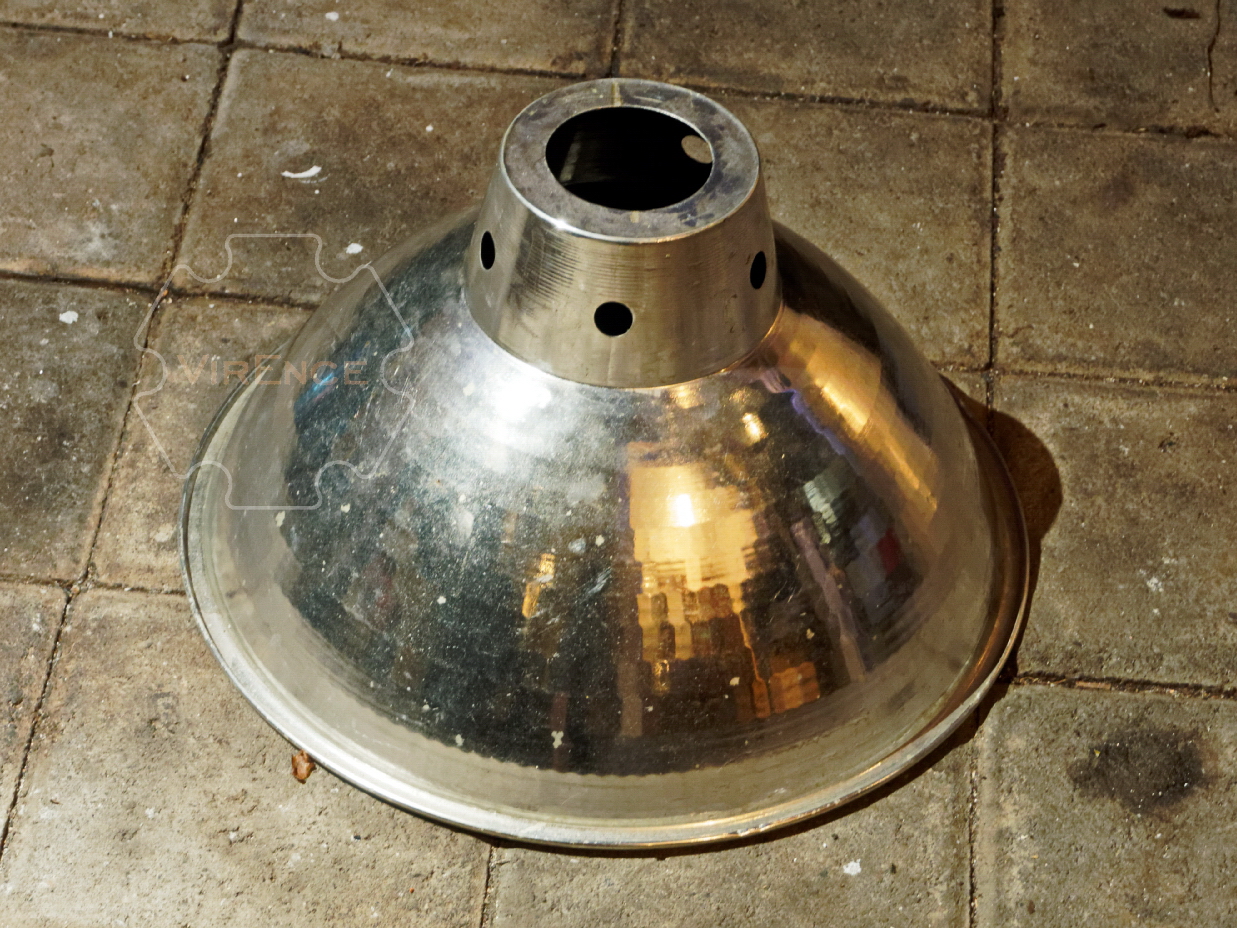
The dance floor style reflector will not be a good idea. Will have to be painted matte white for uniform beam pattern
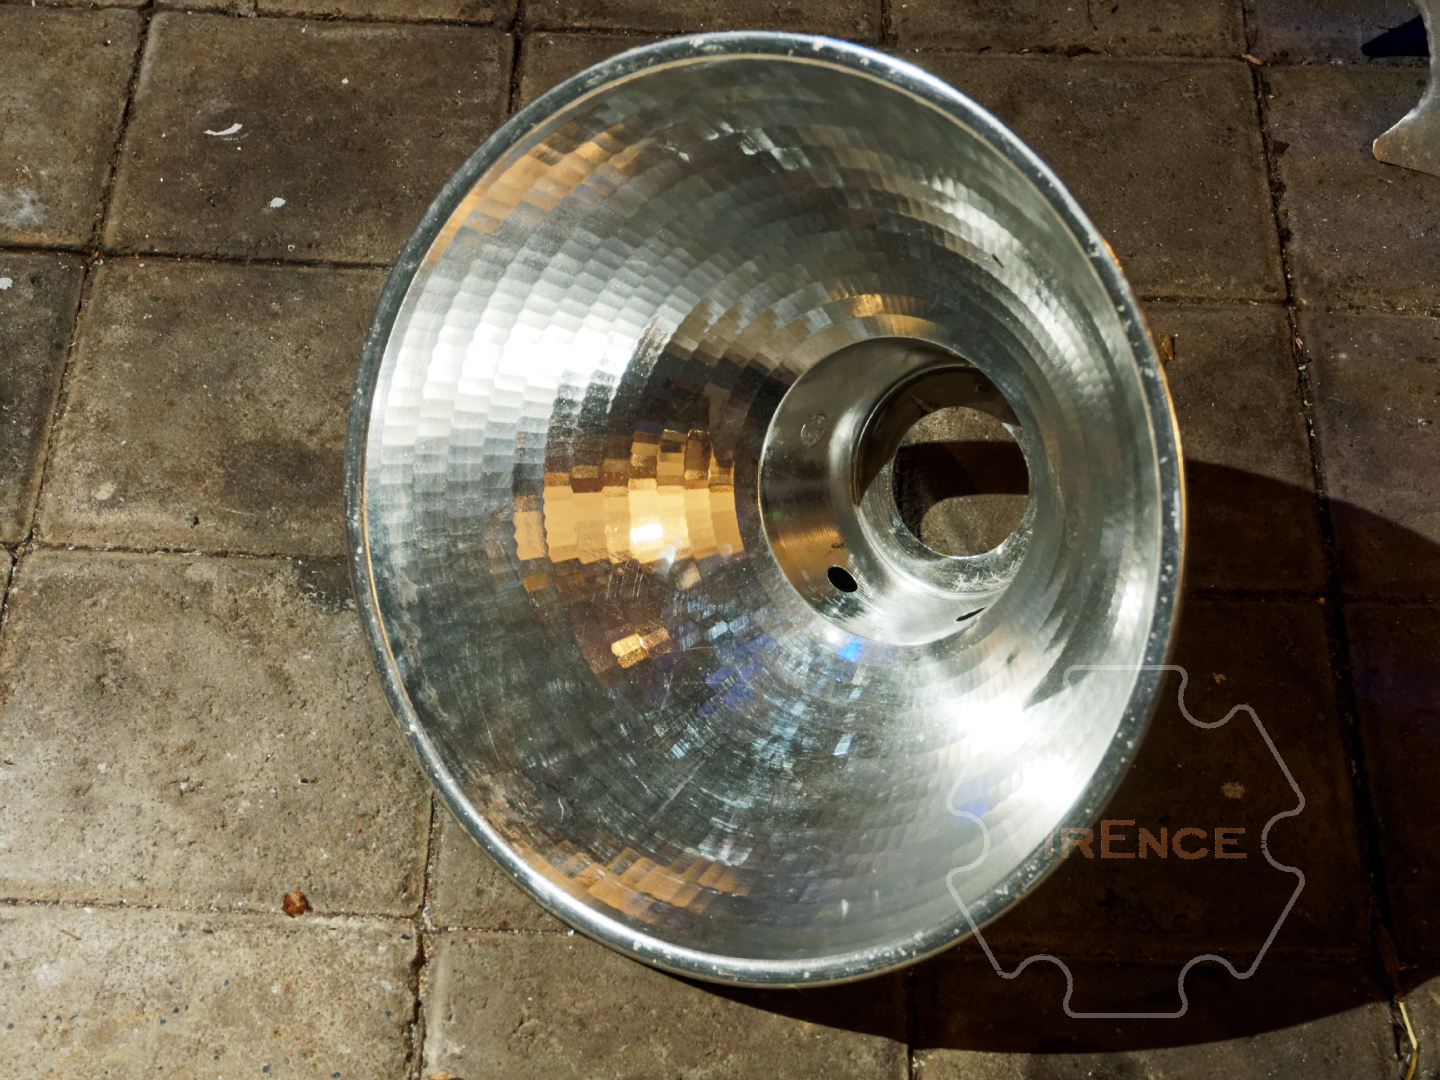
Cleaned all the nickel coating to expose bare aluminum for better heat dissipation, some brass coating still remains (completely removed later).
Matte white paint for uniform beam pattern.
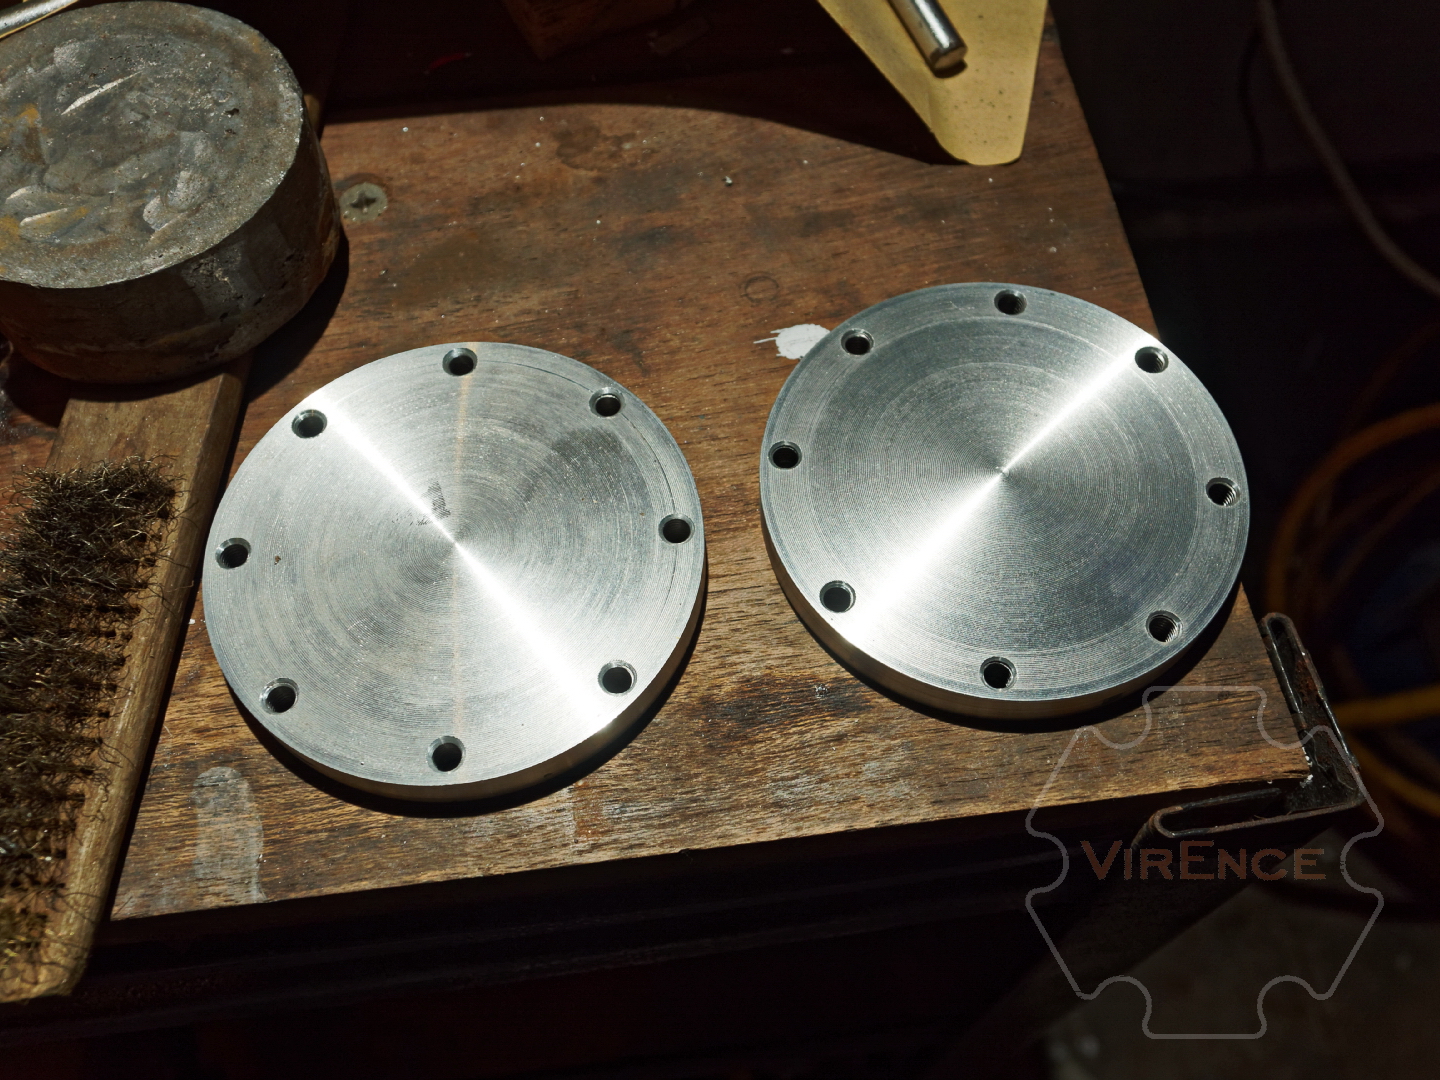
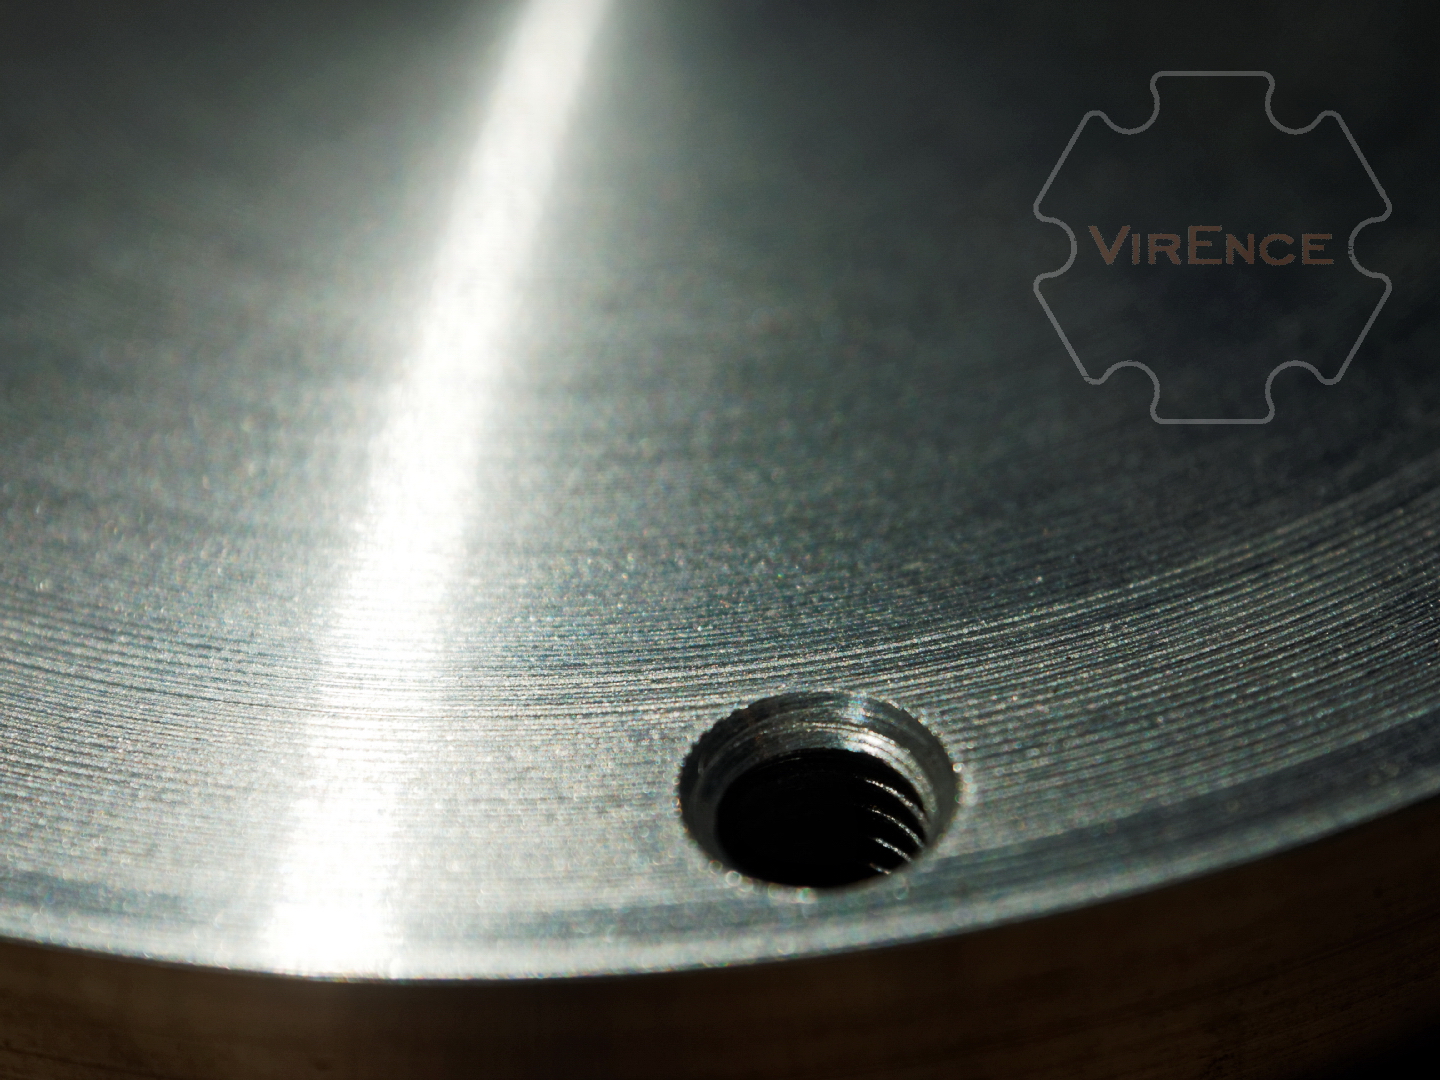
Made two base plate from 20mm thick 5056 aluminum plate. Tapped and drill 8pcs M6x1 thread to mount the reflector. It’s a bit overkill but I just want to make sure enough clamping force (for good heat path) between the base plate and the reflector. The thin (0,5mm) reflector’s mounting area where the base plate bolted made by somewhat crude machining process. The reflector material is also very soft and the one of the easiest way to get good heat path is by increasing the clamping force.
Left: straight from the lathe. Right: lapped to #1000 using grit SiC. Final finish is lapped down to #2000 grit sandpaper on glass surface.
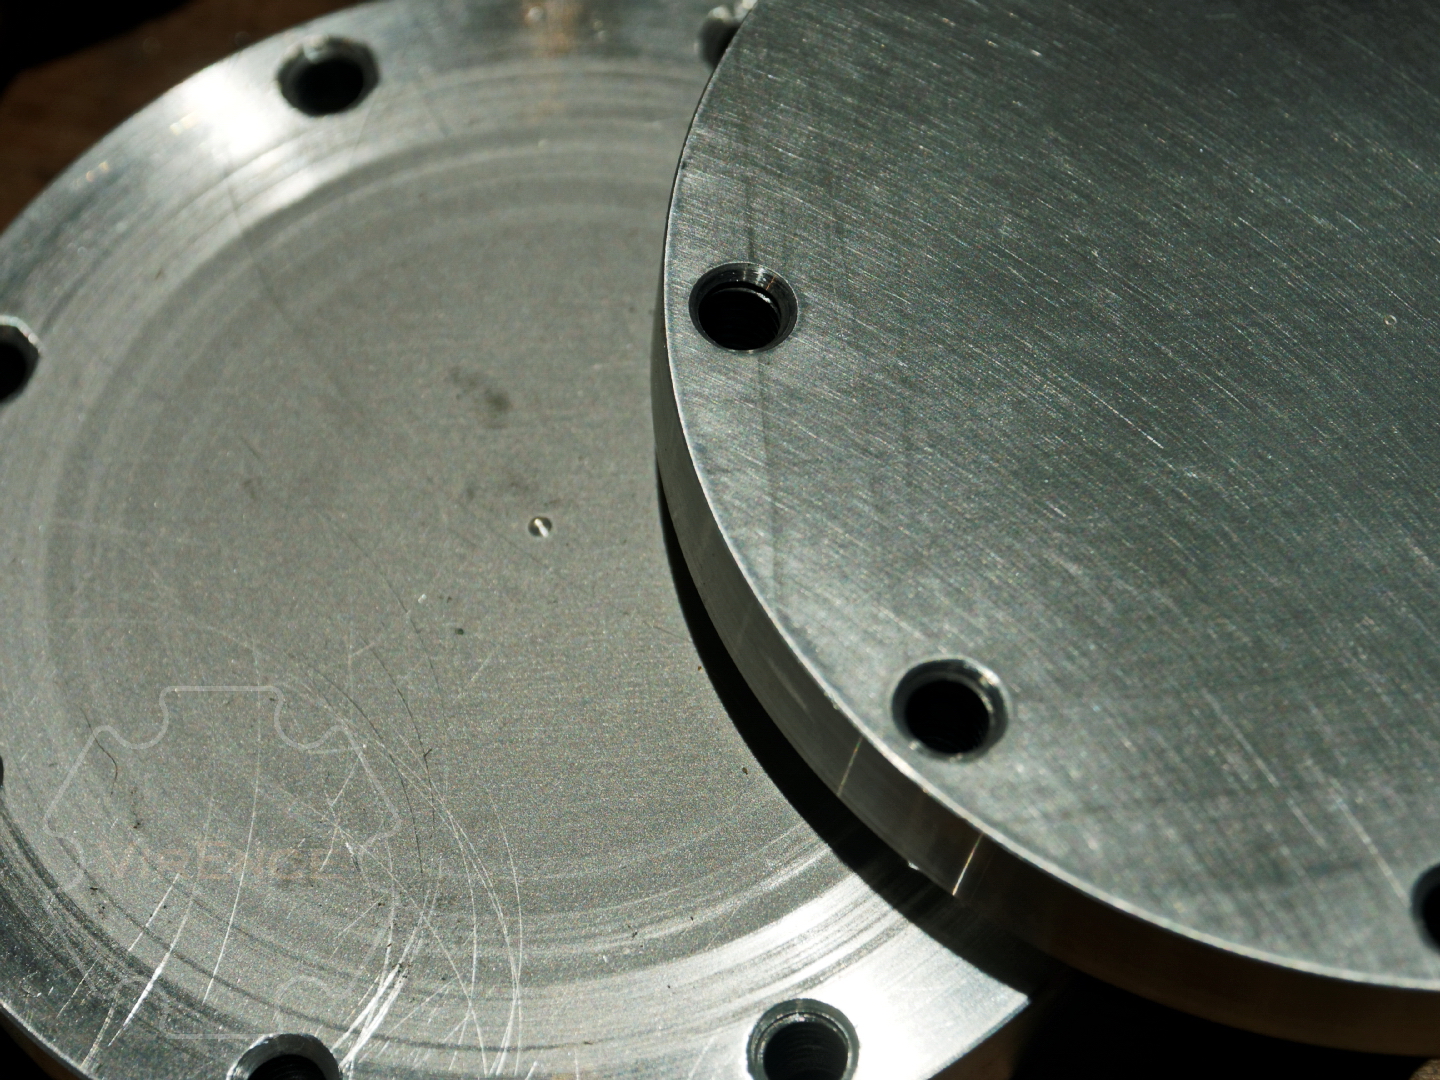
The backside of the base plate was roughly machined using 45° HSS blade 0,5mm deep.
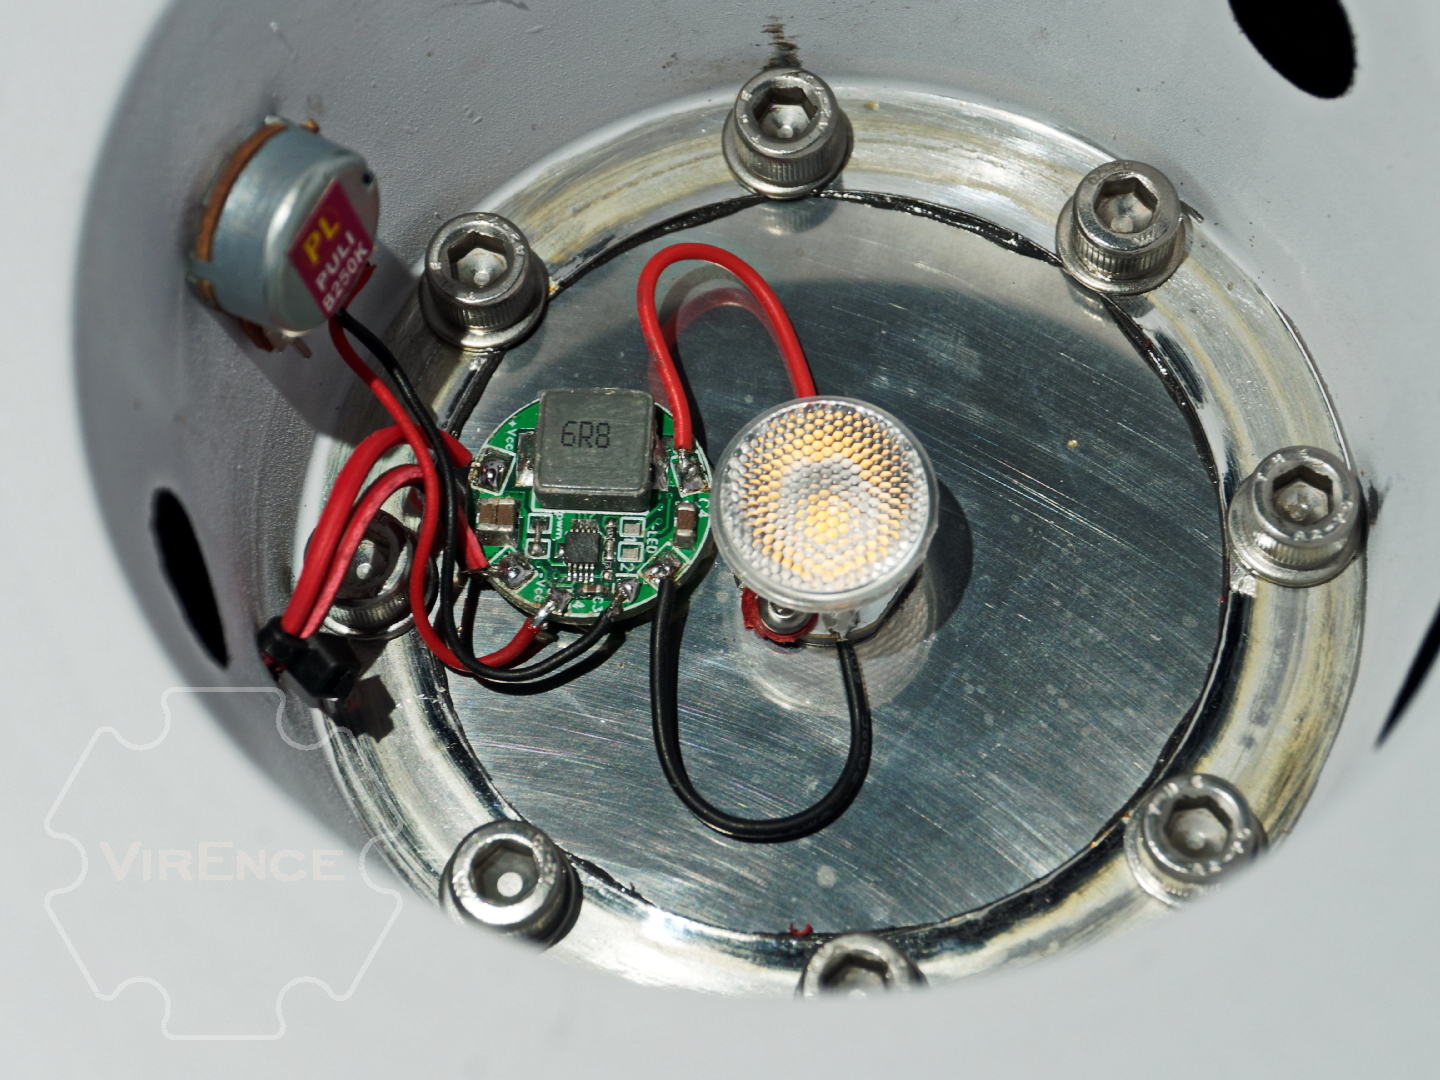
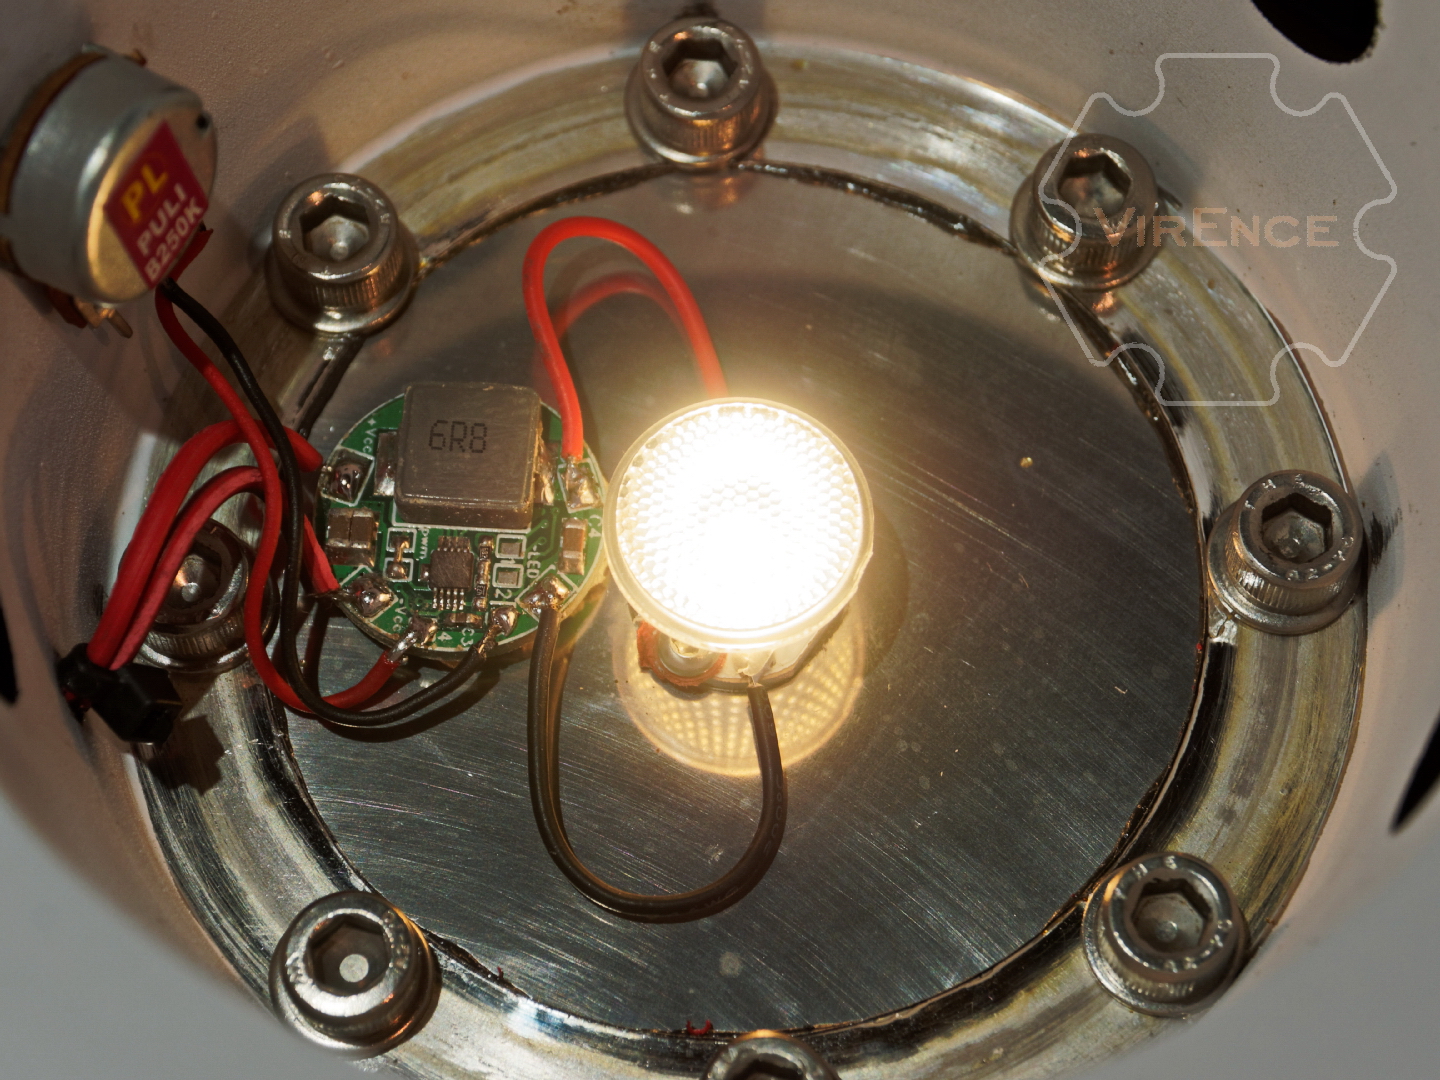
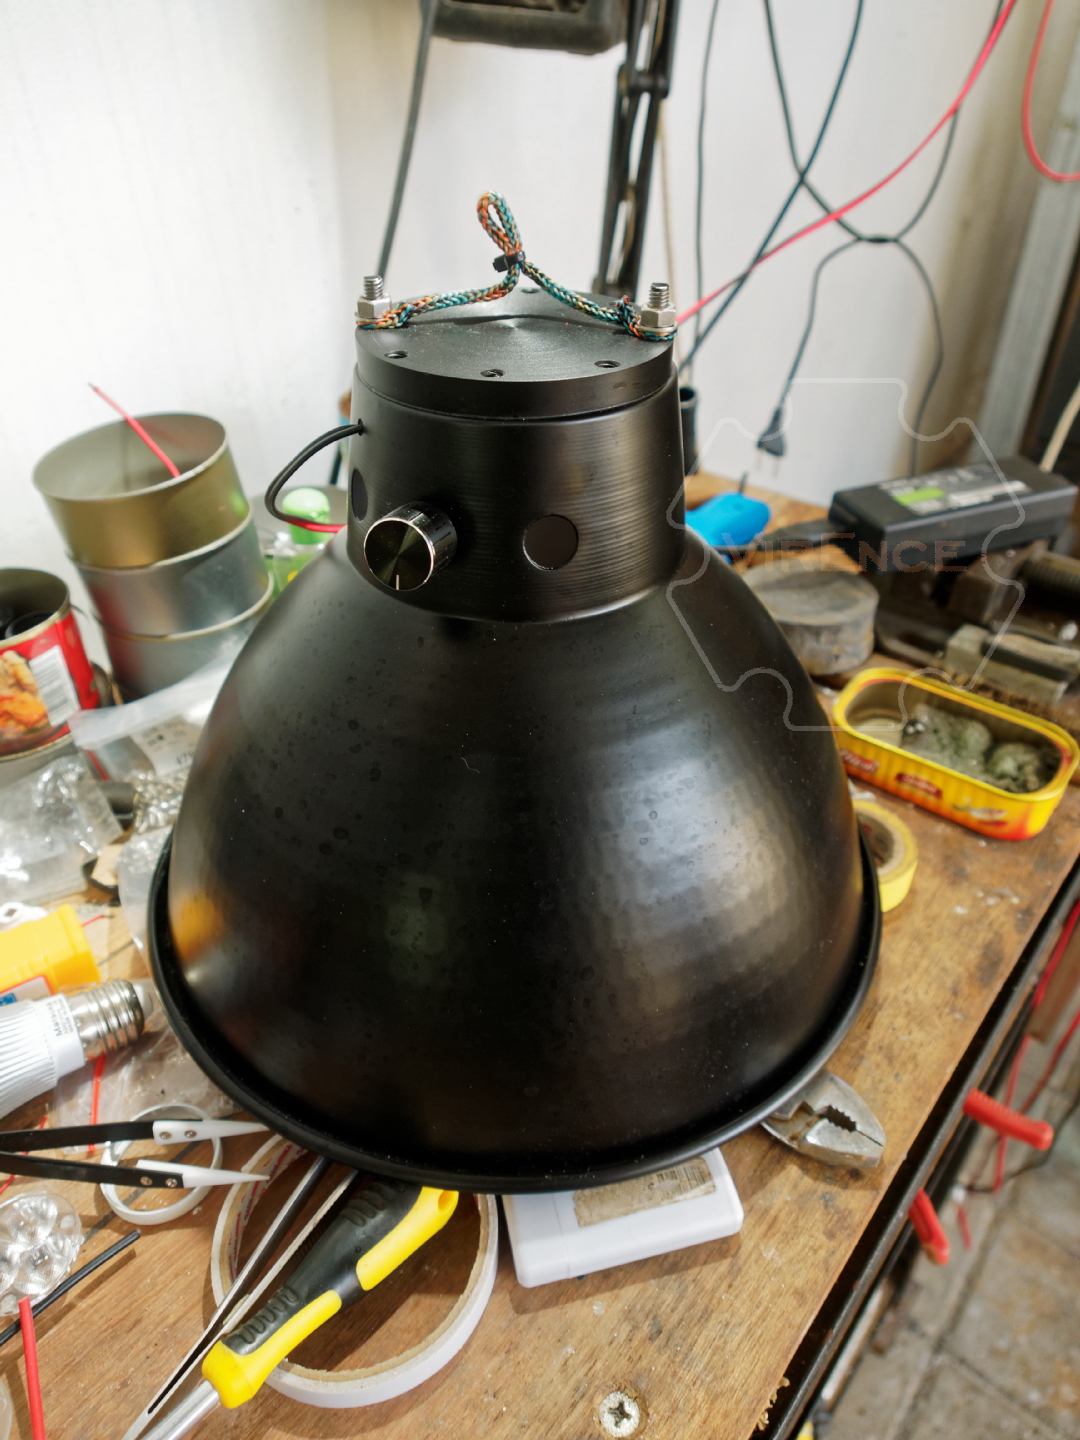
The internals are installed. I used 8-24V buck driver running at 2,8A at max. Connected to a 250K potentiometer resulted in 0,4 –18 watt adjustable output. Most of the light beam shaped by the 20mm TIR optic. The white reflector just to aid directing some of the spill leaked from the TIR.
Power supply using old DC power adapter from my broken laptop:

Left: 1 x 144AM sm305 E1100 R8000. Right: 4x E21A sm303 D200 R9080 (6V config)

- Clemence
