Okay we are at the end i guess, So i am fixing this thread up i will remove some things and post all pics from the different dates here so its easier to find. I will keep the stuff about my finger.
My build was meant to be a headlamp but i had to put that on hold because of my finger. I had the idea already in my head but it seemed like a task i couldn’t Handle at this moment.
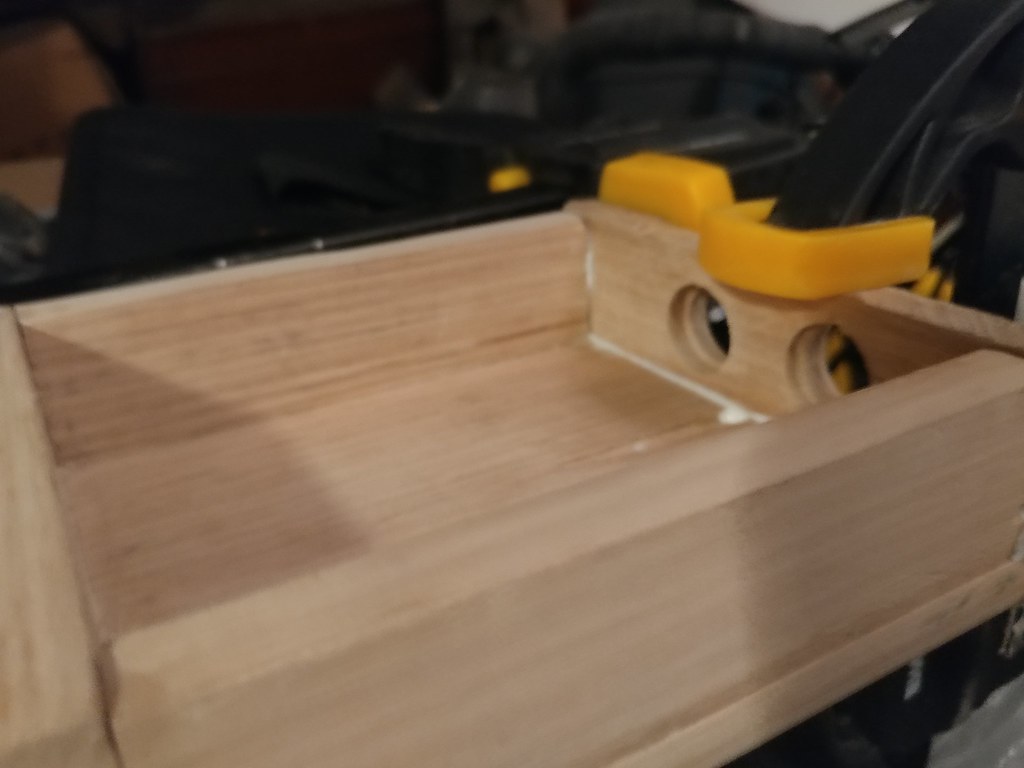
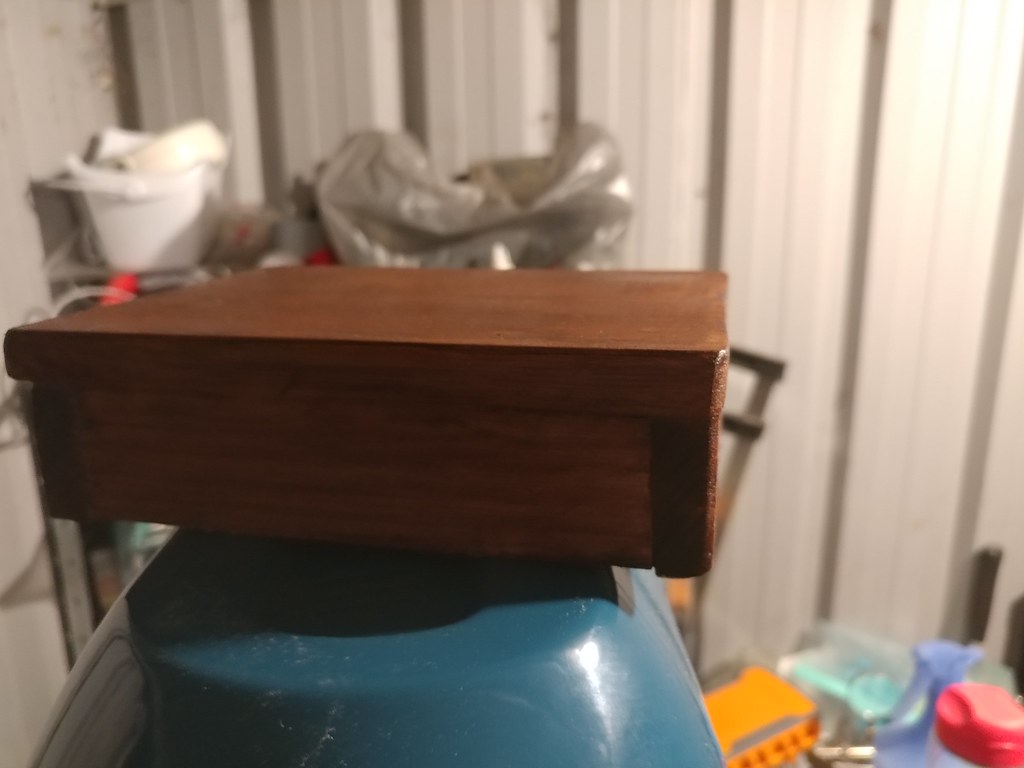
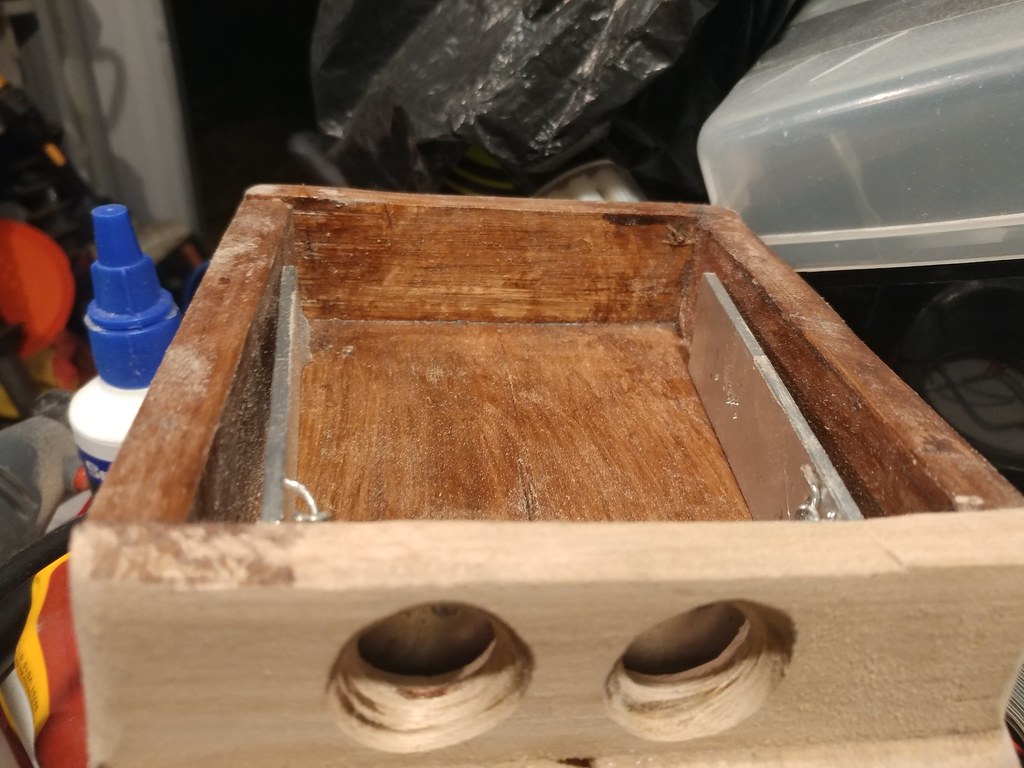
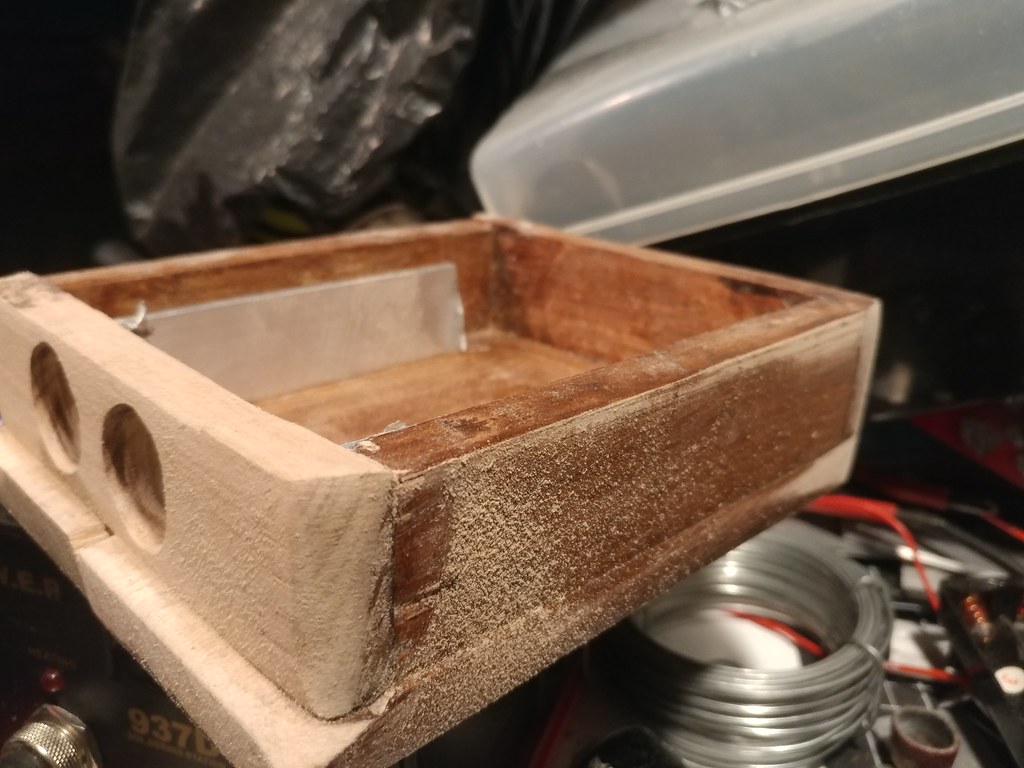
New build is meant to be retro a flashlight/torch of some kind, i am a telecommunication technician by trade and i like all the retro old school items i used to come across at work. Some telephone exchanges still had massive wooden switch boards in place and they where awesome to look at. Old random items like analogue multi-meters with leather cases or wooden boxes and other test equipment gave me the inspiration for this build.
I am posting all the pics in the first thread this thread but i am leaving the writing in each reply please scroll down to see the progression in proper time.
!
!
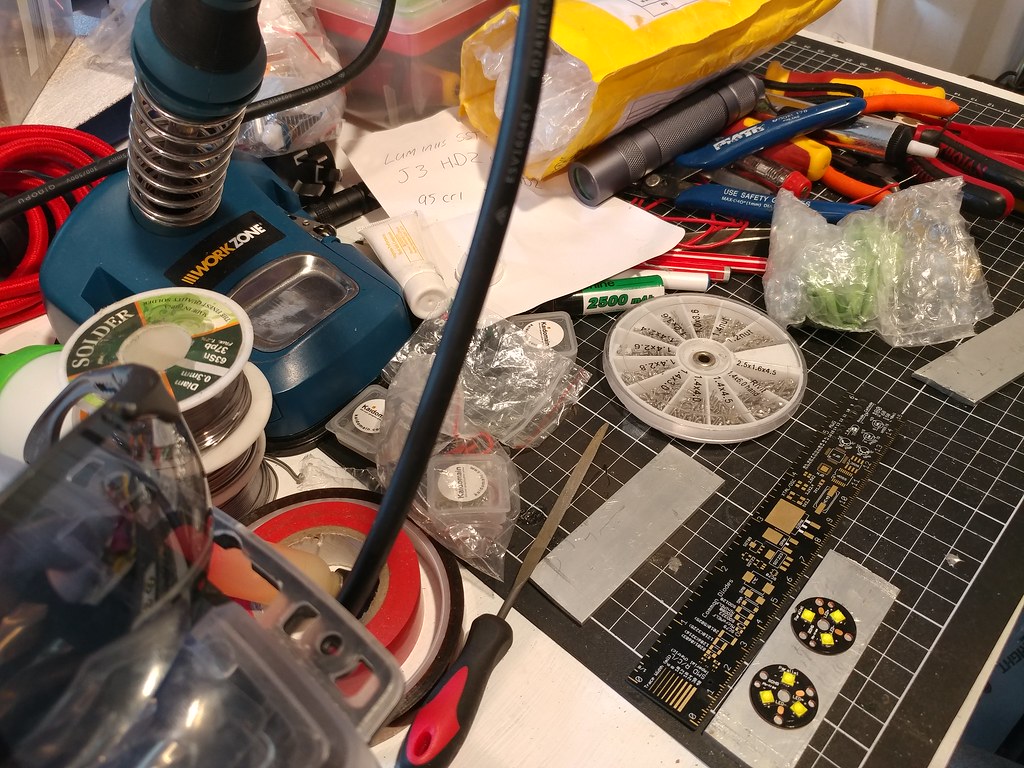
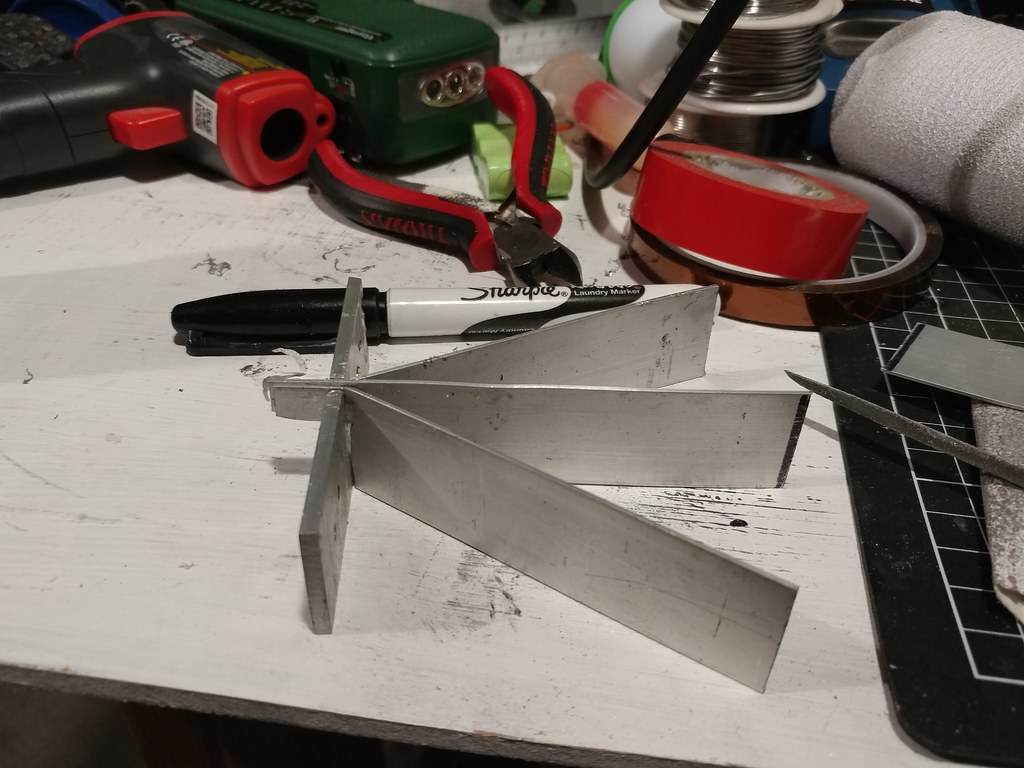
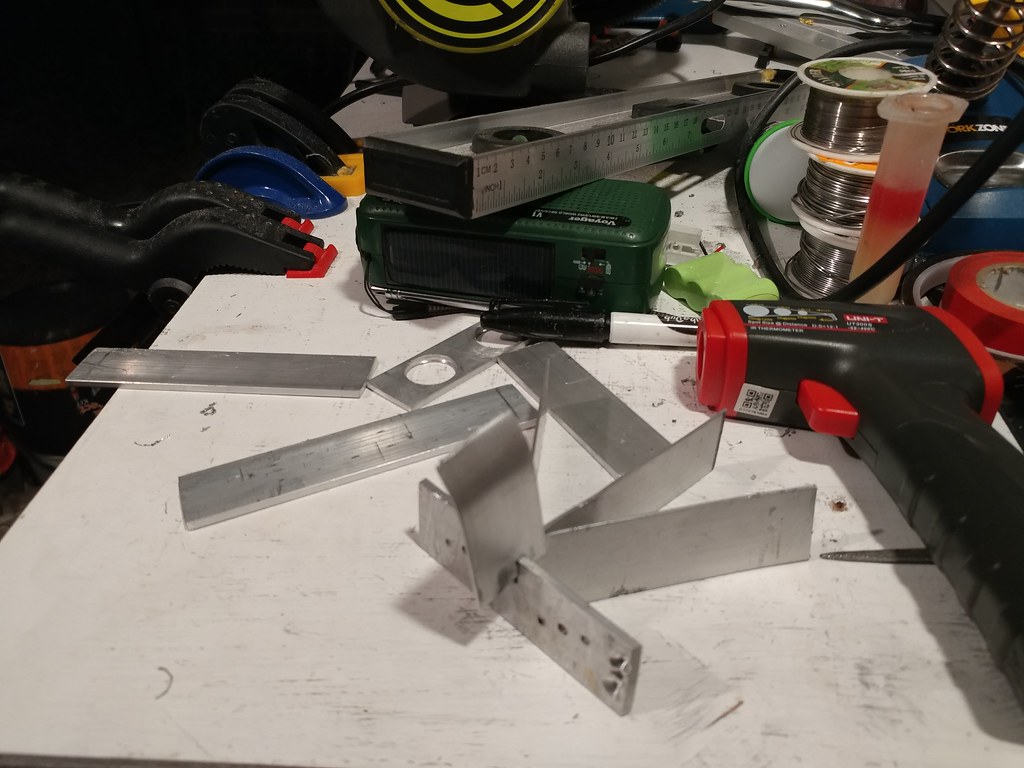
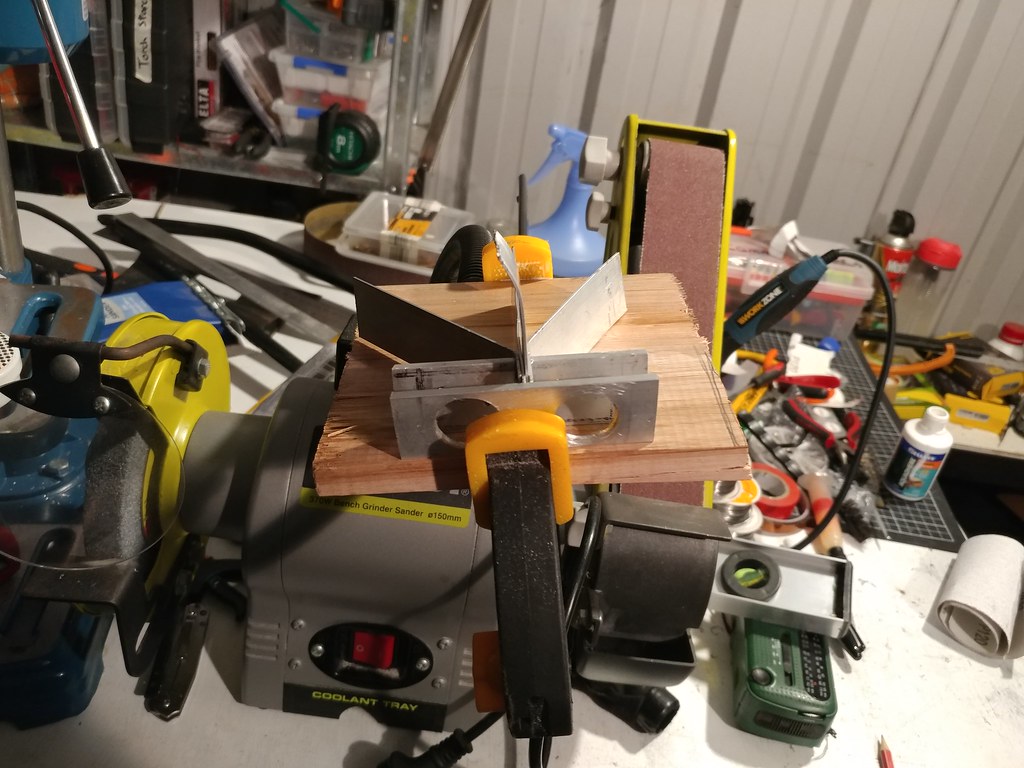
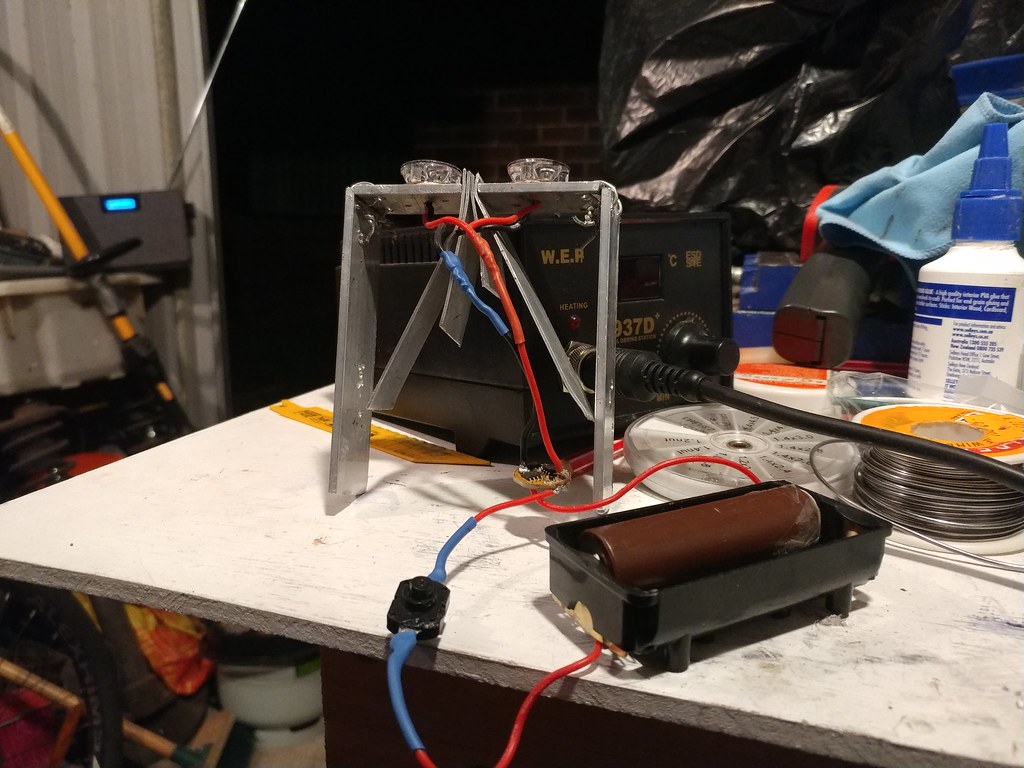
My build items used
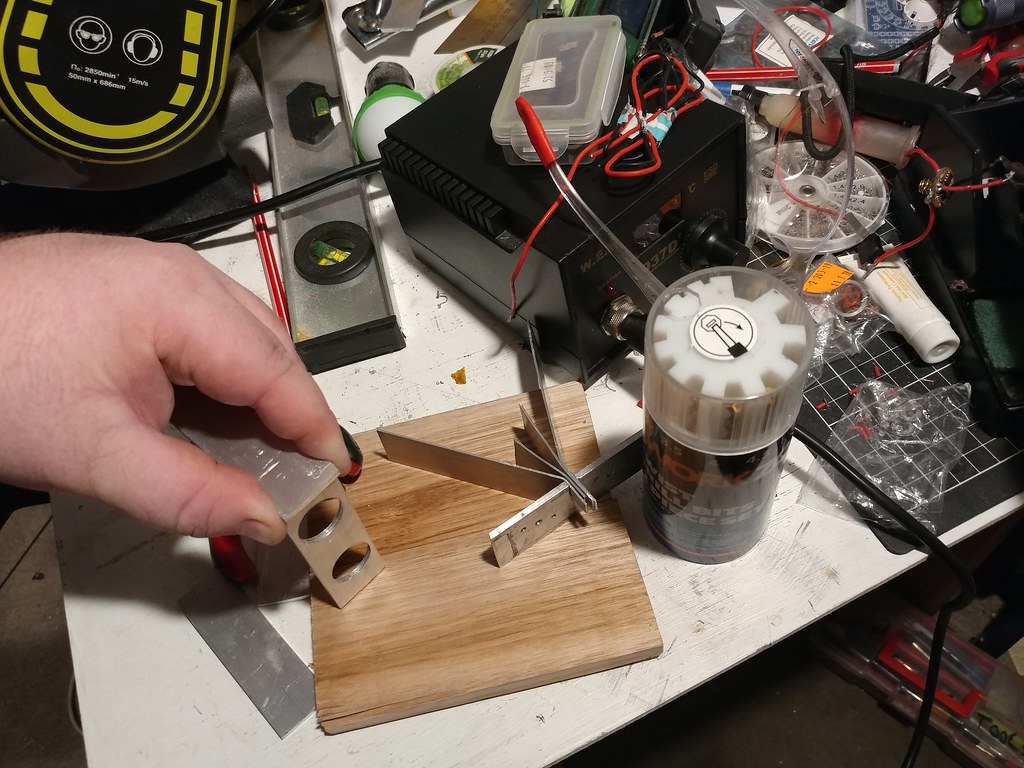
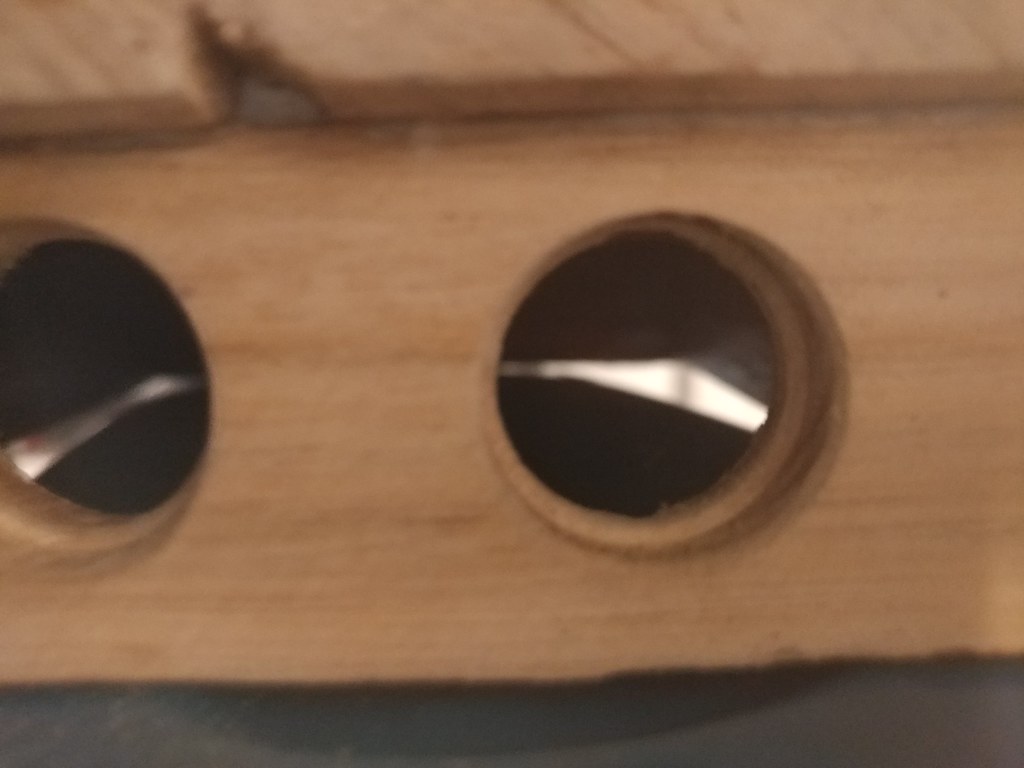
- Tasmanian oak
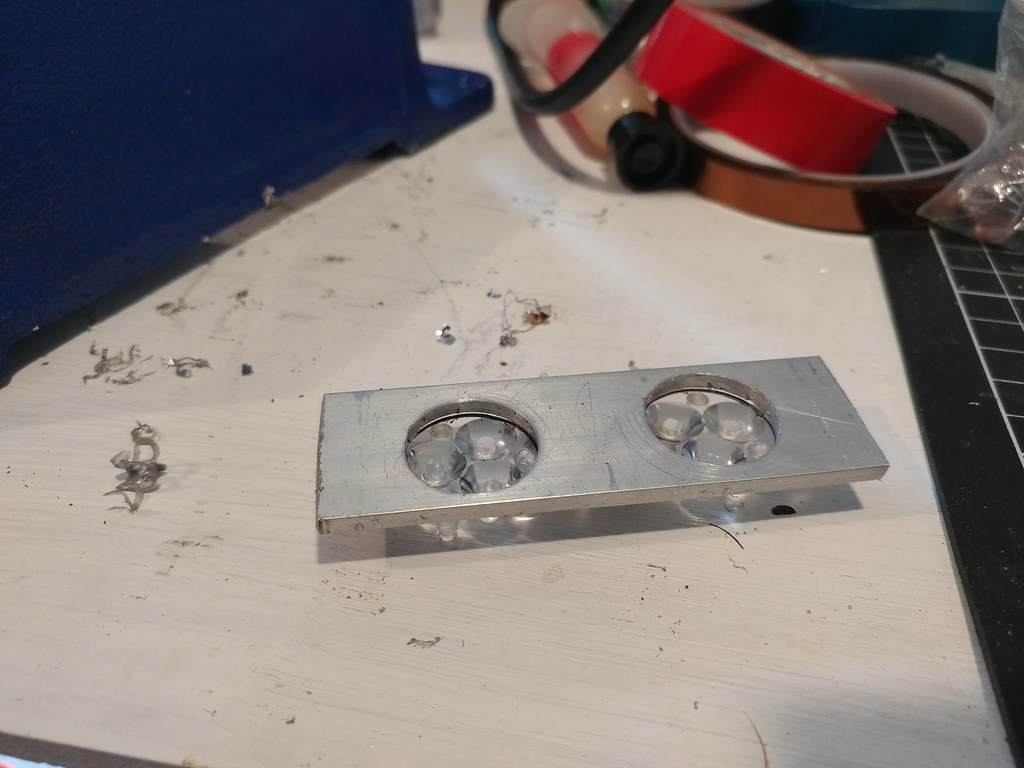
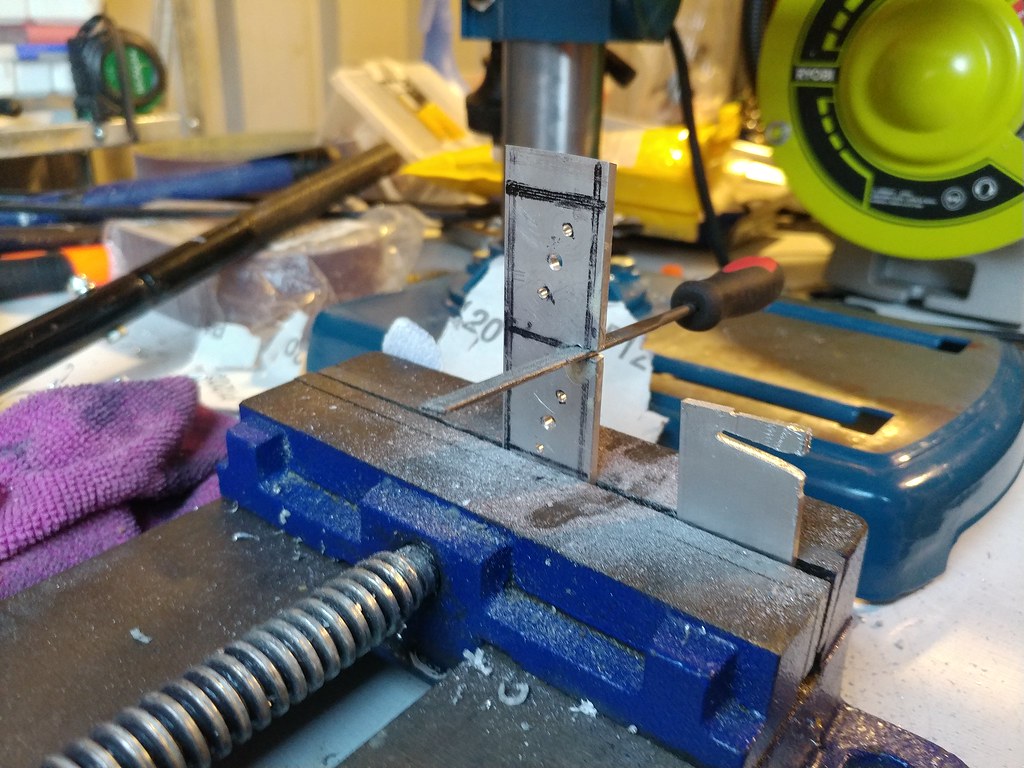
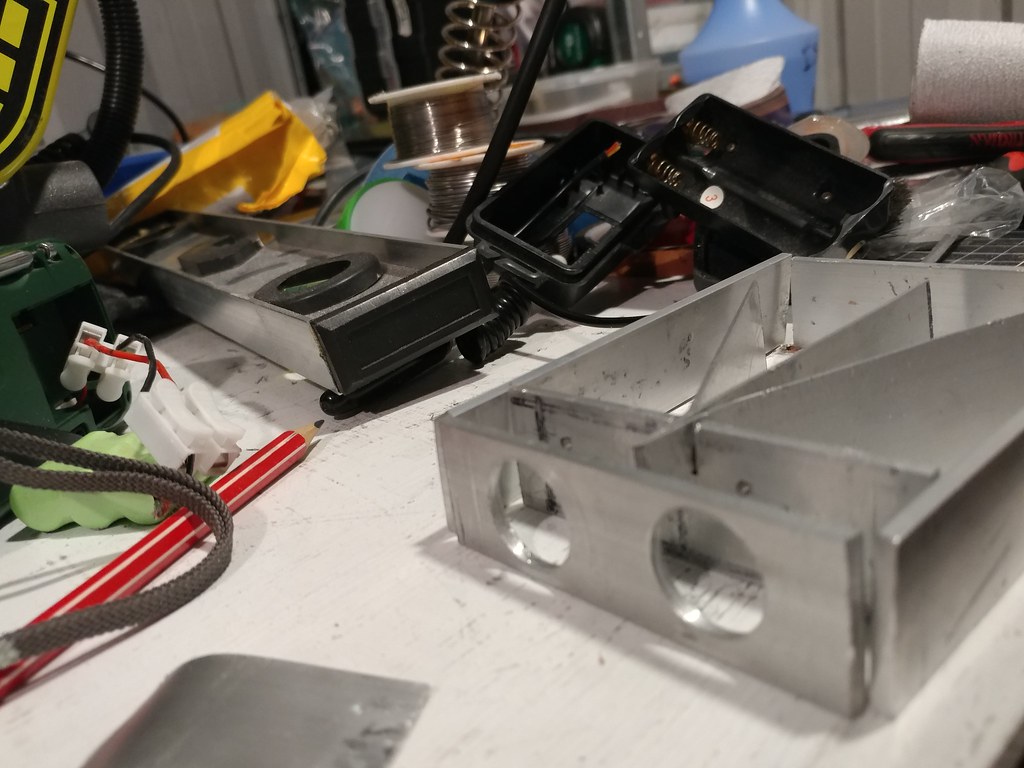
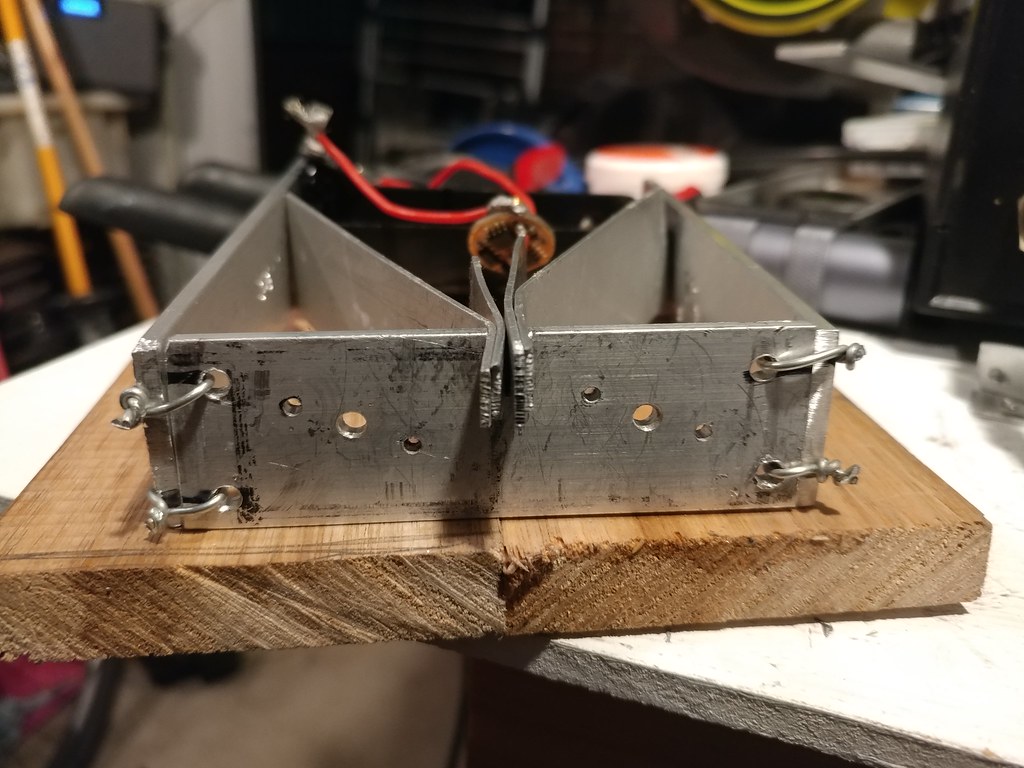
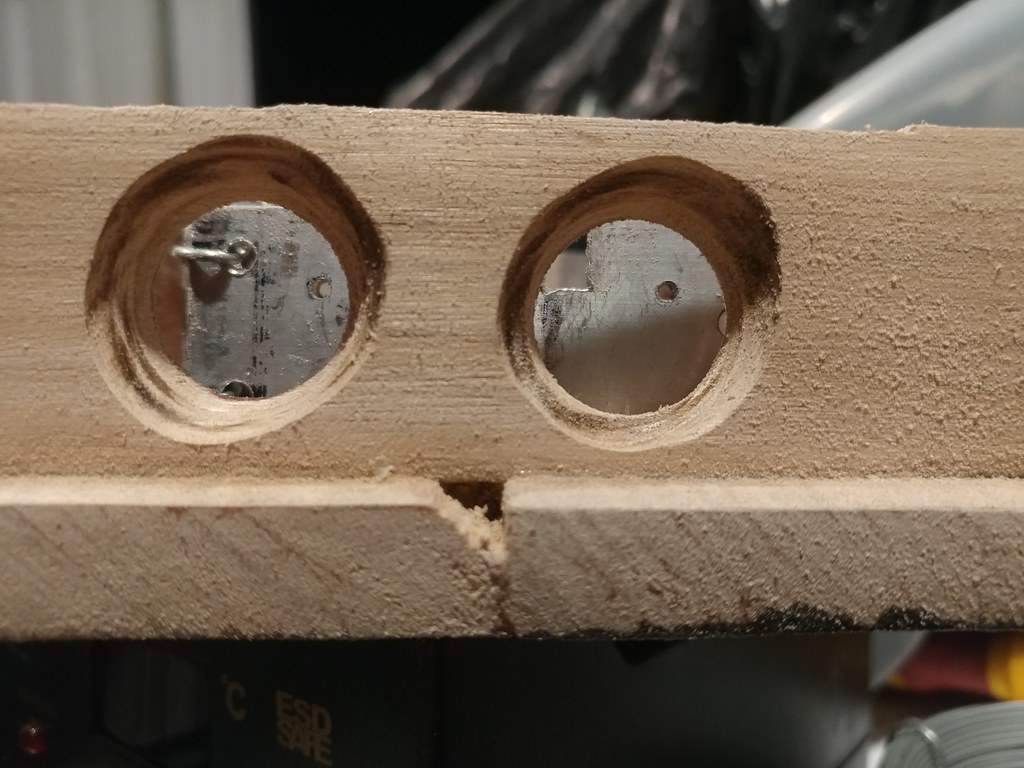
- Aluminum flat bar in various sizes
- Wood glue
- Superglue
- Screws
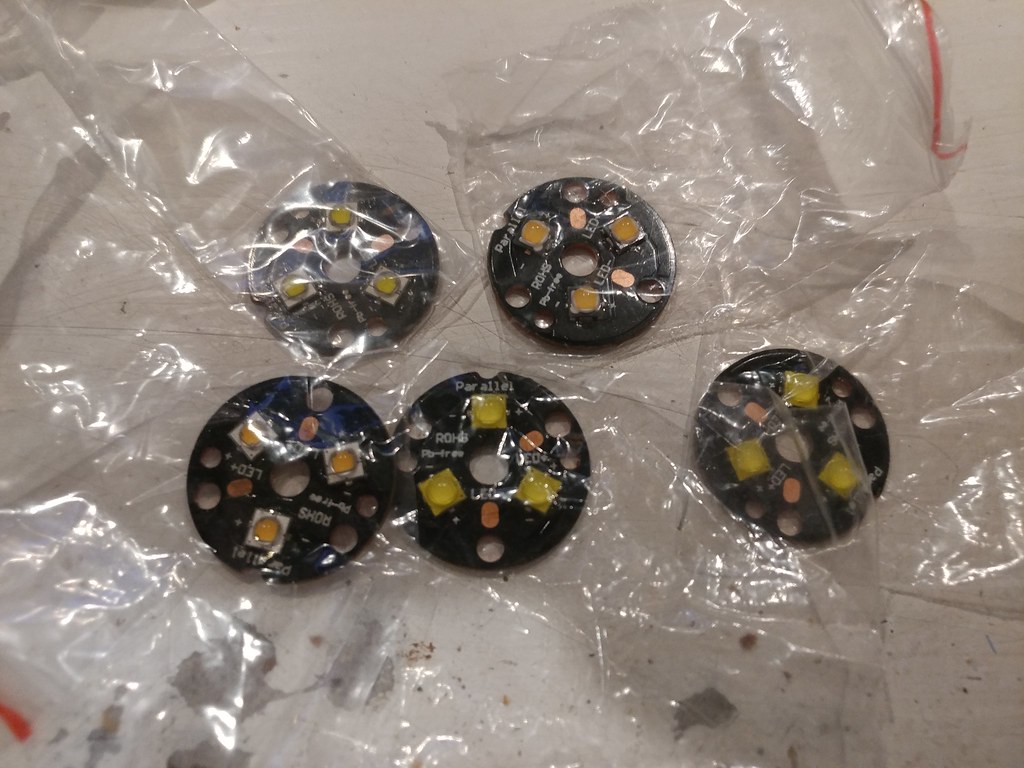
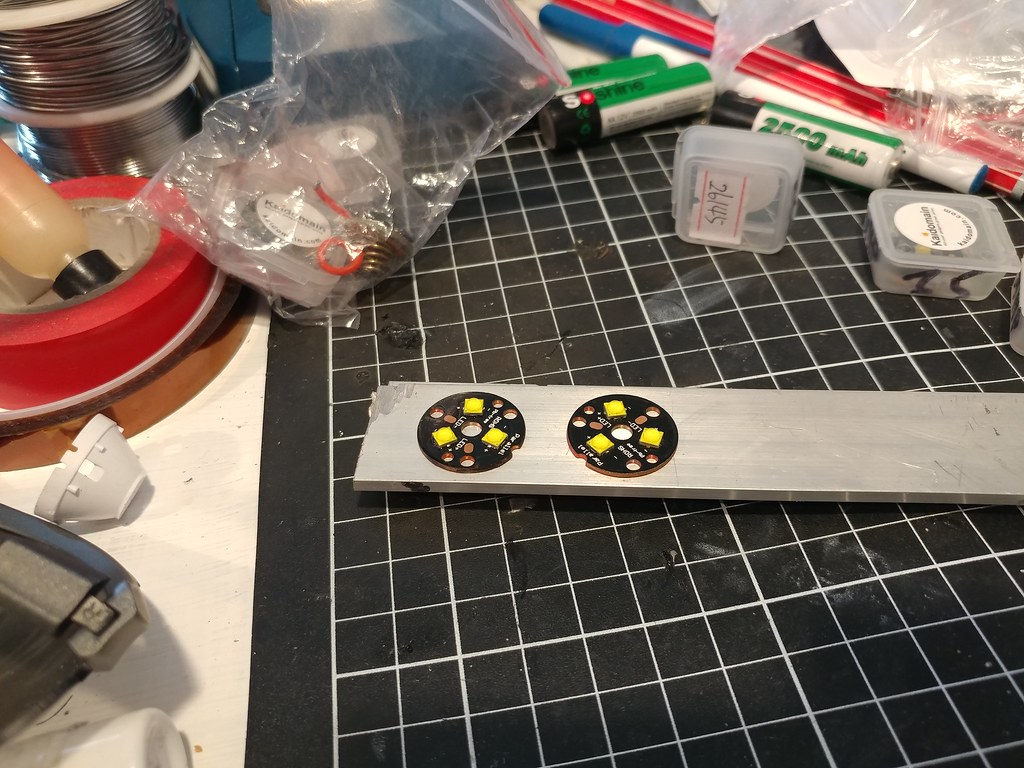
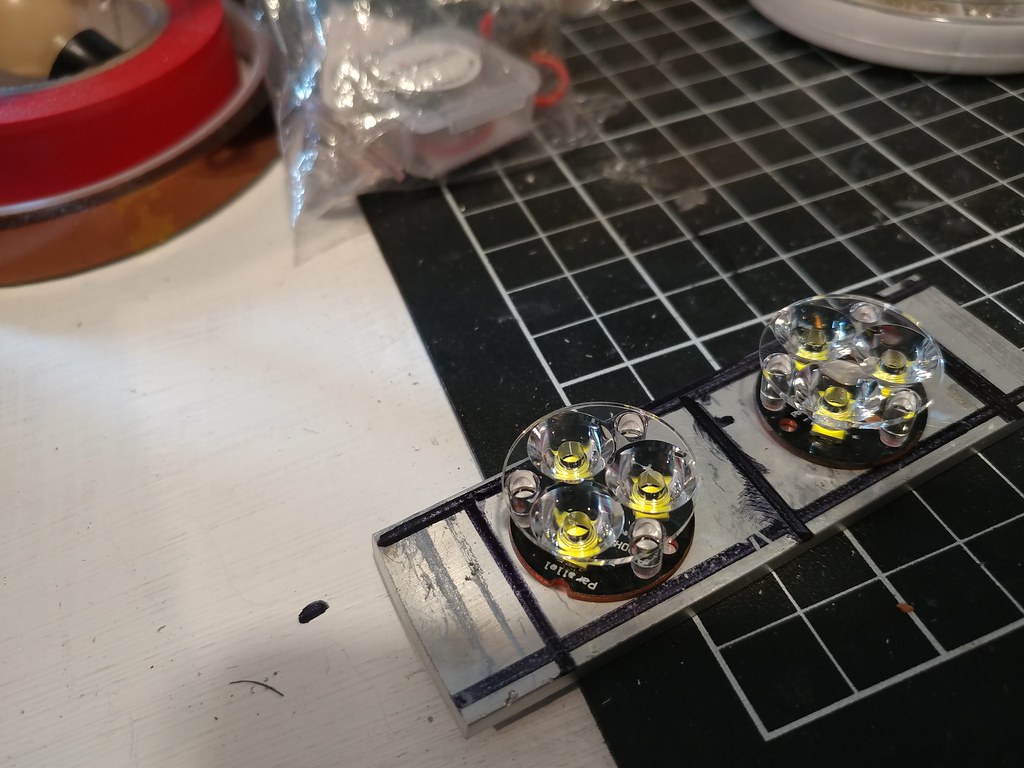
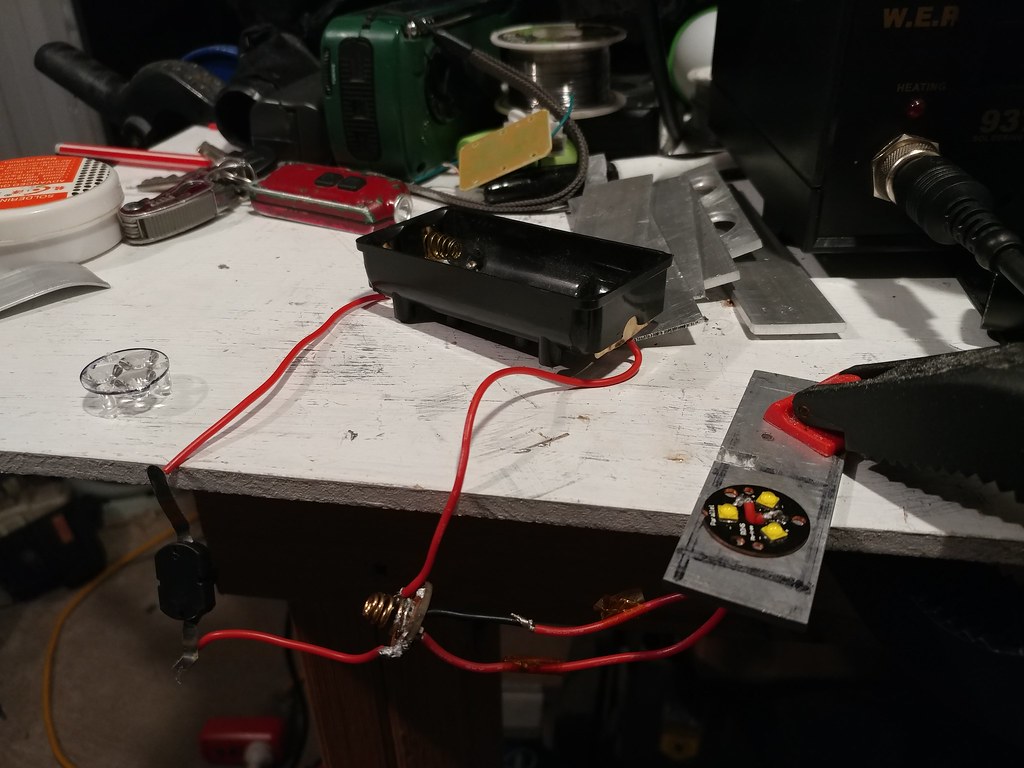
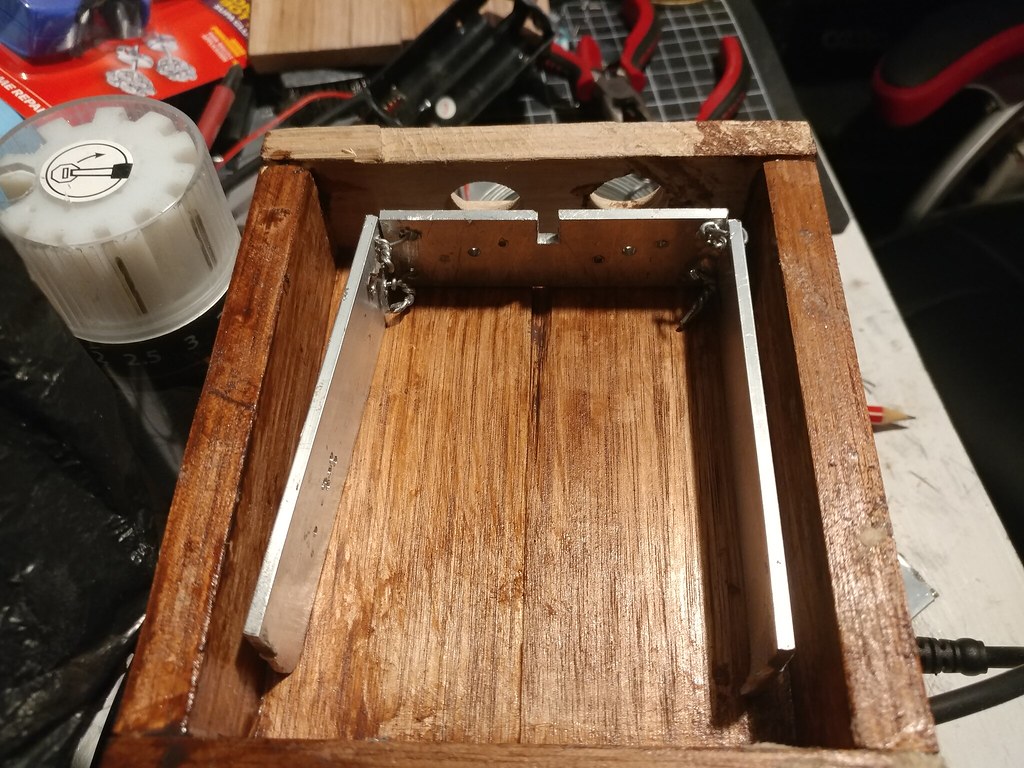
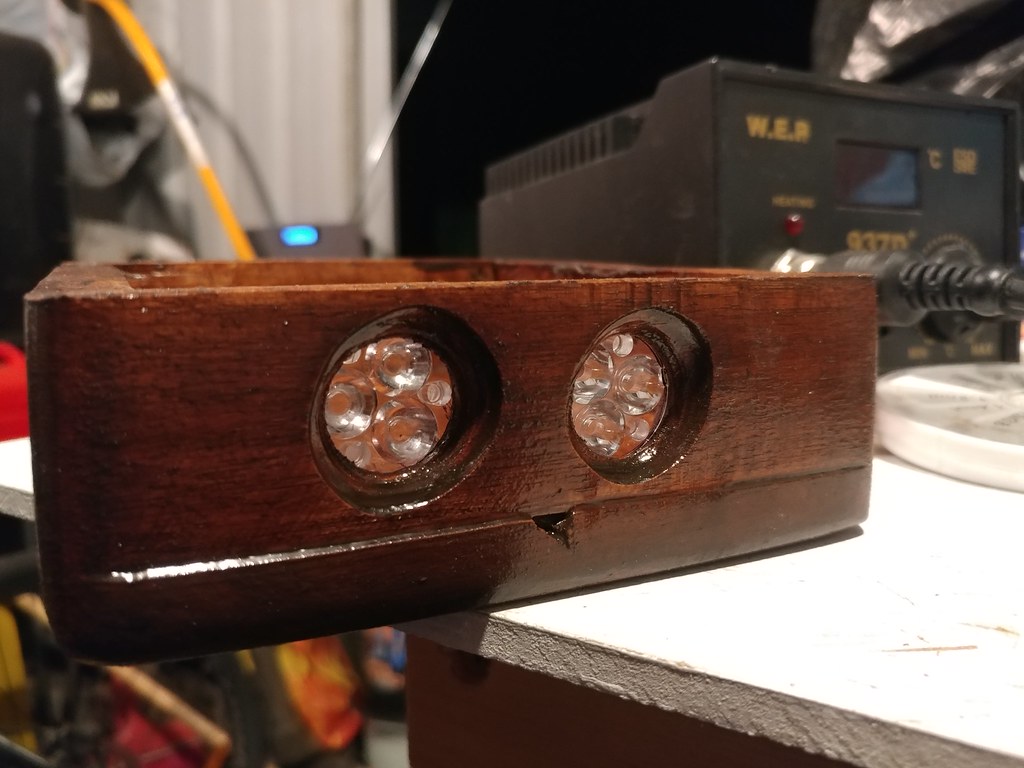
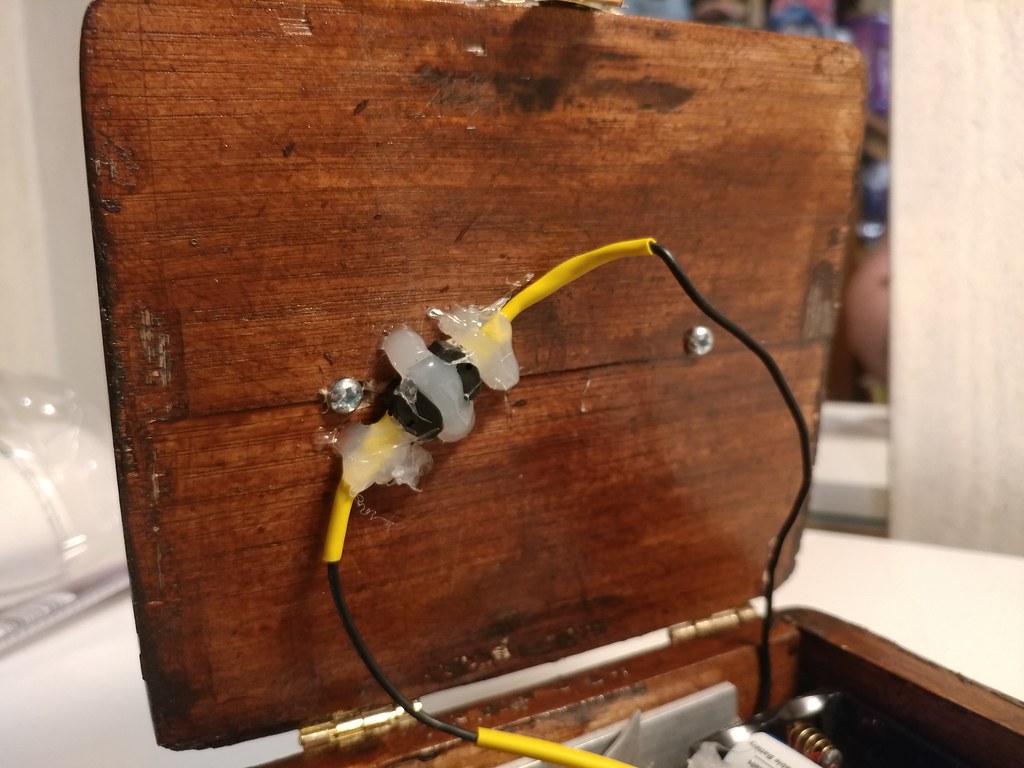
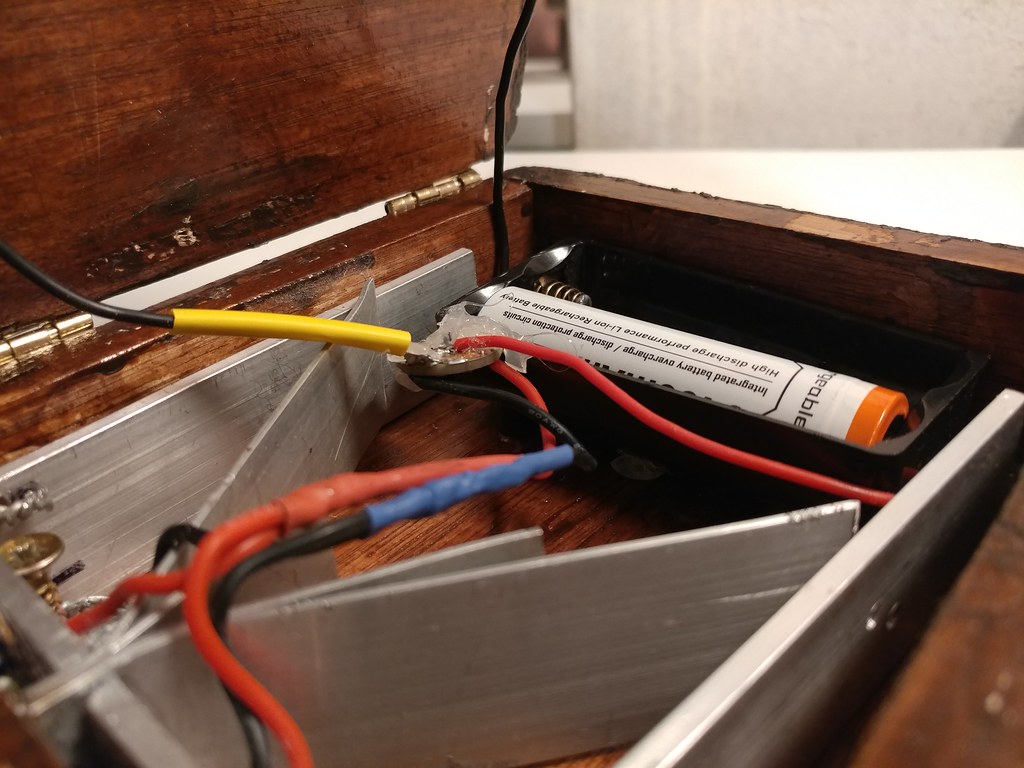
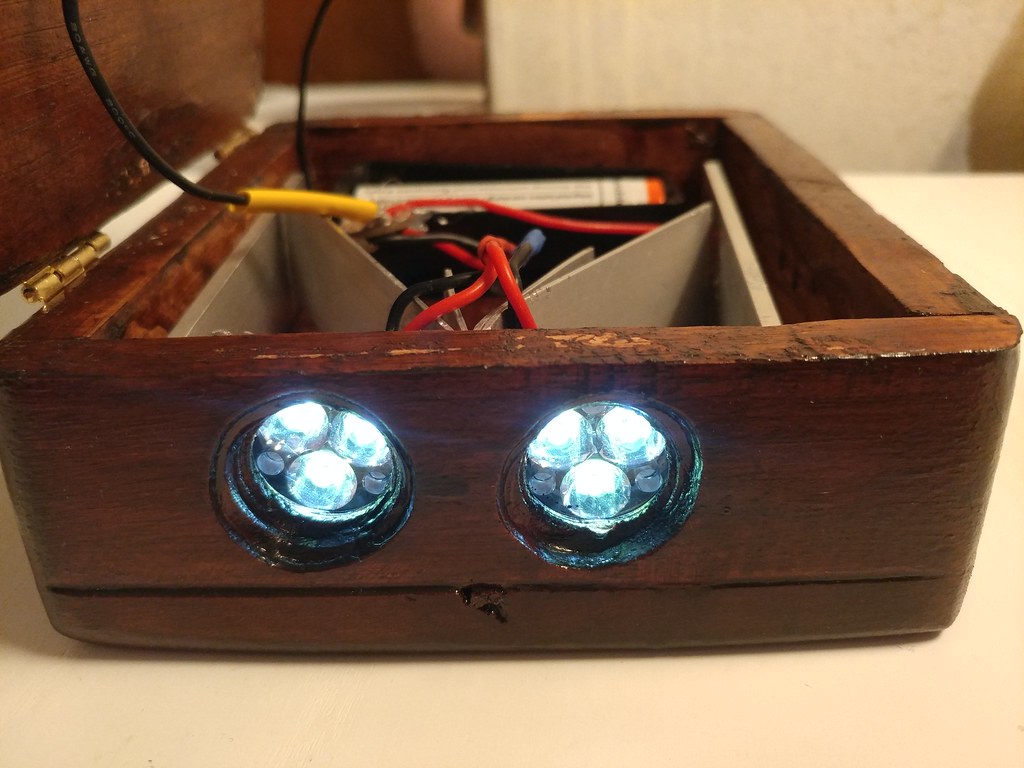
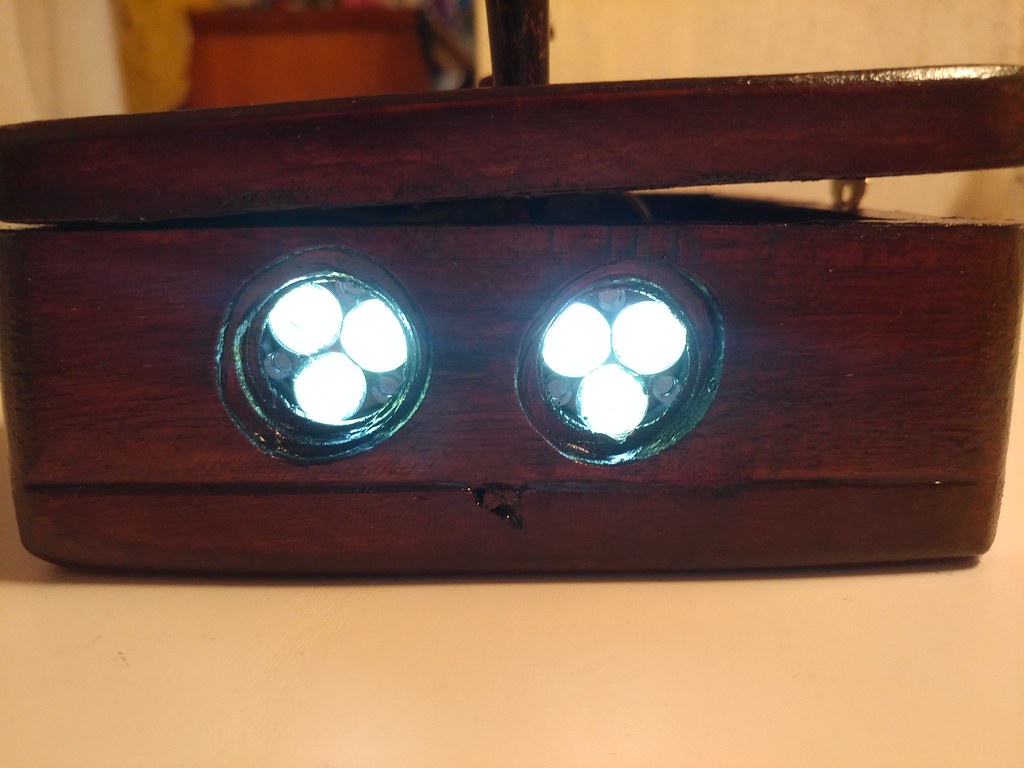
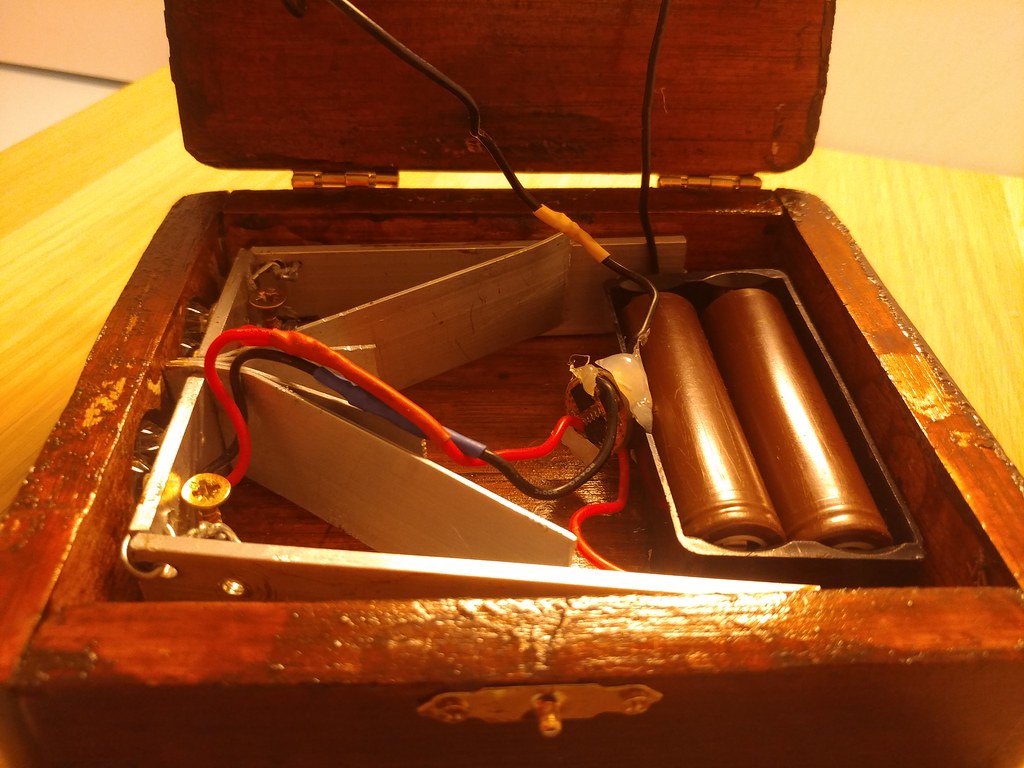
- 2 Triple XPG3 boards in cold white with optics
- BLF A6 driver
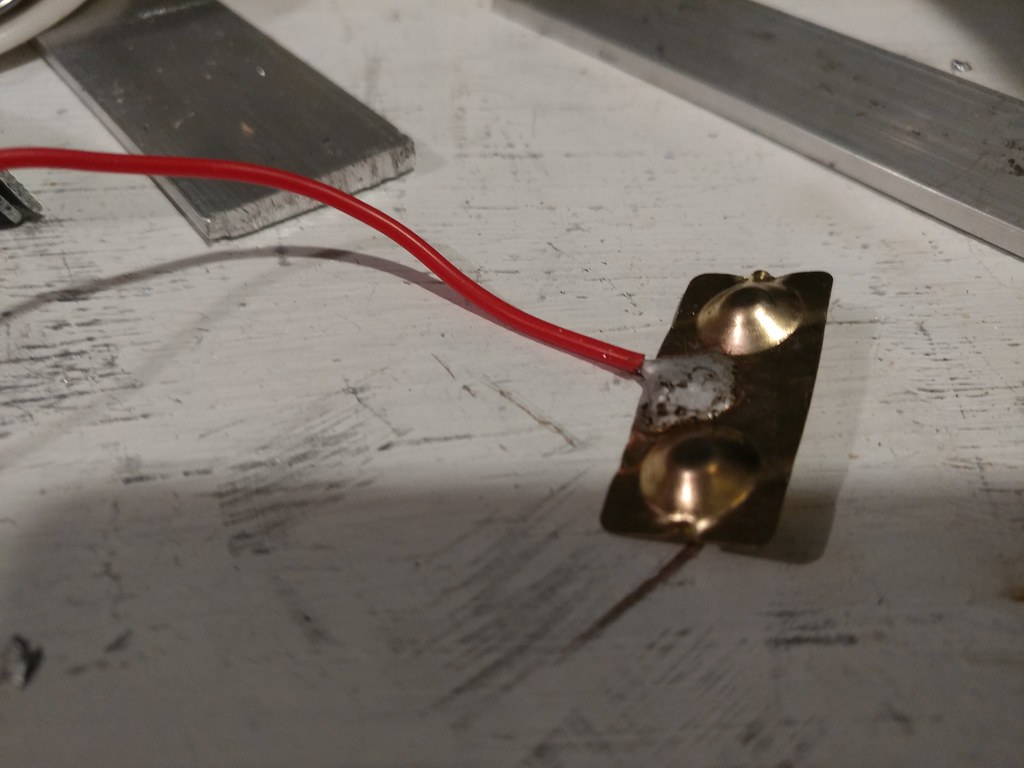
- Dual in parallel 18650 battery holder with brass terminals
- 20 AWG wire all around
- Clicky switch
- Heat shrink tube
- Brass handle, hinges and lock
- Solder
- Hot glue
- Varnish and stain
Tools used
- Saws
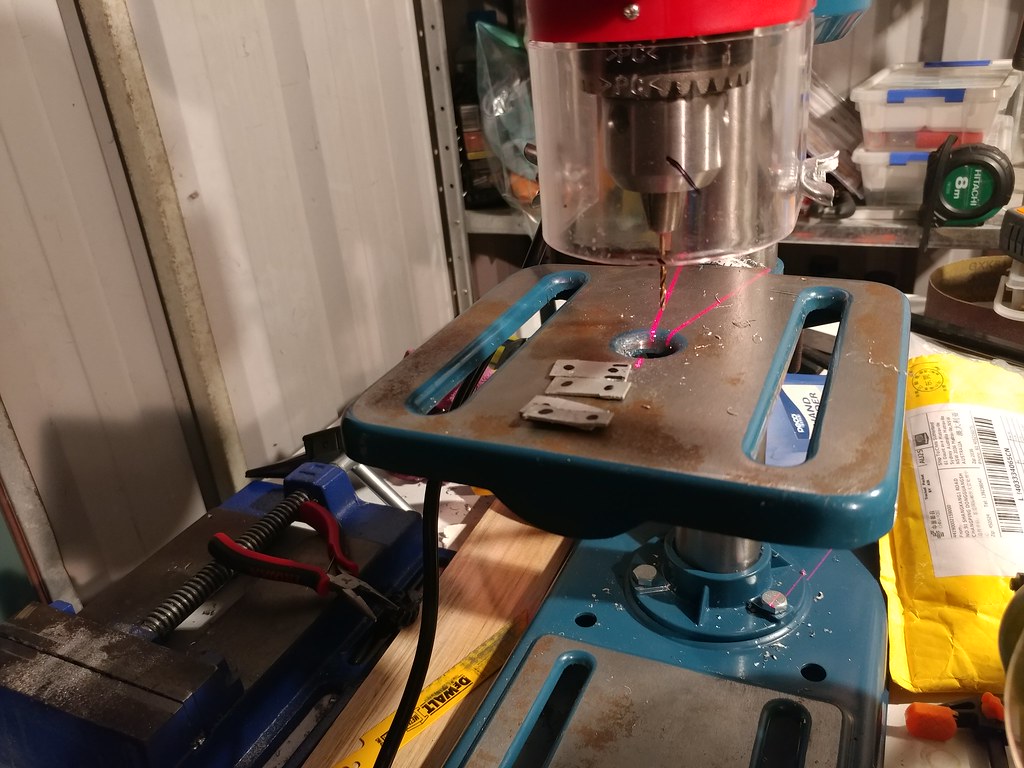
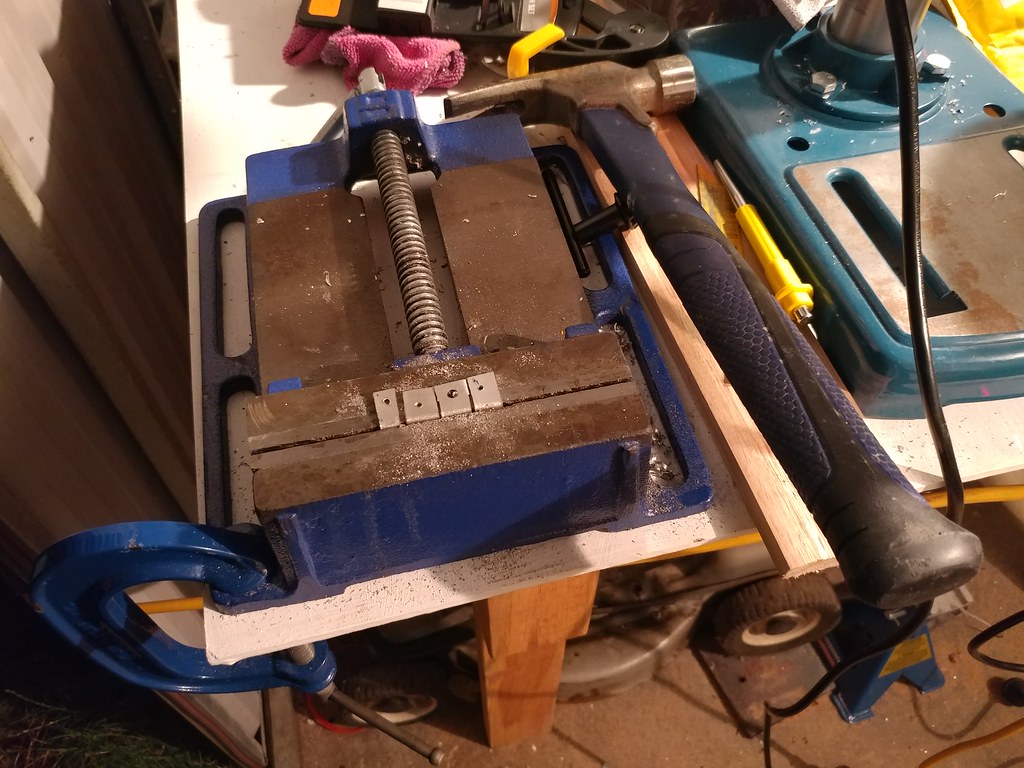
- Drill press + Cordless drill
- Sanders (Bench and hand sanders plus i tried an oscillating sander it was meh)
- Files
- Heat gun
- Soldering iron
- Hot glue gun
- Screw drivers
- Lots and lots of clamps
- Paint brush
- Pry bar ( i glued it together to sander the edges so i had to open it again lol
- Hammer (tapped wood straight)
- Snip and side cutters of various sizes and stuff
- Tweezers for soldering
!
!
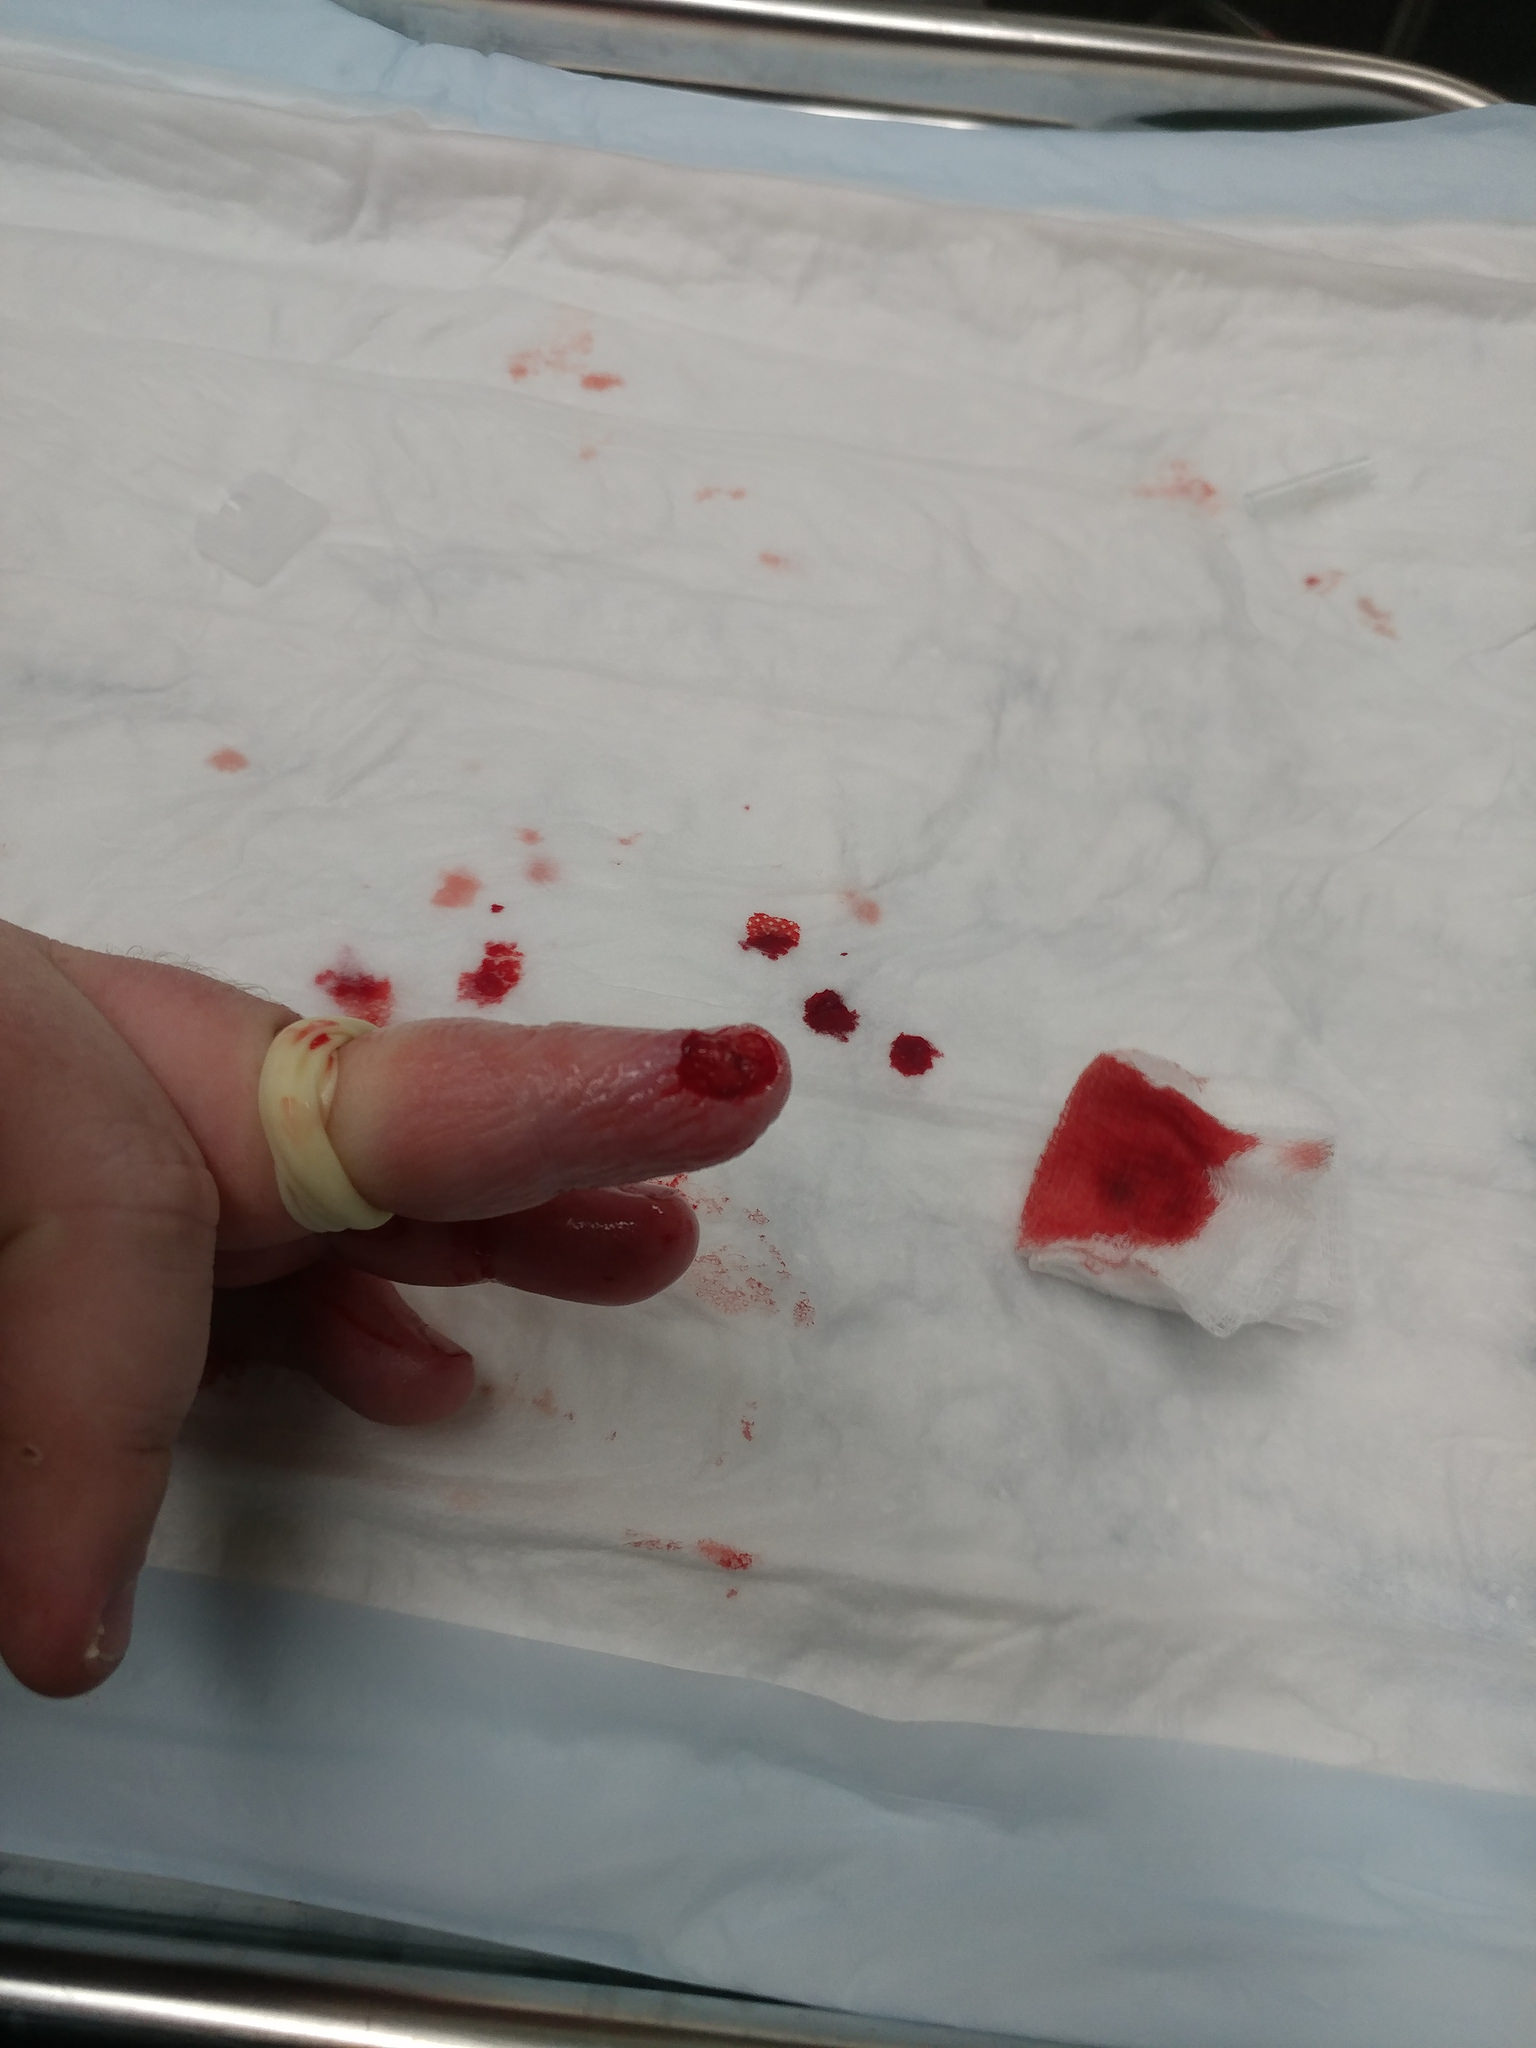
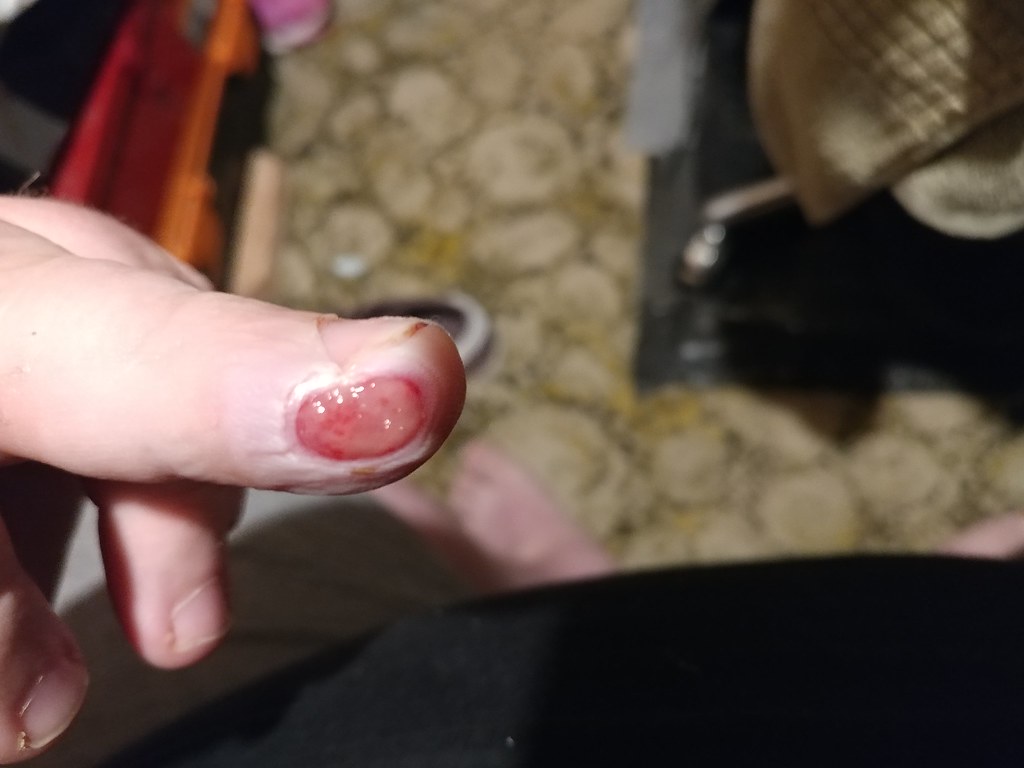
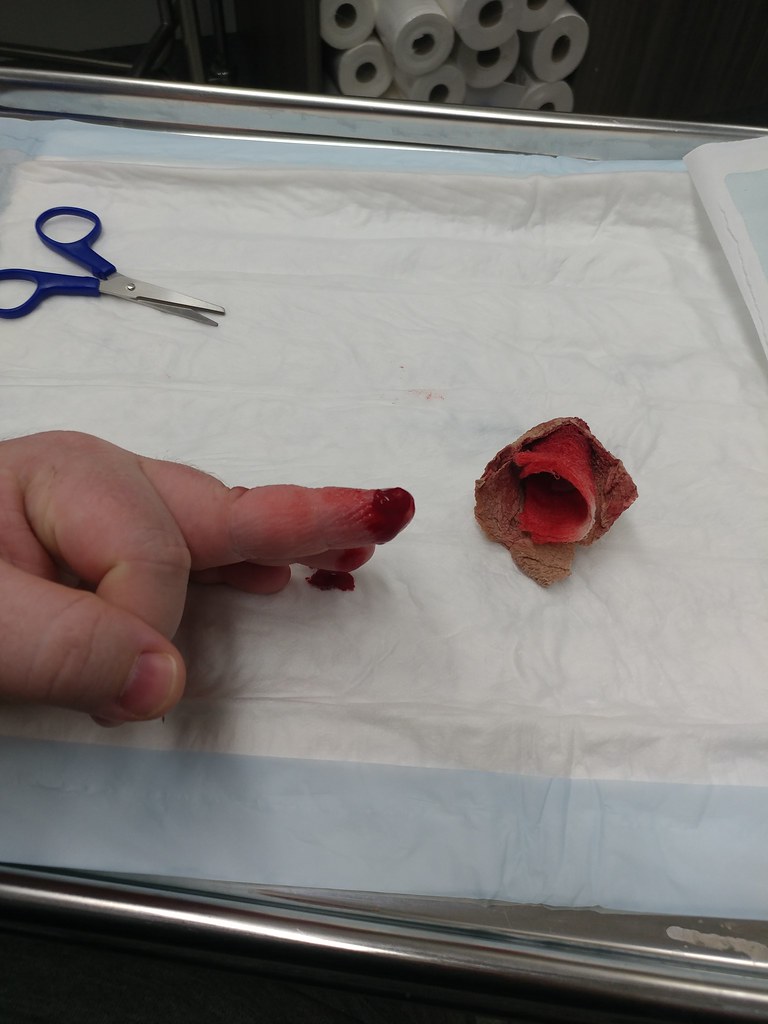
I was meant to start the build this weekend cause my girlfriend is in Western Australia for a few days but last night i made a booboo lol. I sliced of part of my finger so i can’t lift much today probably for a few days. I just hung out the washing and its sore and bleeding a tad.
I lost enough blood to make me laugh at every thing fairly cheap high hahaha.
!
!
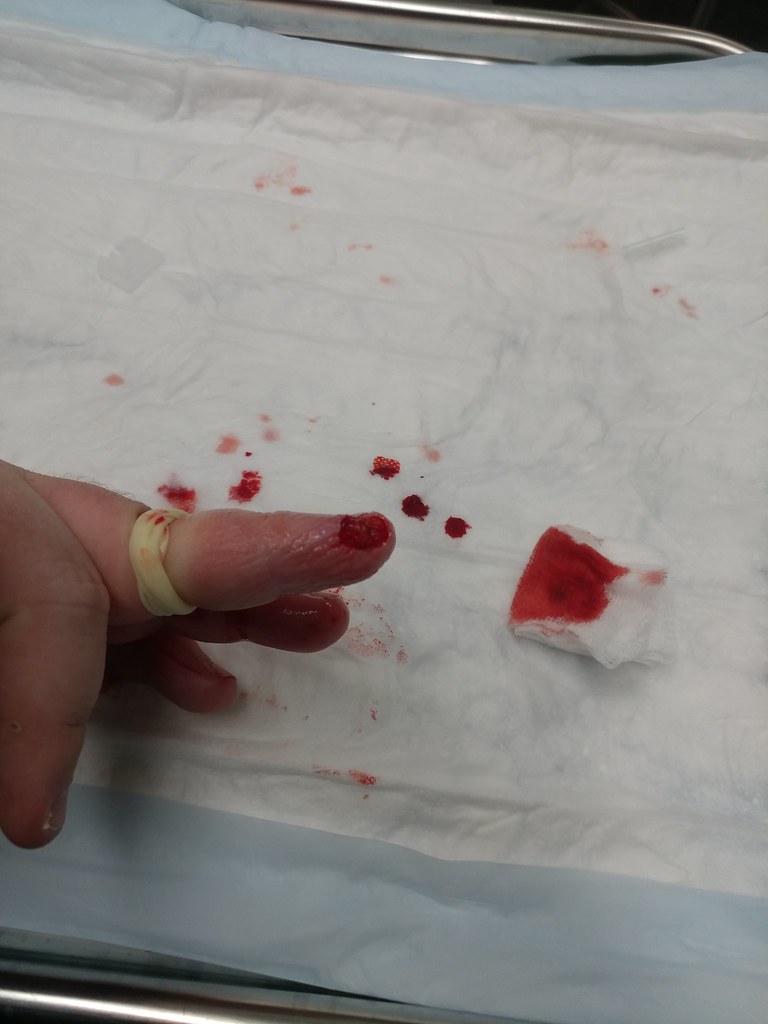
I was trying to walk it of but it wouldn’t stop bleeding.
!
!
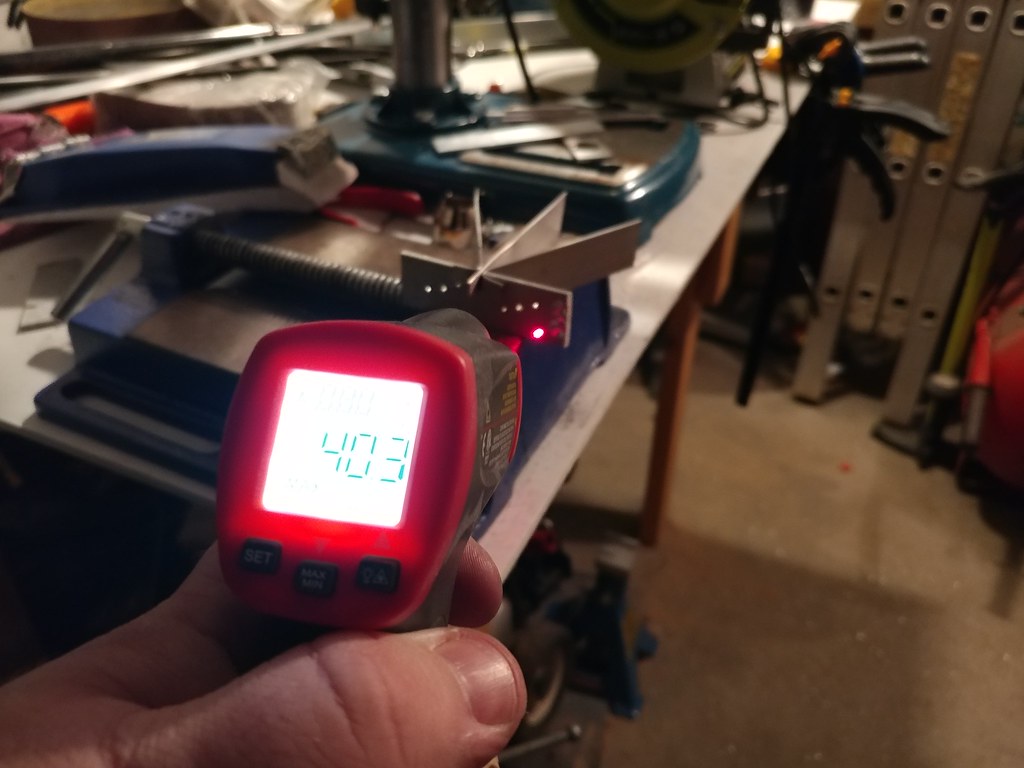
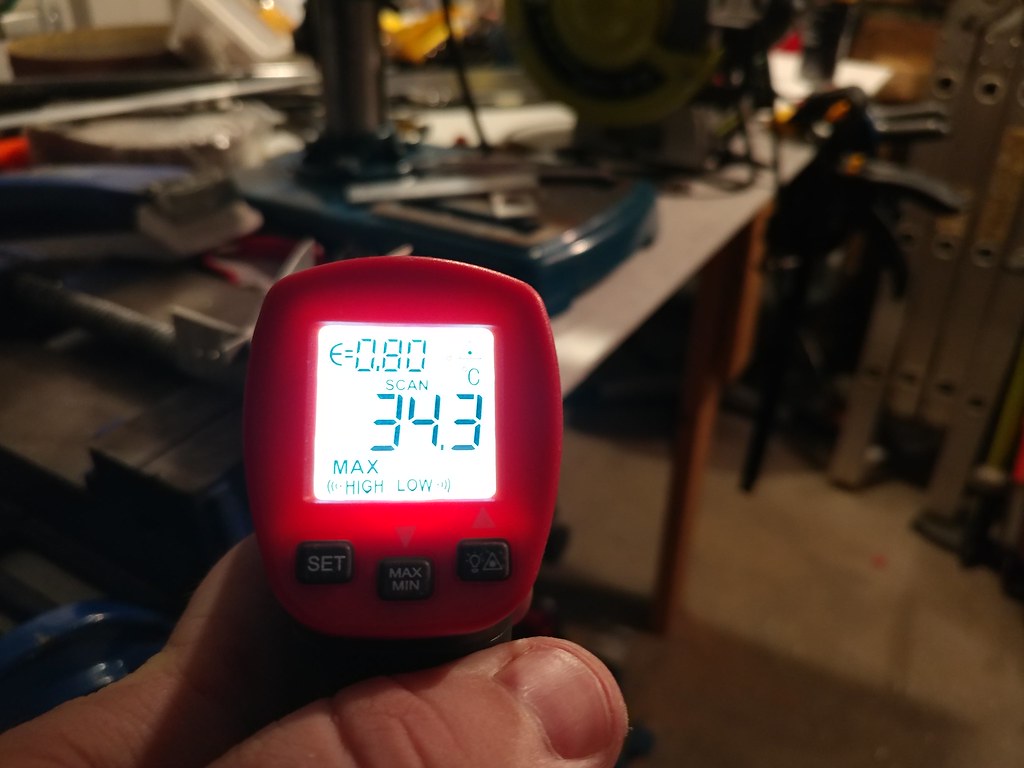
Build thread starts here it can also be found in the comments on various days
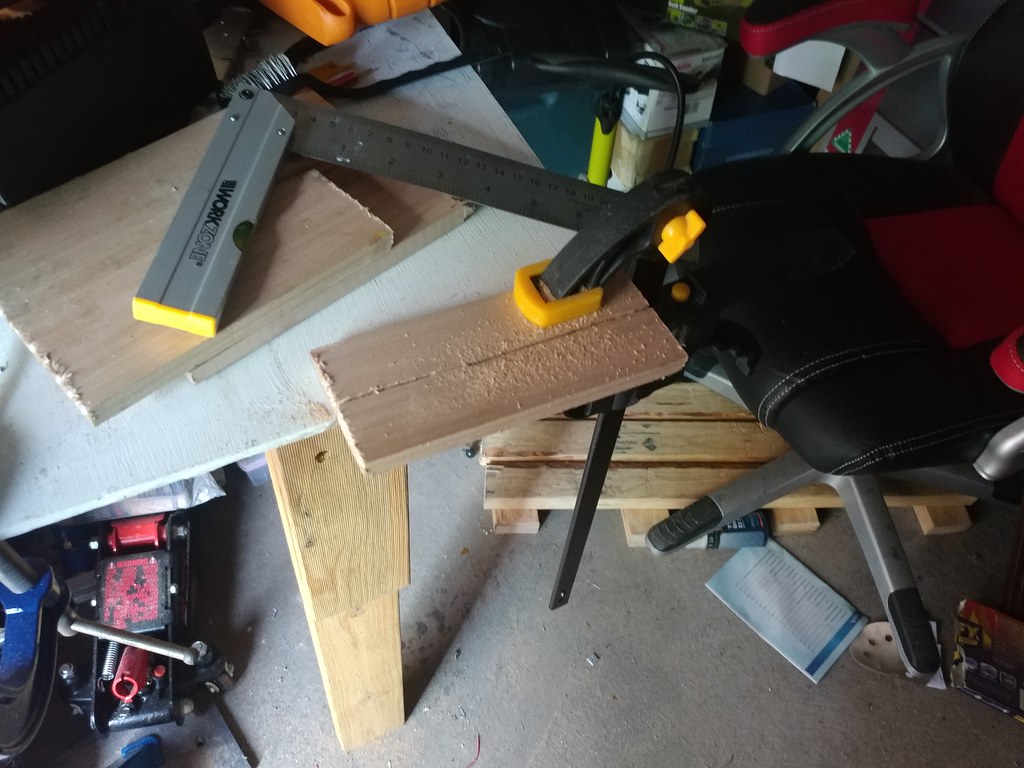
Day 1
!
!
!
!
!
!
!
!
!
!
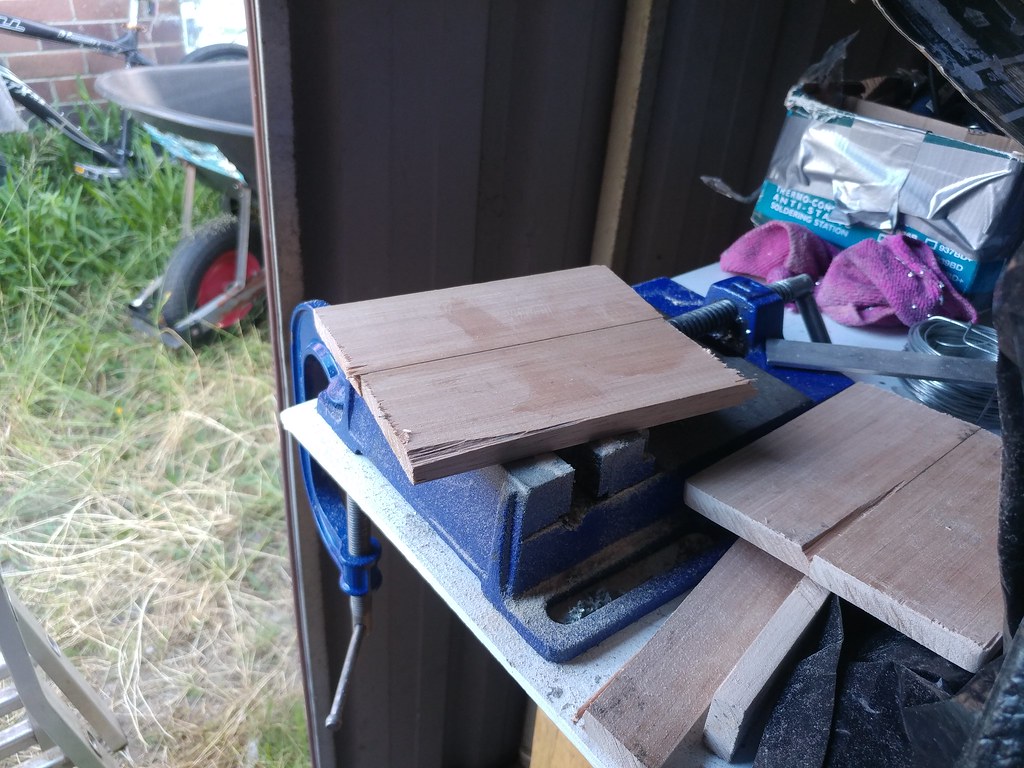
Day 2
!
!
!
!
!
!
!
!
!
!
!
!
!
!
!
!
Night 2
!
!
!
!
!
!
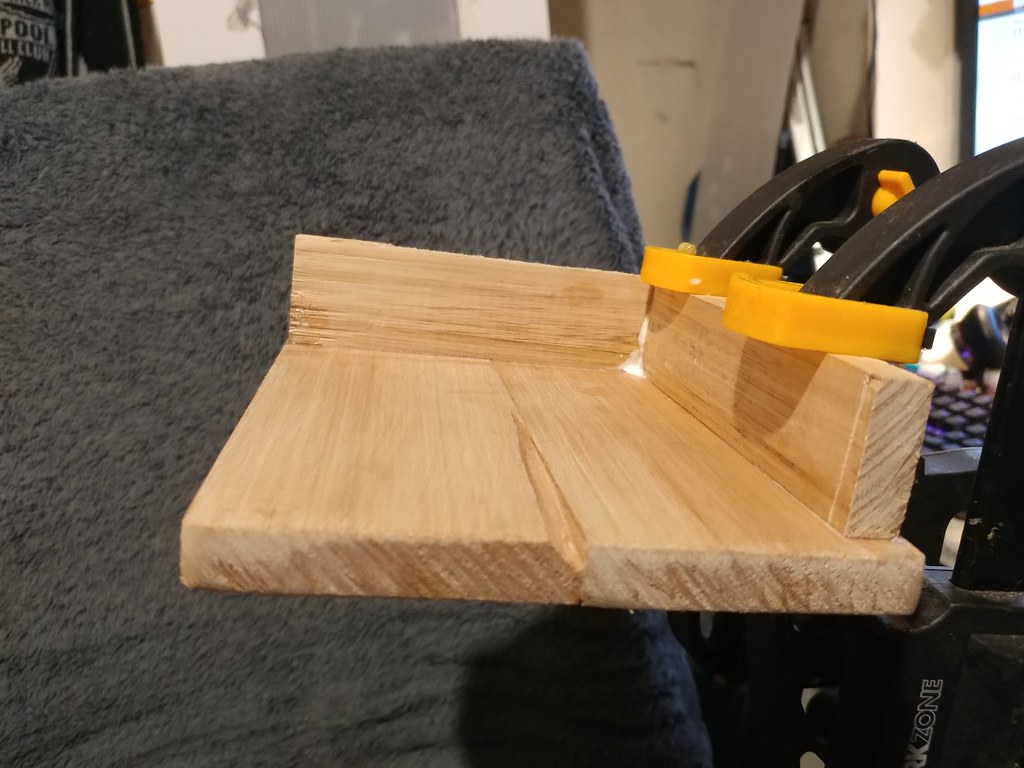
Day 3
!
!
!
!
!
!
!
!
!
!
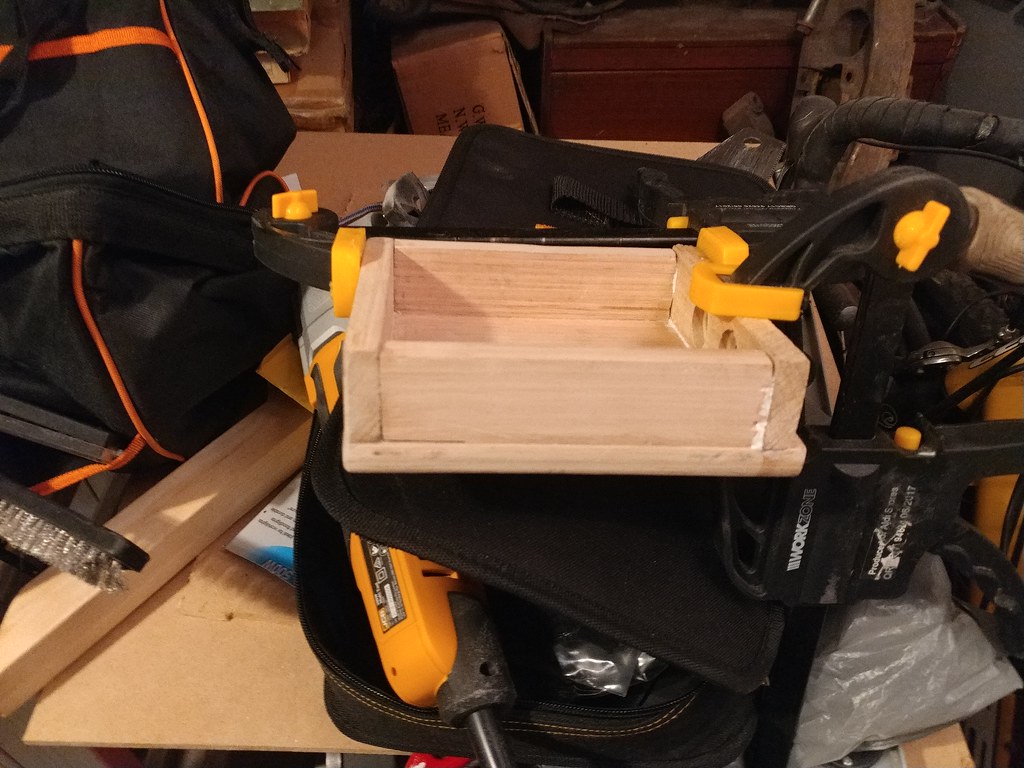
Early morning day 4
!
!
!
!
!
!
Late night day 4
!
!
Day 5
!
!
!
!
!
!
!
!
!
!
!
!
Day 6
!
!
!
!
!
!
!
!
One whole day of sanding lol
!
!
!
!
!
!
!
!
!
!
!
!
Day 7
!
!
!
!
!
!
!
!
!
!
!
!
!
!
!
!
!
!
!
!
!
!
!
!
Day 8
!
!
!
!
!
!
!
!
!
!
!
!
!
!
!
!
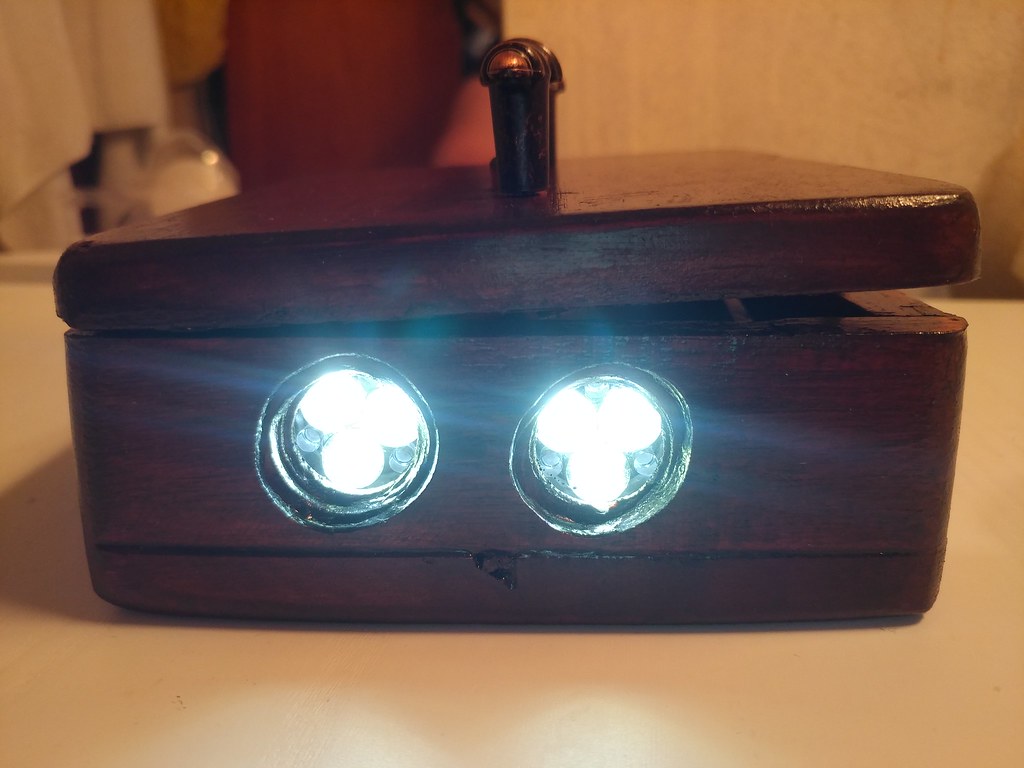
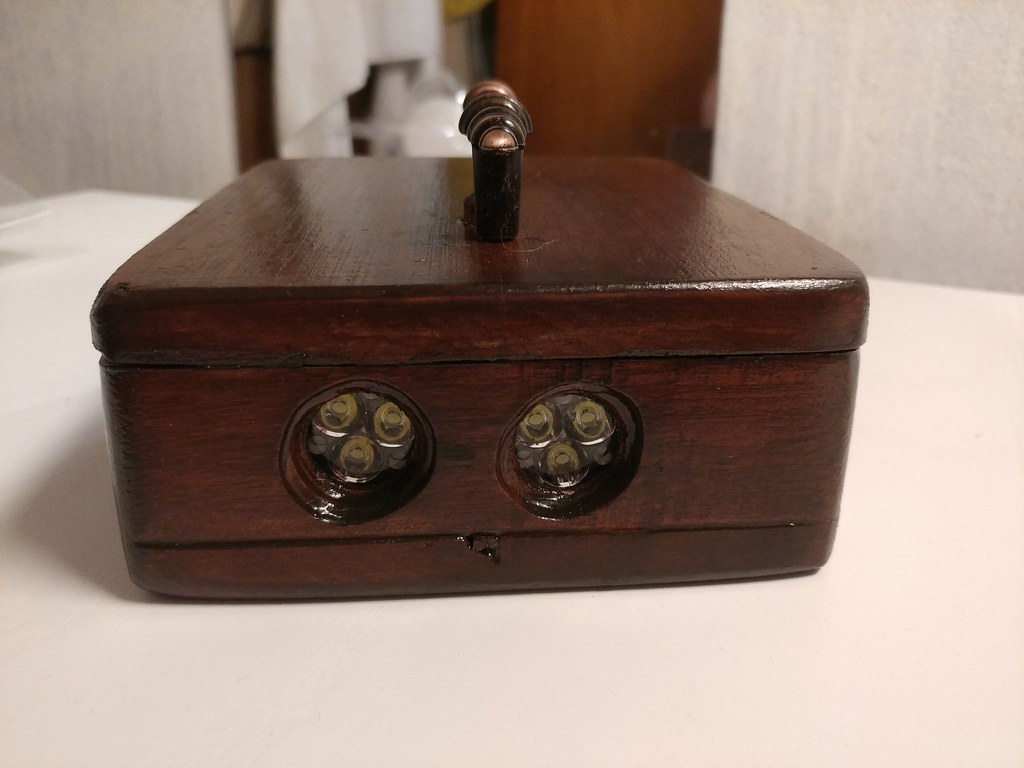
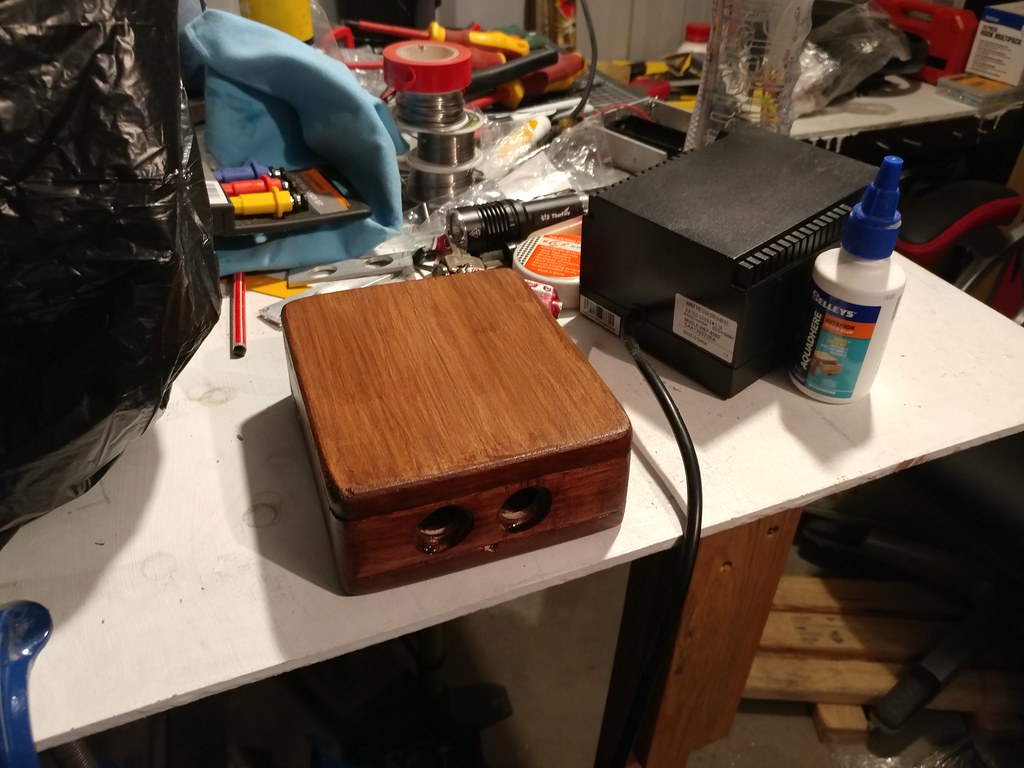
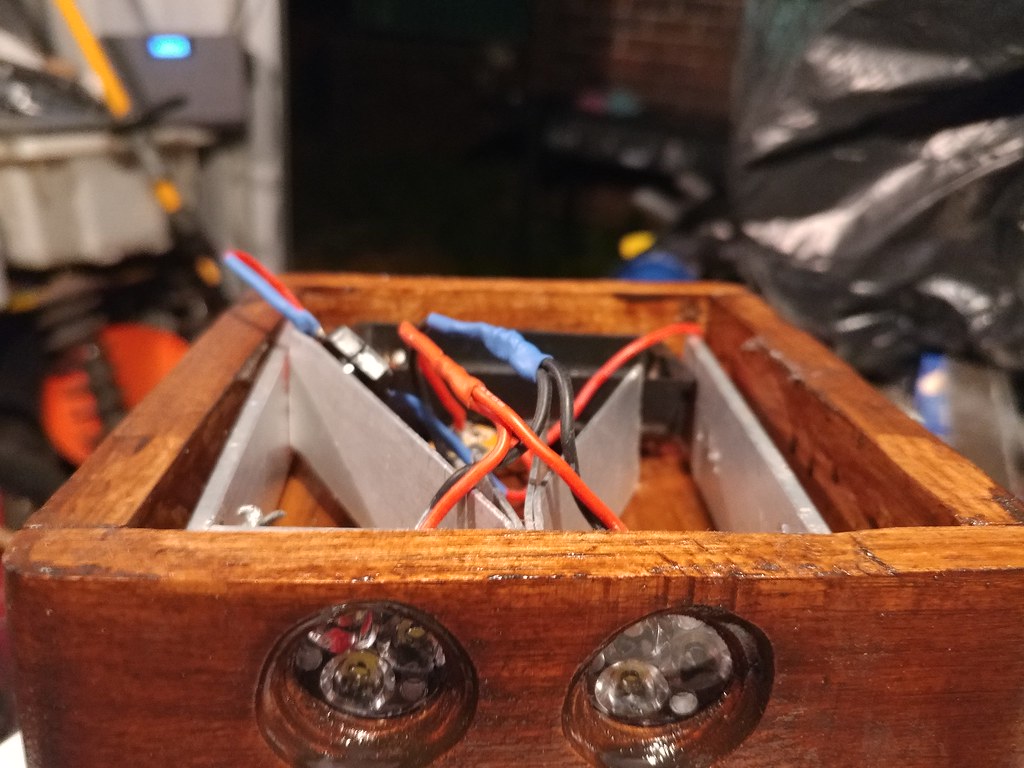
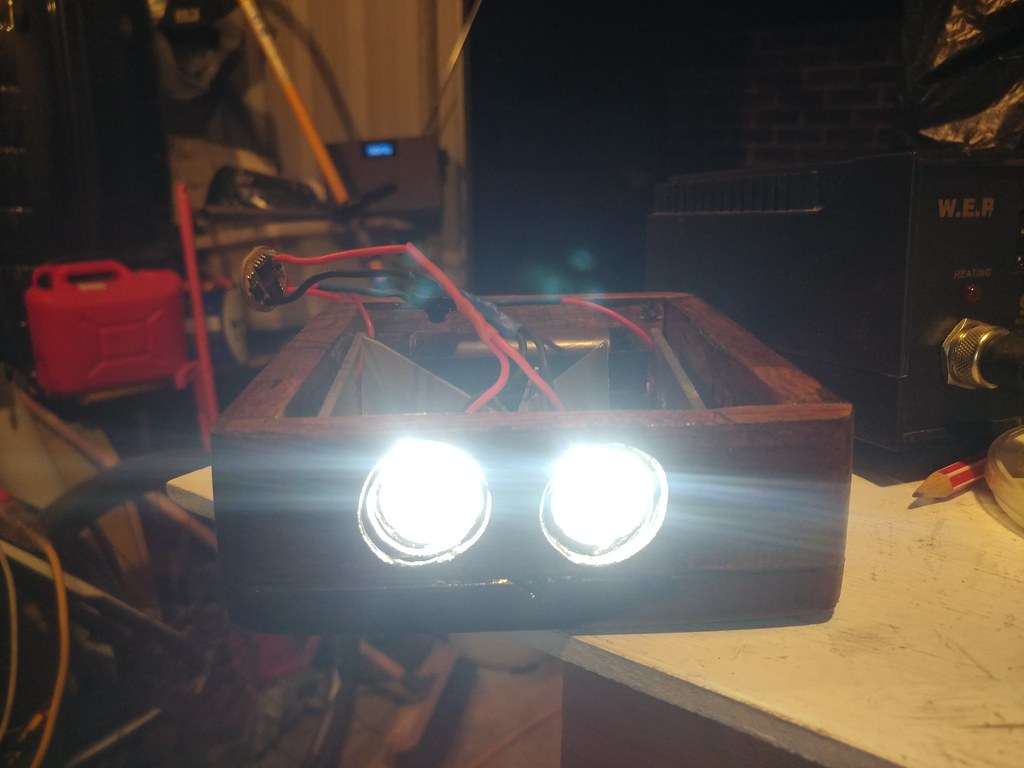
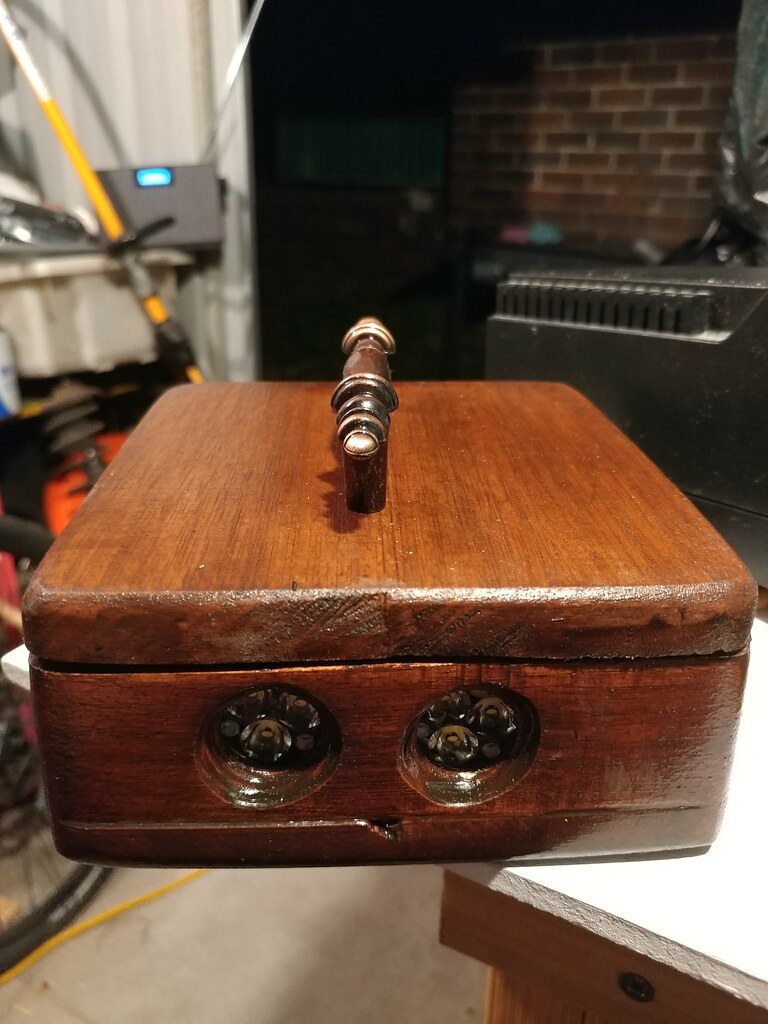
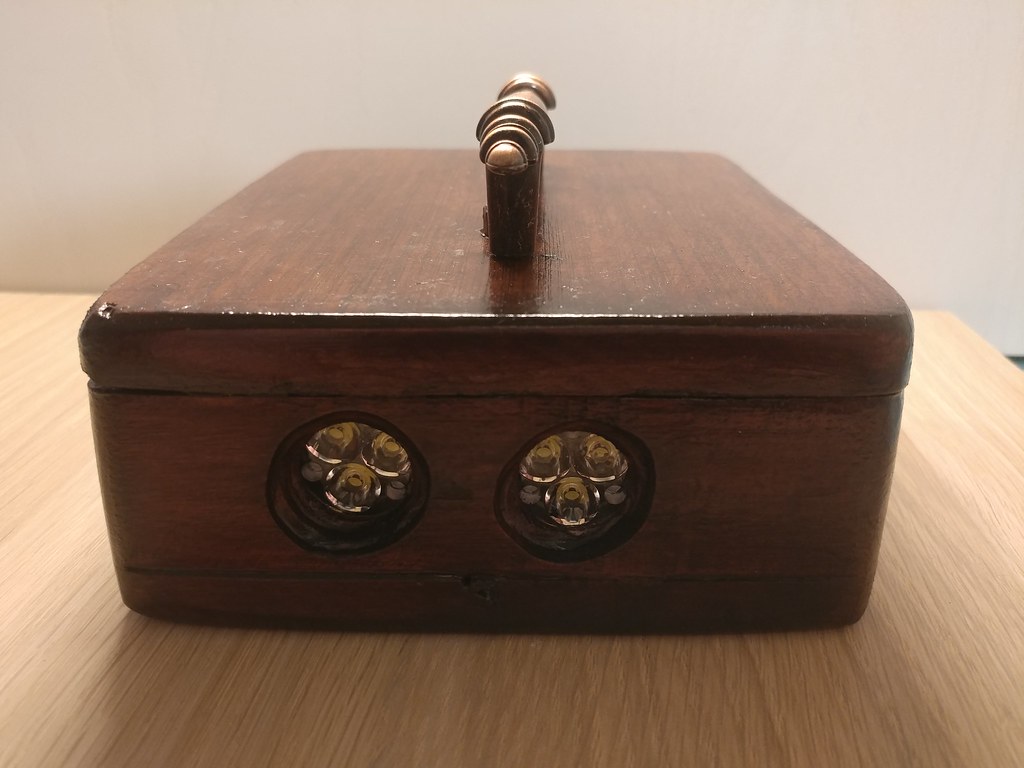
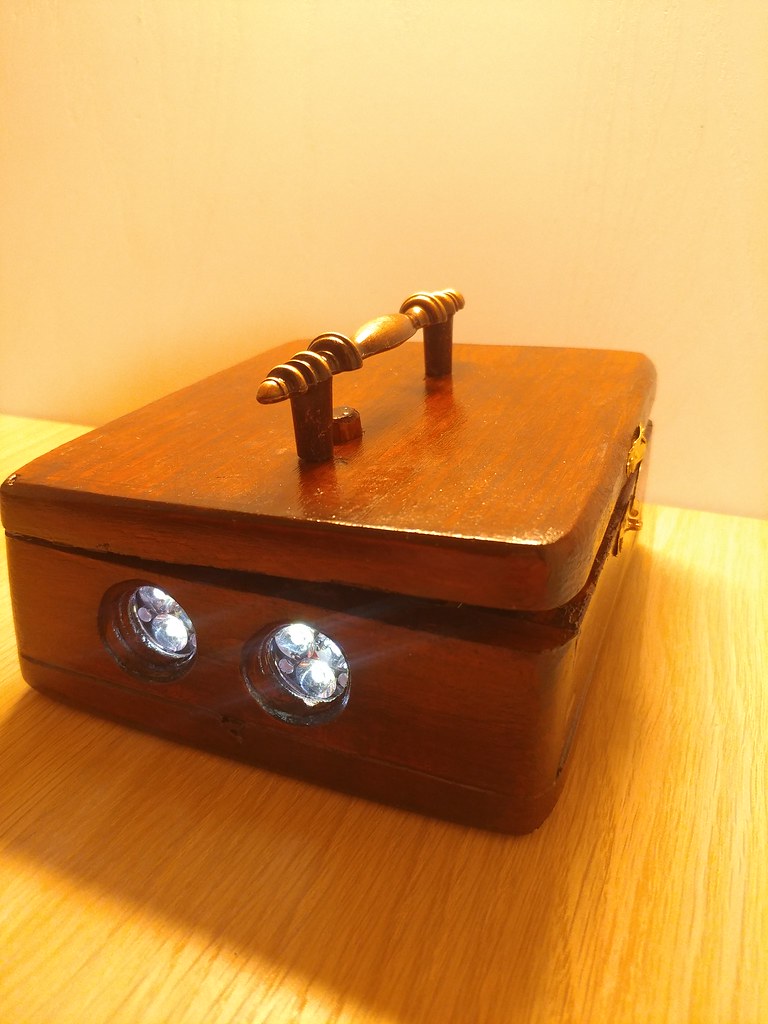
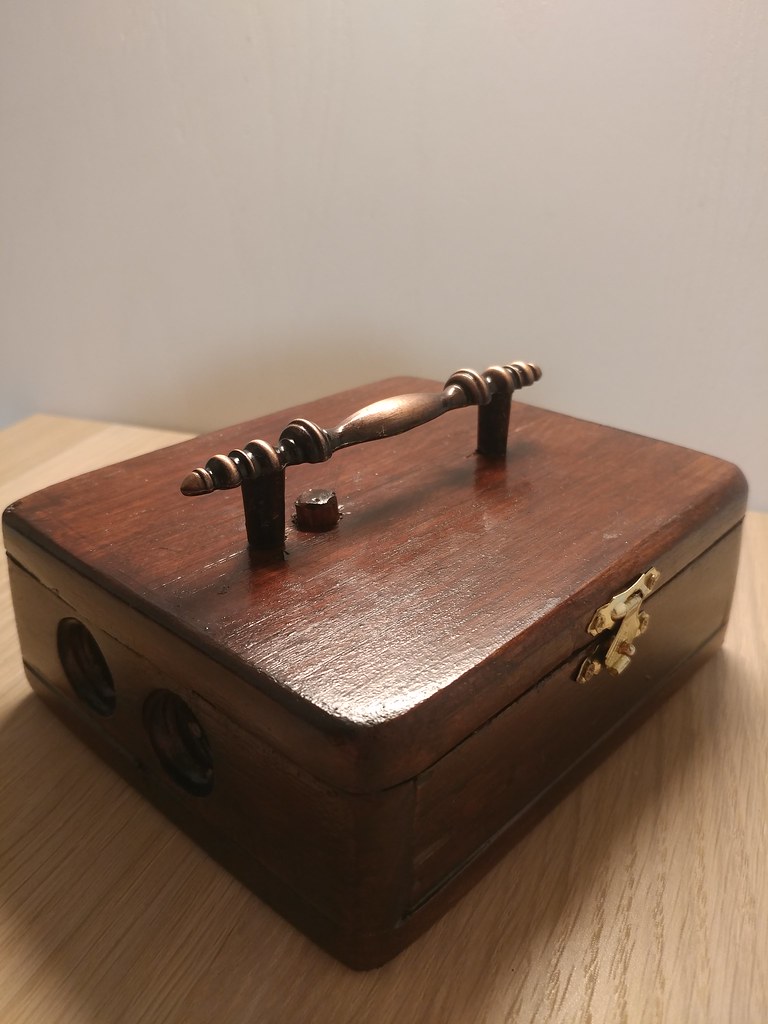
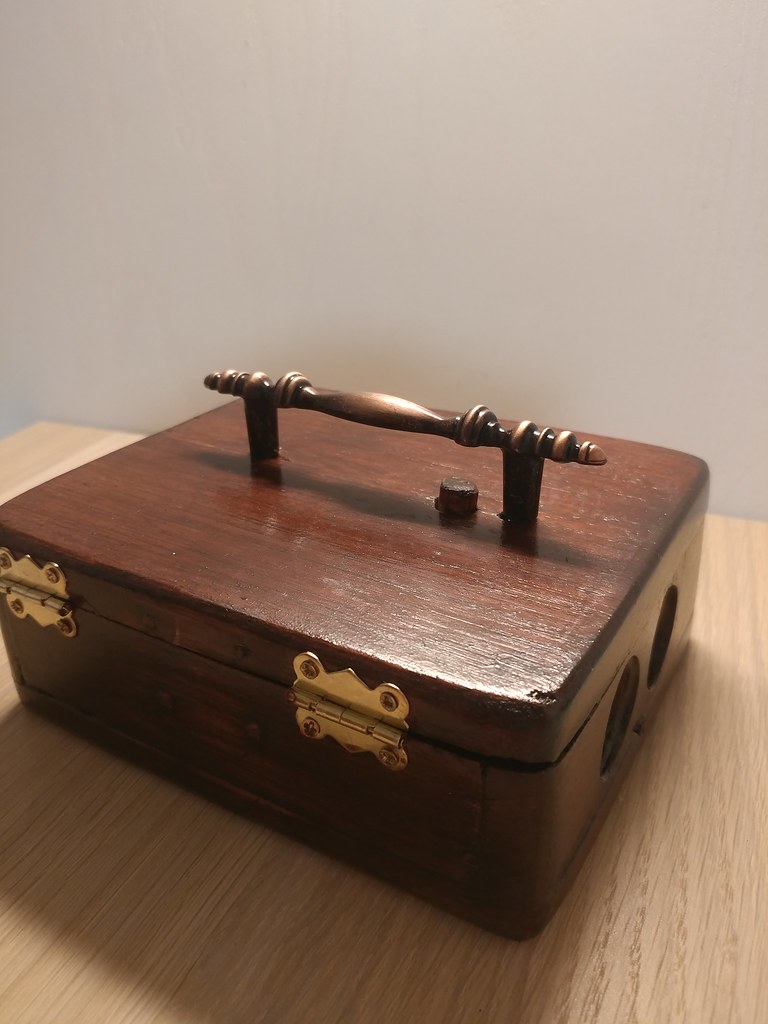
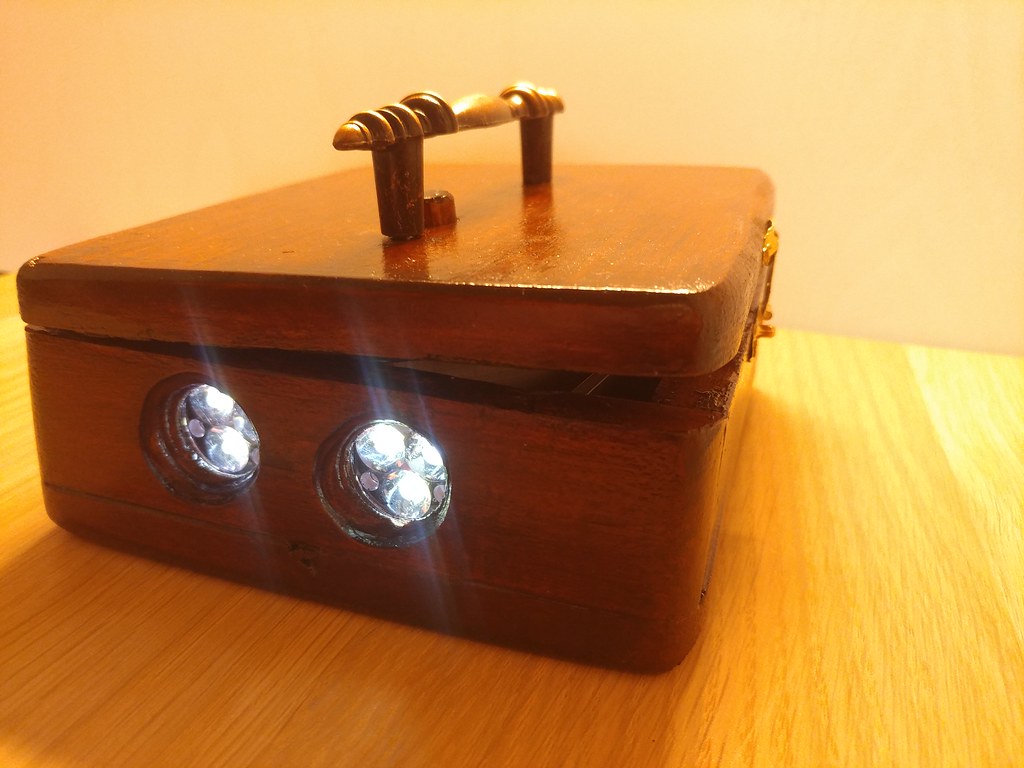
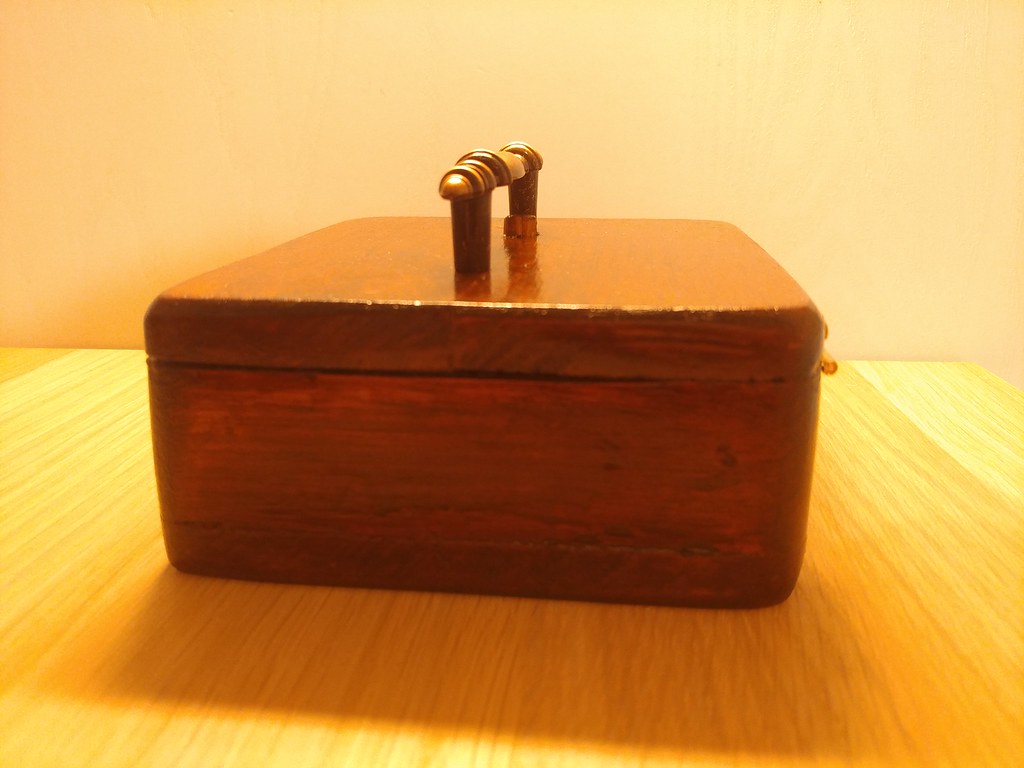
Finally!
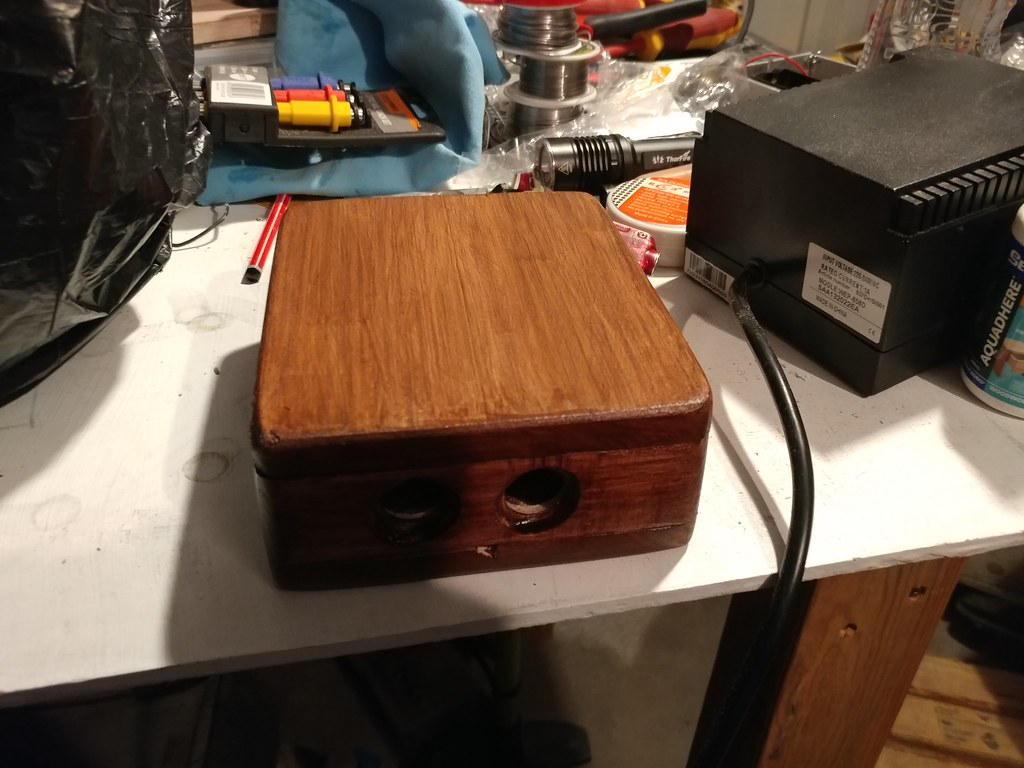
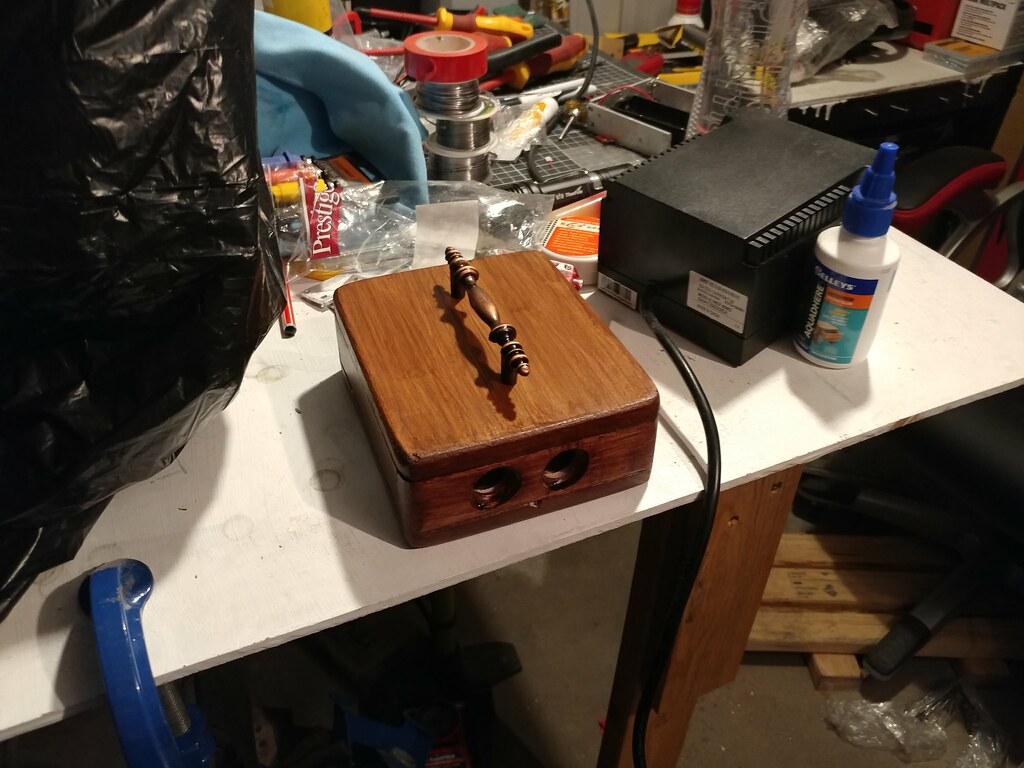
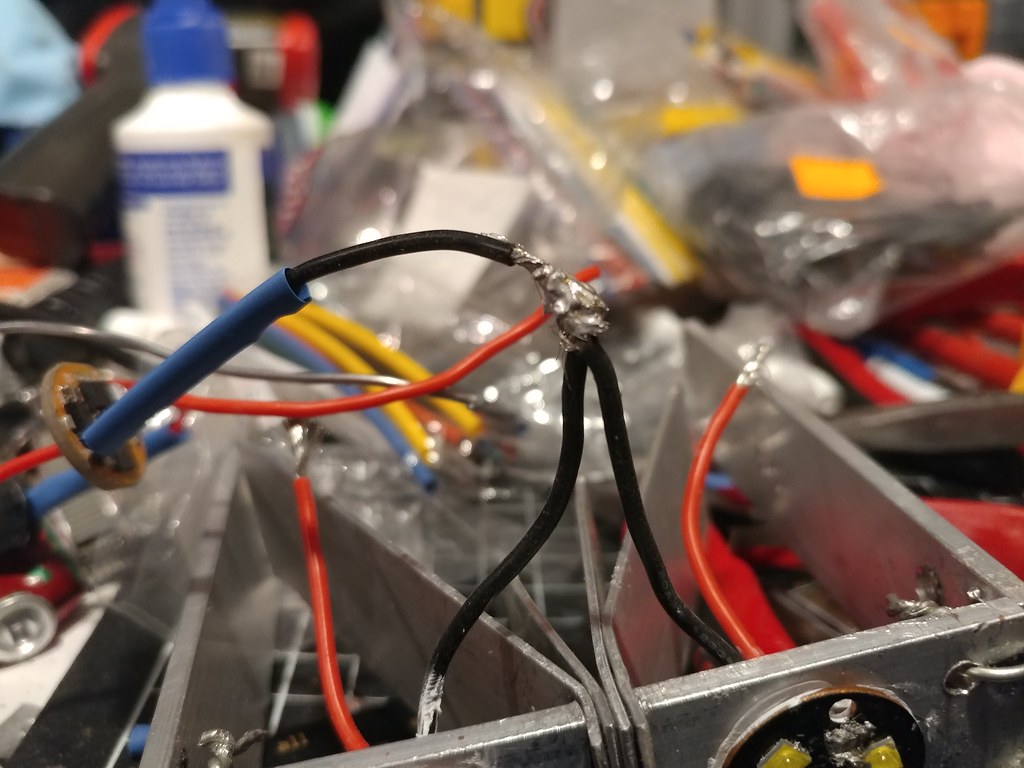
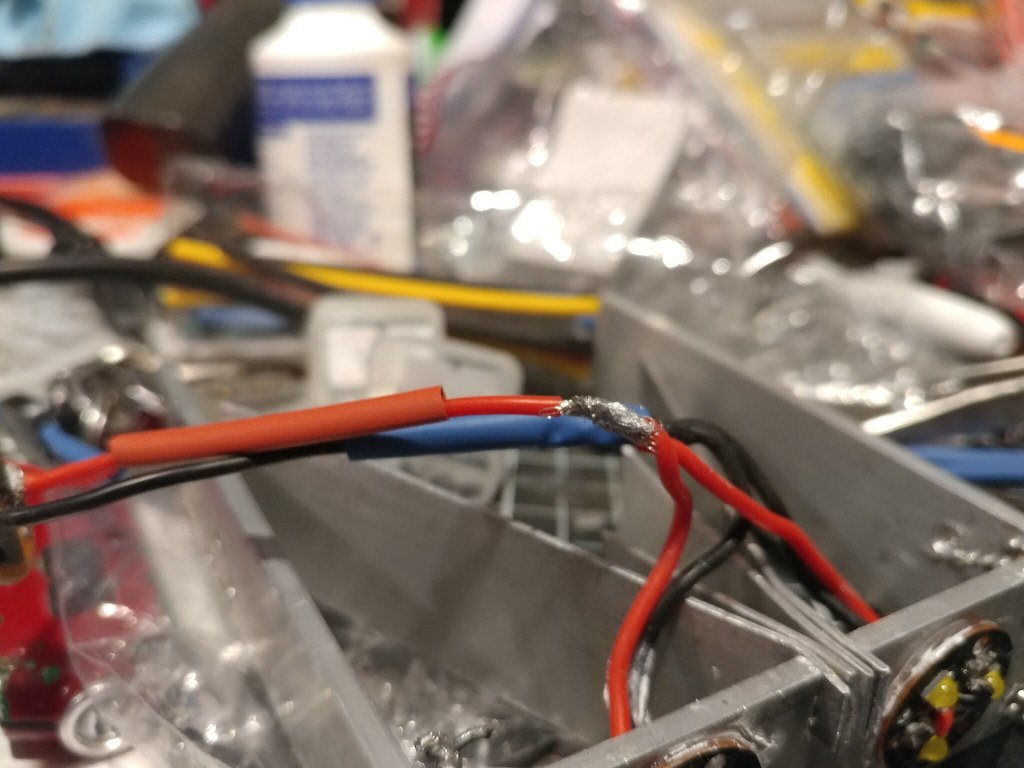
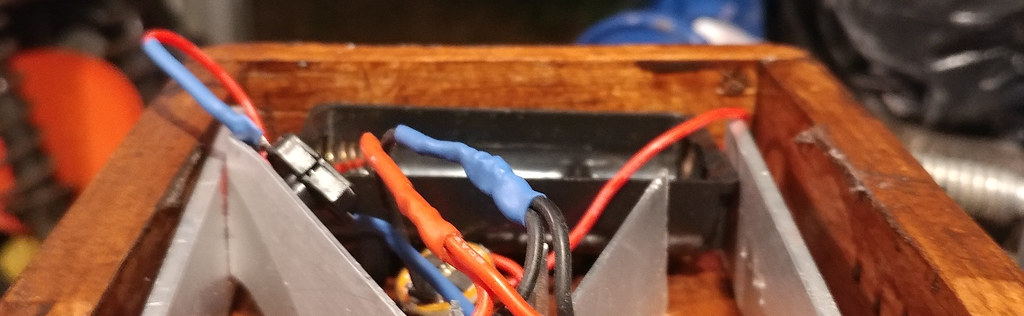
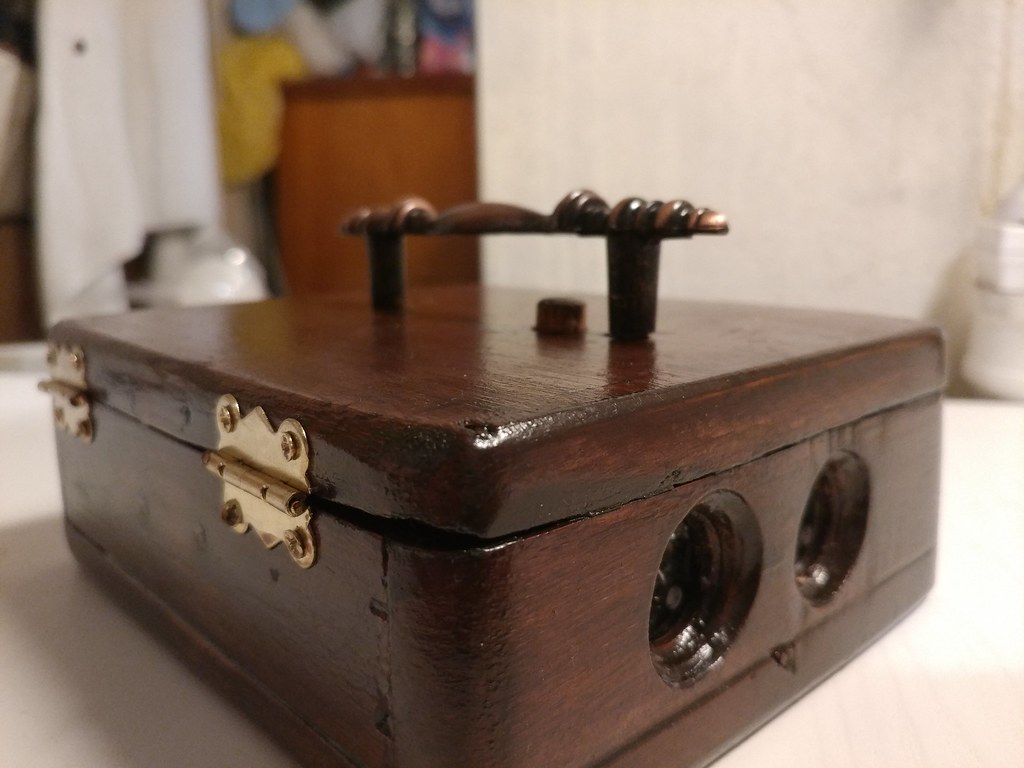
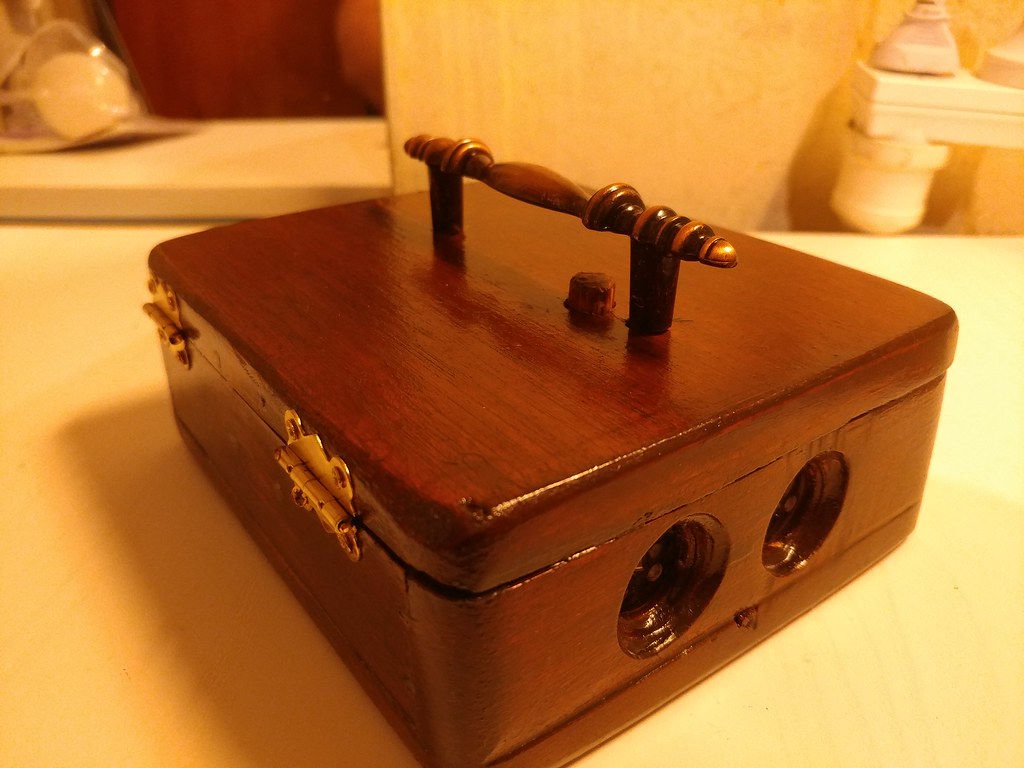
This is the very end product i varnished a few odd areas and the switch to make it all pretty. I also extended the negative cable to the switch cause it was a tad short
!
!
!
!
!
!
!
!
!
!
!
!
!
!
!
!
!
!
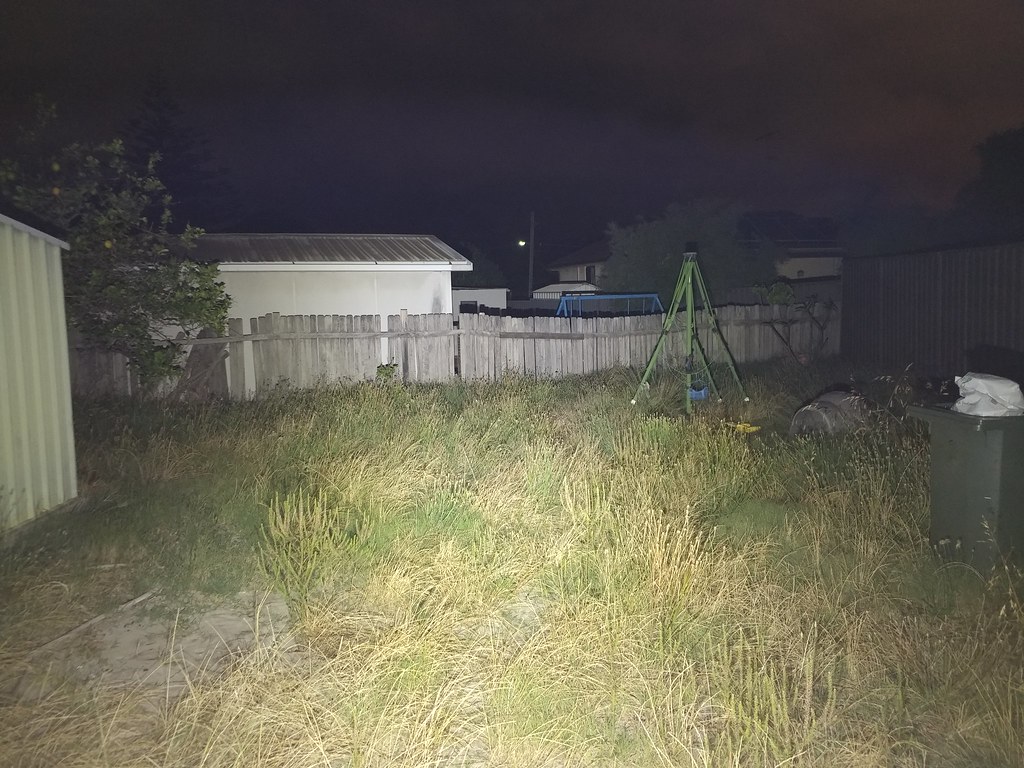
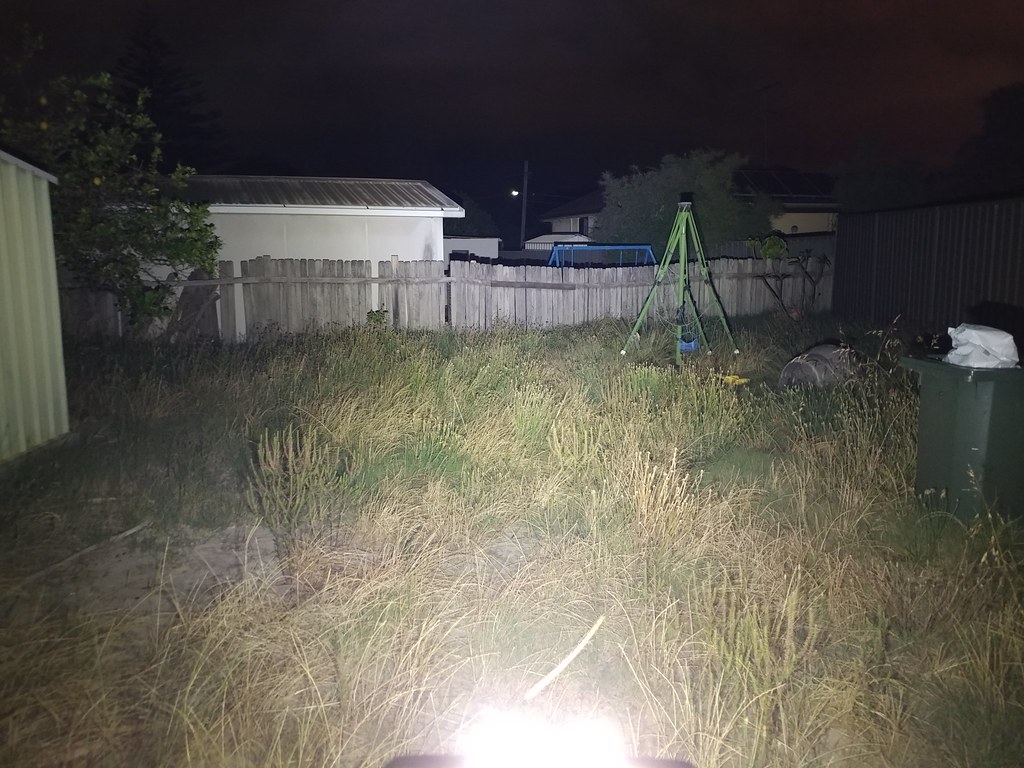
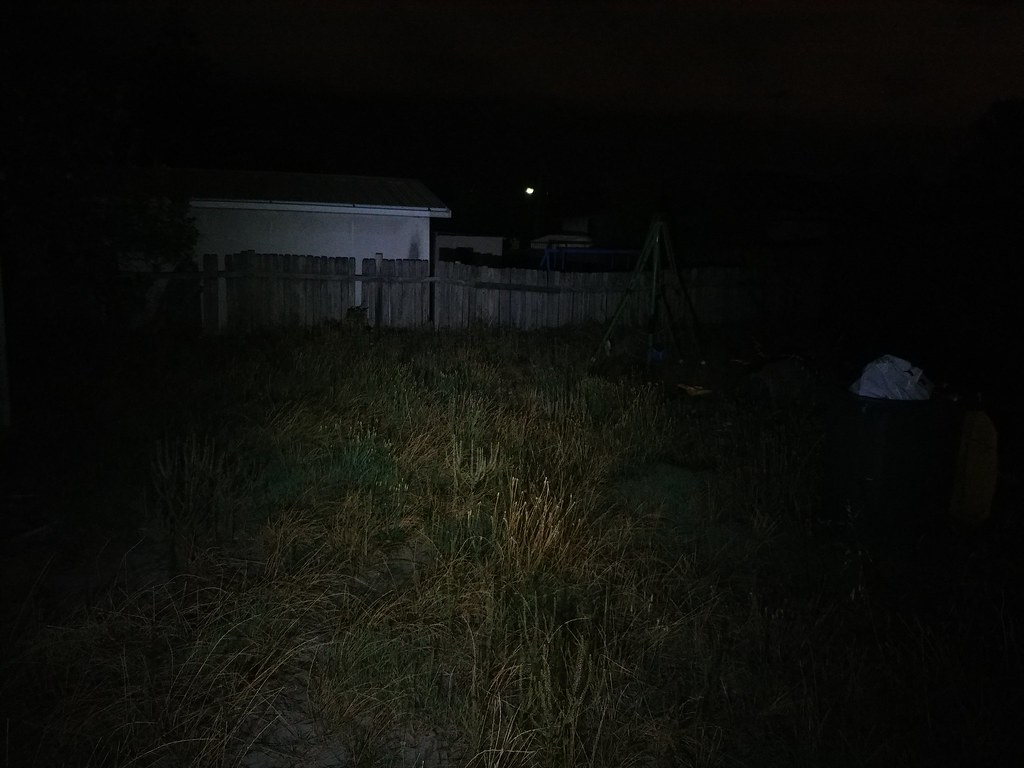
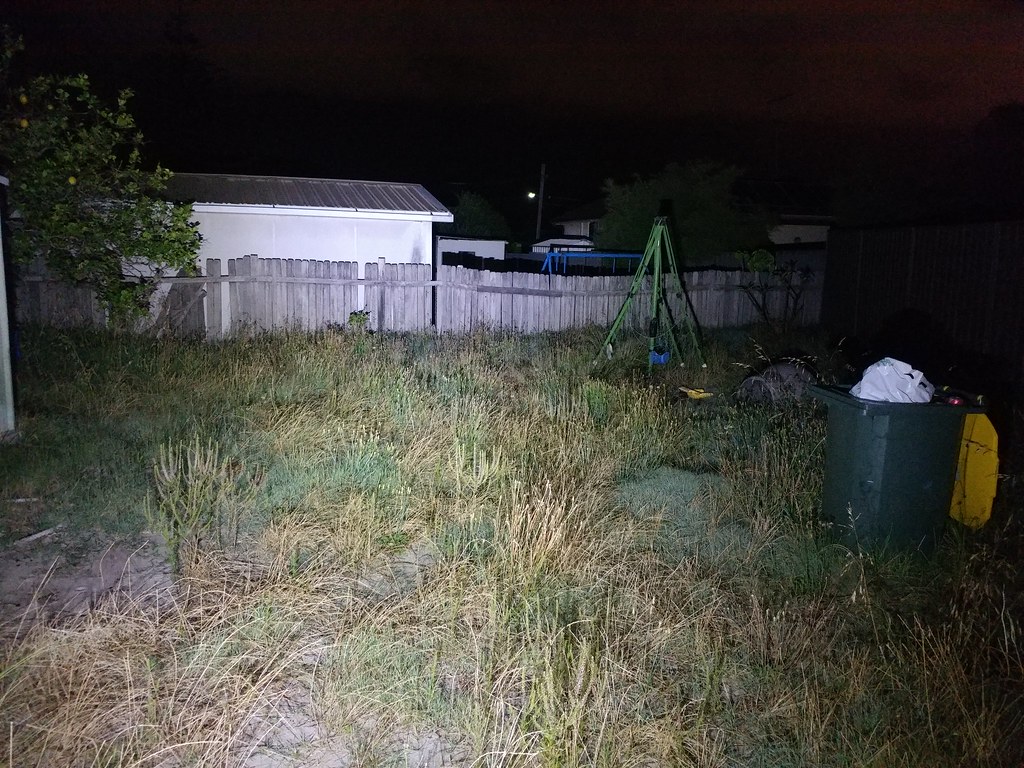
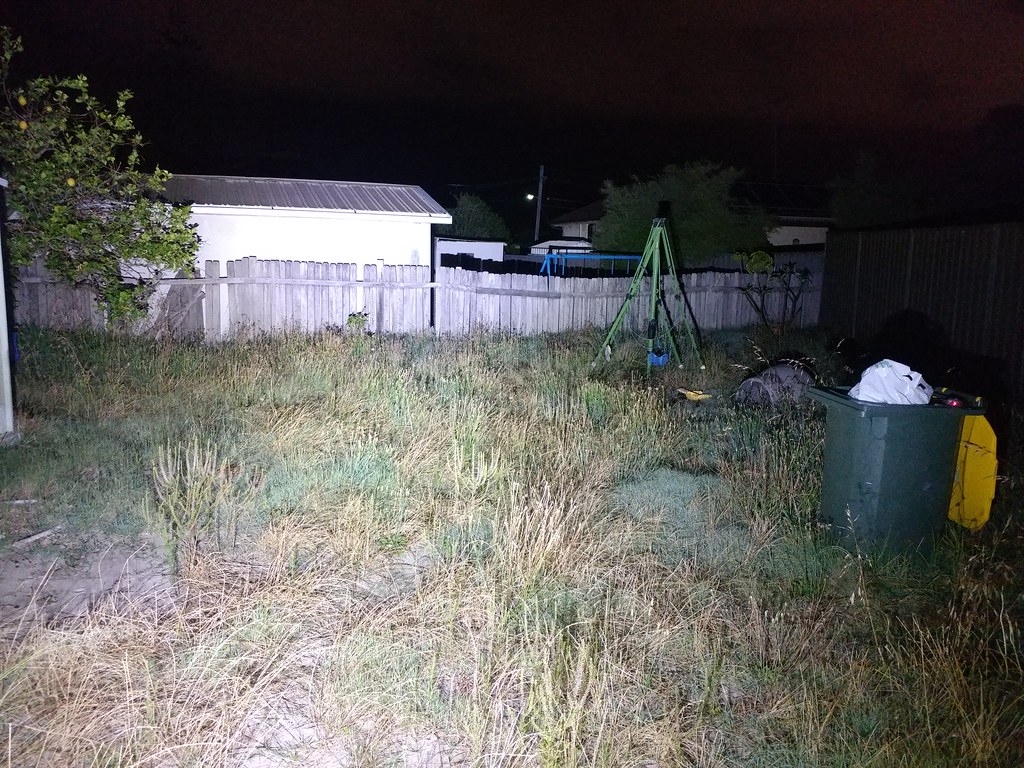
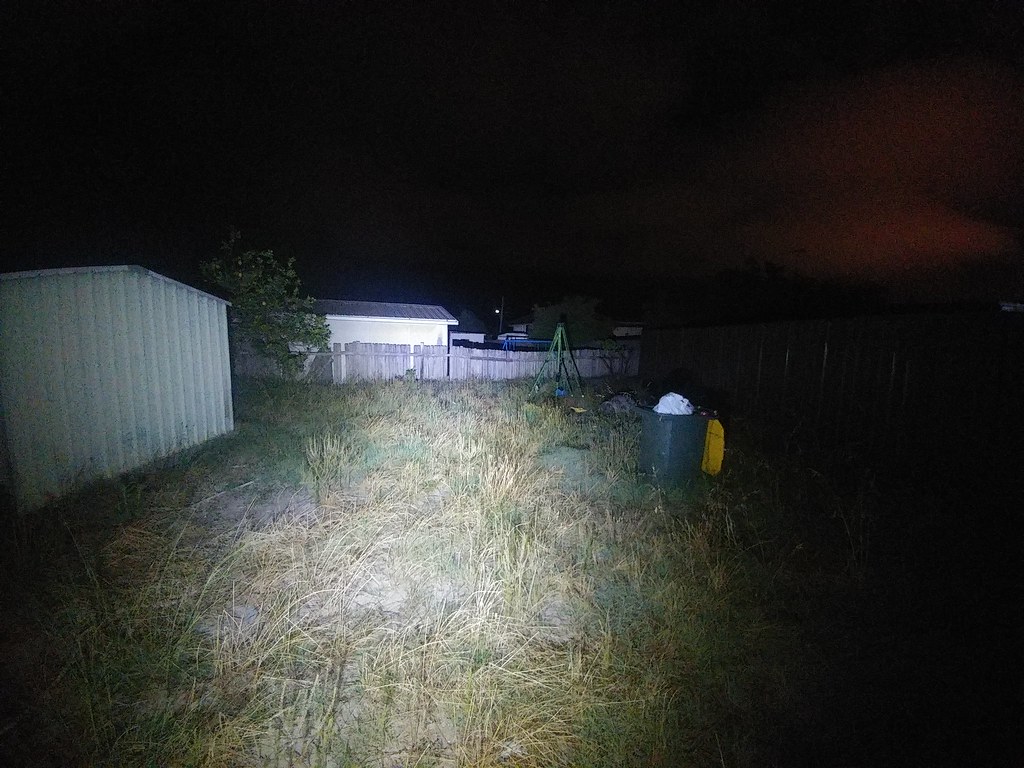
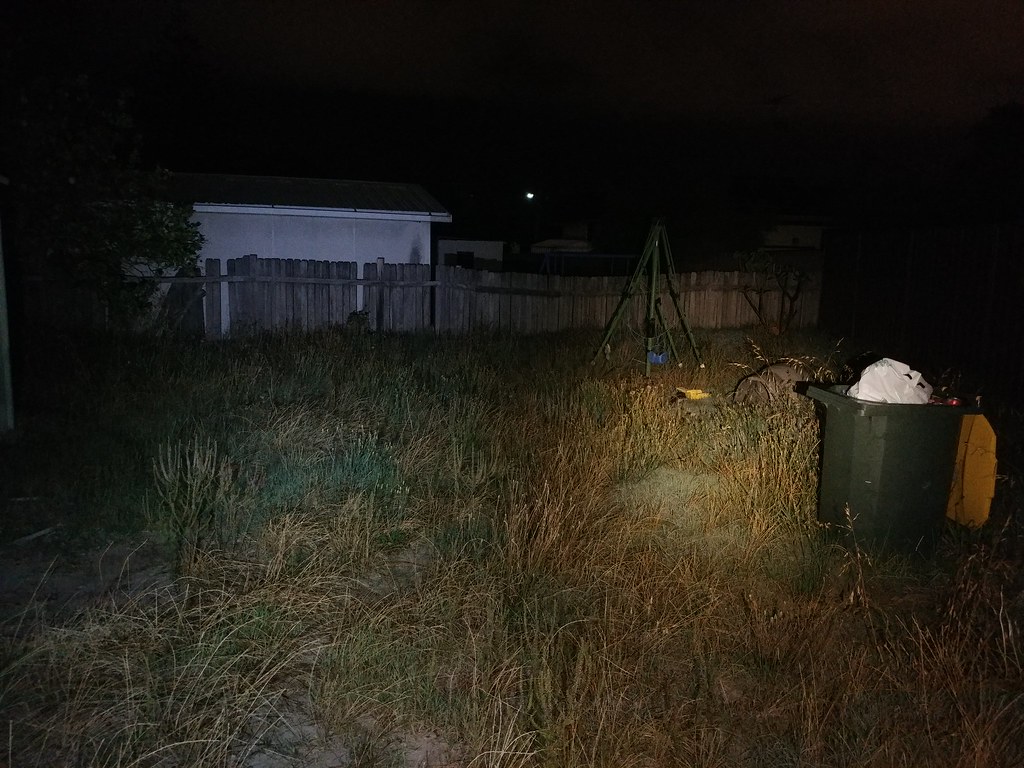
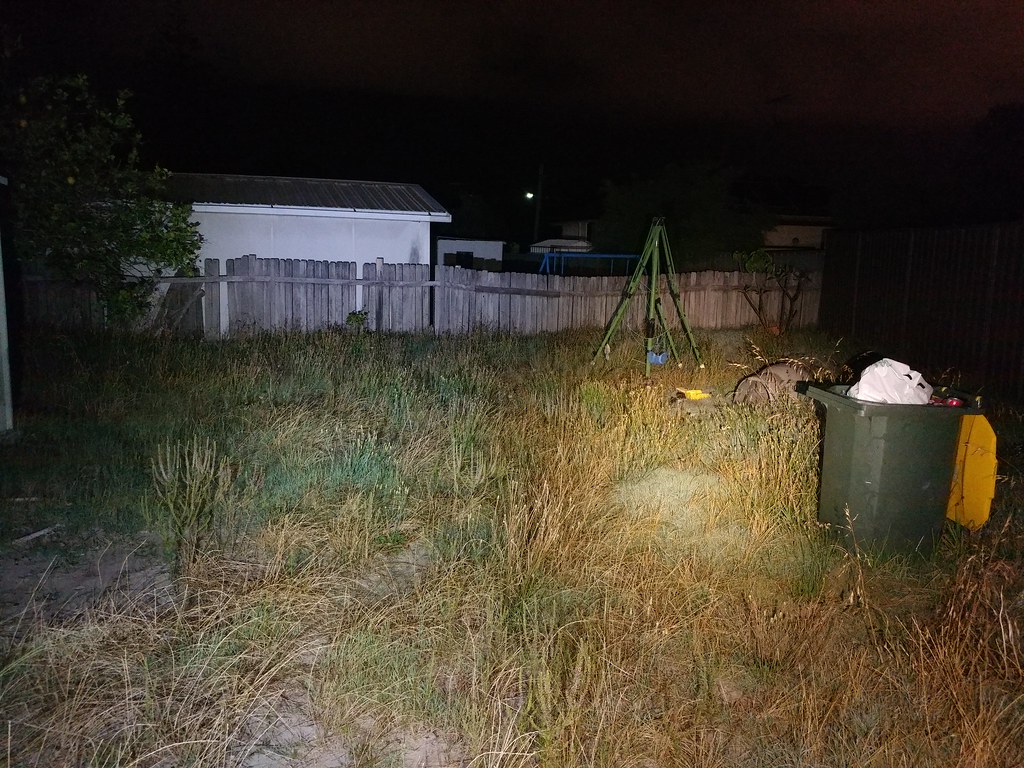
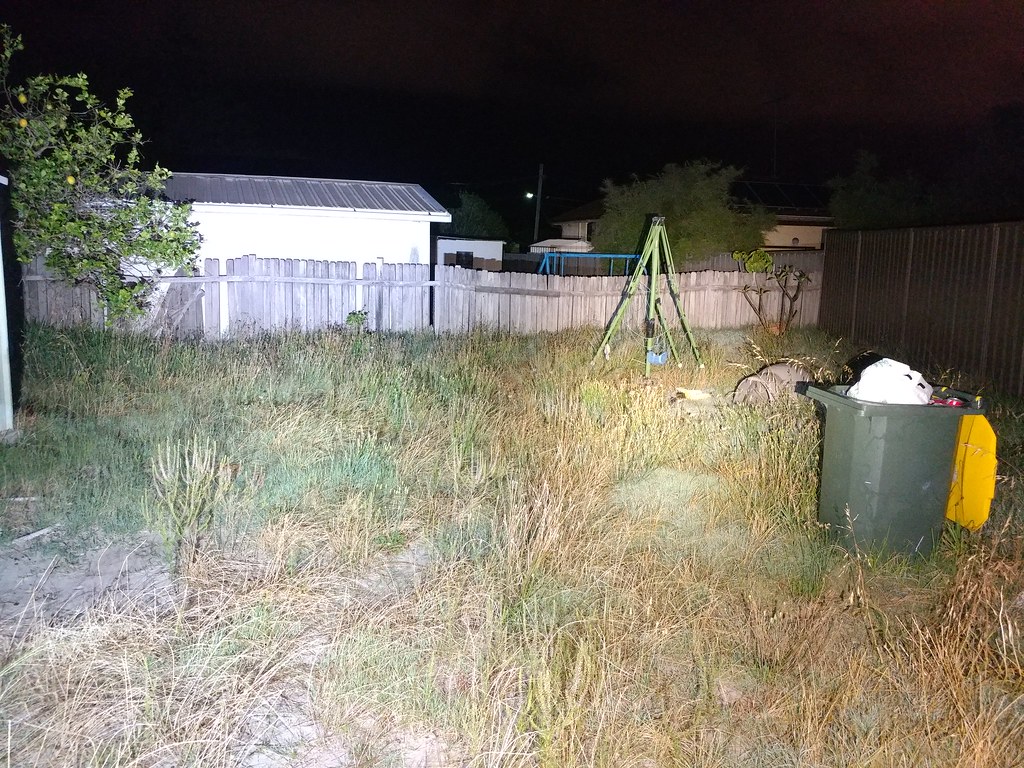
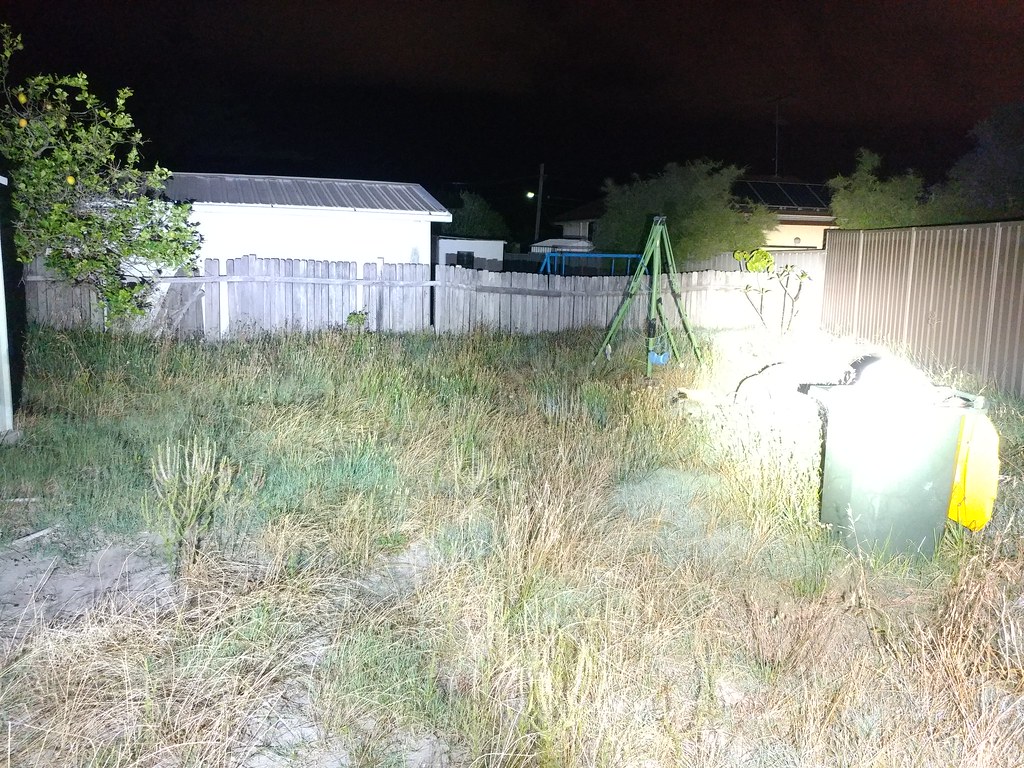
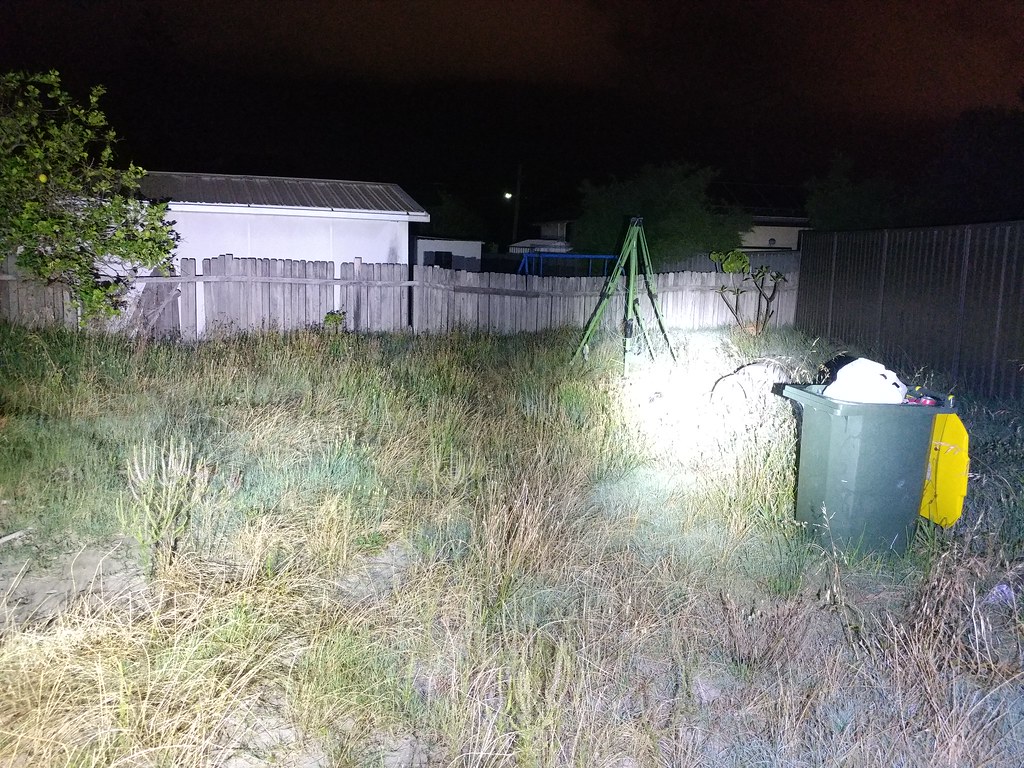
Beam shots
The light is using the BLF A6 driver. Seeing as the light has 6 LEDs its super efficient and bright in the lower modes. All these pics are taken at ISO800
Mode 4
!
!
Mode 5
!
!
Mode 6
!
!
Mode 7
!
!
Usually the yard doesnt look that big but its the camera playing trick with the wide angle you can see the length to the fence
!
!
Just for comparison we have my comp build to the left and an actual BLF A6 to the right you will see the tint difference
Mode 4
!
!
Mode 5
!
!
Mode 6 the difference here is clearer then the rest of the pics
!
!
Both lights in direct drive you can see the A6 is washed out by the build but you would expect that.
!
!
Way to much light for the yard the Convoy L6 is on the right and my build on the left. Plus you have a hot spot vs pure flood
!
!
Very last pic for now Eagle Eye X6 with a SST40 Direct drive to the right and my build to the left. Interesting note is the difference in tints between the two both cold white.
!
!