Sorry, not really sure where this should go but it does cover 5mm microlights so I though it'd be appropriate to post here.
======
I first learned about this LED while looking to replace a bunch of 5mm ones I have in various equipment around the house. The most recent acquisition, a PrincetonTec Tikkina2 in pink, was really the main driver since I had gotten it for my little girl to use during story time before going to sleep.
The headlamp is likely great for its original general purpose use but as a reading light, it was too blue, throwy and a bit bright for dark-adjusted eyes even on the low setting. I wanted to replace the LED with more neutral ones and based on what I've read, the RS 276-0017's (hereon just RS) would be a great candidate. It survived JohnR66's fade test and its tint was highly spoken of by him and various members. It was settled, these would be the LED's to perform an upgrade with.
PACKAGING (front and shot of back w/specs):
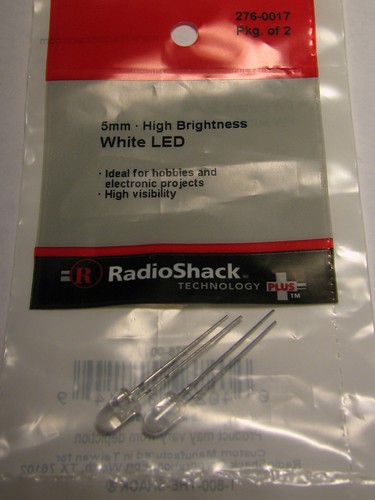
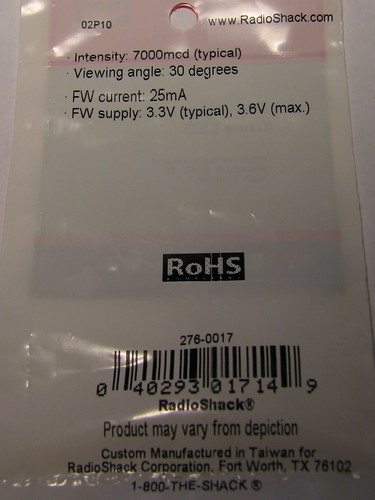
It costs $2 for a package containing 2 LED's. If you sign up for RS's newsletter, you will get $10 off your next purchase of $40 for a pontential 25% off savings if you were considering buying these in bulk. However, note the "Custom manufactured in Taiwan for RS...", any chance one of our fellow Taiwanese flasholics would know said manufacturer?
COMPARO TESTING:
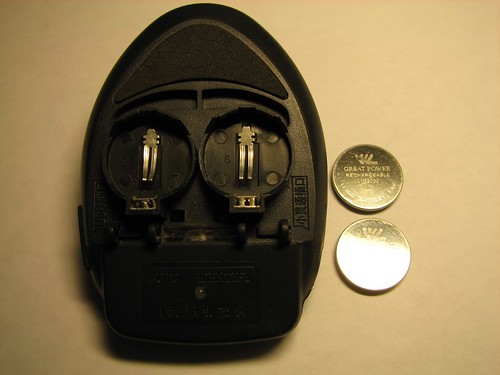
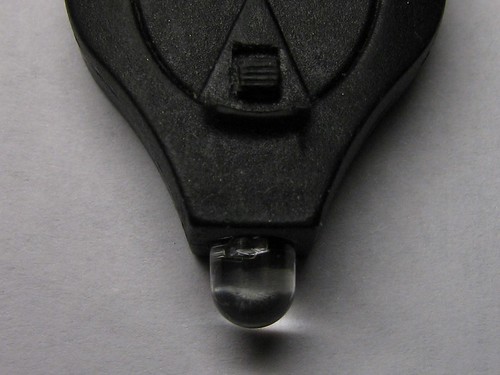
I wanted to conduct some simple testing before I take the Tikkina2 apart and found the perfect candidate in the form of freebie keychain LED that I got from Illuminationgear. Save for some minor design details, it is nearly an exact copy of the Photon Micro Light. I'm not sure of the LED but based on recollection, it is comparable to my Micro Light II (which I unfortuantely lost so can't make a direct comparo). It has has a nicer tint (less blue) than most of the other freebie 5mm keychains. I used a single rechargeable LiIon CR2032 throughout the test.
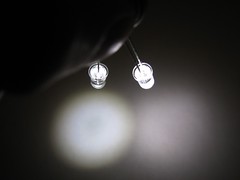
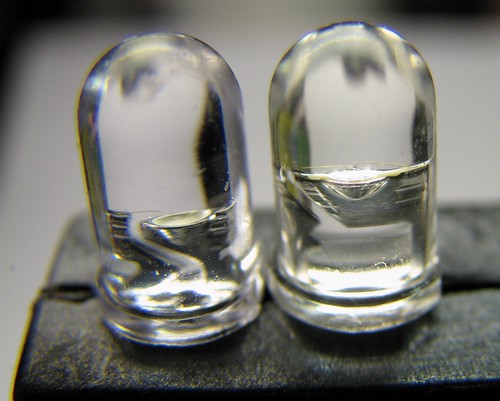
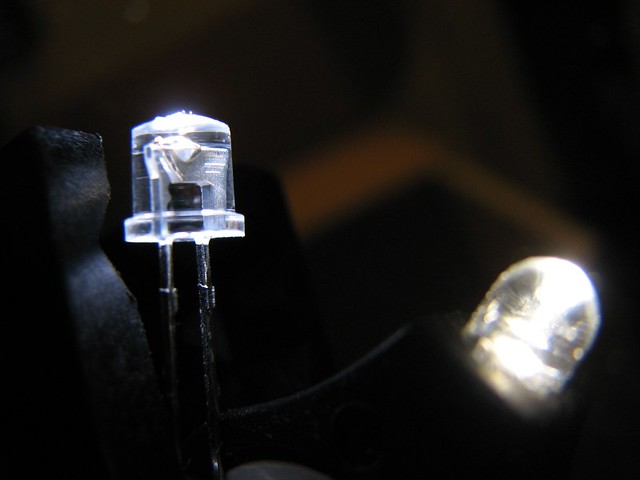
After removing the 4 screws, I removed the freebie LED for some comparo shots vs. the RS (RS always on the right in following pics):
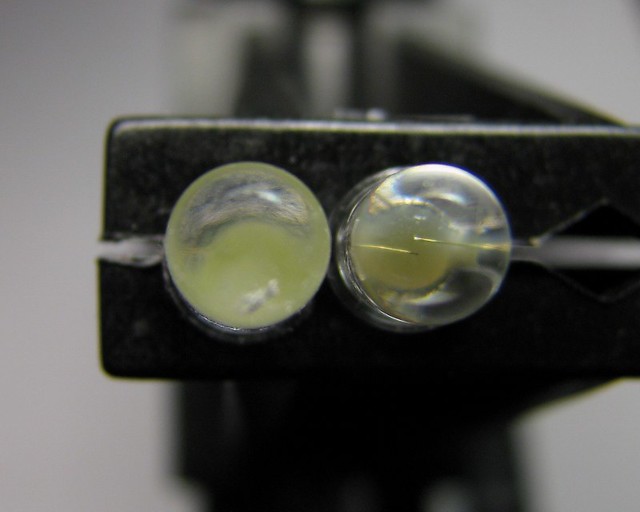
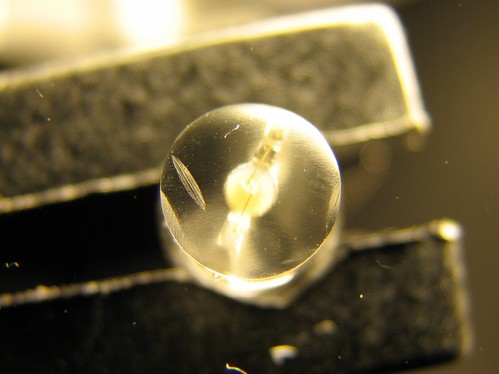
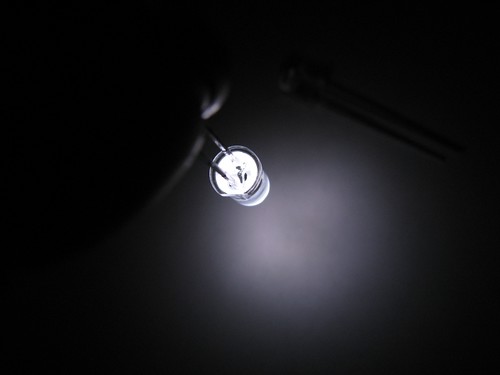
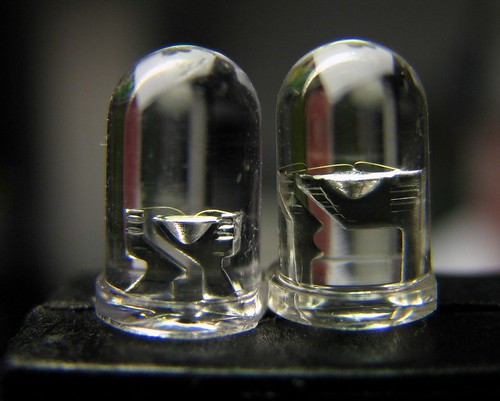
Here's a nice large side profile macro:
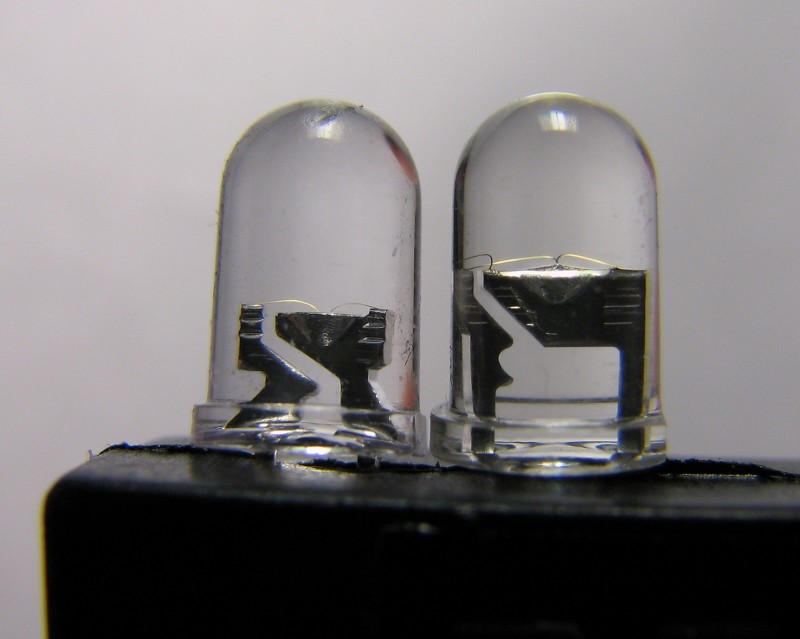
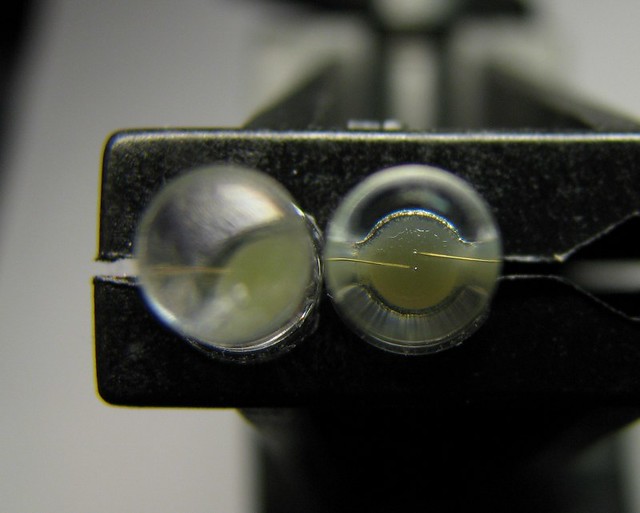
As you can see, the RS has a much larger leadframe along with a larger reflective cavity in the anvil. This perhaps accounts for the wider beam profile which unfortunately for the RS has a dissapointing donut hole (more on that later).
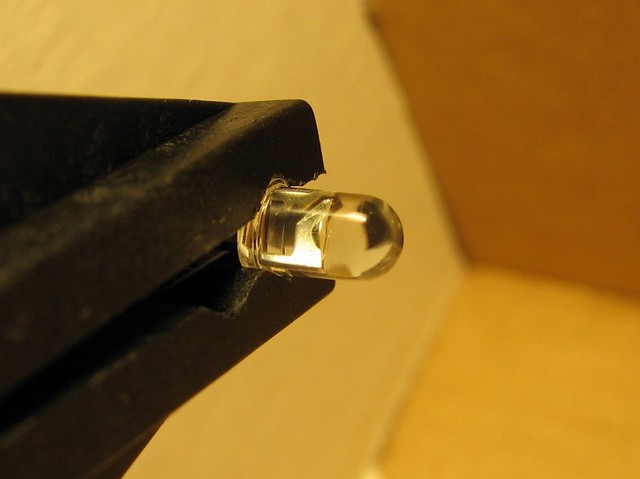
You can see the leadframe of the RS peeking out from under the frame of the light (in bottom pic):

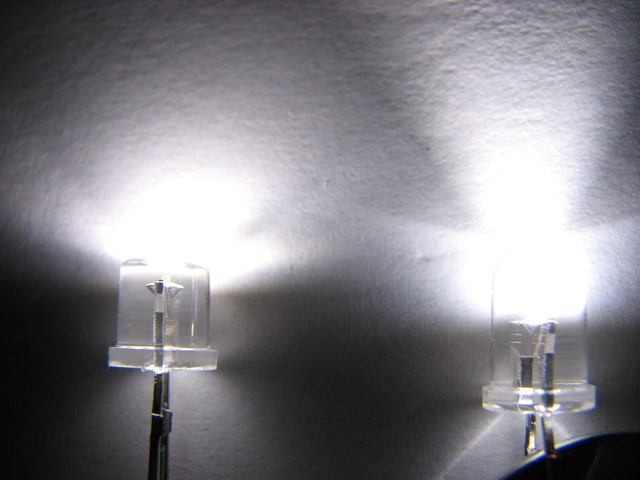
BEAMSHOTS:
(Camera locked in manual w/Daylight Fluorescent WB which gives a pretty accurate tint rendition of what my eyes see)
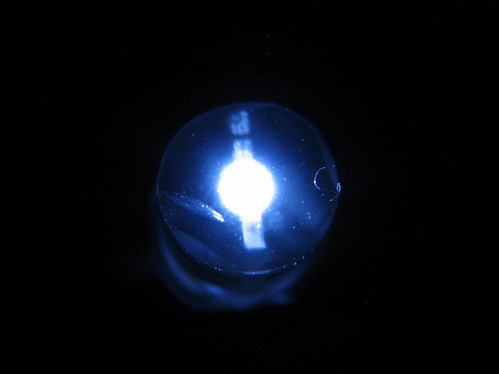
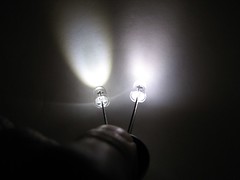
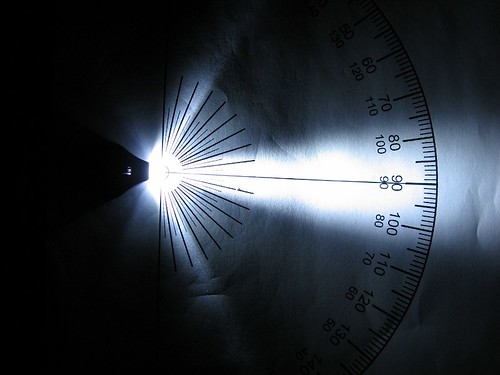
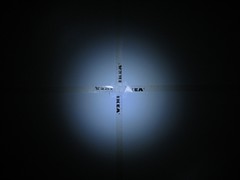
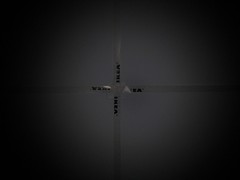
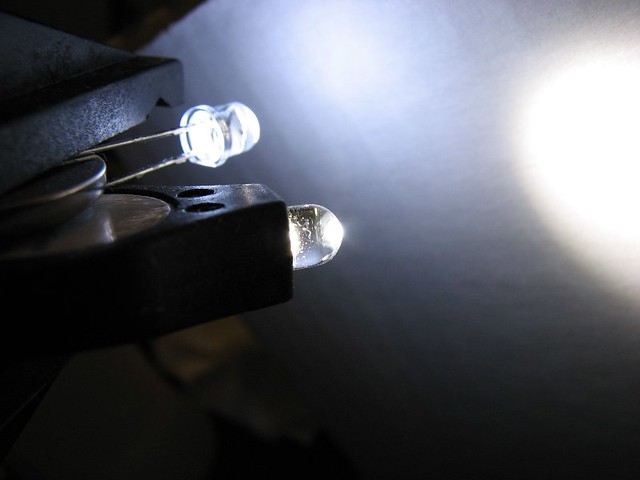
Beam profile for freebie (roughly 20 degrees):
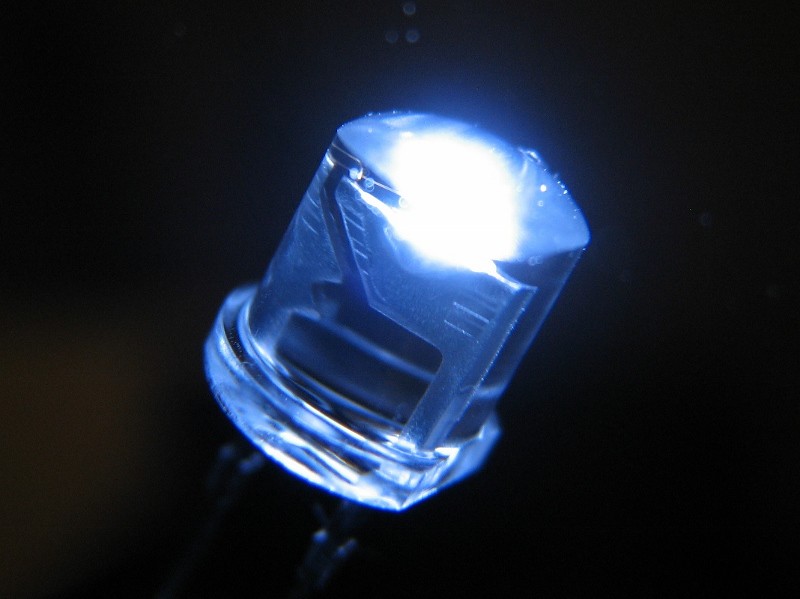
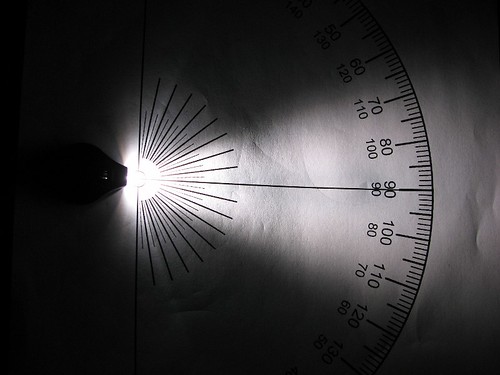
vs. RS (roughly 40 degrees):
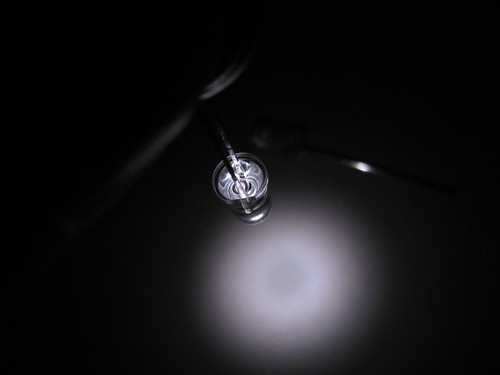
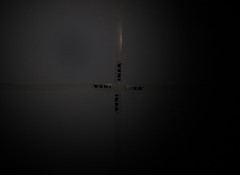
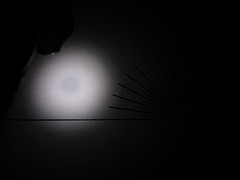
WALLSHOTS:
So speaking of that donut hole, it's slightly obsured by the ruler in above pic so I shifted the beam a little and also took a close up shot on paper to highlight it:
REAL WORLD USE:
To discern how well it would do for my purposes, I grabbed a family favorite and took a reference shot under a fluorescent lamp:
Now a shot w/the freebie:
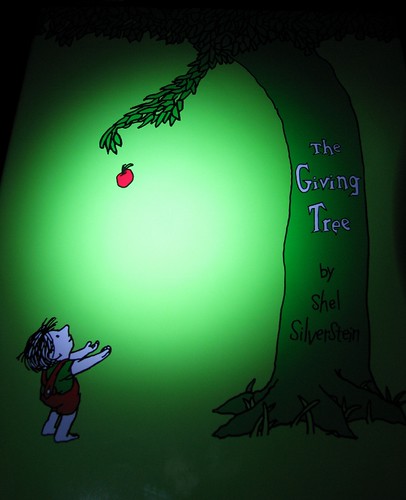
Notice the bluish tint and the really tight beam.
And now w/the RS:
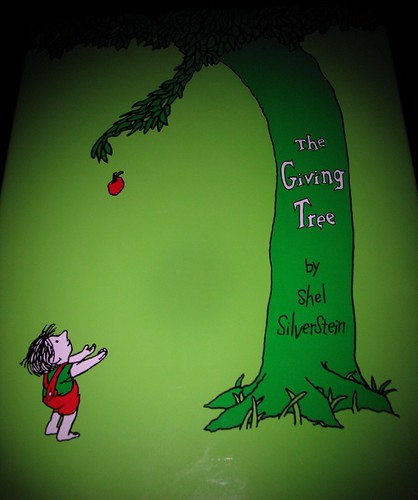
Just about perfect except for that donut hole!
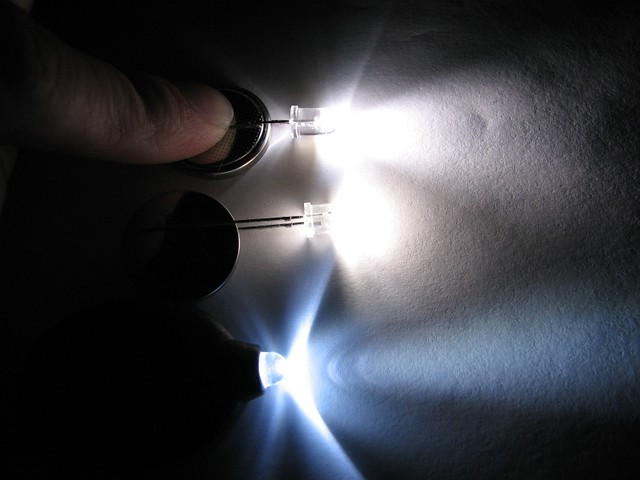
LUX READINGS:
Sticking each LED right up on the sensor of an Extech HD450, I got 24.14 for the freebie vs. 19 for the RS so a roughly 20% reduction. I'm normally a "brighter is better" proponent but for this specific purpose, it's actually preferable that it'll be less bright.
CONCLUSION:
I really LOVE this LED!, just a shame about the donut hole. I've read about beam shaping by cutting the excess epoxy on the LED dome and then buffing it smooth again. I'm not sure if that will help with the donut hole but certainly worth a try. I'll post updates when I get to that. If it gets rid of the donut hole then next step will be to upgrade the Tikkina2.
ACKNOWLEDGEMENTS:
Thanks to all you fellow falsholics for knowledge sharing (and especially to JohnR66 for the testing) otherwise, I would've never known about this little gem.
ADDITIONAL COMPARO SHOTS:

Tim


 Anybody knows how?