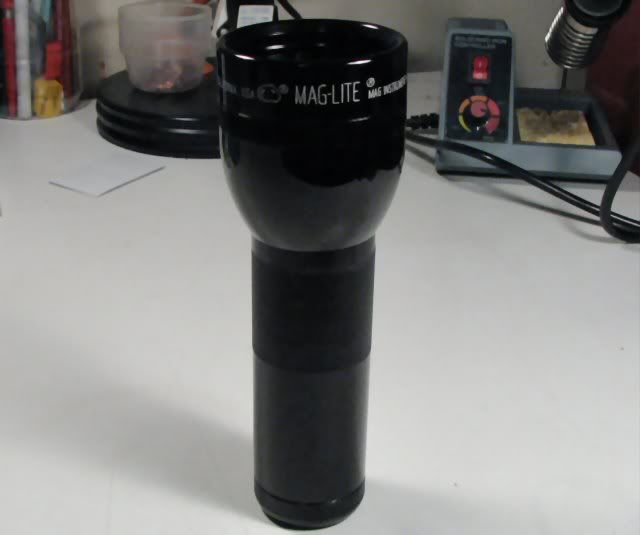
I'm making another 1D Maglite out of a 2D, so I'm going to be cutting down the barrel, but this time I decided to do something I haven't tried yet.
I'm going to remove the stock switch all together and make a tailcap switch.
Here's some photos of what I am in the process of doing:
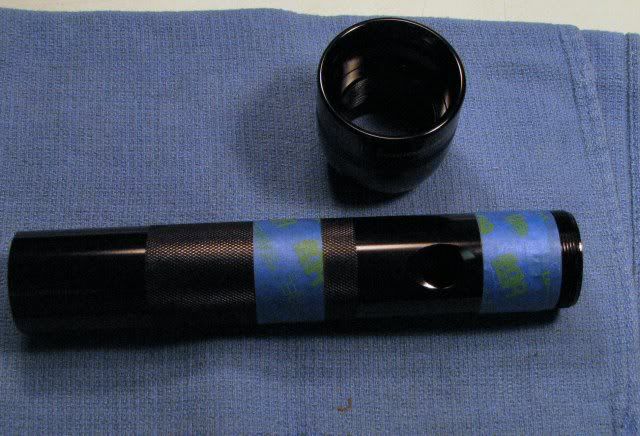
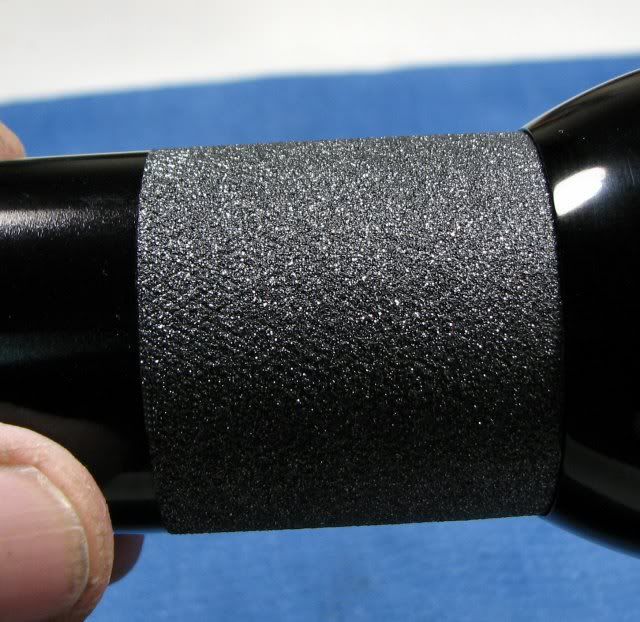
The section in between the tape lines is the section that will be removed and the two ends joined back together.
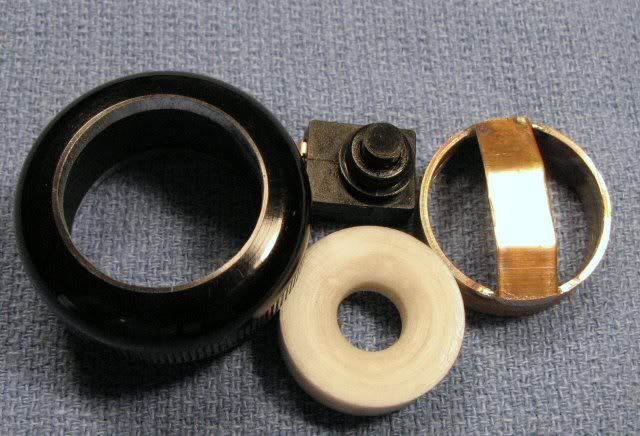
Here's the parts for the tailcap switch.
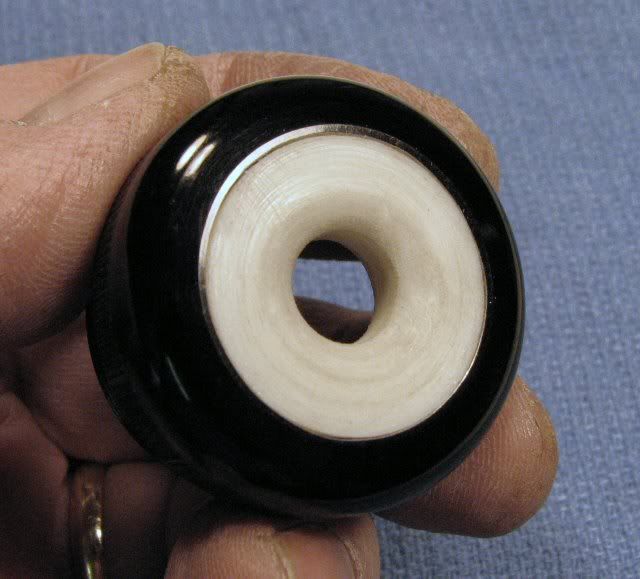
I drilled a 1/2" hole in the center of the tailcap and then I used the rotary tool to enlarge the hole, to accept the plastic bushing.
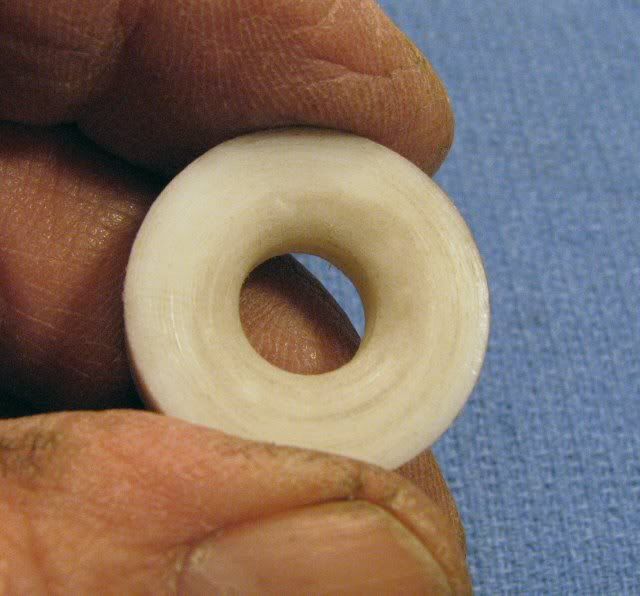
This is a plastic bushing I got from Lowes. I made the taper by slowing down the rotary tool and by hand, I just tapered the center hole of the bushing and then sanded it.
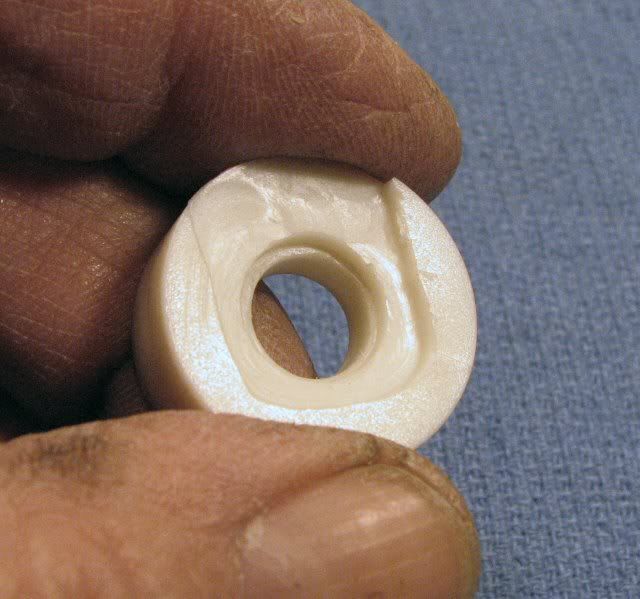
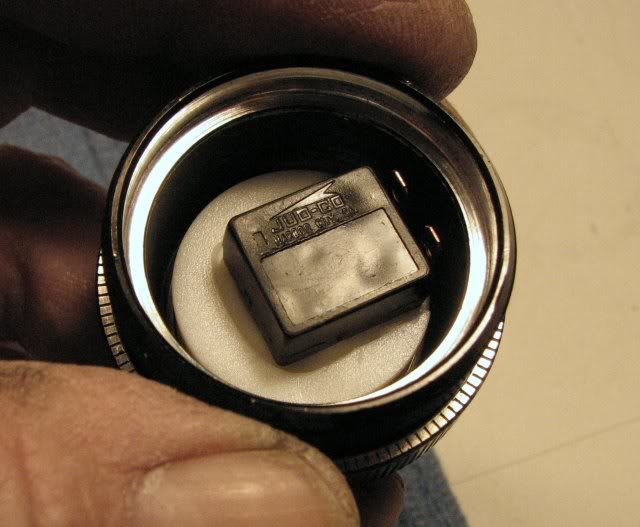
I used the rorary tool again to make a place for the Judco switch to fit into the backside of the bushing.
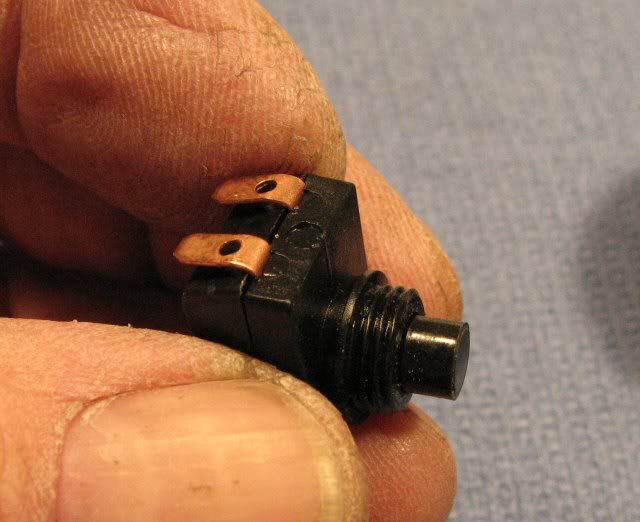
Here's the Judco switch. I bent the prongs as they are here.
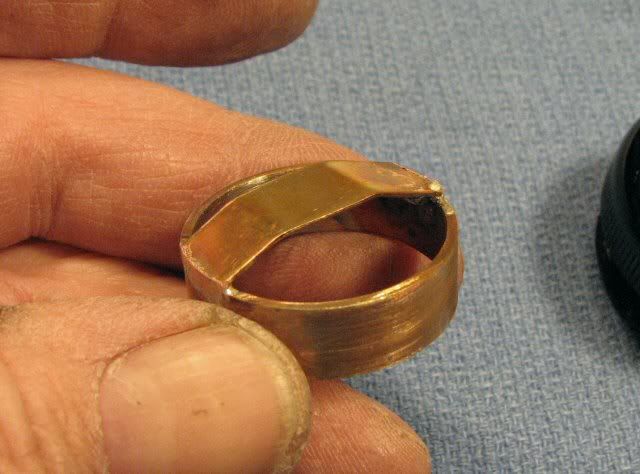
I made a copper ring to help keep the bushing centered in the tailcap and then I decided to make a strap to hold everything from moving. It's still in the works here.
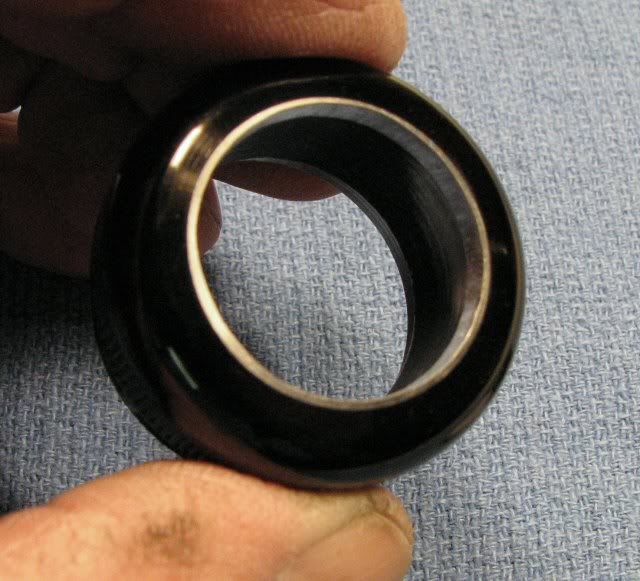
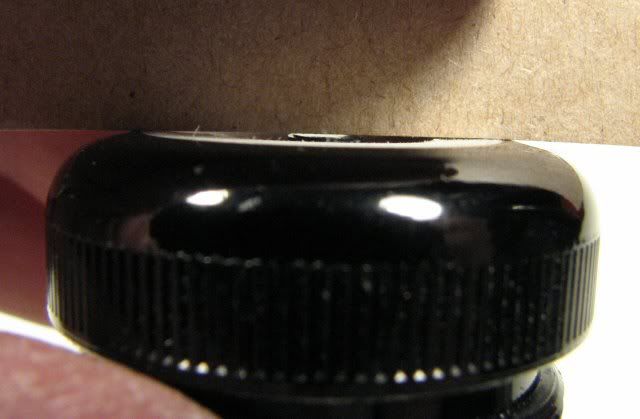
The bushing is in place.
The switch is in place.
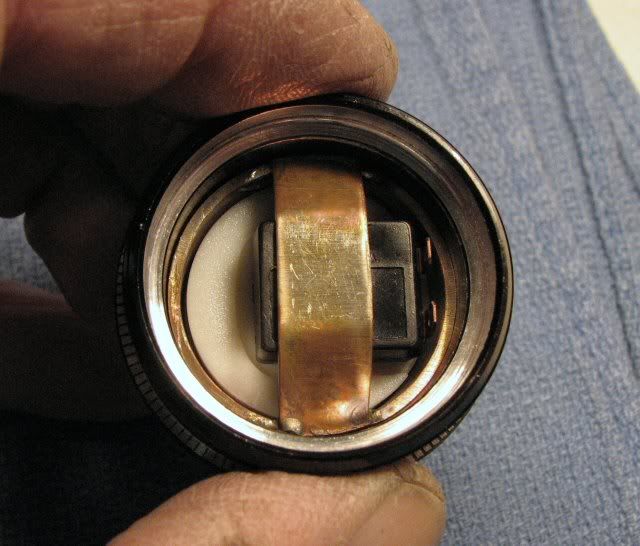
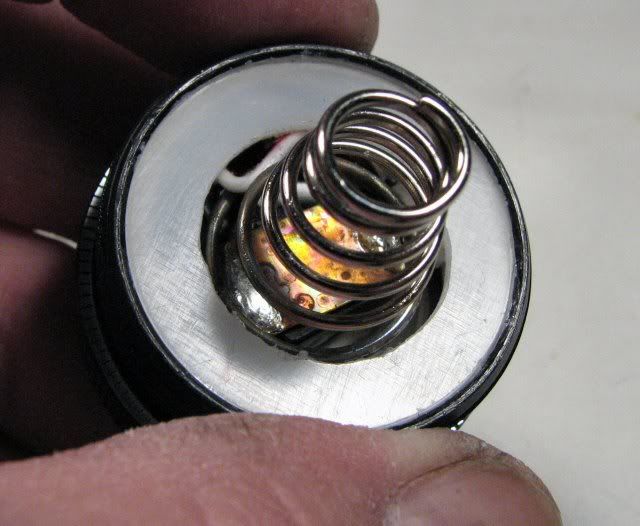
The assembly with the copper ring in place and the strap holds the switch from backing out.
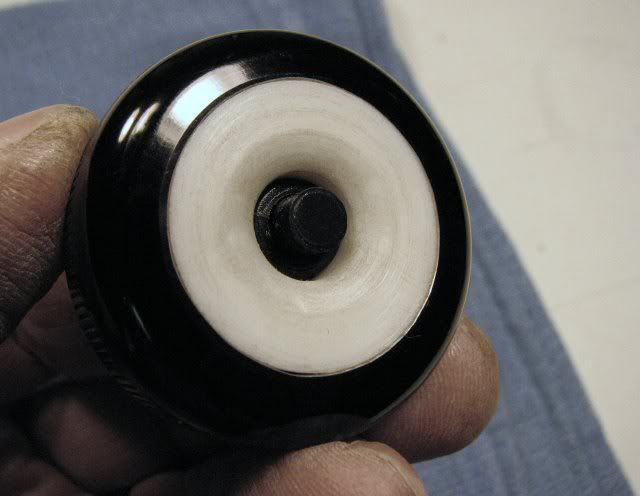
A front view. Yes, it tail stands and better than a stock maglite.
When I finally do assemble this, I will pin the copper ring to the tailcap with 2 brass pins. It won't go anywhere and when I paint the assembled tailcap, it will look like it belongs there.
More to come.........
Added:
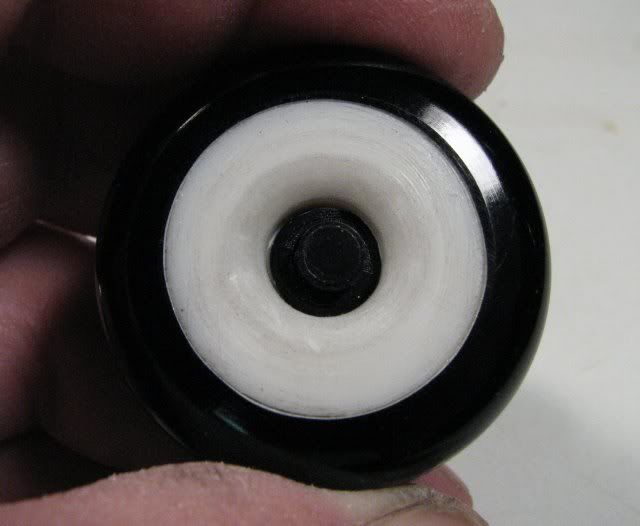
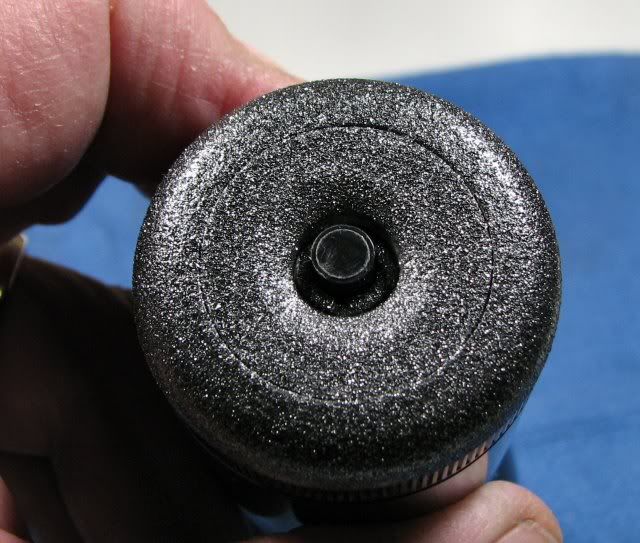
Here's the finished switch, except for painting:
The assembled switch with a plastic cover.
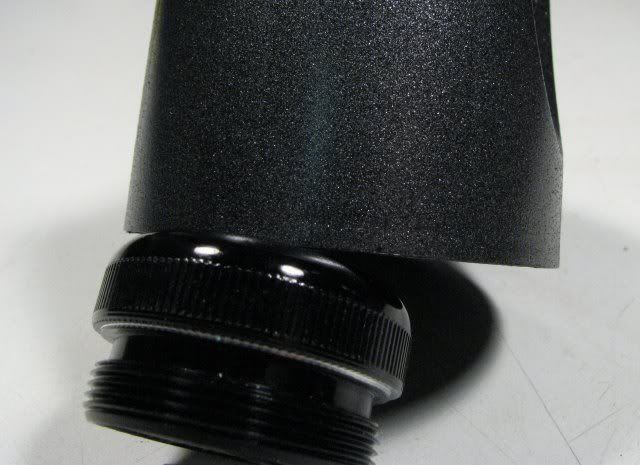
The color I will be using on this mod.
--------------------------------------------------------------------------------------------------
I have never shown the two pieces of barrel after they were hogged out with the rotary tool. I guess because they look so bad, I hated to show them, but probably I should, so people can see what they are gatting into.
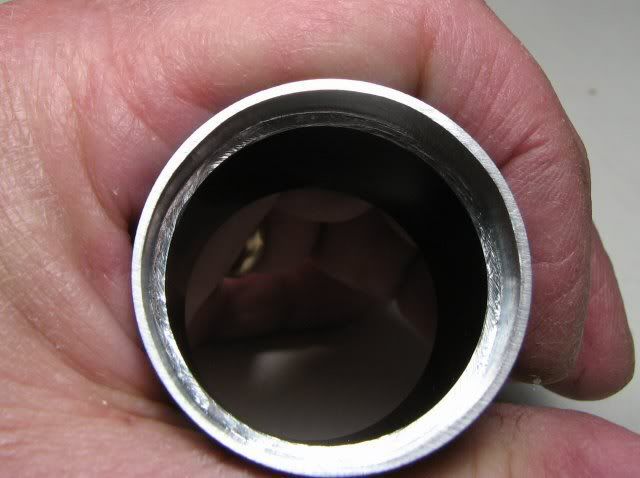
One end with the inside cut made.
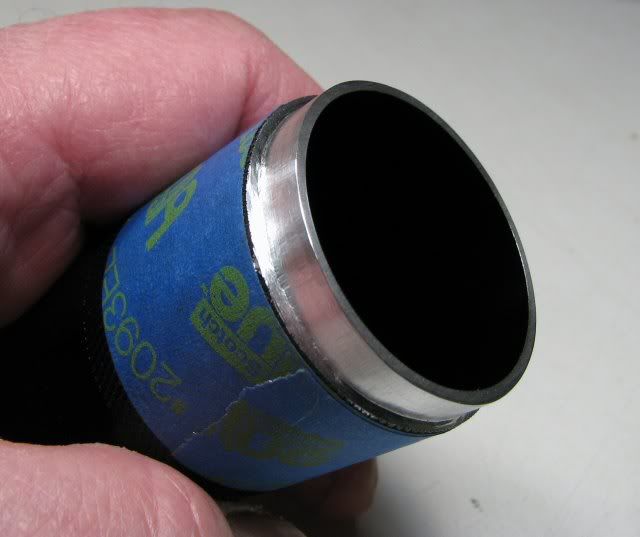
The other end with the outside cut made. (2 photos).
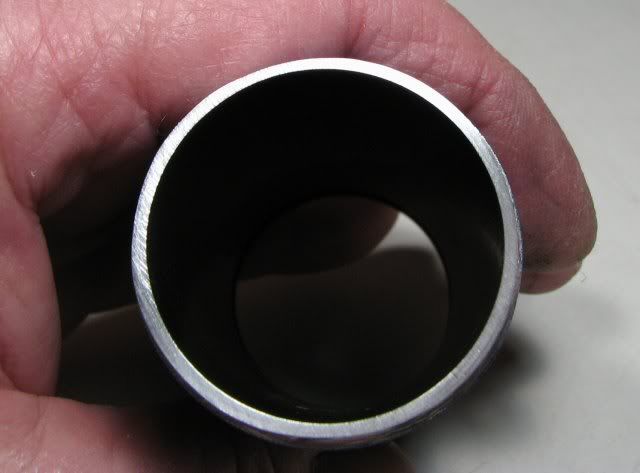
Very poor compared to a lathe. You can see how much inconsistency in wall thickness around the diameter.
These two pieces are ready to be put together. I just coat JB Weld down inside one end and up top of the other end. I leave the rest bare, as I want to make sure there's contact and continuity through the whole barrel.
I take off a little material at a time and make sure there's a "press fit", using a large rubber mallet. That way it won't come apart.
-------------------------------------------------------------------------------------
Painting is Done!
You can see the seam where the switch assembly is inserted, not great, but not bad either.
This is where the body seam is hidden, Can't see any seam at all.
Did the bezel to match the rest.
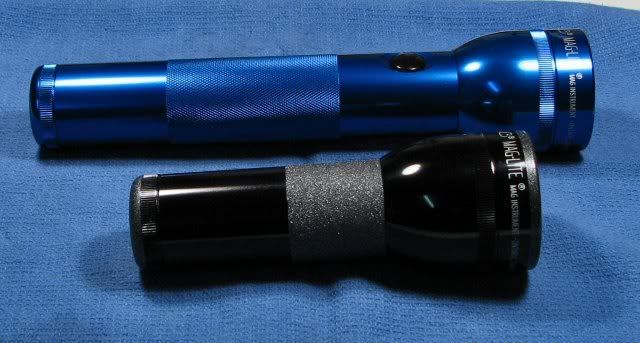
Compared to a stock 2D.

and I did bore it out while I was at it.
That's all for now and it will be a while, since I just ordered reflectors from China, so this goes on the shelf for 3-4 weeks.
--------------------------------------------------------------------------