Got some more done this evening. Here is the p60 pill fluxed and wired into a short section of tubing 
 Then I spent some time. On the collar. I need to sand the O-ring side to 1.5mm from the O-ring seat. I used a washer as a guide.
  And ground it down close.
  And sanded it.
  The washer had tape on the other side as a shim.
  And I removed that and sanded it some more until I just began to sand the washer. After that I flipped it over, ground and sanded it down to even thickness at about 3.2 mm. Then I reamed the battery tube to fit the switch pill.
  It’s a snug press fit at this point.
  Here’s how it fits between the head and the tube.
  I also reamed the wood tube and sanded it some more. It’s ~26.2 mm now but with a wall thickness of 3 mm I think I can go down to 2.5 mm or less.
Cutting the tube
That is looking real sweet. I’ll swap you timber any day. ![]()
Maybe you should think about having a name change to sandy? ![]()
Haven’t had the time to go through any of the build threads for awhile. Wow, really shaping up to be a gorgeous light. Lots of creativity, problem solving, and fine machining going on here. Hope I can braze like you someday.
Looking very nice!
Thanks, I haven’t ruined it yet. ![]()
Cutting the tube.
I was home for just long enough to clamp my pull saw to the drill press table and spin the wood tube by the blade making 3 cuts. The first was at the tail to remove the bad part.  The second was a few mm lower to get a piece for the tail cap, and the third at the other end to size it. Here again after that first cut.
 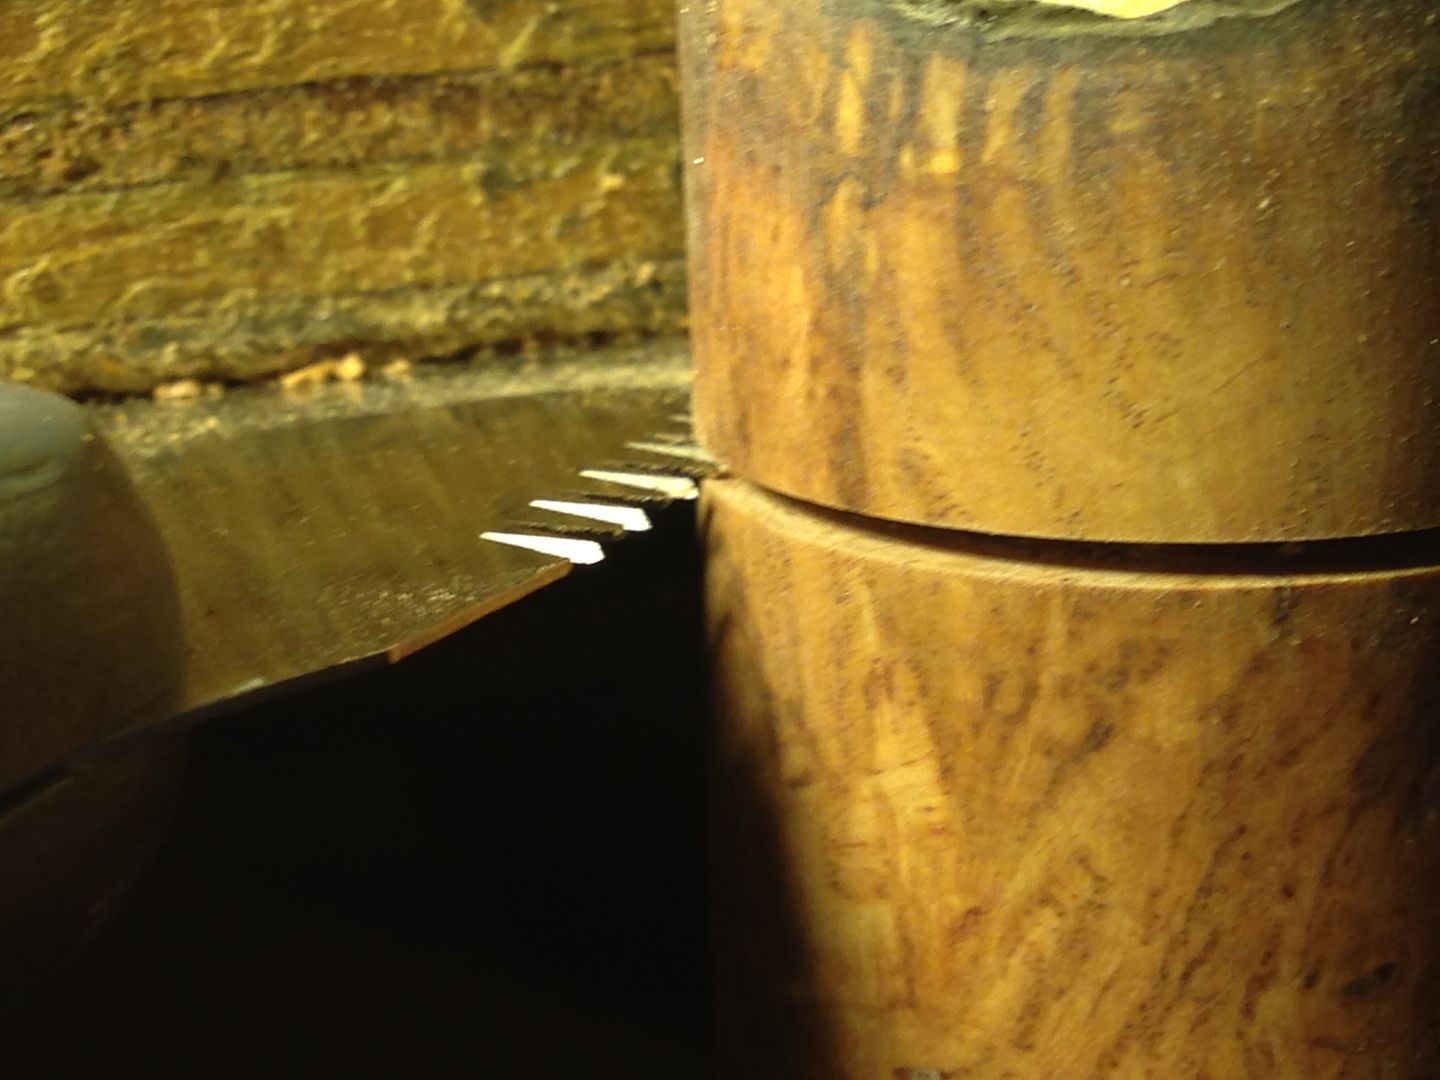 And how the cut looks.
 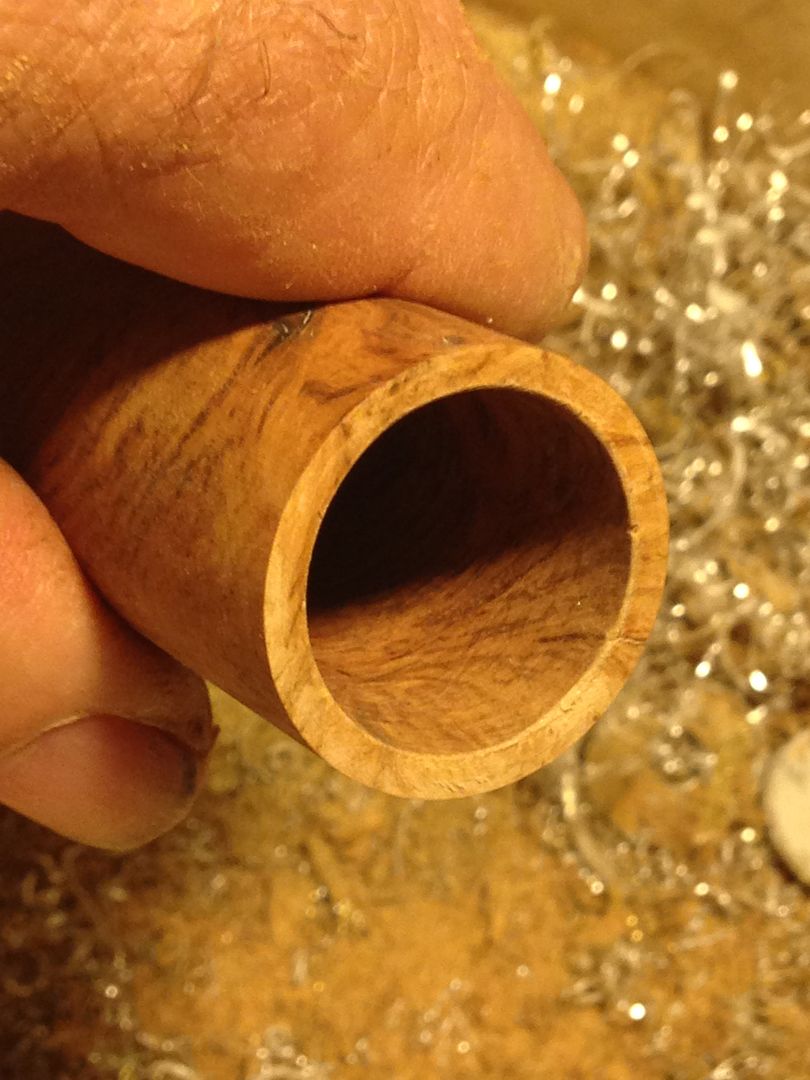 The blade is only about a half mm thick so I’ll be able to line up the grain pretty well when I assemble it. Here are all the cut pieces.
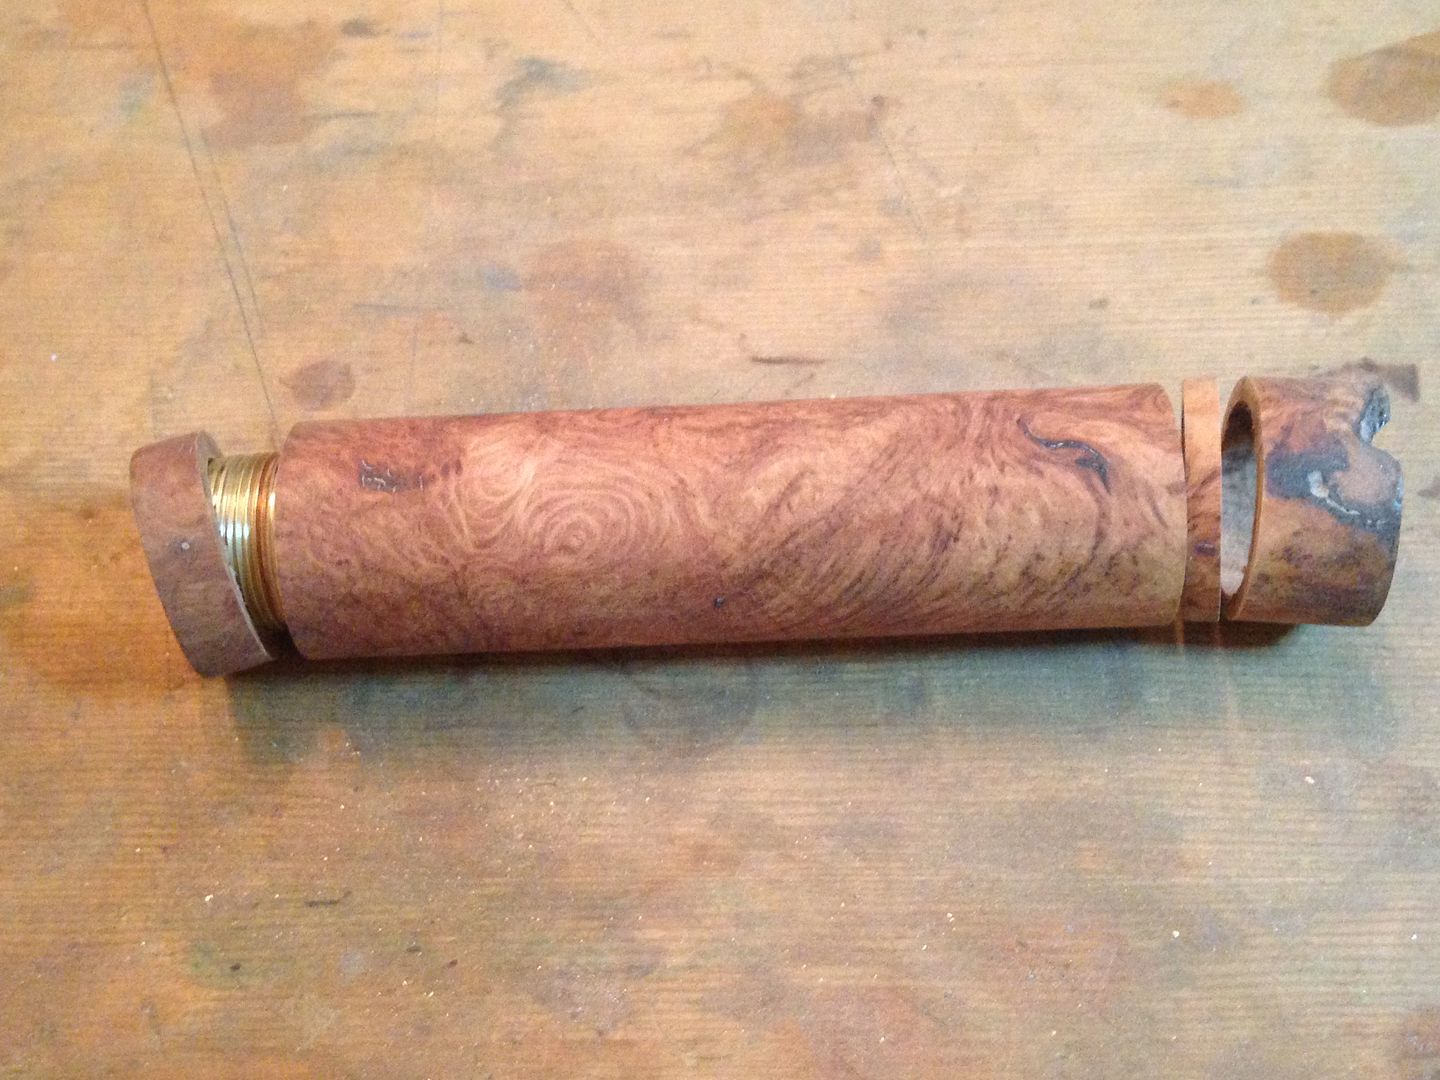
Squaring things up
Looking good. :heart_eyes:
I’m not sure if you have mentioned it, what are you going to finish the Burl with?
A liquid epoxy.
Squaring up some loose ends. This is the end of the copper core, as you can see it’s not quite square. 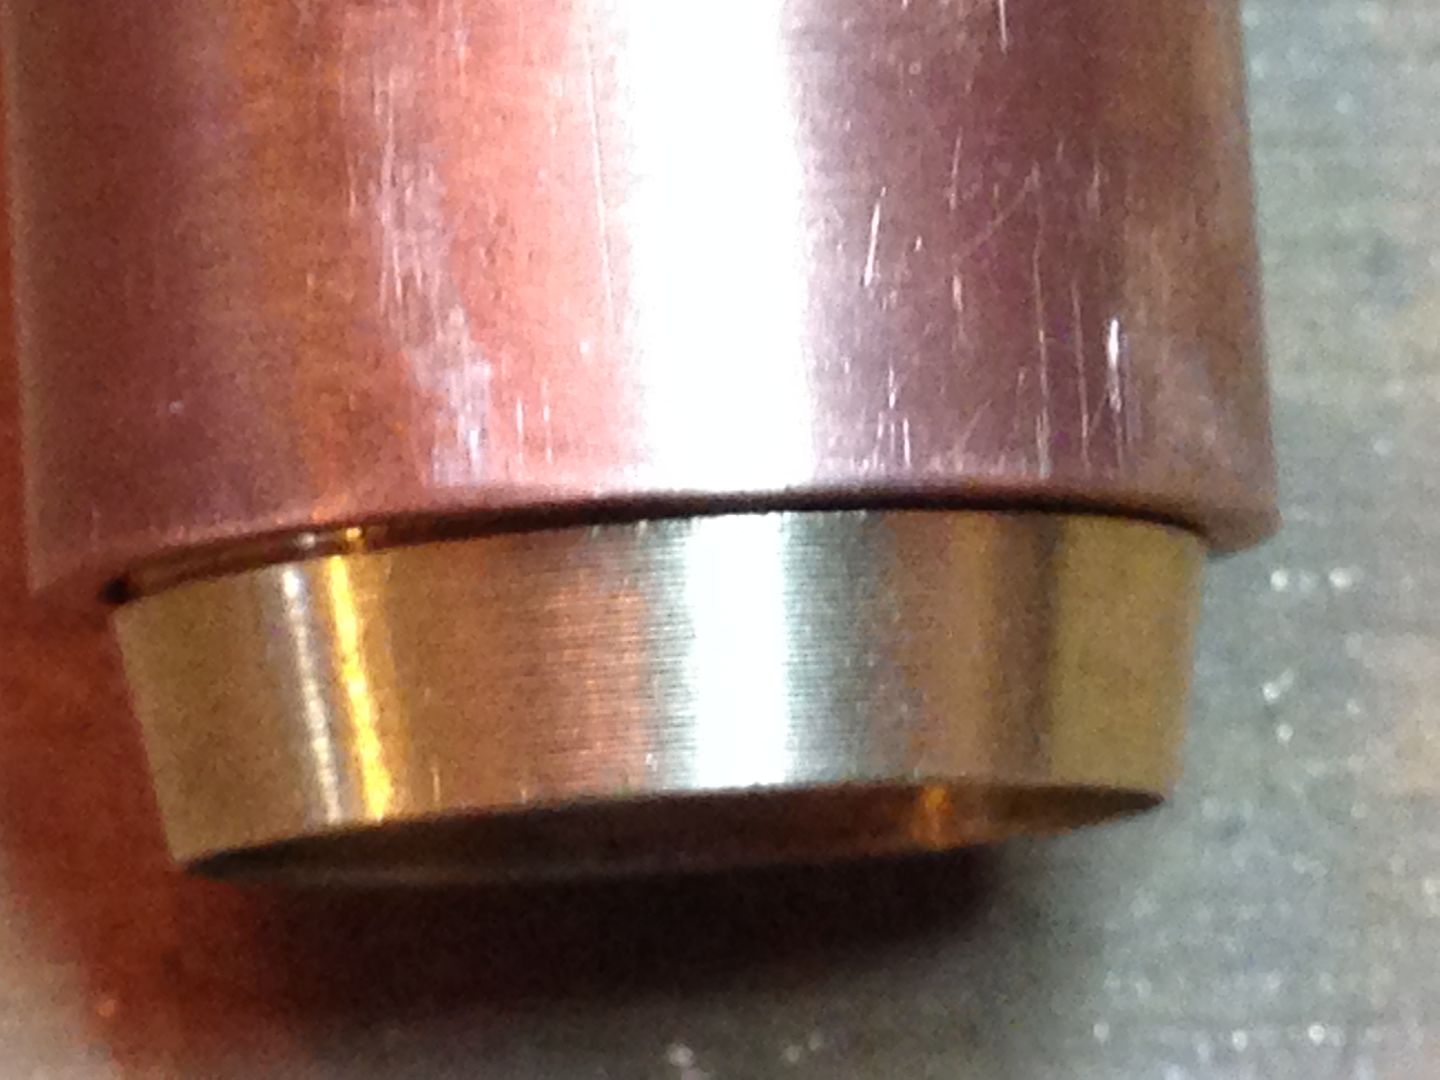 Some sanding took care of that.
  The failed battery tube supplied a piece I will use for the tail cap.
  It’s close to the right size already but also isn’t quite square.
 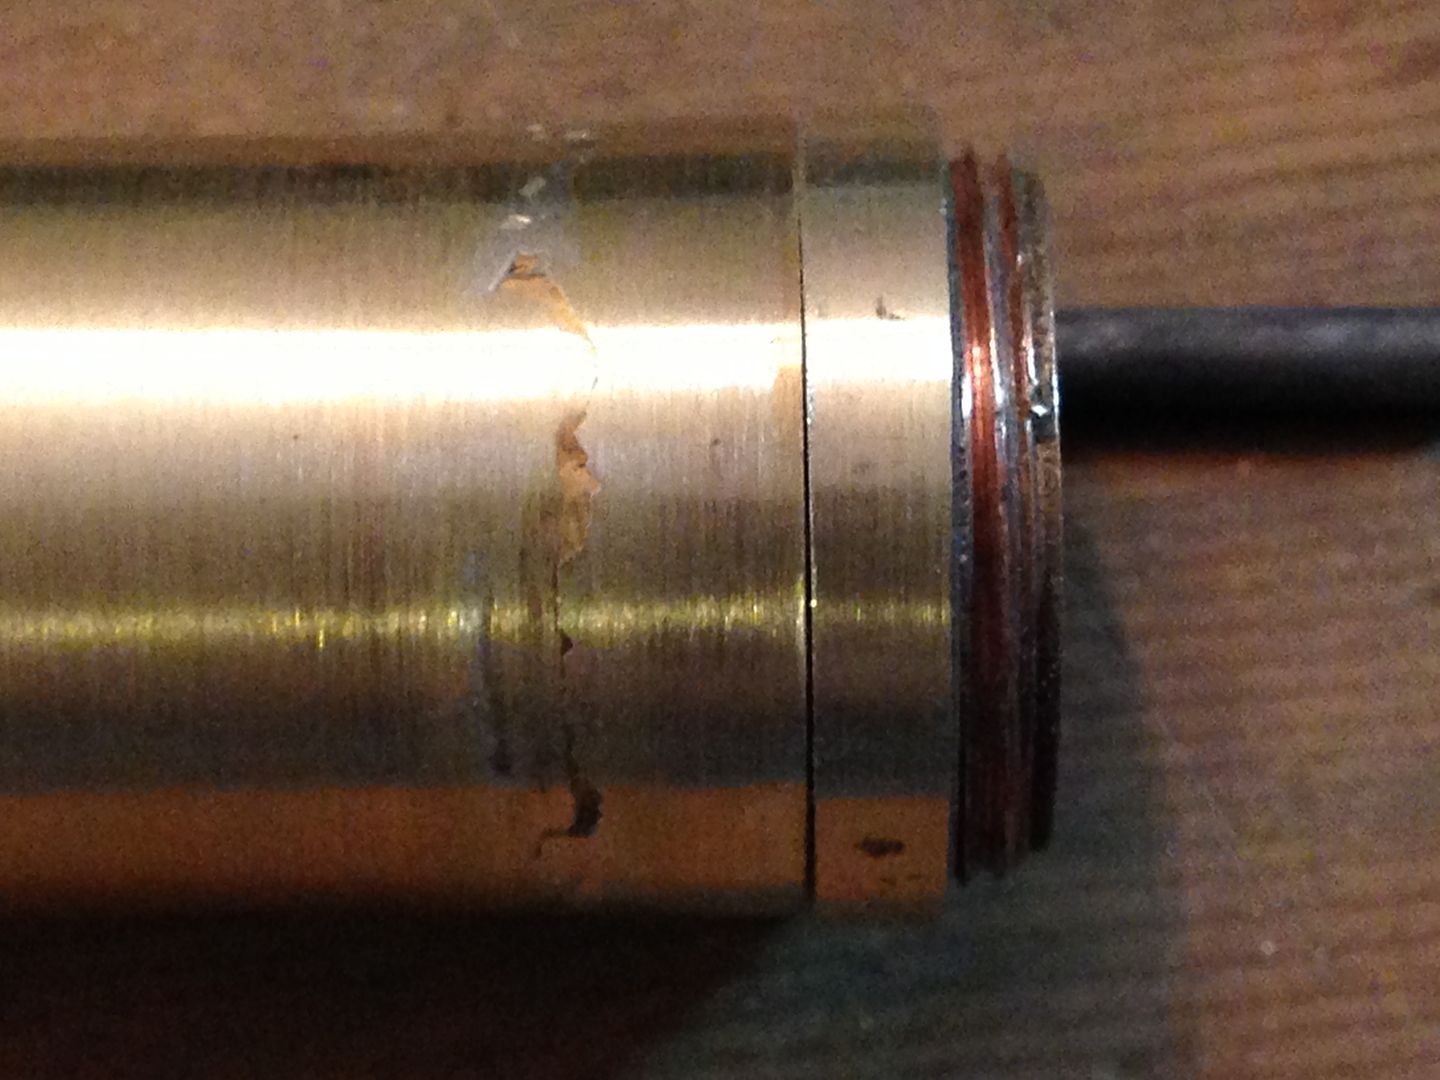 All of this is under wood and epoxy and not visible but at least it’s now sanded square.
 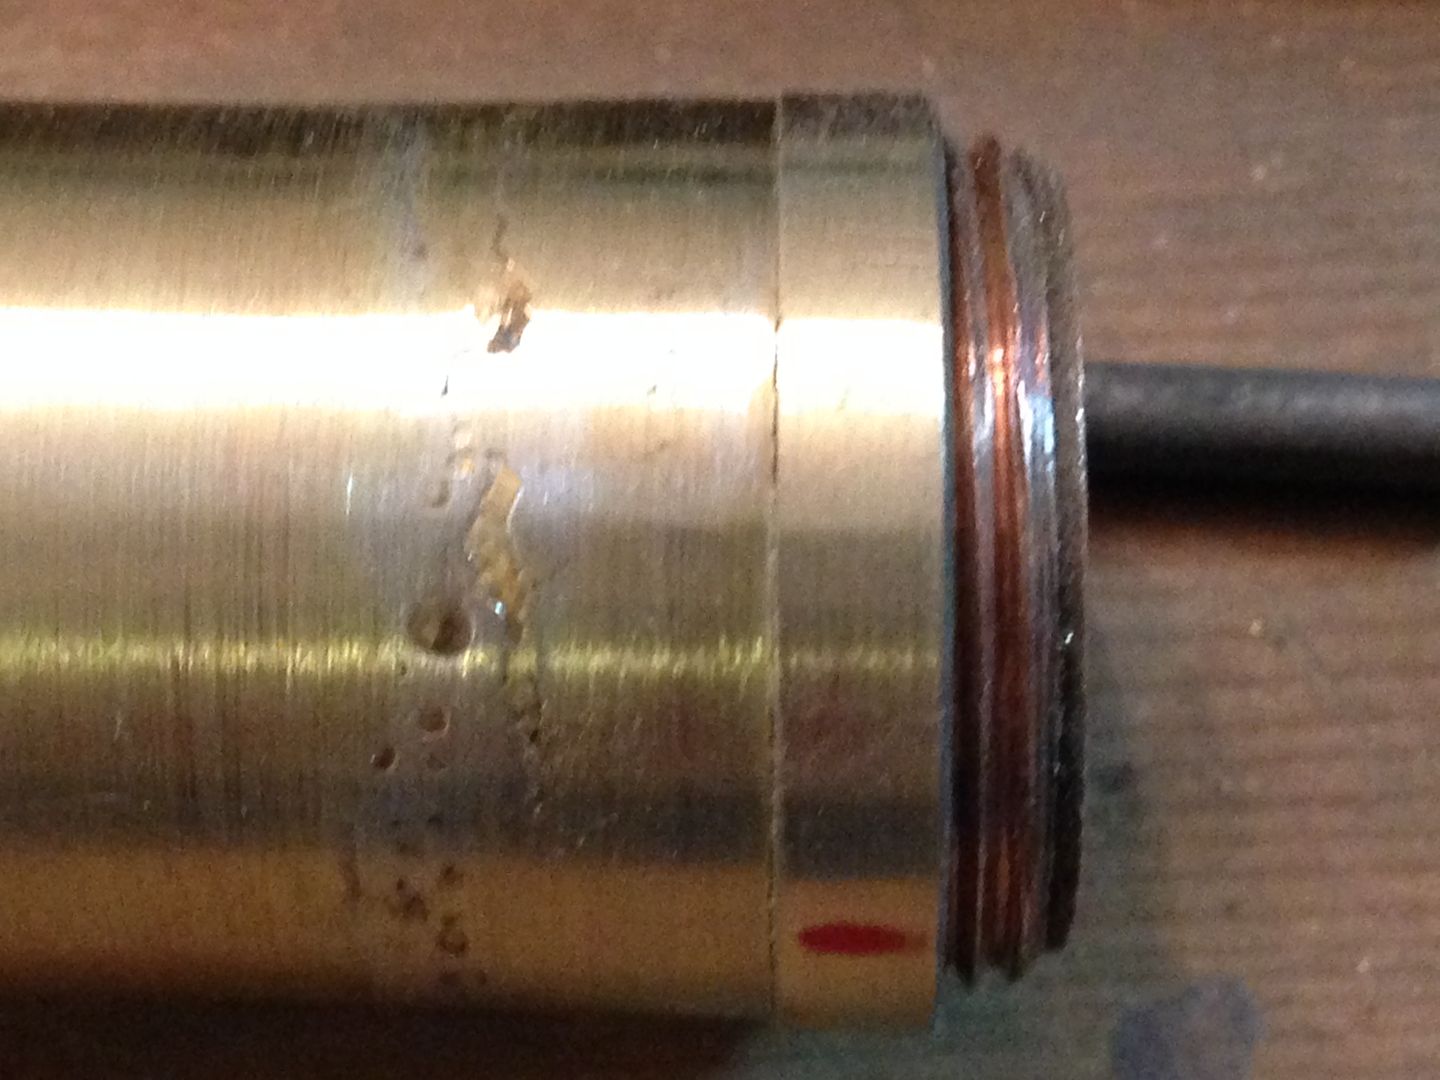 Here again after filing and sanding the OD’s to match.
 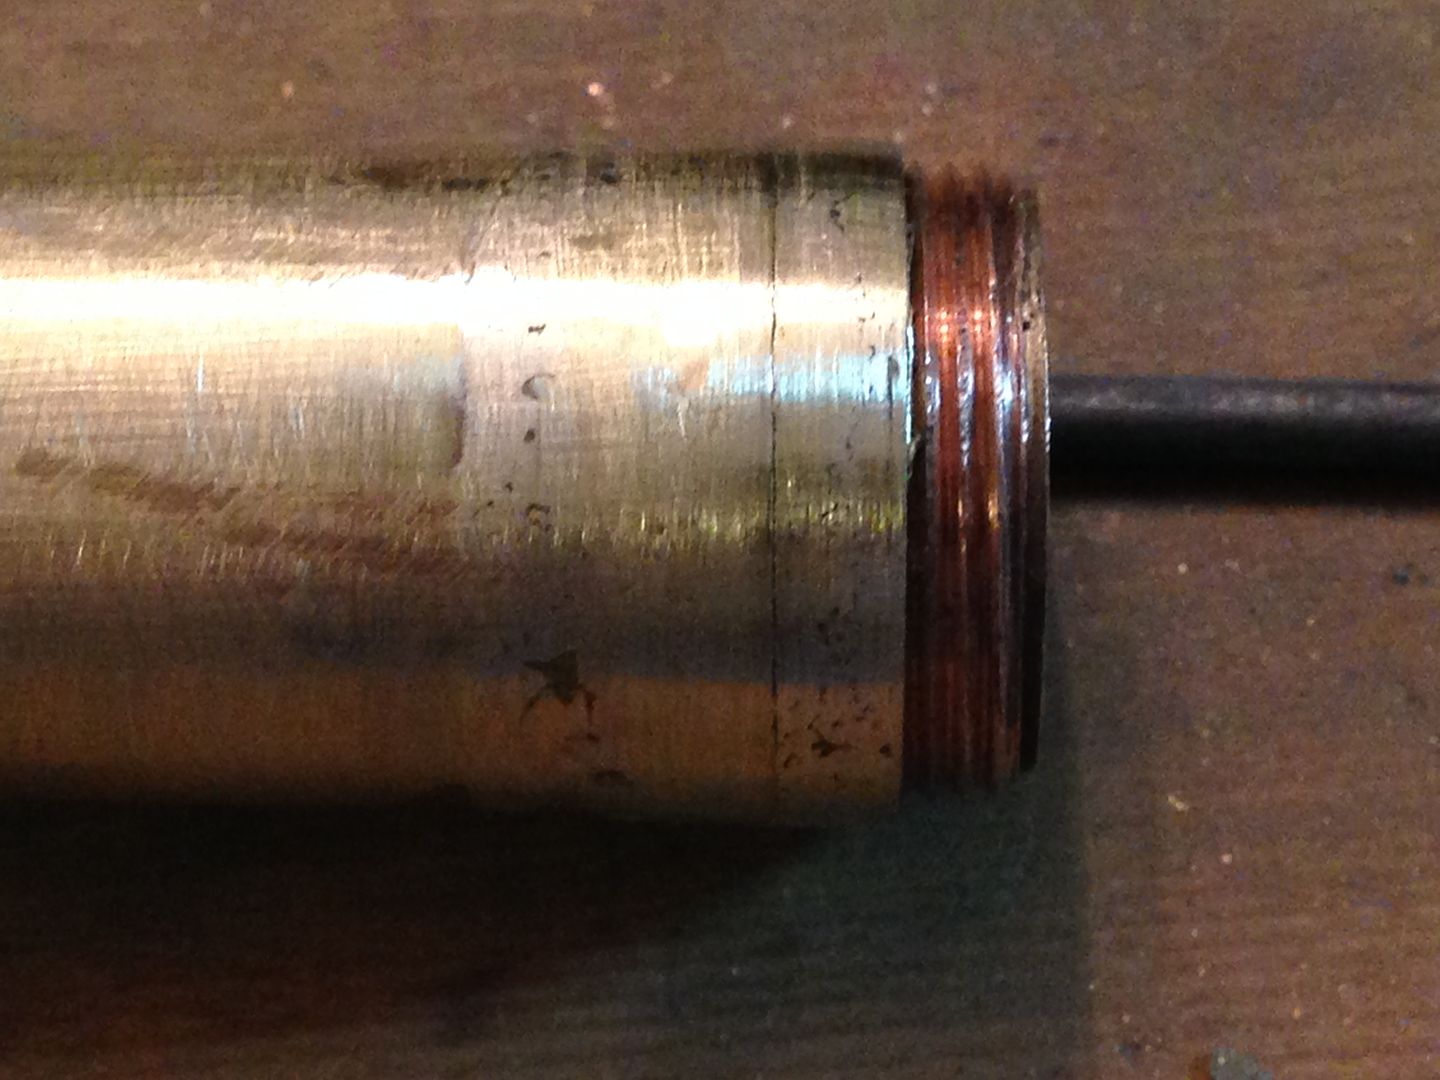 Fritz had asked earlier whether brazing was complete between all the surfaces. Well, not quite. Since these bands were very tight in order to hold the seam shut it probably prevented even wicking of the silver solder. In any case the long seam is fully wetted and that’s the critical one. A few more bits of brass will be added to that little tail piece including a fresh piece of threaded copper. The one in the pic is from last year and not legal to use as part of this build so I only use it for test fitting.
Oops II
Illegal bits used in your build? I’m glad you owned up as I would of twigged eventually, not. ![]()
Maybe we should be doing drug tests as well? Then maybe not, there may well be anyone left in the comp. :person_facepalming:
Another saw blade. At least this one is static. Just keep your fingers away from the gap. As usual loving your work RBD.
Looking good, RBD ![]()
I thought it was mentioned in the rules this year that each entry was going to be swabbed?? ![]()
Nothing but ibuprofen I swear. :innocent:
Bad news first. The MkII battery tube I fell afoul of poor logistics on my part and sufferered some kind of mischance(probably slipped in the shower). Here are it’s remains alongside the MkIII tube. 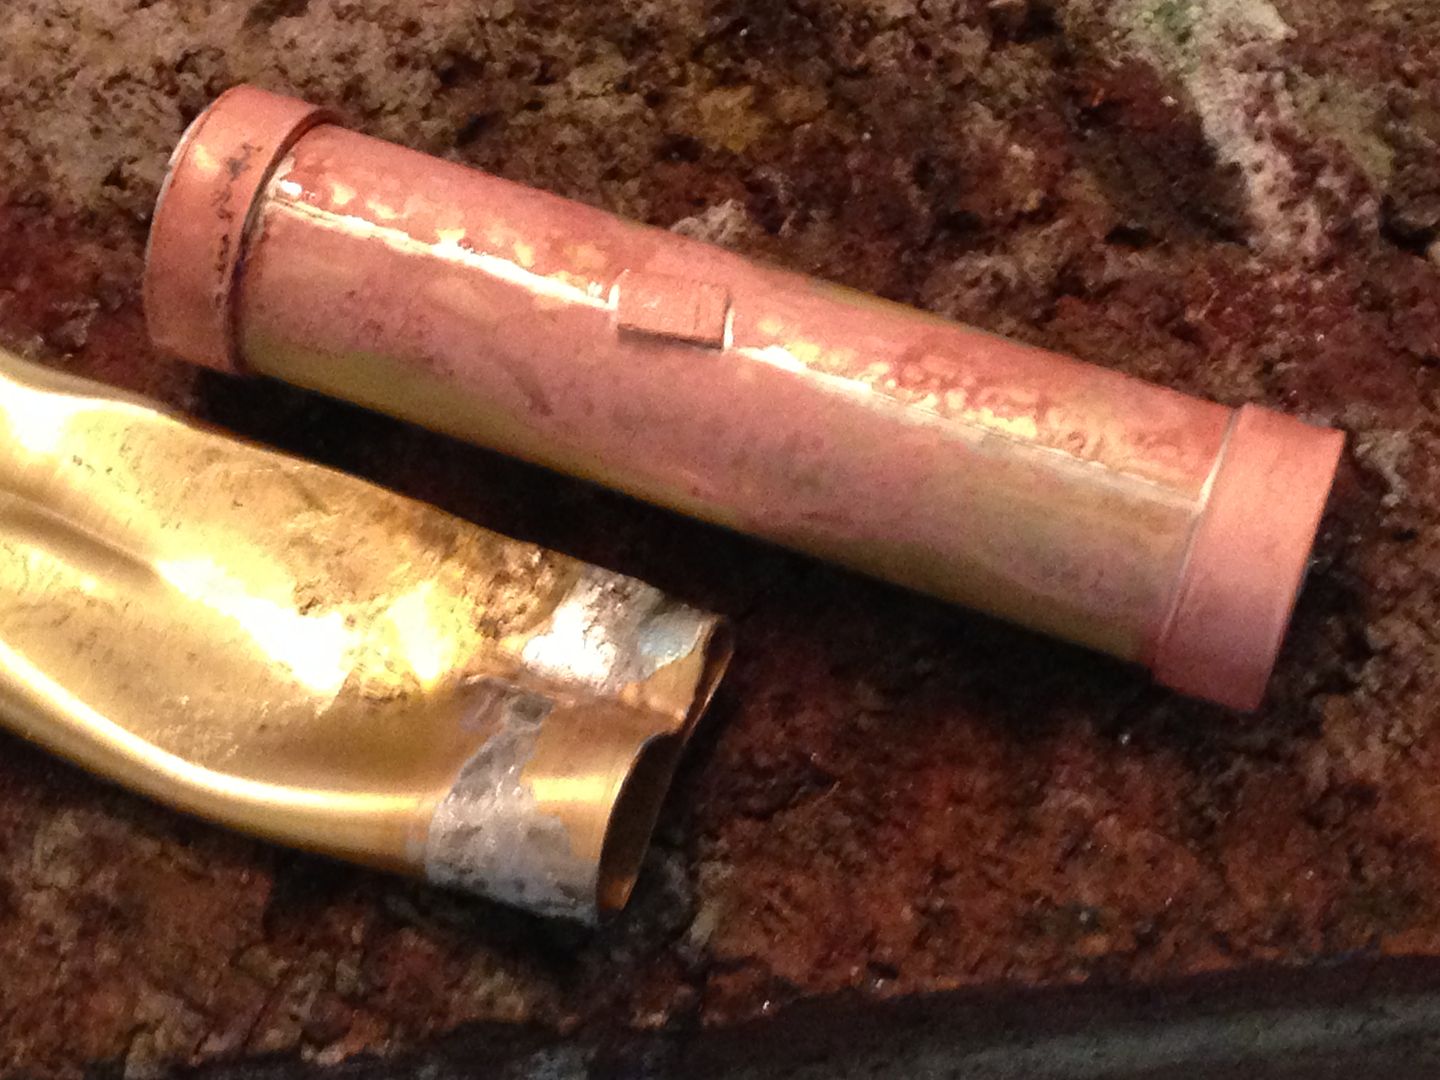 I ran into a problem after brazing the stop collar on the tail end and poor MkII paid the ultimate price. MkIII has since been threaded and the the retaining bands removed. The next stop collar will instead be brazed to a short tube that slips over the battery tube before being brazed in place. That will prevent another unfortunate mischance. At the other end I used a carbide Dremel bit to cut the shelf out of the switch pill.
  Then I reamed it to one continuous ID and brazed a thin tube to fit inside.
 The switch will actually go in the small tube with contacts at either end and slide into the larger threaded piece.
Tail stop
If you say it is I am not going to argue. It would be a lot easier to do MK 2 in the first place and just bypass MK 1. ![]()
It would certainly have saved me the time I spent ruining the MkII tube. I’ve brazed and threaded 3 tubes now and wasted yet another day on the stop. With all that’s left to do these set backs are frustrating. the 2 lb single jack I mean shower floor really did a number on MkII but it was a necessary catharsis.
Rufus, you make me tired just looking at all the work!!! :person_facepalming: Tenacious would not cover your attitude toward making a light.
I’ll just sit here and try to recover slowly until the next highly anticipated update. !!! TL
I hope this isn’t a let down then. To make the stop collar I squared up a tube end on some sandpaper.  And brazed it to a brass disc.
  Here it is next to the battery tube.
  Sooner or later I’ll need to cut some threads on the copper pill stock I brazed up way back when.
  Some of it will be used for the emitter pill and some for the tail cap. To hold the stock while I crank the die I brazed up this piece that I can solder the stock to.
  Next
Next
Good luck. ![]()
34 days left, I might still make it.
Keep at it mate.
Make it or make it? I reckon you’ll do both. ![]()