GearBest's Entry into Flashlights, the zanflare f1! First Light from this manufacturer!

GearBest has an entry light of their own make branded zanfare and called the zanflare f1. It’s an 18650 tube light with some twists, interesting ones at that.

May at GearBest asked if I’d take a look and run it through the paces, which I was more than happy to do of course. The box has a tag on it marked Sept. 23, 2016, just 3 days ago! Isn’t DHL amazing? :slight_smile:

NEW INFORMATION:
zanflare F1 LED Flashlight

GearBest zanflare f1
coupon: F1GB
price: $34.99

the coupon is only available during the presales ( please use it before Oct 28th )

And here’s a new breakdown pic from the GearBest link, love it when they show us this stuff! :slight_smile:

I have pics uploading, wanted to get a space started but I’ll be back with pertinents after this short break from our sponsors… lol

So, I’m back and here’s a quick first look at the zanflare f1…

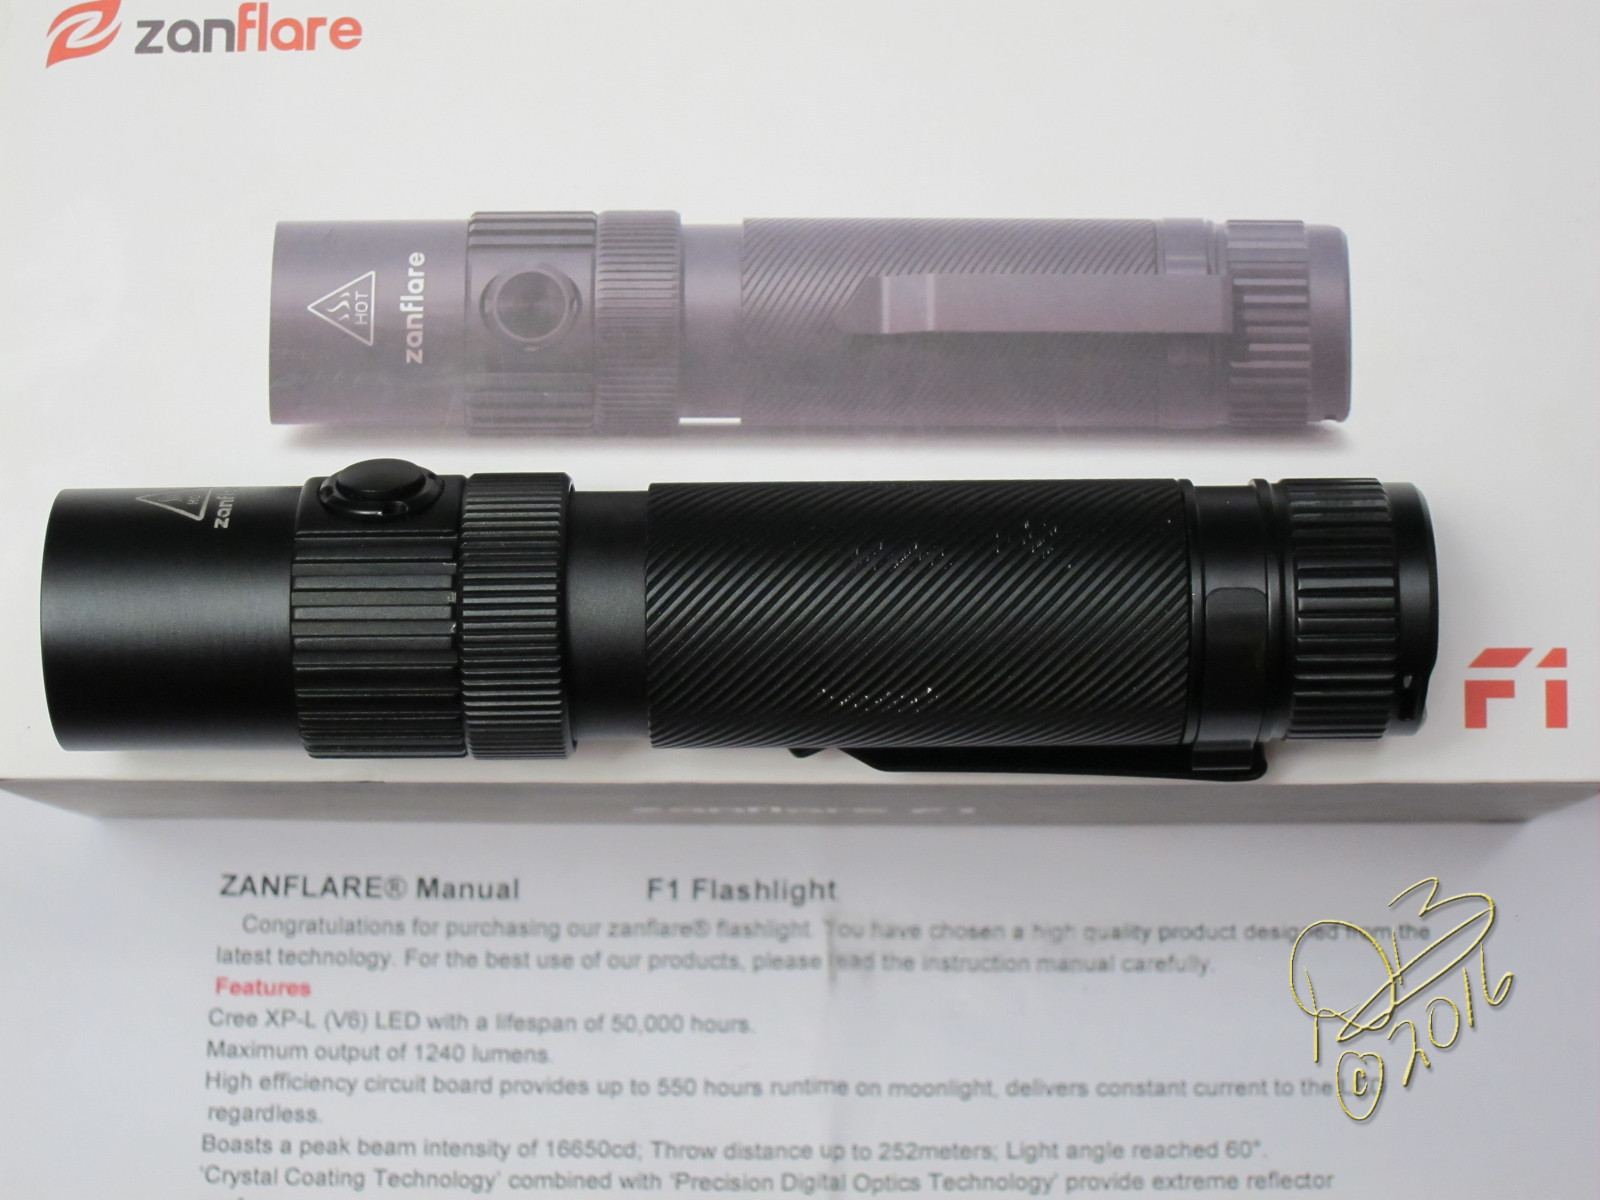
Here’s a nice complete owner’s manual, so many lights come in with no paperwork so it’s nice to see this much detail written down…

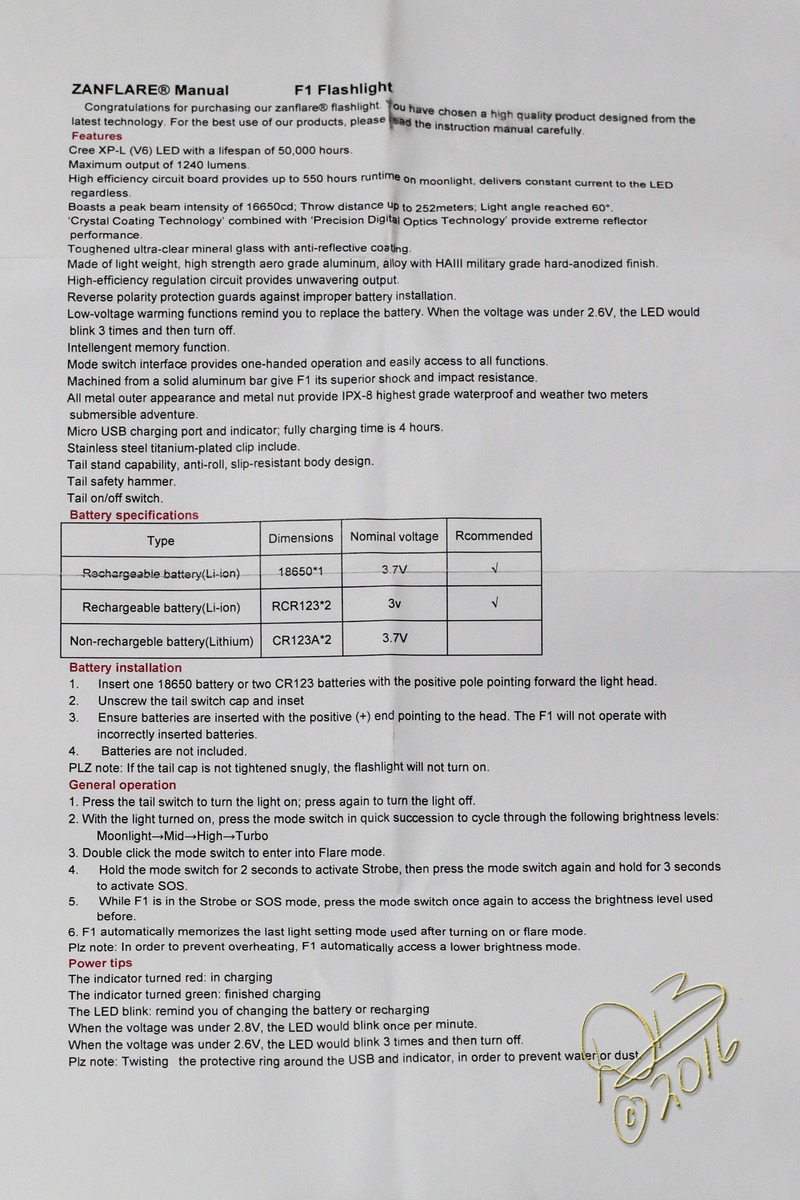
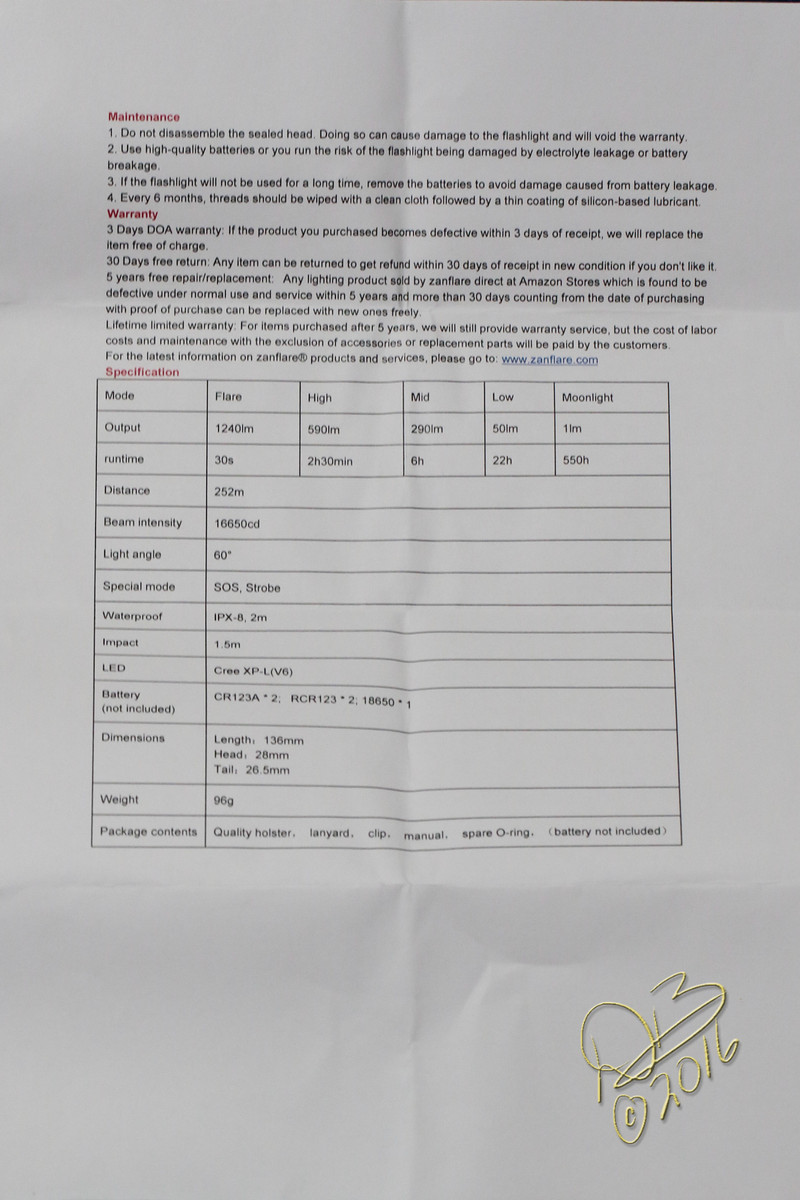
Right off the top lets look at the readings… as you see above they list the output levels, here’s what I get with a Samsung 30Q button top at 4.20V

0.01A for 0.414 Lumens
0.12A for 63.14
0.52A for 284.63
1.16A for 580.98, this is what they refer to as Turbo
3.46A for 1269.6, this is what they refer to as Flare.

It’s important to note that Flare starts ramping down at about 30 seconds and reverts back to the lowest setting within about 5 seconds of the ramp beginning.

Also worth noting that it takes a double click of the side switch to get into Flare, and it won’t stay in the memory if you turn it off. The main 4 modes will work with memory and the light comes on in any of those 4 you turn it off in.

Engaging strobe or SOS is somewhat more tricky, taking a long 3 second hold down of the side switch and again the same thing to switch it off and use the normal modes. Ugh. Since the light is turned On and Off at the tail switch, it can get a bit weird for me.

Neat box, packed carefully with the f1, a small box made just for holding the black Ti coated SS clip, a lanyard, an odd neoprene zippered case that fully encloses the light (it’s a bit tough getting the f1 inside) and no orings for spares.

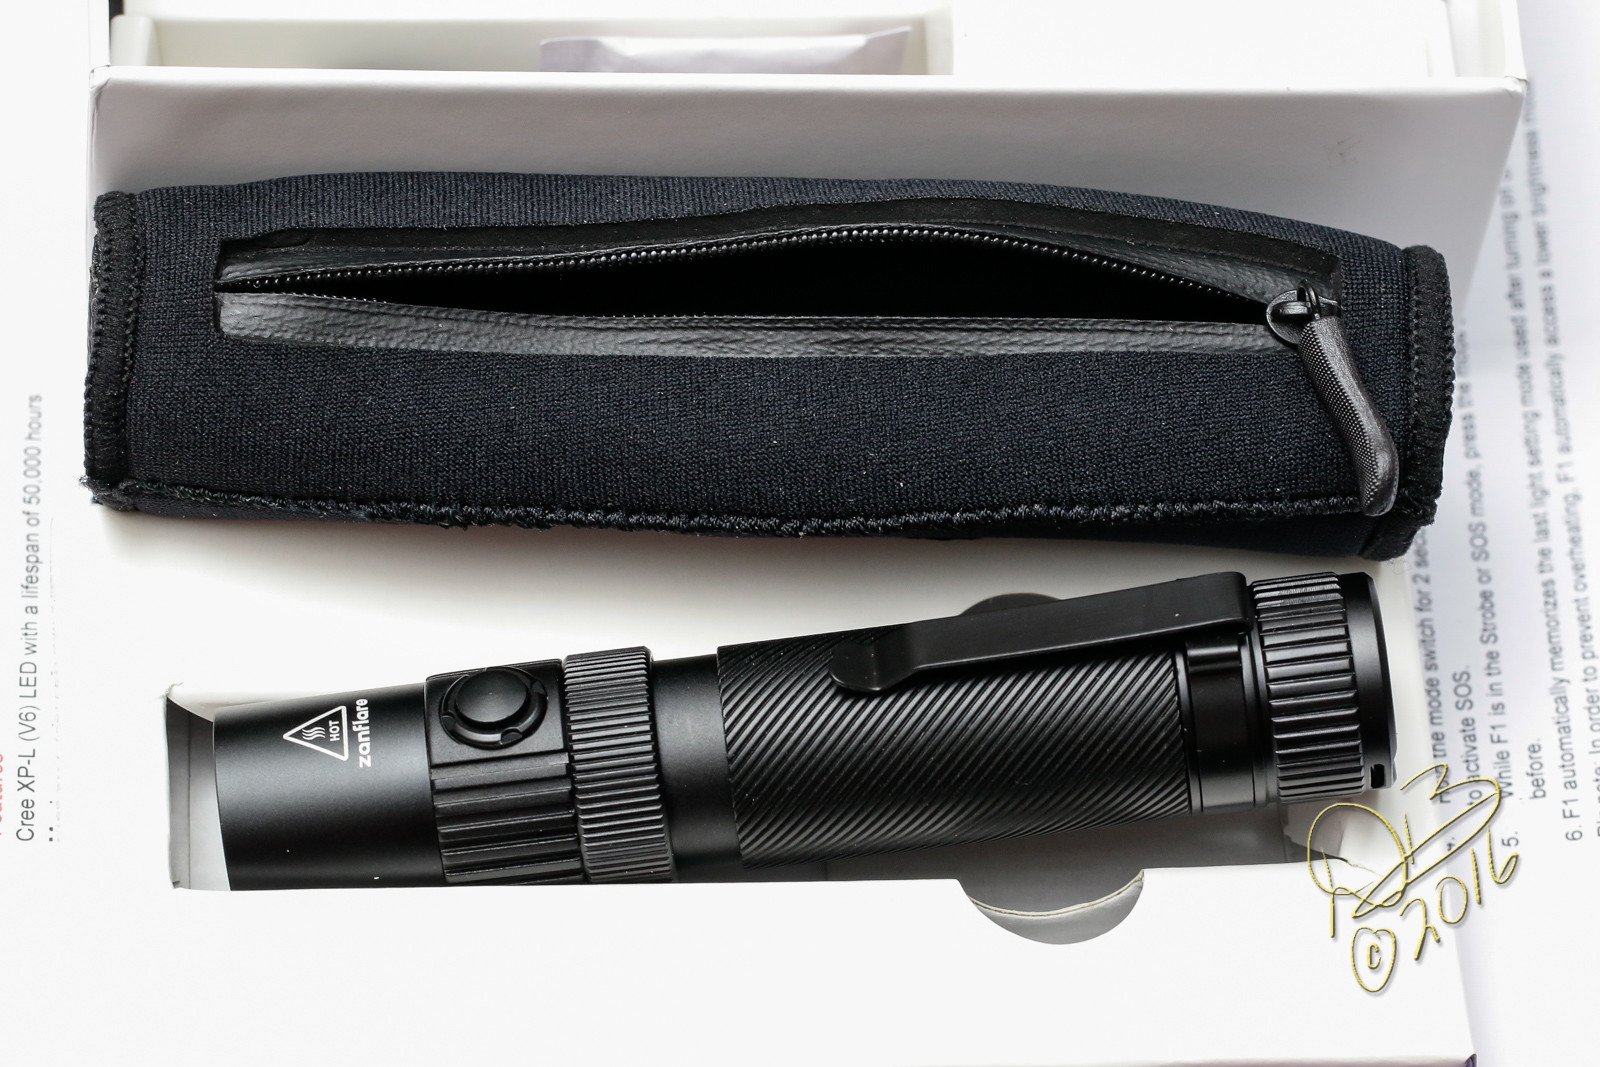
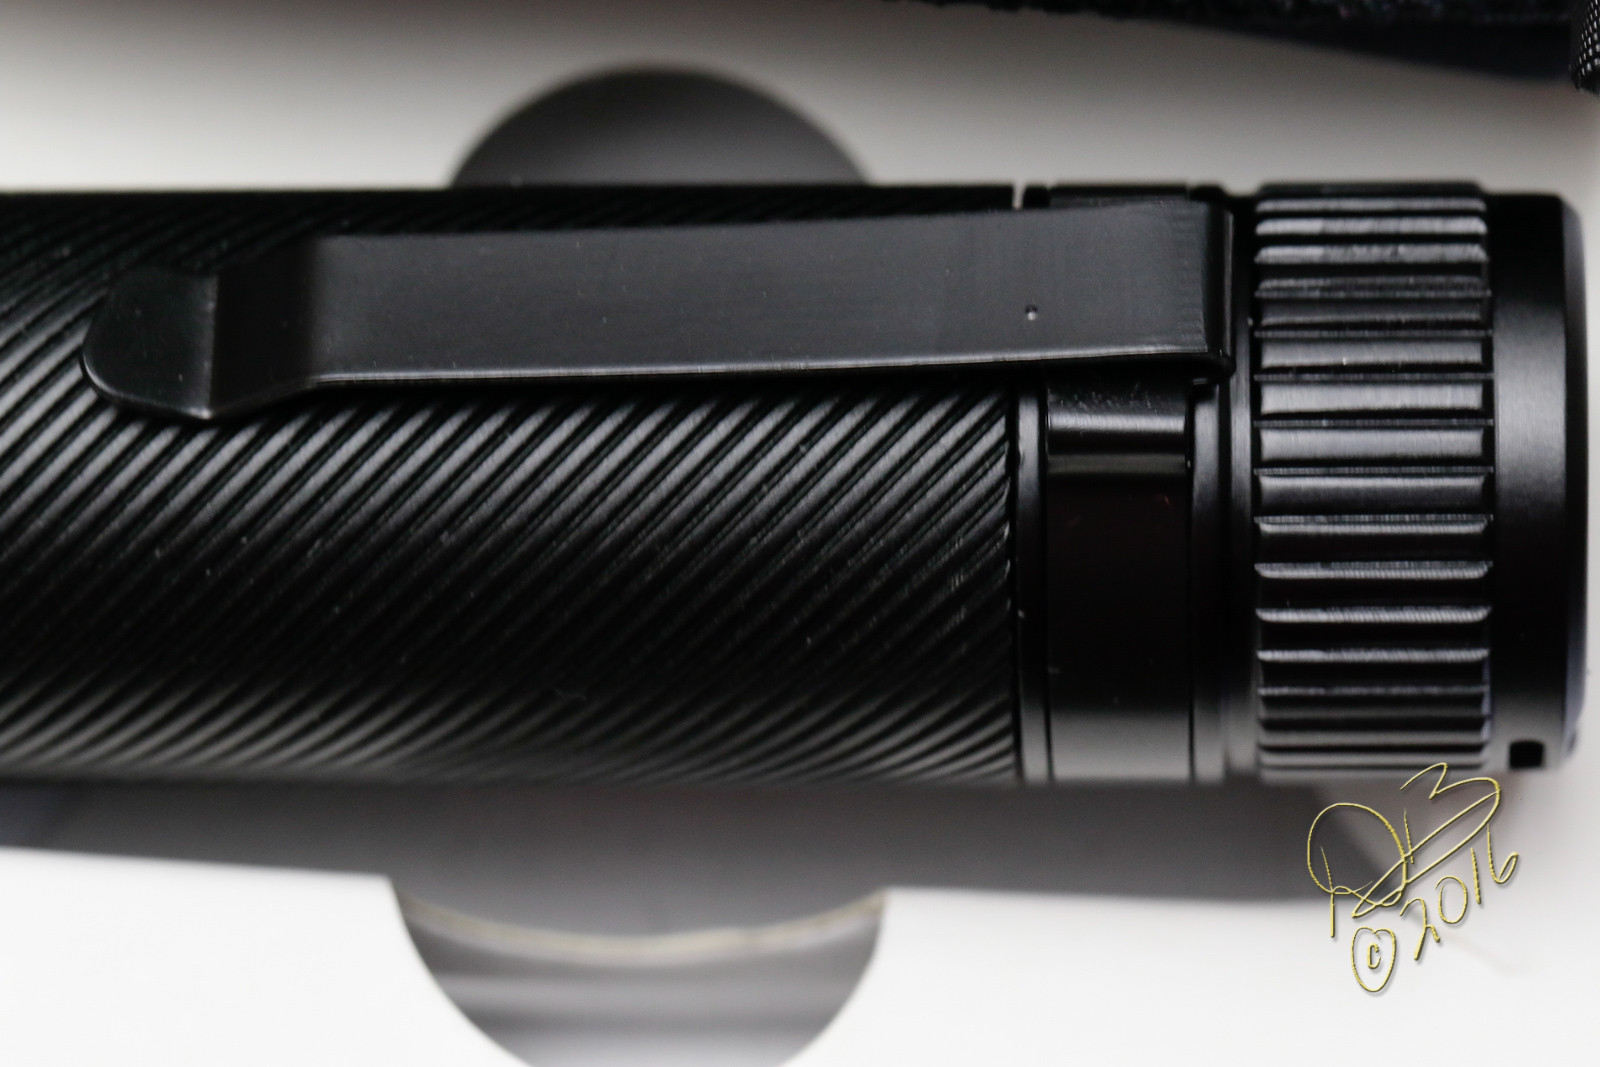
The finish is well done, seems pretty tough (I mean, I did get a chance to test it which you’ll see directly)

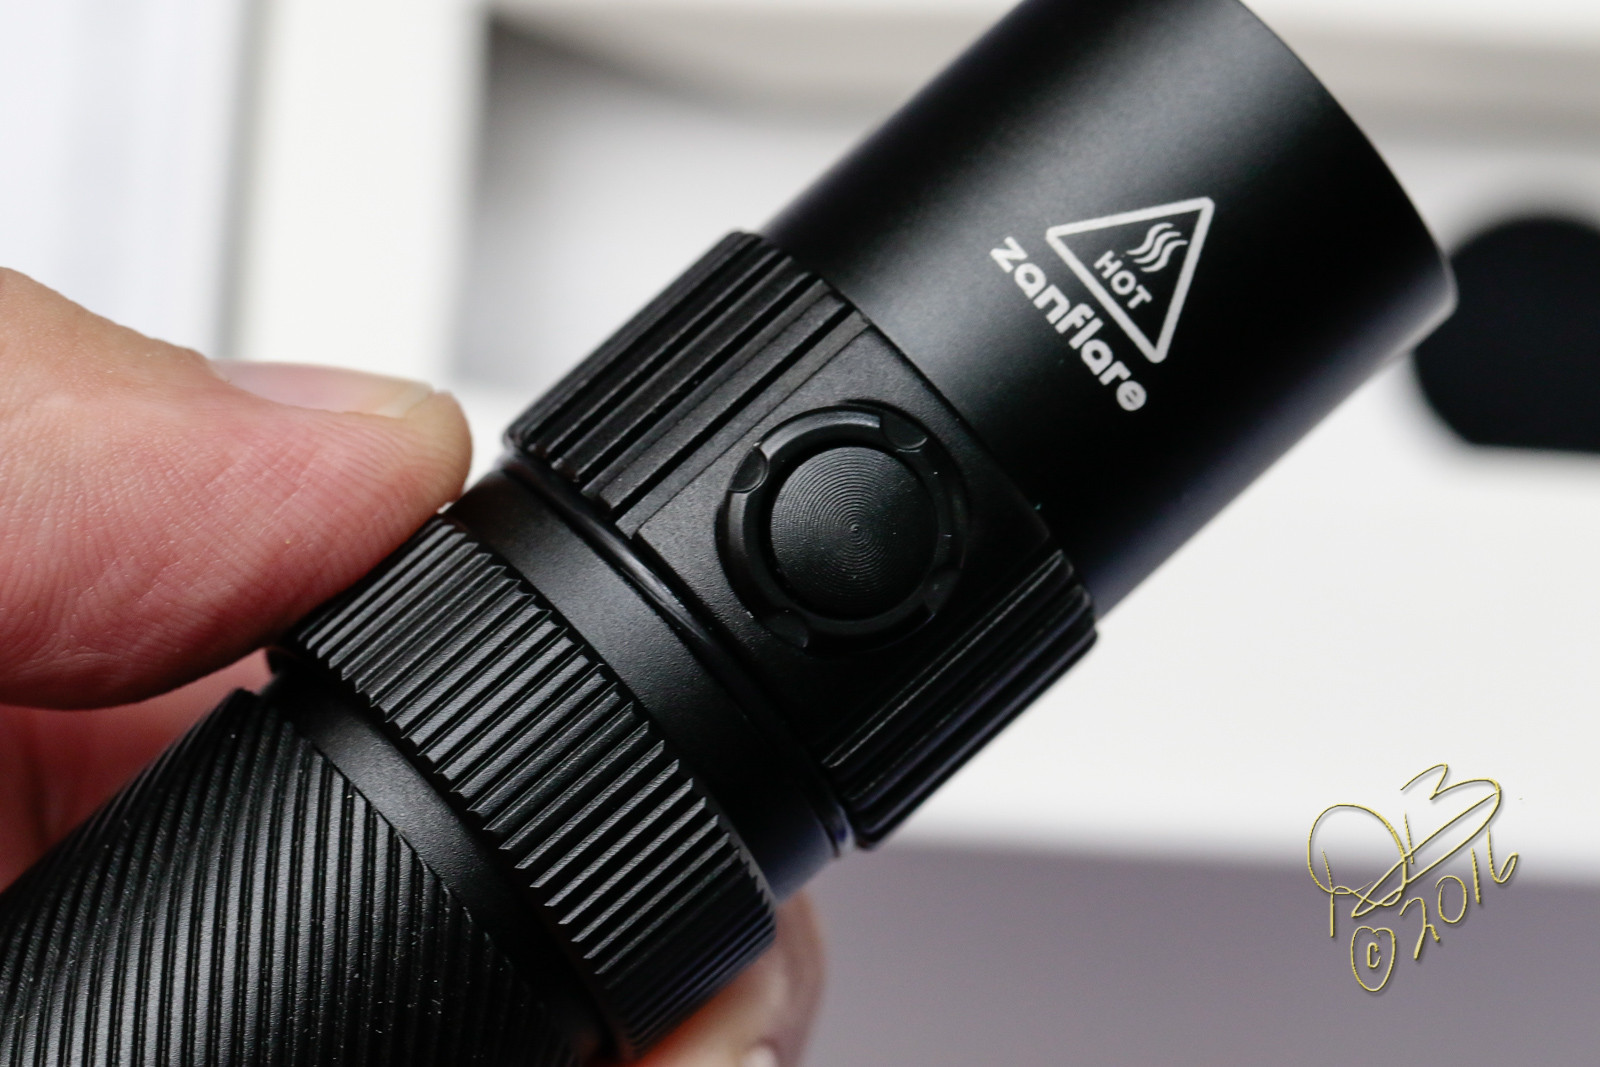
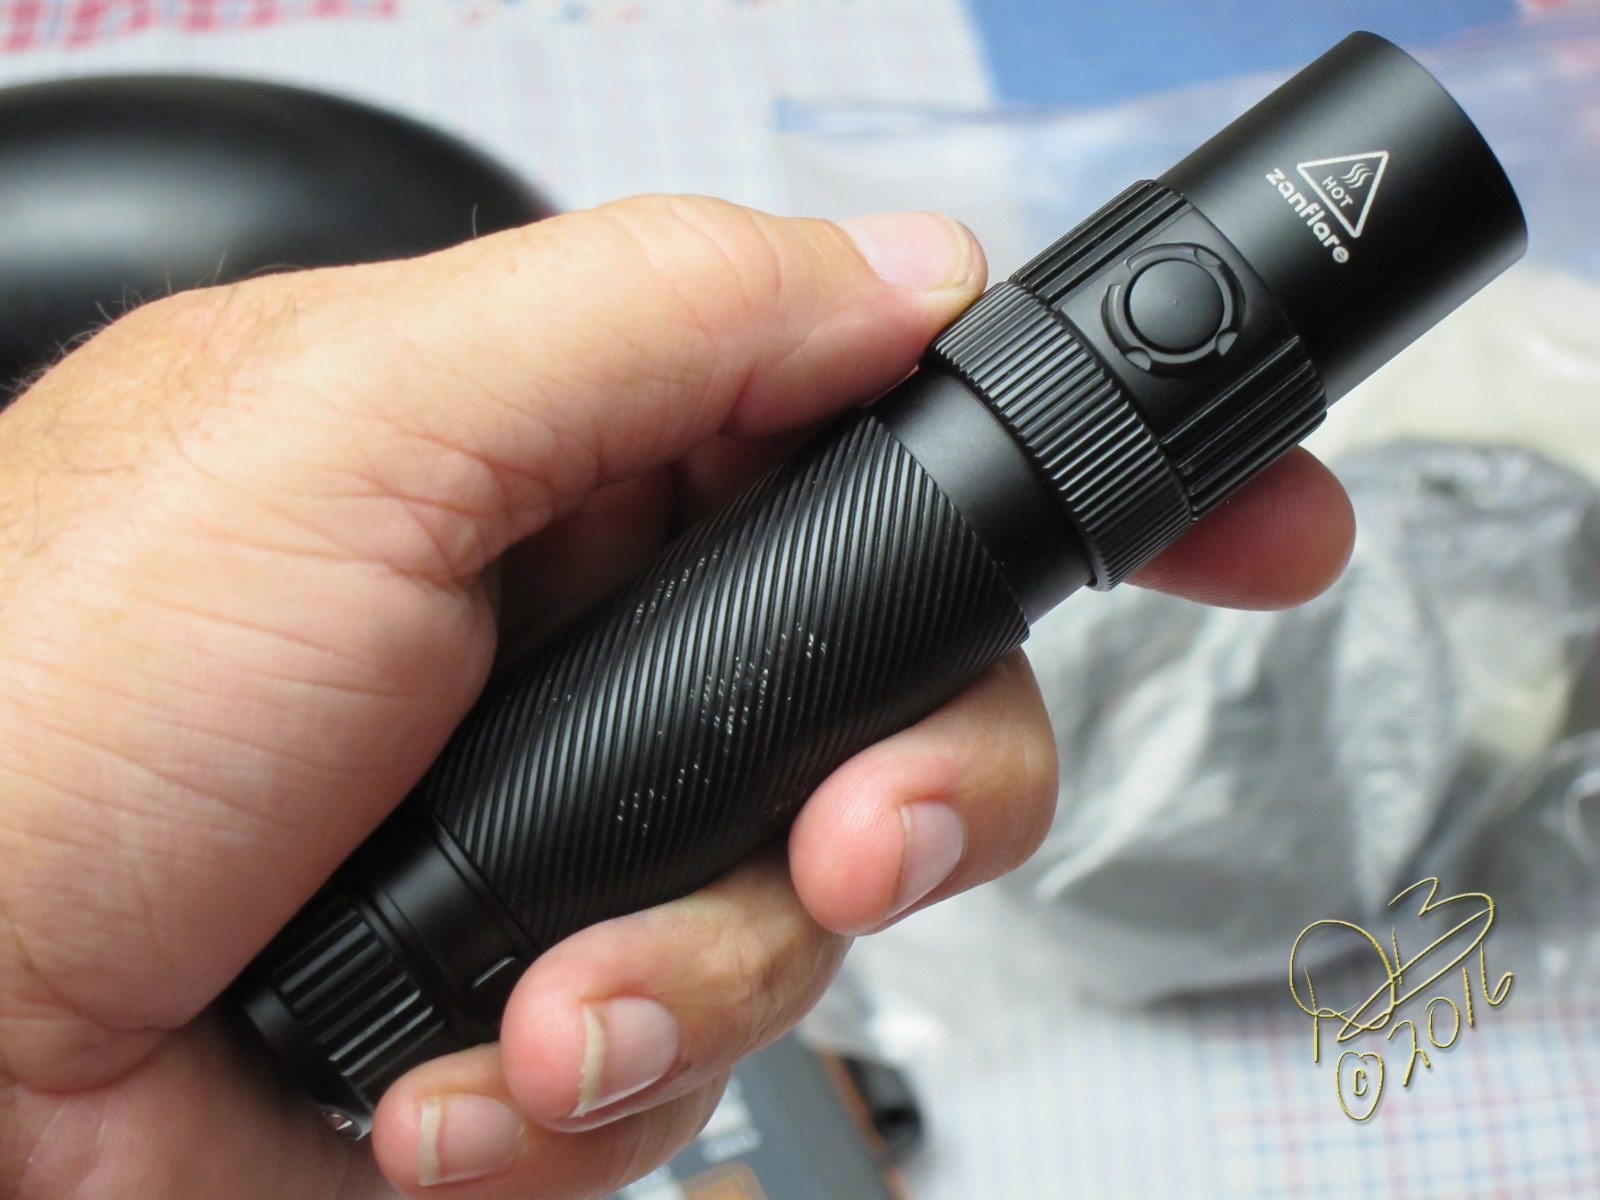
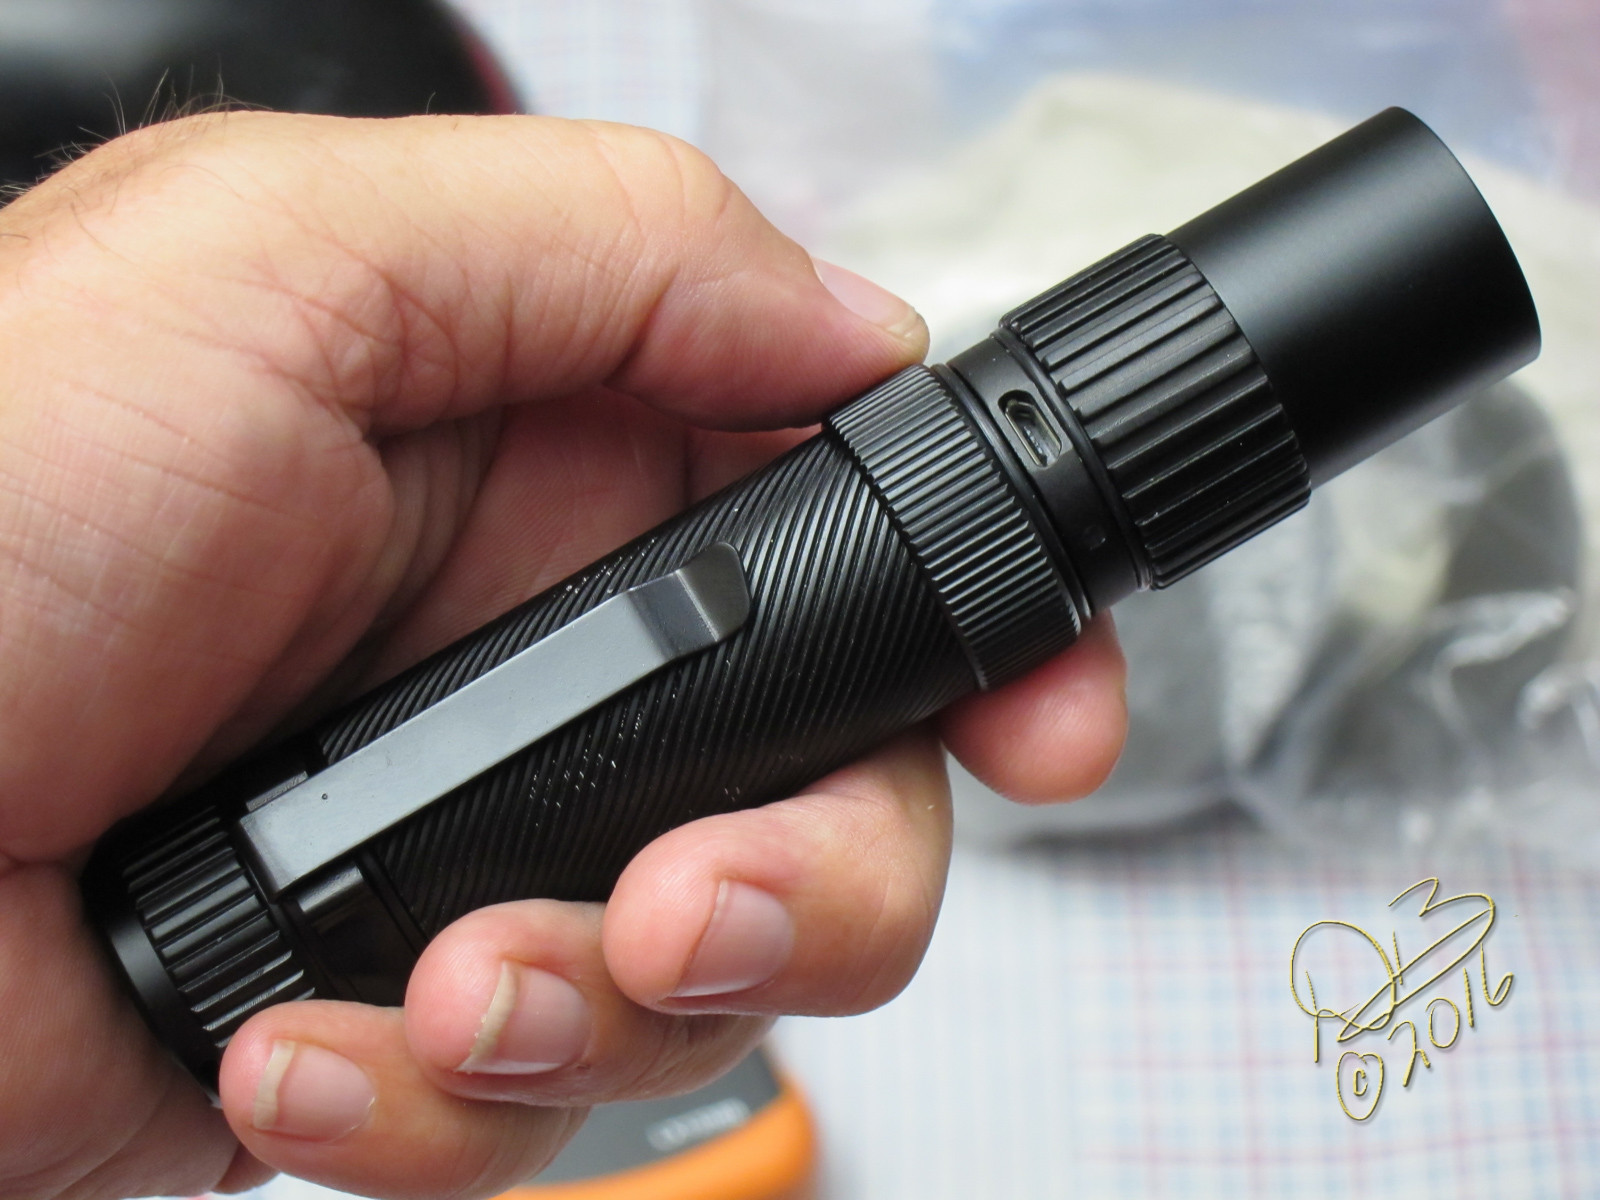
See this tighter area of “spline” under the switch housing? This is a threaded ring that has 2 o-rings under it, one on each side of the micro USB charging port! Yes, it charges with the cell inside, there’s a small window that lights up red when charging and green when done.

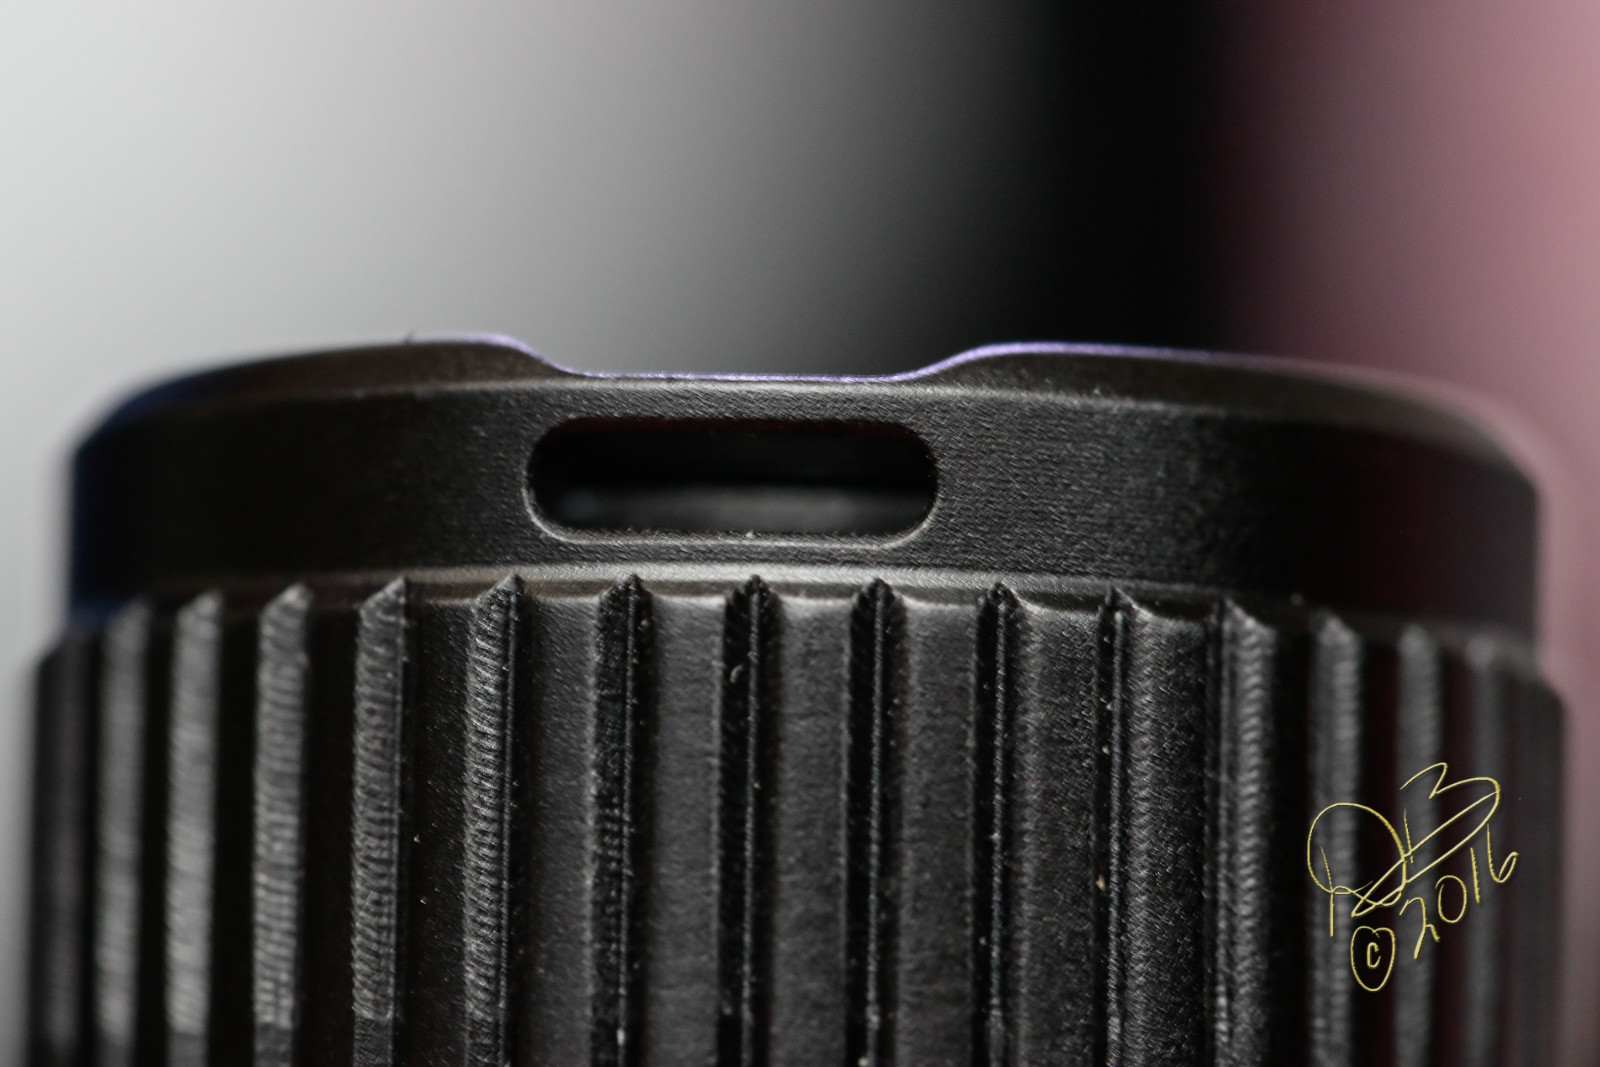
This small oval window is for the lanyard, it does go all the way through and the groove allows for tail standing.

The clip… possibly reversible but it would block the cover ring for the charging port. Hmmm……

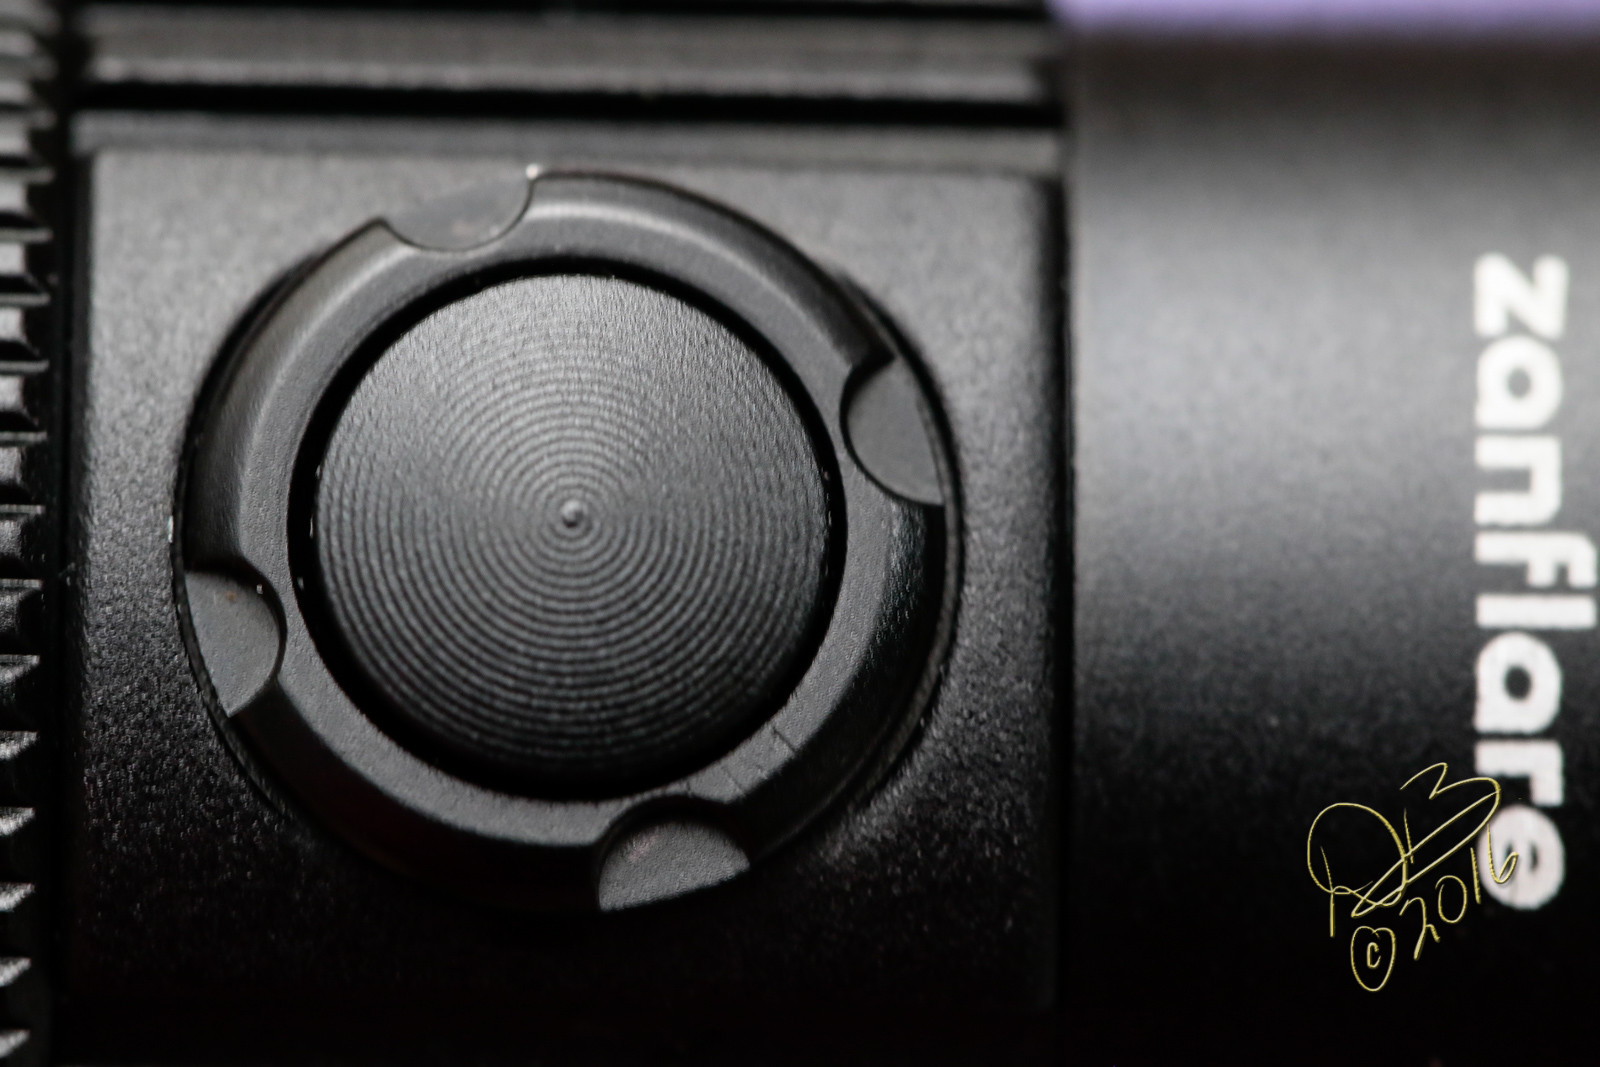
Side switch is well coated, ano’d, whatever it is… it blends well with the light and has nice activation… I’ll show you what’s behind it directly…

Have you noticed anything about all this external design?

It’s a bit eclectic, a fairly heavy “spline” on the tail cap, then the half finished knurled spiral on the tube, followed by a different value spline on the cover ring for the charge port, and yet another value of spline on the head. Seems odd to have so many different design styles.

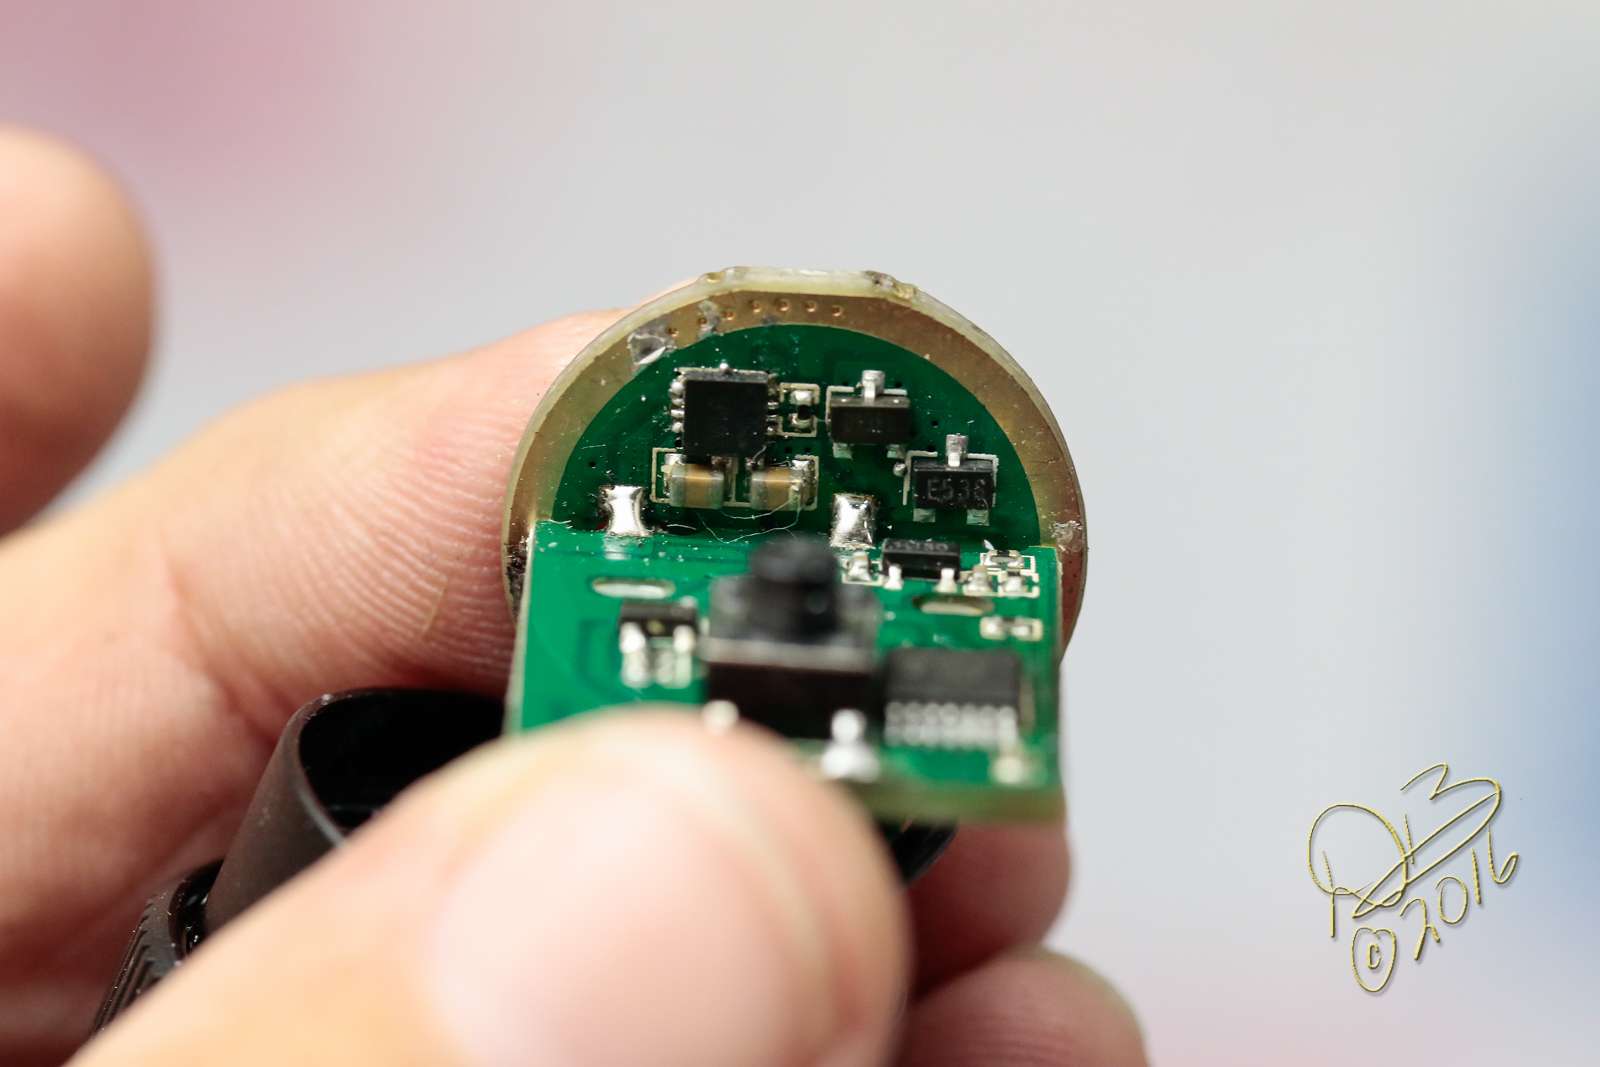
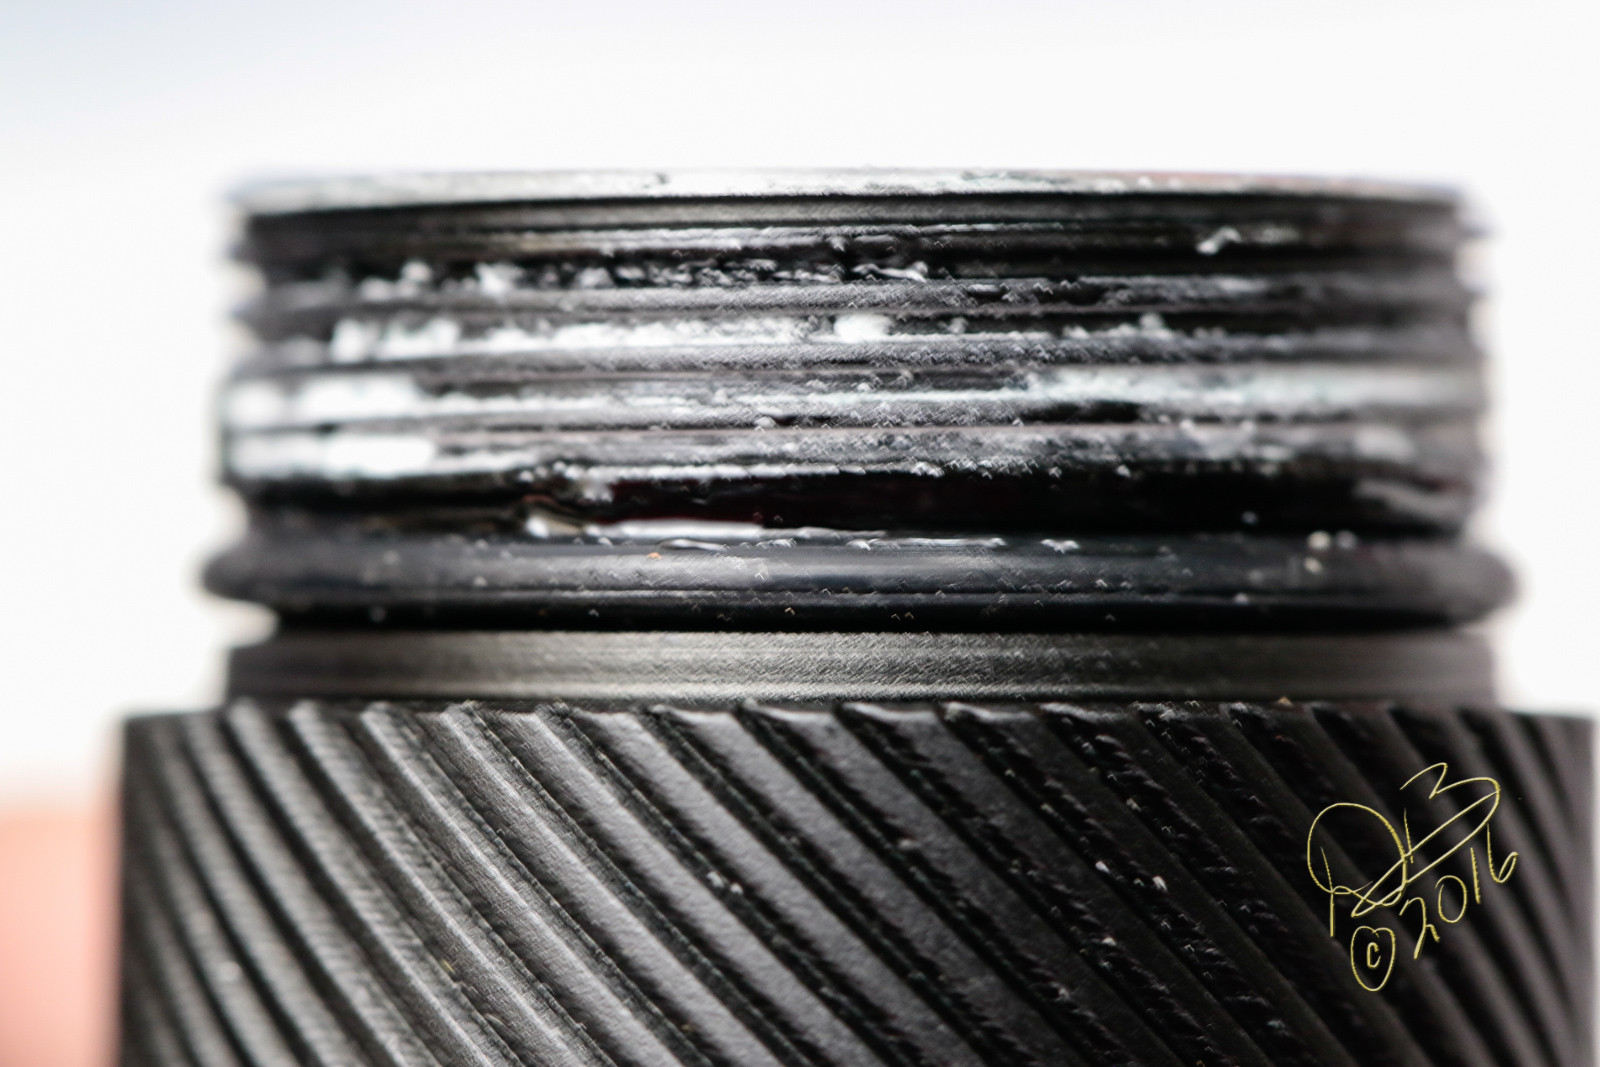
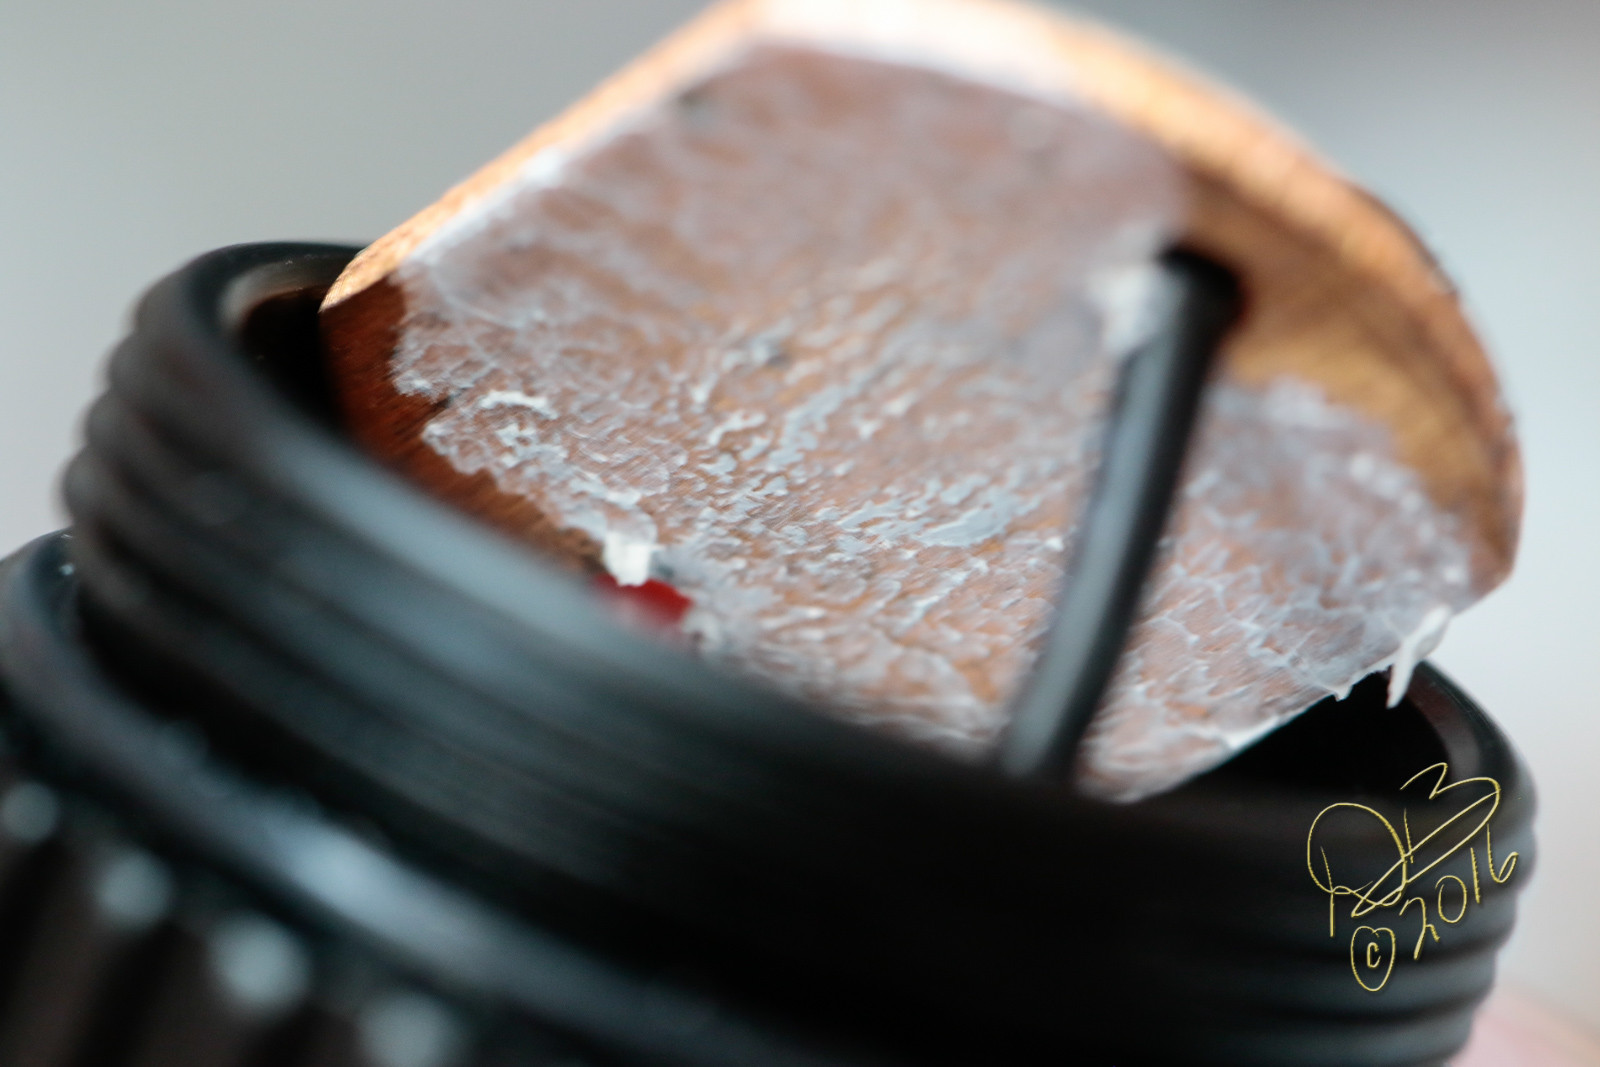
Some of y’all won’t like this bit at all. It’s glued. Seriously and heavily glued. Looks like Blue Loctite, and a lot of it! They really don’t want you going in, warn against it, and it voids the warranty to do so, plainly stated. But you know, I can’t do a review without showing it all, right?

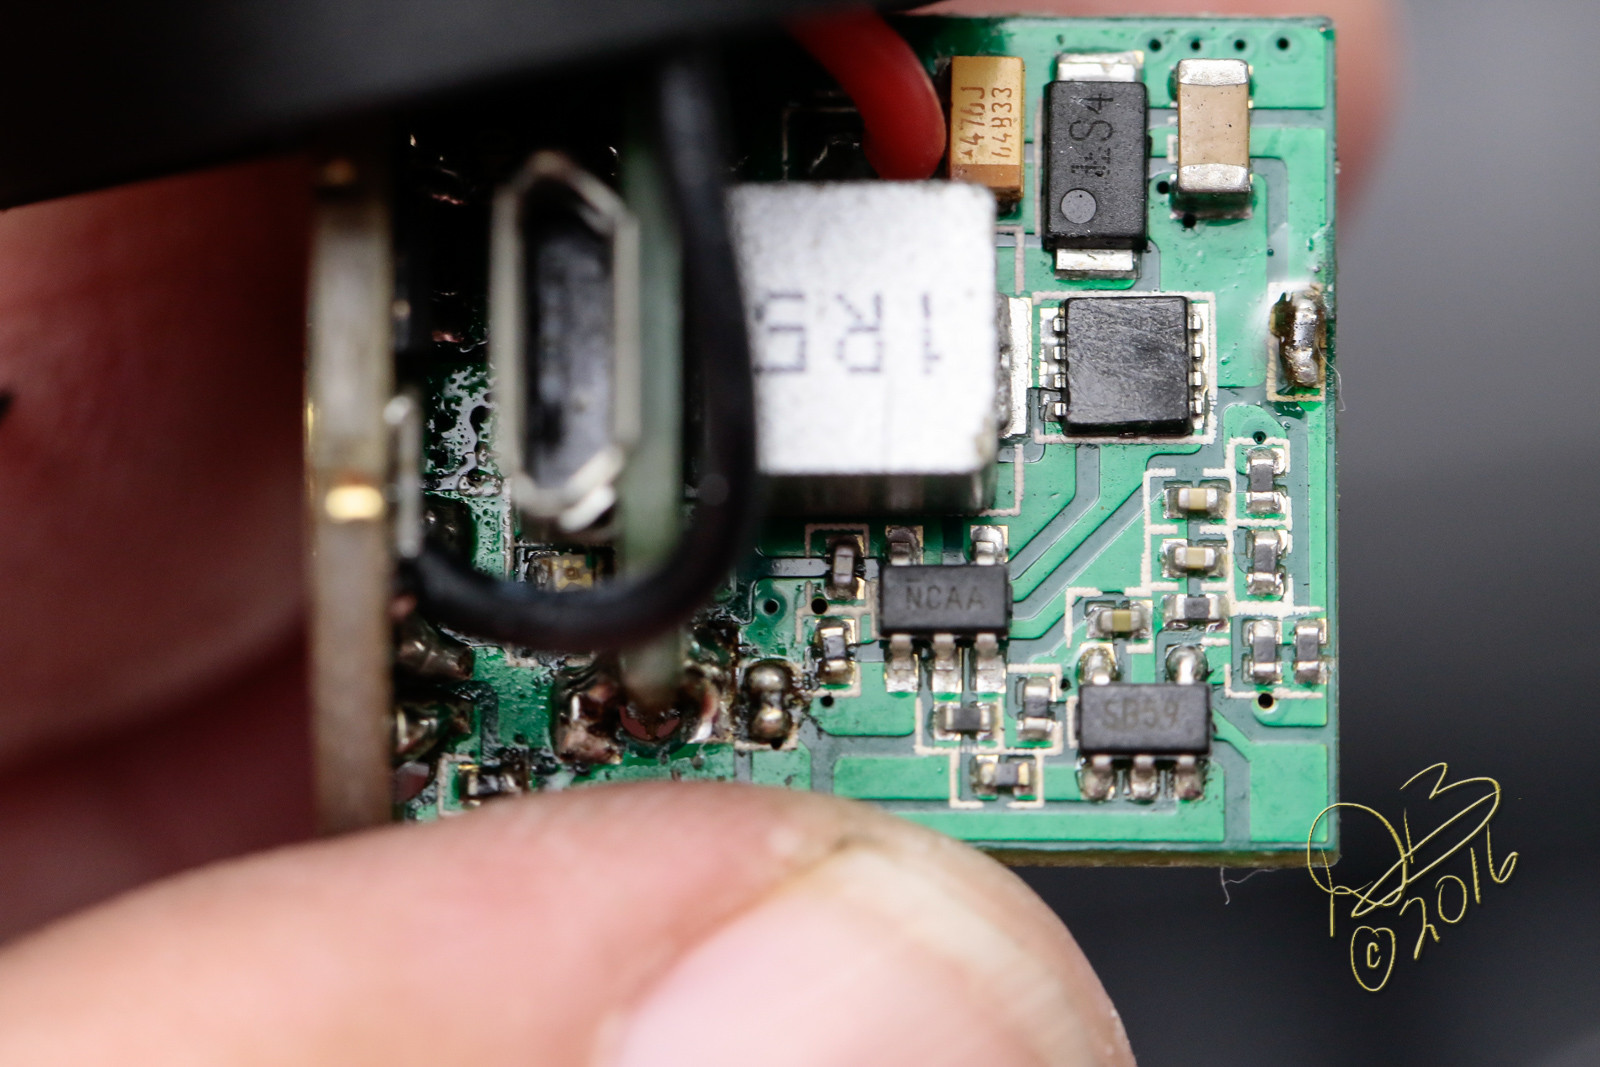
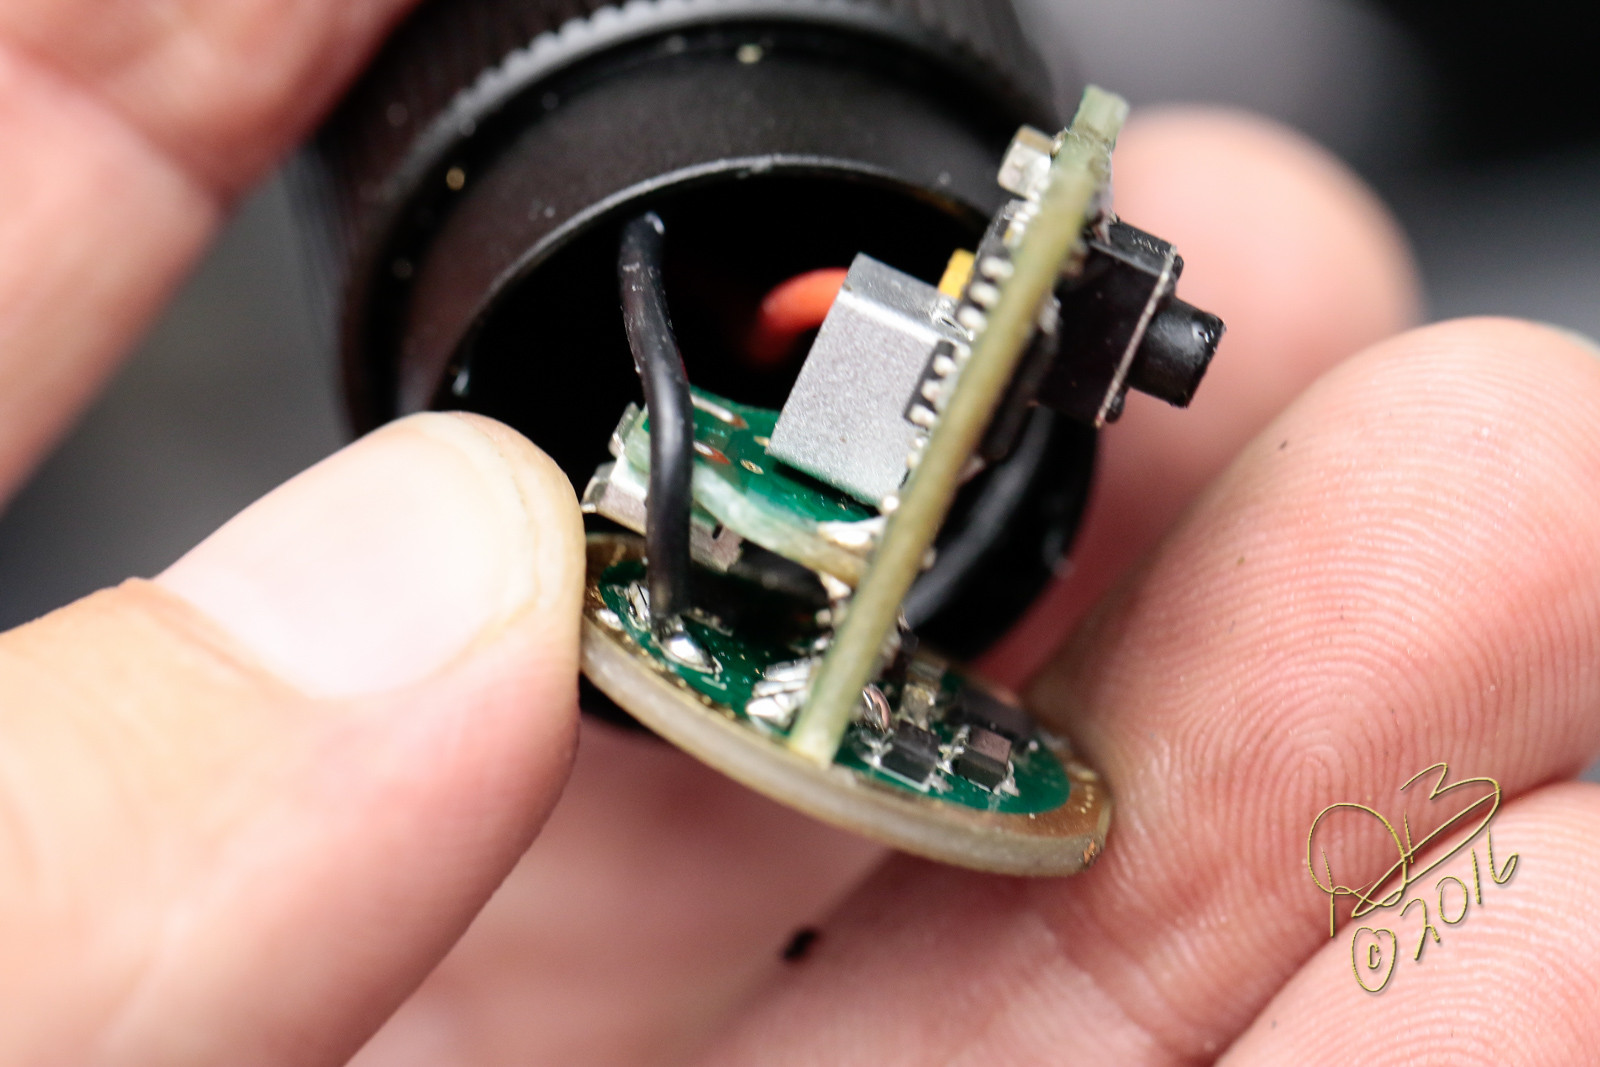
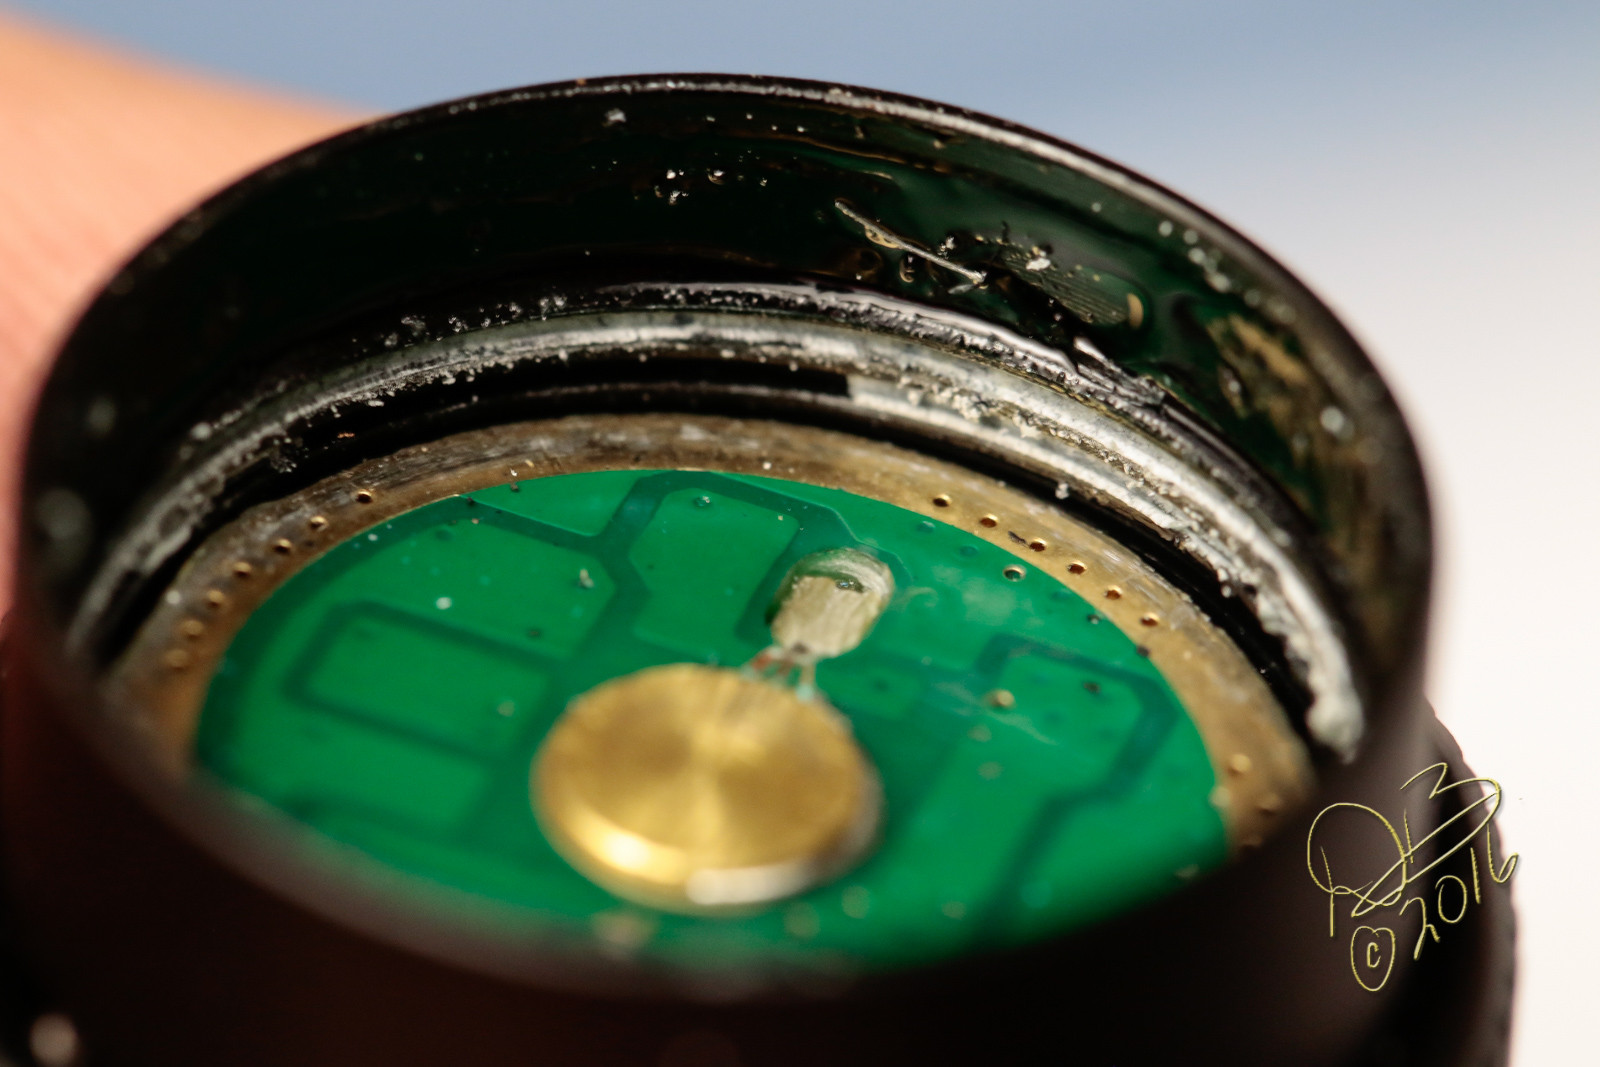
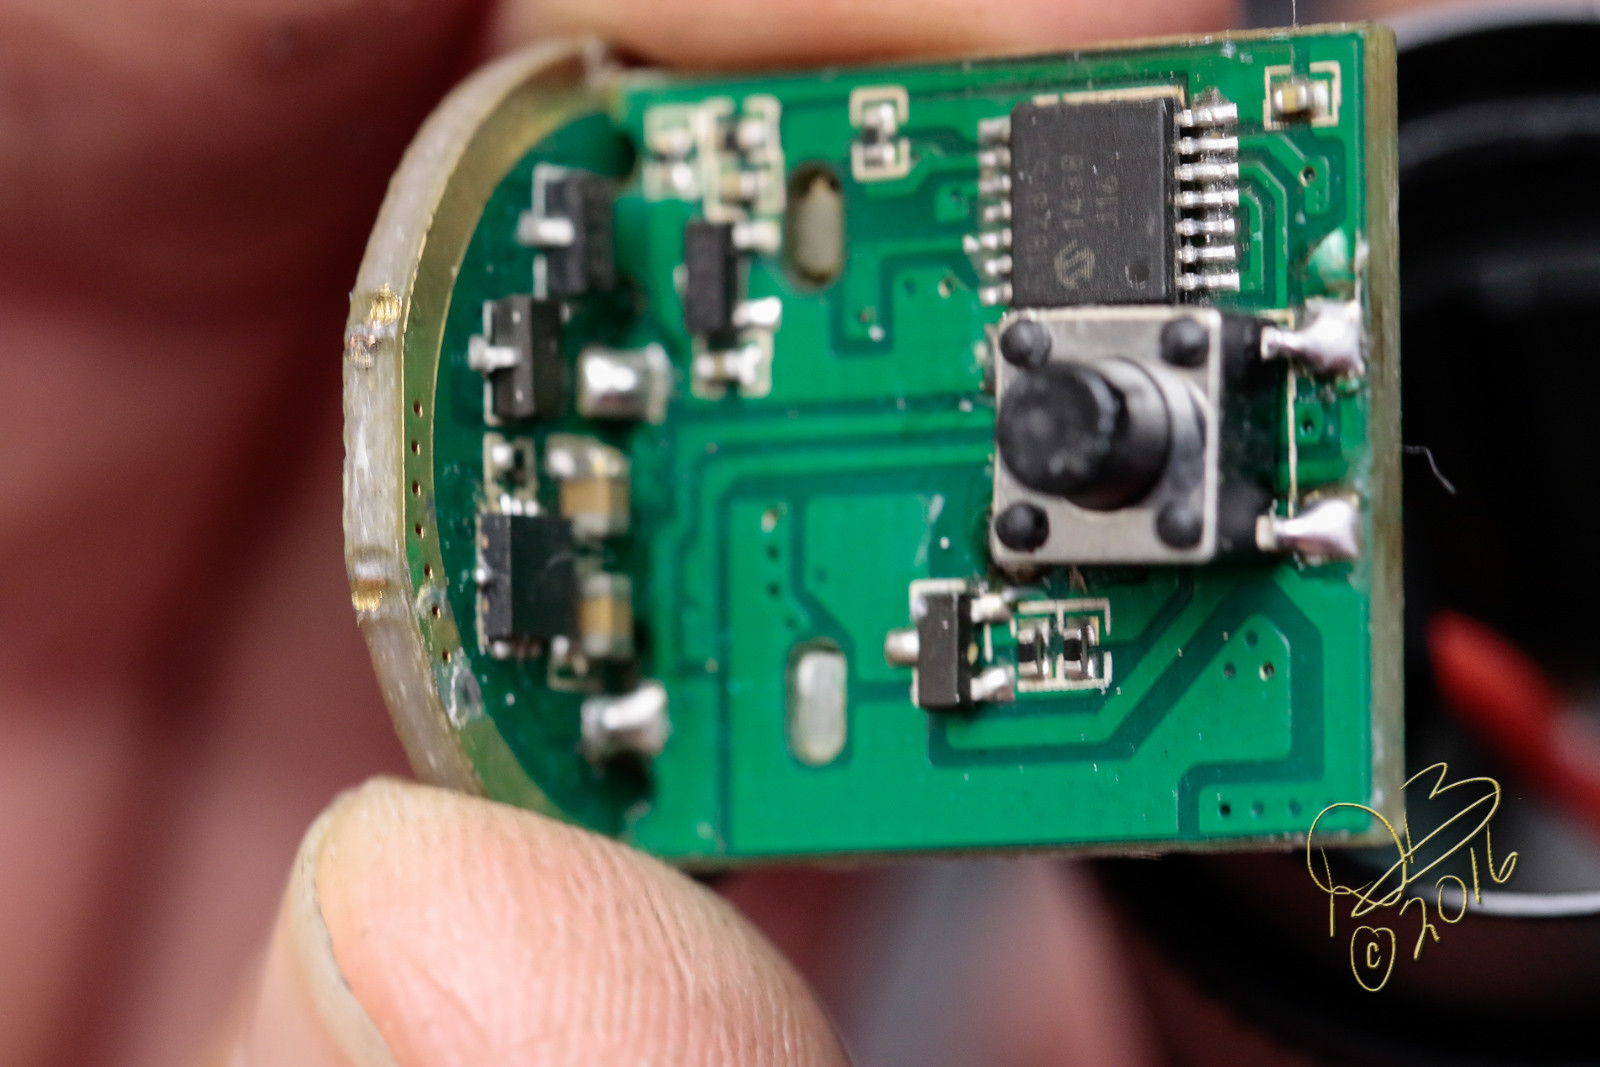
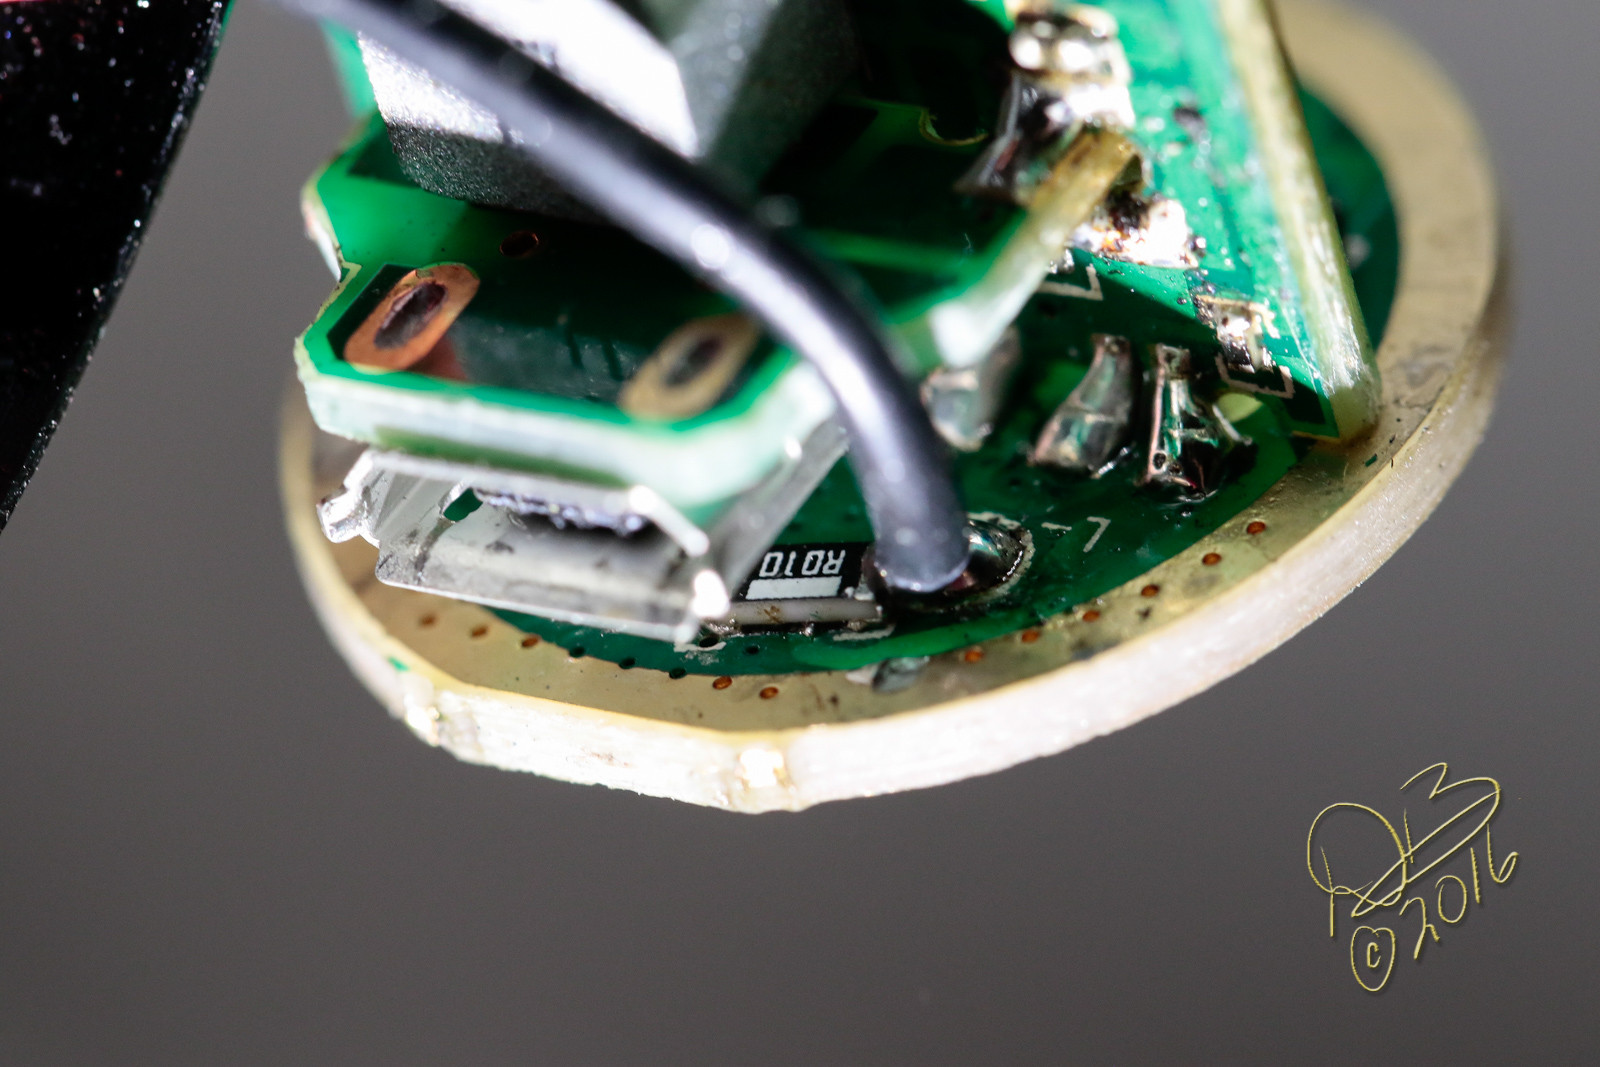
Multi panel driver has slots in the head to keep it from rotating, machined flats to line up the board mounted switch, all nice and solid.


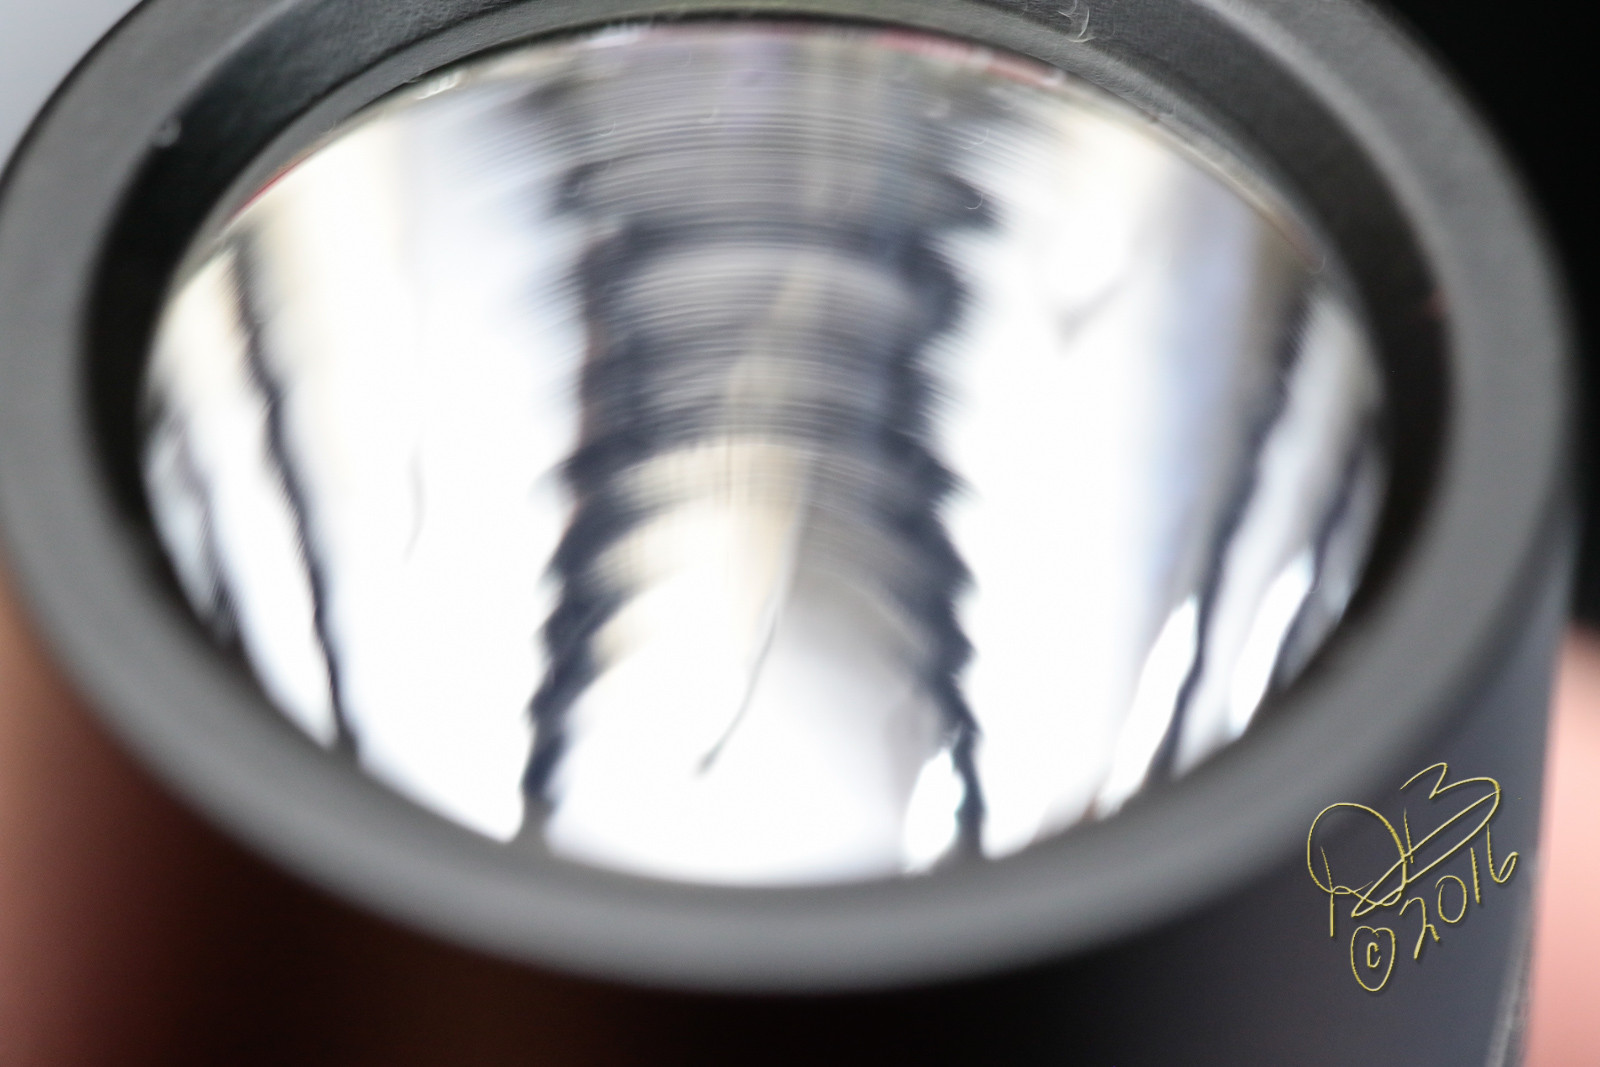
The reflector is supposedly optimized, it seems to have steps all the way up it, but the beam is pretty nice and it’s made of aluminum so…


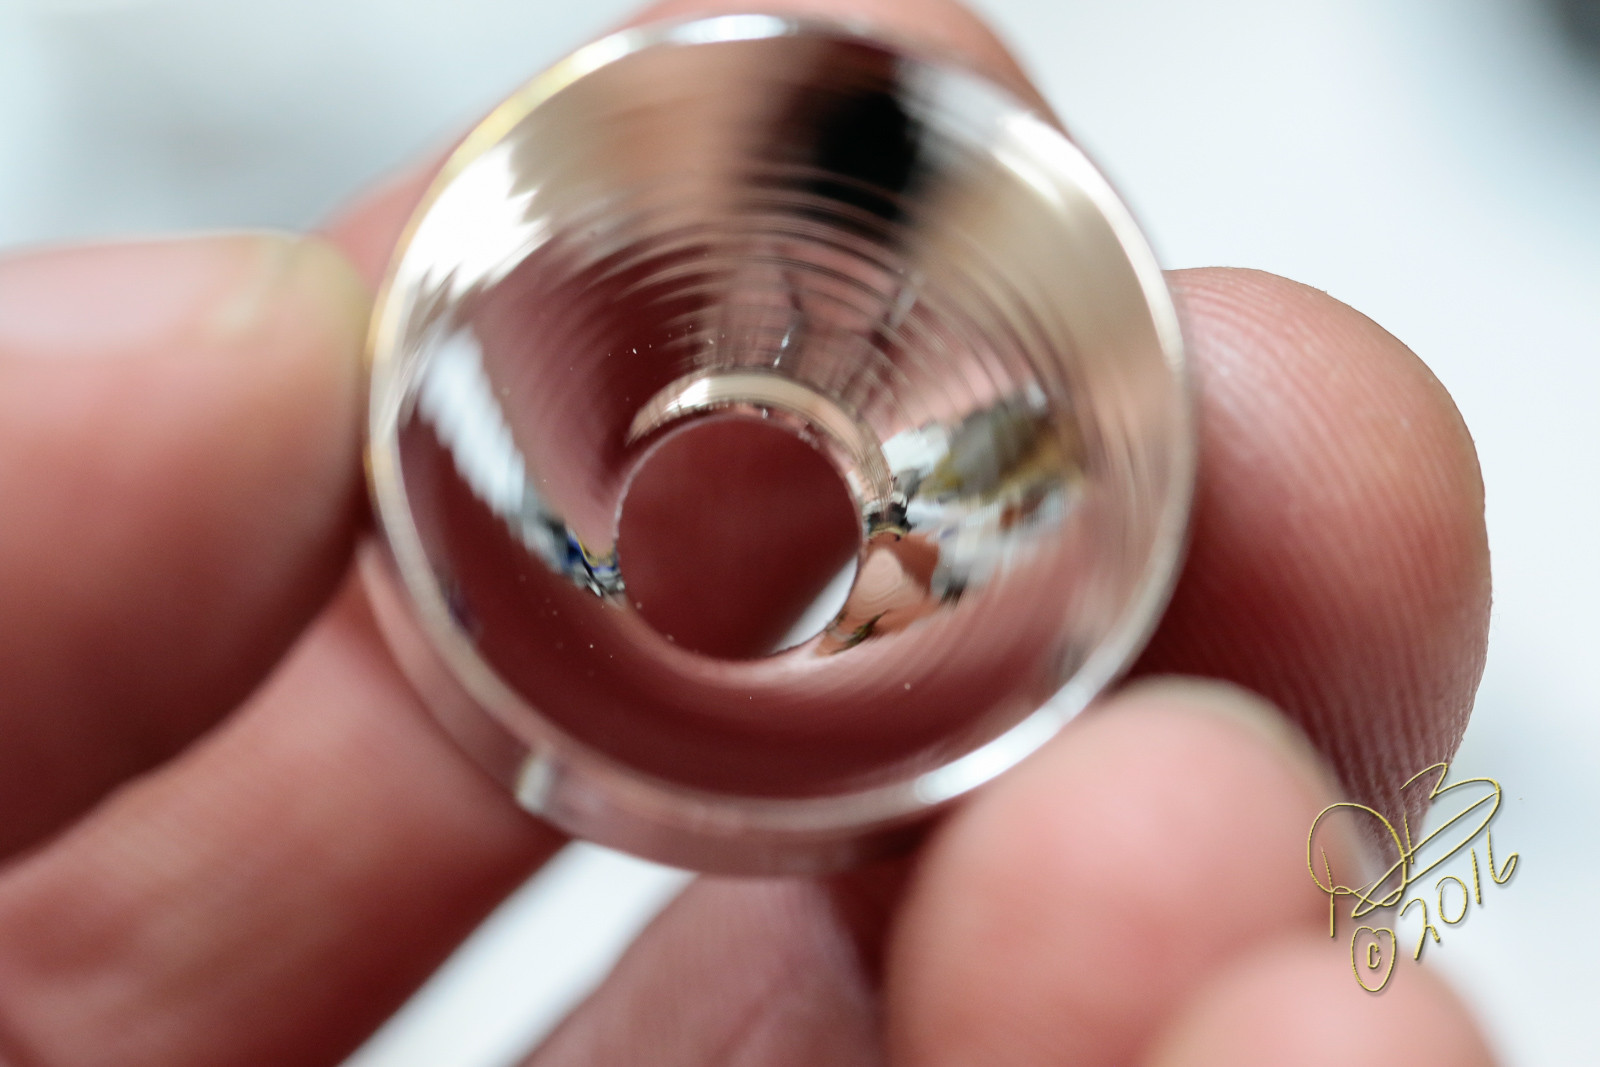
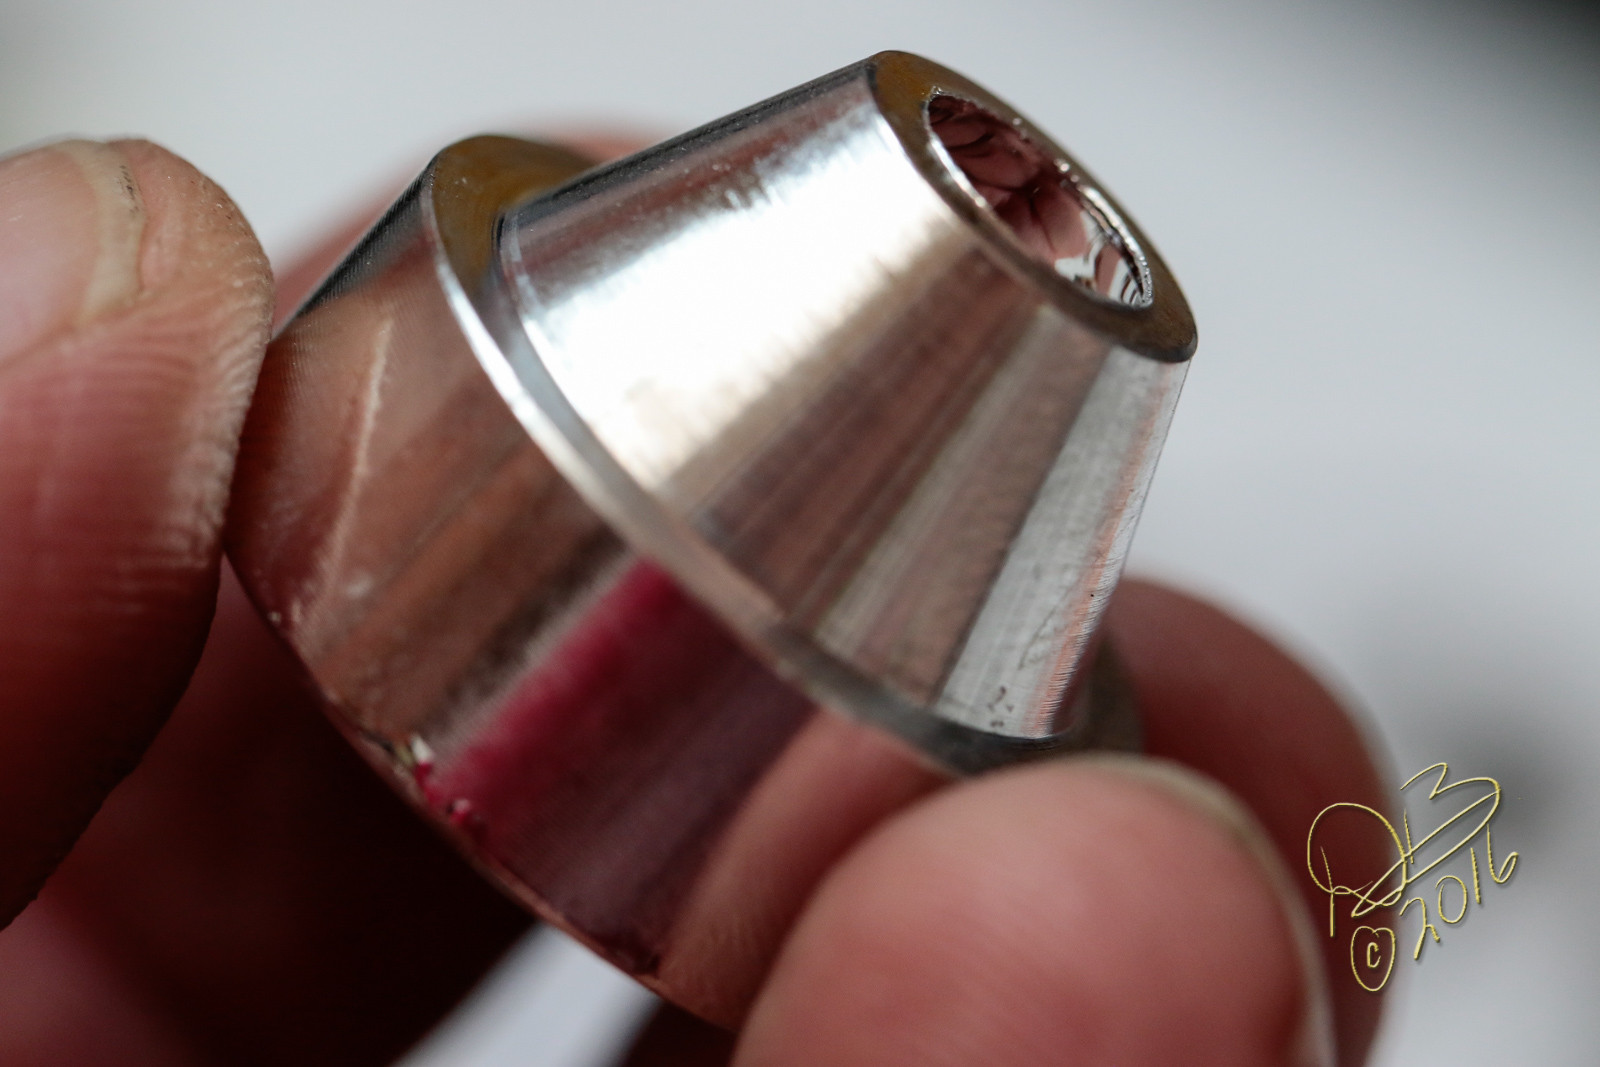
There’s a very elaborate machined cup that acts as insulation disc and cups the base of the reflector, pretty well done, they’re trying quite hard to get this right…

Is there a small margin left to allow for a bump?

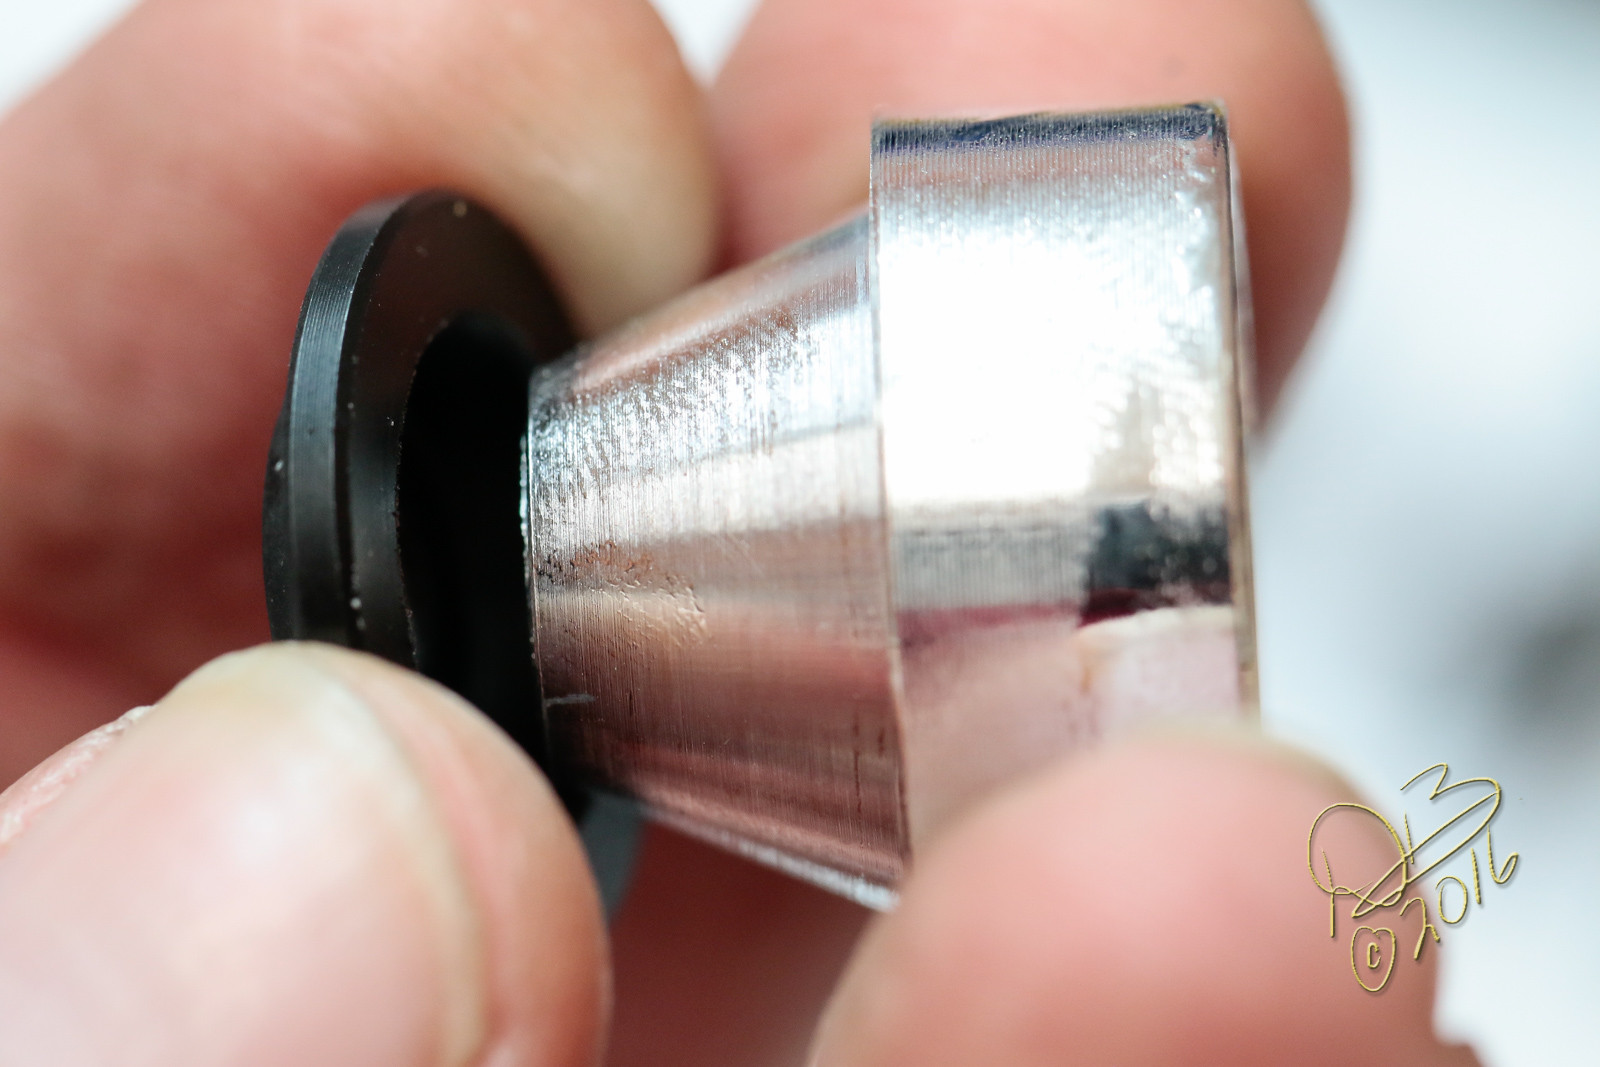
Anyway, no centering ring is necessary. Why? Because they made a threaded retaining ring to snug the reflector against the thick glass lens and press the o-ring firmly into position as well. (loosened to show relationship)

Lens is chamfered, AR coated, nice touch.

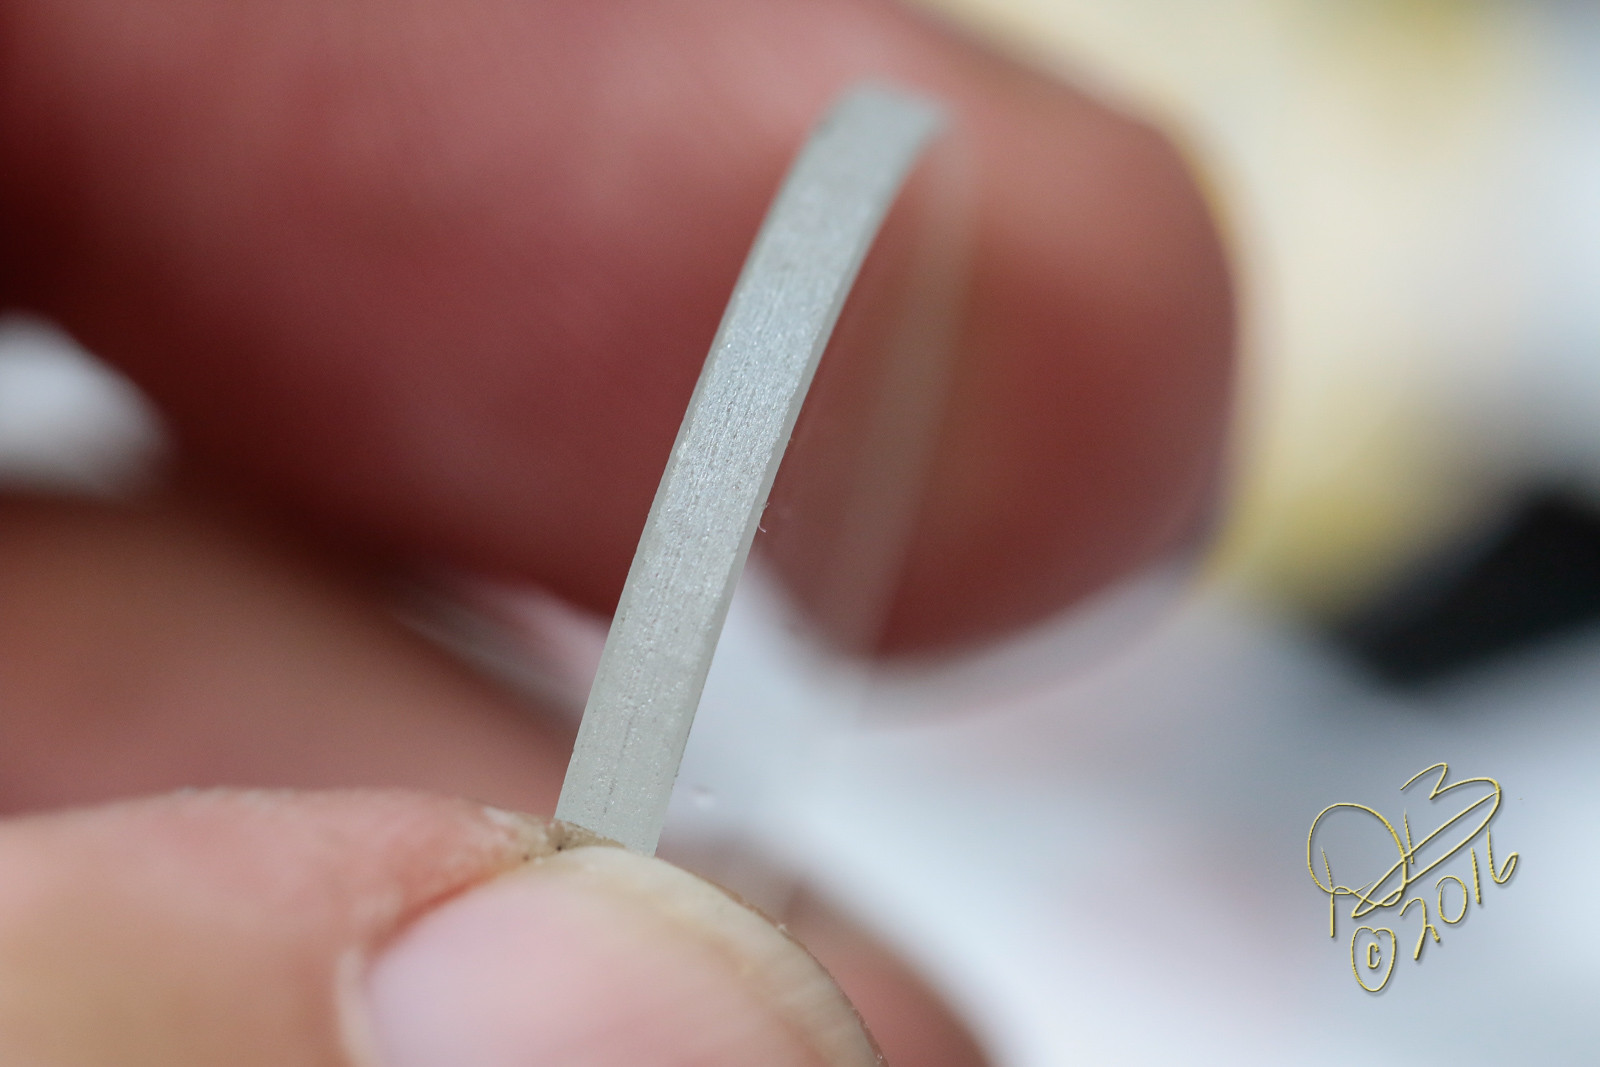
The tail cap button is actually metal, with a rubber skirt that fits snugly in a groove… tight enough it’s difficult to remove so I left it intact, afraid of tearing it.

Mcpcb is proprietary, apparently made for GearBest or by them for this light, it’s DTP and again a nice touch.

The slight scuffs and couple of marks you can see on it now are from taking it apart. I had to mount it in the 5” jaws of the chuck on my lathe and use a rubber strap with 12” channel locks, and even then it was not easy to break loose all the blue LocTite! But the light held up well, better than Nitecore’s have when doing this, and all in all it’s not much worse for the wear…


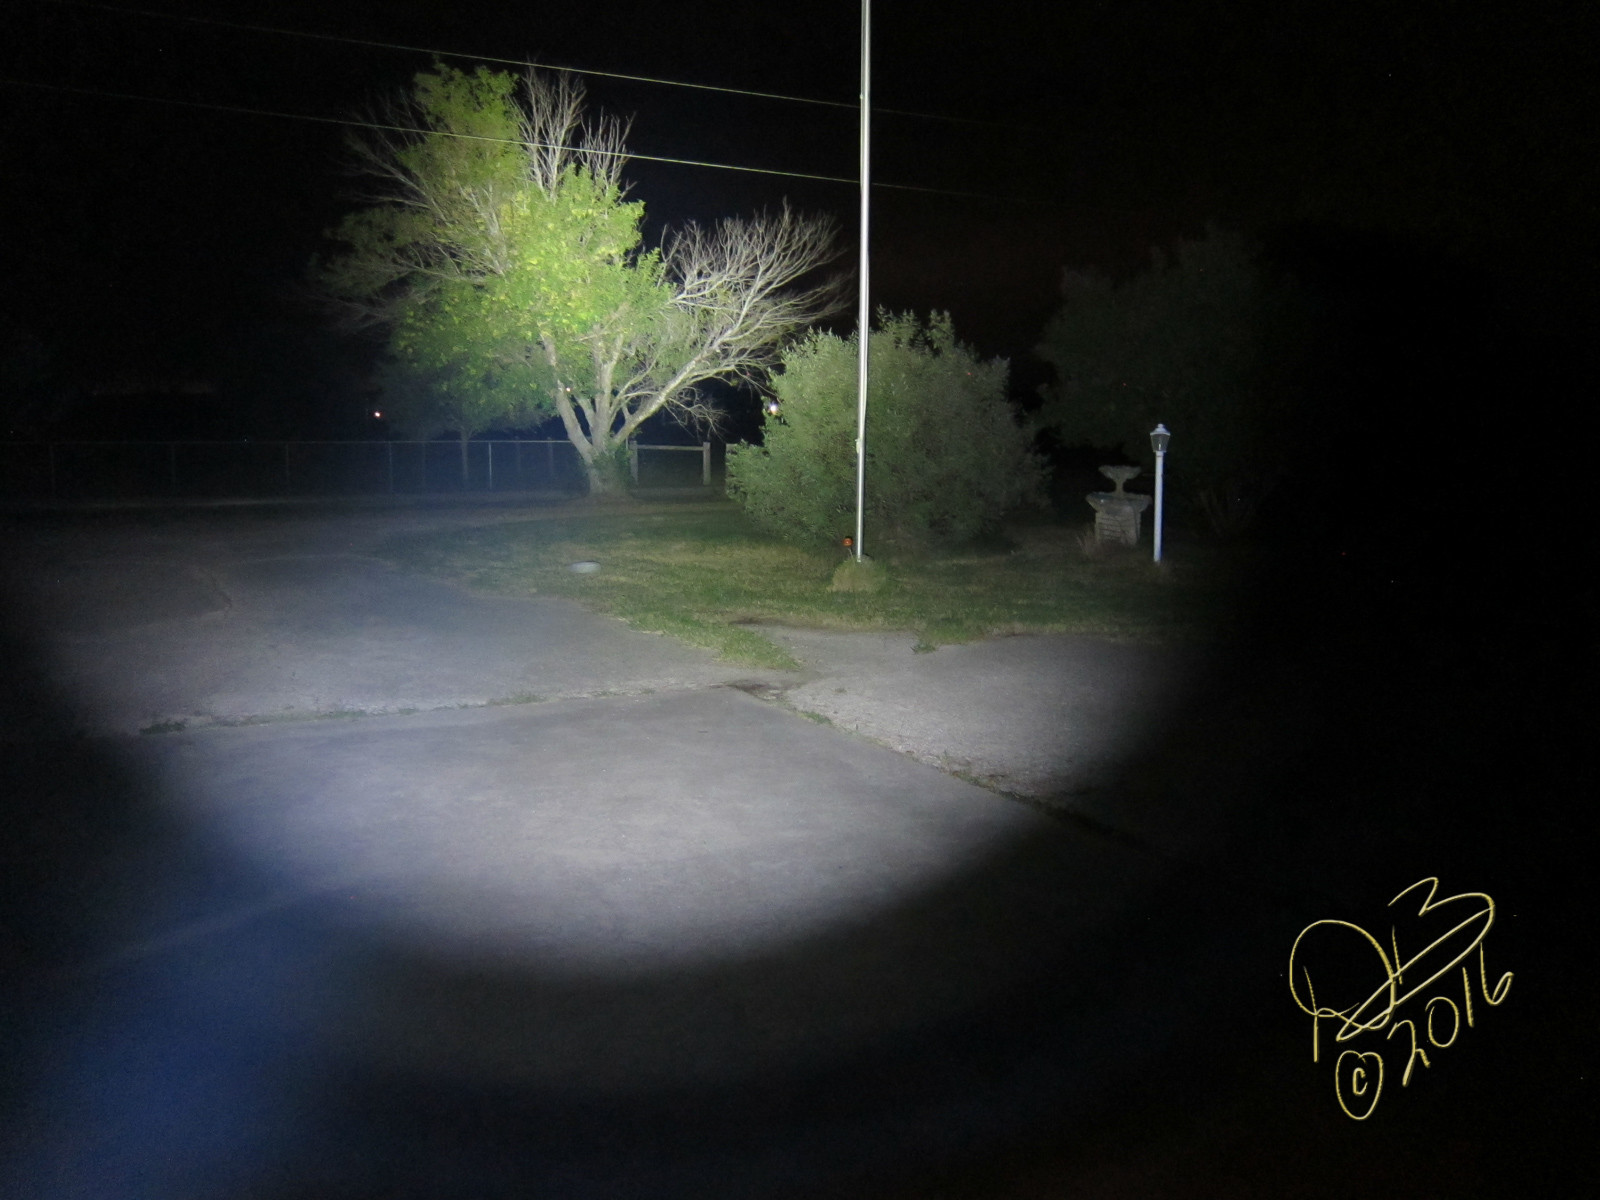
This is the same tree normall in my beam shots, but from a different angle. It’s trying to rain and getting late. :wink: (It’s 32 yards to the tree from my front porch)

Interesting light, quite a few ideas in this one light, most of which play well together. Essentially 3 1/2 Amps and 1270 lumens, pretty good start. And they say it’s regulated constant current, again a nice touch.

Thanks May, looks like y’all have done a nice job with this one. :wink:

Update: Gearbest has a new Owners Manual that will be shipping with the newer lights.

Pro’s and Con’s

Pro’s
Premium Cree XP-L V6 emitter on a DTP copper mcpcb.
Regulated constant current circuitry
Thermal step down to protect from overheating
3.5A in Flare mode
~1250 lumens
Good beam profile, hot spot easily fills a target 50 yds away
Built in USB Charger, well protected from dirt and water
Nice pocket clip
Metal clicky button in tail cap with good seal
All actuation is firm and positive
High grade anodization
Glass breaker point in tail cap

Con’s
Pocket clip is attached to tail cap, will scar up the battery tube with cell replacement (provided internal charging is not used)
Overall style is a bit eclectic
Head glued (sealed, in their words)
UI is slightly confusing, not difficult to get used to though

I don’t know the price point on this light, but from the feature set and quality of construction it should compare favorably to other lights in it’s class and come in at an affordable level. Will make a nice EDC with good moonlight and top tier common level, not sure I like how it steps down in thermal protection, it seems to go a bit too far and reset to moonlight instead of merely stepping down to High and then Medium if necessary. A better stepdown ramp would make the Flare mode much more useful.

Will be playing with it some more and get more shots of the light in use with beamshots later today.

Thanks for checking it out, and Thank You, May, for considering me to do this review/testing. :slight_smile:

not on their website :question:

The zanflare website is not active either. They just filed for the patent on the name last May.

The light is brand new, freshly made just in the last week or so it would appear.

Love how that ring protects and waterproofs the charging port.
Instantpy one of the best solutions! (Even better then the BD series that has excellent water proofing but has an external proprietary thingy.)
Well done gearbest!

are you able to use the usb to fully charge a battery then measure the battery voltage?

also i was looking at the IC near the push button , is it an 18231st? its a but hard to make out.

Hi DB Custom, thanks for your quickest and so detailed review

it will be listed in a few days, wish you could like it too

Sorry if I missed it, but which LED are they using?

Ah, it says XP-L in the manual. Cool.

Nice specs. It does look like they tried really hard to get it right. I’d love to love this light for its features. But, it’s so ugly. I really, really, REALLY don’t like the ‘spline’ look. :cry:

Too bad that they were unable to make a driver with low quiescent drain. It shouldn’t be this hard to do.
And time for a traditional question: can it fit triple?

Haha, but for me the spline look is a refreshing break from all the usual stuff we see…beauty is indeed in the eyes of the beholder.

Maybe because it’s also looong. This seemed off to me so I checked the specs and it’s actually almost 2 cm longer than S2+, which is already pretty long.

It’ long because of the triple board driver design. The driver cavity is deep by necessity. It’s done well though, with the internal slots for the vertical driver board to fit into, any hard press on the switch just doesn’t cause issue like so many others.

Another look at the switch side of the board… I wasn’t targeting specific’s so these are the only pics I have at this point. I can get back inside easily now though. :wink:

It seems a bit large but you can’t say it’s not rugged looking. I would not mind trying one of those during my upcoming winter night shifts. That would soon reveal any flaws it might have!

Scorpia, this should help…

Xoden, low quiescent drain is irrelevant with an on/off tail switch, yes? The light cannot be turned off from the side e-switch, so with the physical clicky switch at the tail quiescent drain does not apply here.

Some of the length is absolute, due to the USB charging port and the excellent cover design… threads are few but it still takes some space to have these threads with a physical dual o-ring cover to ensure the port is protected.

I measure 118.8mm on a Convoy S2+ and 136.2mm on the f1.

S2+ is 23.8mm diameter at the bezel, f1 is 26.3mm.

S2+ is 17.4mm at the reflector opening in the bezel, f1 is 20mm.

Reflector cup is approx 11mm on the S2+, the f1 reflector cup is approximately 20mm in depth.

Easy to see that the f1 is a larger more capable light with better throw characteristics and the built in charging system. A win as far as I’m concerned. More light than the expensive Nitecore P12GT with comparable features and still smaller than this class mate.

Very interesting light…very curious about the price!

On paper, the Zanfare F1 flashlight looks pretty good. The several styles of knurling/grip do make for an odd appearance, but that's not a deal-breaker for me.

No small tube light can hold a 1240-lumen output for very long, so the 30-second step-down in "Flare" mode is fine. The next highest mode, a 590-lumen "Turbo" mode, is a level that can probably be maintained without overheating.

Overall, the mode spacing is good. It would be better if there were a mode between the 1-lumen "Moonlight" mode and the 50-lumen "Low." Something like 10 or 15 lumens would be nice. Adding another mode, however, might create user interface issues. There are already five different constant modes, four of which are on the "main sequence." Inserting a new mode would make the main sequence longer. My opinion is that flashlights that have that many modes need to have mode switching in both directions, brighter and dimmer.

The recharging port cover is ideal. I have a general mistrust of the tiny rubber flaps used by most rechargeable flashlights. Zanfare has chosen my favorite design, a screw-on sleeve, sealed with O-rings.

The driver is said to be a constant current design that has both a low-voltage warning and cutoff (at 2.6 volts). Nice!

The User Manual does not describe recharging in detail. I presume that 1x18650 is the only battery configuration that allows recharging. Trying to recharge 2xRCR123 is probably not going work, but the User Manual fails to point this out. In addition, it looks like there is a typo in the User Manual. It describes CR123A as having a nominal voltage of 3.7 volts and RCR123 as having a nominal voltage of 3.0 volts. I think those are reversed.

Can the F1 flashlight can take 2x18350?

Based on the specs, I would say Zanfare has done a good job with it initial entry. I hope to see more from it. Models with neutral tint, CCT near 5000K, and high CRI would be of particular interest to me.