Wow. Just lots & Lots of nice work!!! If I need something brazed I know who to call!!! ![]() I sure enjoy every image and watching the process!!
I sure enjoy every image and watching the process!!
Thanks Rufus!!! TL
+1 This stuff is amazing to me. ![]()
What the others have said. Stunning work. :+1:
Weird, images aren’t loading properly. The other day I thought it was because my post was too big but this is only one picture loaded the same way I’ve done a hundred times before.
Even stranger… I clicked on the photobucket link, copied the direct url and it worked.

Looks nice!!
I just ordered this on a canvas print. It should look good on the wall. Mrs will shoot me though. ![]()
Photobucket has been screwy for awhile. I reckon they did an update and things went backwards. For awhile it would take 5 minutes to upload a small picture and I had to do one at a time otherwise it would just hang. And thats with a paid account. :person_facepalming:
I can get it to work fine anywhere but in that post so I deleted it since MtnDon has it up. Even worked in this post as well. Maybe I’ll try adding it to #185.
Edit - worked everywhere but in one post, exceedingly strange.
Gremlins possibly?
The generic scotch brite sponge I tried pretty much disintegrated on contact with the rough copper threads with little effect so instead I tried the quick loc Dremel sanding/buffing wheels that are made from similar but tougher stuff and that worked better. Thanks for the tip TL, it pointed me in the right direction.
You’re welcome Rufus. Thank you for all the sharing of your work. It takes a lot of time to do all of the images and posting. I am happy to send you some of those pads if you like. Thanks again for all your beautiful work. TL.
Tried to make a retainer ring with a brass disc and a section of the threaded copper. 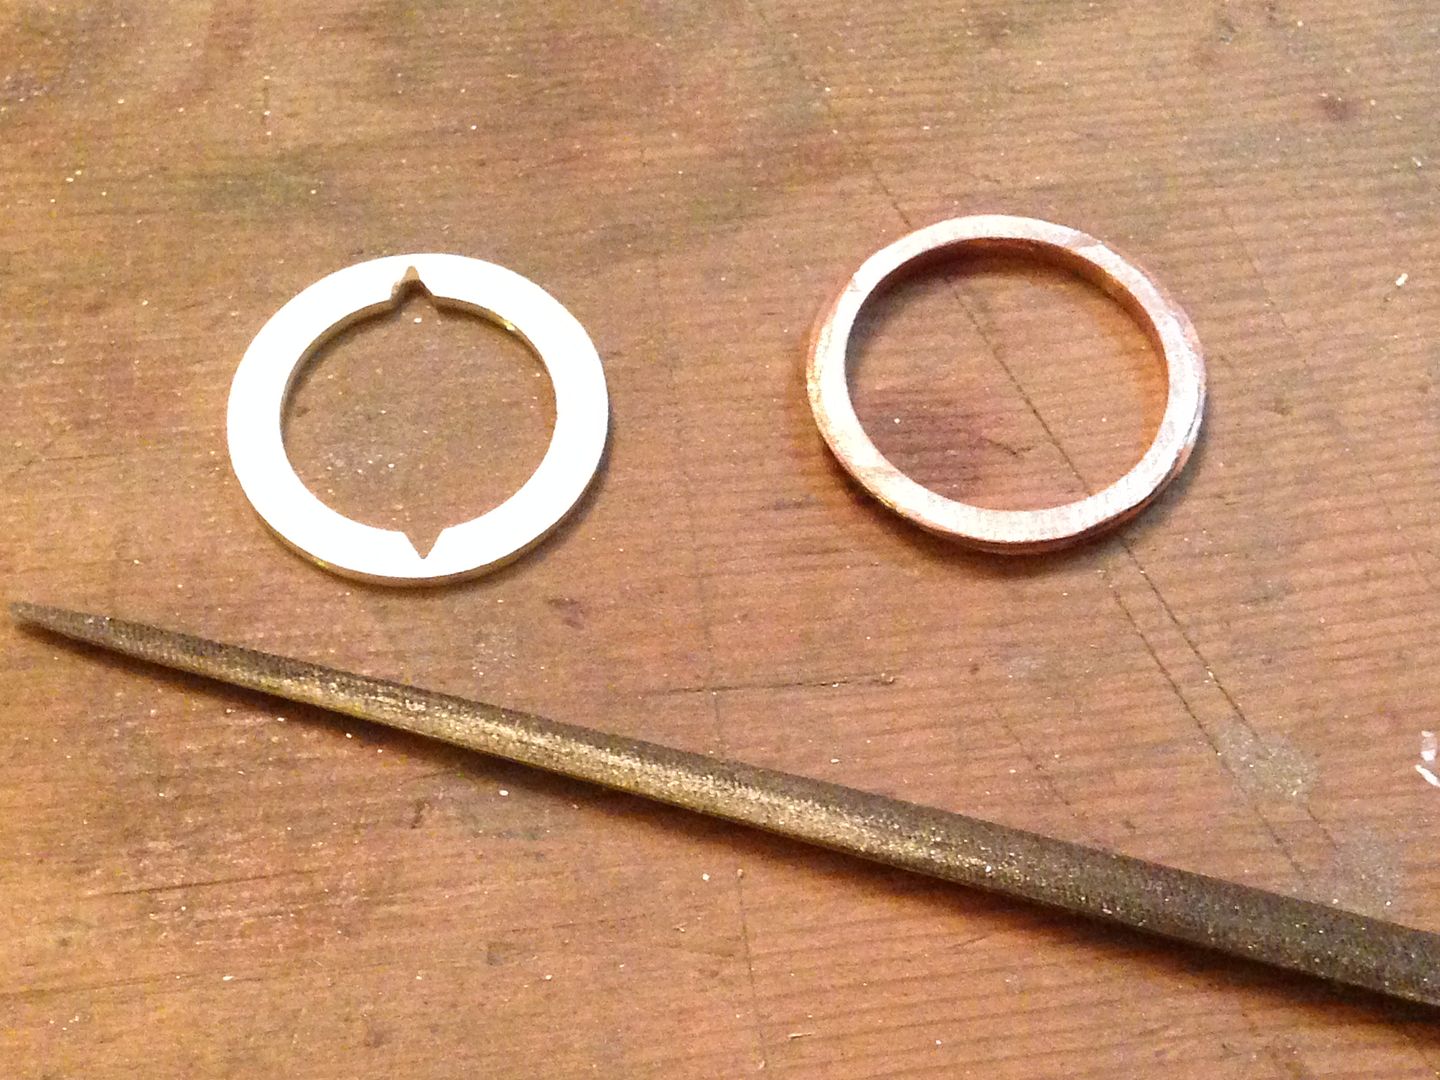
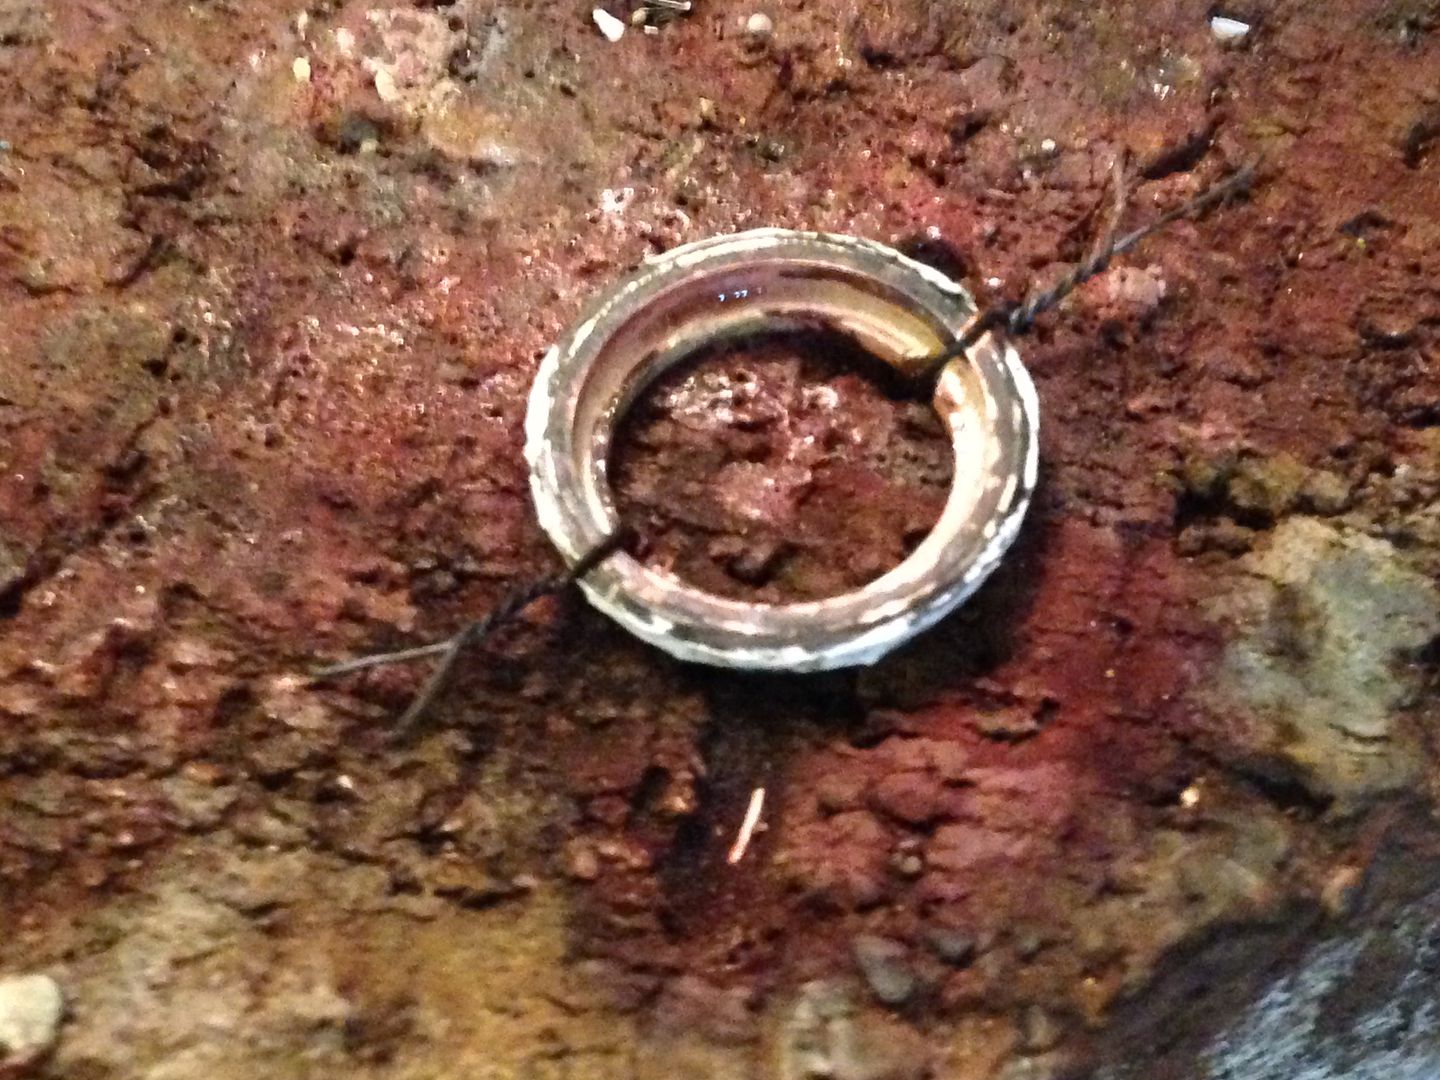 I also cut the pill to size and milled a driver pocket for it.
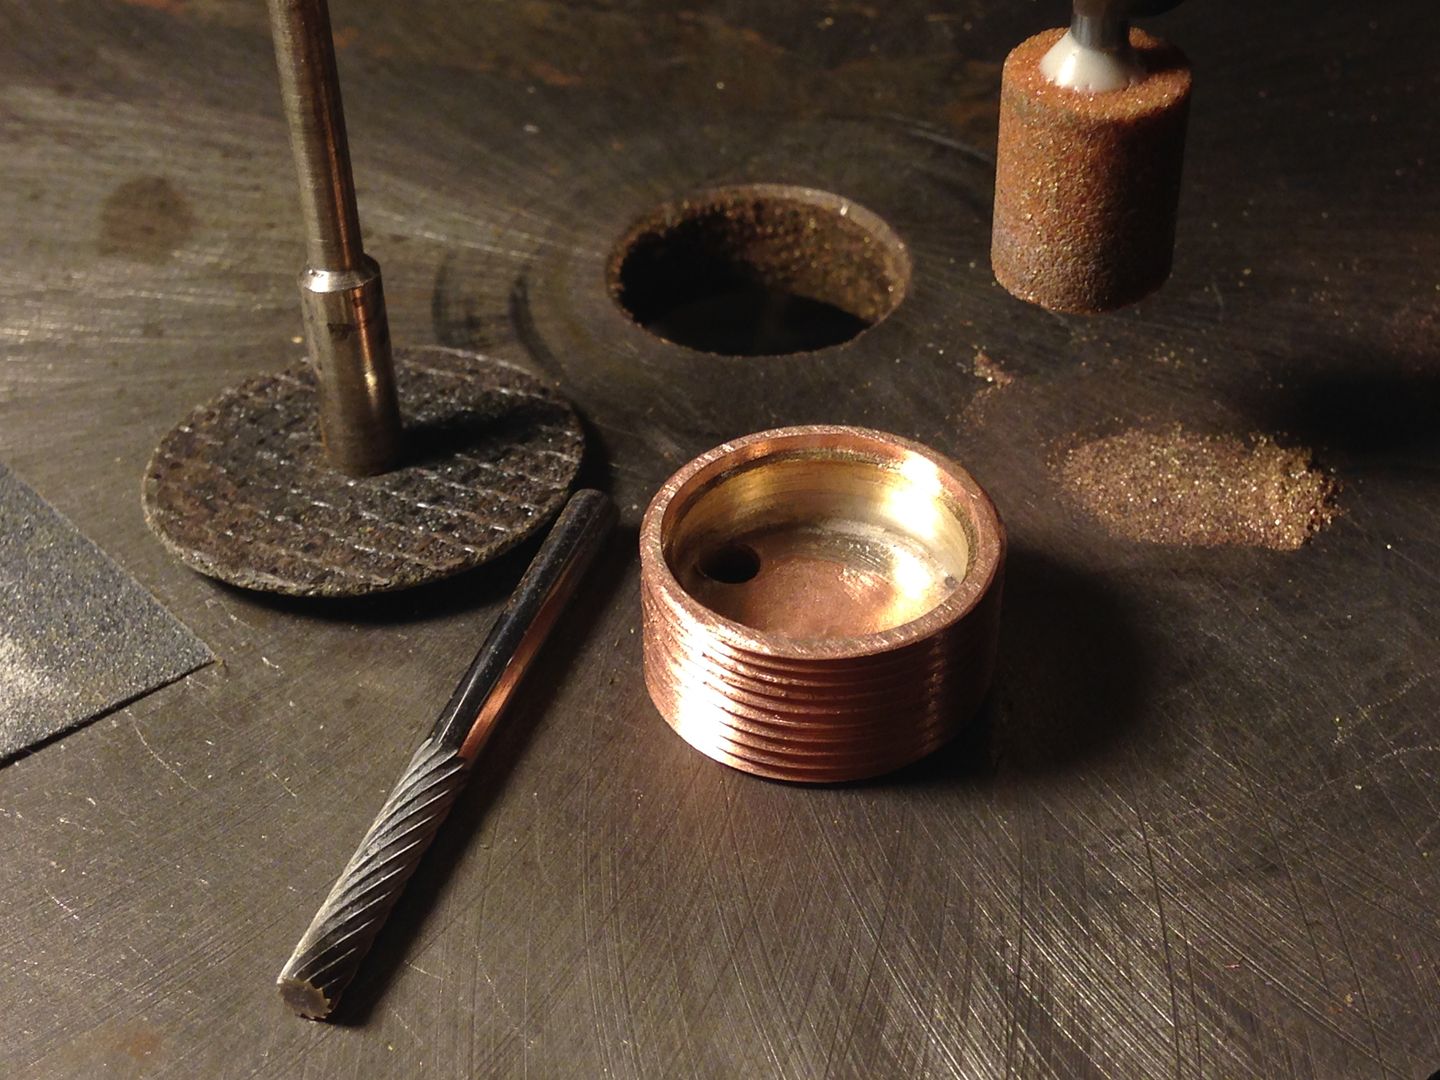
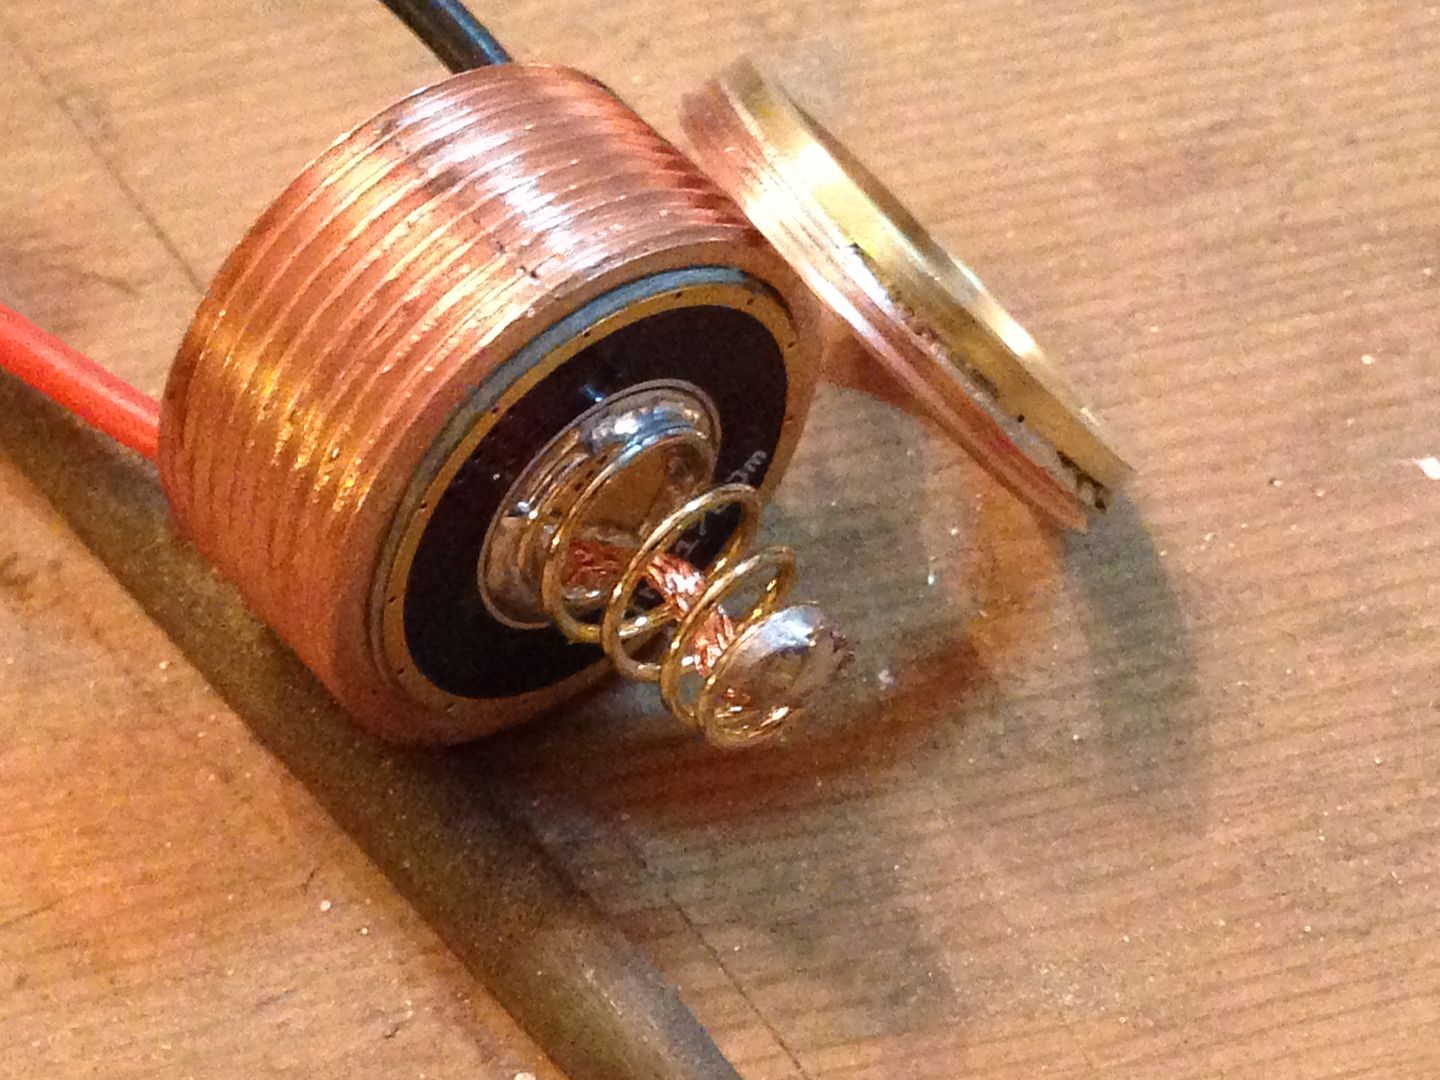
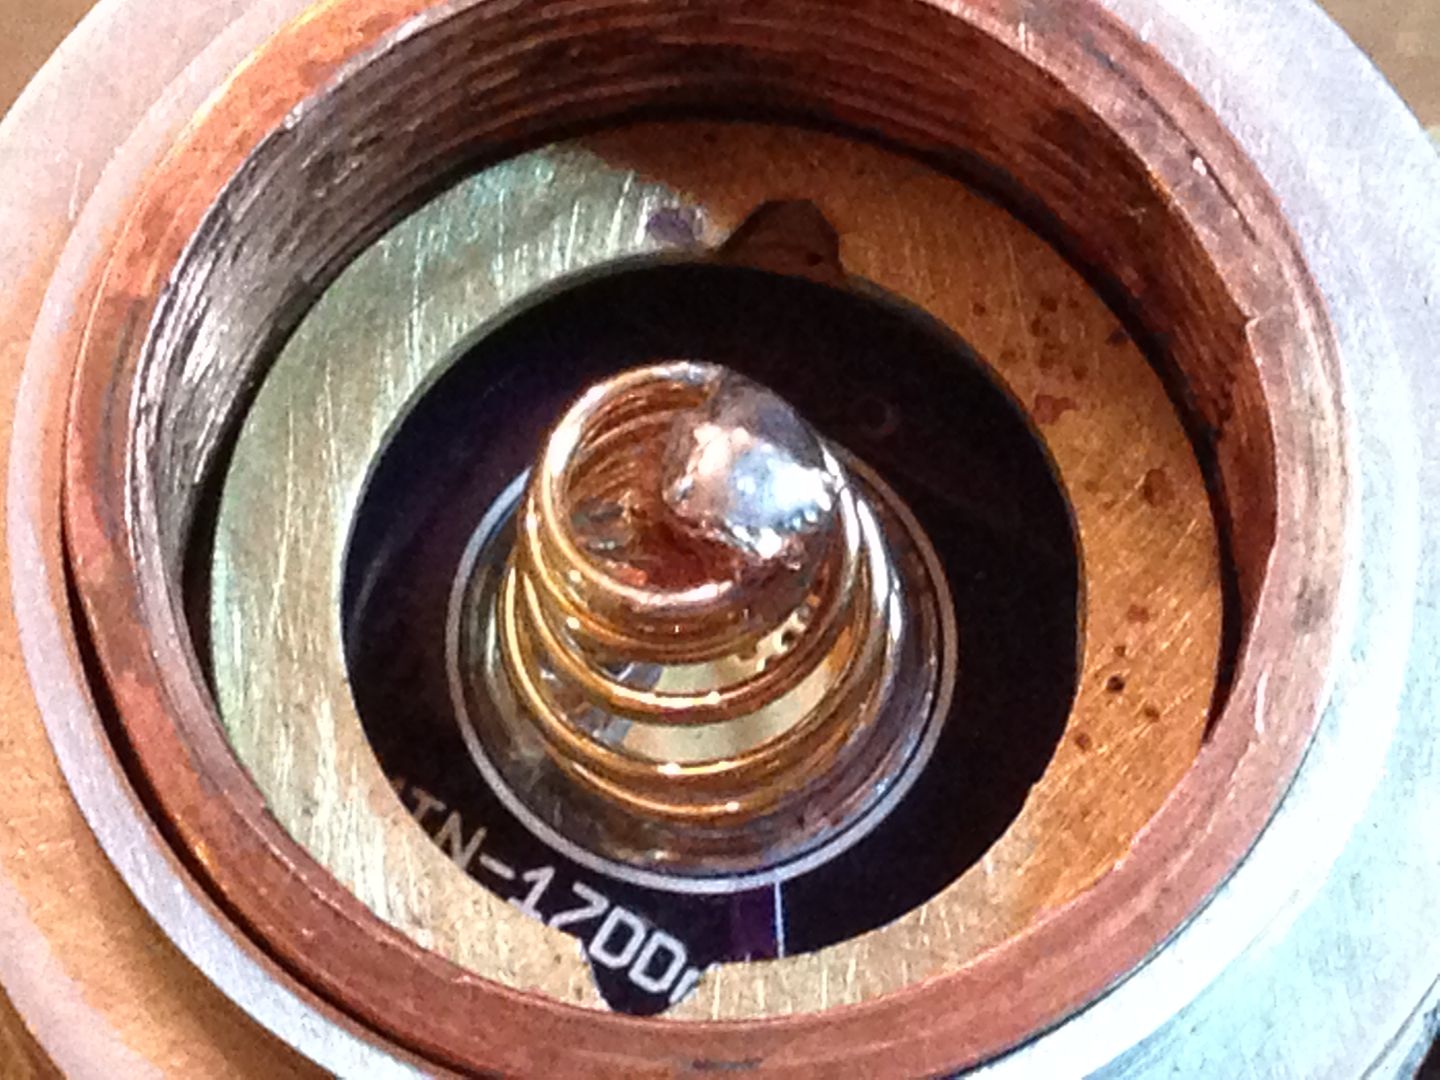 Unfortunately the copper part is too soft and poorly threaded to work reliably so I’ll have to use a brass threaded piece instead.
More switch pill and head assembly
Well that’s a nuisance. Lots of work have gone into making that little ring. ![]()
Ouch! It hurts to put that much work into a part and have it go south. Looking nice though Rufus!! Hang in there…. there is an end to every project….although sometimes we wonder WHERE!!! ![]() TL
TL
Once again it’s going down to the wire.
Hows the injuries?
Ups and downs from day to day but still trending upwards. Cutting the burl caps was the first I’ve used the sawsall. Between semi torn tendons, munched cartilage, and nerve damage it will be a long road back and probably won’t every be the same. Work is actually good therapy since it forces me to push it some but it’s aggravatingly weak.
I hope you heal well mate.
As usual, a heap of thought & nice work going on here. Love it!
A heap of not sure what and plenty more to come. The latest work returns to the switch area where I made matching holes in the two parts for the switch activator and keyed the two with some 1/8” brass tubing. The copper wire will connect them through a pcb and ground some switch back lighting. 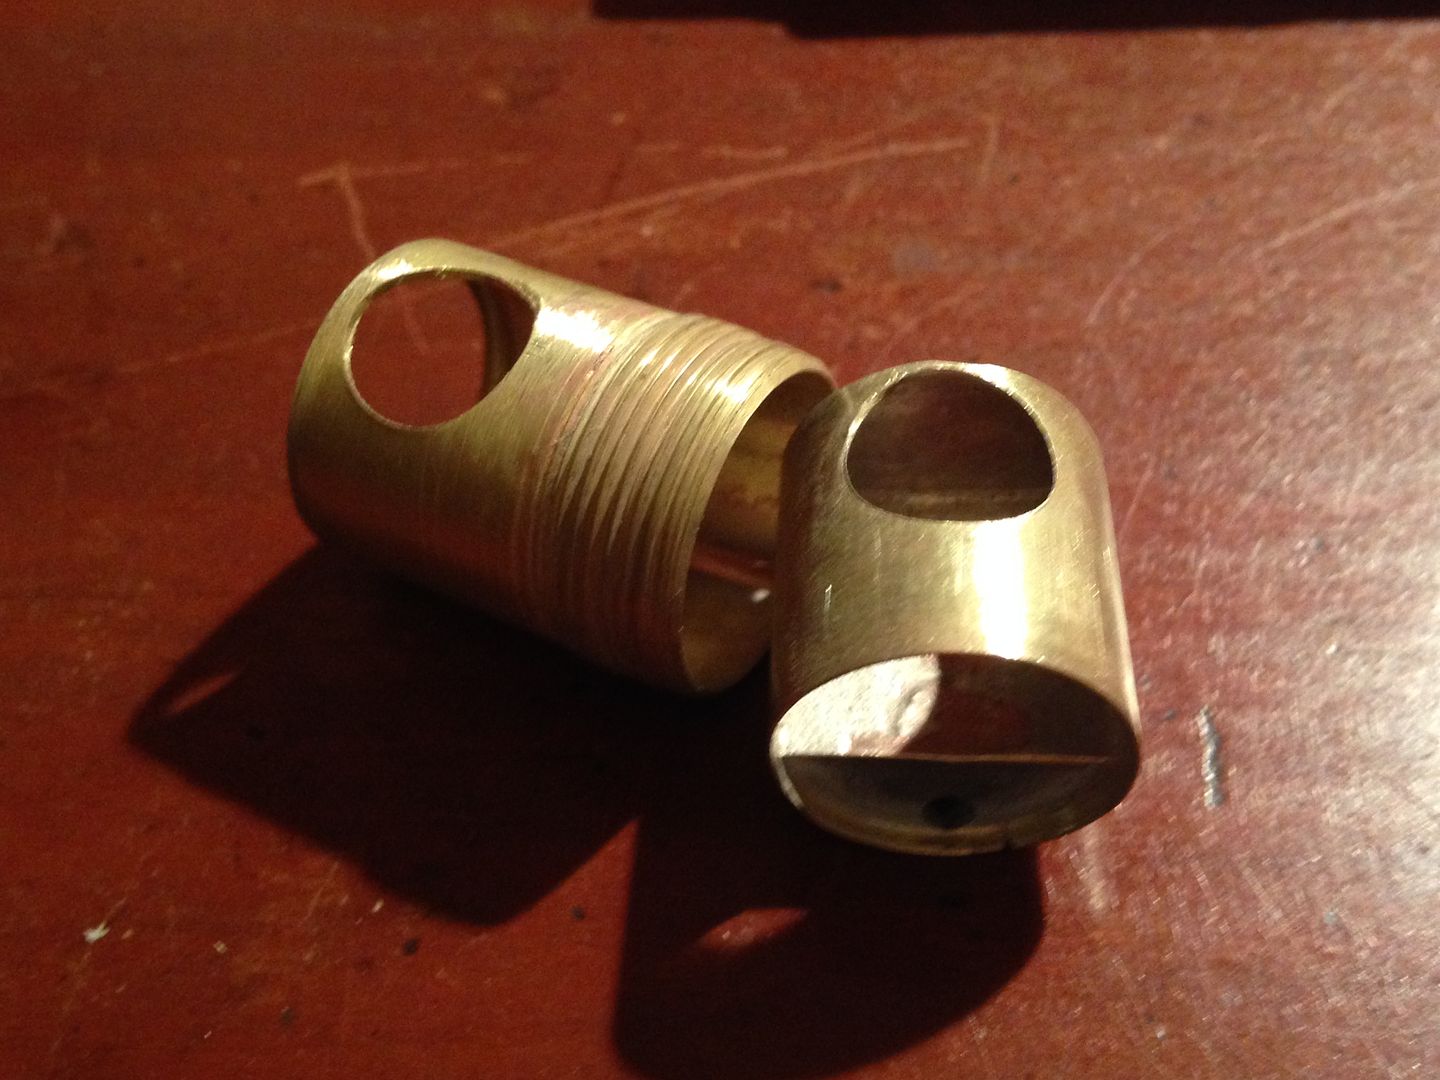
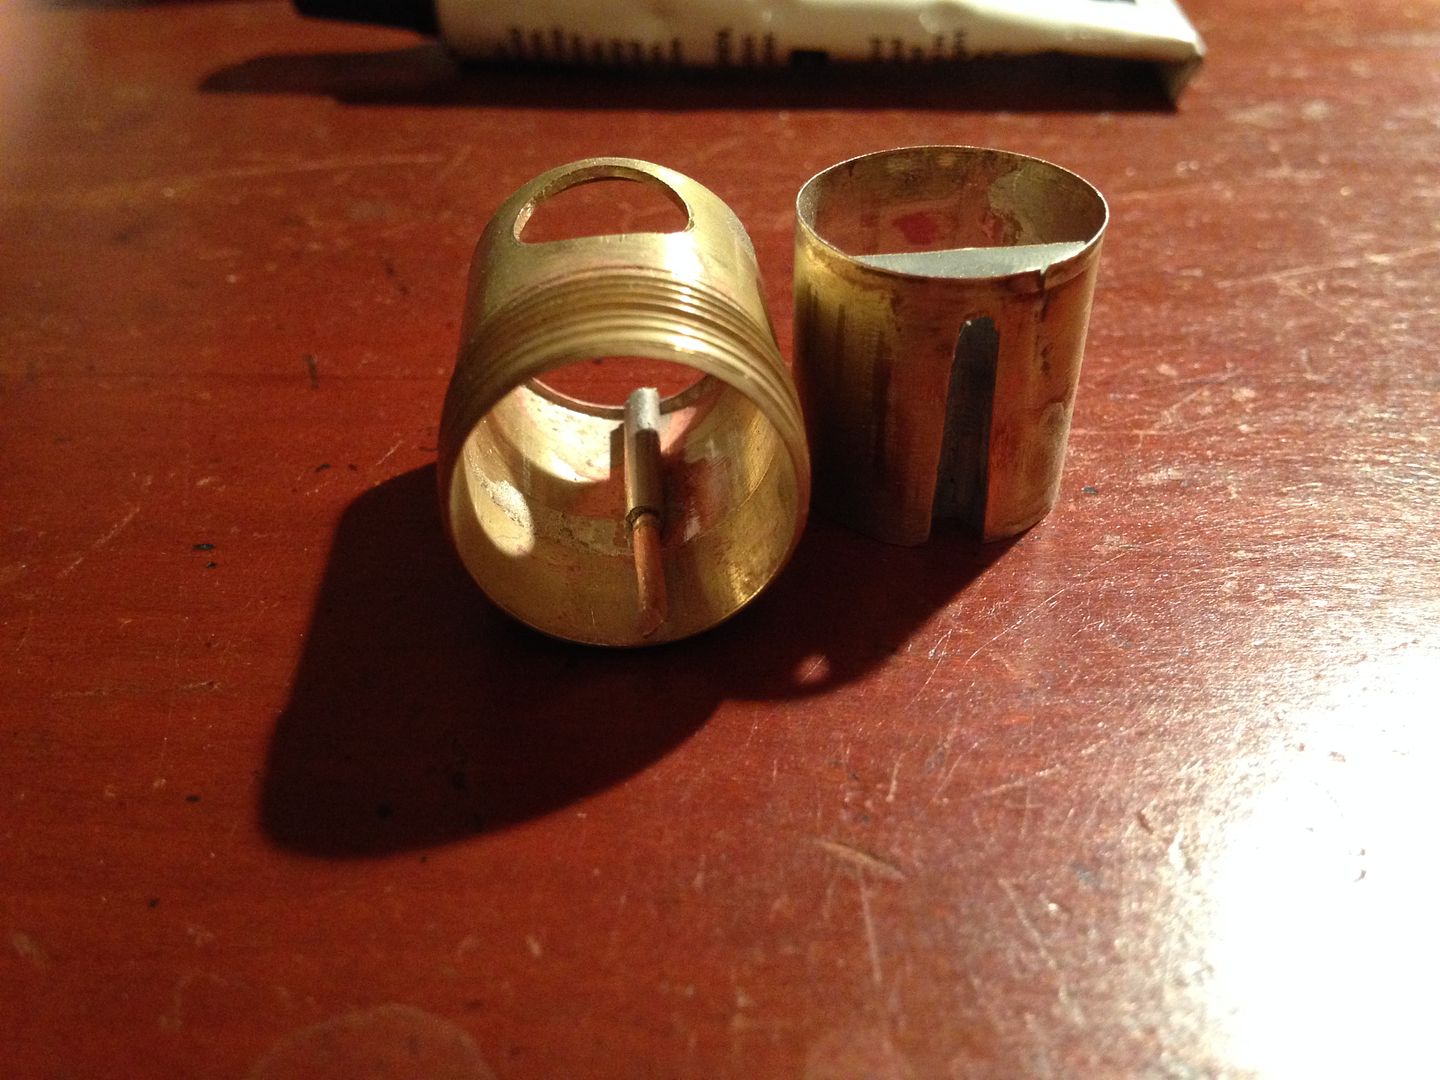
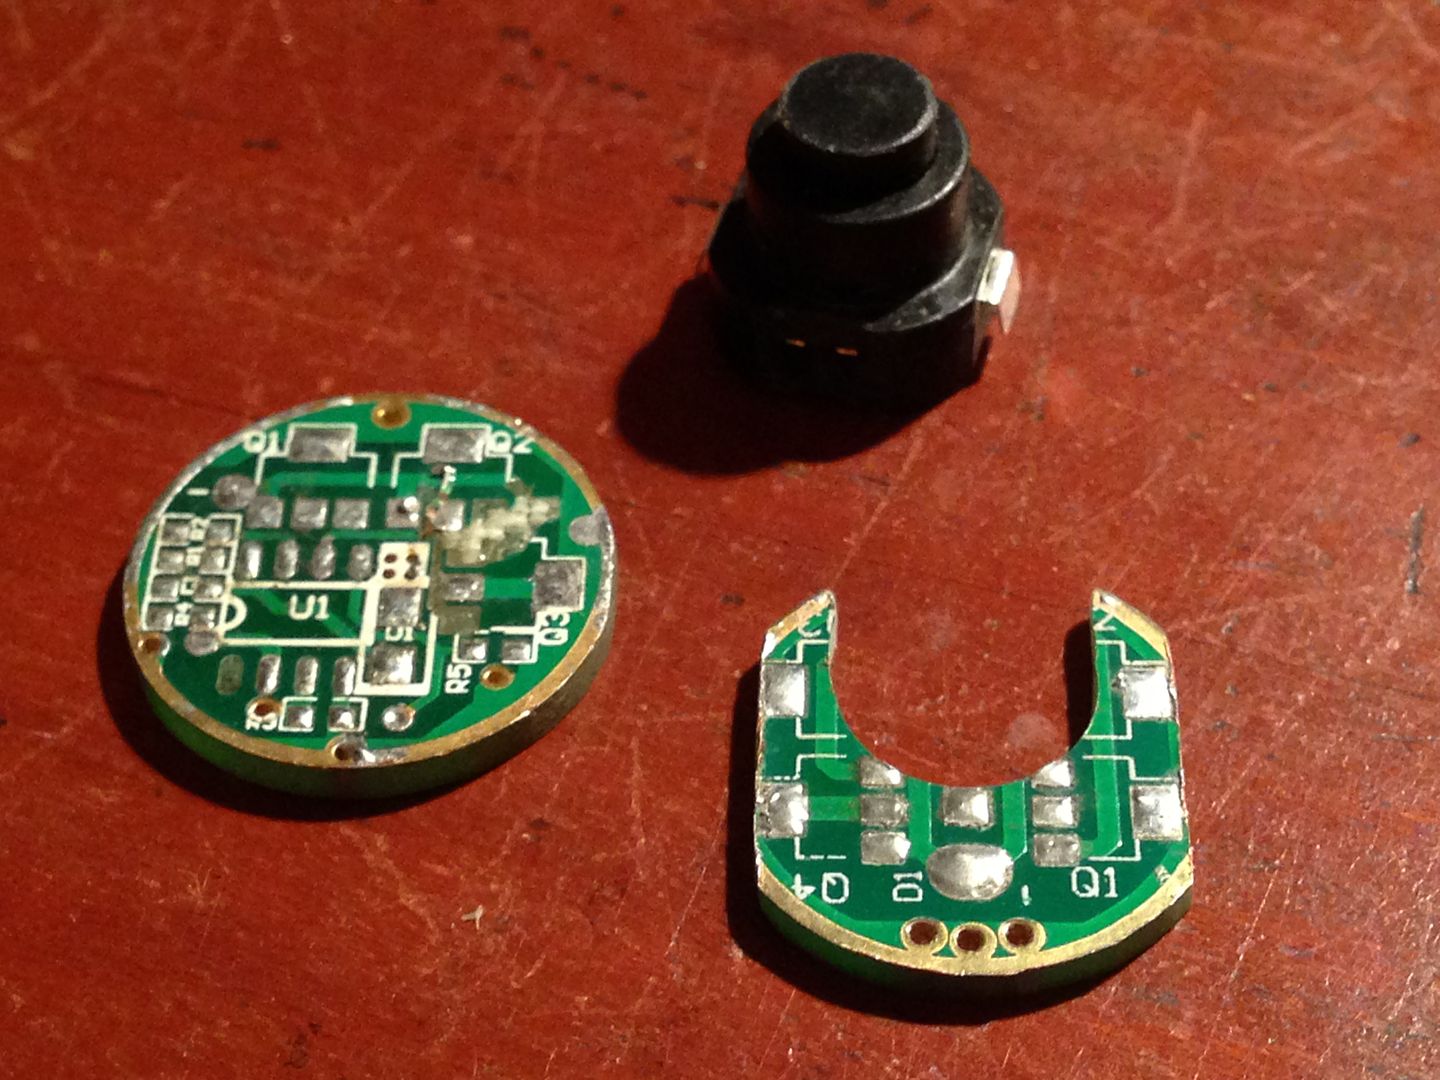
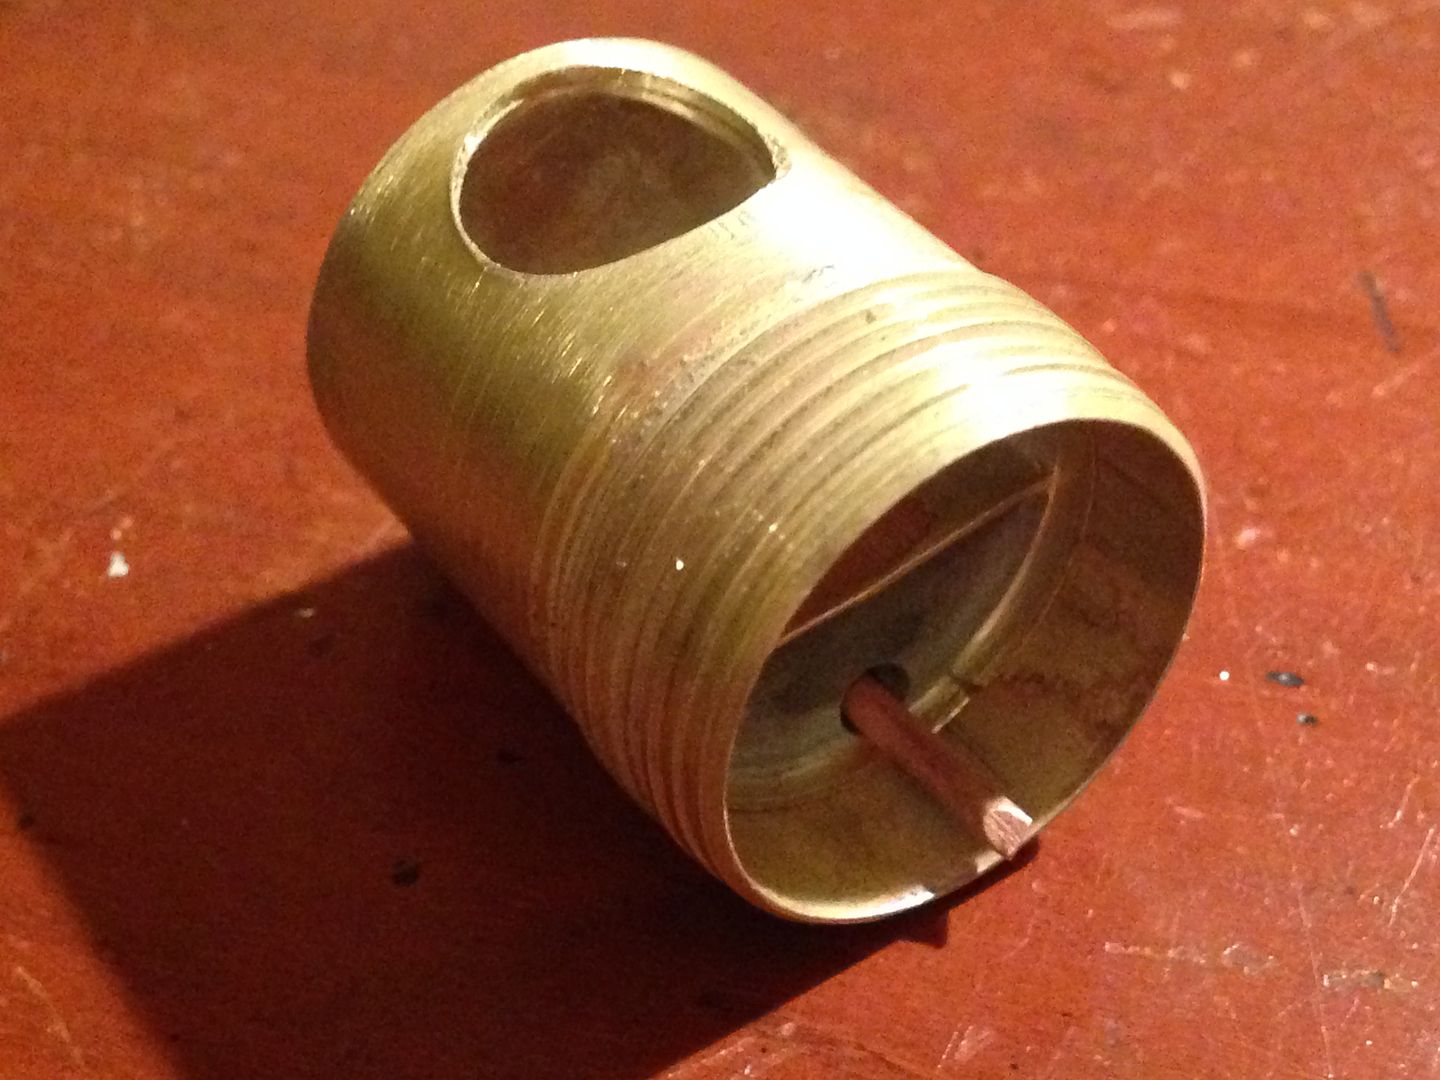 I’ll use these two pcb’s for the back lights and contact pad for the head.
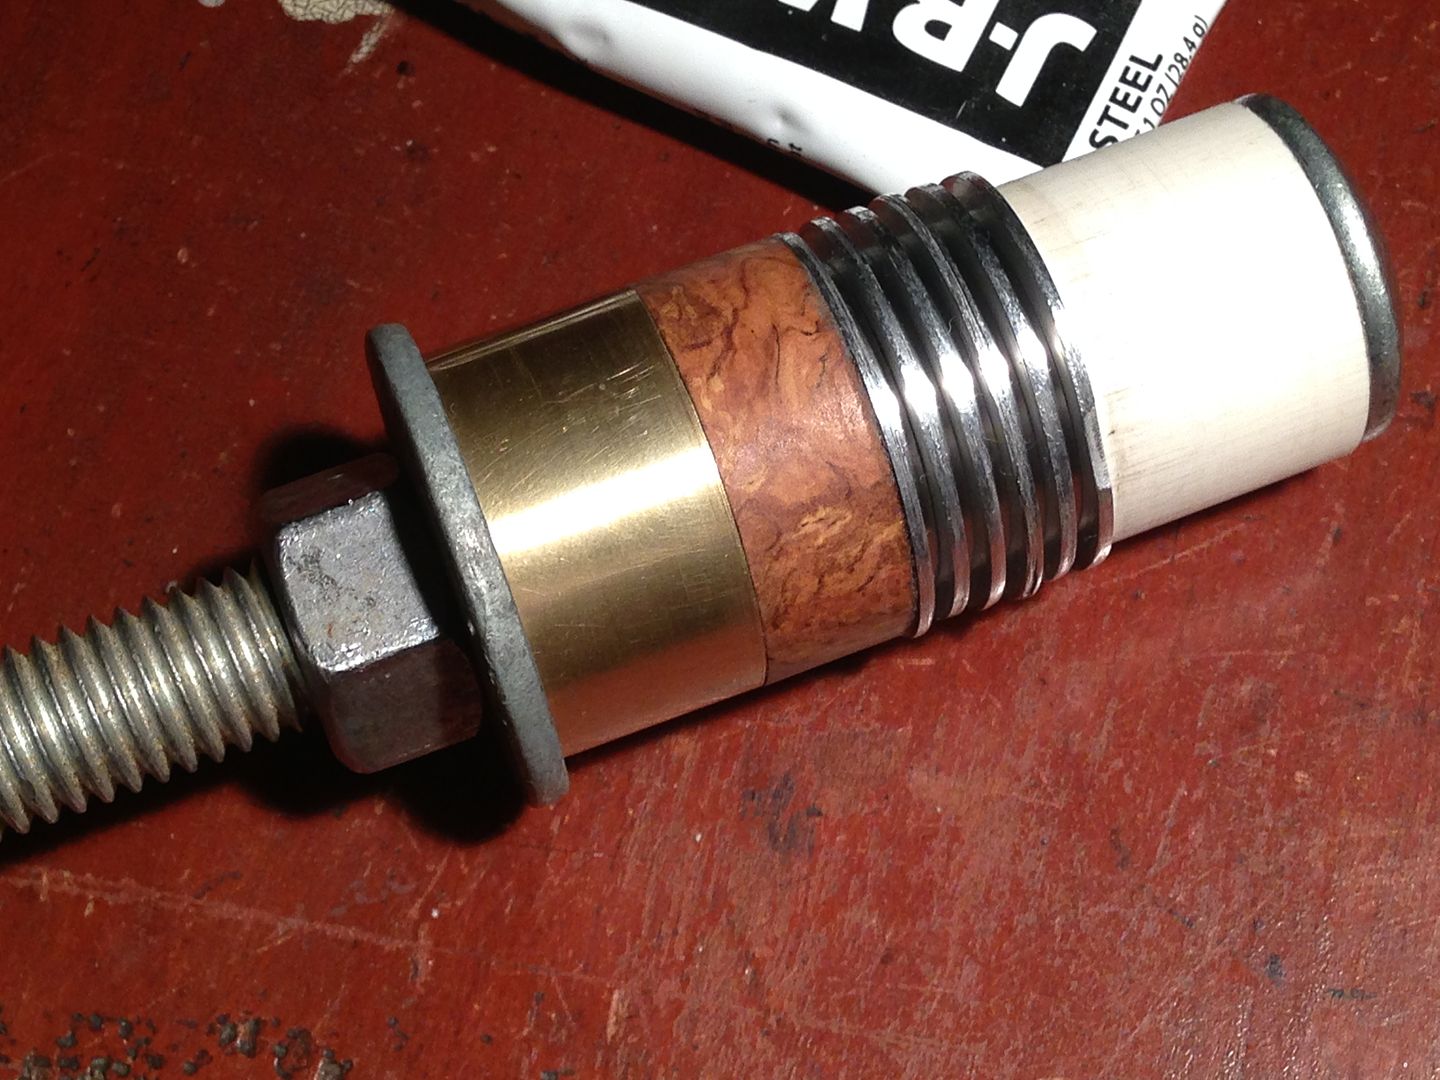
  Some assembly at last! I glued the wood and first fin with Devcon 2-ton clear and when that had cured the remaining fins and spacers with JB Weld. I used a 1/2” carriage bolt as a clamp.
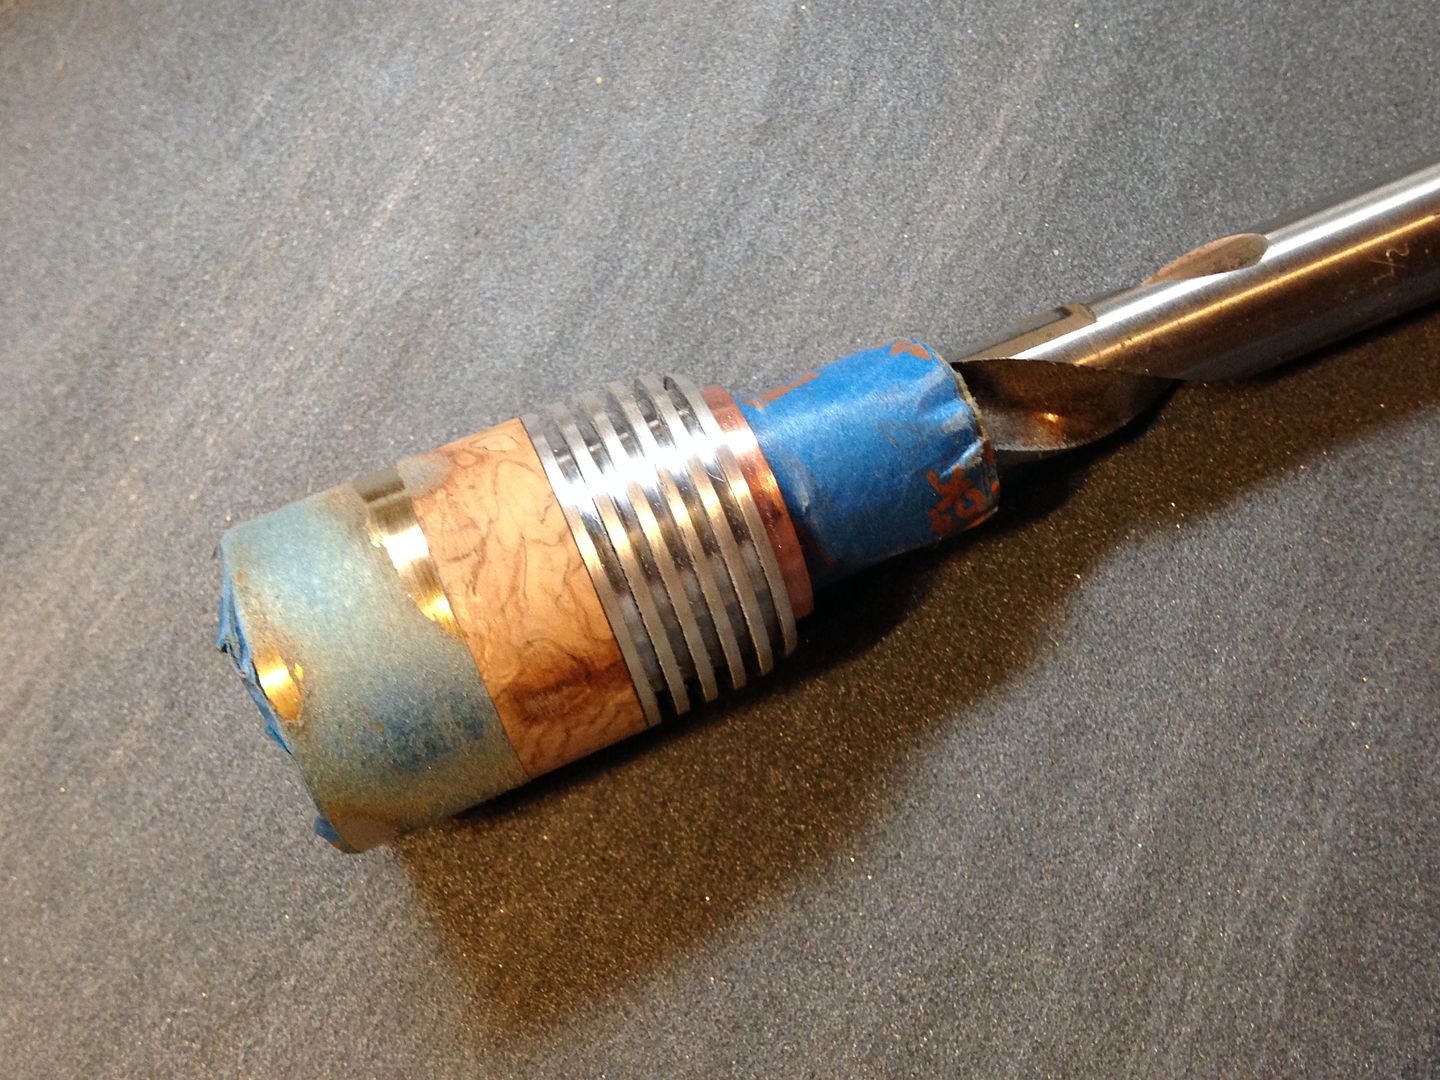
  Then transferred the whole thing to a 1/2” drill bit wrapped in tape for a snug fit in the copper threading and spun it on the drill press (my dads as I’m house-sitting) past a file and some 220, I’ll use finer paper when I get home.
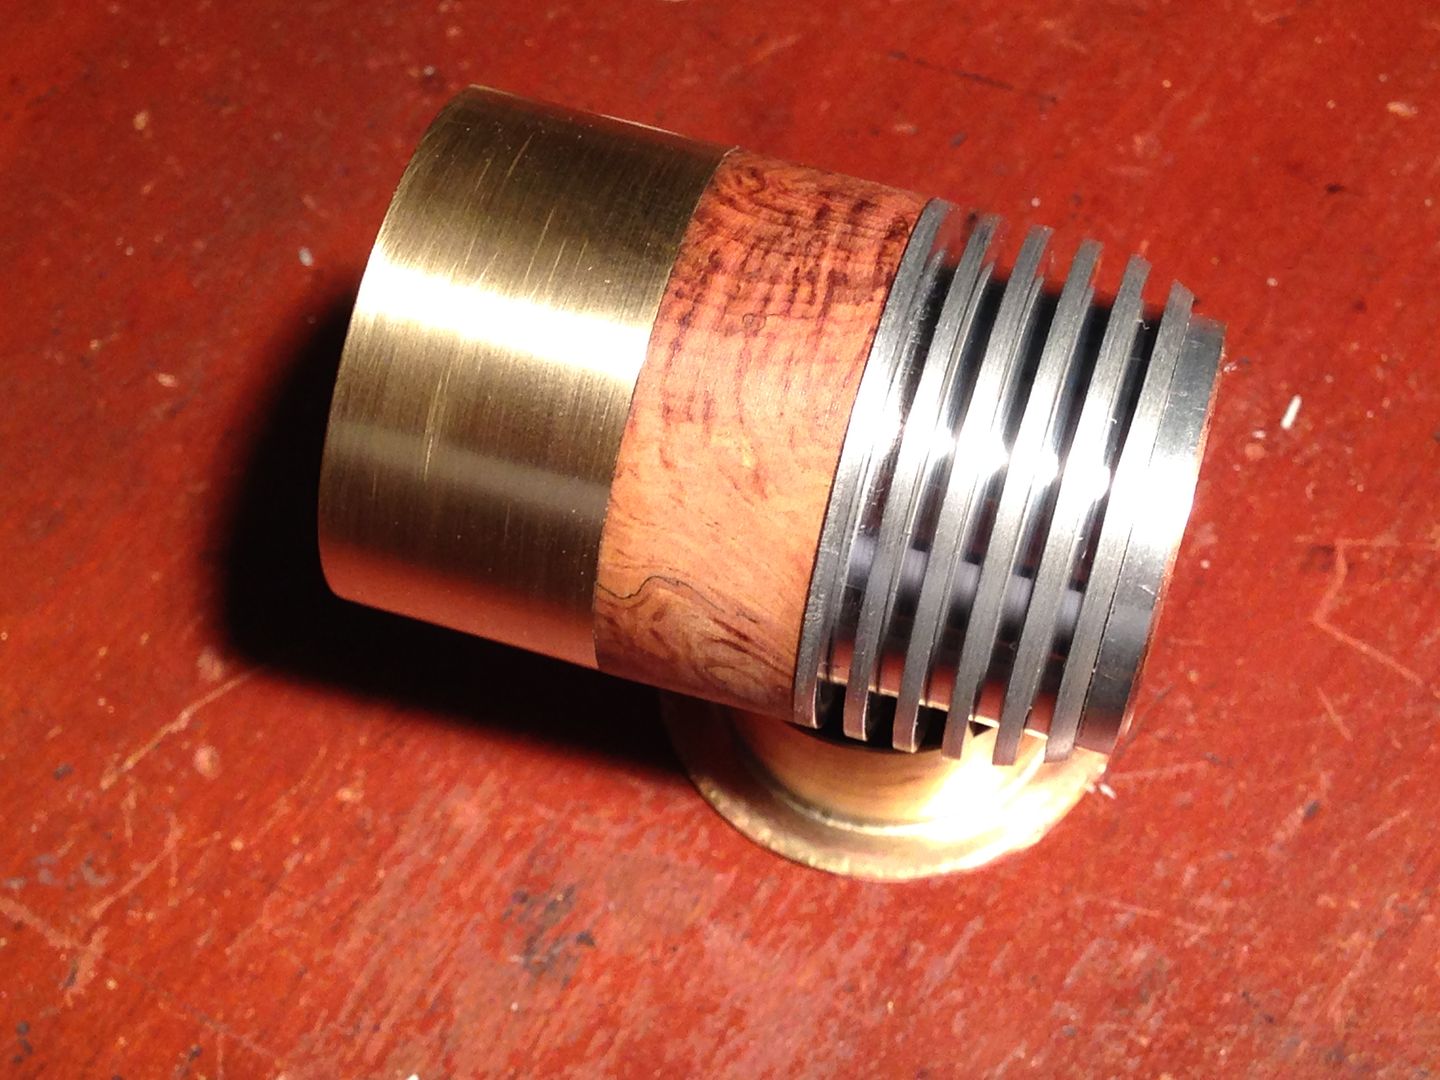
O-ring grooves and lighted switch