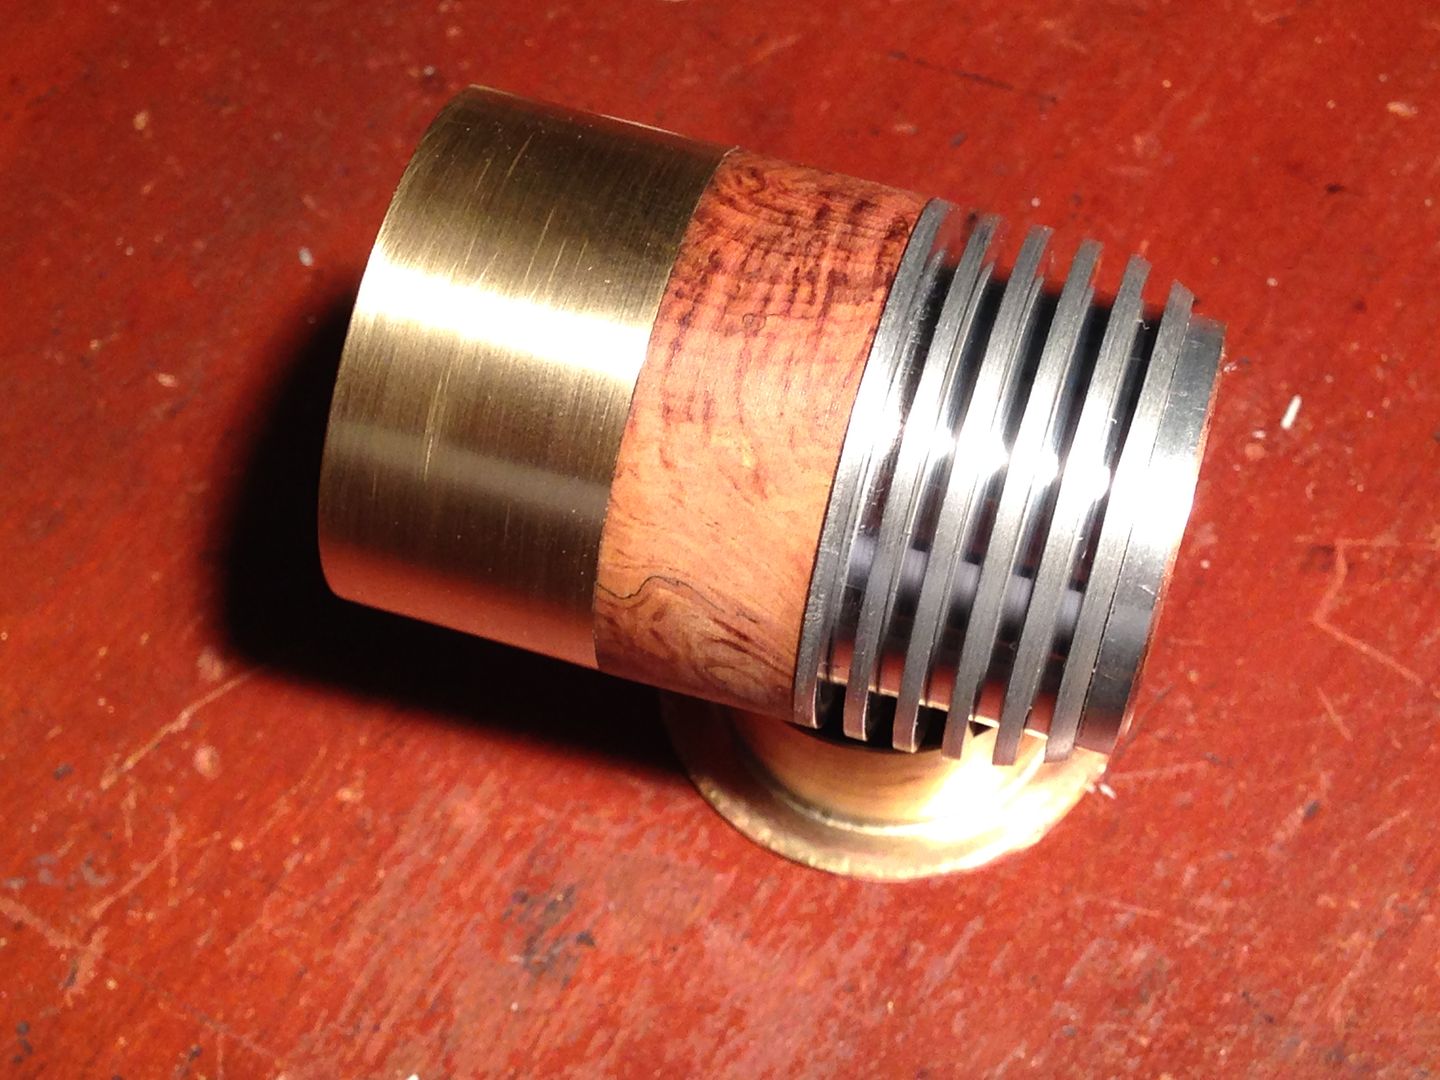
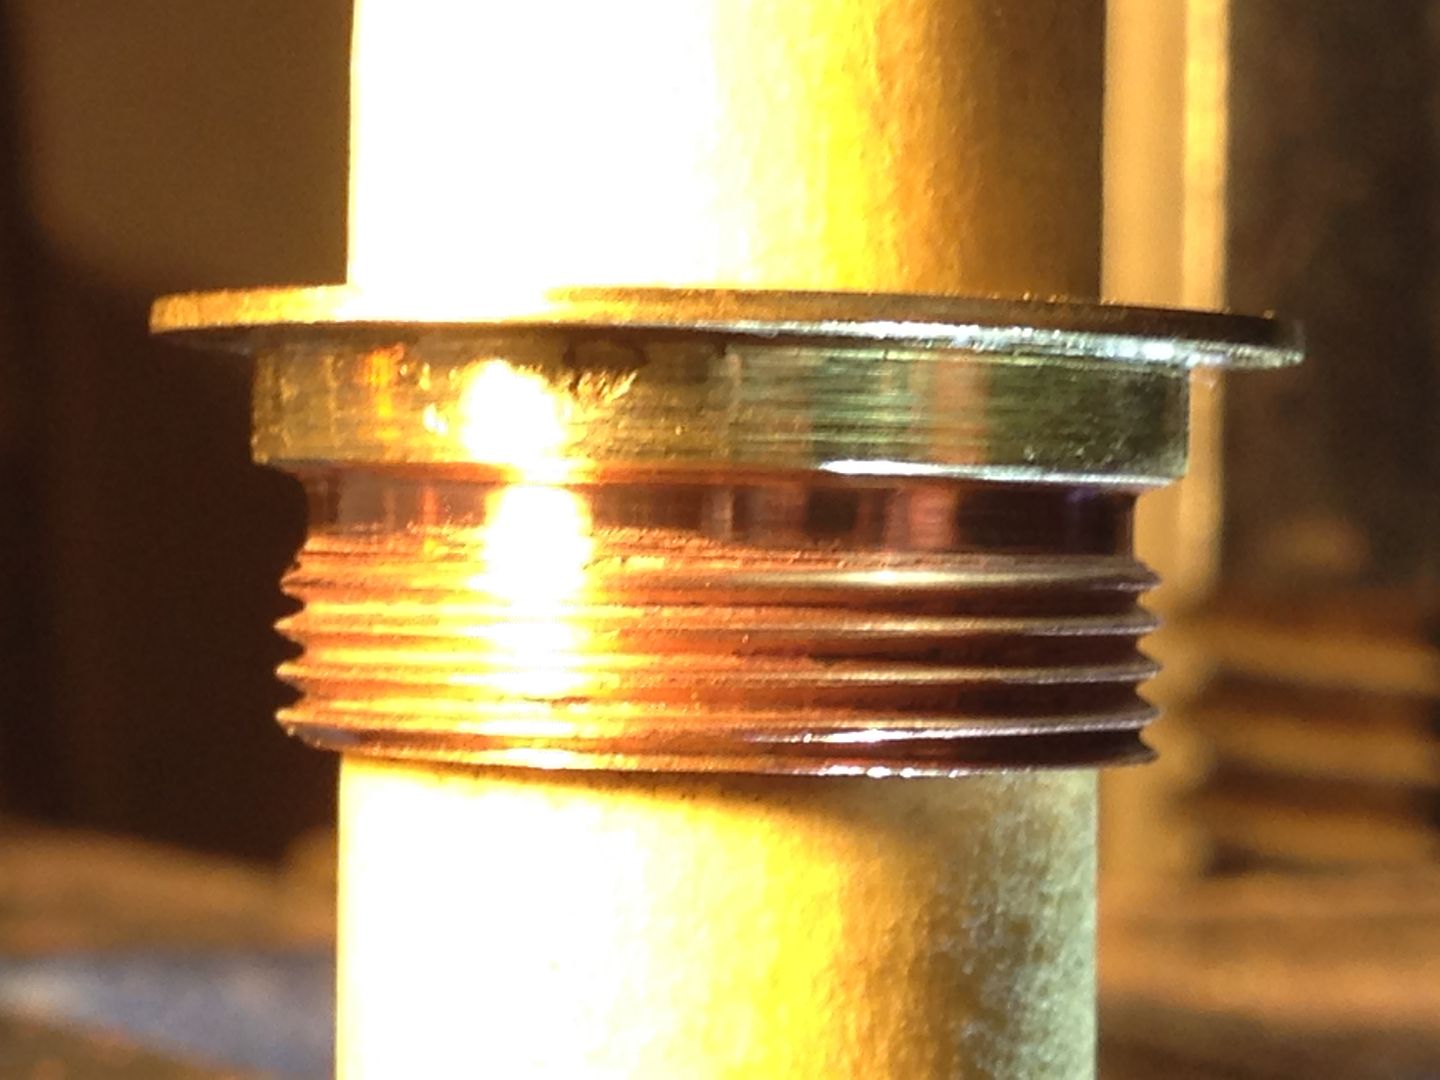
Tried to make a retainer ring with a brass disc and a section of the threaded copper. 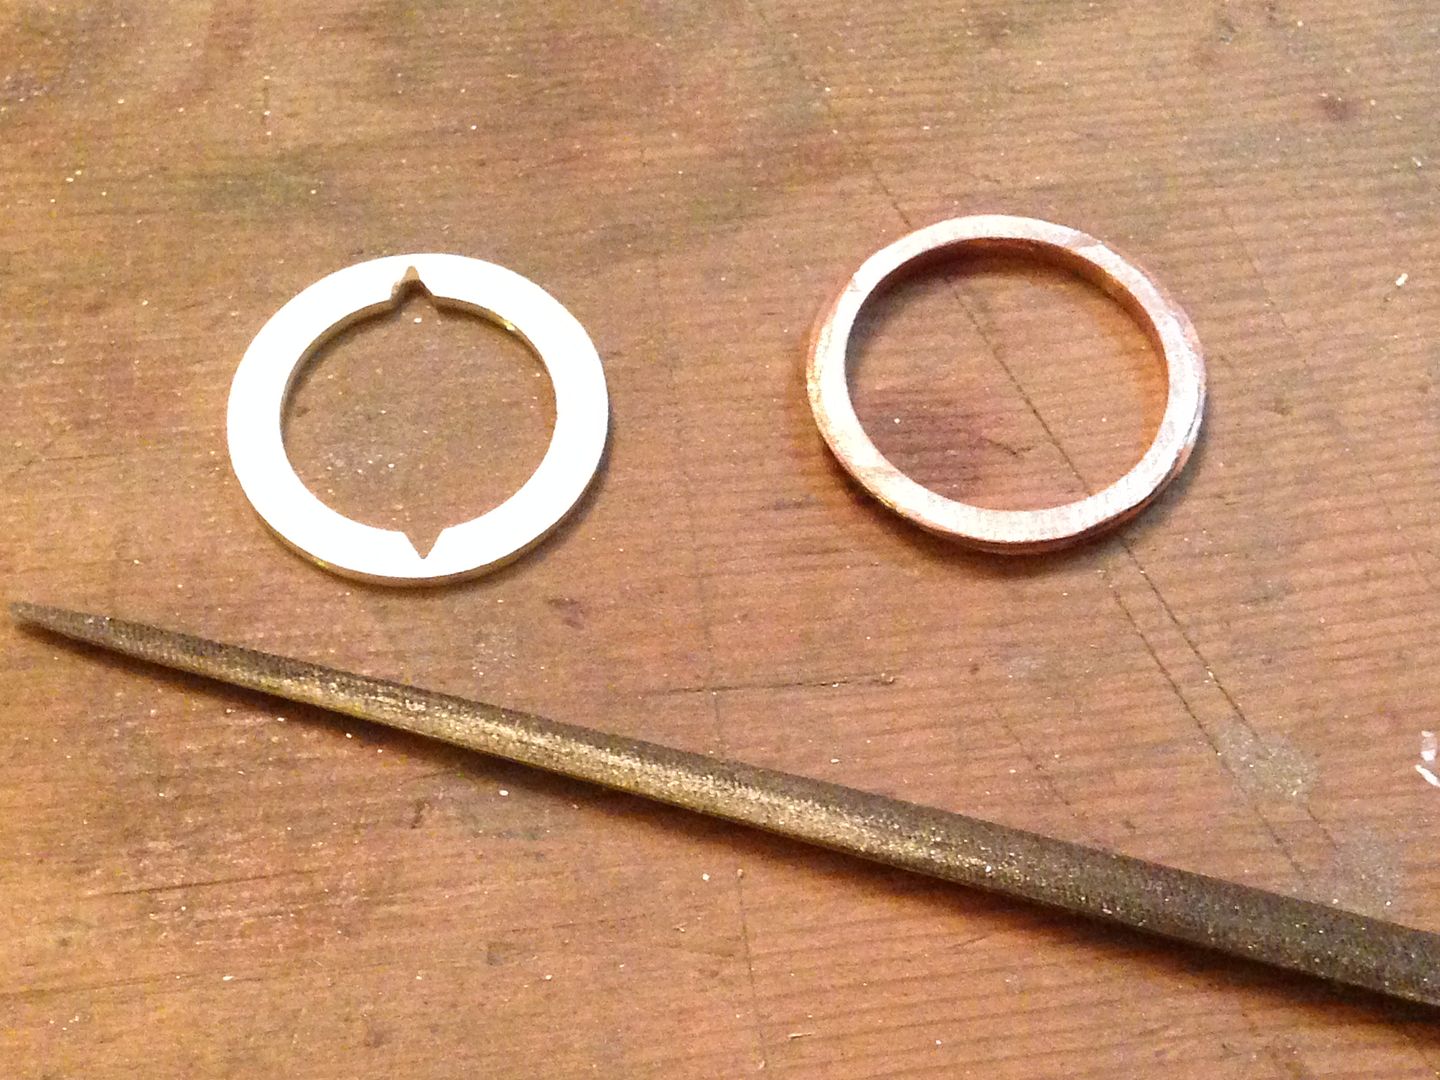
 I also cut the pill to size and milled a driver pocket for it.
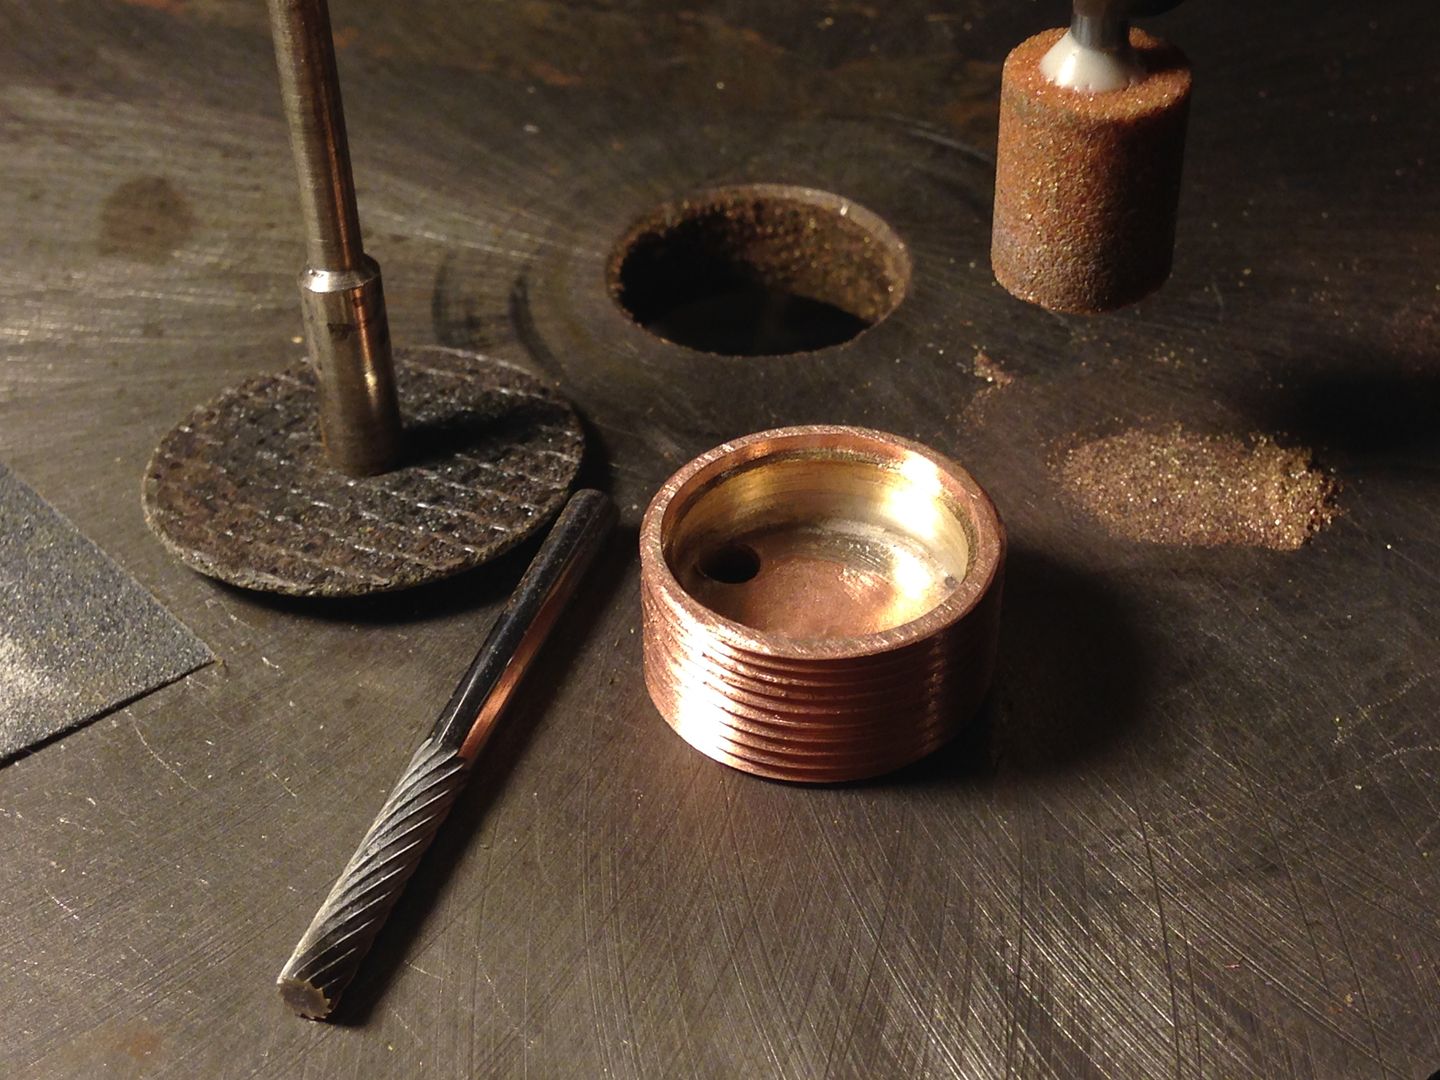
 Unfortunately the copper part is too soft and poorly threaded to work reliably so I’ll have to use a brass threaded piece instead.
More switch pill and head assembly
Well that’s a nuisance. Lots of work have gone into making that little ring. ![]()
Ouch! It hurts to put that much work into a part and have it go south. Looking nice though Rufus!! Hang in there…. there is an end to every project….although sometimes we wonder WHERE!!! ![]() TL
TL
Once again it’s going down to the wire.
Hows the injuries?
Ups and downs from day to day but still trending upwards. Cutting the burl caps was the first I’ve used the sawsall. Between semi torn tendons, munched cartilage, and nerve damage it will be a long road back and probably won’t every be the same. Work is actually good therapy since it forces me to push it some but it’s aggravatingly weak.
I hope you heal well mate.
As usual, a heap of thought & nice work going on here. Love it!
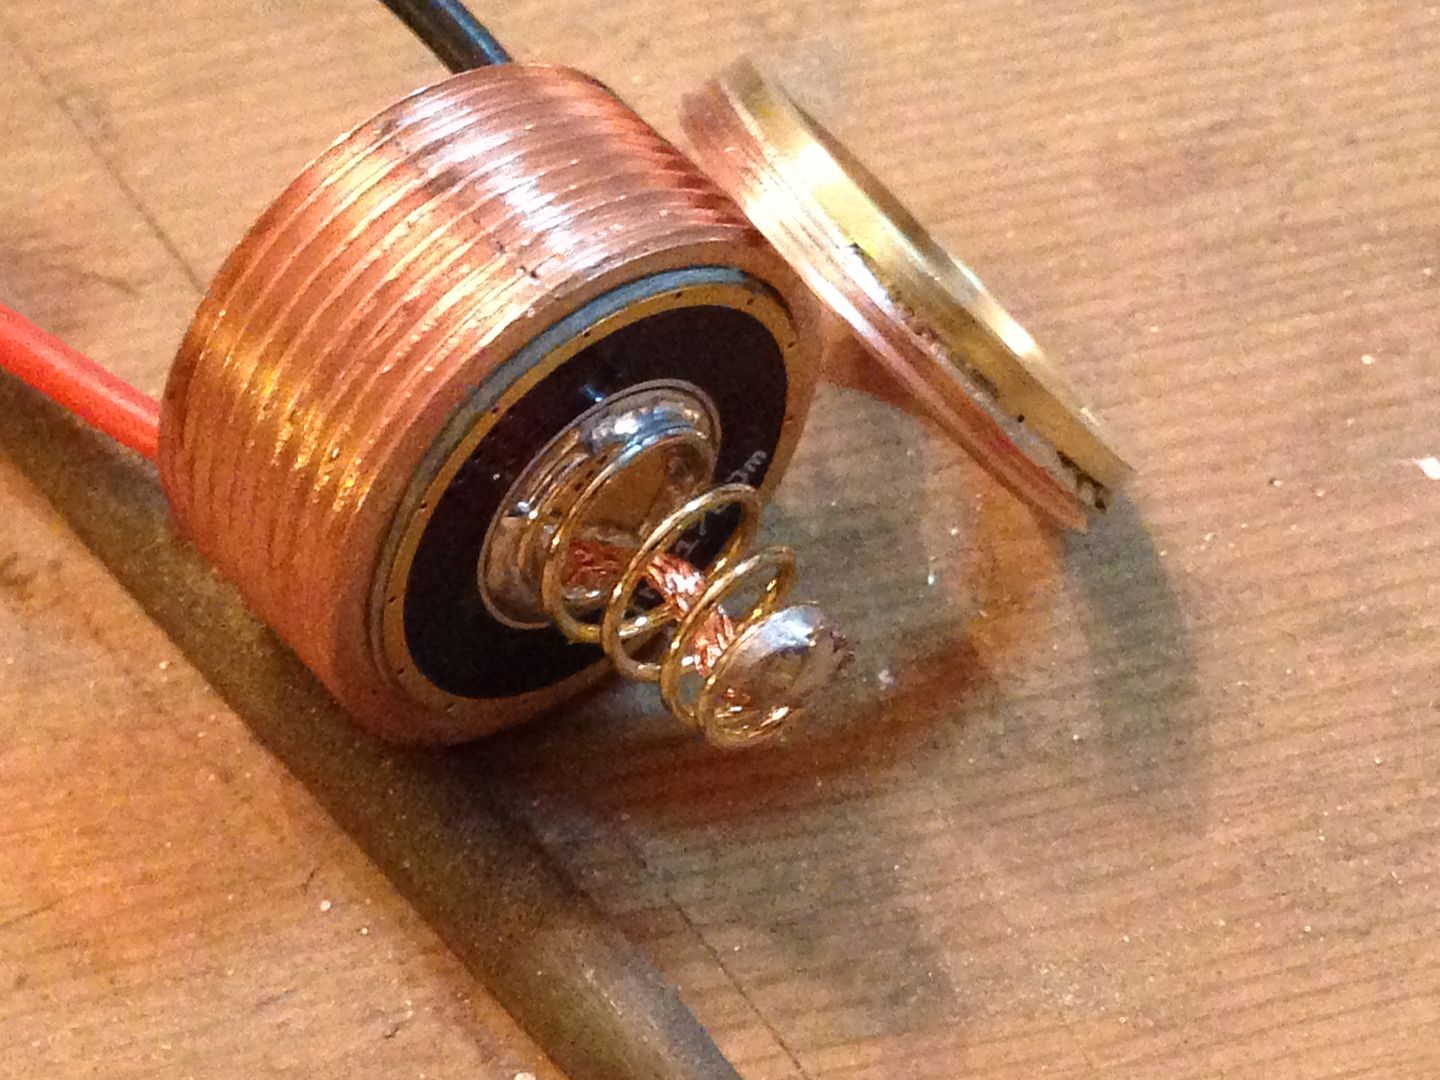
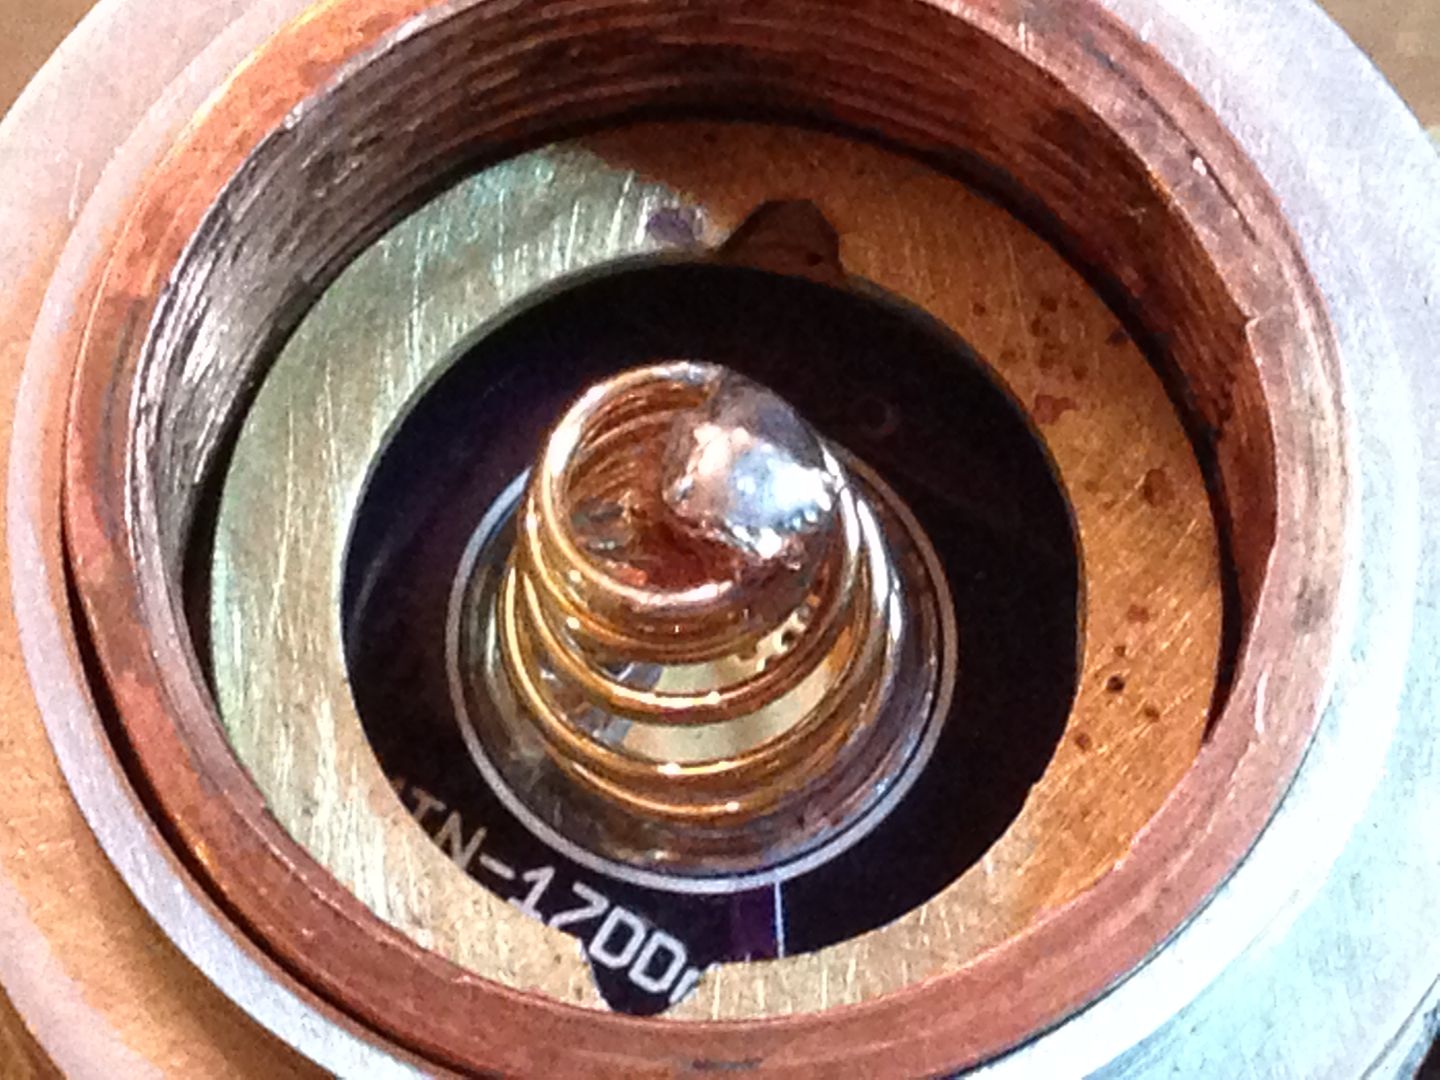
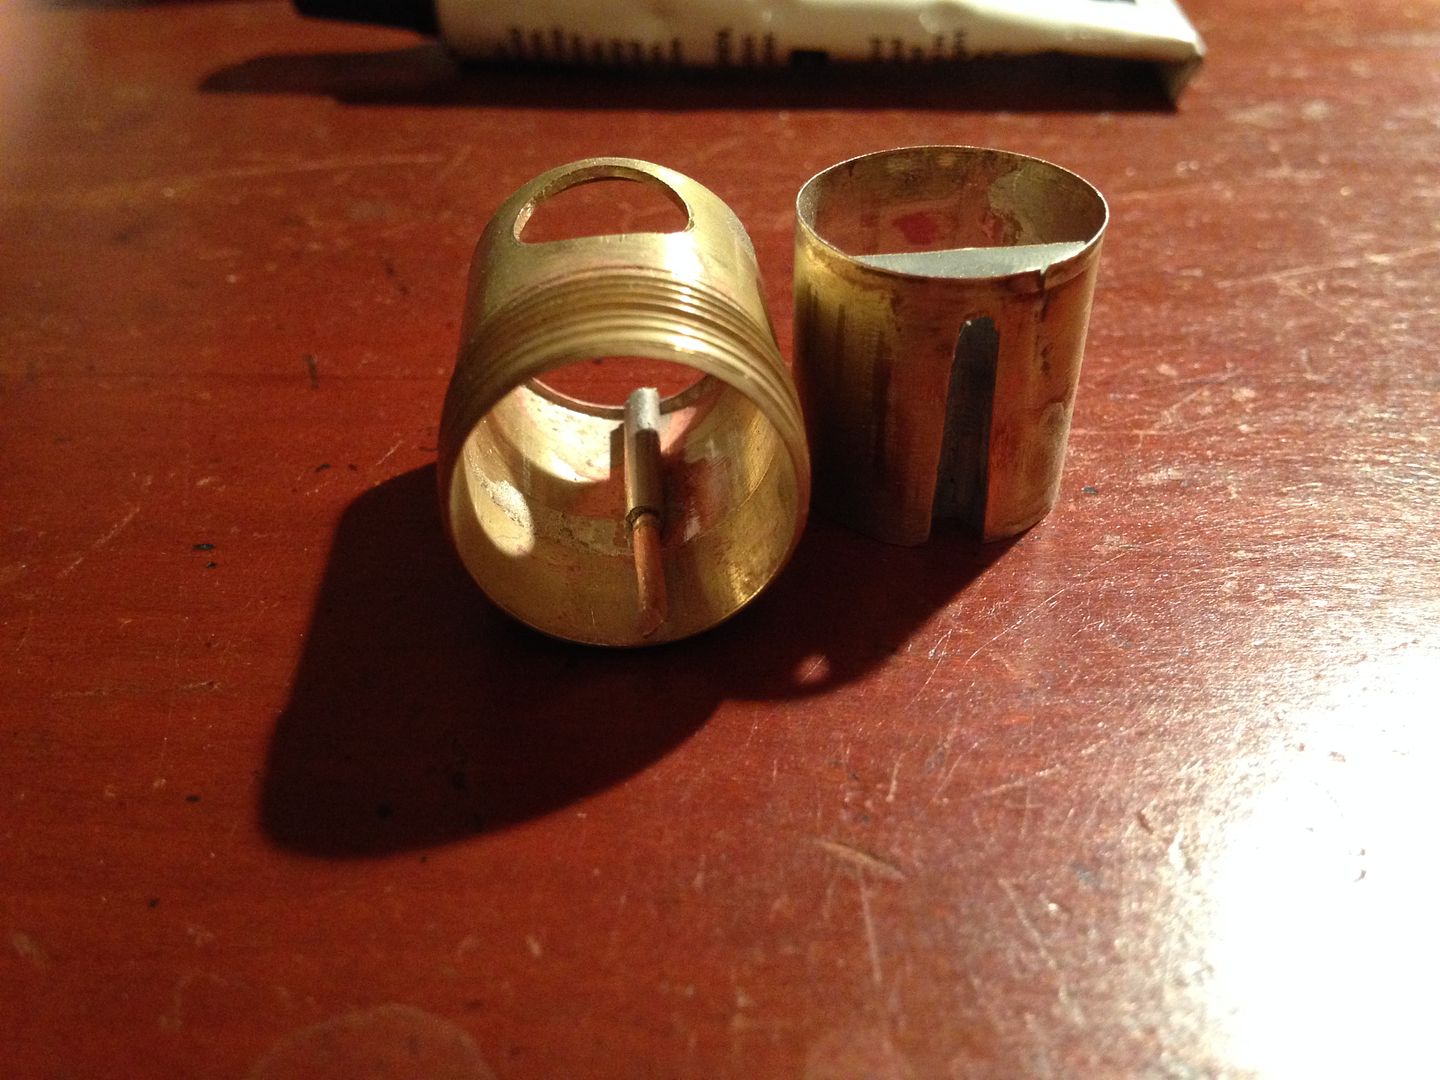
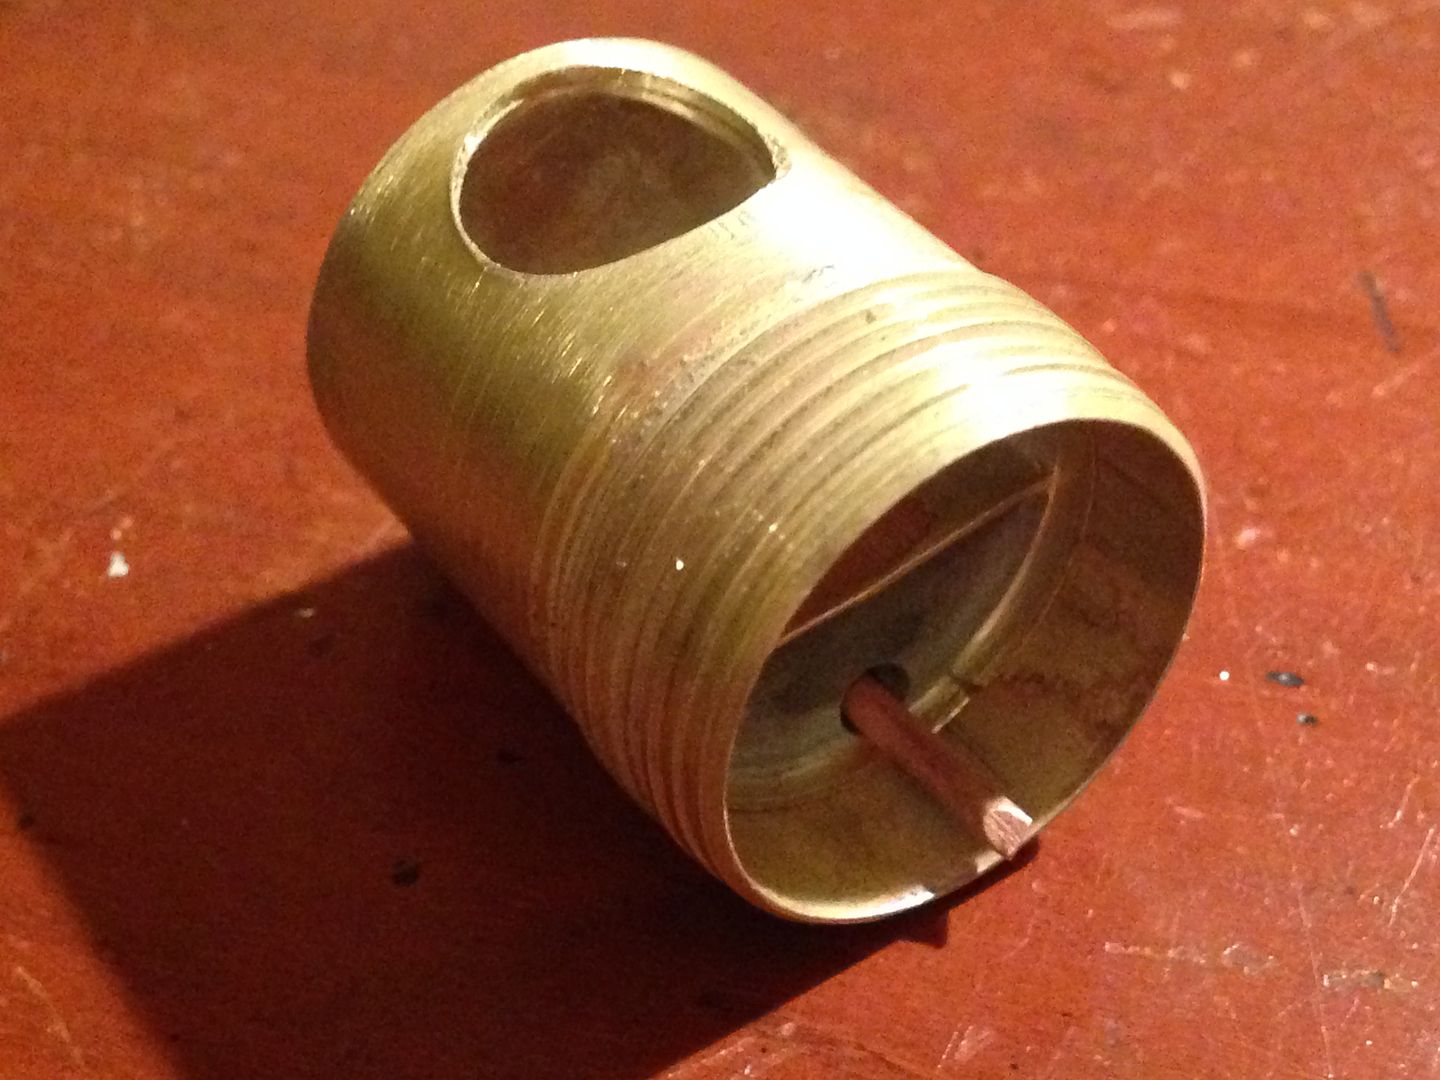
A heap of not sure what and plenty more to come. The latest work returns to the switch area where I made matching holes in the two parts for the switch activator and keyed the two with some 1/8” brass tubing. The copper wire will connect them through a pcb and ground some switch back lighting. 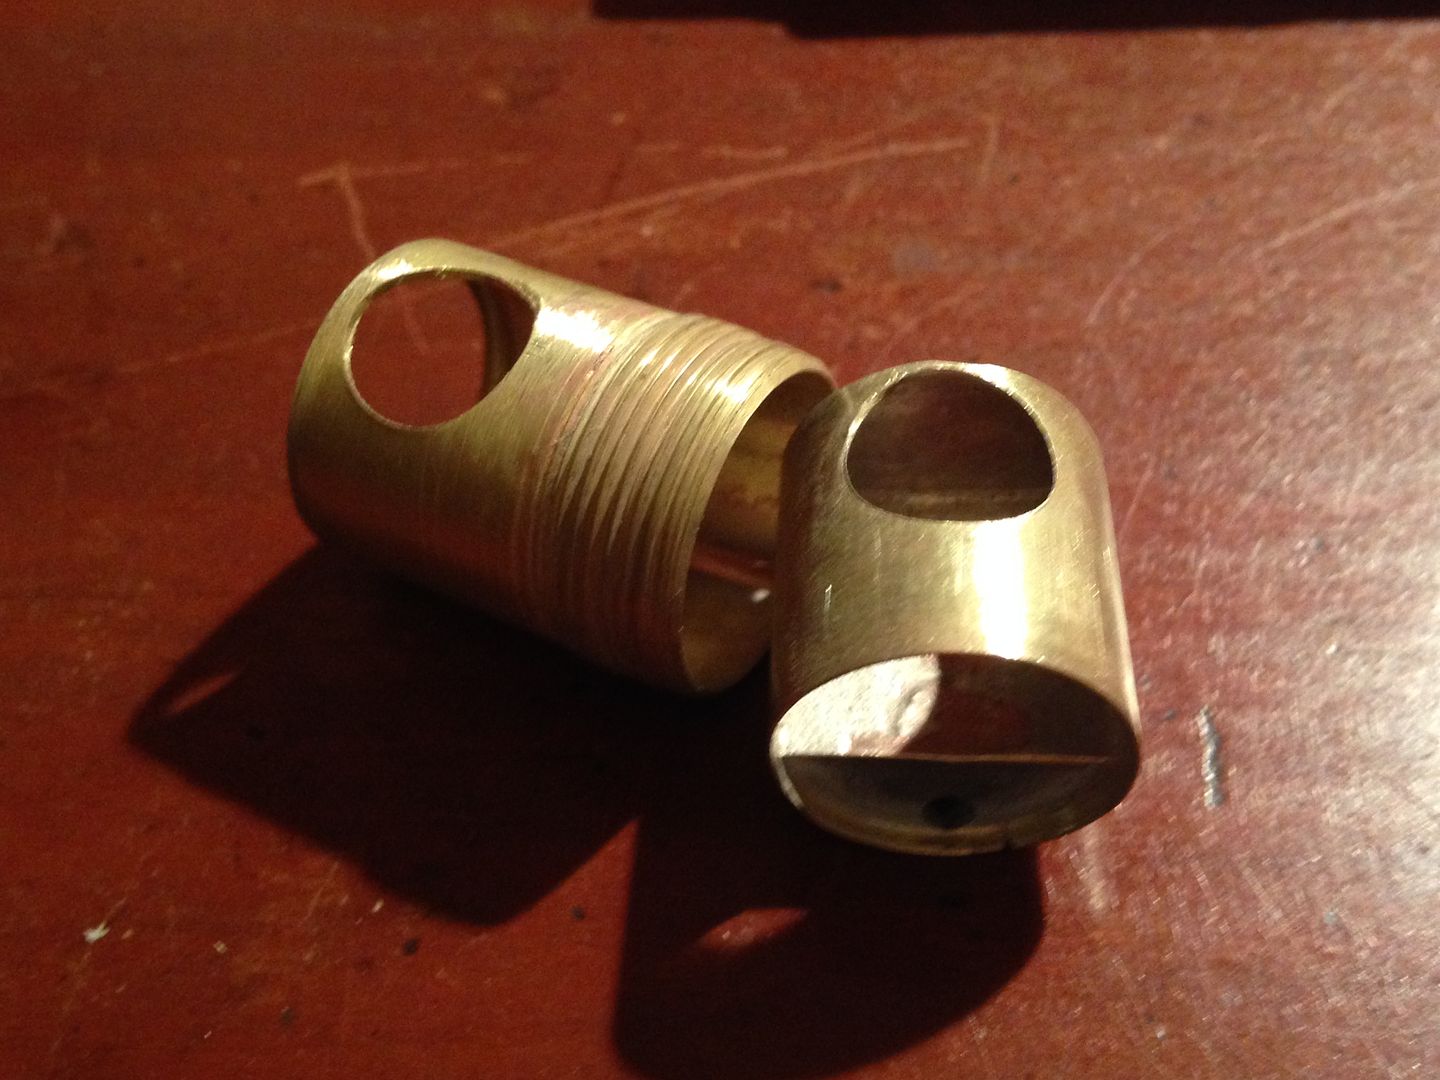
 I’ll use these two pcb’s for the back lights and contact pad for the head.
 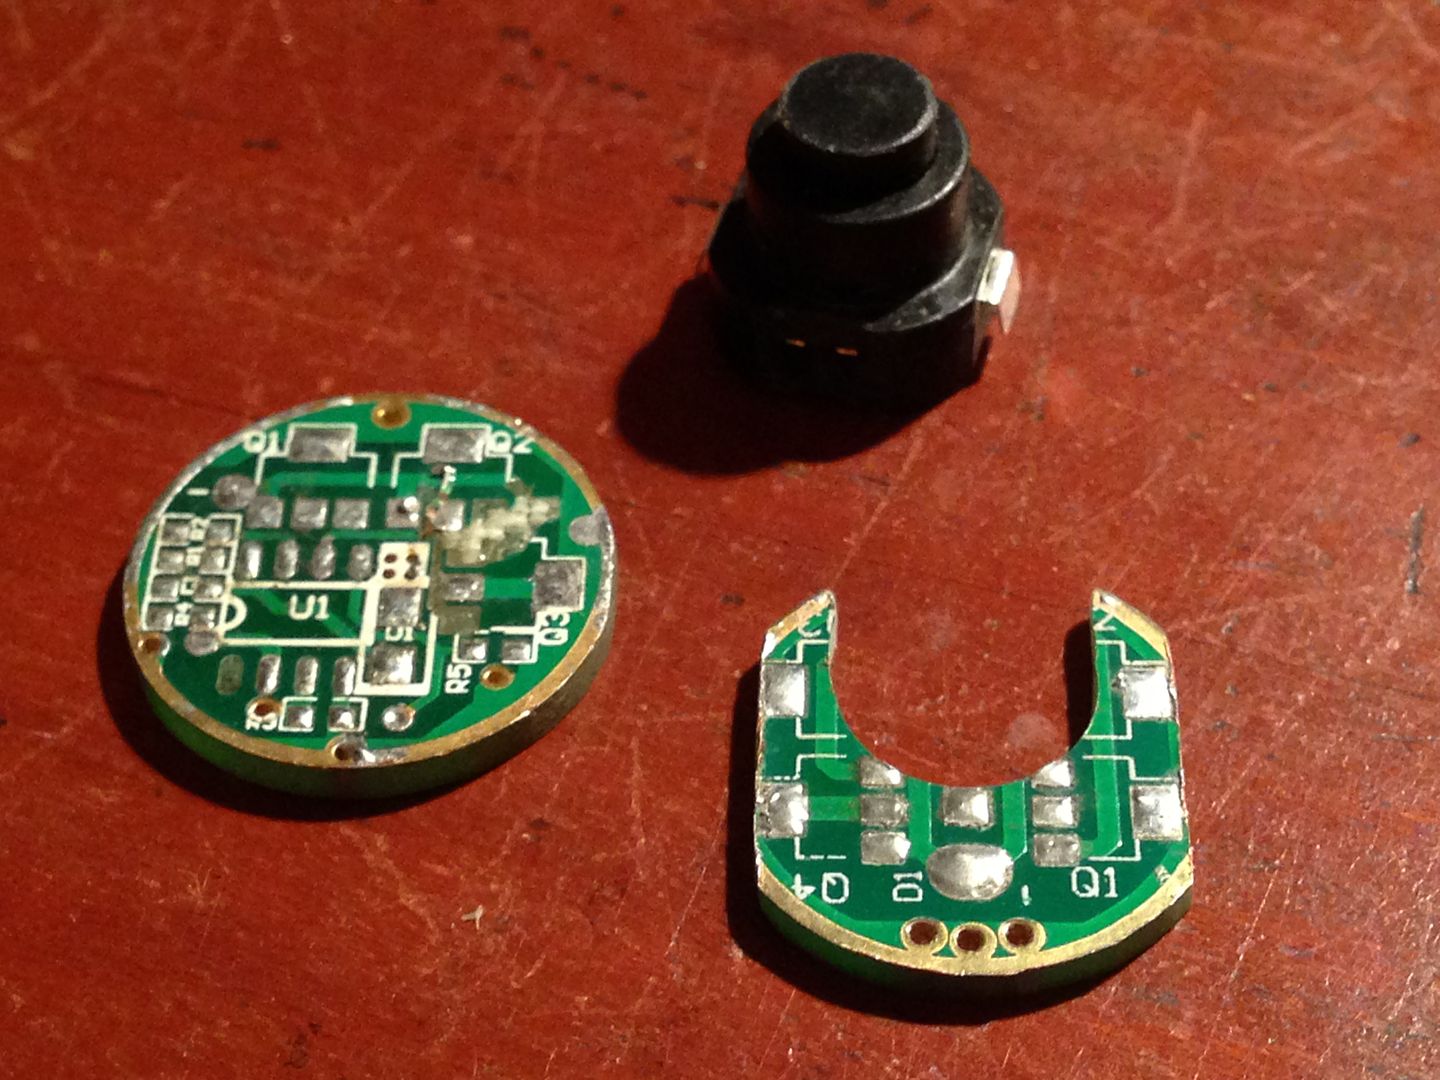 Some assembly at last! I glued the wood and first fin with Devcon 2-ton clear and when that had cured the remaining fins and spacers with JB Weld. I used a 1/2” carriage bolt as a clamp.
 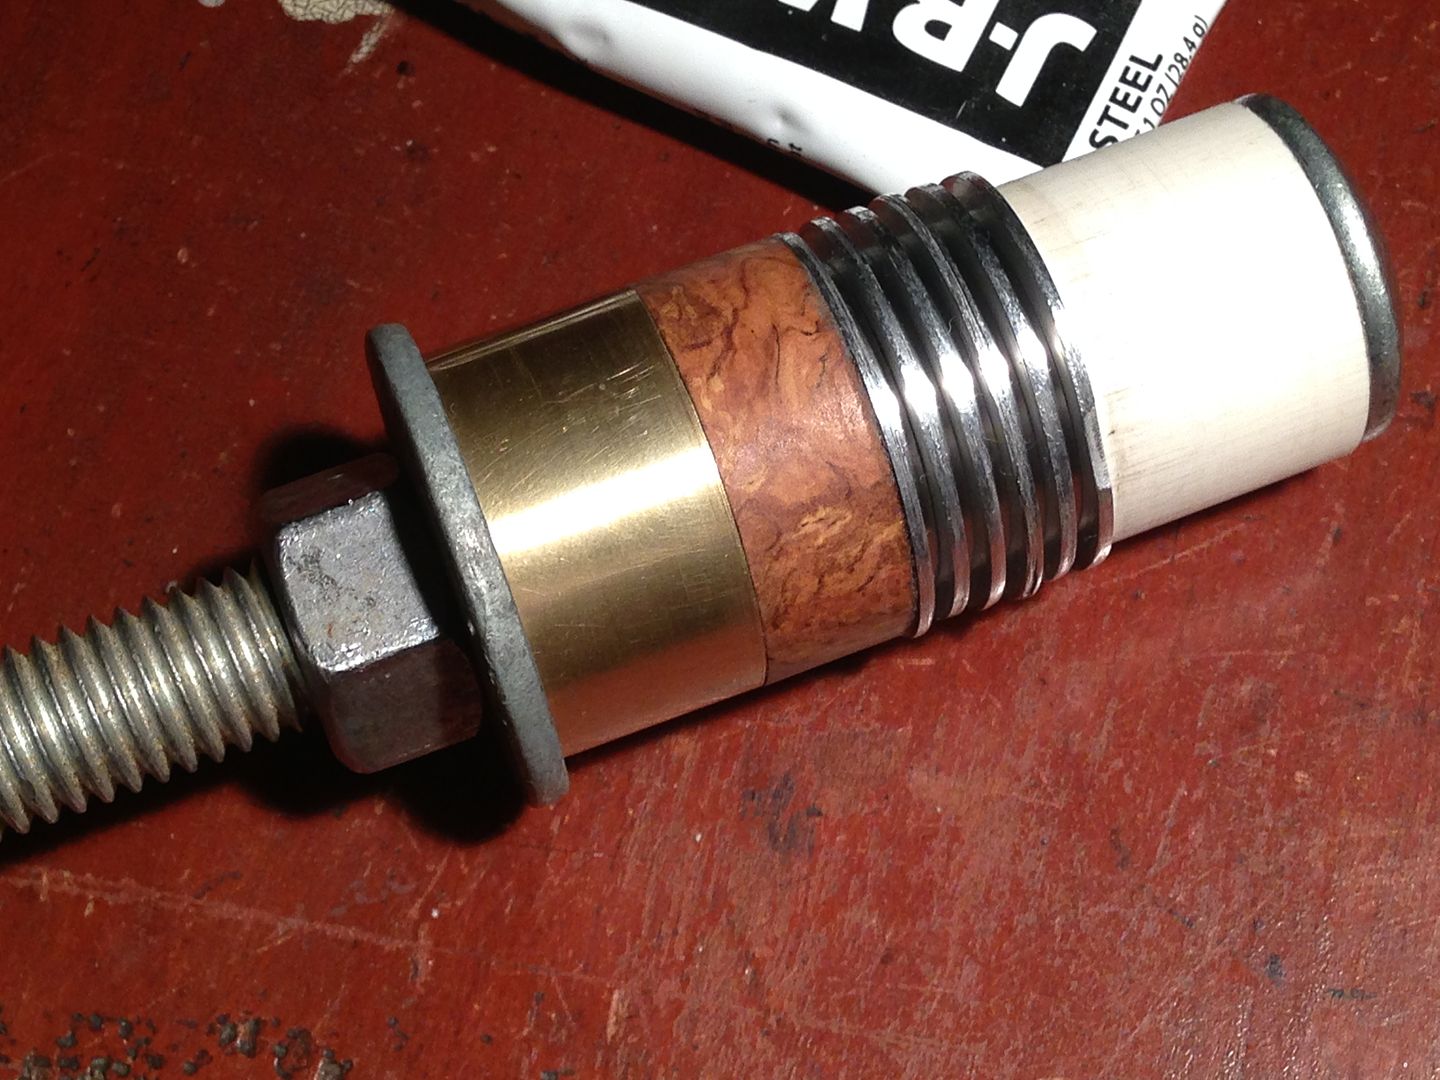 Then transferred the whole thing to a 1/2” drill bit wrapped in tape for a snug fit in the copper threading and spun it on the drill press (my dads as I’m house-sitting) past a file and some 220, I’ll use finer paper when I get home.
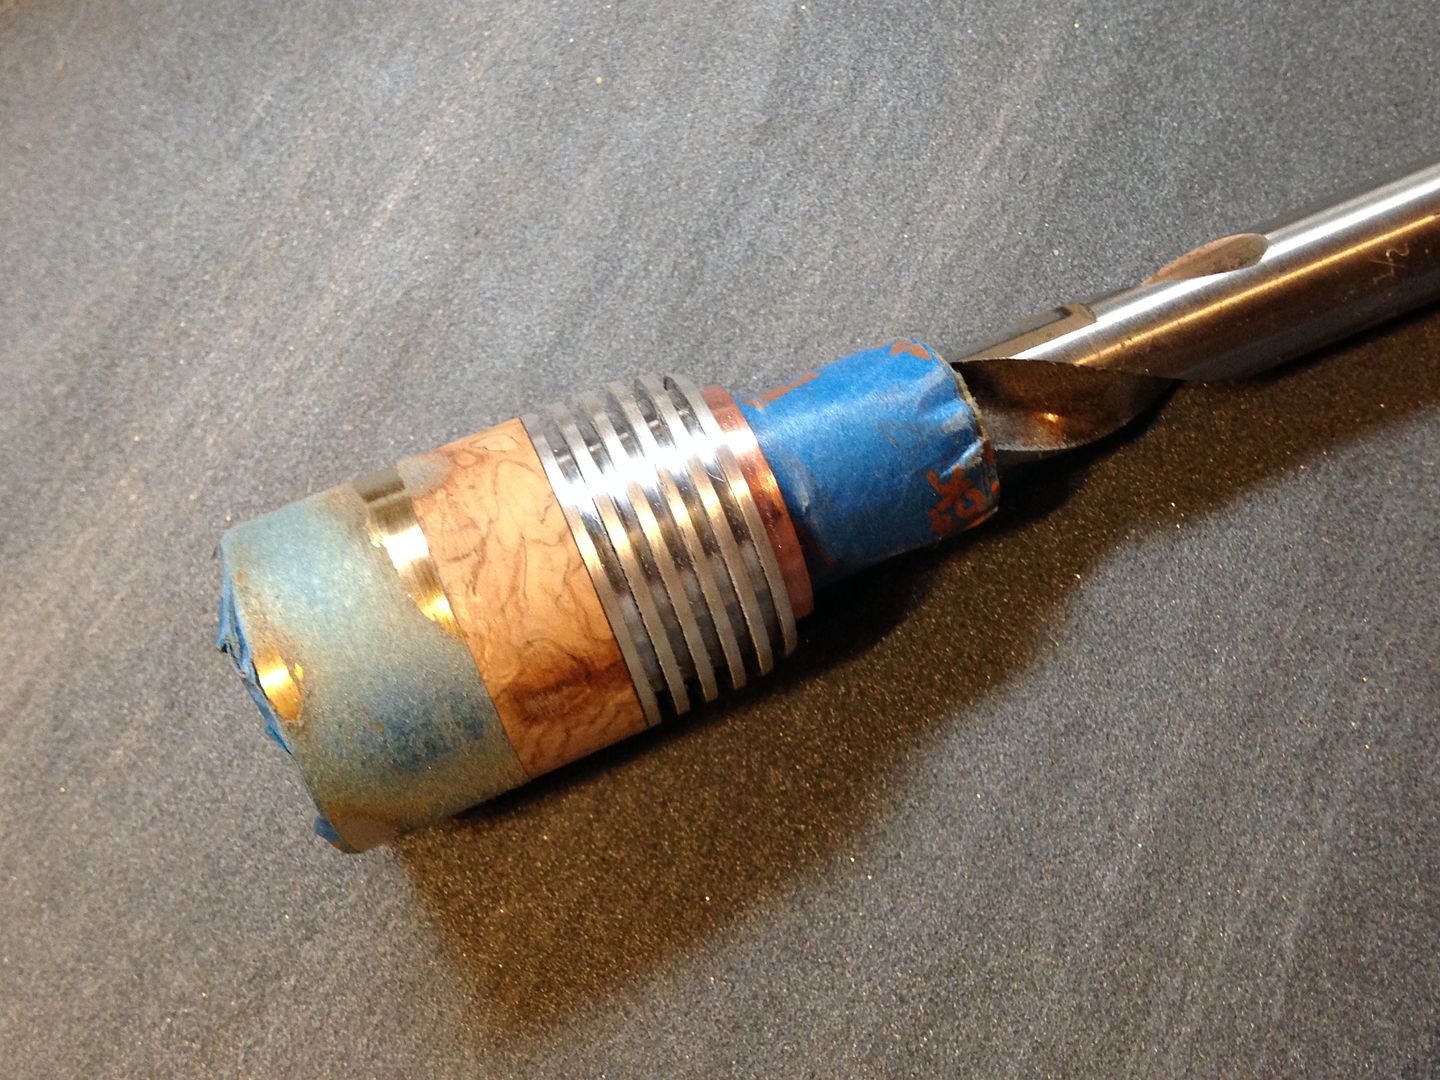
O-ring grooves and lighted switch
I’m in love. Again. :heart_eyes:
That’s looking great!
I’m amazed …. Excellent work !
Thanks you guys, I’m starting to get stoked and anxious at the same time for how it’s turning out and the time remaining. I got in ~12 hrs from 6pm to 6 am and managed not to mess things up too badly. I started off by cutting an o-ring groove in the tail cap. 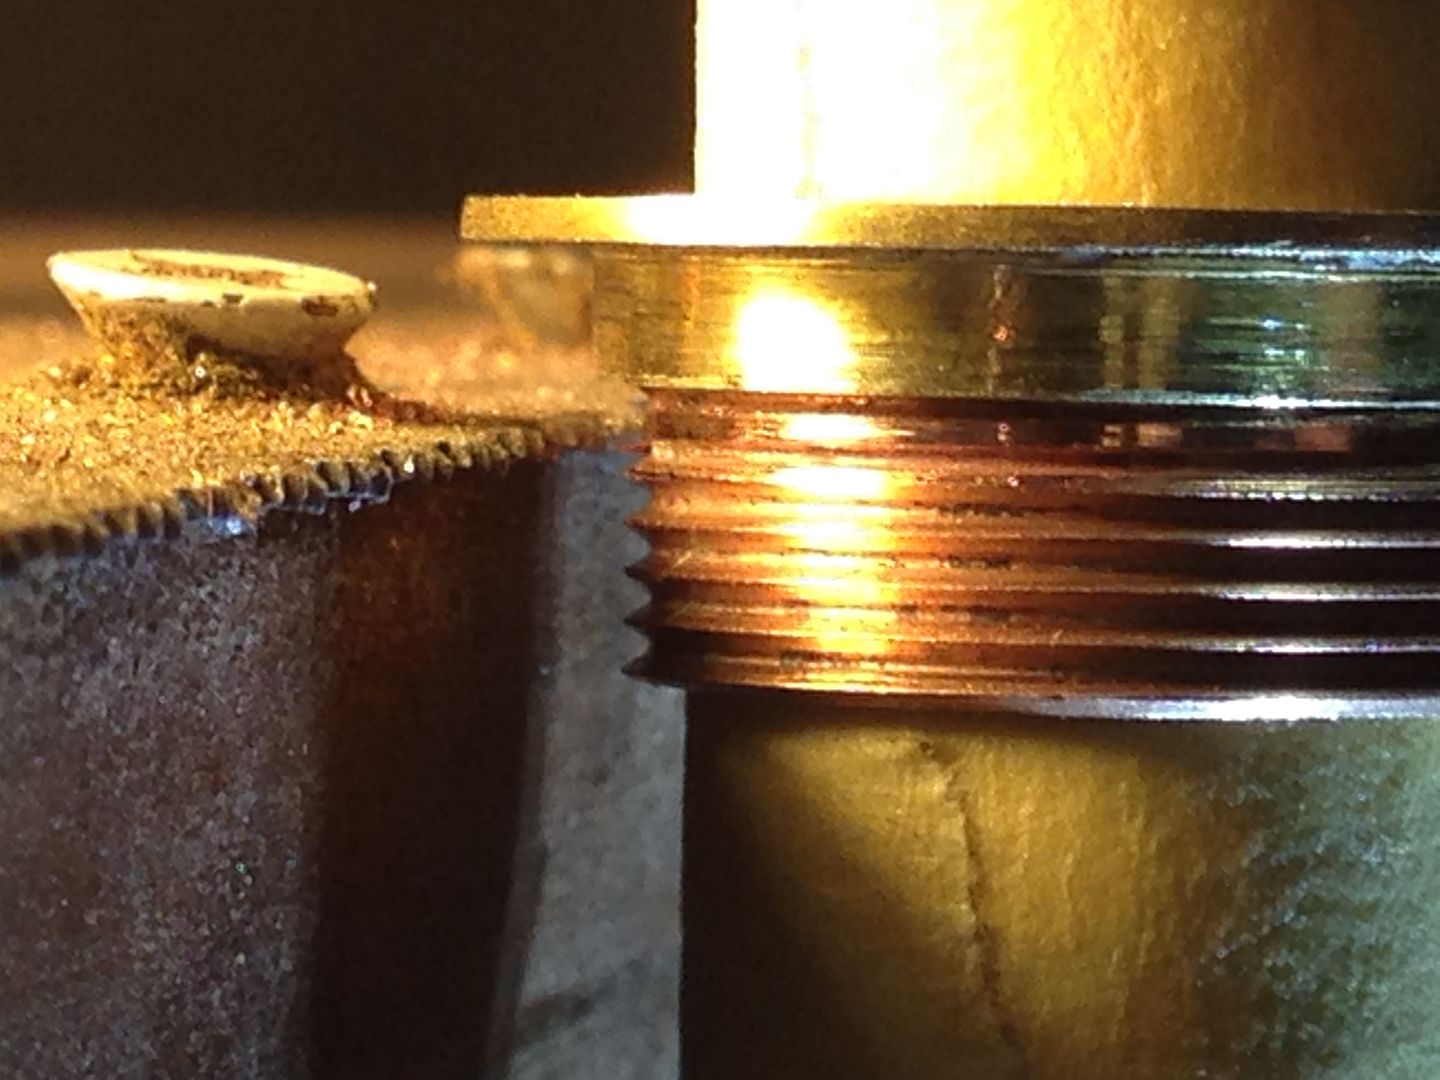 I used a small file and some 600 w/d folded over a thin square edge to finish it off.
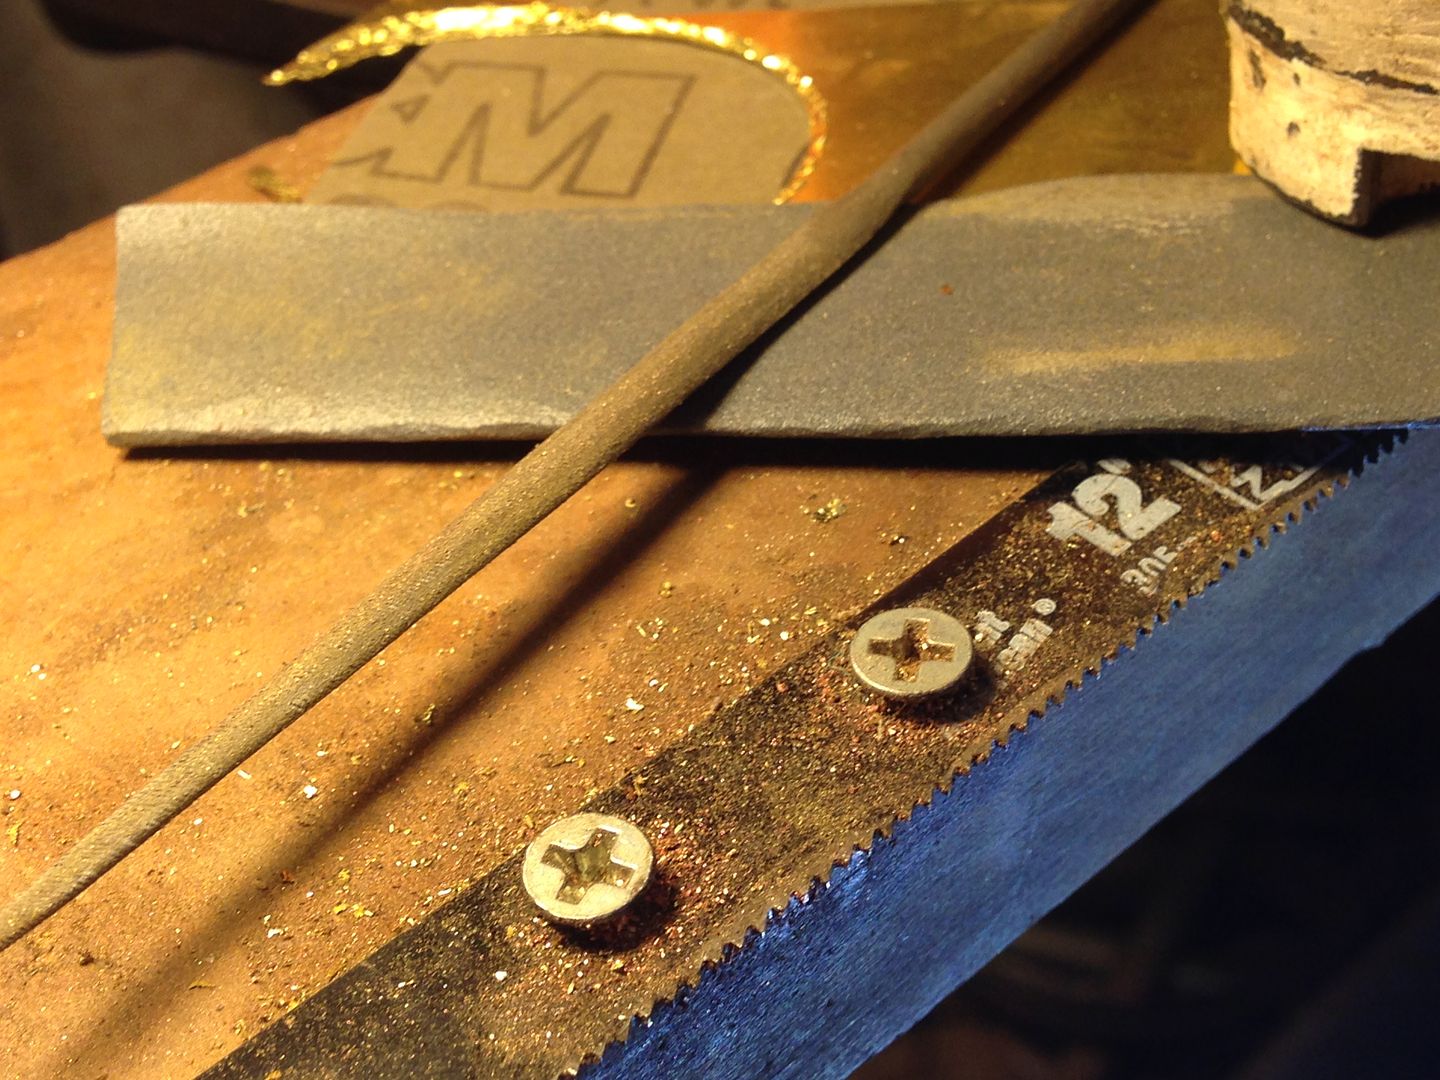
 Next, I used a very nearly used up Dremel cut off wheel to trim the copper ground wire to length.
 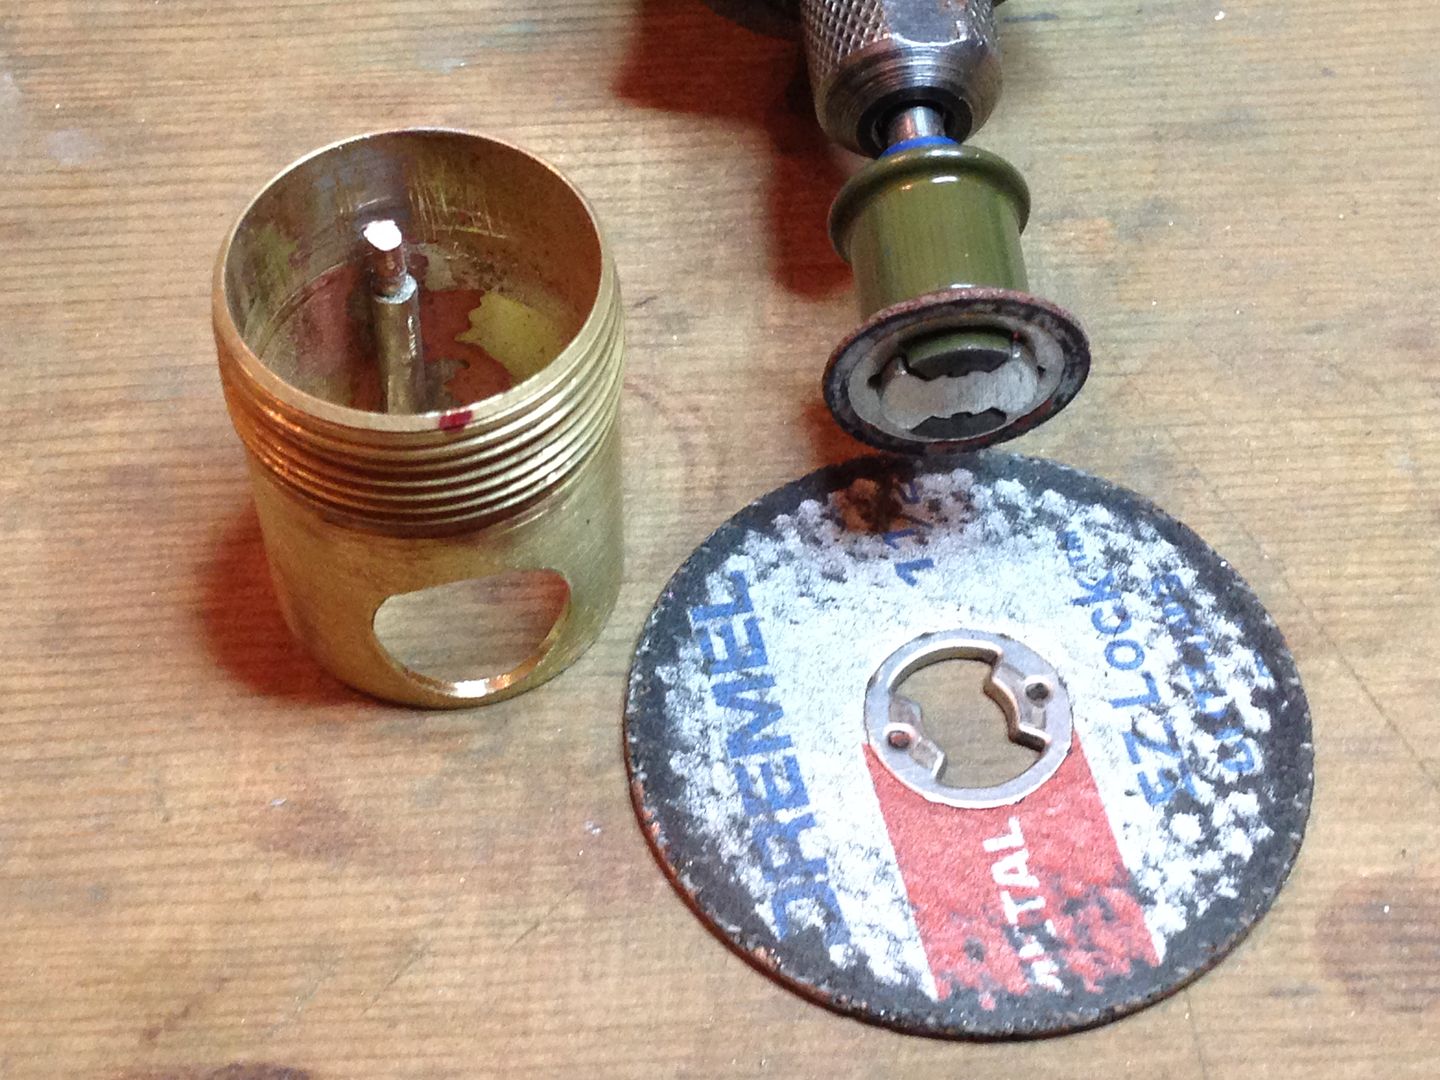 And an exacto knife to open up the via in the pcb ground ring.
 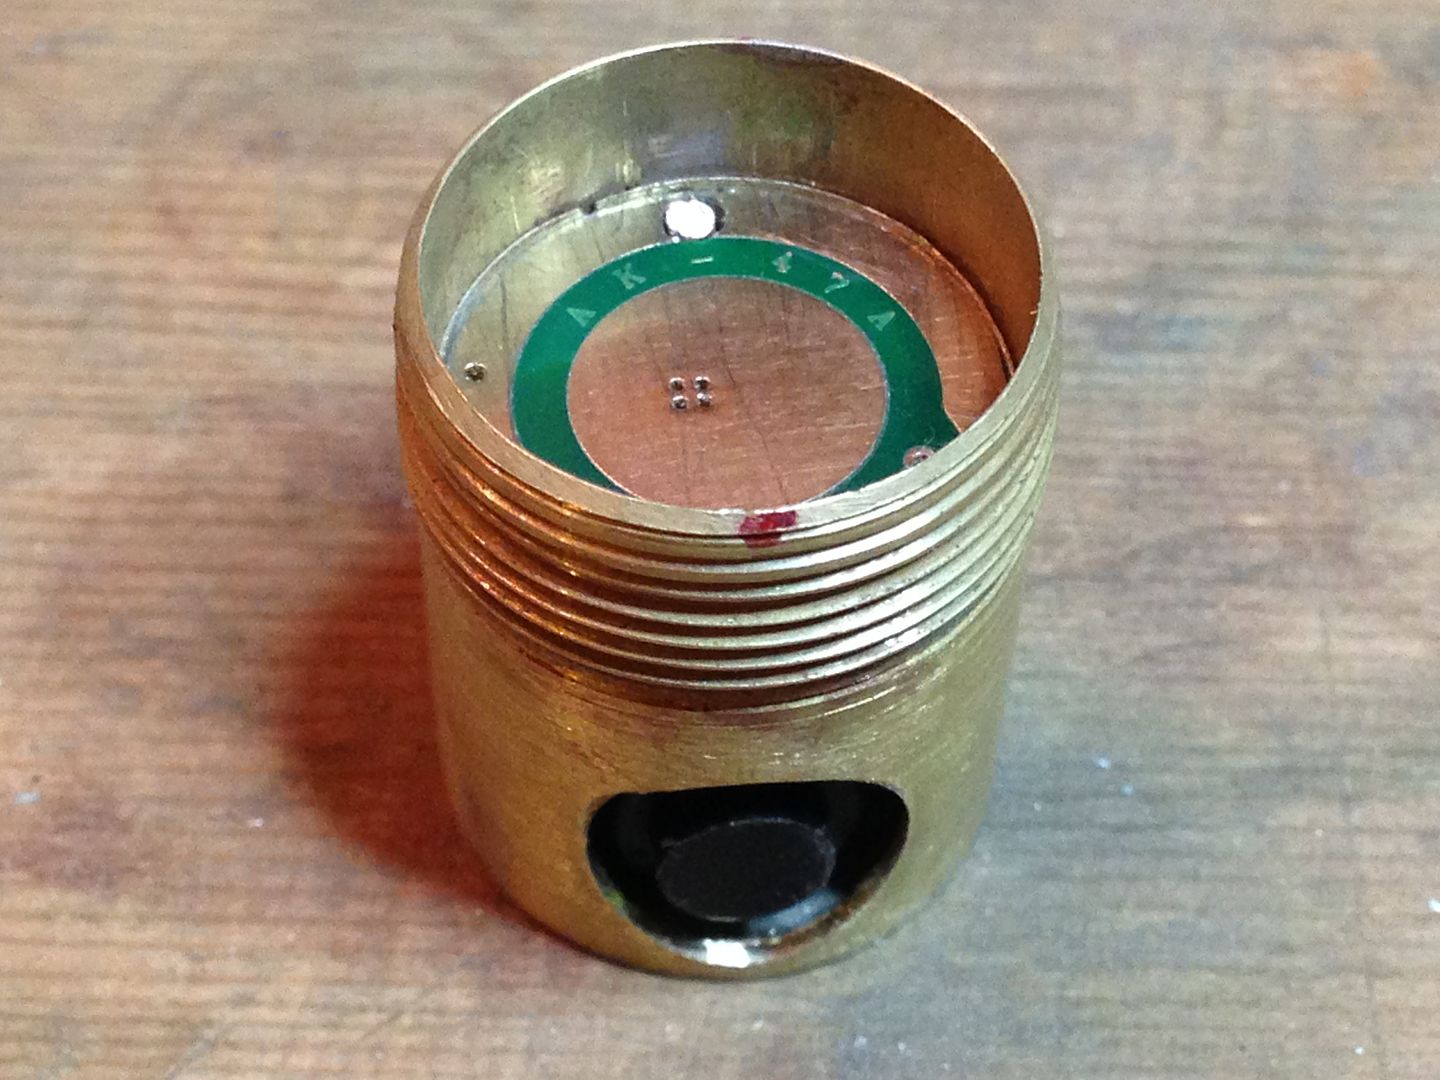 It took 3 tries to get this part right. This notched pcb fits around the switch tower… S+ goes to one side of the 10k R and the remainder of the pad serves as a trace connecting to the two vias.
 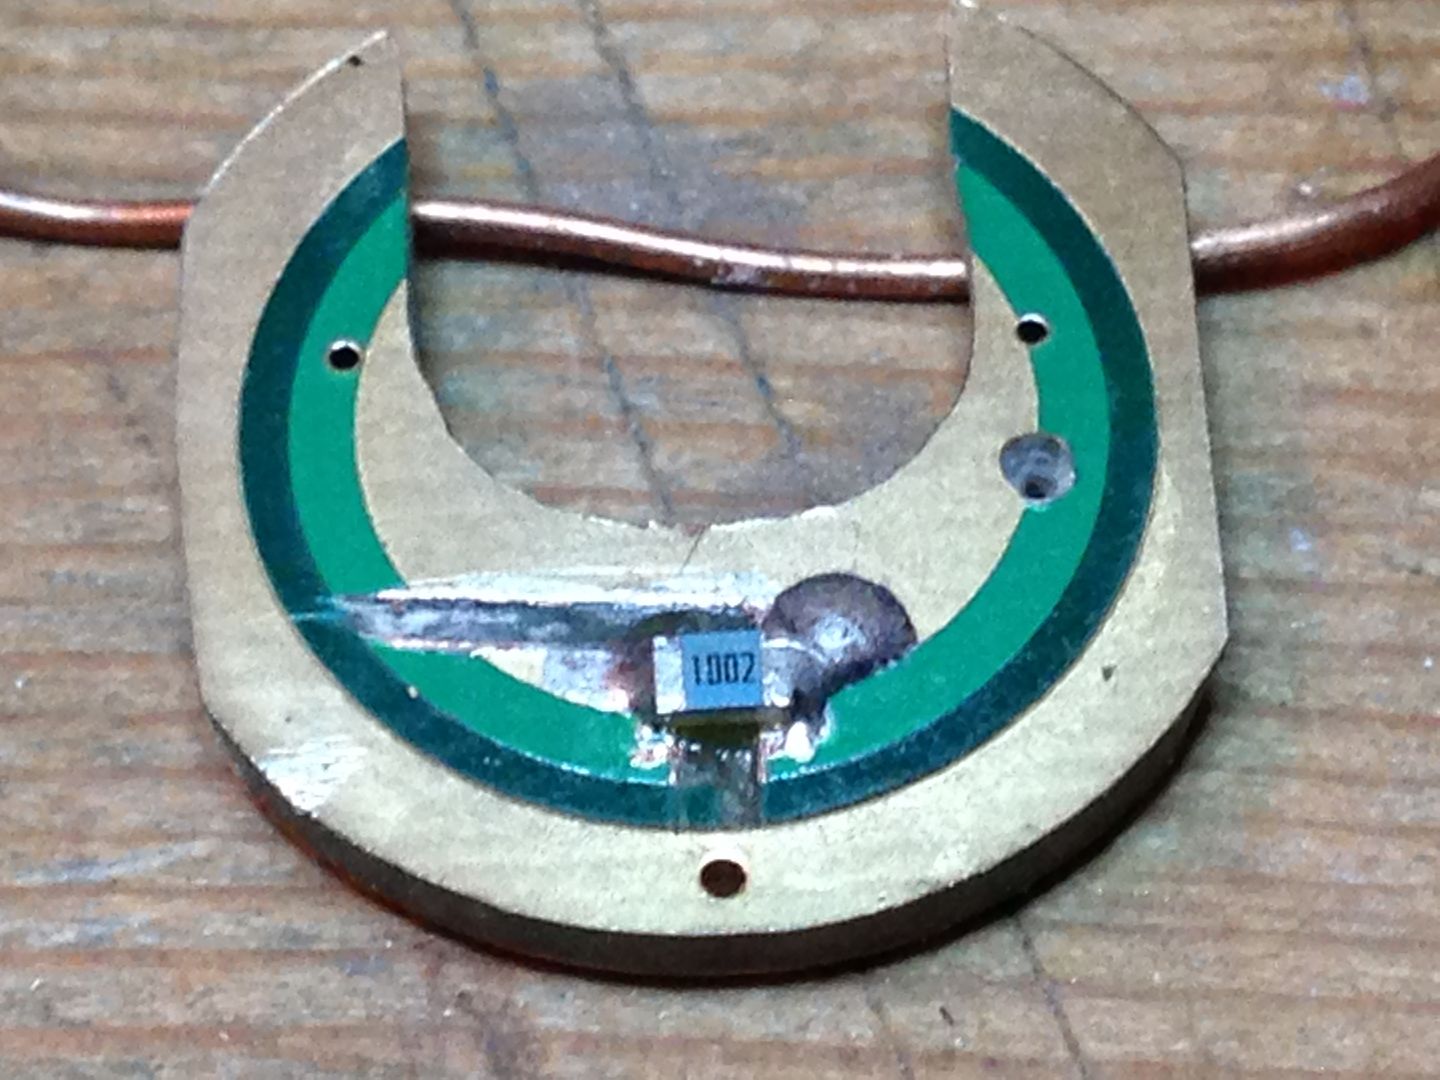 Which connect to two blue LEDs on the top side. Jumpers ground the LEDs and a thin copper wire will connect gnd on the notched pcb to gnd on the other one.
 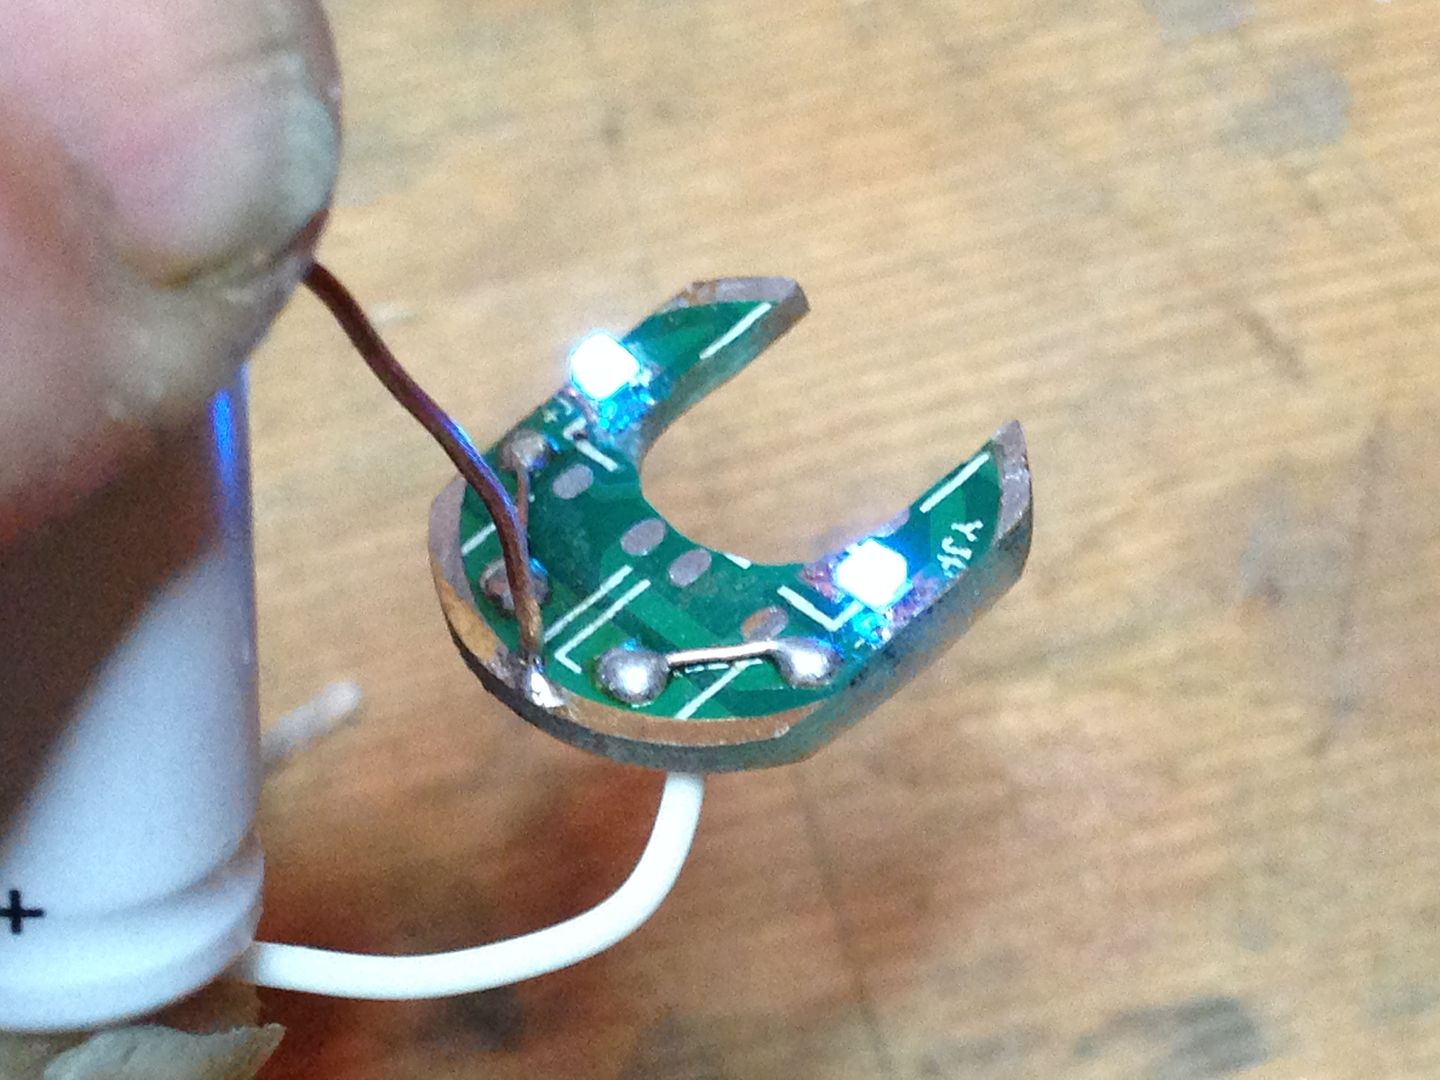 The outer switch pill piece has been soldered into the brass tube and an o-ring groove similarly cut into it. Once I follow the switch hole out through the brass tube I’ll be very close to gluing the wood tube on.
I’ve decided to forego the brass end caps as I like it better with the brass only at the ends and just wood in between except for the fins.
Drilling the switch hole
That is so neat RBD. ![]()
:+1: ![]()
Just a small update. While house sitting for my folks I used Dad’s drill press to start the switch hole in the wood tube. 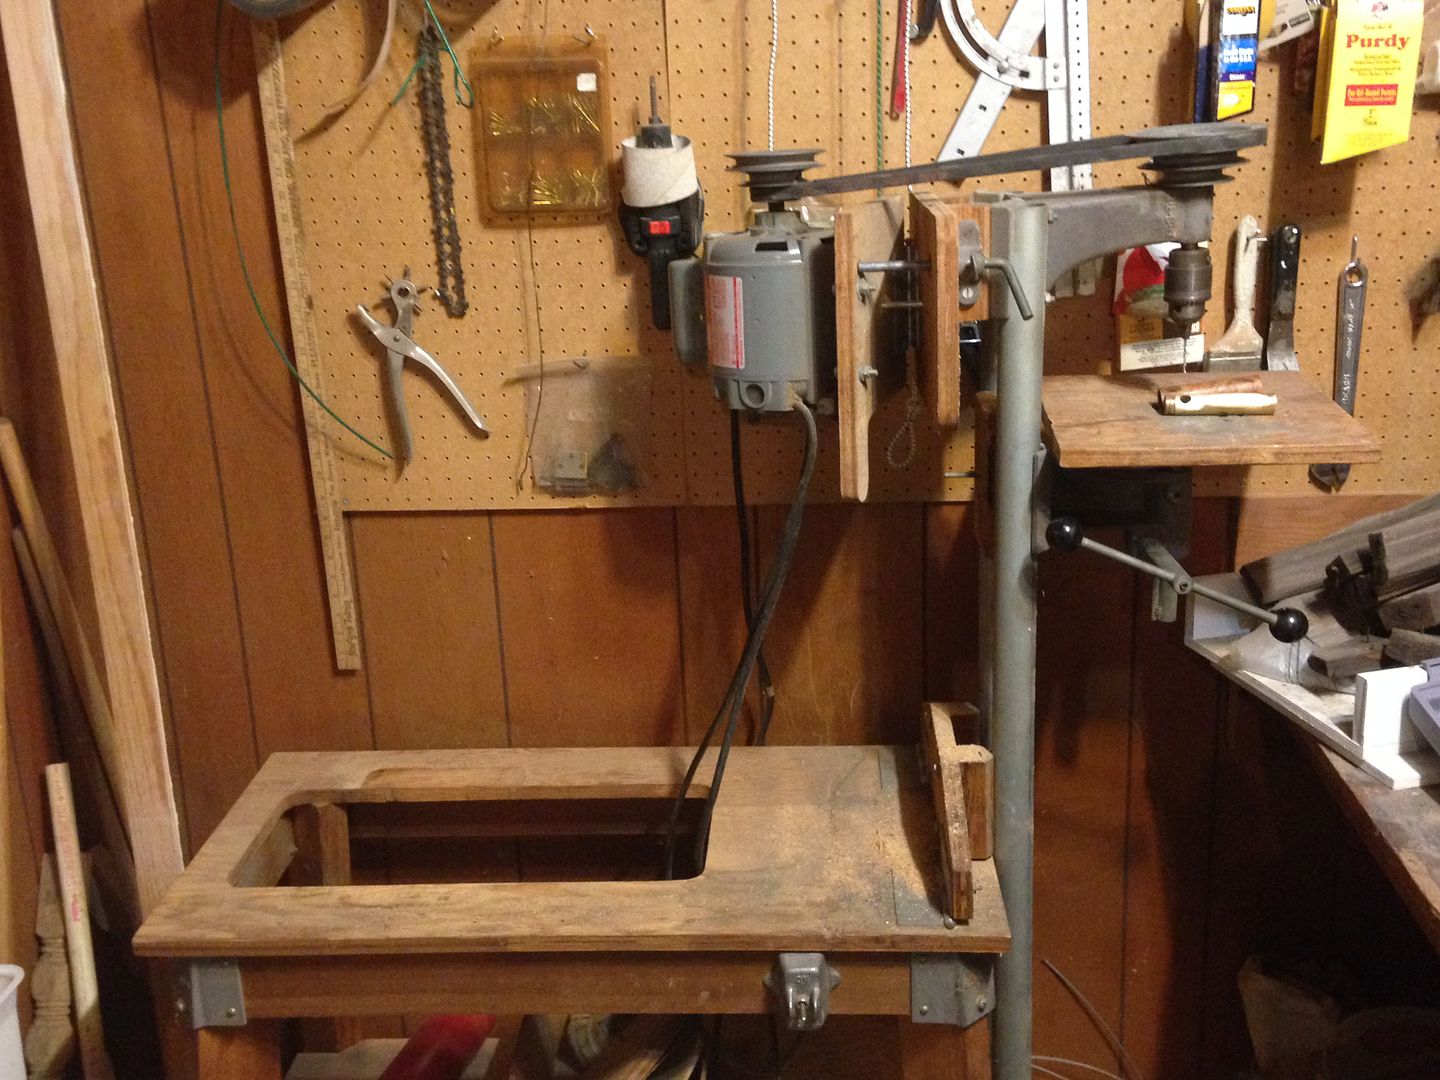
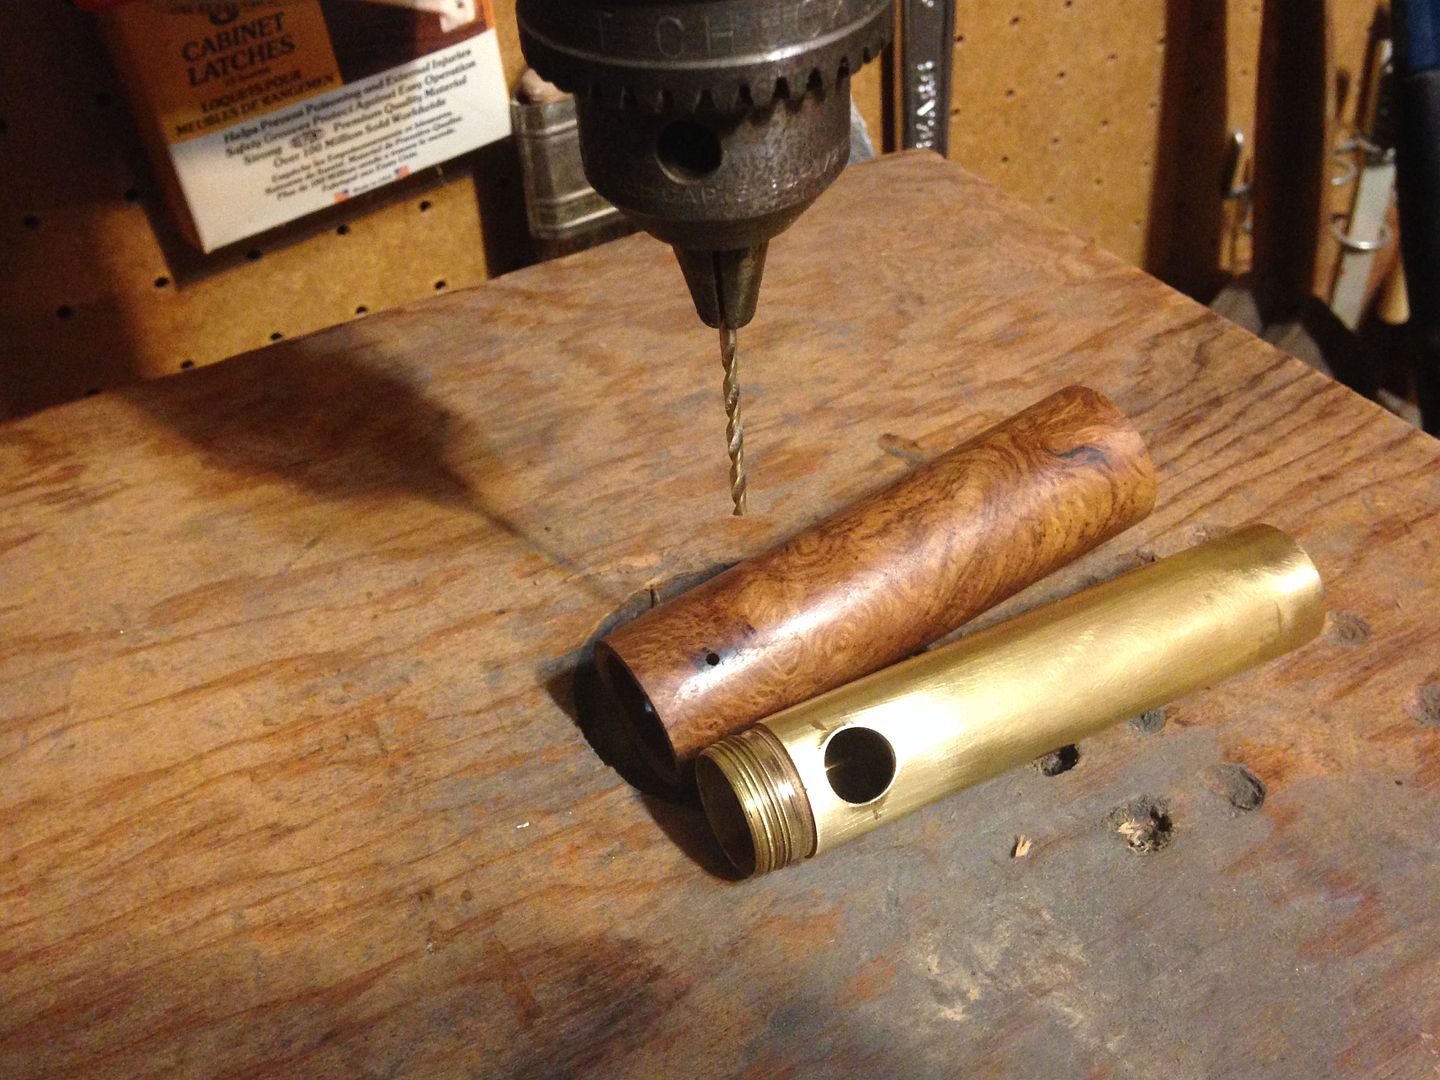 After stepping up drill bits to 5/16” I used a Dremel sanding drum to do the rest.
 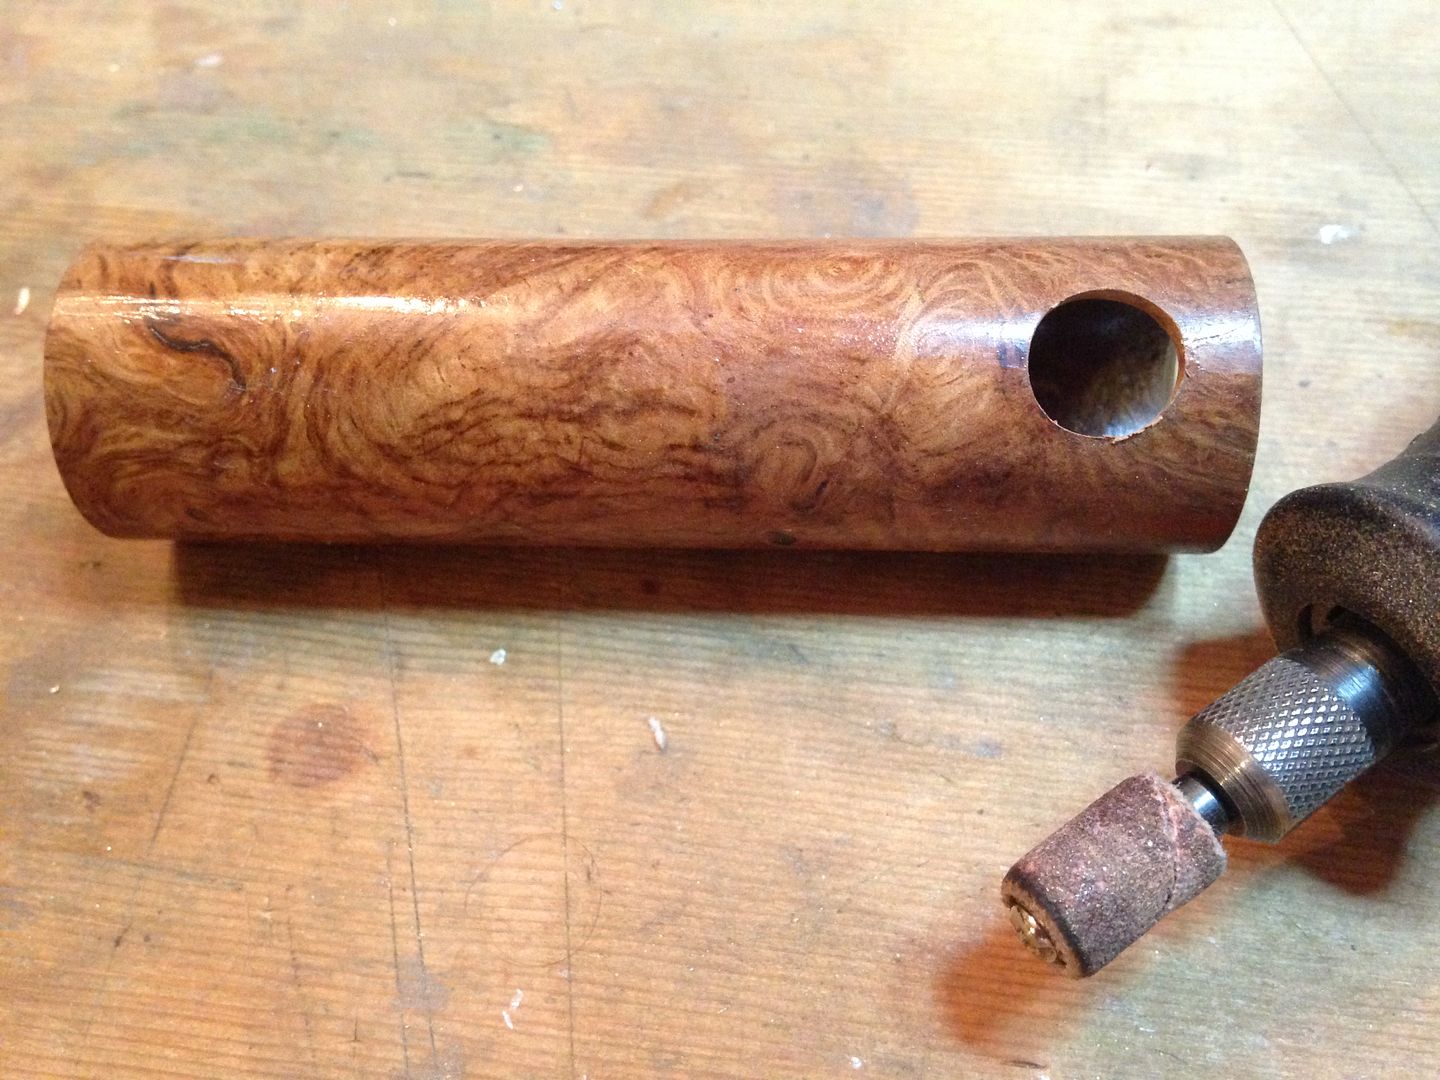 They came home Wednesday so I’ve since shifted operations back home to work on more small brass bits to squeeze in but I’m behind on picture taking. After tomorrow’s session I’ll post some more pics but it will likely be at a late hour PST.
Gluing and soldering
Thats an interesting drill press. I haven’t seen one that the table moves up to drill the hole before.
If you keep posting pictures of your Burl I’m going to come around and knock it of so I can use it. ![]()
awsom cant wait to see the finished product
Meh, once again had to move the contents of this post to the next one to get images to load.
After a whole lot of hole fiddling I hitched up my britches and glued up the tube. I greased up some older o-rings to seal in the epoxy and used a brass tube to keep the wood and brass holes aligned. 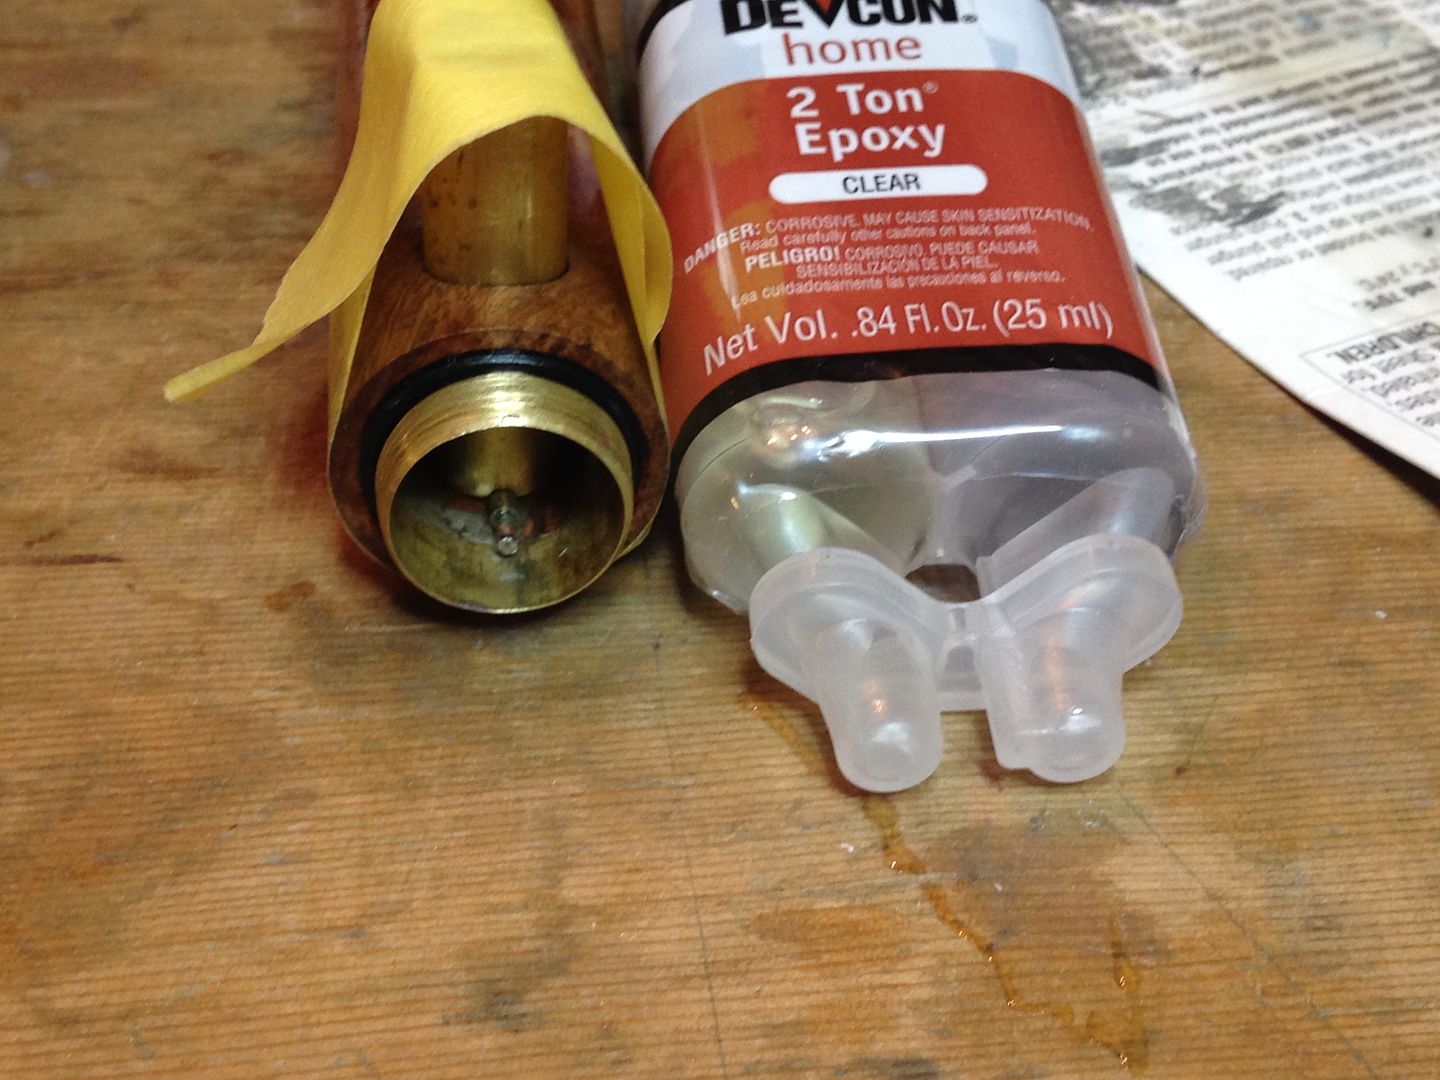 Also pretinned the ground wire, reassembled my switch with the wires soldered to the tabs, reflowed a 219C, and assembled the pill.
 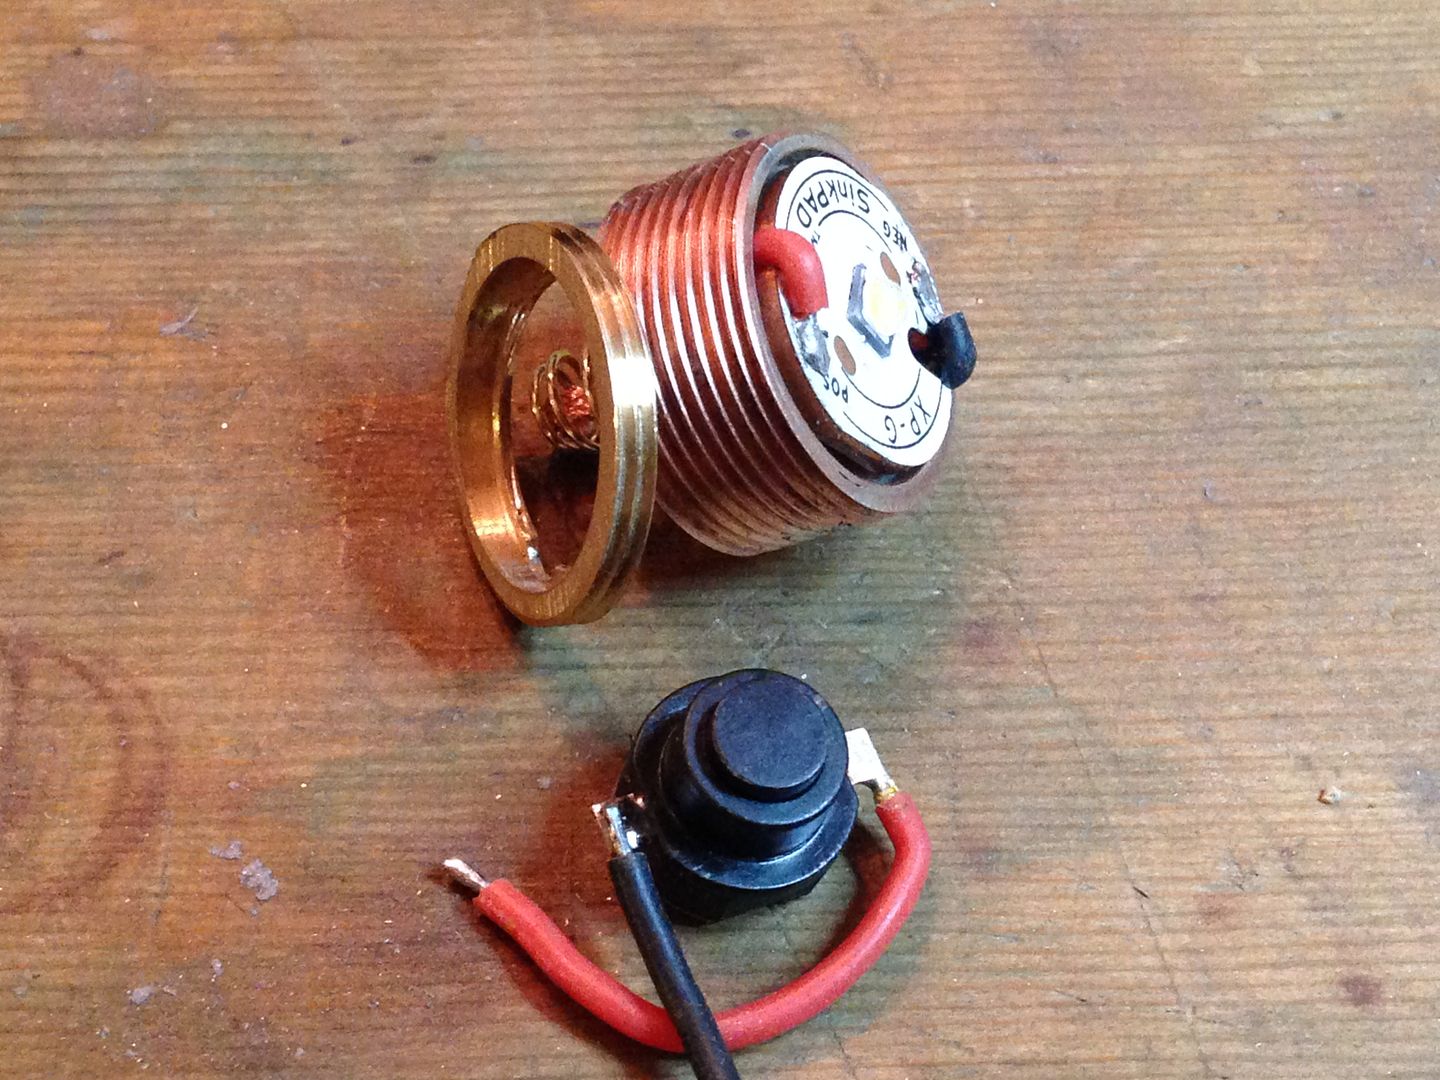 As you can see I also cut up a p60 pill to make a new retaining ring. I used my 20mm die and the failed retainer as a stop nut to cut the pill.
 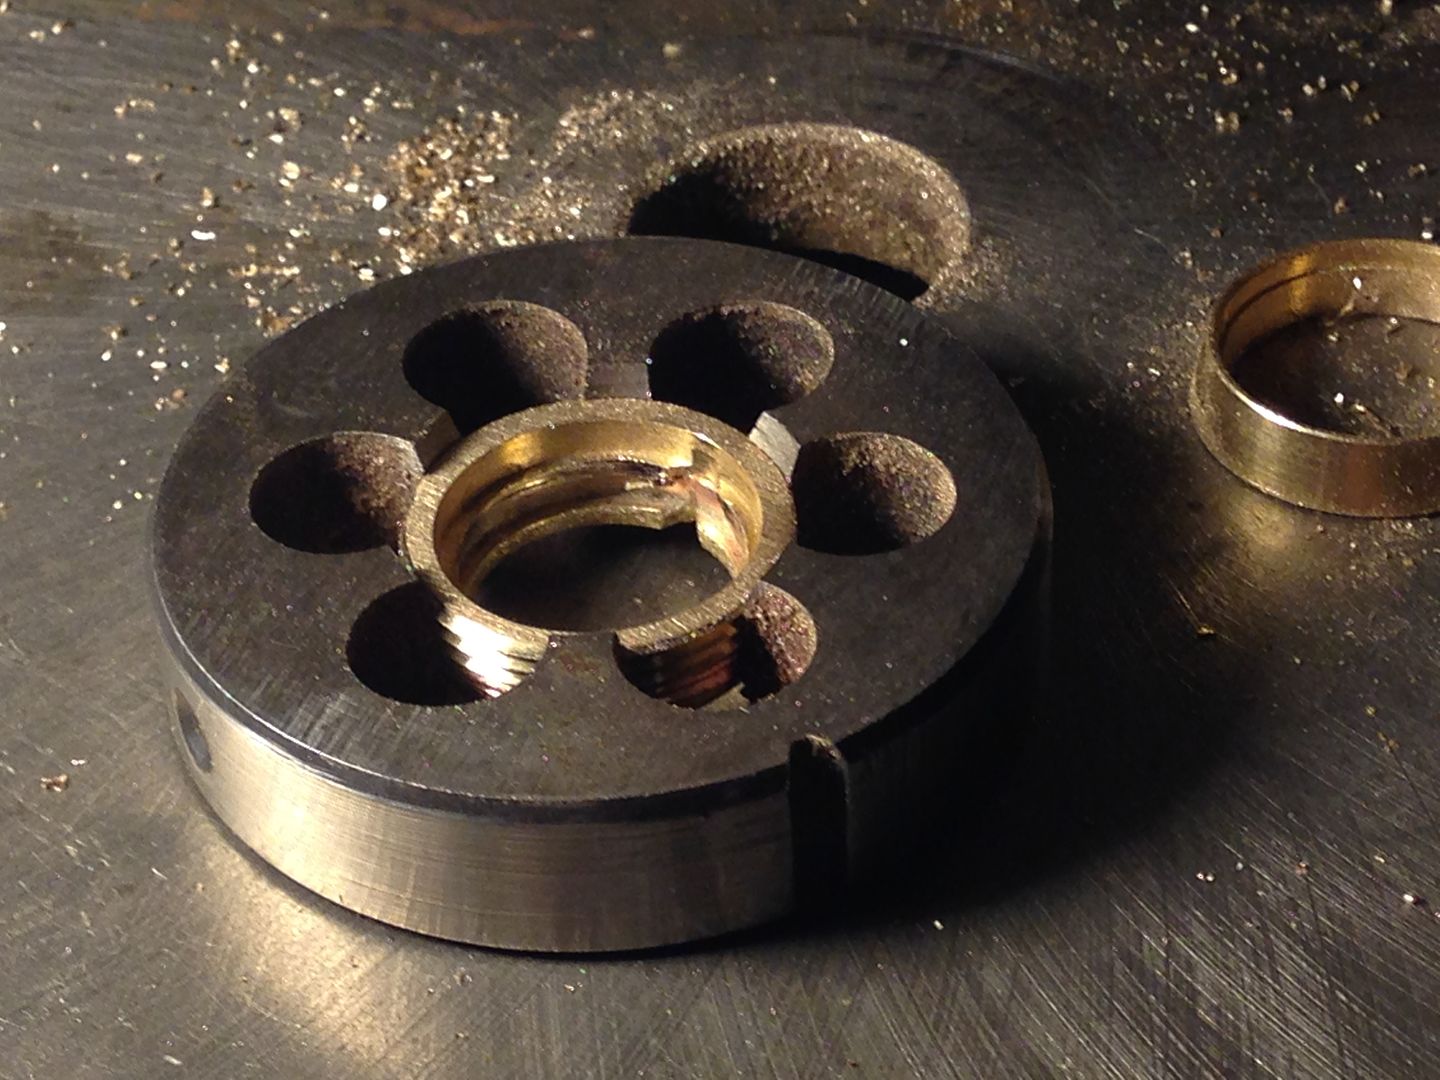 and then drilled out the center with a step drill. Much of the fiddling had to do with the brass bits that line the switch hole and act as a button. The liner piece I’ll epoxy in place in the morning and the switch piece and tail cap get cabochons I ordered 3 weeks ago that arrived today.