awsom cant wait to see the finished product
Meh, once again had to move the contents of this post to the next one to get images to load.
After a whole lot of hole fiddling I hitched up my britches and glued up the tube. I greased up some older o-rings to seal in the epoxy and used a brass tube to keep the wood and brass holes aligned. 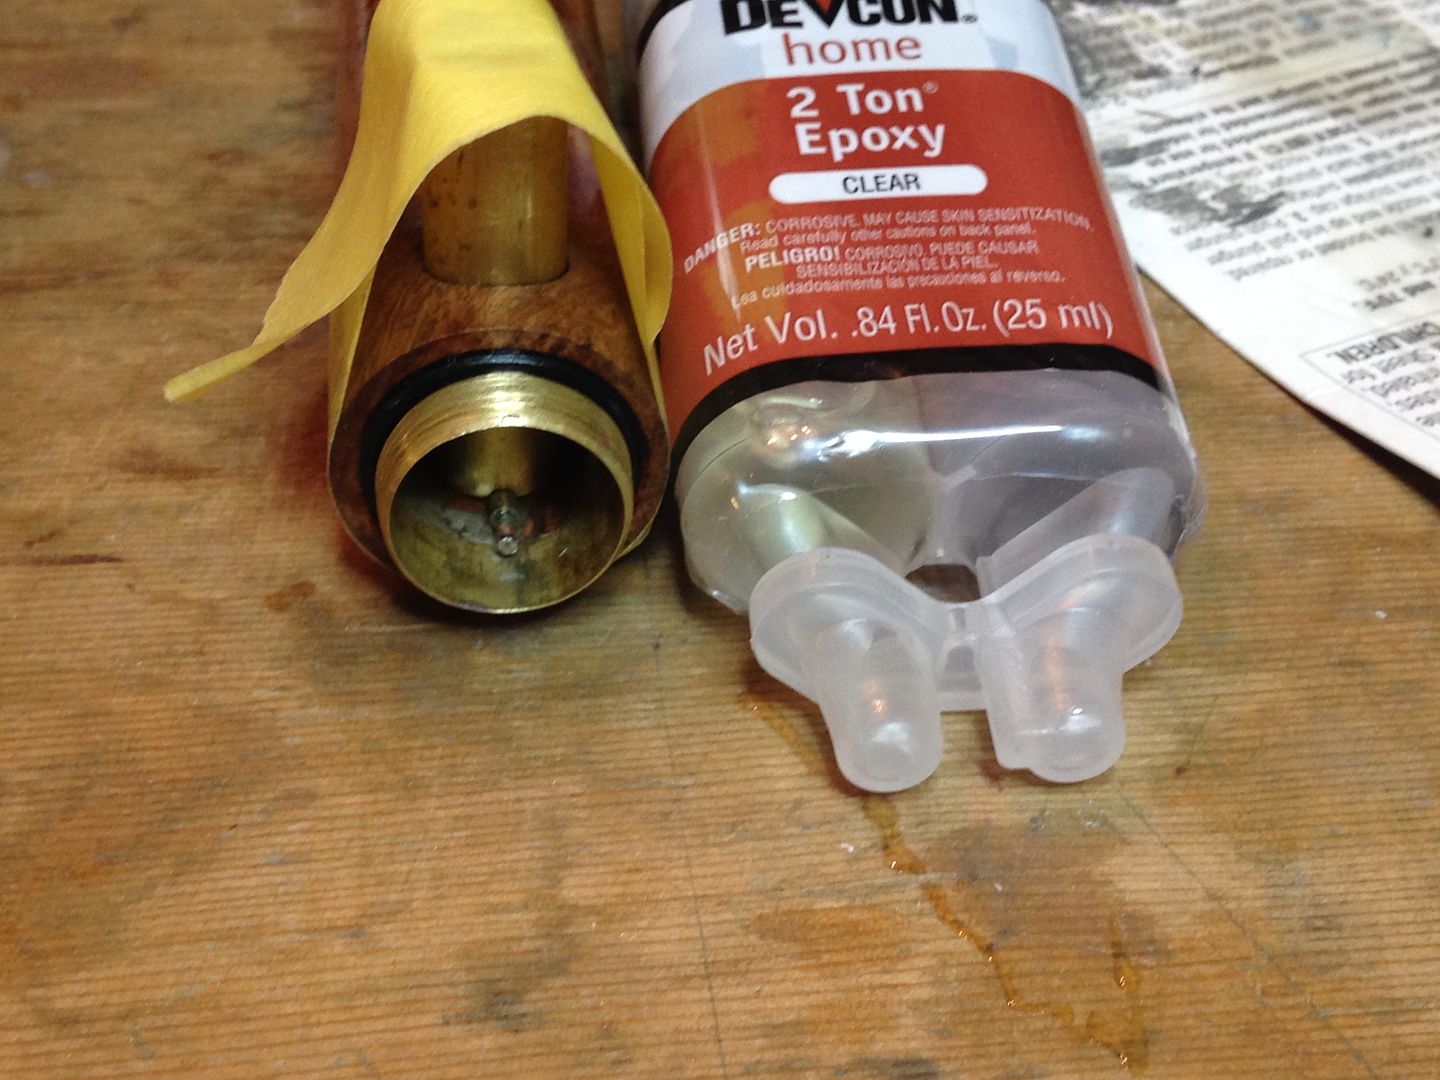 Also pretinned the ground wire, reassembled my switch with the wires soldered to the tabs, reflowed a 219C, and assembled the pill.
 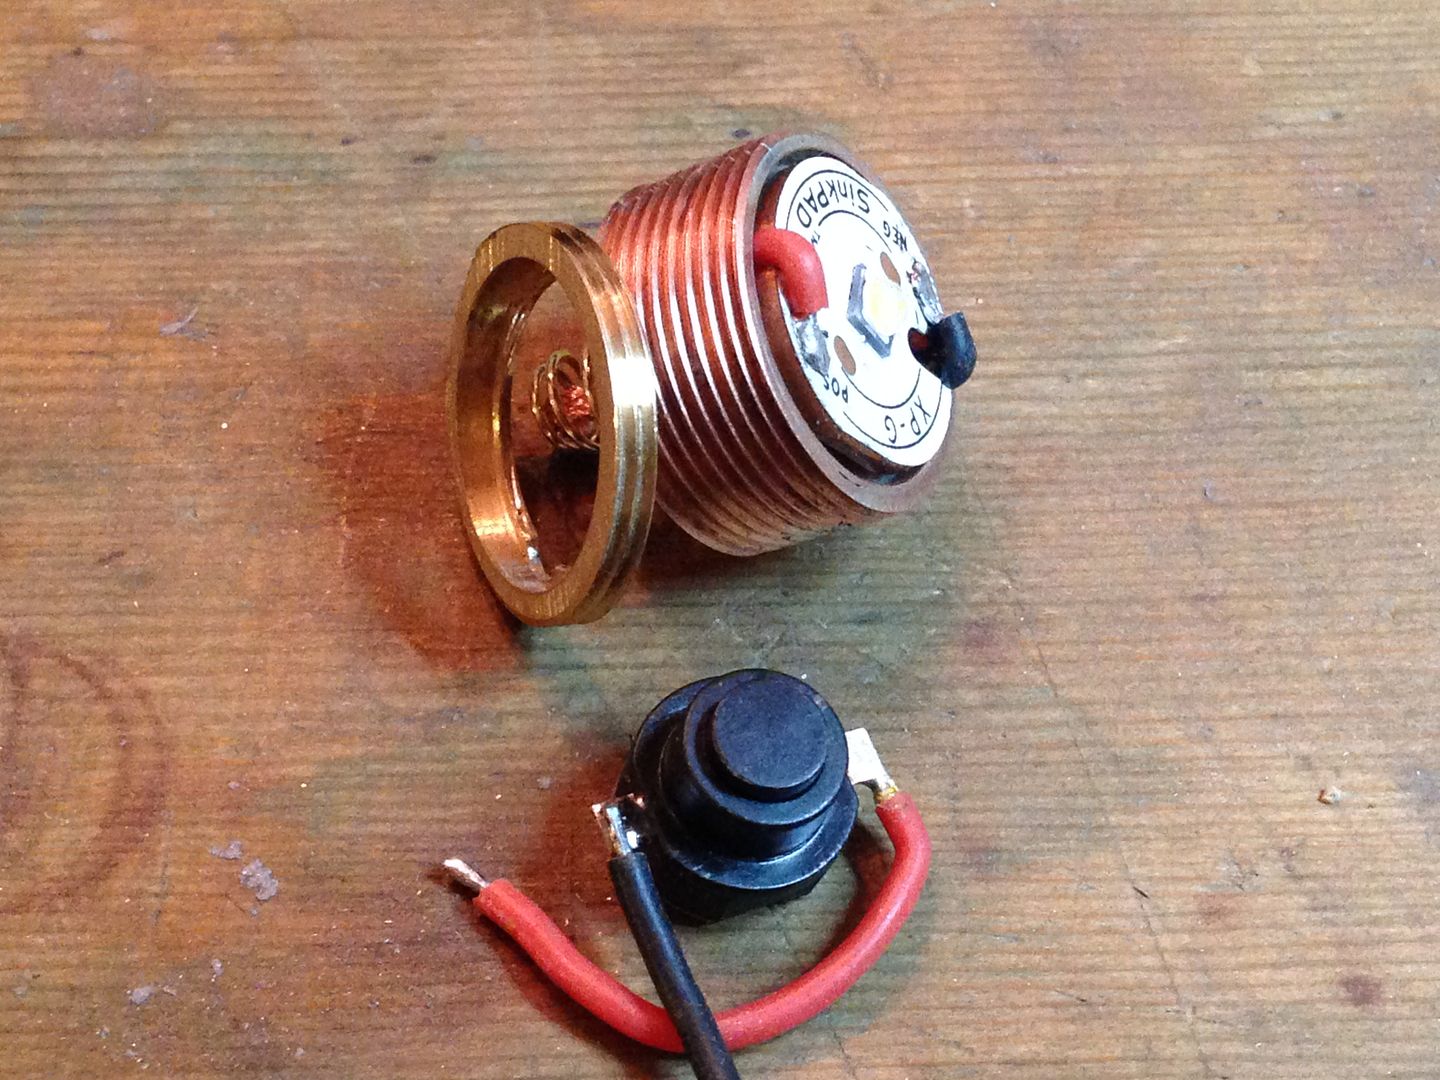 As you can see I also cut up a p60 pill to make a new retaining ring. I used my 20mm die and the failed retainer as a stop nut to cut the pill.
 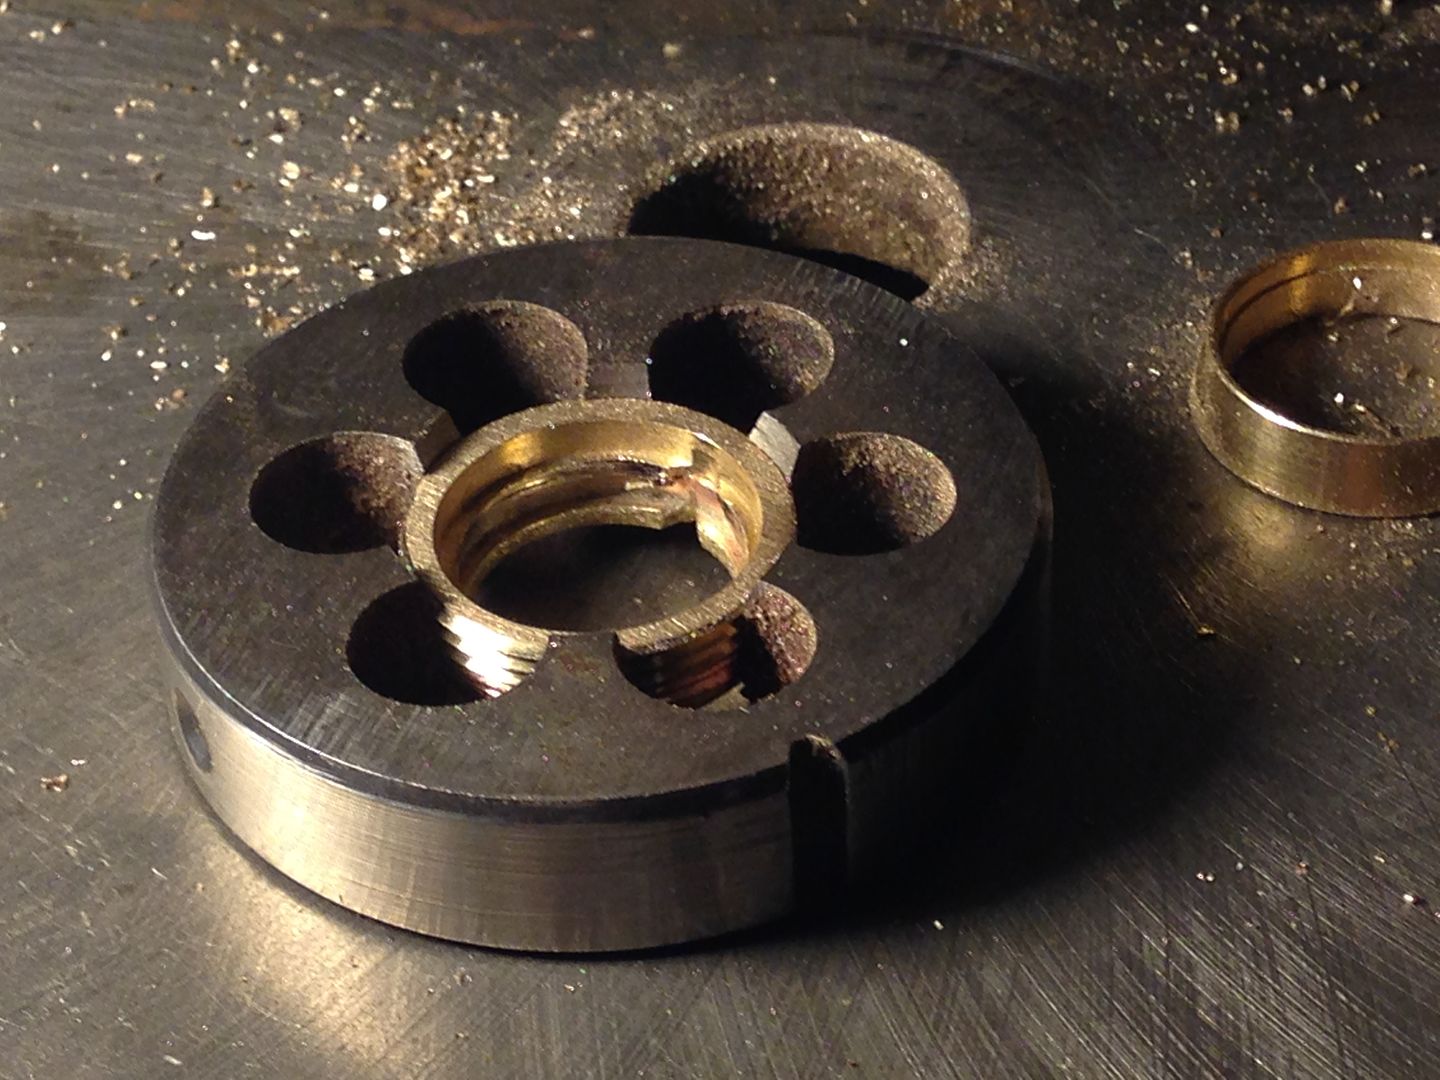 and then drilled out the center with a step drill. Much of the fiddling had to do with the brass bits that line the switch hole and act as a button. The liner piece I’ll epoxy in place in the morning and the switch piece and tail cap get cabochons I ordered 3 weeks ago that arrived today.
A while ago I made these 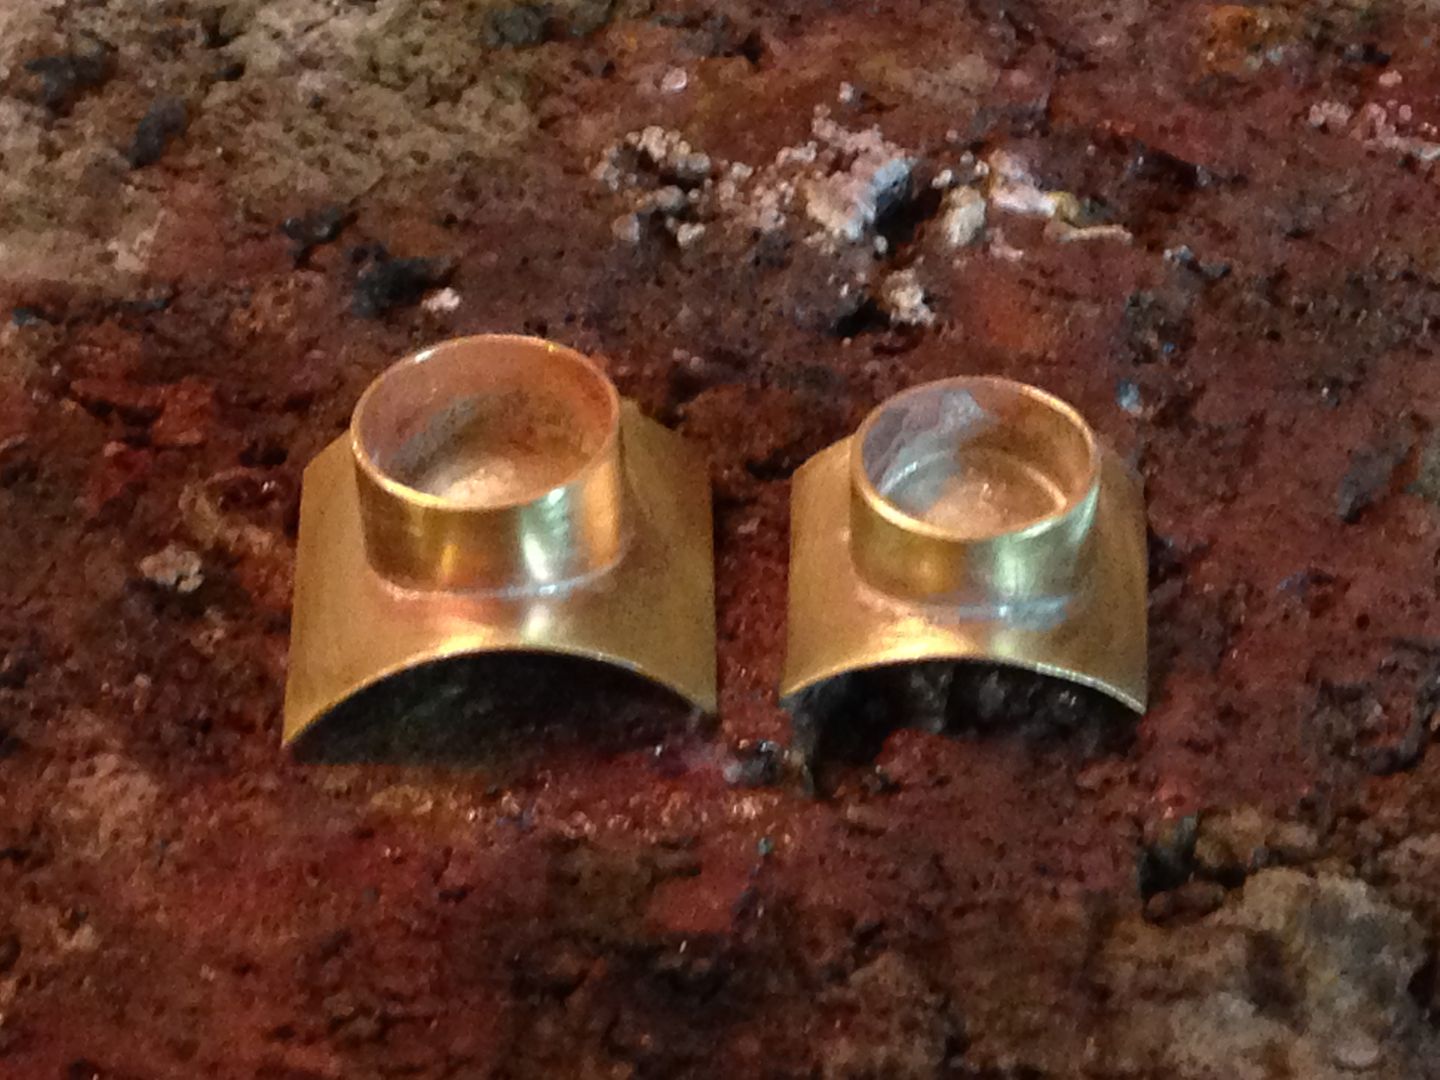 And now they look like this
 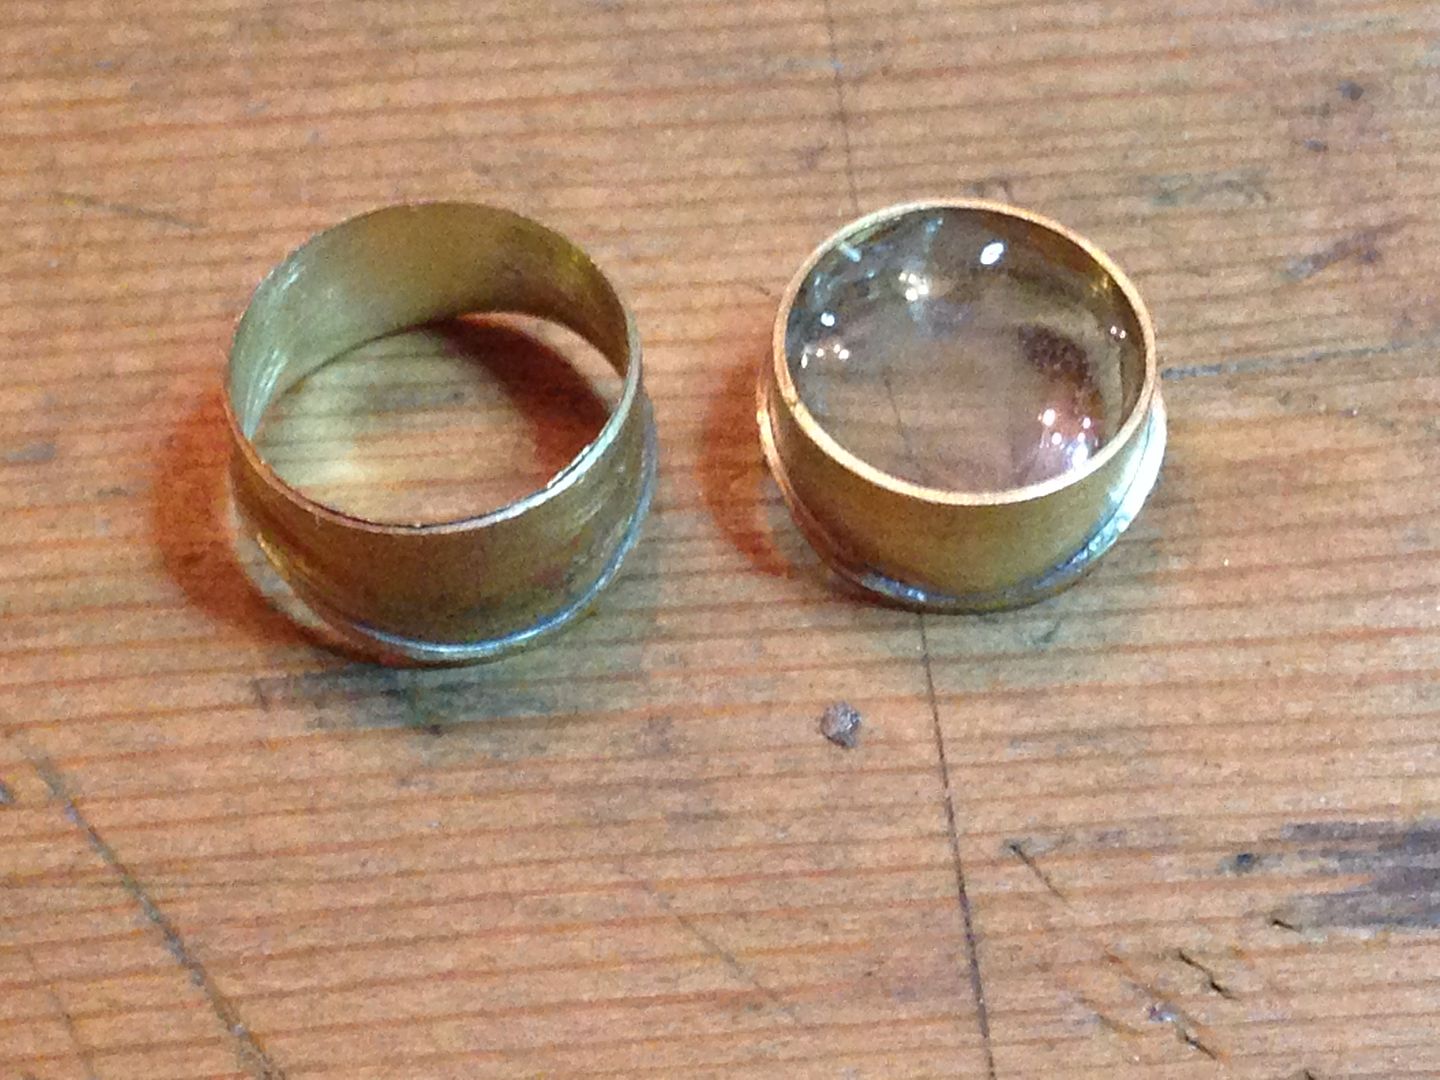 The larger one is now epoxied into the tube
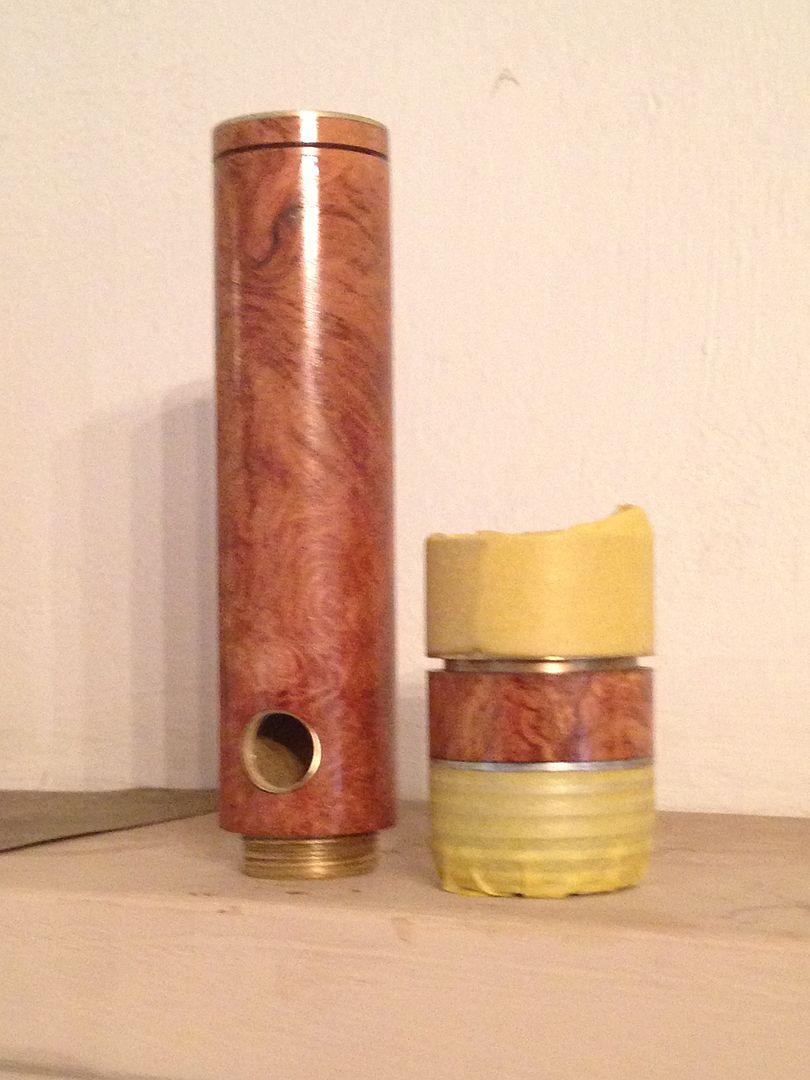
 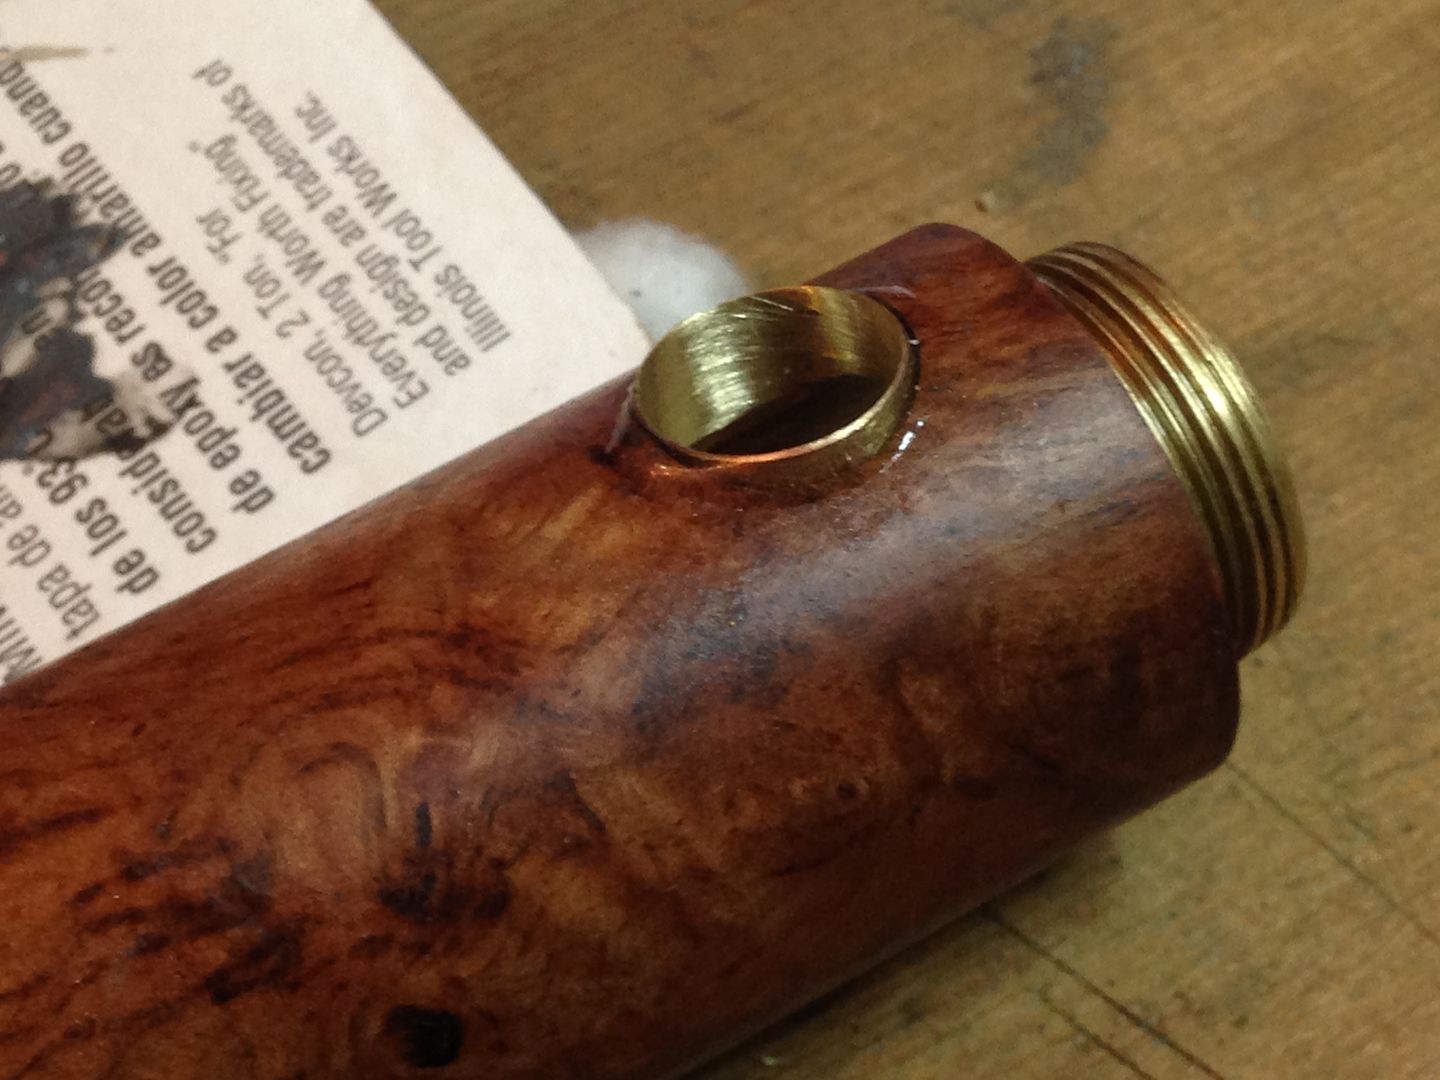 And the smaller one gets a moonstone cabochon. Another, larger cabochon goes into the tail cap with some trits underneath. I wasn’t sure if they would get here in time.This is what they look like
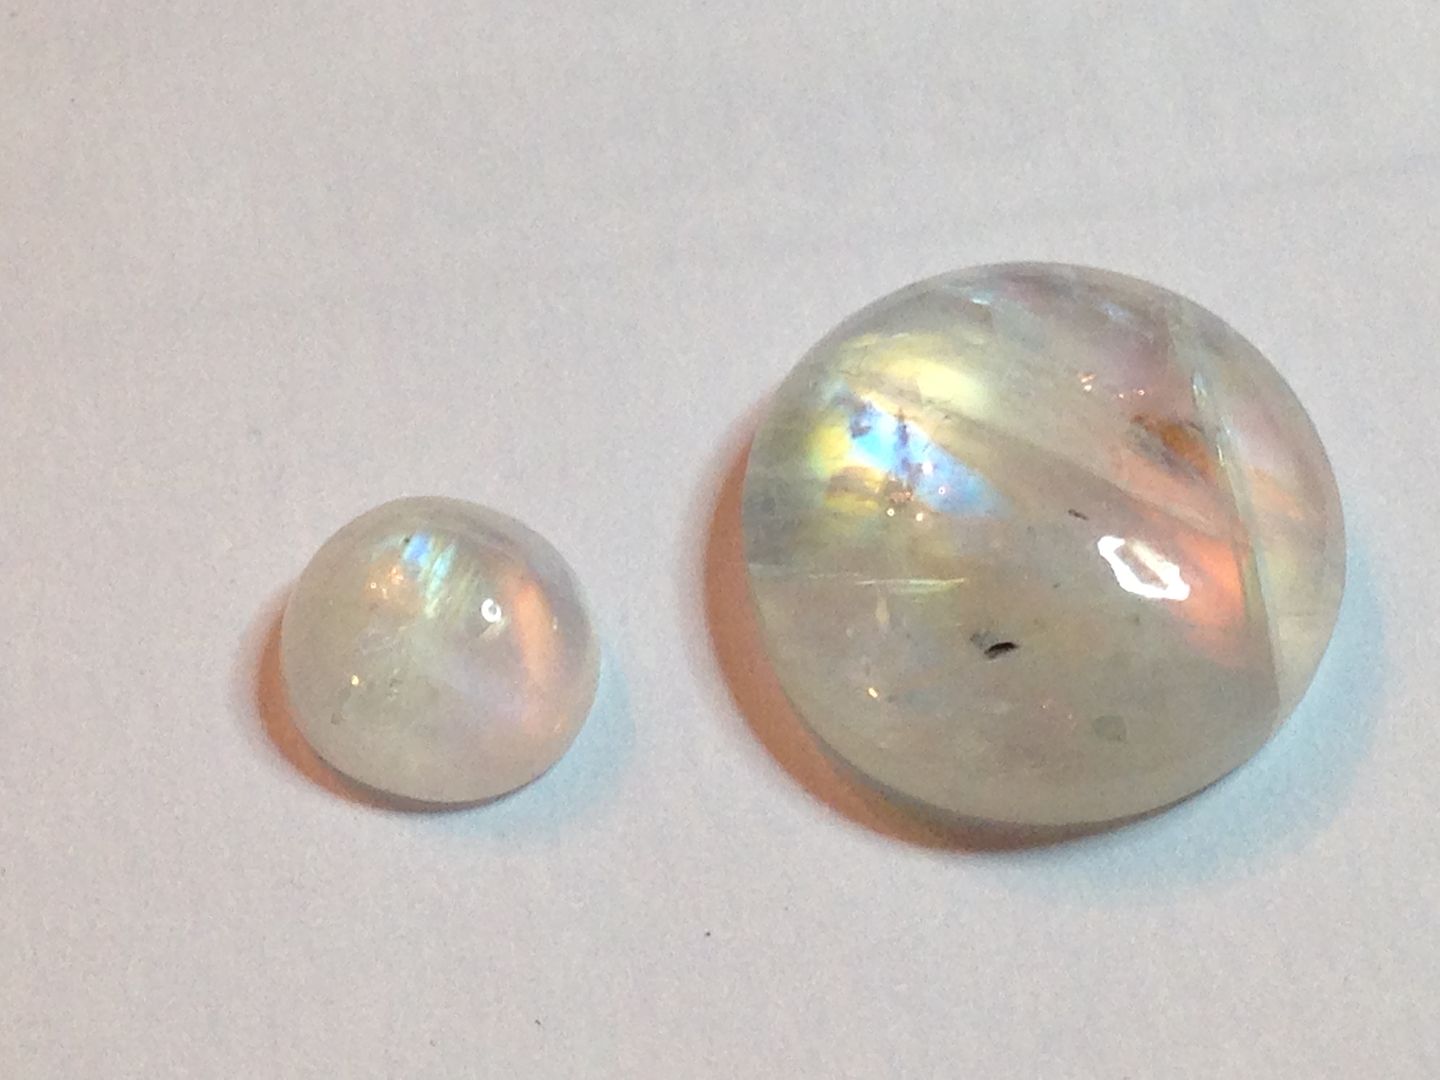
Replacement tail cap
Cool.
moonstone is that what we call opal’s?
I think they’re different from Opals. They were certainly less expensive. Justin was fond of using cabochons to dress up a light so this is my way of showing respect in a contest that is part of his legacy. It has to be finished in time and work or it’s a hollow effort though. The head/pill is fully functional, what remains in doubt is whether my switch mod will handle the roughly 4A expected current draw. The driver is an RMM Mtn 17DD with A6 firmware. I still need to ream another few .1 mm’s from the tail cap to fit the stone and braze in a seat for it and finagle the switch pill together but I think there’s just enough time.
Hmm, tail cap seems to have slipped in the shower and the hammer fell out of the soap dish. So I spent most of the afternoon making a new one starting with a pill with the shelf removed. 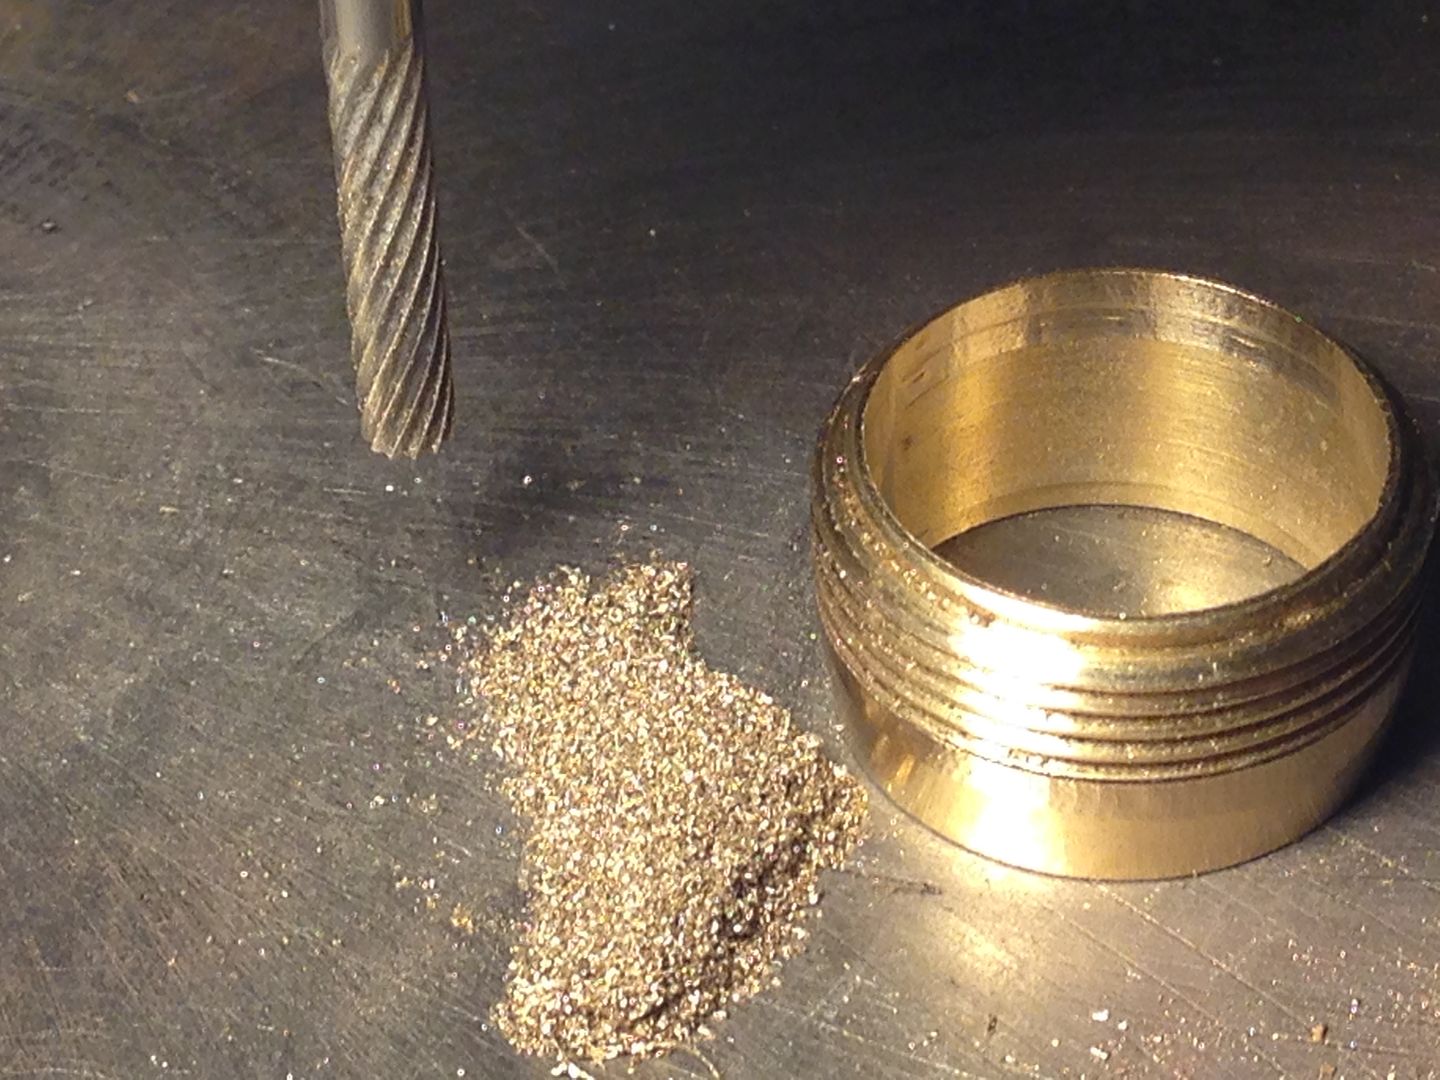 Then clamped in the hack saw blade to remove the taper.
  And added a few more brass bits.
  Both the spring and the cabochon fit into the hollow but I need a shelf ~4 mm from the threaded end for the spring.
  And with the spring soldered in I could epoxy the wood in place as well.
  And the stone fits in the other end.
 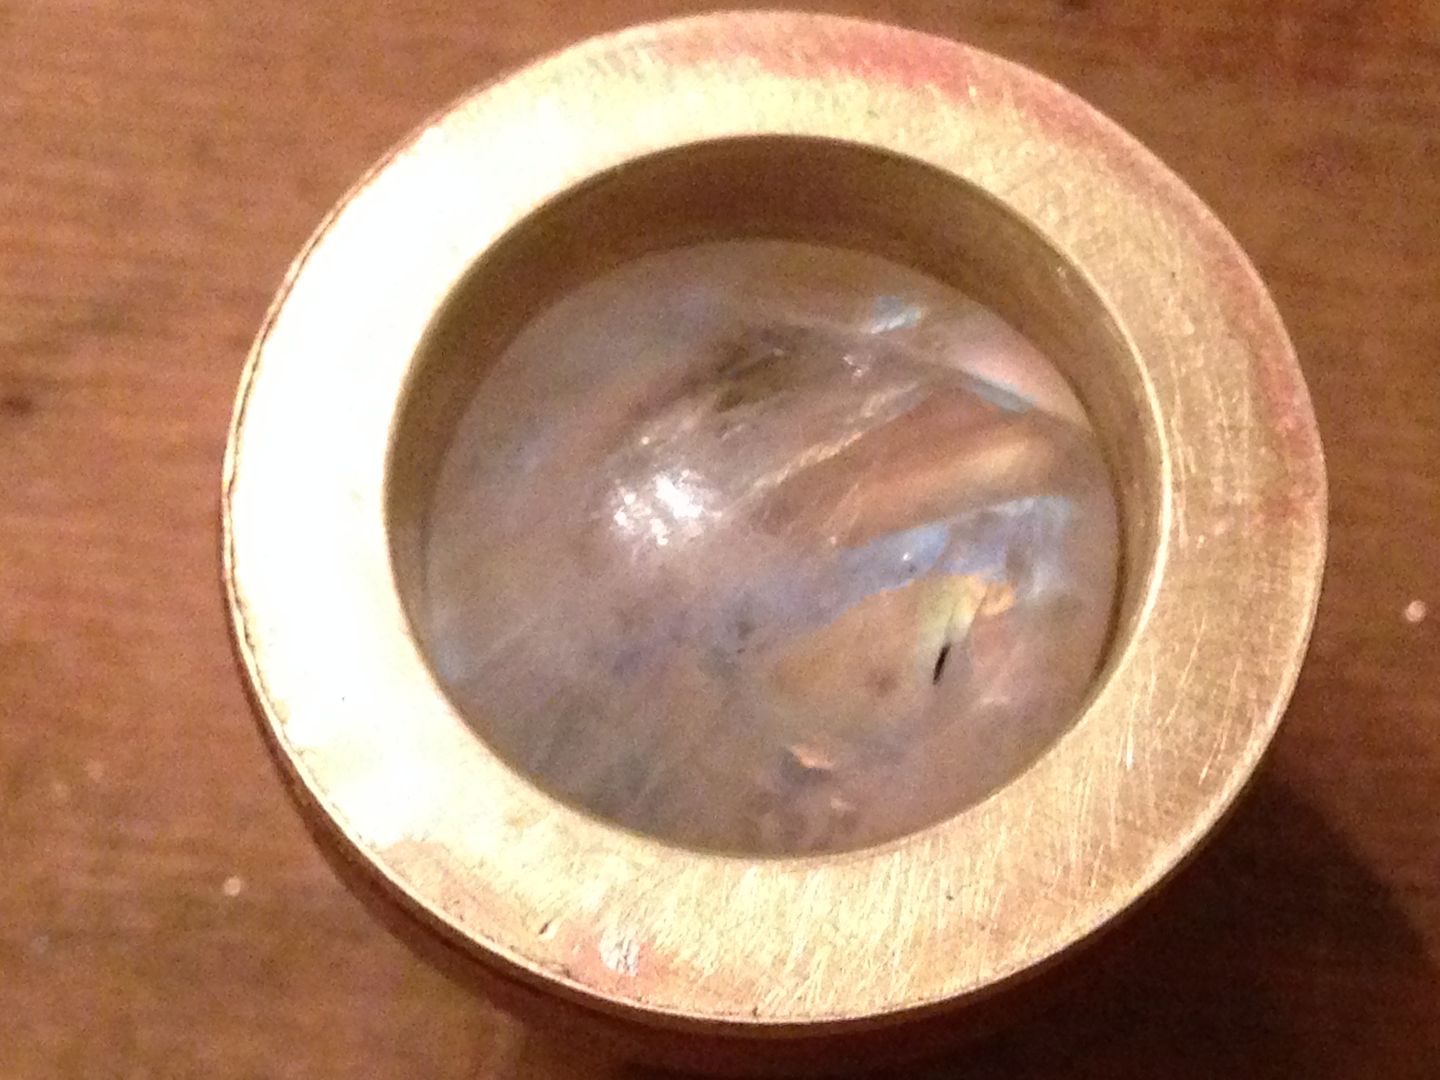 I won’t glue it in until it’s closer to finished but at least now I can get going on the sanding.
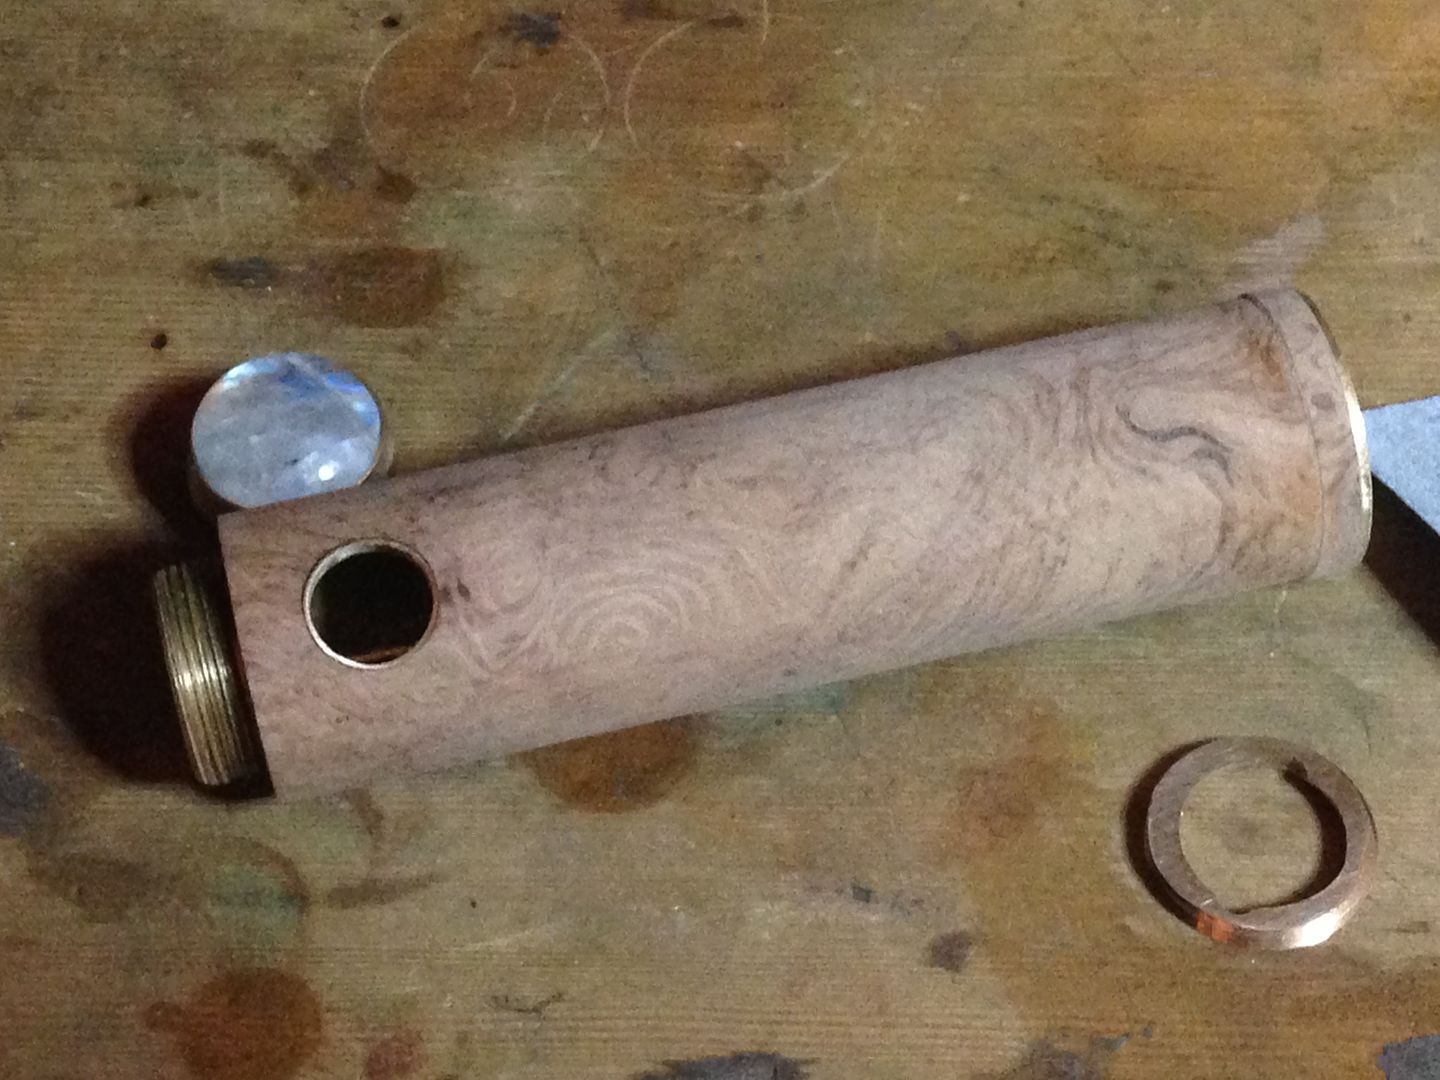
 Assembling the switch pill
So close.
All set to assemble the switch pill. Here are the two boards glued together(contact board has a notch for the led board). 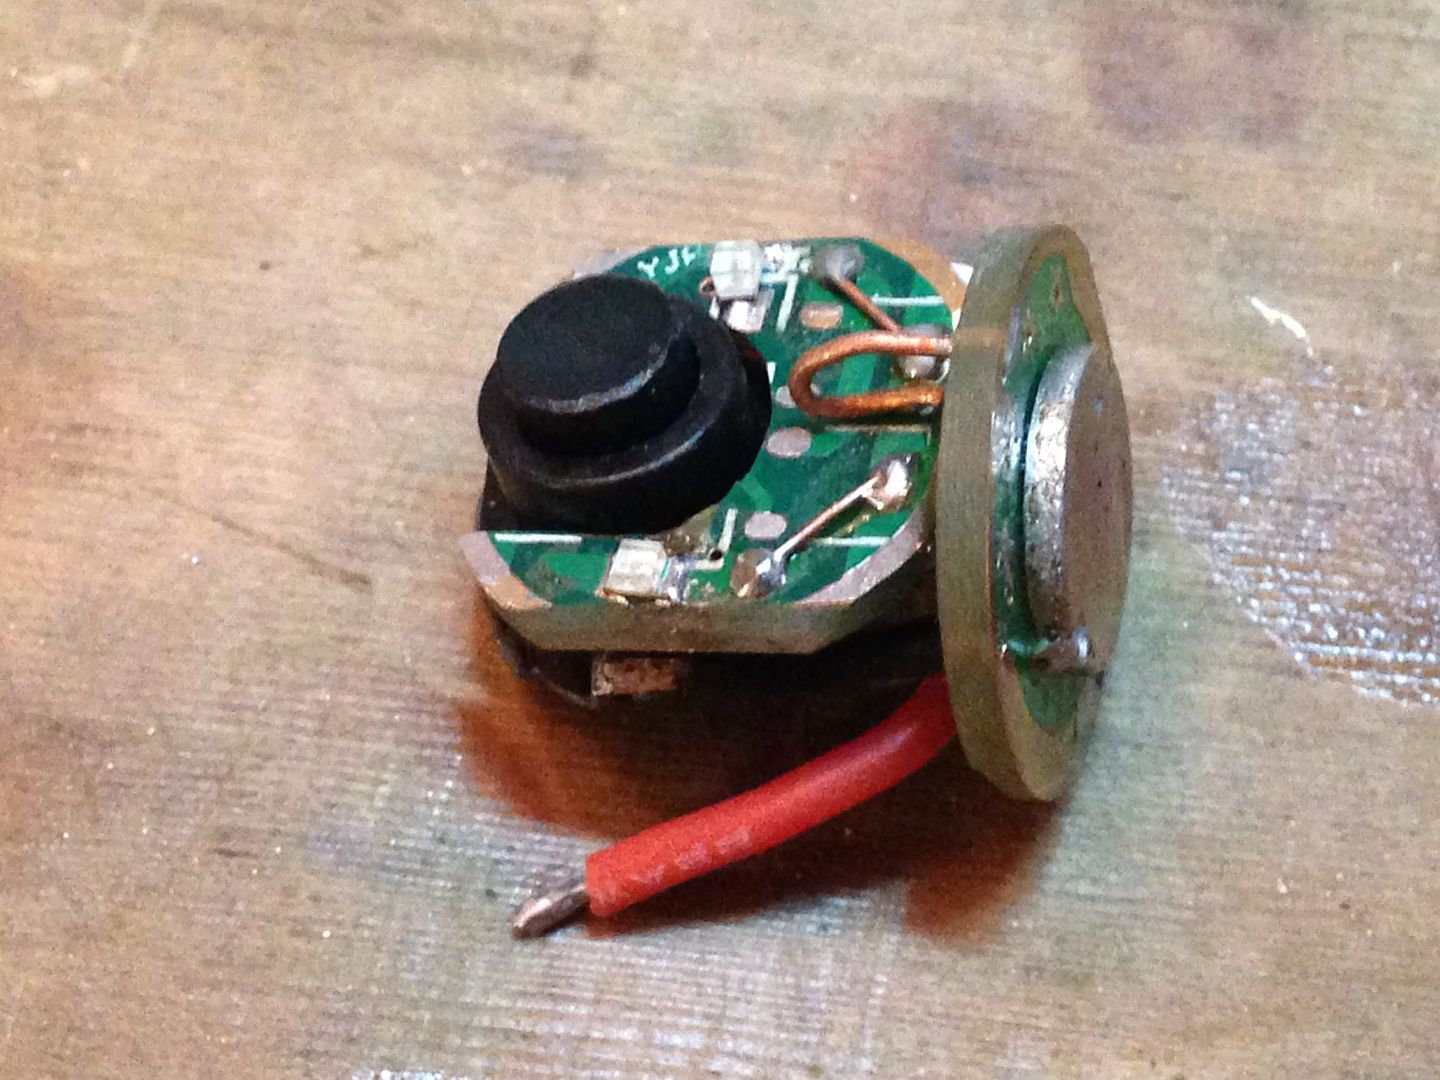 Here’s the backside, led is connected to the contact board after the switch. JB weld is used to isolate the metal bottom of the switch from ground(case).
  Will it fit?
 YES!
YES! Now to solder up a positive spring pad that I ground thinner and smaller from a 1-mode nanjg board.
  Then soldered it to the red wire and JB welded it in place.
 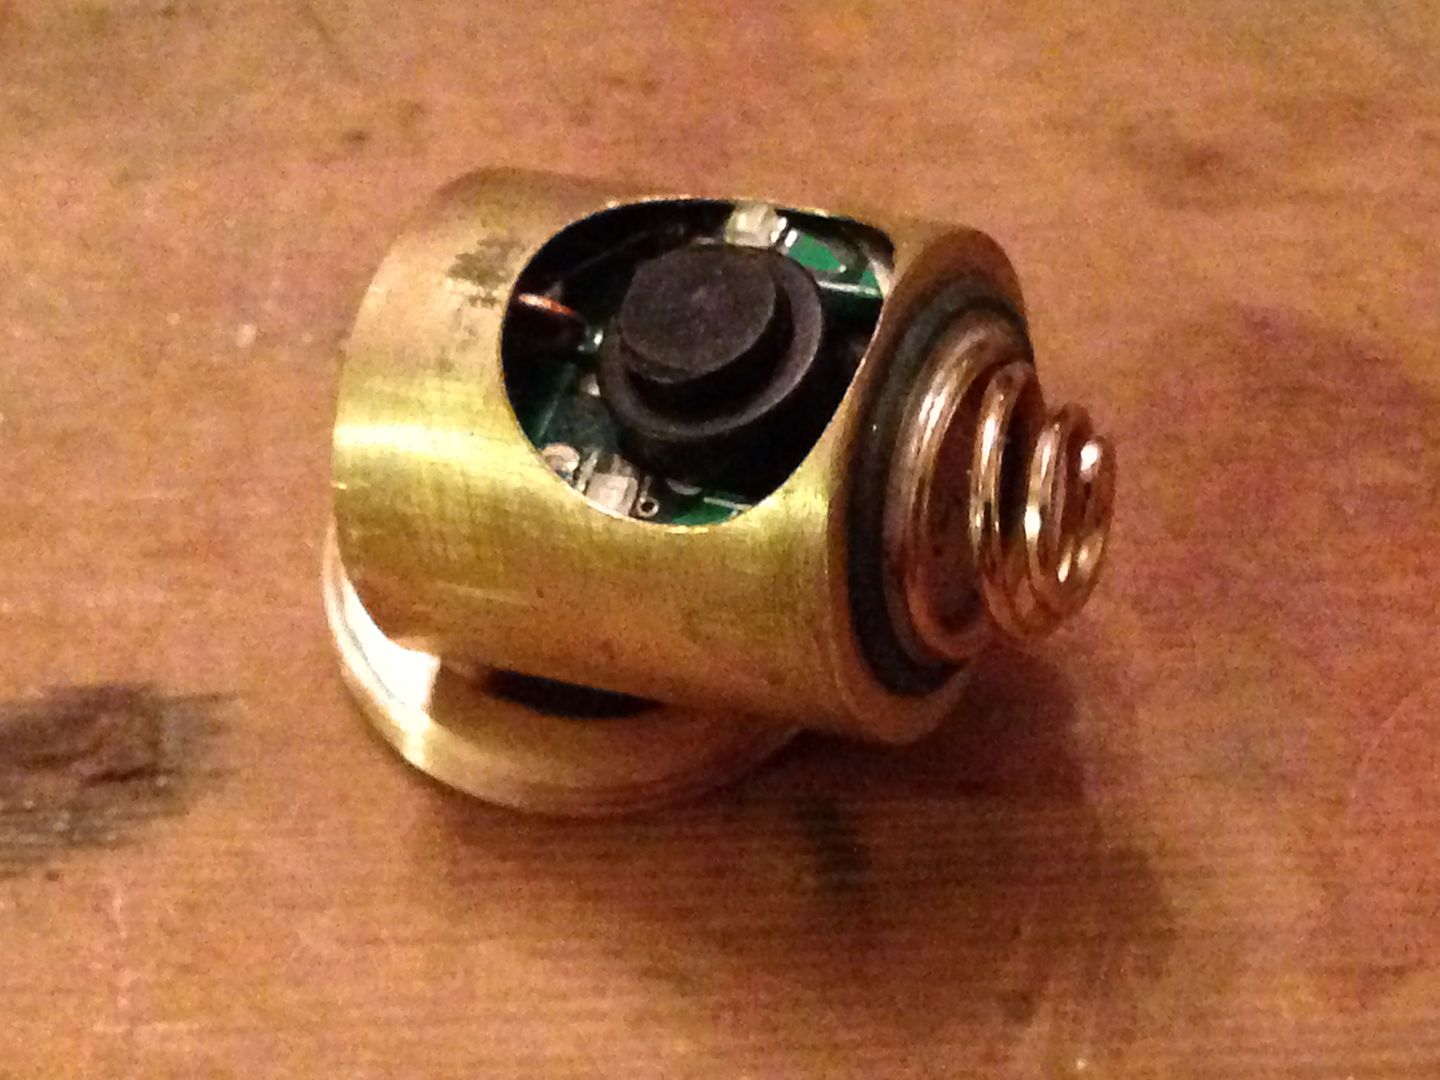 Sliding it into the battery tube it ended up pretty well centered.
 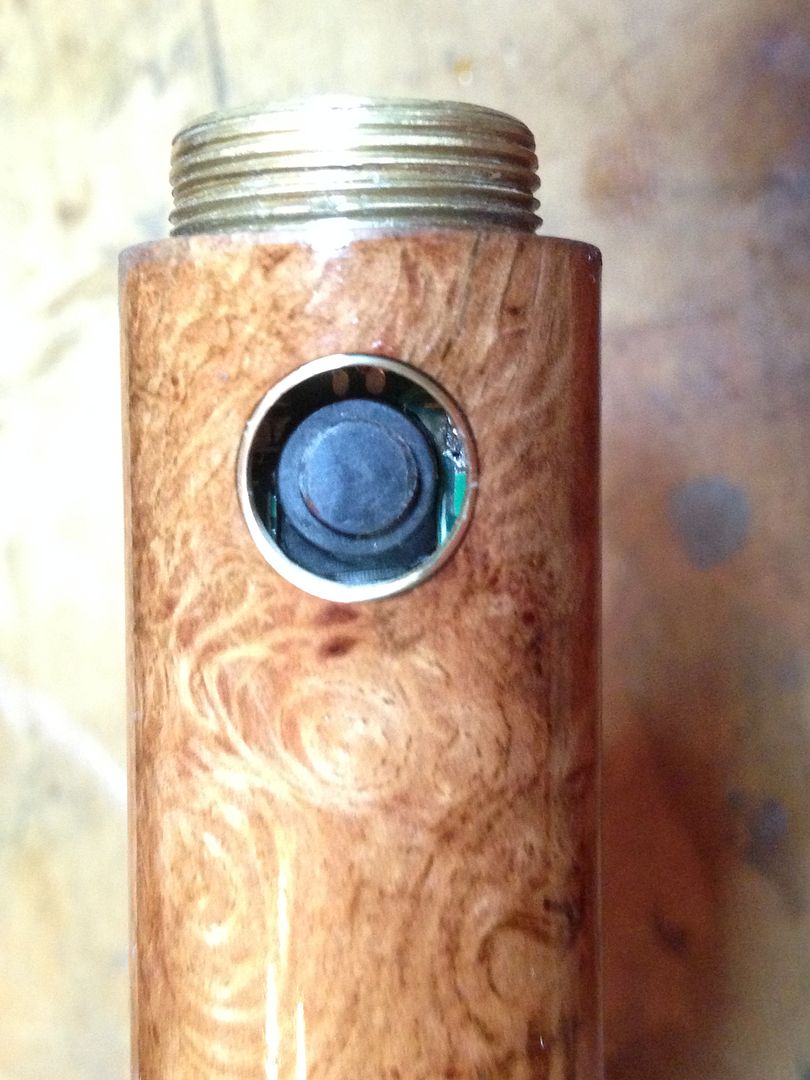 A solder dab on the locator/ground wire will fix it in place but that’s after the finishing us done, probably Sunday. All the rest of the brazing and fitting is done, woohoo.
Finishing up
I love it and understand it for once. That is so novel. :+1:
Amazing! RBD’s work that is, not DNF’s understanding. :person_facepalming:
![]() So far everything has tested out functional but it won’t get a current draw test until the very end when I hope to do beam & glam shots. I’m pretty psyched though.
So far everything has tested out functional but it won’t get a current draw test until the very end when I hope to do beam & glam shots. I’m pretty psyched though.
Looks great, RBD! I’m excited too! I wanna see the beam shots and glam shots!
Nice work….and a ton of it Rufus!!! Super duper innovative and beautiful even before finished.
Thank You For Sharing All This Work!!! TL
Thanks TL, when I modded a 502b last year with a cherry tube Steve suggested I make one all of wood so this year I went for it. Not quite all wood but a lot more wood anyway.
You’re psyched? I’m falling off the edge of my seat! I would say I love you but no one would understand, but I love your work for sure!
Hell, must be the med mads...
3rd of 4 coats of epoxy done so tomorrow night I’ll polish it up. Dry weight of host only is roughly 106g. 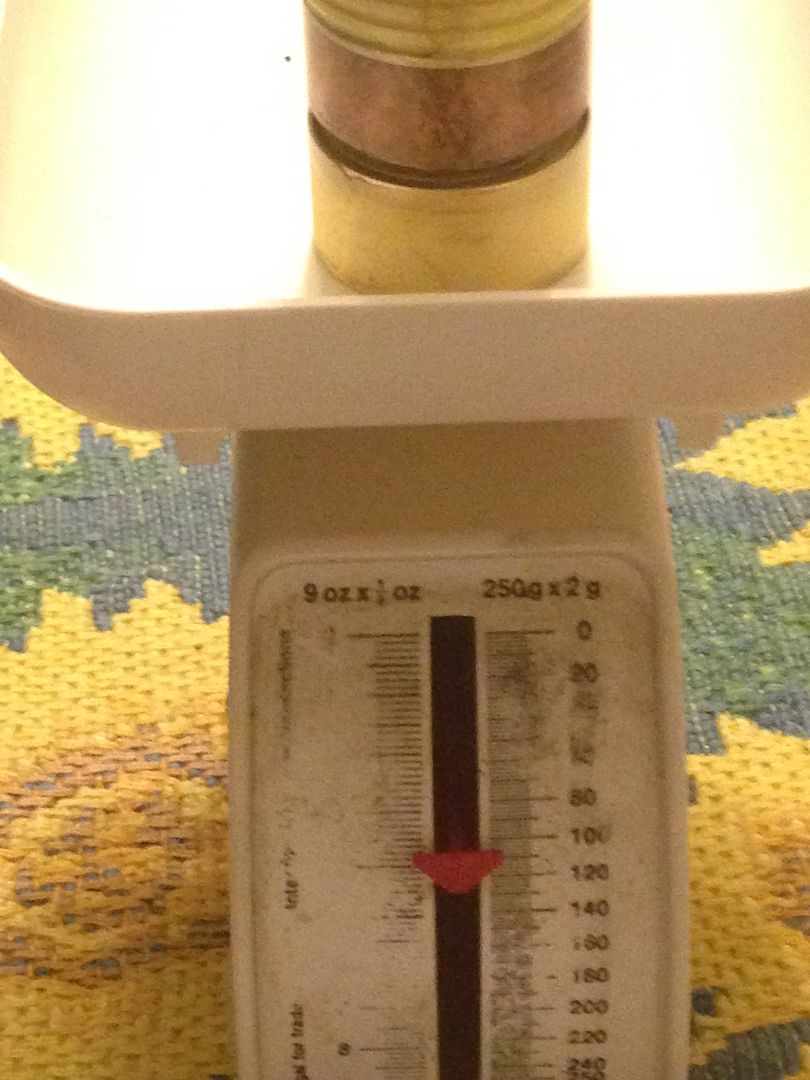
Beautiful Rufus!!! Tell us…me…. About finishing with epoxy. I don’t work with wood much but I am sure curious as to how you do that.
GREAT WORK!!! TL
Have not checked in here for a while - this work is astounding! ![]()