Well, i will, just right after i receive my new solder
Success! (I may be a bit giddy at the moment)
Finally got around to trying this again, now that my new soldering iron came in. Overall, it went pretty smoothly. But it could have went a lot smoother if I had read more carefully.
Target: Convoy S2 with a nanjg105d 2.8A driver
Switchboard: stock Convoy
Illum. tailcap board: Rev5.3 (top)
LEDs: 6x blue 0805
Tailcap resistor: single 10K ohm (bridged the two channels)
Bleeder resistor: 750 ohm
Measured draw: 0.1 mA (my multimeter only reads tenths)
One difficulty: the nanjg105d didn’t have a good place (that I could see) to solder the bleeder to. I ended up soldering one side to the spring and the other side to the outside ring via a jumper wire.
Other difficulty: instead of starting out with a 10K ohm tailcap resistor, I used a 10 ohm. It was obviously too bright and the driver wasn’t working right, so I tried a 30 ohm. And then a 100 ohm. And then I finally re-read some posts and realized I should have been using a 10*K* ohm resistor. Once I put that in place, everything started working like it should. I might even try a 20K ohm next time, but I didn’t feel like opening everything back up on this one.
One other thing: the opening in the ring wasn’t quite big enough to seat onto the switch properly. So I lightly filed the switch casing. I could’ve opened the ring’s hole a bit, but the clearances seemed tight.
Thank you PD and everyone that has contributed to this thread!
nice work :+1:
I changed the tailcap lighting in my S2+ shorty and the switch boot. Earlier it has clear switch boot and green leds under it. Now it has a light blue rubber boot from Simon’s aliexpress shop and white leds under it on PD68 V5.1 Lighted tail switch board. Now it has the nice light blue color what I wanted.
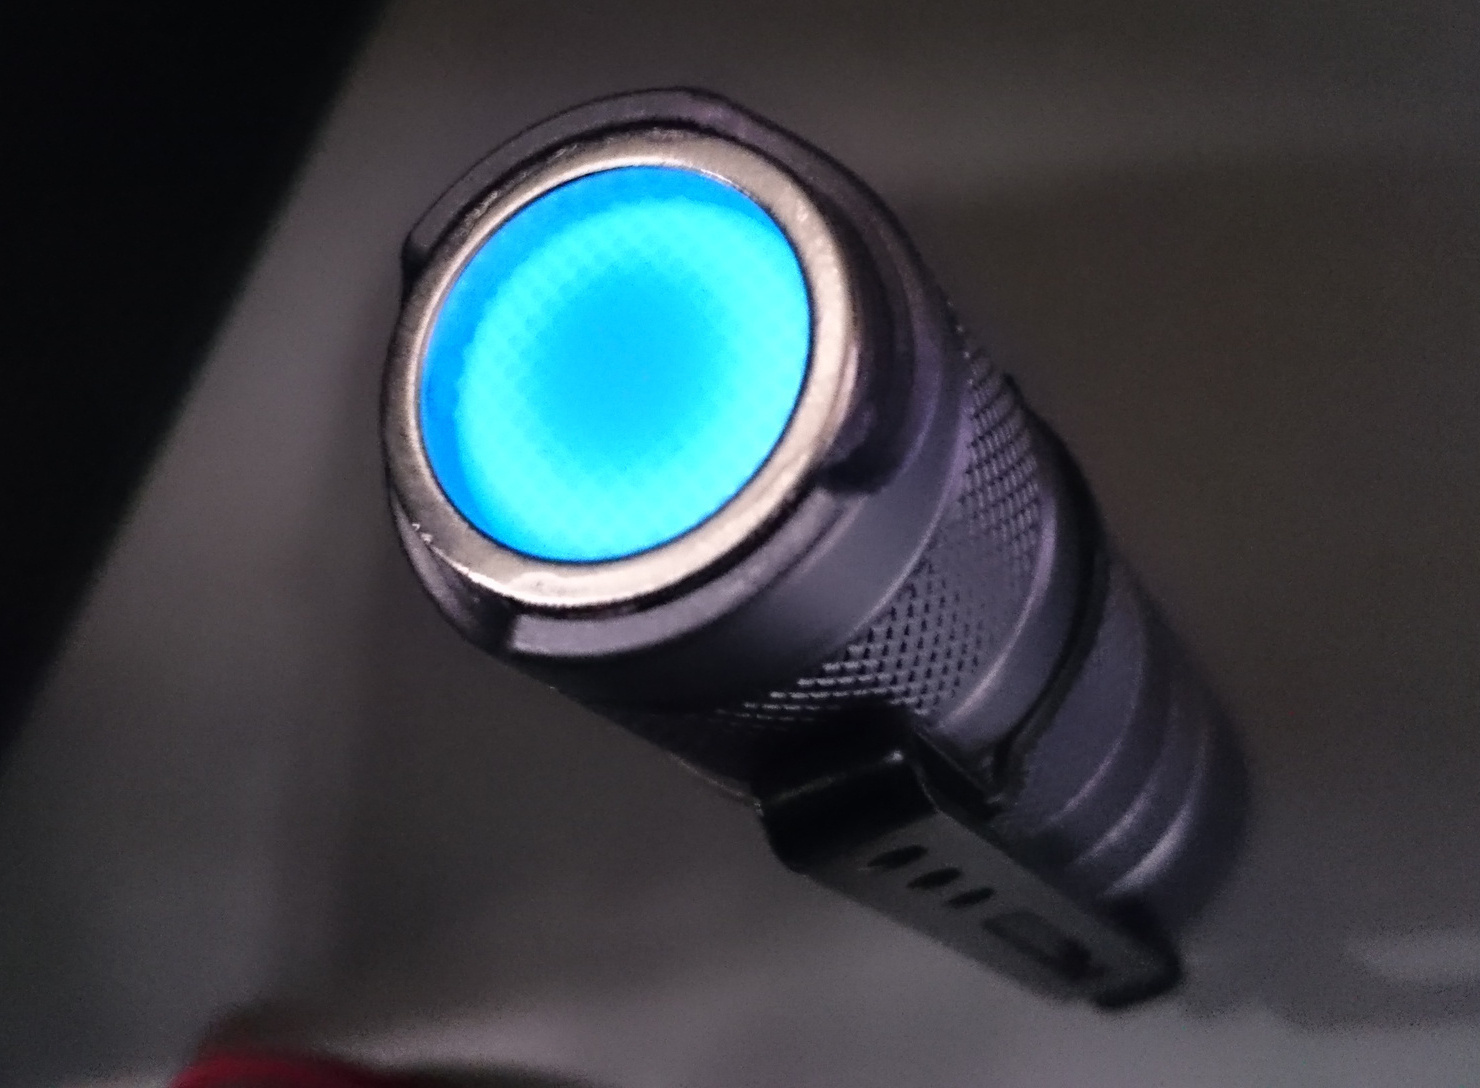
Beautiful. I’ve found a boot in the same color as the leds I’m using to be the best combination
The fun thing with this blue boot is that you give it plenty light it will glow in the dark in green color ![]() but with small amount of white light under it I get this. Only a small greenish color in center but you can not see it on this pic.
but with small amount of white light under it I get this. Only a small greenish color in center but you can not see it on this pic.
I did not get the TG06 Tailcap working without a bleeder…what could be the problem? Tailcap works well in some other lights. Where I have to add the bleeder on the TG06 driver? Thanks!
I keep seeing folks posting that they’re building some of these without bleeder resistors. I don’t know how they’re doing it. I haven’t gotten one working without a bleeder yet. Every single one I do winds up with a bleeder in order to get the driver/firmware to act right.
But I haven’t done one of those Thorfires though, so I can’t help specifically with that.
PS: Those blended colors look great in there. I really should branch out and stop doing all the same colors ![]()
Yes. The colors looks damn good in this combination. Where did you place the bleeder and which value did you choose?
Post 1366.
EDIT: That’s an 0805 resistor.
Thanks! Did you test it without a bleeder first?
Are these 0805 size? I ordered a bunch of leds from ebay, and they seem awfully small.
http://www.ebay.com/itm/272173424833?\_trksid=p2060353.m2749.l2649&var=570984529339&ssPageName=STRK%3AMEBIDX%3AIT
I placed one right above the led on a prebuilt illuminated tailcap I had so you can see just how small these suckers are. They just barely span over to each pad.
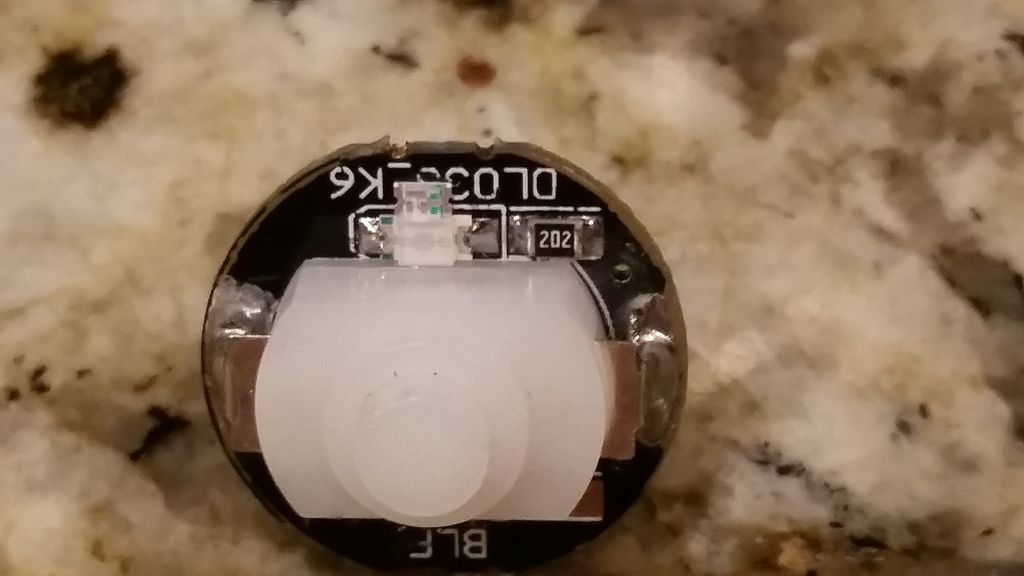
Those look more like 0603
Ok, thanks for verifying. I was thinking there was no way I was going to be able to work with these. I mean the slightest static or movement from my fingers makes it go shooting across the table never to be seen again. This sucks…waited several weeks to get those so I could finish my giveaway build. I’ll try ordering from a trusted vendor this time.
If I did I don’t remember doing so.
This discussion made me check my TG06. I did not install a bleeder, and it works fine. The tail PCB is one of the original 2 led, 2 resistor models. 2 Green Led’s, 1 (4.9Kohm resistor), and a Home Depot plastic washer ![]() Don’t know how to check for drain, but it is barely visible in daylight.
Don’t know how to check for drain, but it is barely visible in daylight.
The switch I posted in my pic a few posts above is from a BLF X6. Can you verify the LED in that is 0805 size? I had contacted the vendor on ebay and they stated they didn’t carry anything in the 0603 size. They were only .99 for 100, so I’m not too concerned, but I don’t want them to send me the same things again.
—
I think you got the correct size. The resistor next to the led in your picture is an 0805. My astrolux SC has the same size led that’s in your picture. I think they may be 1206. I was able to use an 0805 on the other side of the board though, with a little work. I couldn’t imagine trying to solder a 0603.
I concur with Dusty. I switched around some color/resistor values on my “stock” BLF X5/X6 lighted tailcaps and Manker definitely used something larger than 0805 originally. I put some 0805 emitters on my boards too, because its all I had. It can be done. Just remove that bigger emitter, glob up more solder than you’d normally use on the pads, and kinda “stretch” it over to contact the smaller 0805 LED. It’ll work fine, and you can’t tell it at all once its reassembled.
Ok, thanks for verifying guys. Now that I look at it, I can see the silkscreen print around the resistor is smaller than the one around the led. Well dang, I’m glad I bought these in bulk ’cause I can see myself losing half of them.