Like ImA4Wheelr said, you’re keeping the ‘B’ in BLF there! Great mod!
I prefered the old tint.
Just kiddin ![]() Well done :+1:
Well done :+1:
Thanks for the comments my fellow BLFers. It was a lot more work than I anticipated when I first thought about modifying the flashlight. For some strange reason though, I’ve had a hard time not using it as my main flashlight around the house. I know my other flashlights are much better, but I keep using this modified cheapo flashlight instead. Must be the personal connection I have with it.
Nicely done! I like your use of copper plumbing parts to make a pill for the MCPCB. Good fabrication skills too.
Great work. Now you have a light to be truly happy with, and very proud of.
I’m very proud of seeing someone mod an AA cheapo. I’ve been feeling like doing just that lately.
i love that, but there is still room for bigger driver, i think you should use high power driver, or driver that can support 14500/AA
Ok, 5 more modifications I did to this cheapo flashlight.
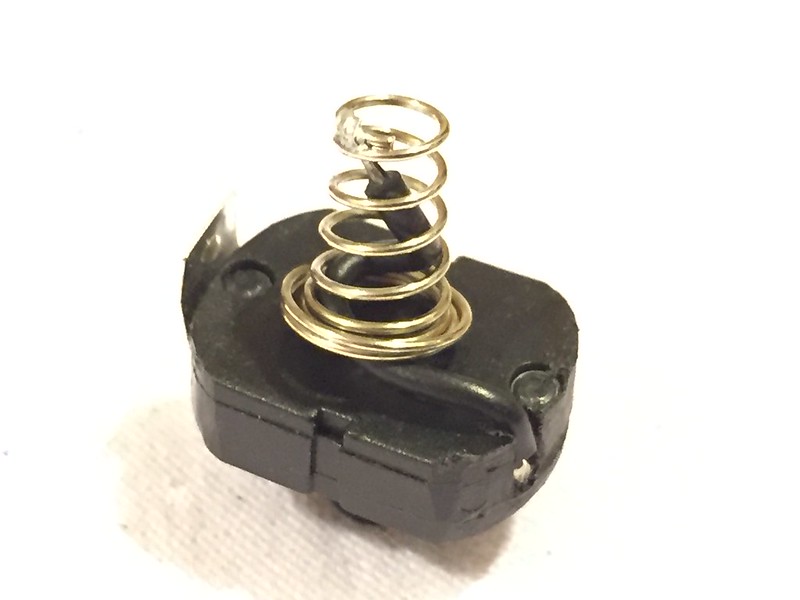
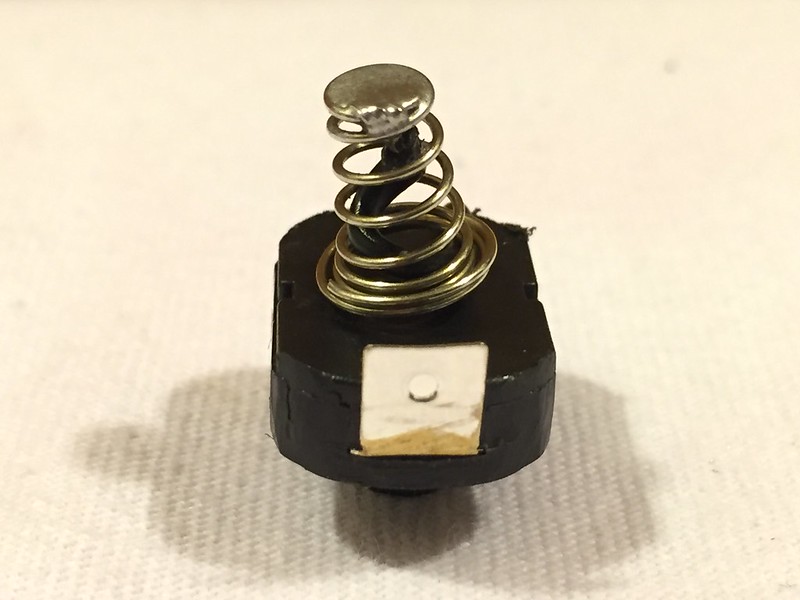
1. Updated the tail spring with a solder blob to have a better contact for the battery since it seemed there was a hotspot previously (AA Flashlight Wire Advice). Left is the old spring bypass, right is the new.
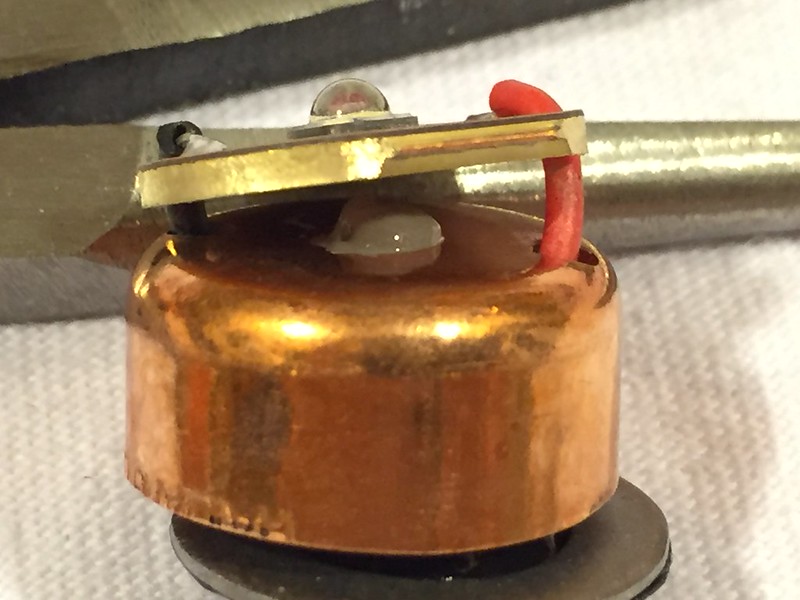
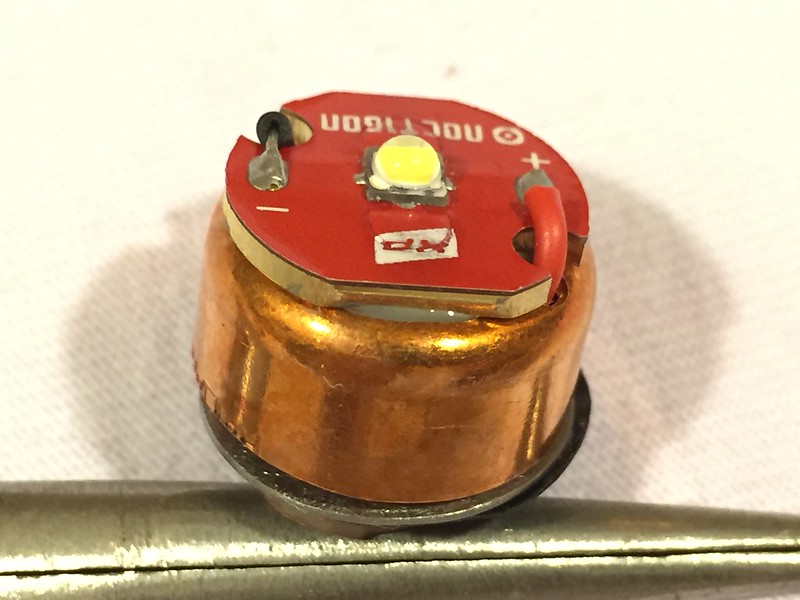
2. Put thermal compound between the LED MCPCB and the copper cap.
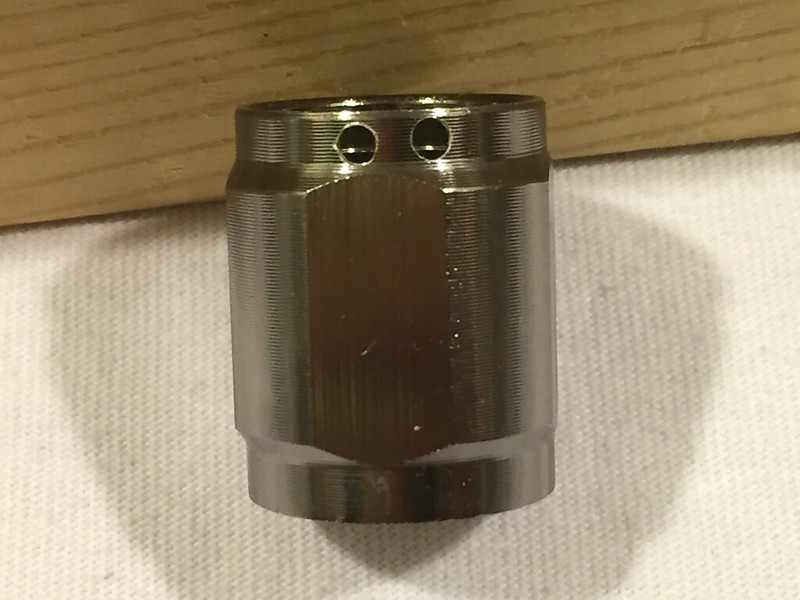
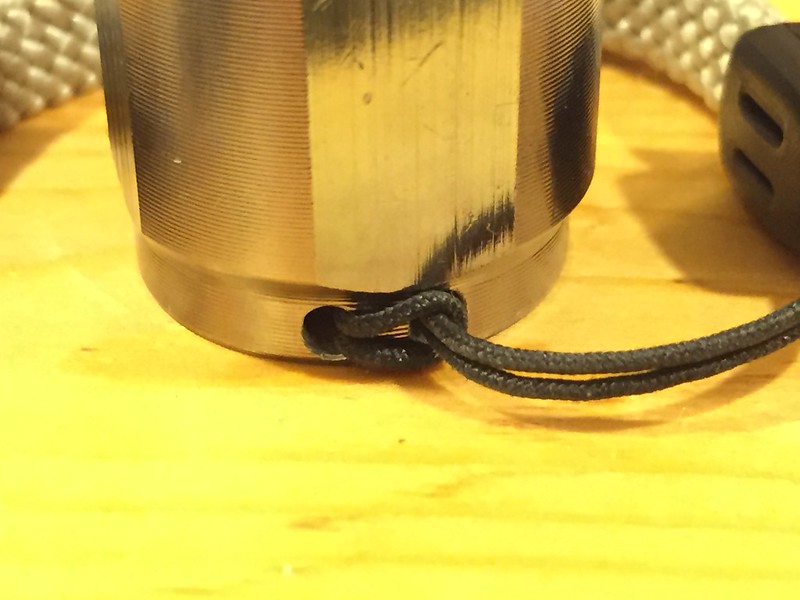
3. Drilled another hole for the lanyard to help with tail standing.
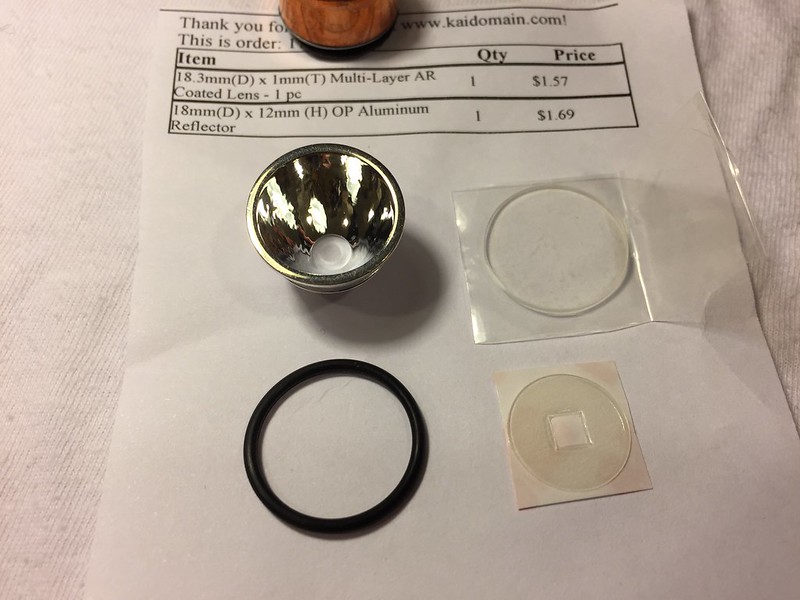
4. Replaced the plastic smooth reflector with an orange peal aluminum reflector and 5. Replaced the plastic lens with an anti reflective glass lens. Also noteworthy, I used an LED insulation gasket due to the aluminum reflector and put an o-ring between the lens and reflector to help with water resistance.
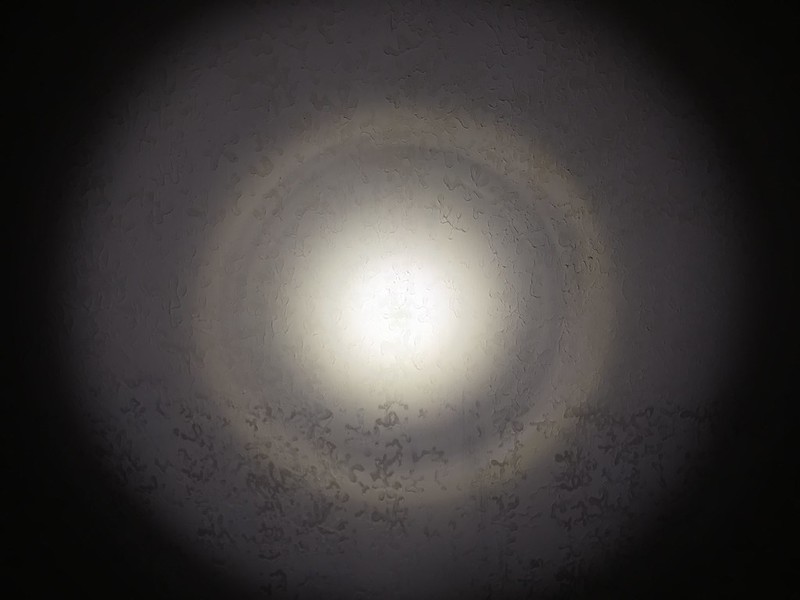
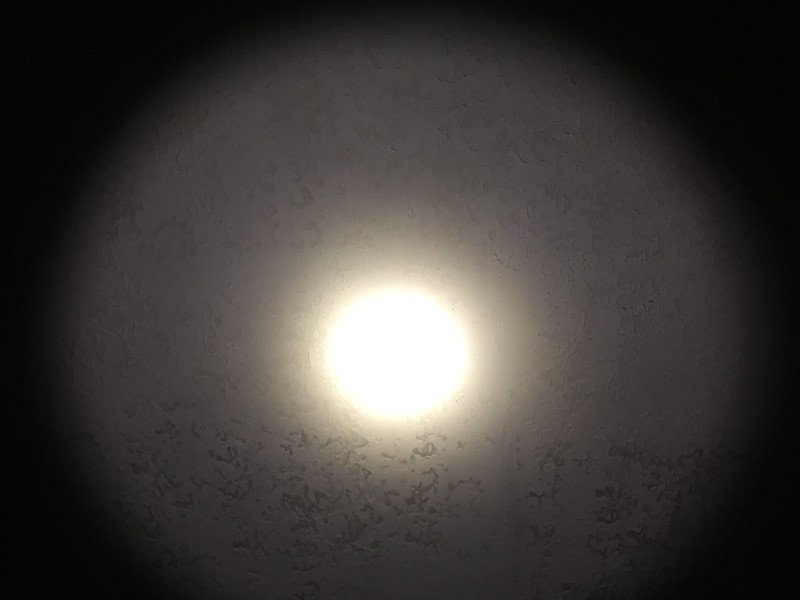
With the new reflector and lens, the beam greatly improved. Left is the old modified flashlight (notice the rings), right is new.
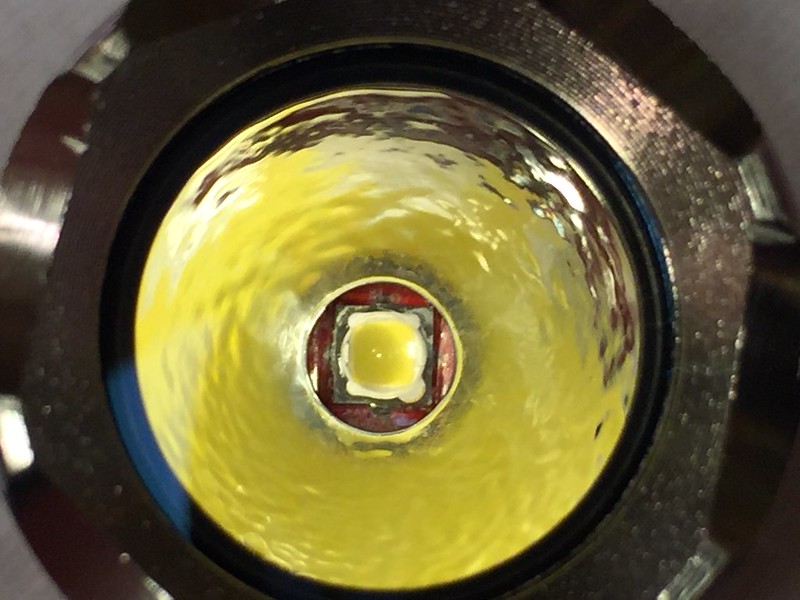
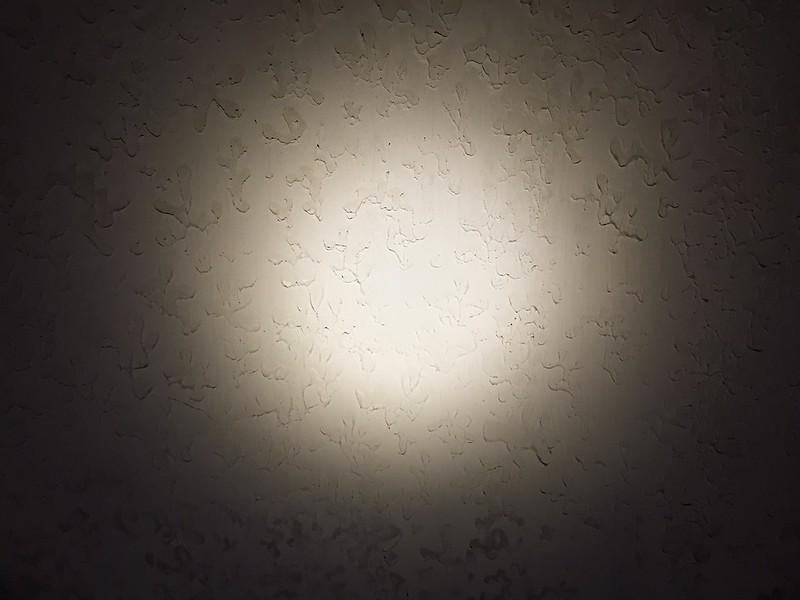
Here’s a close-up of the beam.
It is still my favorite flashlight around the house, even more so with the improvements. There are no more mods that I want to do with the flashlight. Thanks BLF for all your help!
Nice work. These types of lights with the plastic pills are extra challenging to mod….
I agree with ima4whlr …Cheap lights can be much more difficult to mod .
The trick is picking more mod friendly lights

Cute light, nice job. :+1:
In case you were wondering (I know I was), here is a break down of the costs.
- Driver - $1.99
- LED - $4.79
- Copper cap - $0.38
- Switch - $0.79
- Reflector - $1.69
- Lens - $1.57
- Insulation gasket - $0.25
- O-ring - $0.35
Total = $11.81
Luckily the labor was free. :money_mouth_face:
I don’t think this even qualifies as cheap anymore, does it? ![]()
Thanks for sharing NeutralFan!
I’m willing to make a mod in a 18650 light that has more or less the same characteristics, and this helped to get some ideas, both for the pill and the switch!
But like you, it won’t get cheap to make all the changes, so that won’t be a “cheappo” light anymore!!
Nice work :+1:
Agreed. I started off with trying not to spend too much, but the incremental results were not enough, at least not for me. I’m glad it turned out well in the end since numerous times I thought about cutting my losses and throwing it back with the others.
Glad I could help. Let us know how it turns out.
I will for sure ![]() It will be me my first mod! The pieces have been ordered and they are on the way. It will have some flaws, but it will be a start!
It will be me my first mod! The pieces have been ordered and they are on the way. It will have some flaws, but it will be a start!
I got some questions for you, if you can answer please.
1 - Between the switch and the battery, did you put only the plastic holder you had or did you add another “plastic ring”?
2 - In your case, you had to break the longer metal tab of the swicth and then added and soldered the wire. In my case I guess I wont have to do that as the switch fits well, so the longer tab will be there. If I solder a piece of wire between the tab and the top of the spring, will it be a spring bypass? What dangers can I bring to the light and battery if I do that?
3 - The rings in the beam you showed above (18th June) , they existed before using the insulation gasket, am I correct? If so, using the gasket will help to avoid those rings in cases where the light reflects in the bottom of the reflector? I guess I should have ordered some :person_facepalming: I think my light will have that problem…
Thank you once again !! :+1:
Best regards!
Hi MascaratumB, I’m sure you’re getting excited to start your mod.
For the switch, I only used the plastic holder. With the bigger switch in the holder, I had to press very hard press to get it into the tail, but that also helps keep it in place.
Yes, soldering a wire from the tab to the top of the spring will be a spring bypass, but only 1 tab should touch the side of the flashlight else it will always be on essentially bypassing the switch.
I used the insulation gasket when I got the aluminum reflector. The cheapo flashlight came with a smooth plastic reflector so it didn’t need the gasket. The gasket helps prevent a short across the LED. The rings came from the original plastic reflector which was designed to work with the original LED. I tried experimenting with the plastic reflector height here: Mod Advice For a Cheapo Flashlight, but wasn’t too successful.
Chuckle. Now you can replace the battery tube to use a bigger cell ….
“This is my grandfather’s axe. My father replaced the handle. I replaced the head. But it’s still my grandfather’s axe …”
Good thread well illustrated. This is what it’s all about.
Very nice, thanks for sharing !
Which driver did you use ? I suppose you wanted to stay with eneloops, not Li-Ion 14500, correct ? Boost driver are not easy to find these days … ![]()