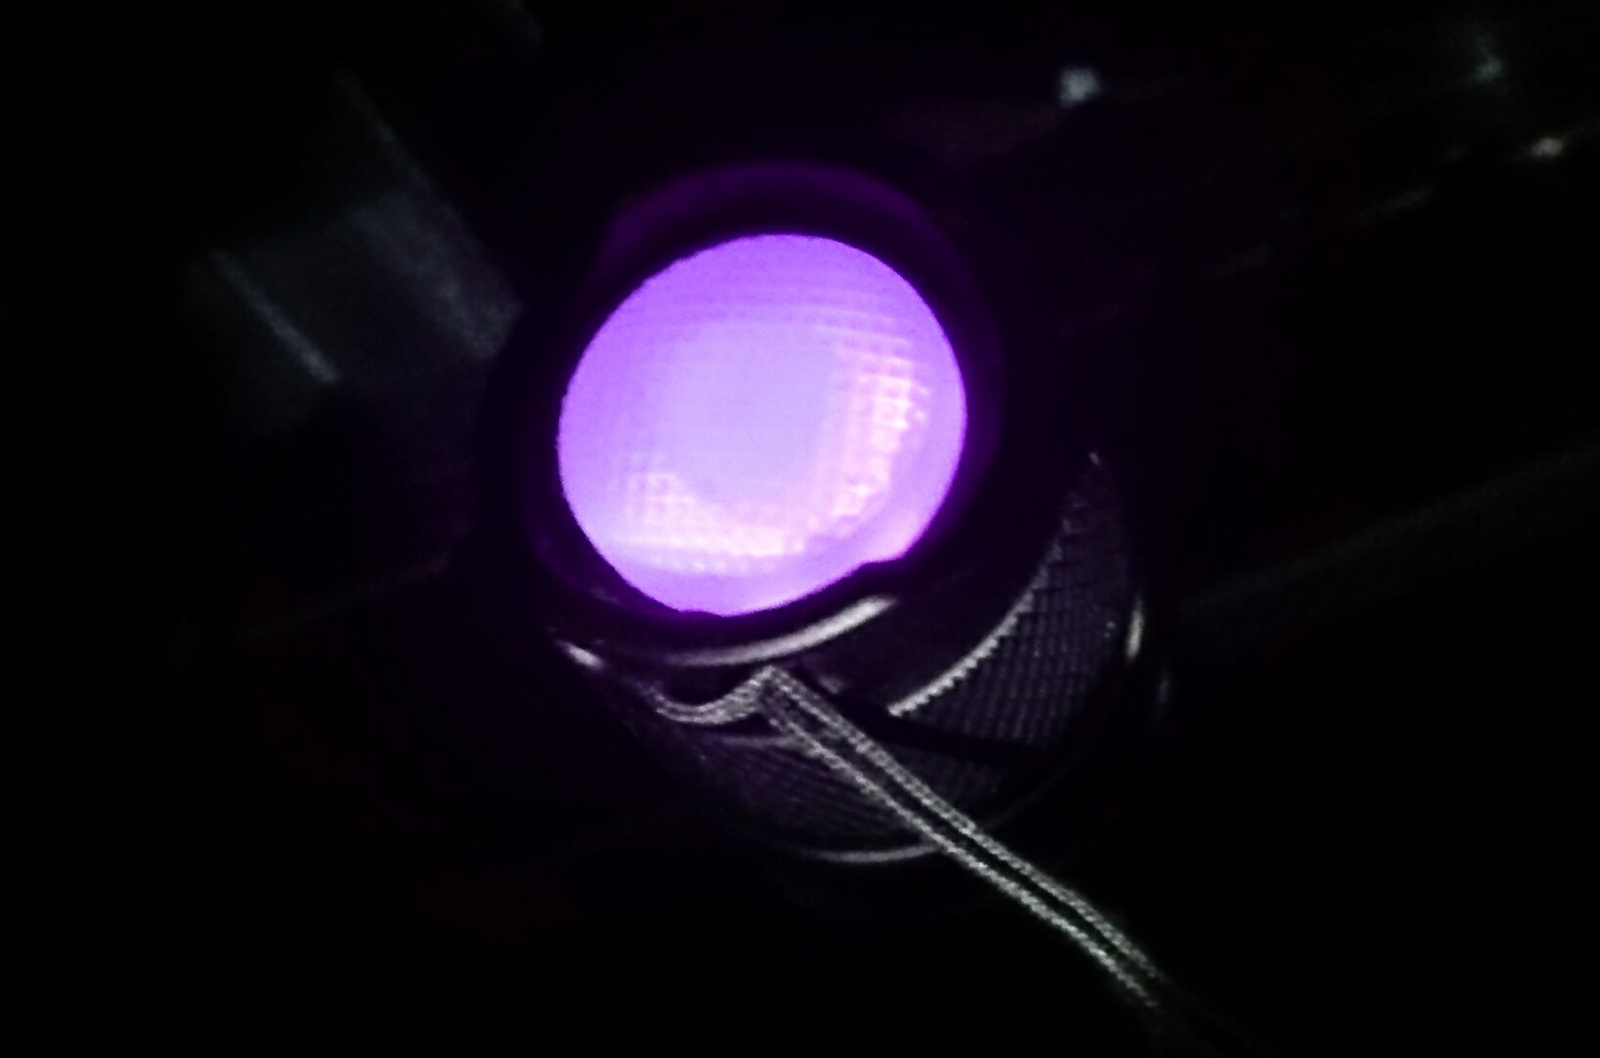
No, nothing at all, is the optic on your light sitting in the right position?
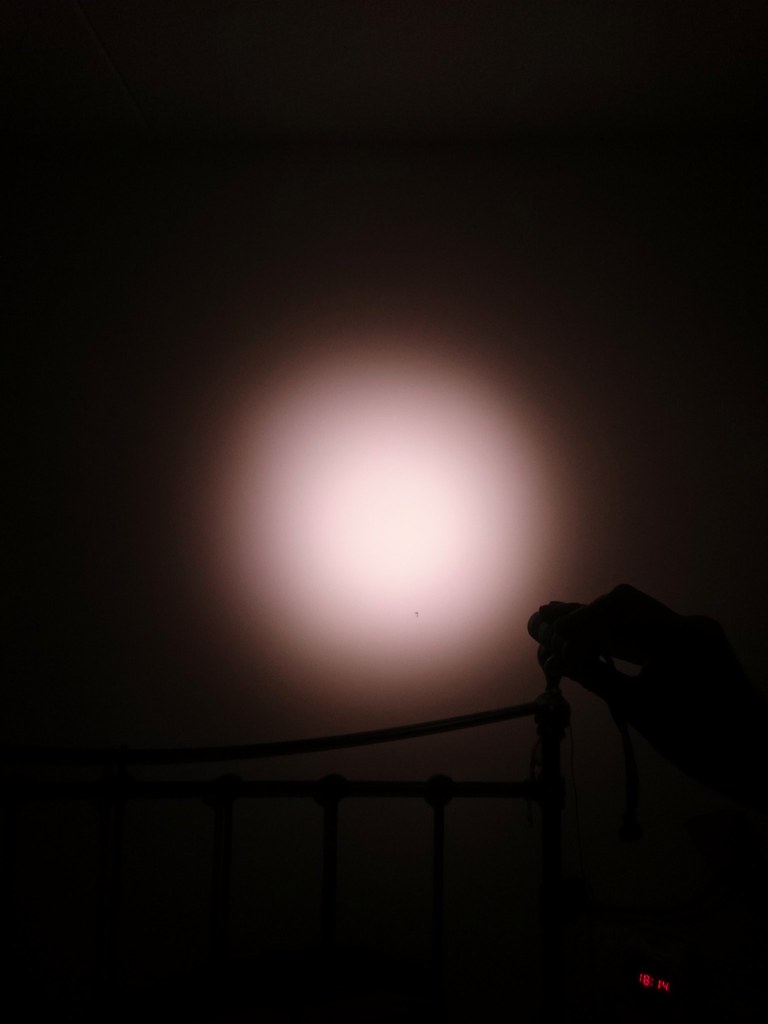
Before people start wondering: the beam is not pink, my phone picks up red way too well, possibly because I damaged the CCD with uv-light last year.
Thanks a lot .
I will disassemble my light to check if the mcpcb sits right .
Is the o-ring going on the outside? I mean from the inside : mcpcb > optic > lens > oring
Thanks
Carbon fibre powerbank flashlight build today

That’s good to here. I just got my grey host from RMM and will be sanding the MCPCB sides. Was the shelf hole big enough for the wires, or did you have to make it bigger? Apparently I will need to enlarge mine.
That looks sick.
Did you have any issues with fibers getting lose when you drilled the switch hole?
Also, have you seen sanded carbon fibre? I think the matte look is very cool, maybe even better than glossy.
Not sure if it is less durable without the coating though.
Sounds like you have experience with the material, I use progressively sized bits and a wooden backing support plus instead of pulling any broken fibres, I cut them off with a scalpel. Helps stop stripping lines. The weave helps stop it too.
Yeah the matte looks intetesting, got some on the way to try. Sanding the gloss isn’t very good.
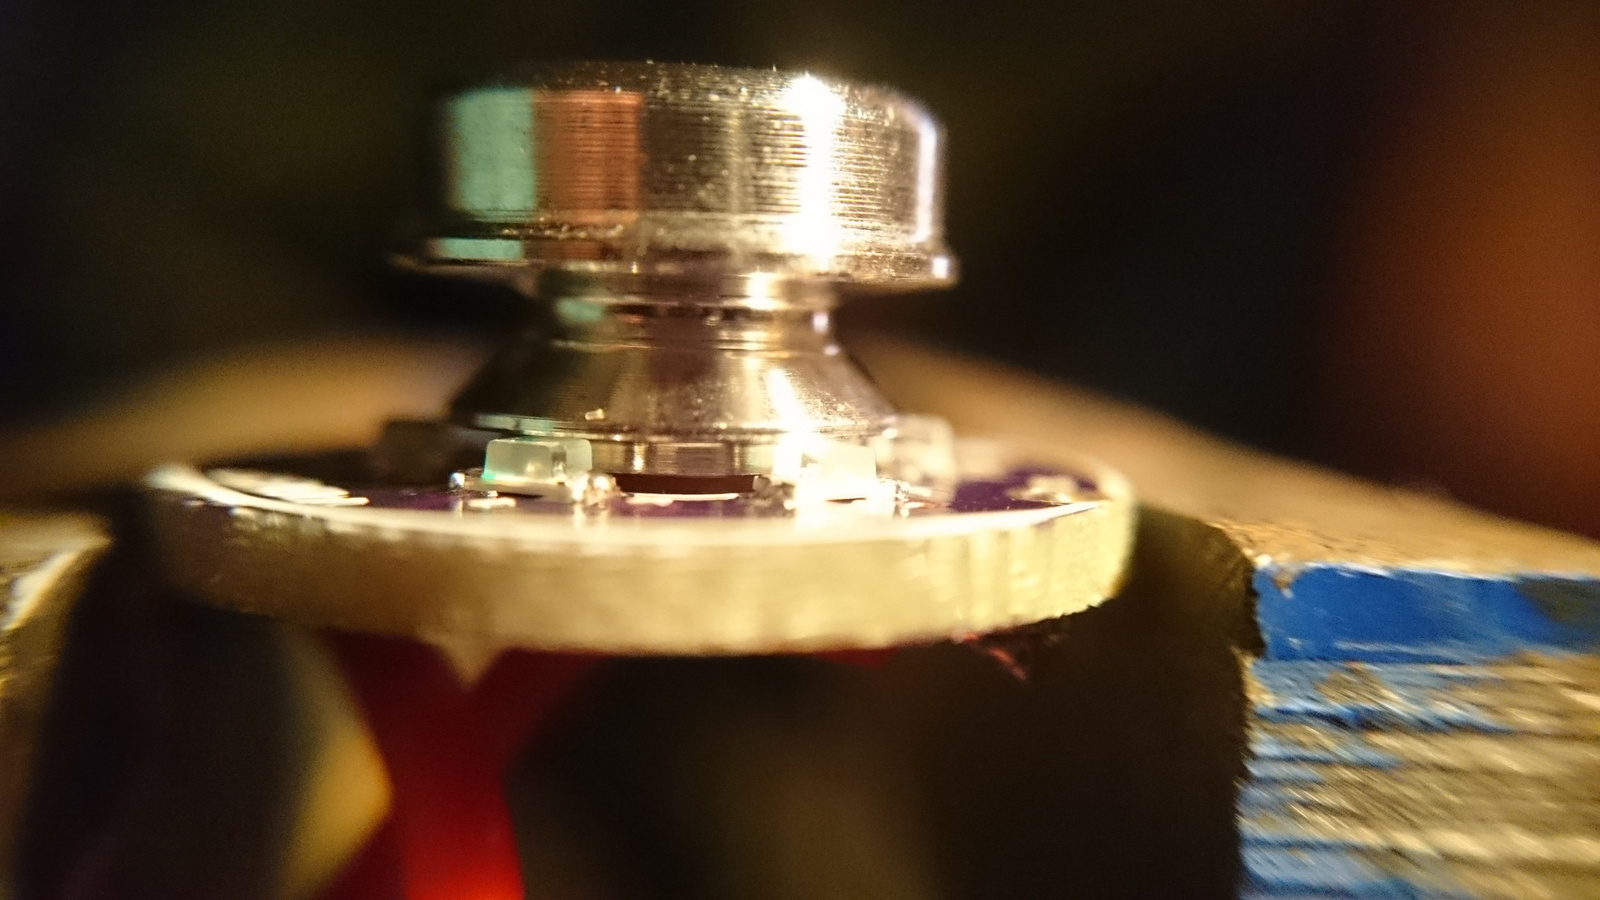
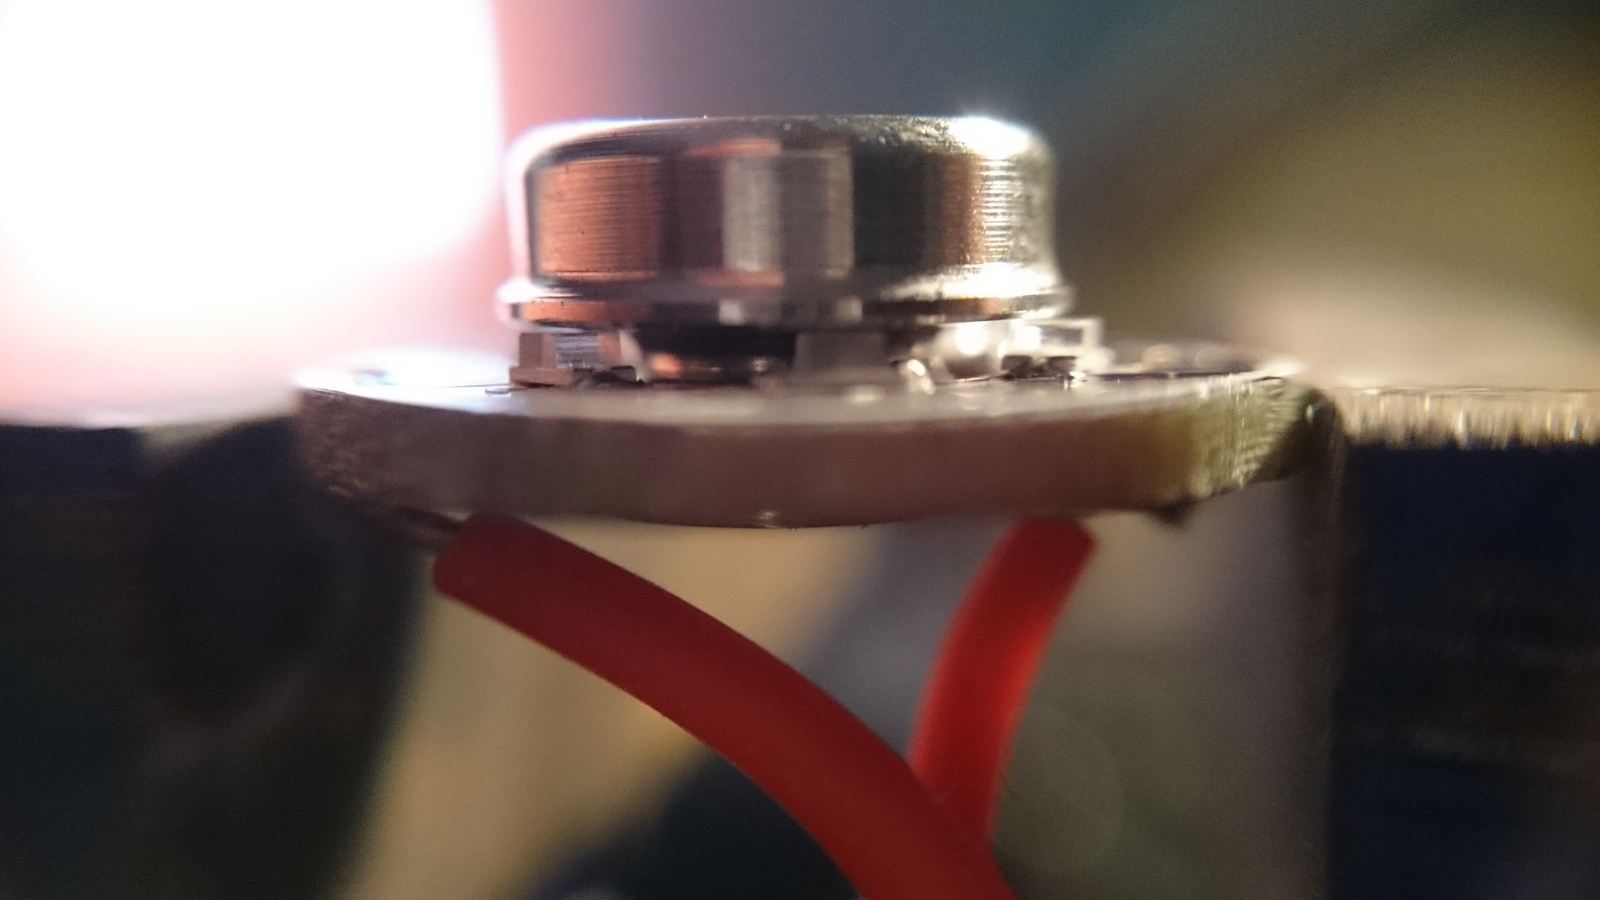
Built a Convoy M2 with a XP-L HI V2 1A LED and a 8x 7135 driver with guppydrv firmware. It turned out better than I thought it would. I got the host from RMM with an orange peal reflector. I feared that it could be too much of a thrower, but it turned out to be a perfect combination of throw and flood. It has a great beam without any rings or artifacts. A lot of throw for a smaller flashlight.
I had an issue when I first put everything together. The flashlight would not turn on. I initially thought that maybe I reverse connected the LED. But I was able to get the LED to turn on by screwing on the head loosely and moving it back and forth. Then I figured out that the battery tube end was partially anodized and was preventing a good connection. So I sanded the battery tube and then the flashlight worked as expected.

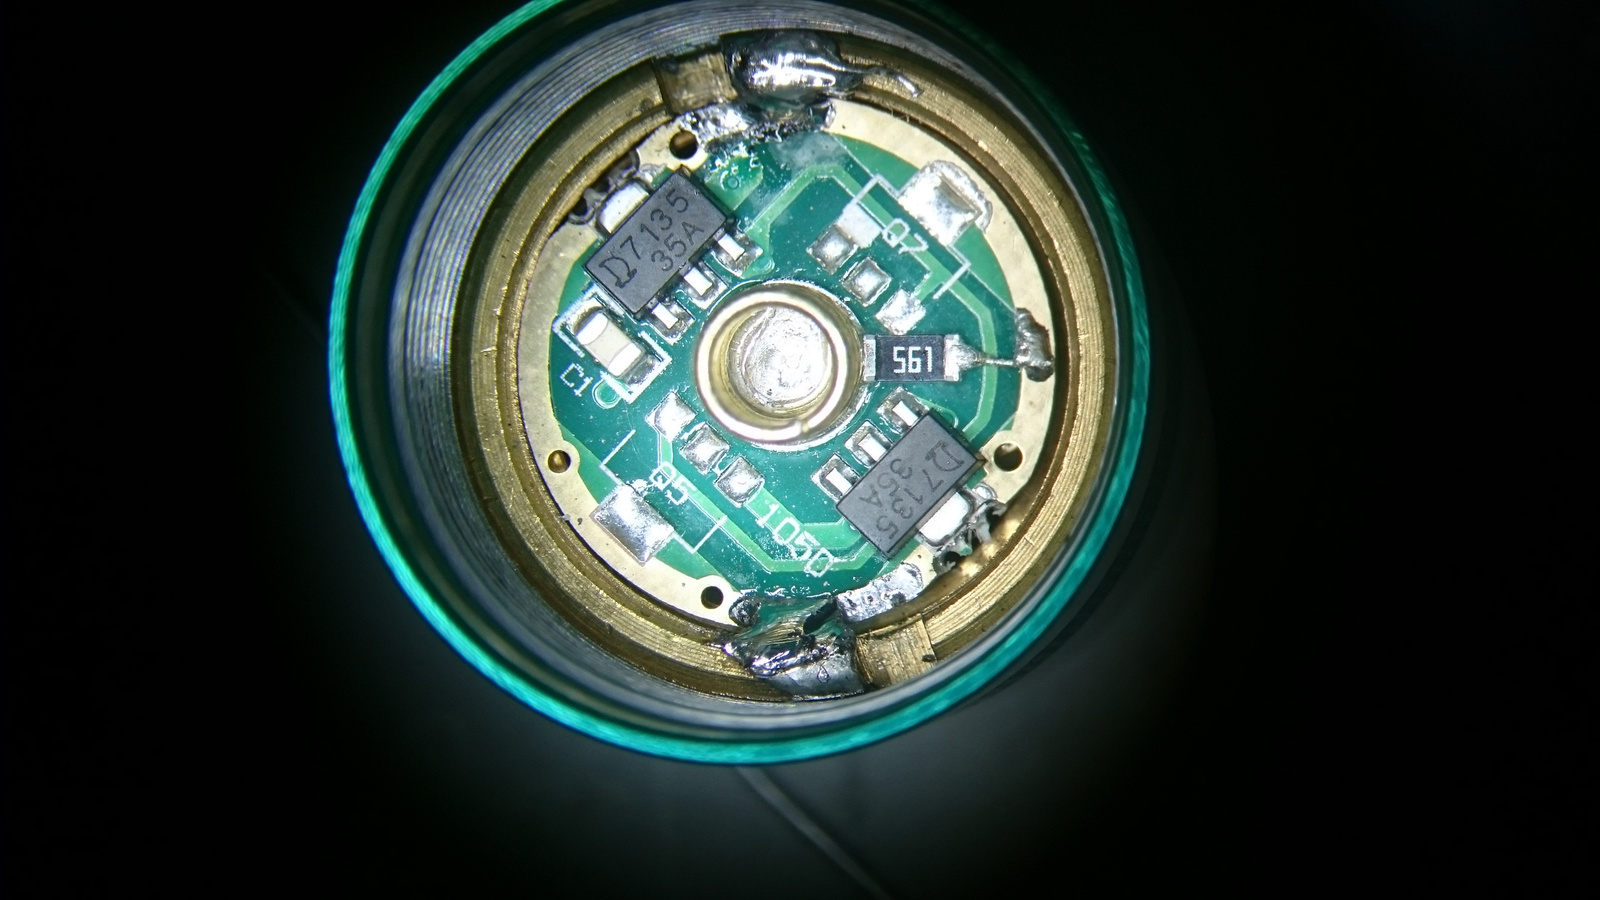
Today I modded my old Lustefire 3XU2-X3. FET driver, longish 24 gauge wires and 3x regular amp batteries does the trick with 3x de-domed XHP-50's. Gets crazy hot on turbo but it's not turning the emitters blue. Nice tint and it's got a great hot spot dead center and of course still has tons of flood.

Just thought I would post a few beamshots of 3 different Thorfire VG10’s I ordered when they had the big sale going on them.
There is not anything special as far as the mods go , but it does show the difference in what the stock light and driver does compared to the other 2 lights I modded.
Both the modded lights have the FET + 7135 Driver - 17mm - MTN-17DDm from Richard at Mountain Electronics. HERE
Also both ends have a spring bypass with 20awg Turnigy wires.
The first one has a XP-L V6 OD that has been dedomed. This one is making 1113 lumens and 4.97 amps at start.
The second one has a XP-L HI V3 3C. This one is making 1081 lumens and 5.91 amps at start.
I guess the Dedomed XP-L V6 is the winner in the efficiency department , although both lights make fairly close to the same lumen numbers.
Stock VG10 / 95 yards from Gate

Dedomed XP-L OD / 100 yards from Gate

XP-L HI V3 3C / 100 yards from Gate

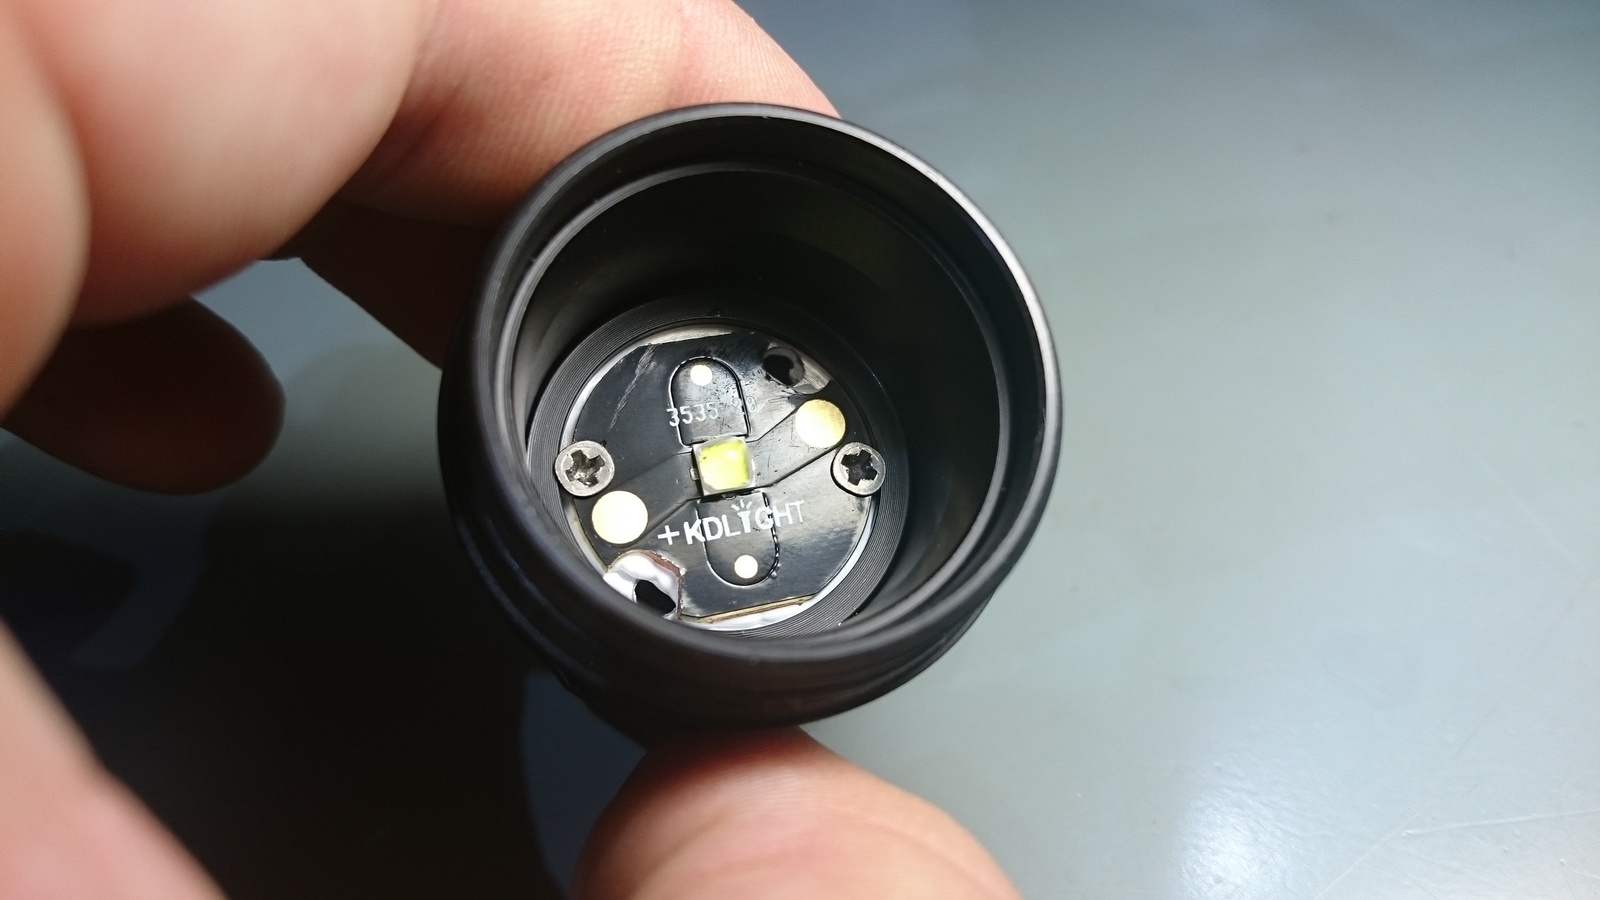
Nothing so special today. I got bored that my Convoy M1 with 10x7135 only got warm so replaced the XM-L2 LED to XP-L and the driver to BLF A17DD.

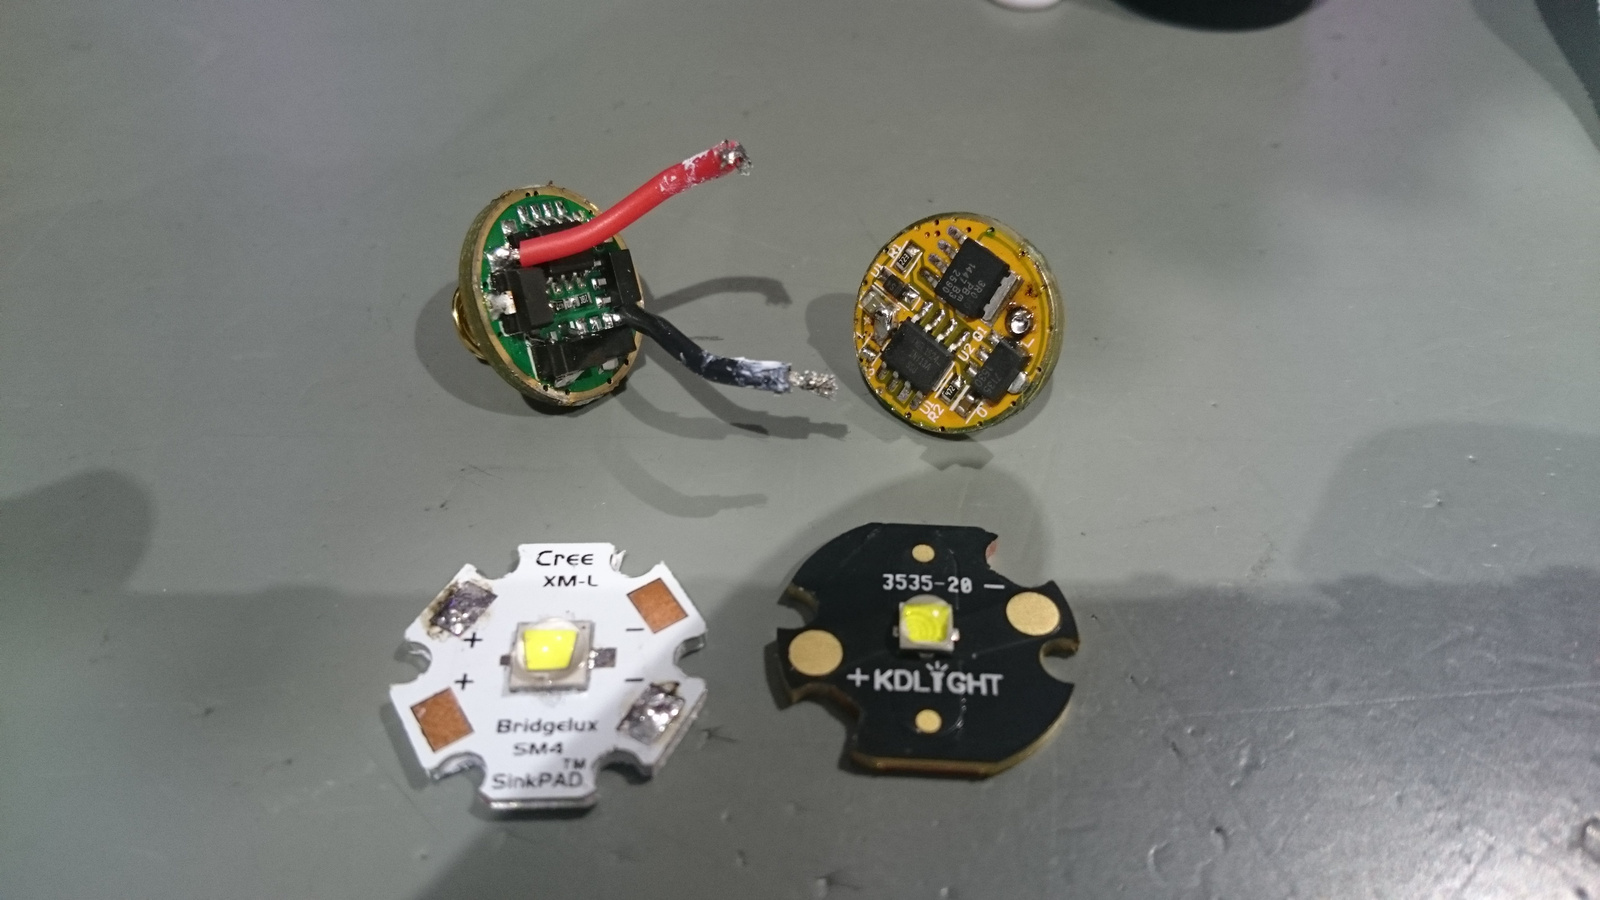
These KD led boards need some filing to get through wires ![]()
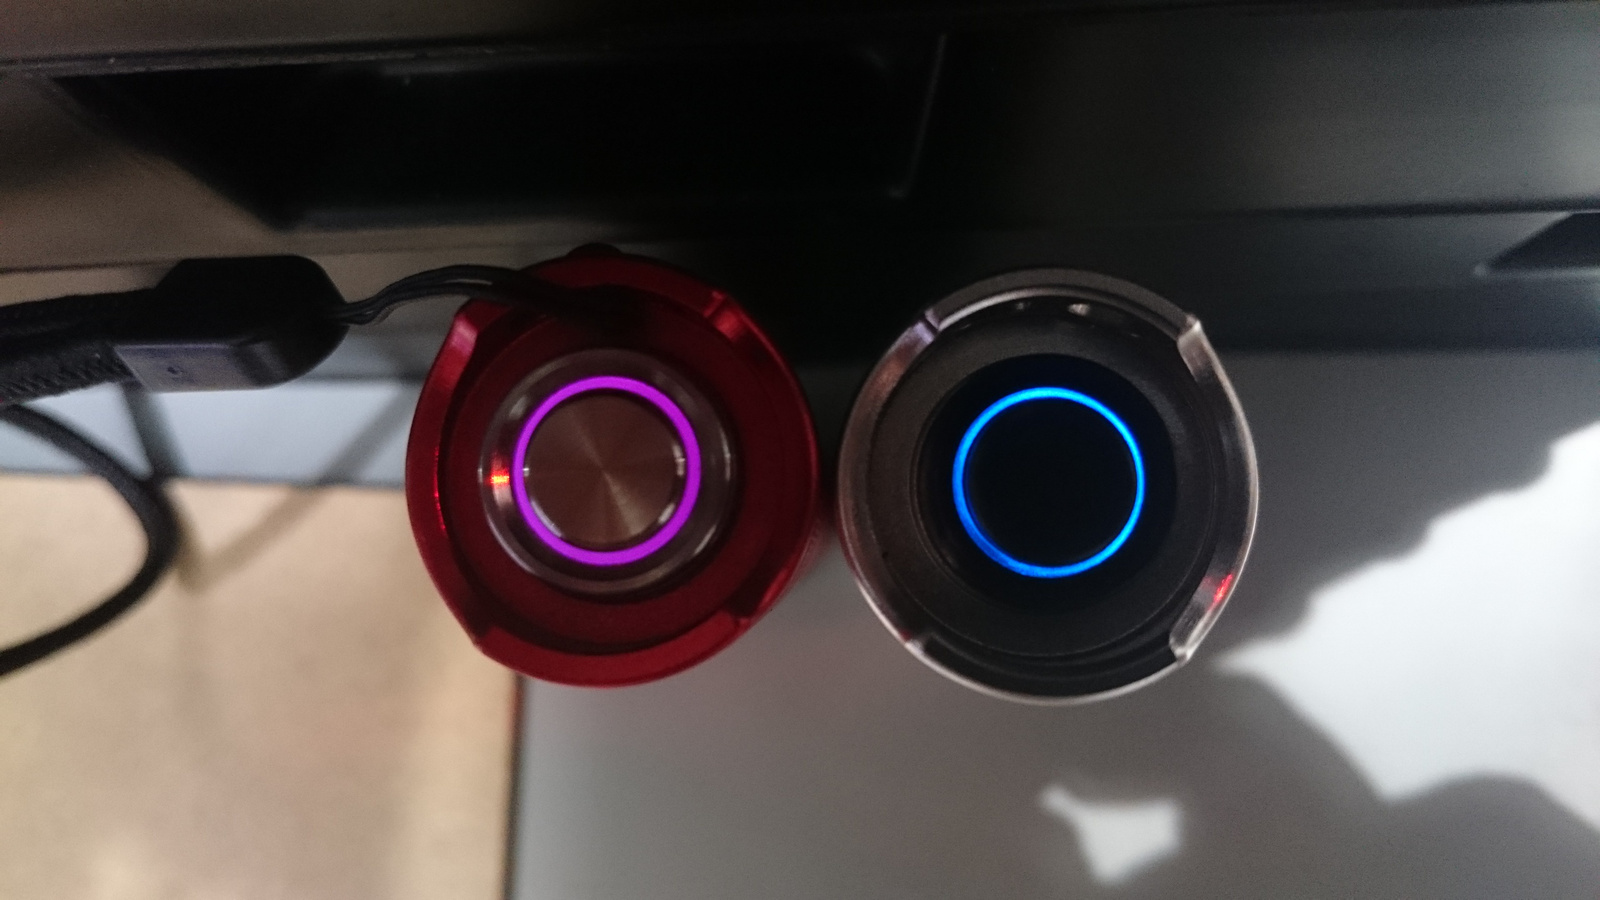
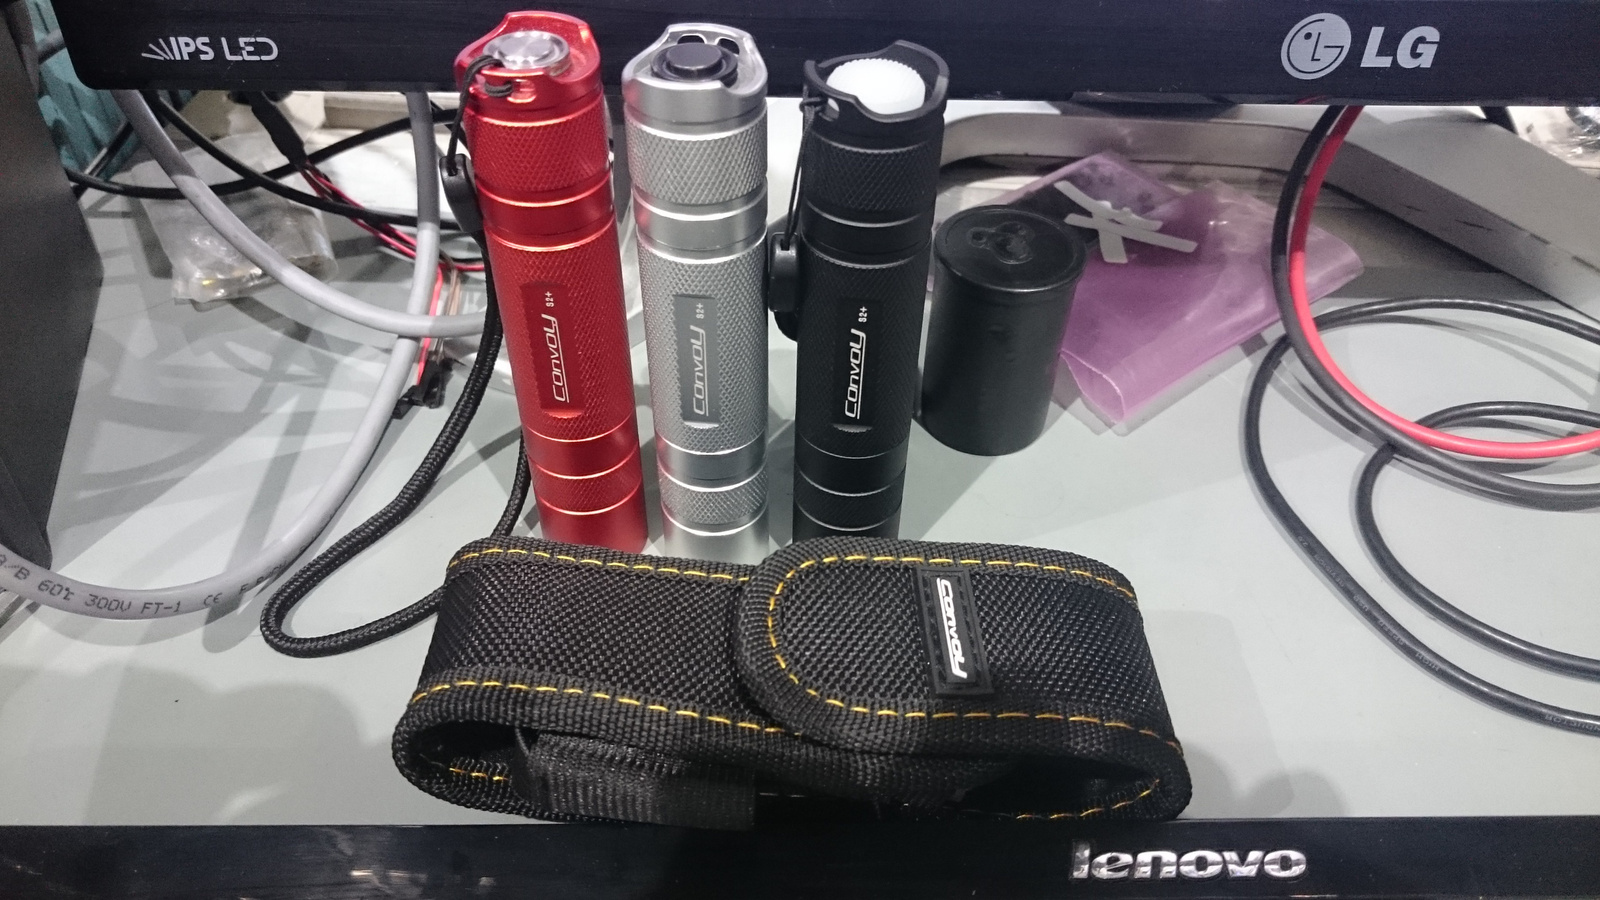
After that I installed purple lighted tailcap in to my Convoy S2+ UV
Continue the yesterday work.
The Clear S2+ got biscotti.
A black S2+ got biscotti also and lighted tailcap.
Found some pretty nice green LEDs. Mixed with warm whites.
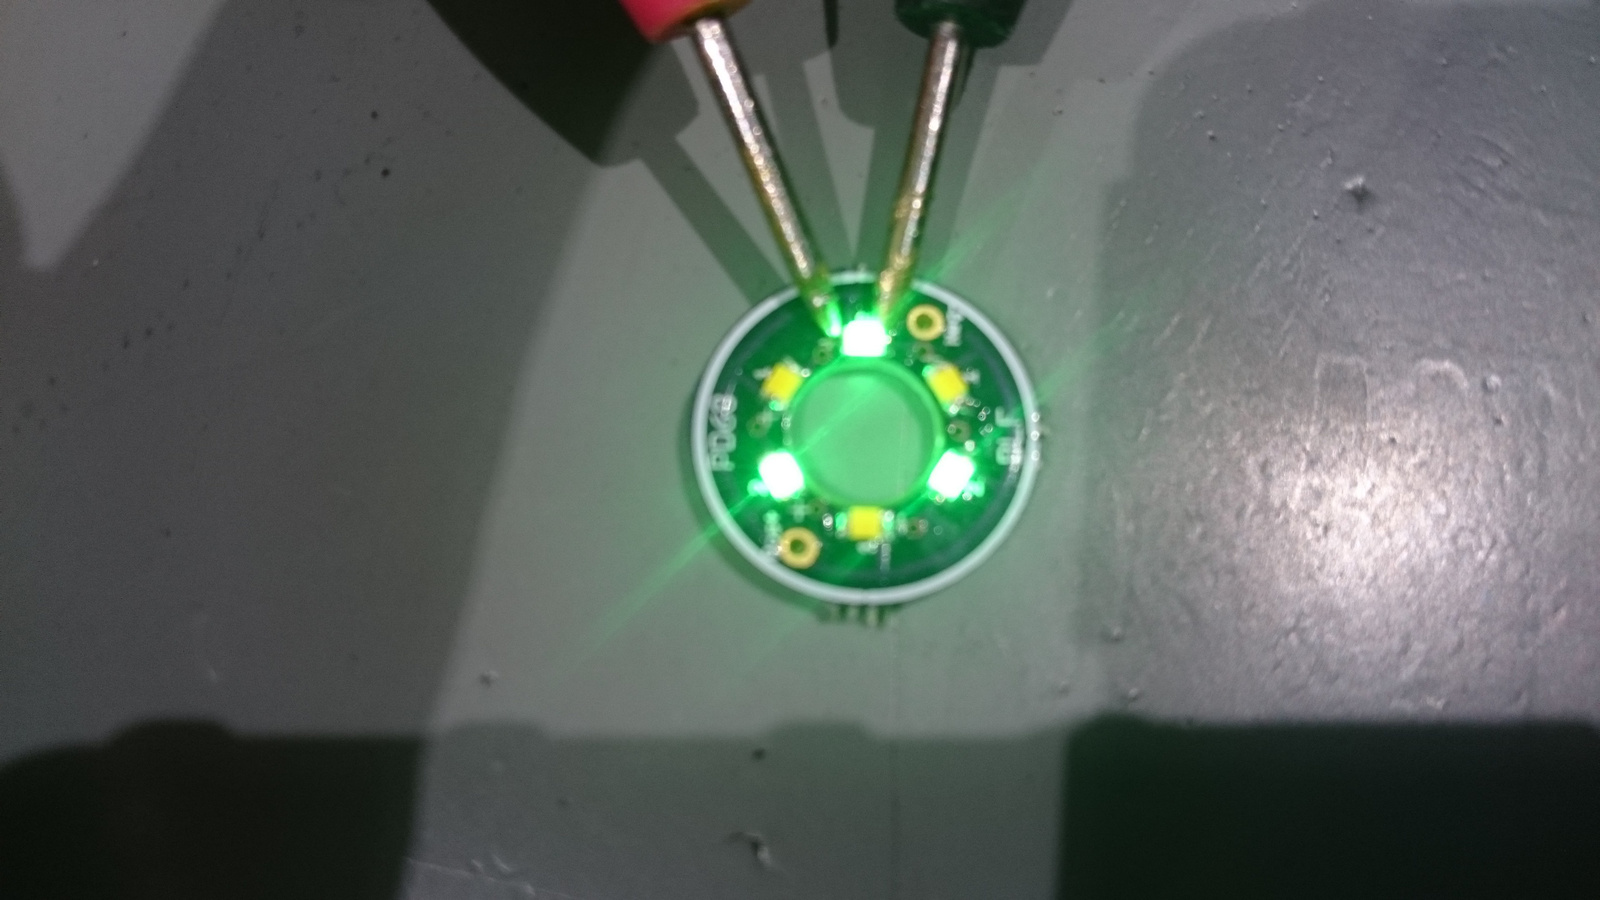
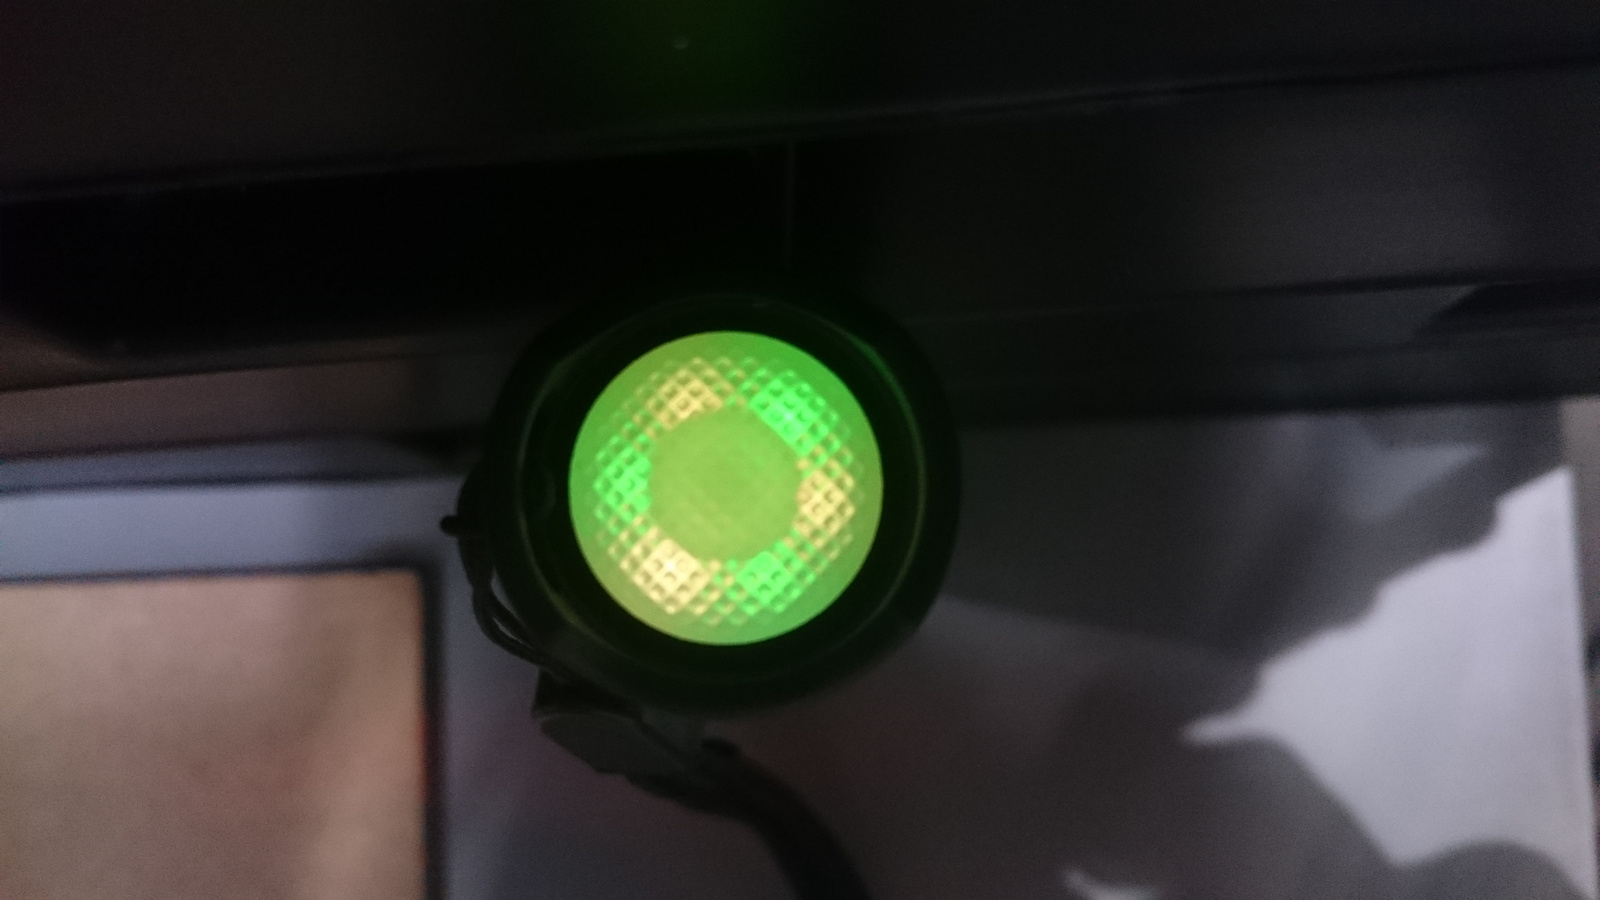
And a red S2+ got pink lighted tailcap. I managed to fit the 6 LED ring board. The problem was the metal button touched the LEDs top.
Grinded down the edge.
And it fits.
Next to the Clear S2+
All done.
Nice set, Zozz! I like the pink leds, should get some ![]()
Thanks. I think it’s nice too. Also the green looks nice. More green in real life. Only the clear is mine. The other two is made by request. I also replaced the led board in the Clear to a PD68 design 6 led version. closer to the top so more light can come out.
Thanks. How did you manage to get the lens out?
I pried the bezel out. I think the first tool I used was a razor knife, followed by small screwdrivers. The flashlight was already nonfunctional, but the lens and bezel were not damaged in this process and can be reinstalled. It might impact waterproofing some.
How difficult is it to install a lighted tailcap for a convoy s2 with a qlite driver from mtnelectronics? MY SKILLS are limited to soldering the wires to a mcpcb. Also Where do you get the hardware from? Thanks!
Made a magnetic holder for the DQG UV lighter today to make it detachable like the 47’s atom triple

If you using original qlite firmware with 3/5 modes you can buy the astrolux lighted tailcap switch board from banggood and a white silicone tailcap rubber. Then if your flashlight is older you find an aluminum spacer between switch and rubber button. You can drill a lot hole in it to give a path for the light or you can replace some clear acrilyc washer. No need any soldaring work. Just unscrew the switch retaining ring and replace the internals. The retaining ring is left threaded.
I really got in lighted tailcaps ![]() Done my wife’s green S2+ tailcap. It already has biscotti Fw so it needed a bleeder resistor on the driver.
Done my wife’s green S2+ tailcap. It already has biscotti Fw so it needed a bleeder resistor on the driver.