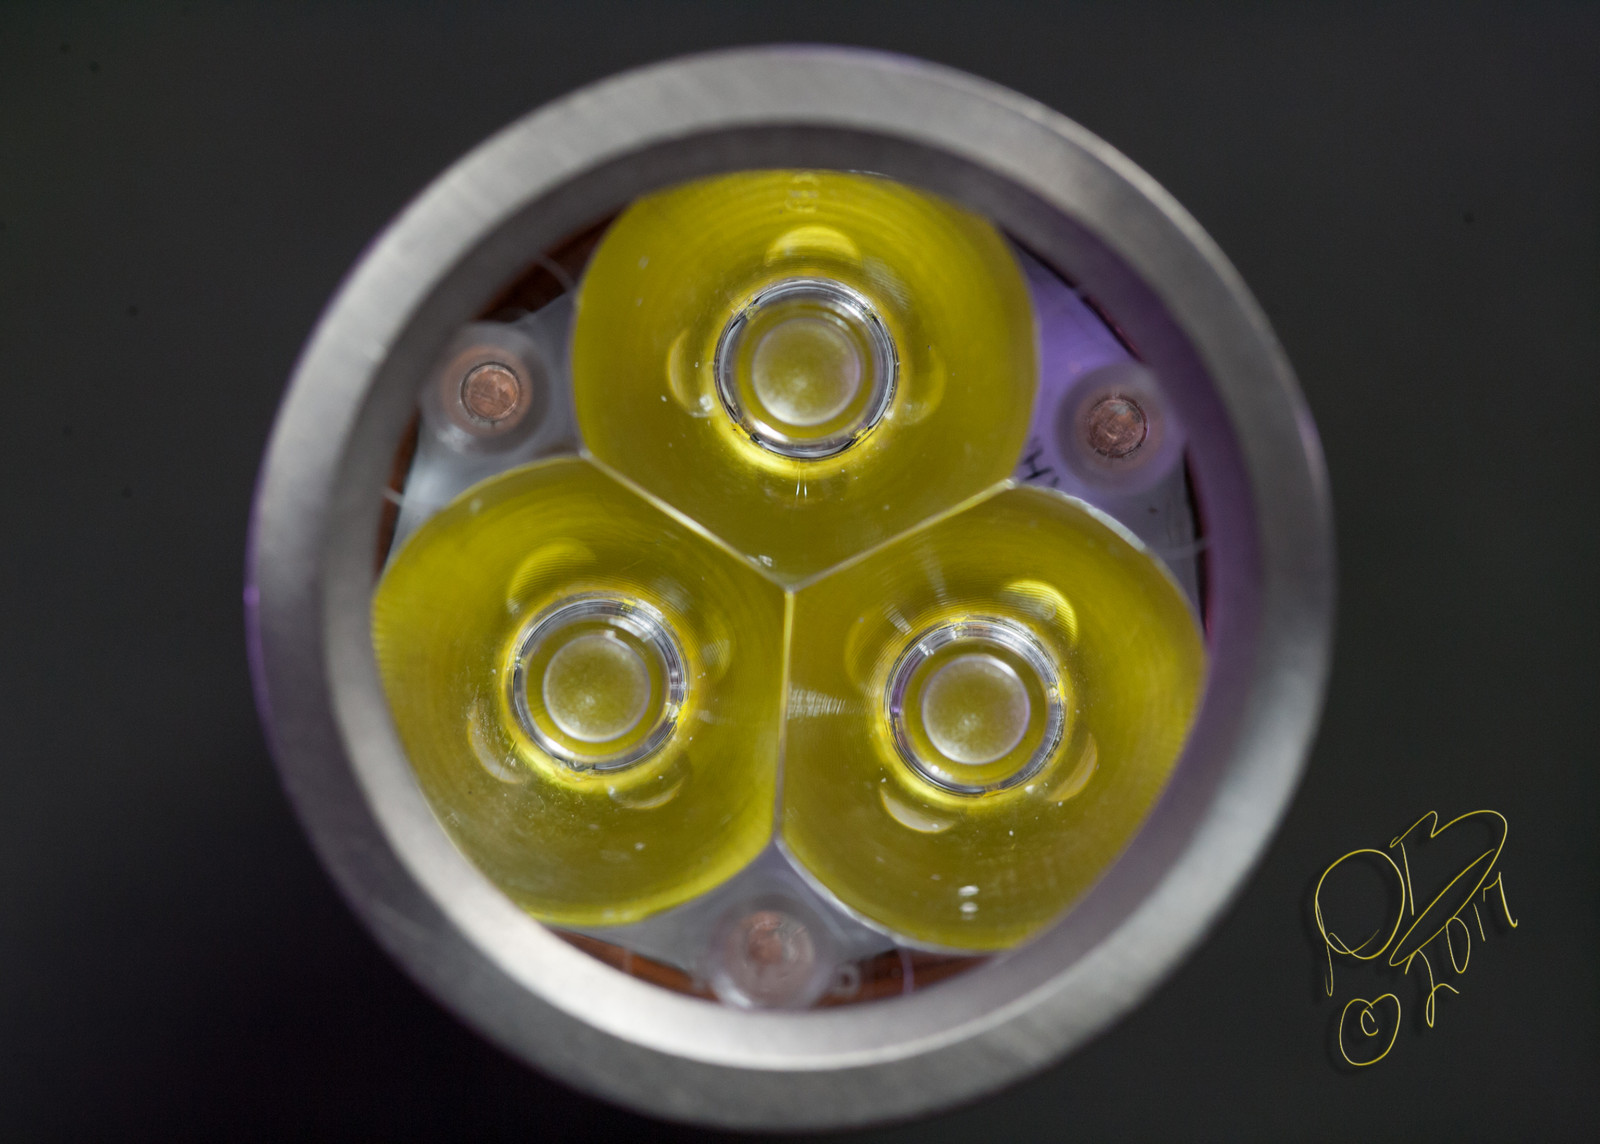
Just thought I would post a few beamshots of 3 different Thorfire VG10’s I ordered when they had the big sale going on them.
There is not anything special as far as the mods go , but it does show the difference in what the stock light and driver does compared to the other 2 lights I modded.
Both the modded lights have the FET + 7135 Driver - 17mm - MTN-17DDm from Richard at Mountain Electronics. HERE
Also both ends have a spring bypass with 20awg Turnigy wires.
The first one has a XP-L V6 OD that has been dedomed. This one is making 1113 lumens and 4.97 amps at start.
The second one has a XP-L HI V3 3C. This one is making 1081 lumens and 5.91 amps at start.
I guess the Dedomed XP-L V6 is the winner in the efficiency department , although both lights make fairly close to the same lumen numbers.
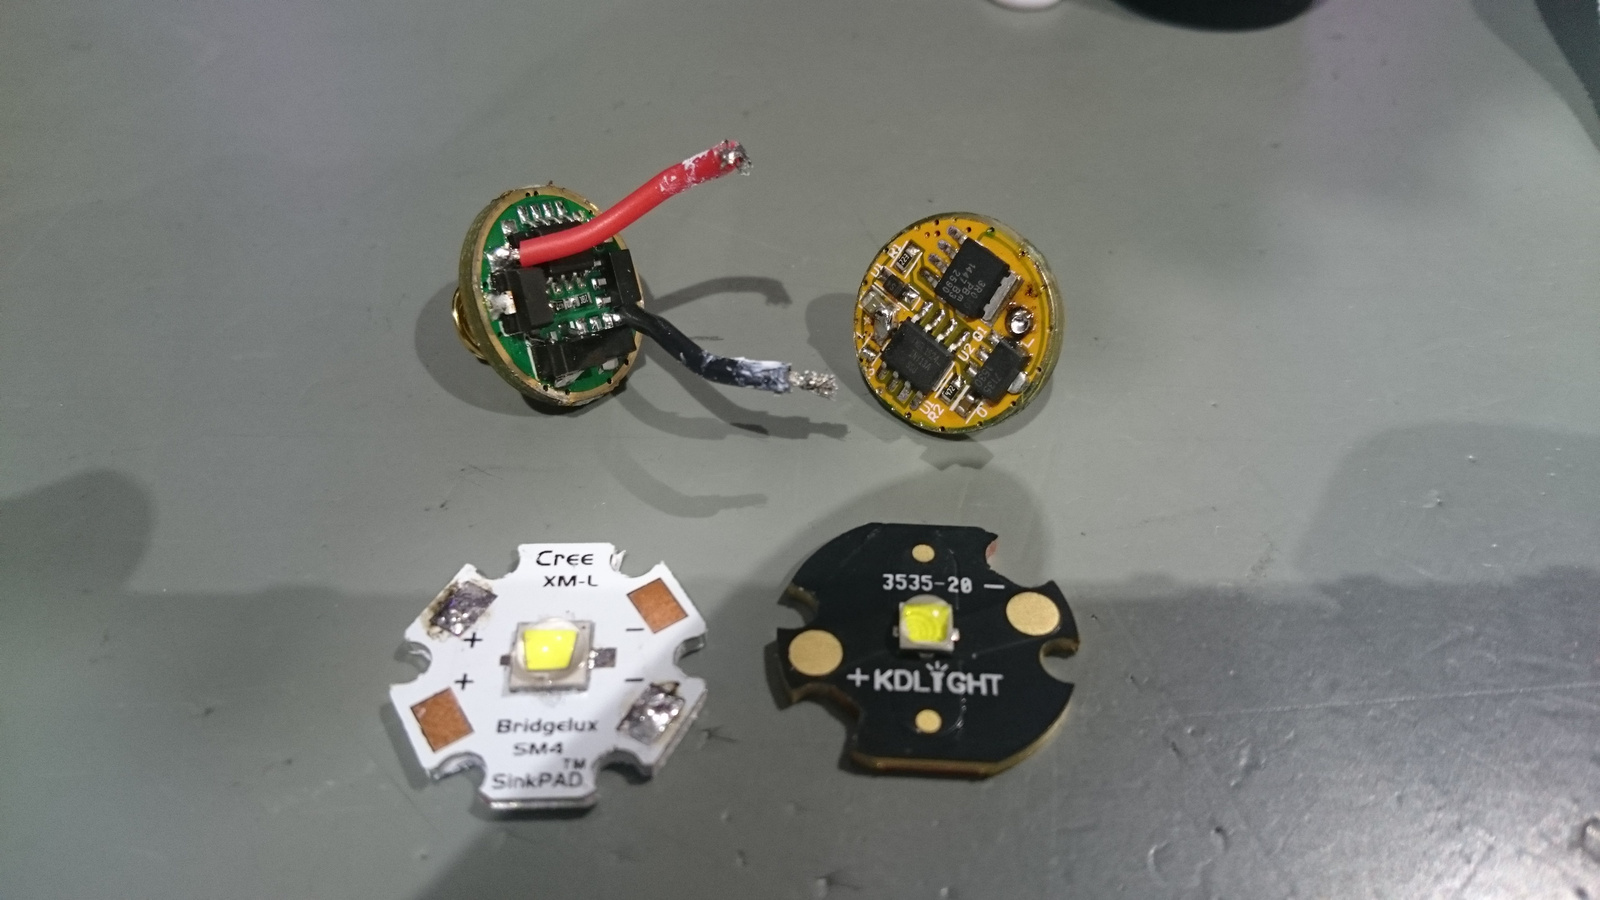
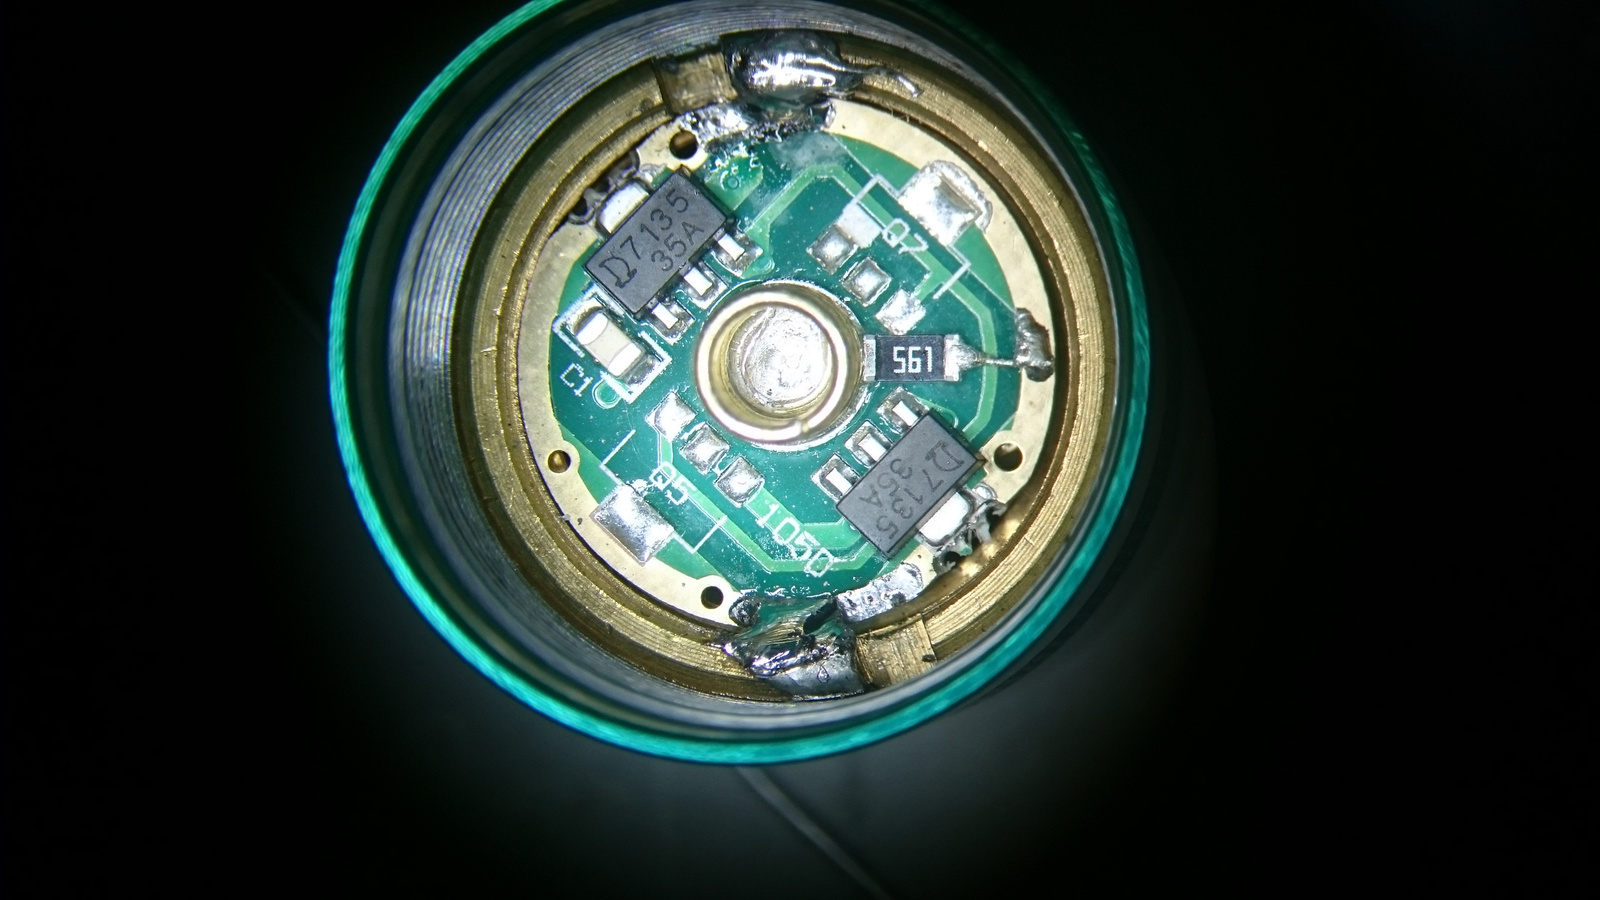
Nothing so special today. I got bored that my Convoy M1 with 10x7135 only got warm so replaced the XM-L2 LED to XP-L and the driver to BLF A17DD.
These KD led boards need some filing to get through wires
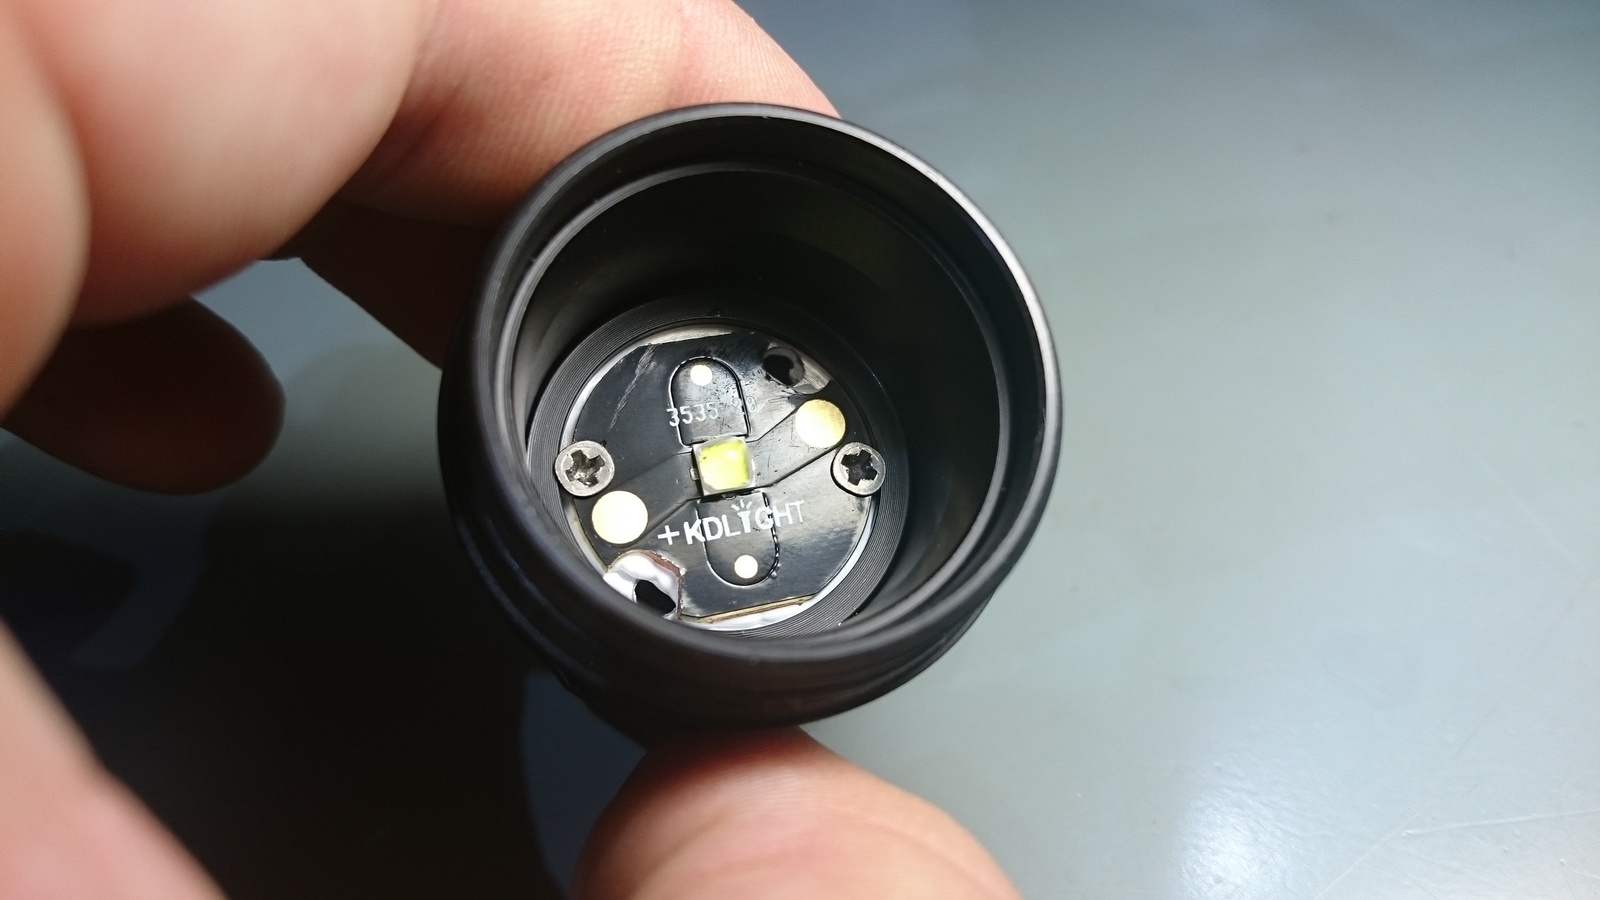
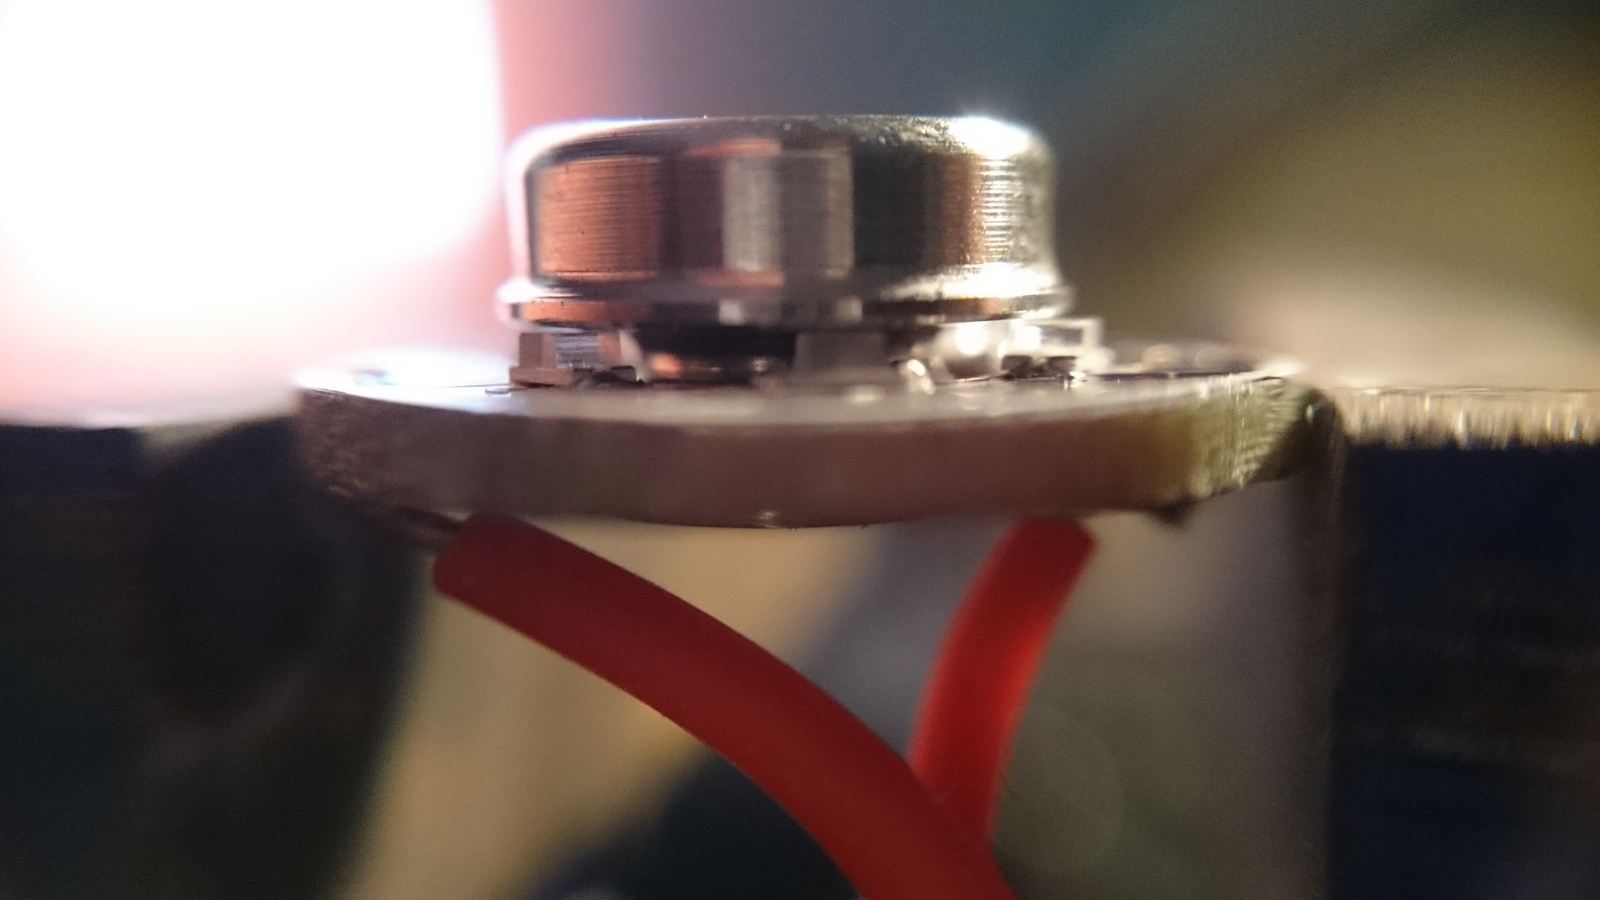
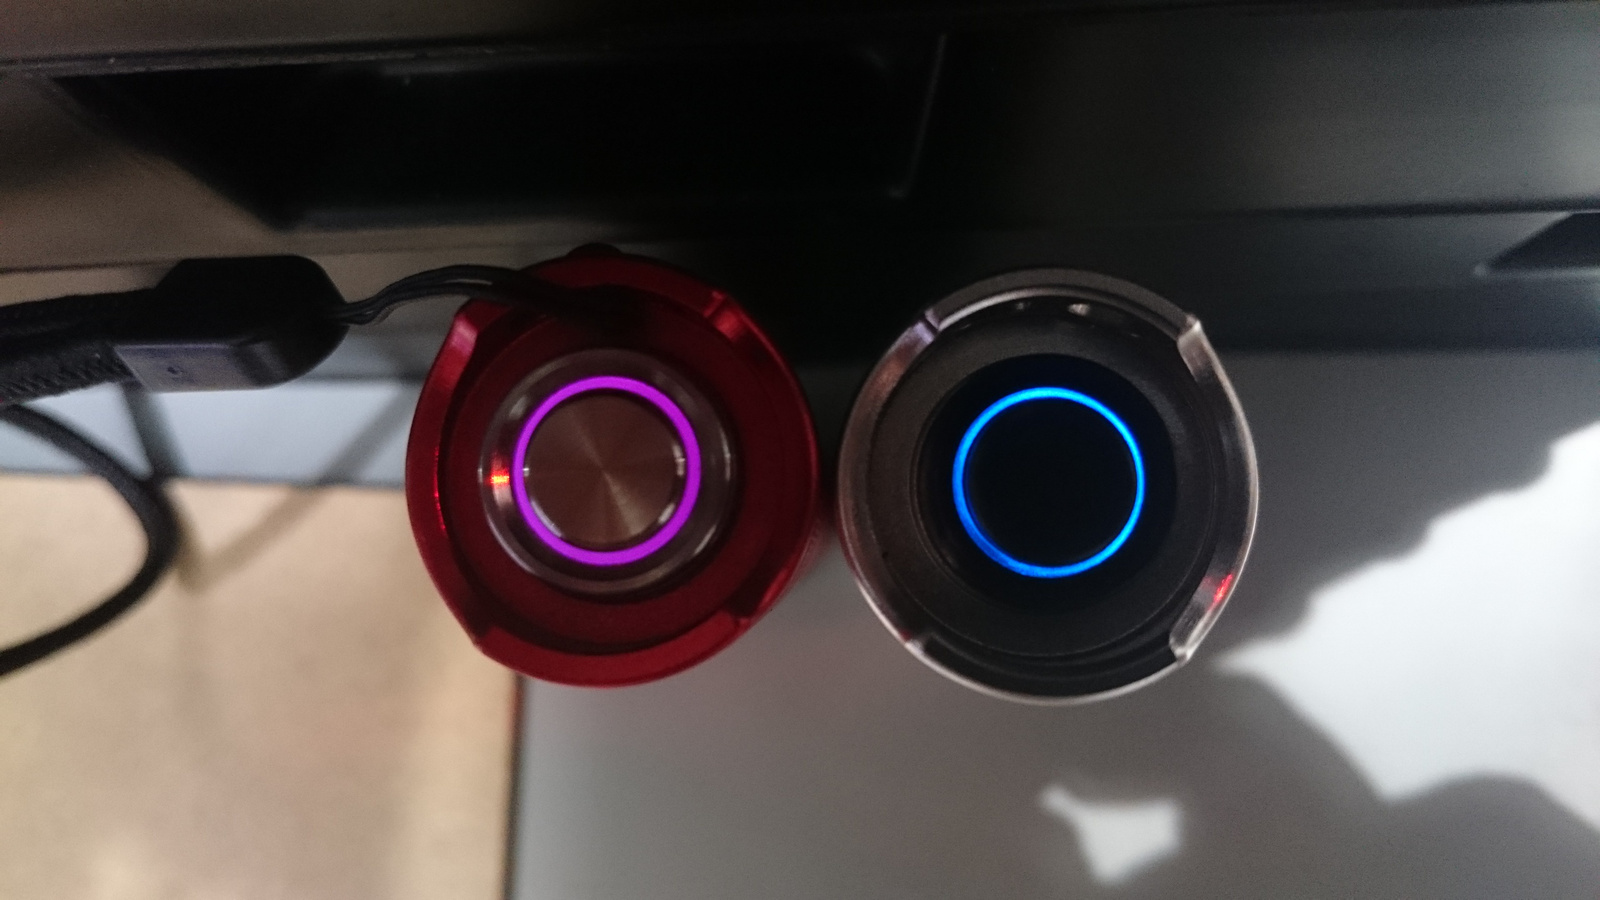
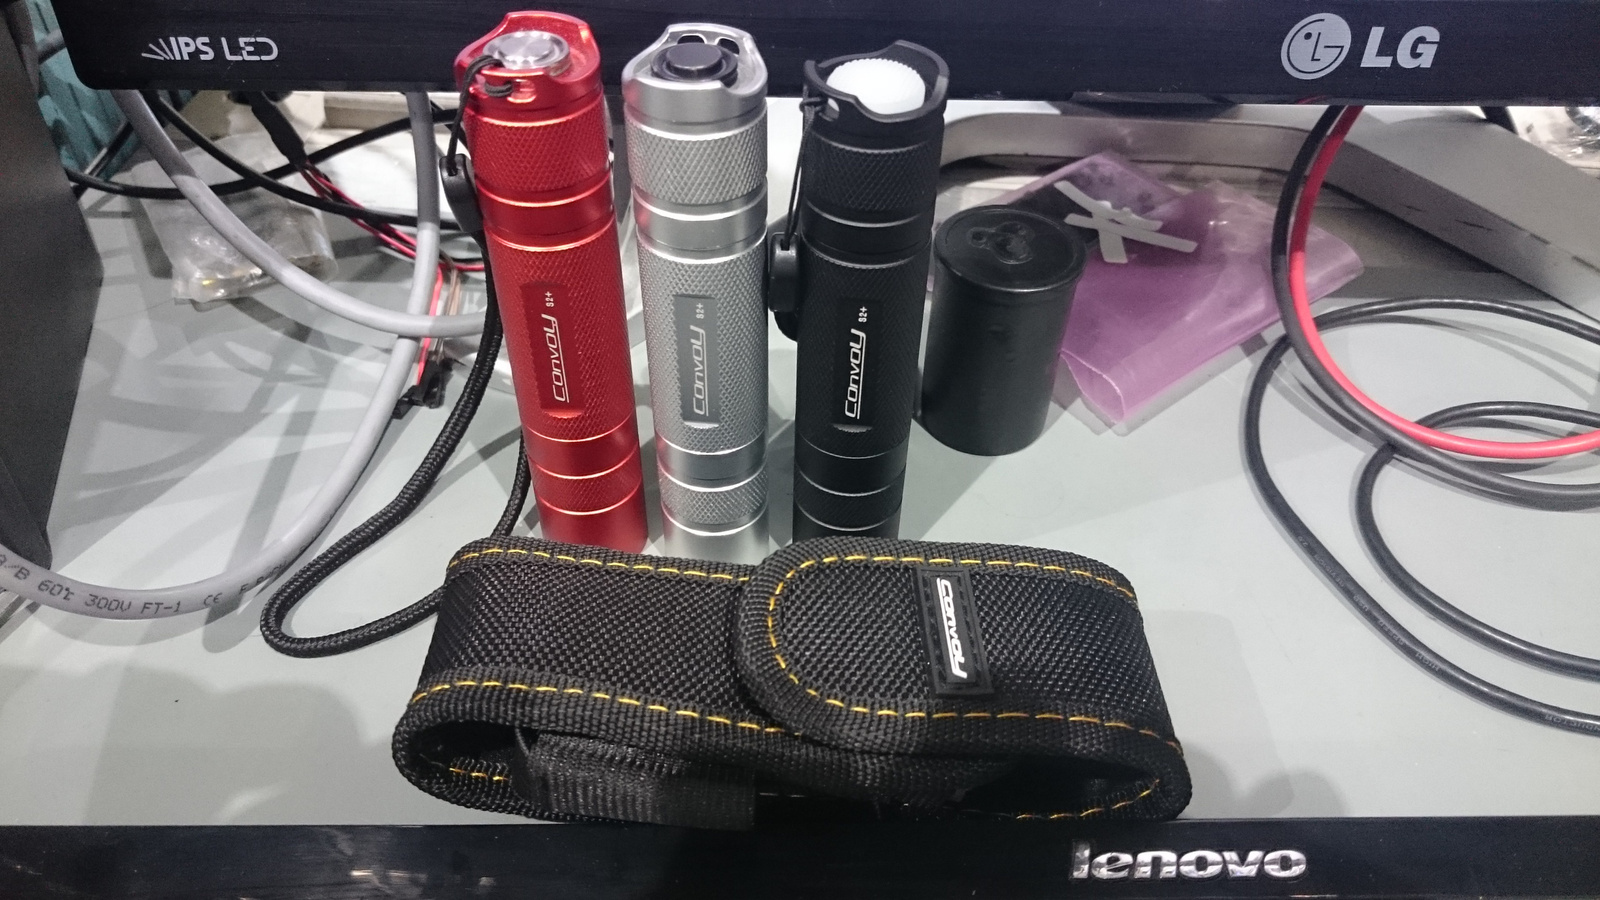
After that I installed purple lighted tailcap in to my Convoy S2+ UV
Continue the yesterday work.
The Clear S2+ got biscotti.
A black S2+ got biscotti also and lighted tailcap.
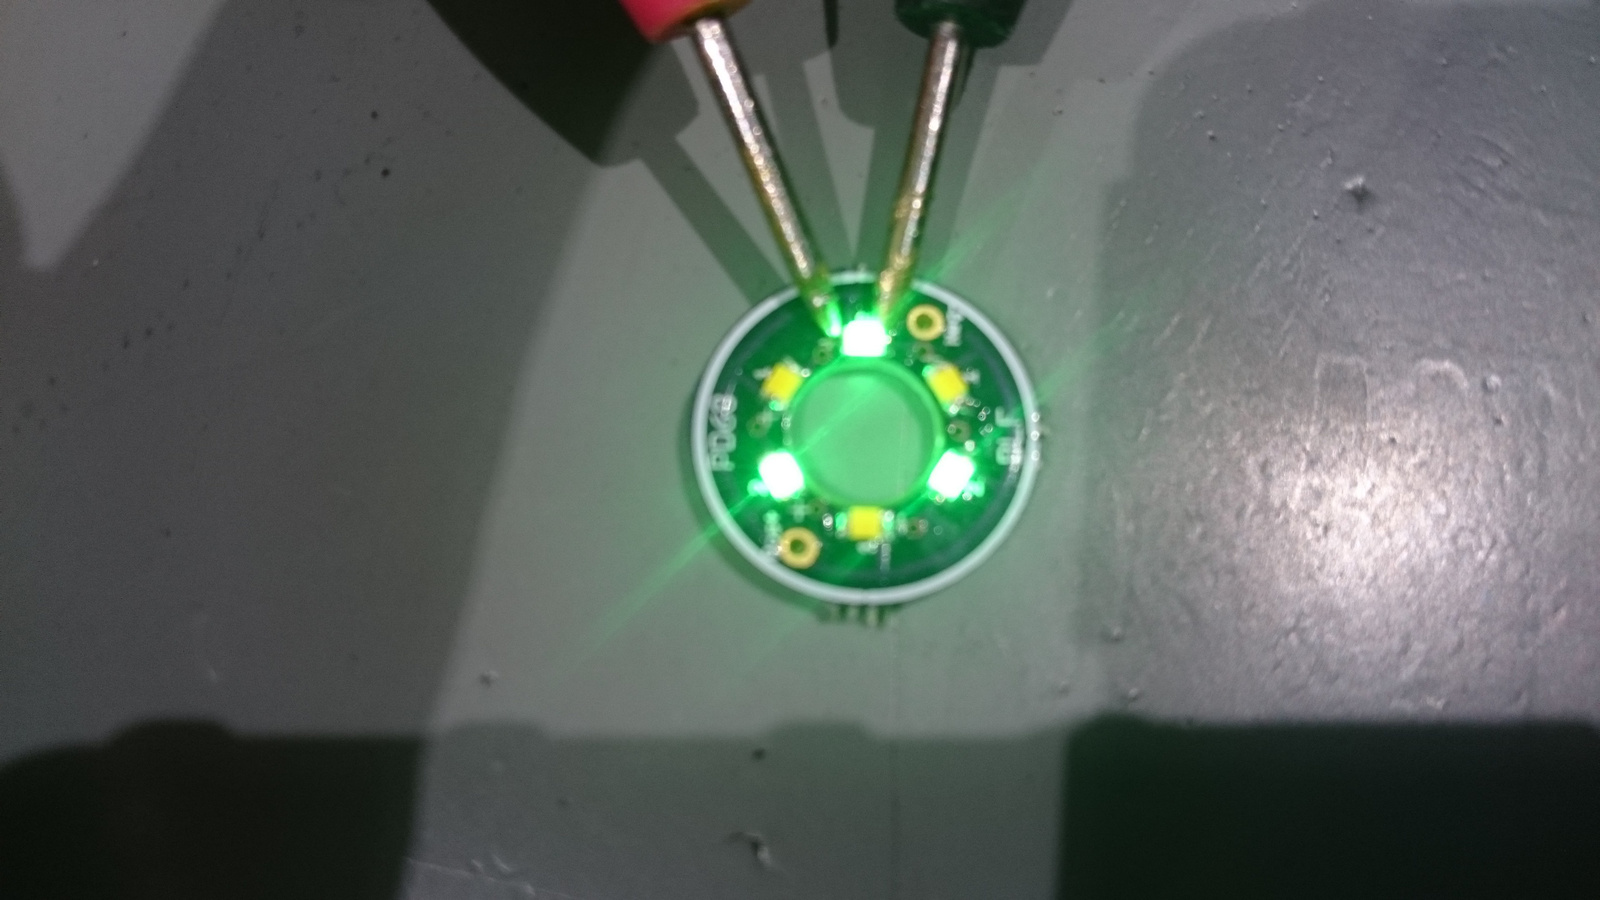
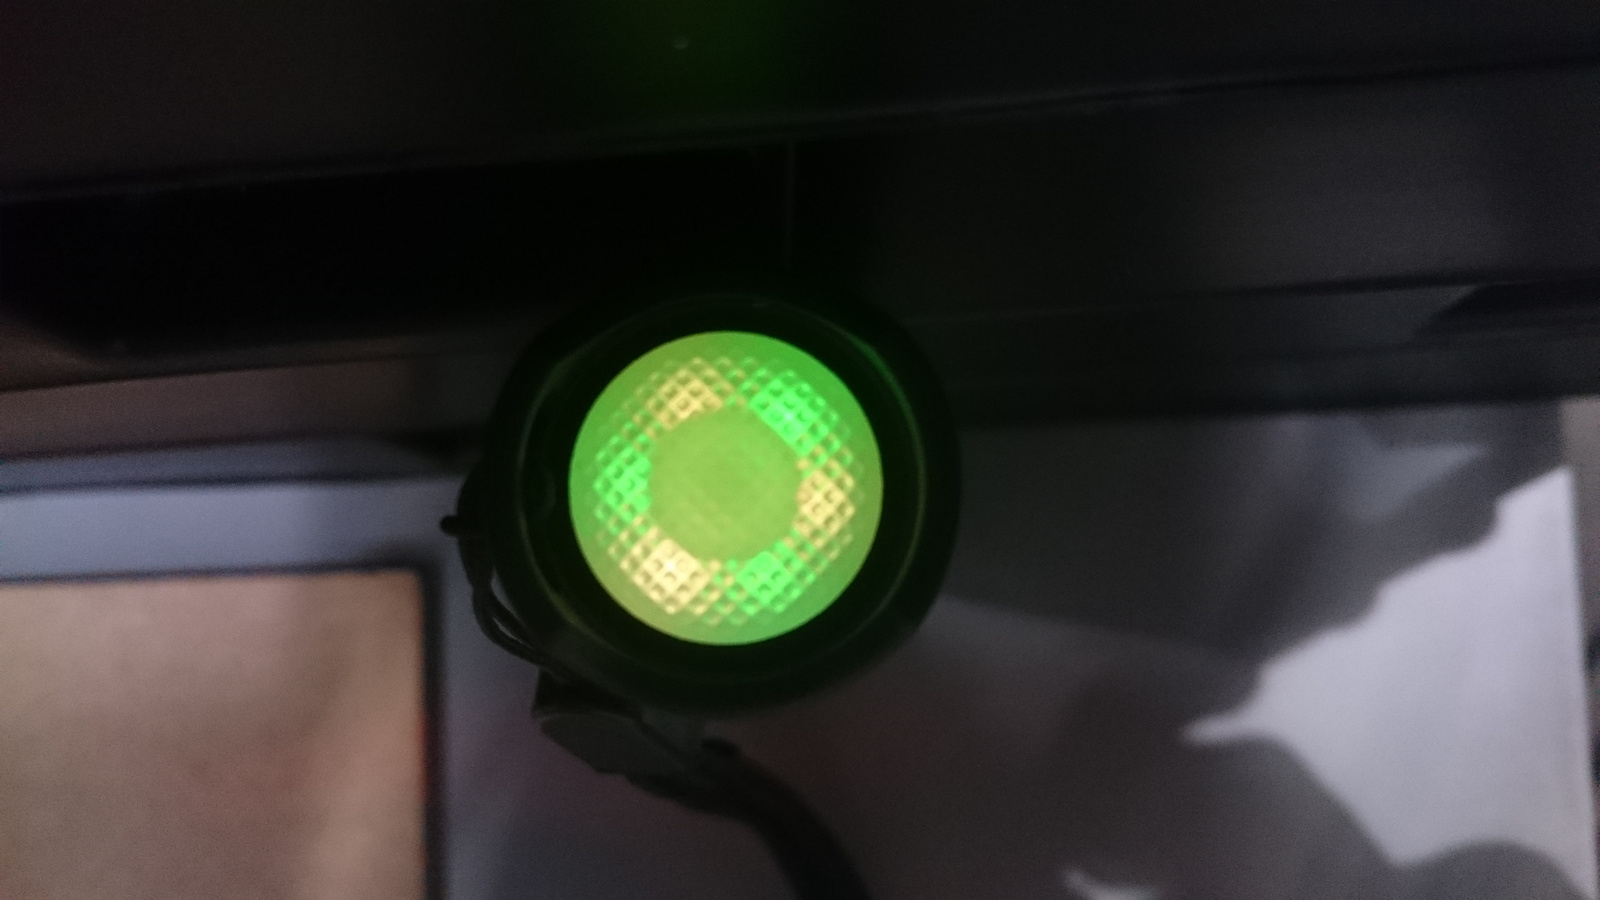
Found some pretty nice green LEDs. Mixed with warm whites.
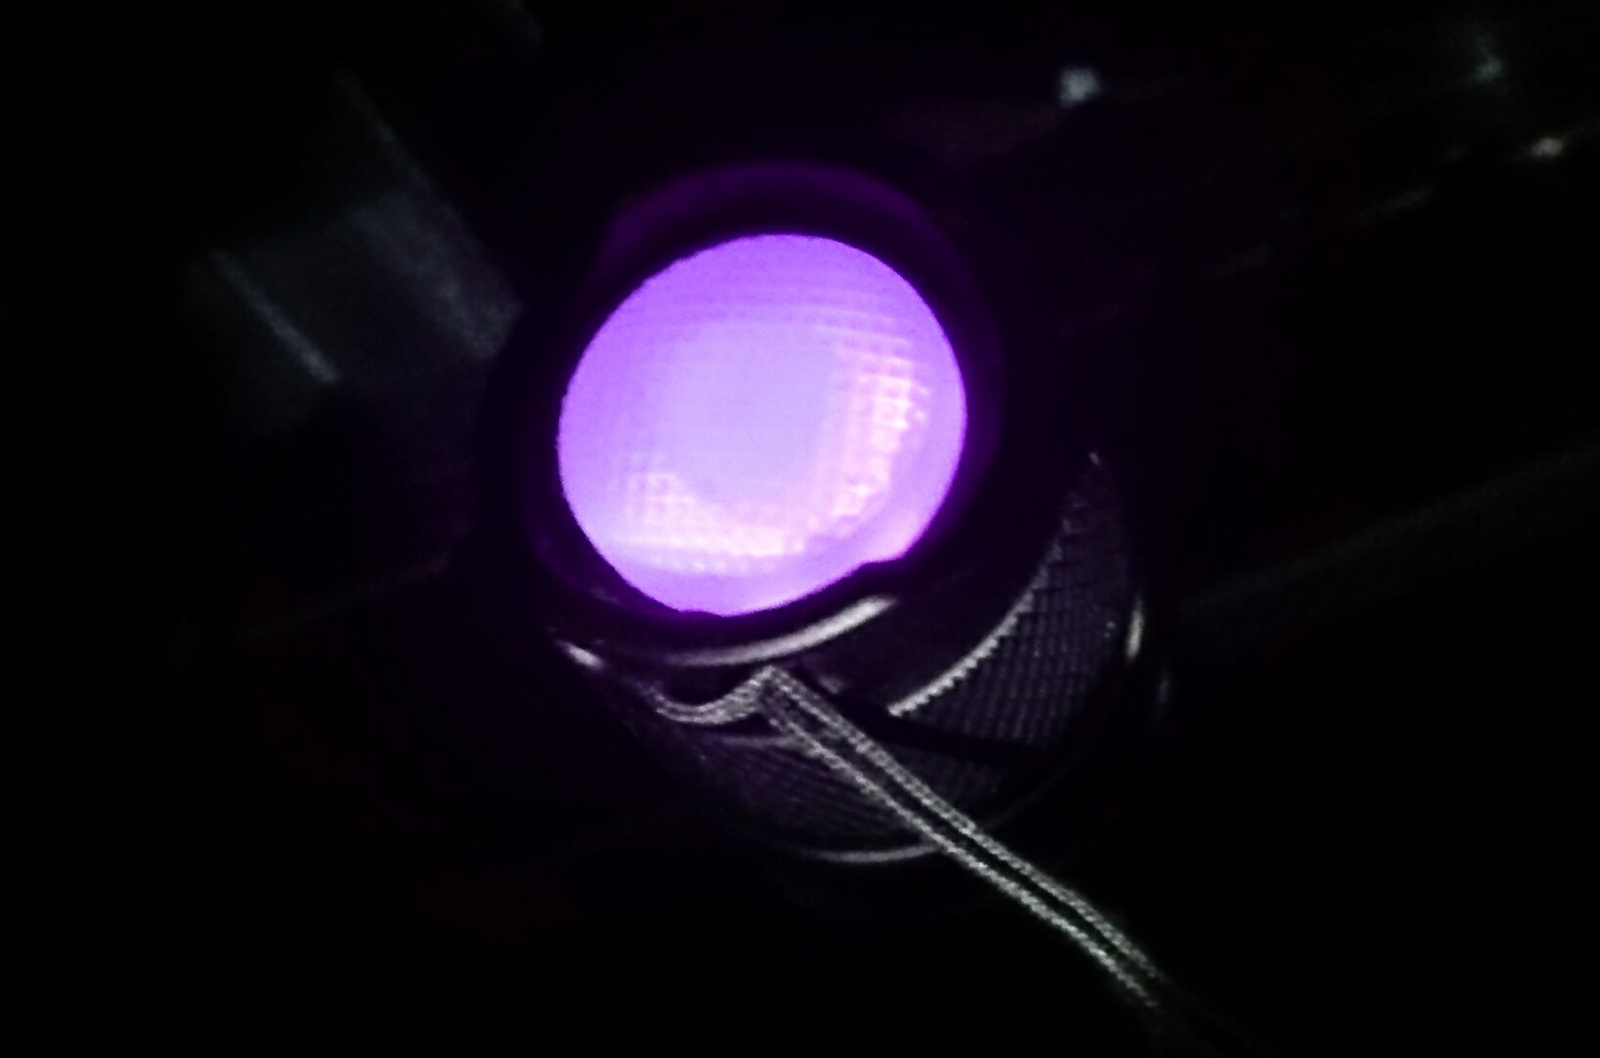
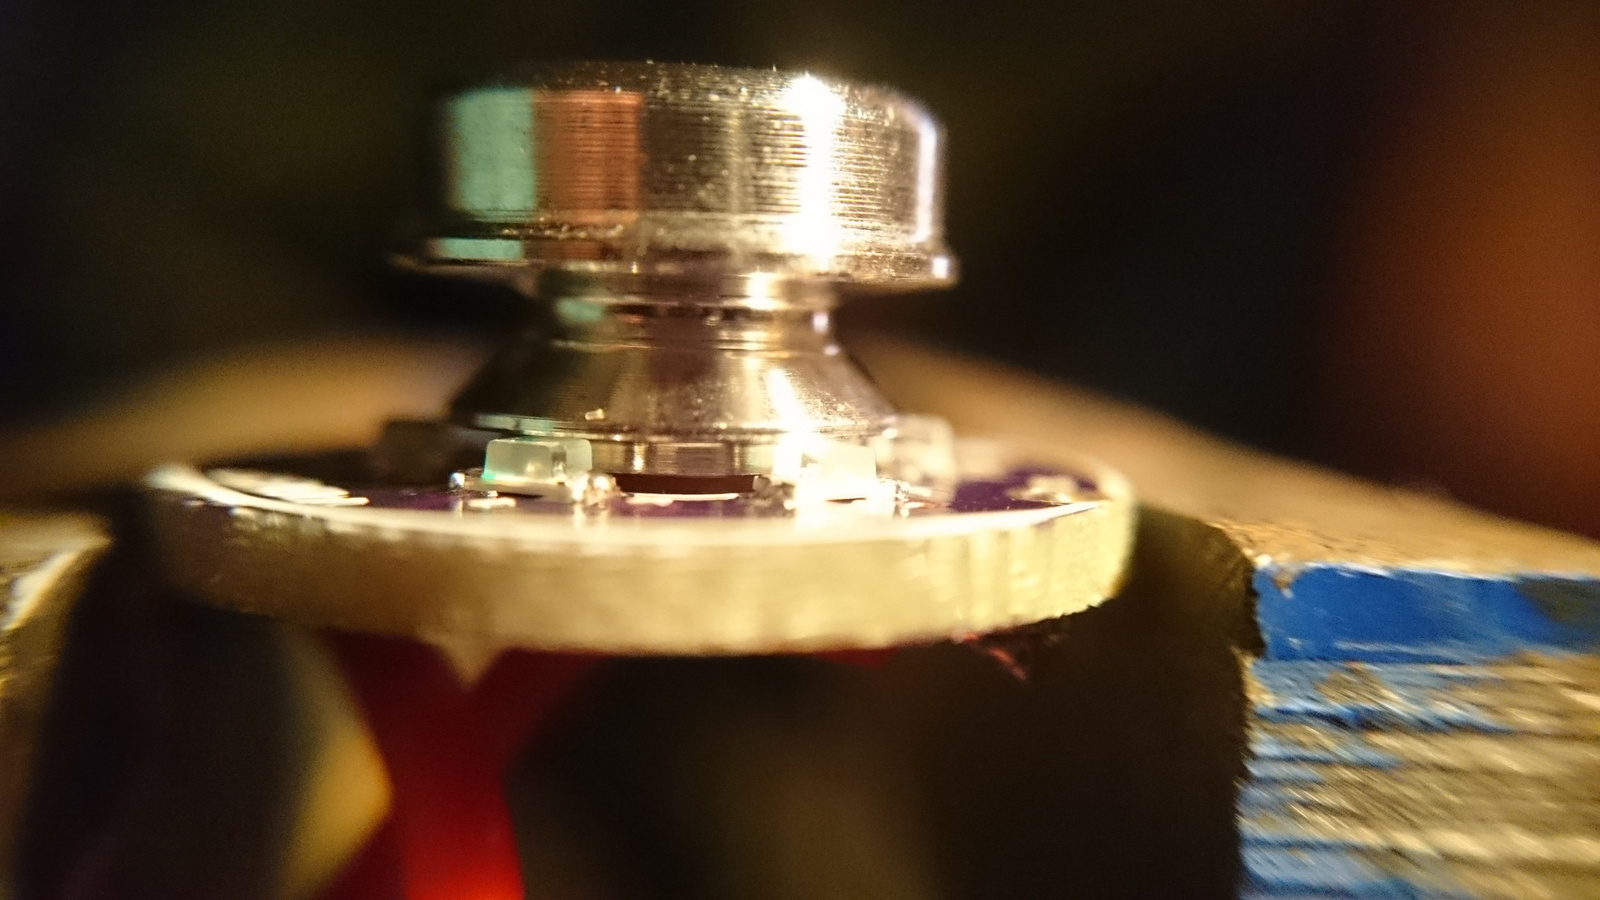
And a red S2+ got pink lighted tailcap. I managed to fit the 6 LED ring board. The problem was the metal button touched the LEDs top.
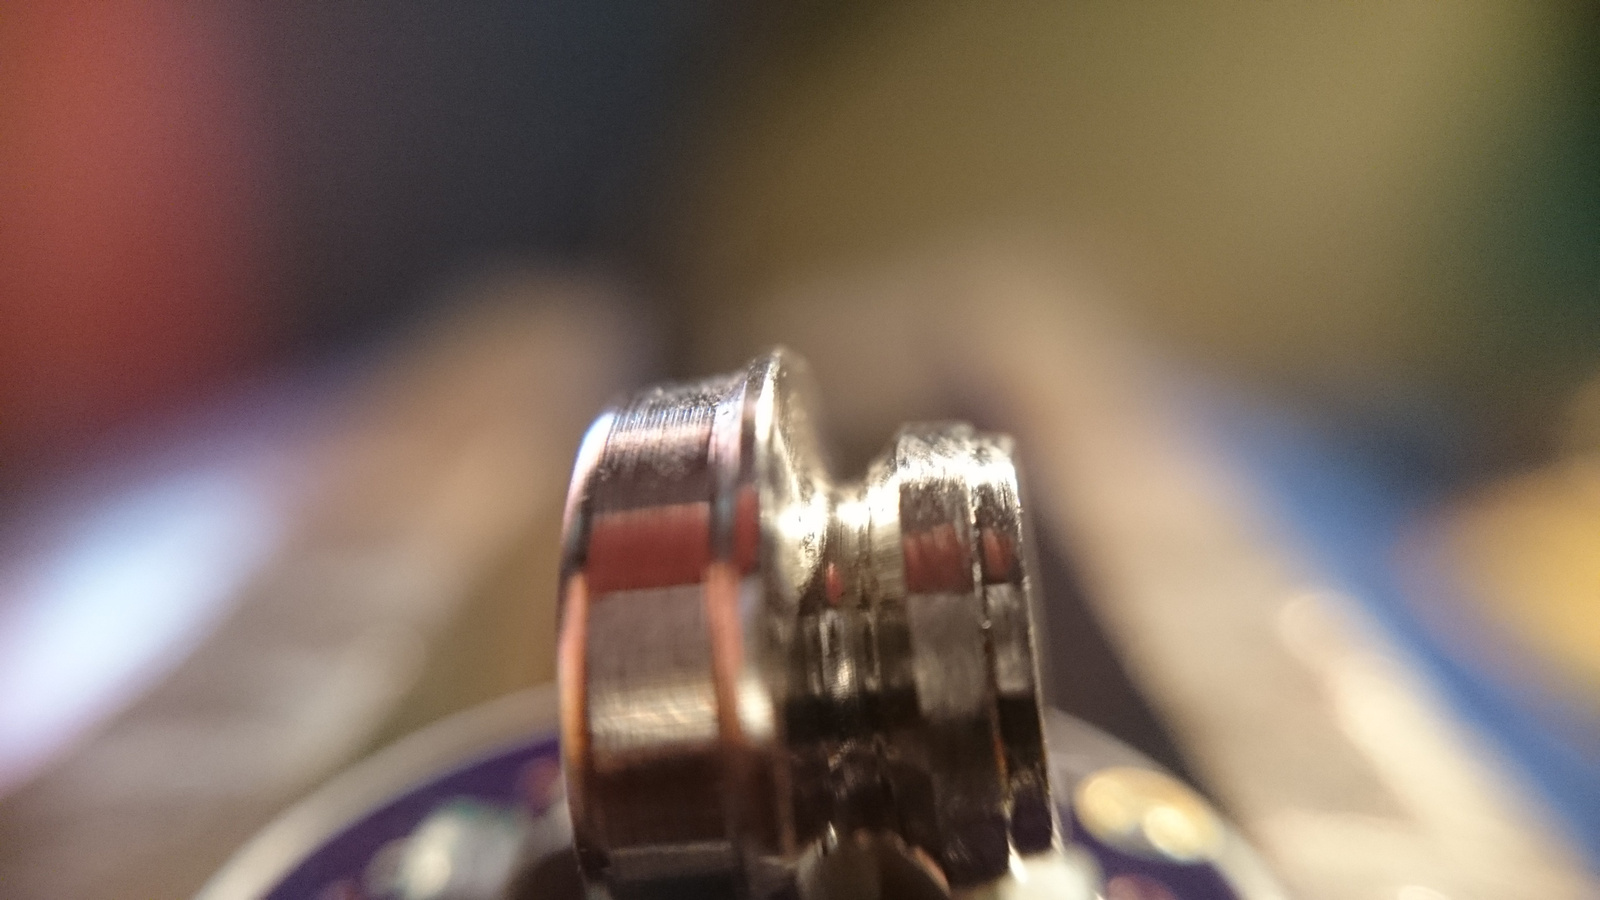
Grinded down the edge.
And it fits.
Next to the Clear S2+
All done.
Thanks. I think it’s nice too. Also the green looks nice. More green in real life. Only the clear is mine. The other two is made by request. I also replaced the led board in the Clear to a PD68 design 6 led version. closer to the top so more light can come out.
I pried the bezel out. I think the first tool I used was a razor knife, followed by small screwdrivers. The flashlight was already nonfunctional, but the lens and bezel were not damaged in this process and can be reinstalled. It might impact waterproofing some.
How difficult is it to install a lighted tailcap for a convoy s2 with a qlite driver from mtnelectronics? MY SKILLS are limited to soldering the wires to a mcpcb. Also Where do you get the hardware from? Thanks!
If you using original qlite firmware with 3/5 modes you can buy the astrolux lighted tailcap switch board from banggood and a white silicone tailcap rubber. Then if your flashlight is older you find an aluminum spacer between switch and rubber button. You can drill a lot hole in it to give a path for the light or you can replace some clear acrilyc washer. No need any soldaring work. Just unscrew the switch retaining ring and replace the internals. The retaining ring is left threaded.
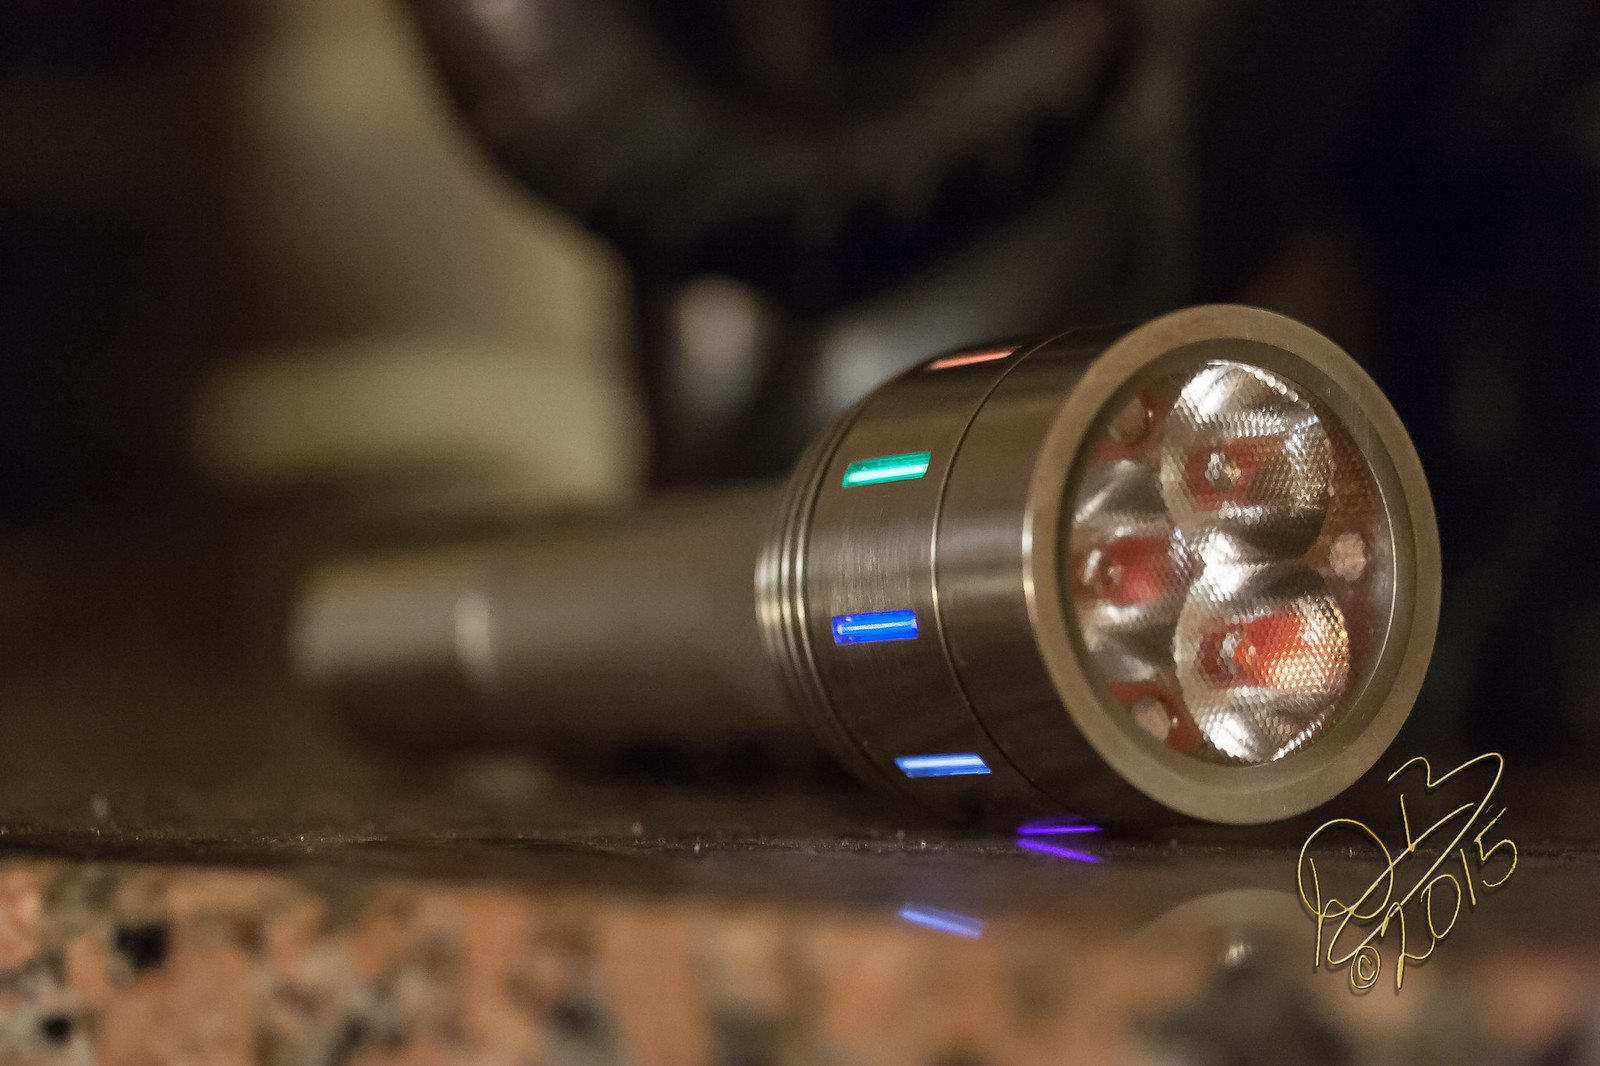
I rebuilt my Ti X6 from Rey with XHP-50.2 emitters and a Khatod optic. Even with 22ga leads it pulls 17.22A from the pair of Efest 18350’s for 10,661 lumens!
Edit:
This is the light, back when I first built it with the CUTE-3 optics…
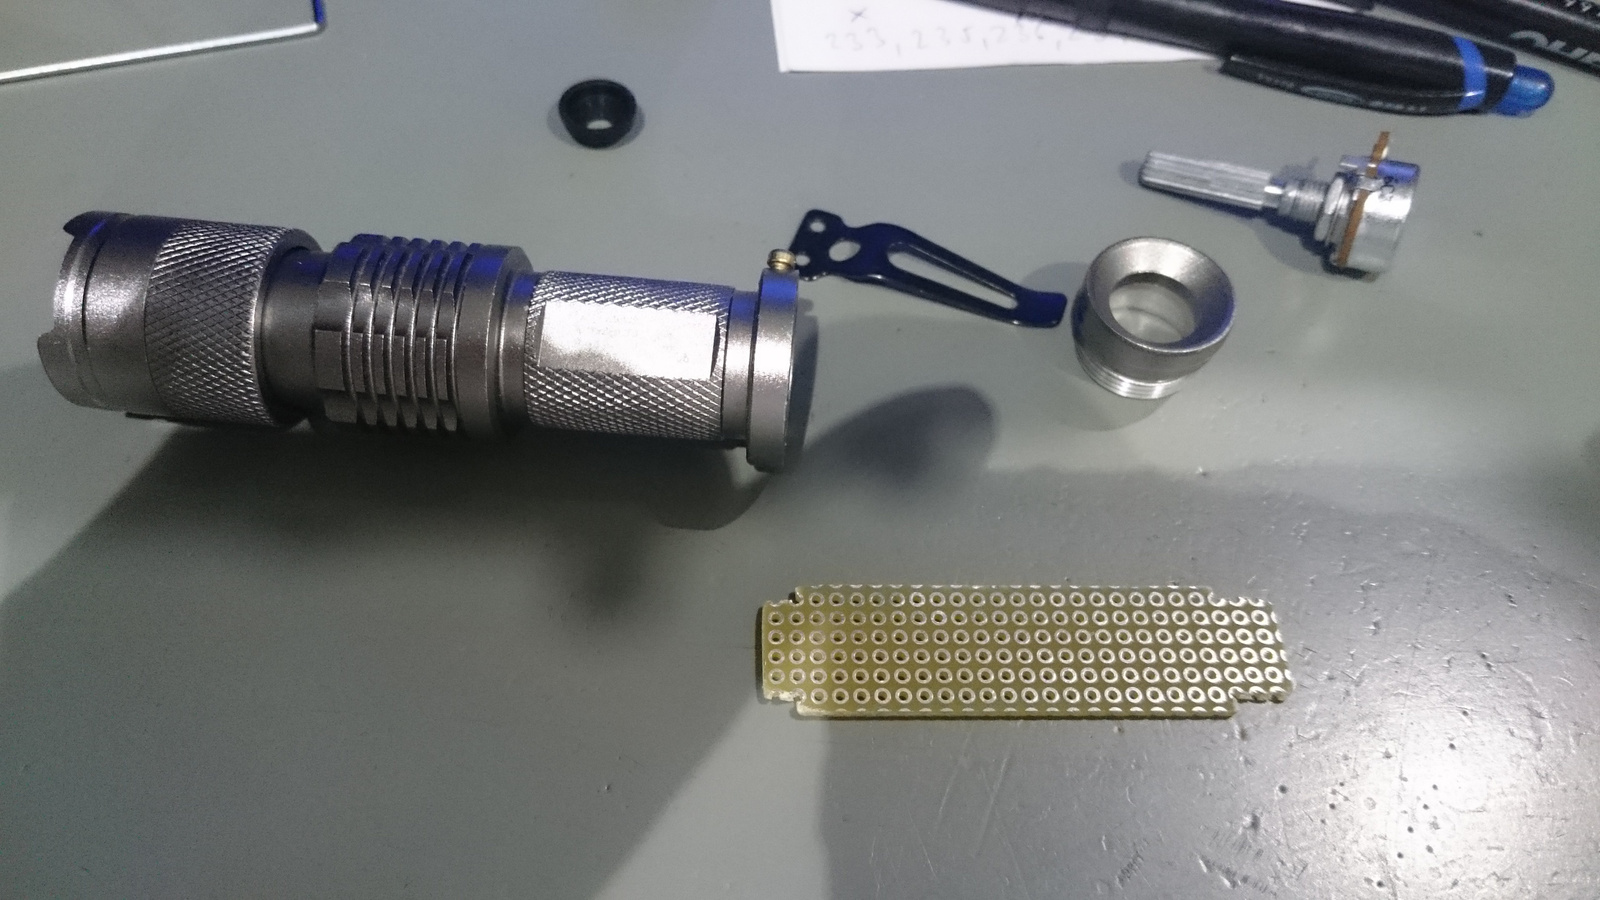
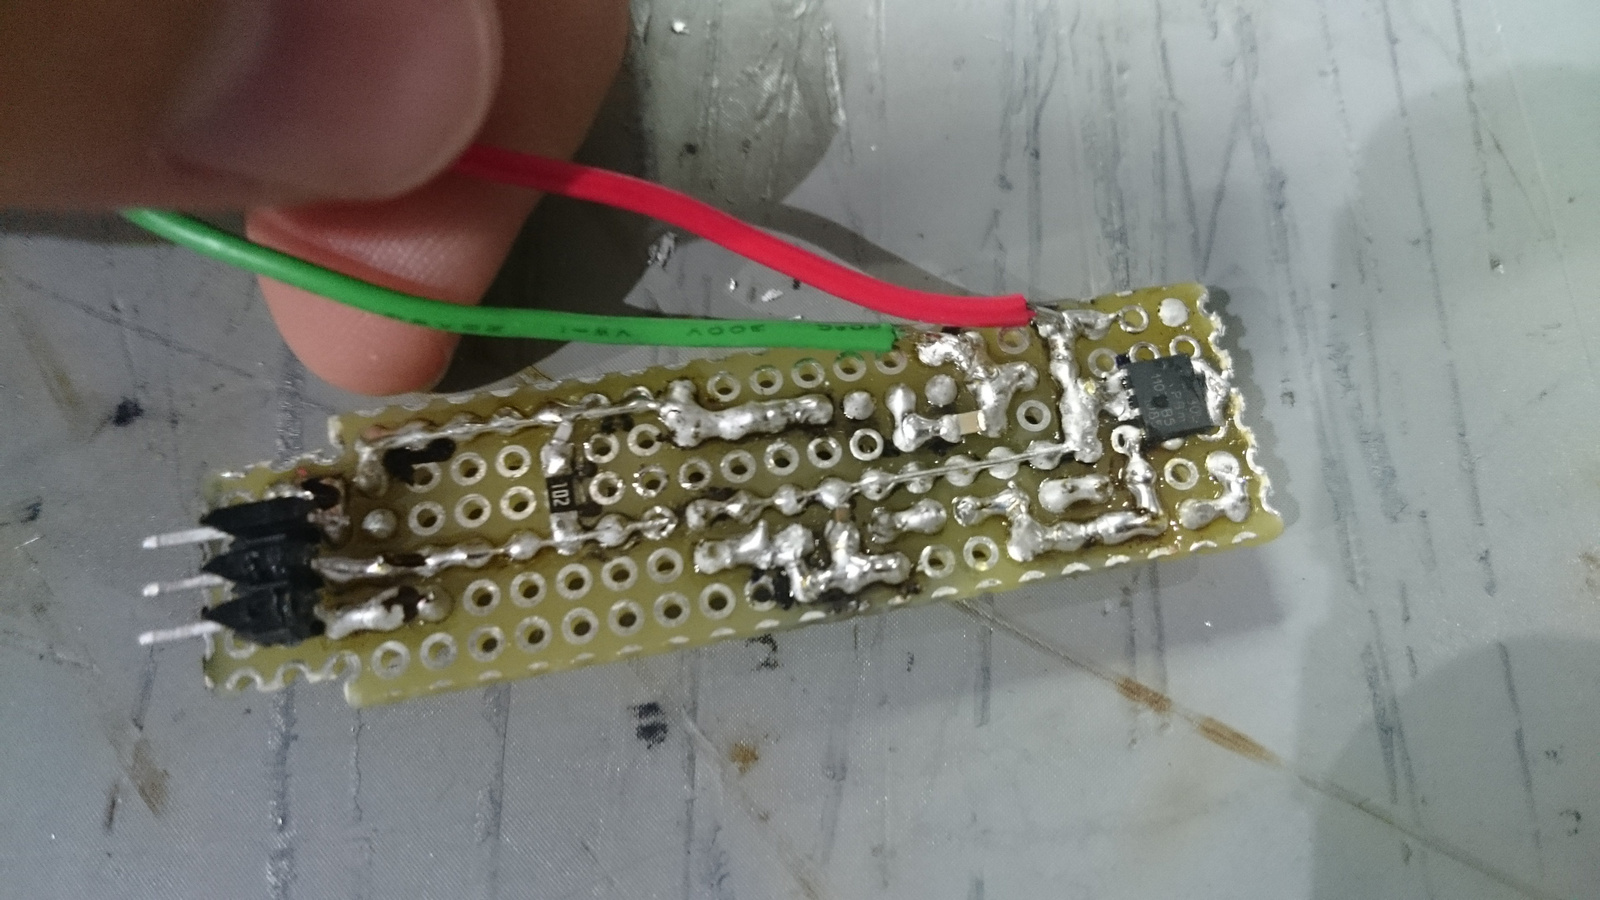
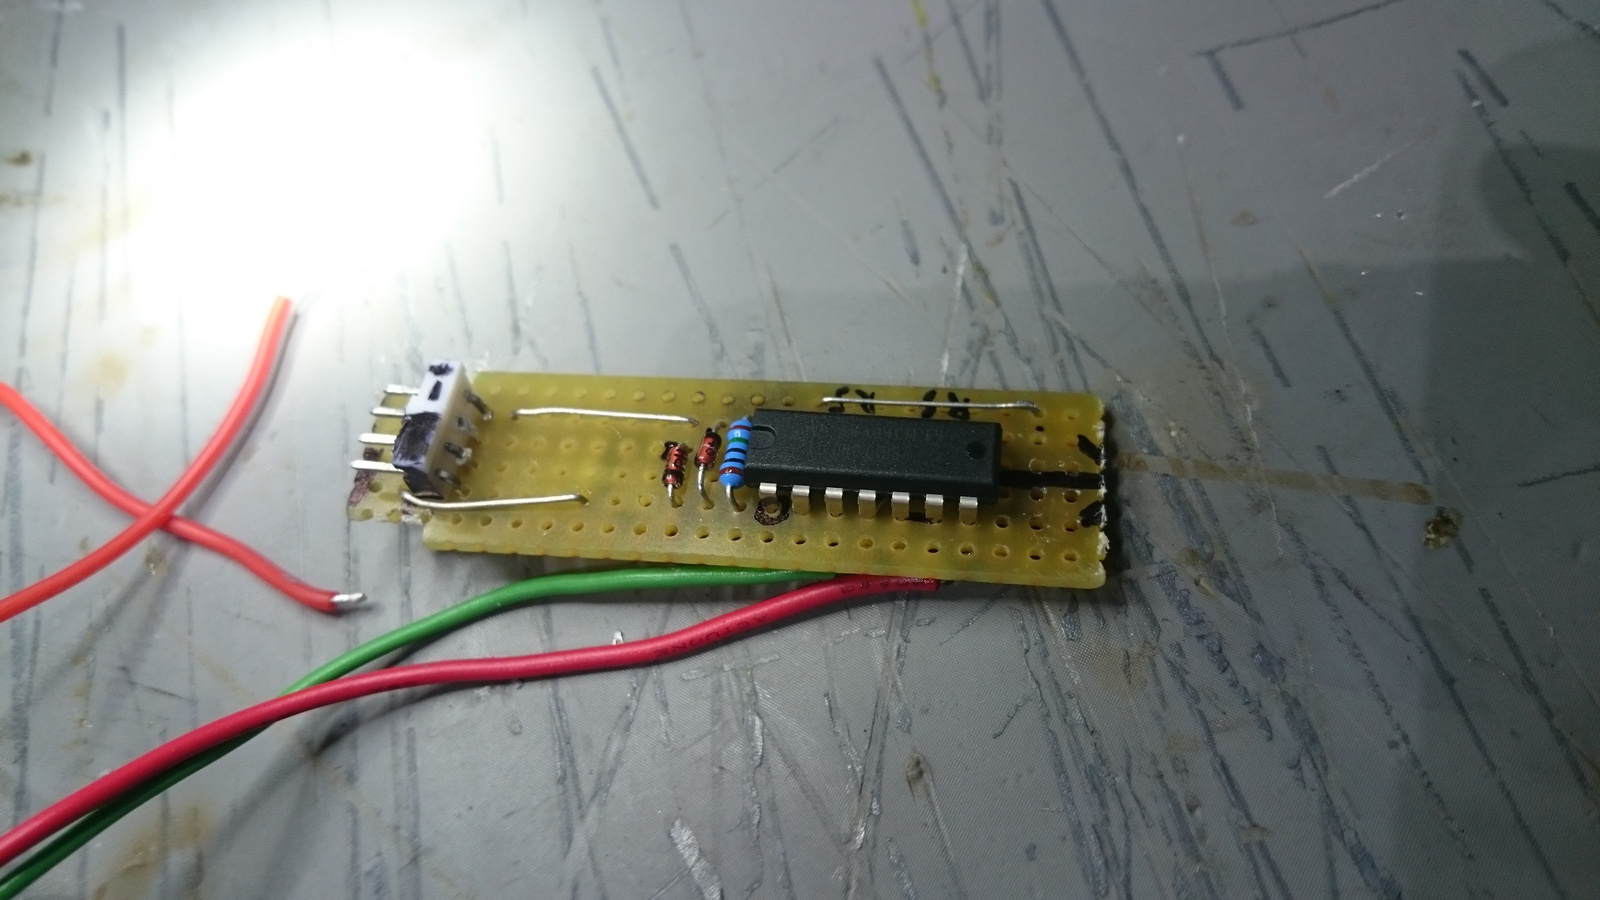
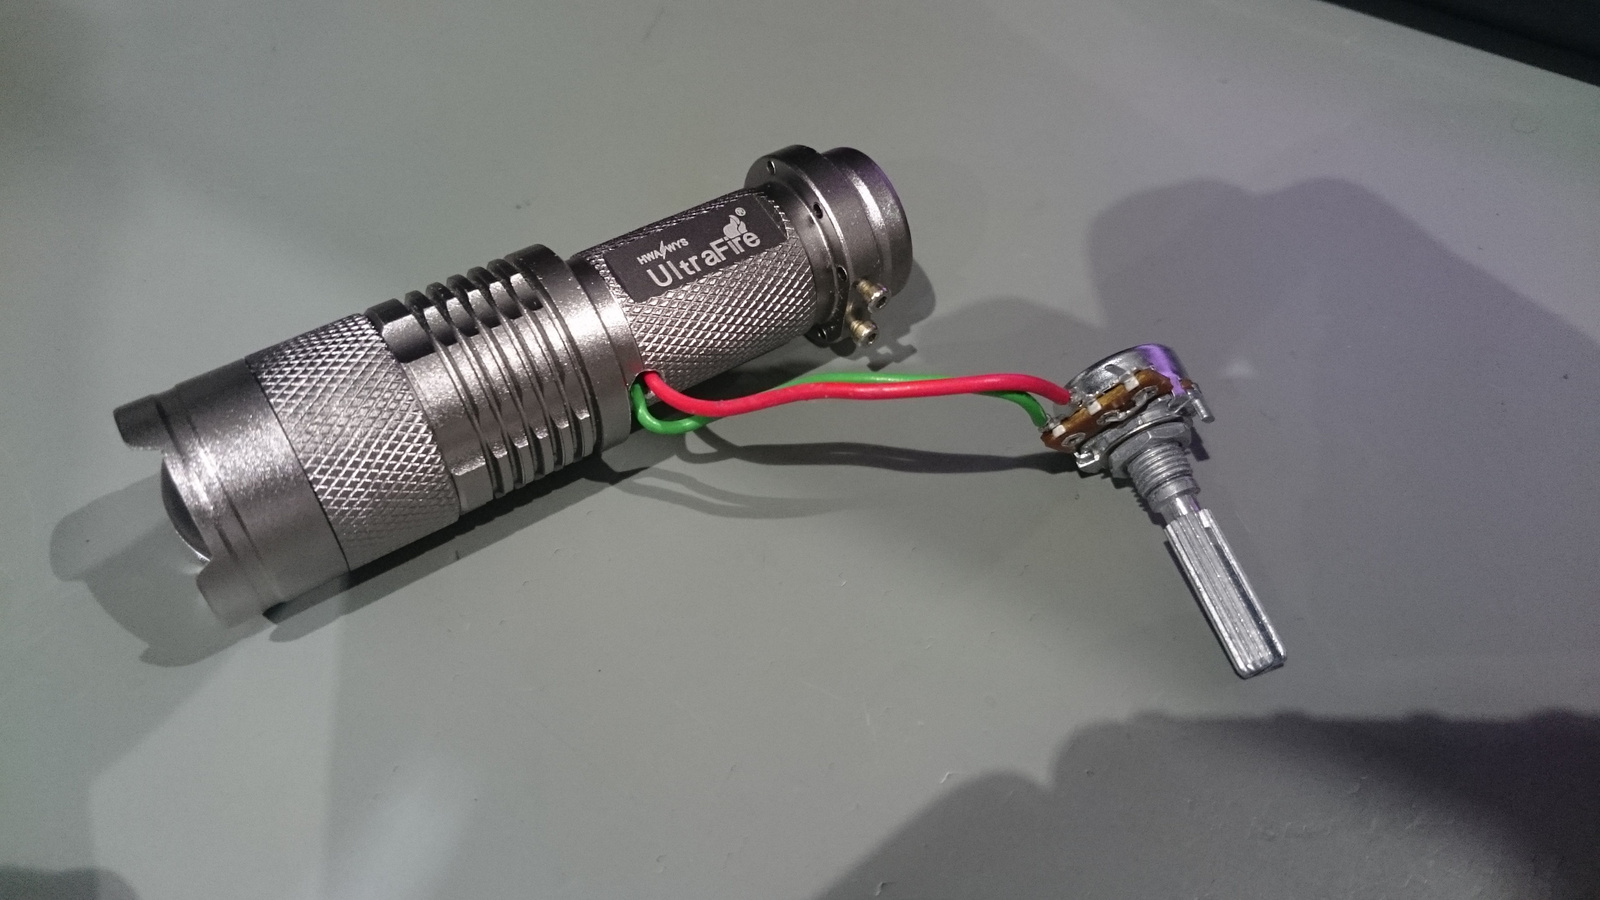
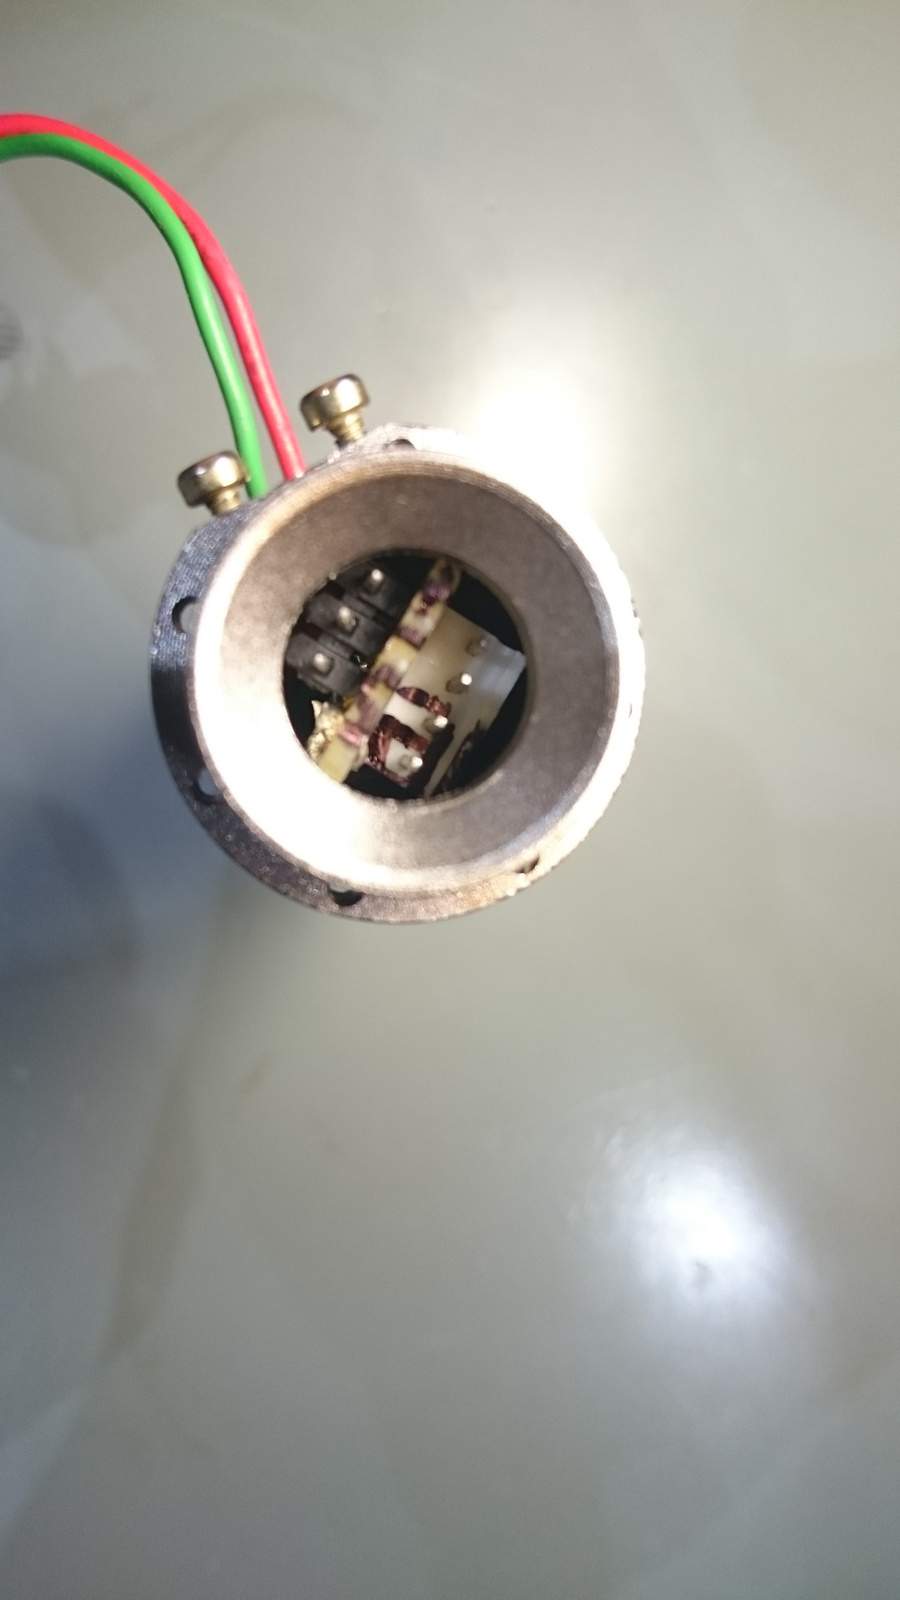
I made something half flashlight related and half car related. I had a faulty SK68 with died driver and led. I gutted the internals and added an old XML T6 LED, and made a circuit for using as an ignition setting strobe light for my car. The circuit in the battery tube. And the potmeter is used to set the flash time. Maybe if flashing enough at a very short setting I will replace it with a resistor. The black connector connecting to car battery, and one cable wrap around the cilynder one ignition cable.
Pretty much the ugliest soldering I have ever done