You could alter the charging hole to a reflash hole
@glide
someone wrote he changed the focus by 0.8mm
You could alter the charging hole to a reflash hole
@glide
someone wrote he changed the focus by 0.8mm
Thank you joechina.
I already assembled the flashlight but 0.8mm sounds about exact what I filed off the optic.
I can partly see what you did there, that looks like a fantastic modding job! (did I mention that I’m lazy? :party: )
Edit: I just read Toykeepers review of the D4, and my lazy me (plus unavailability of the many hours it will take to do the mod) will just wait for Hank to sell them, it has everything the S42 should have had without difficult modding :innocent:
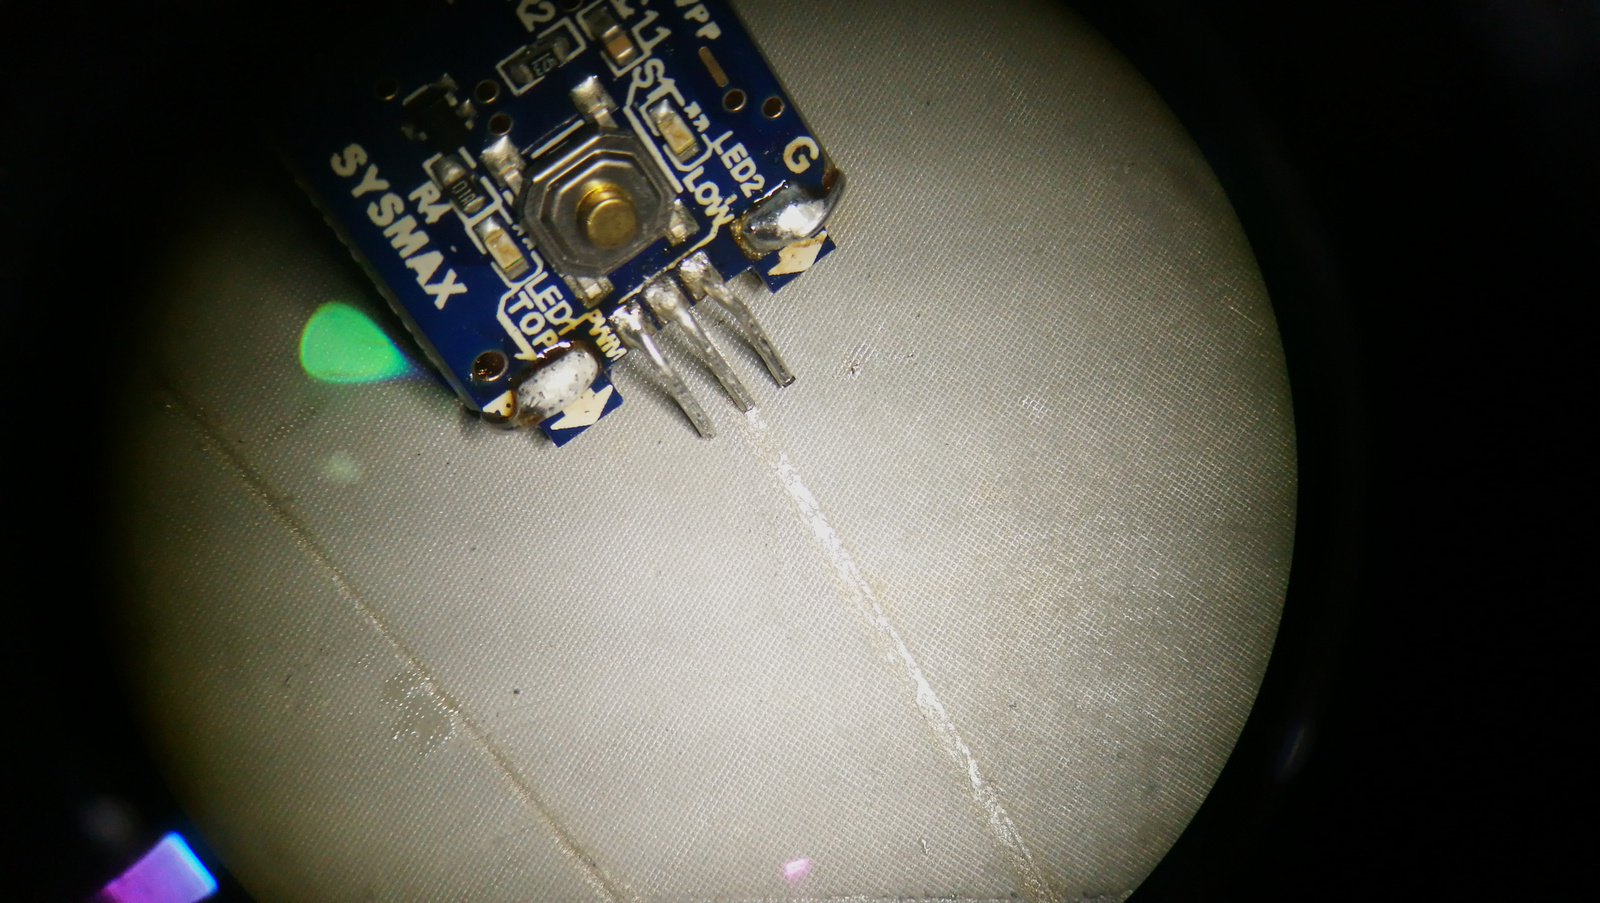
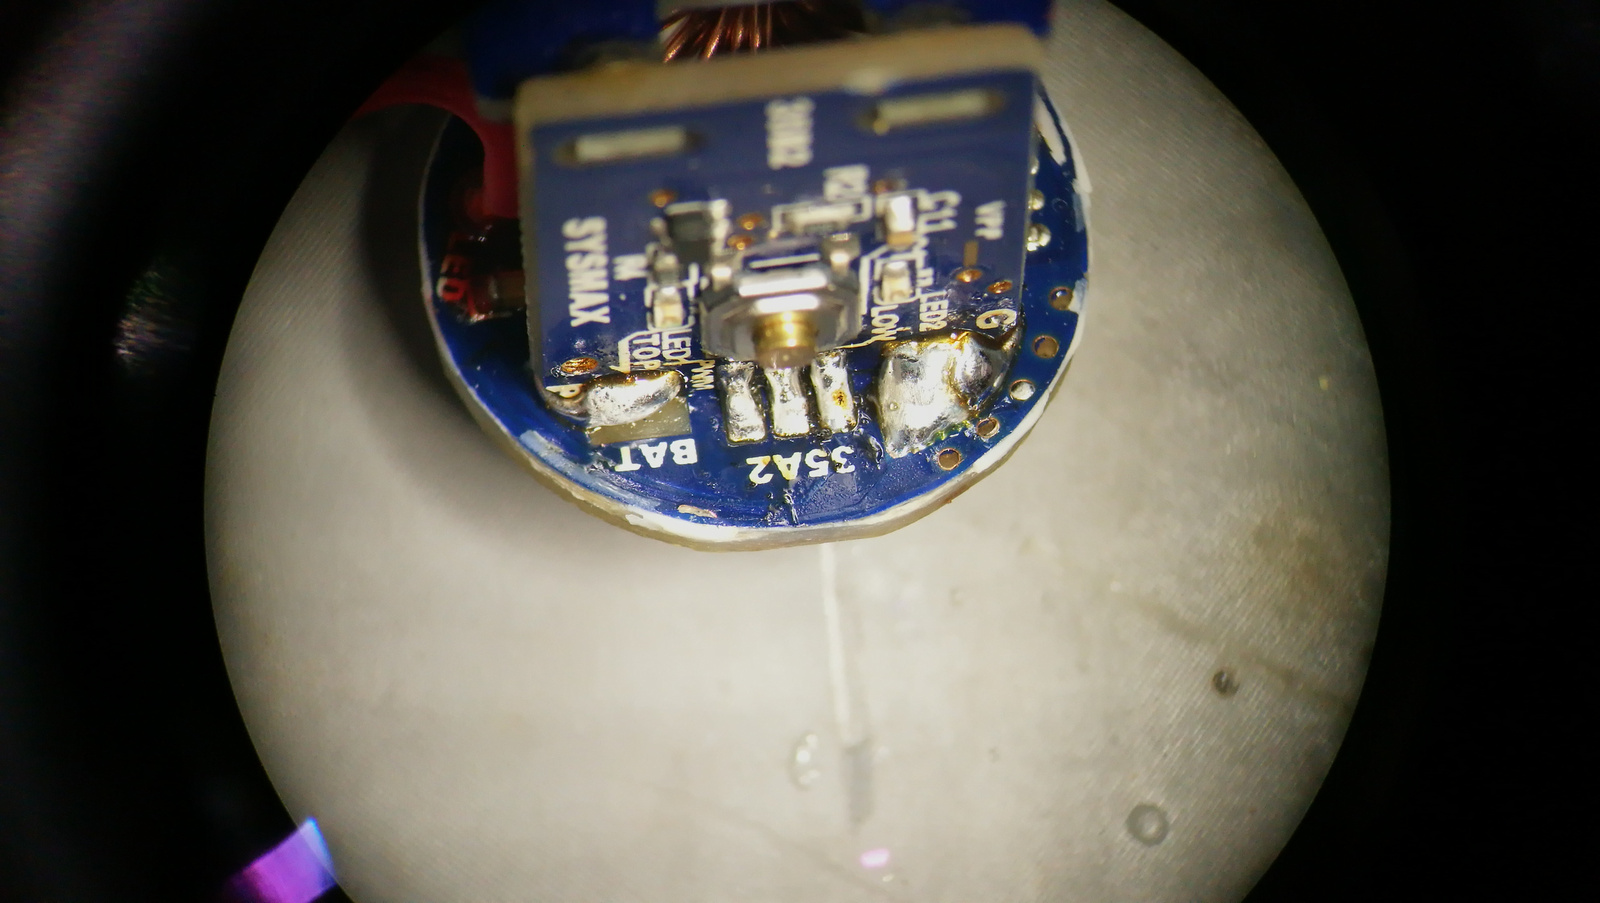
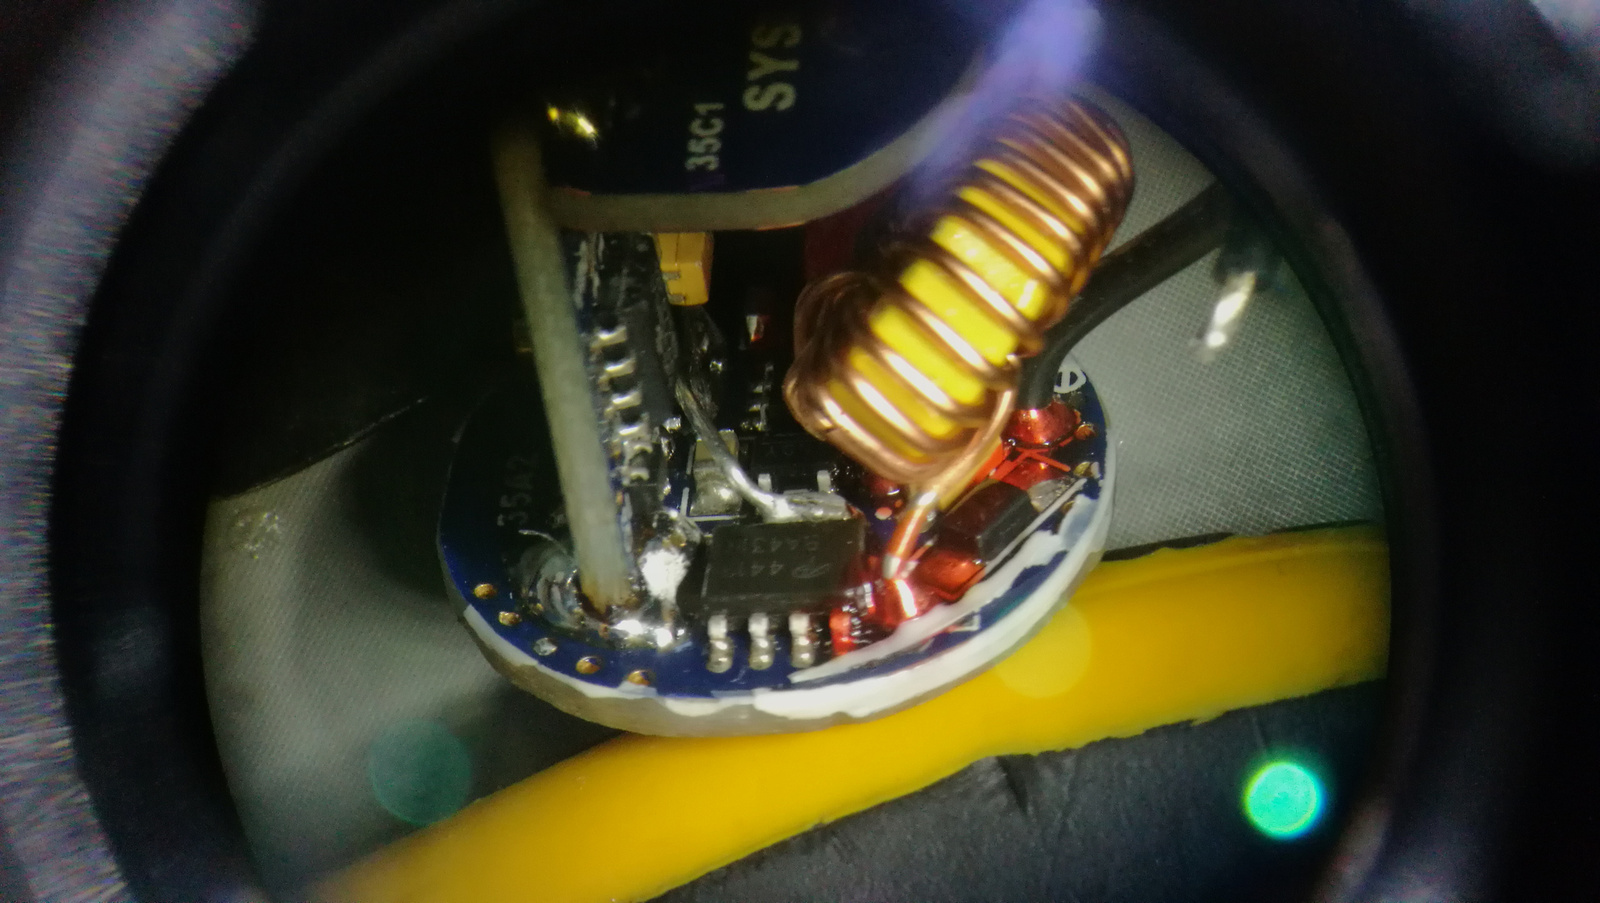
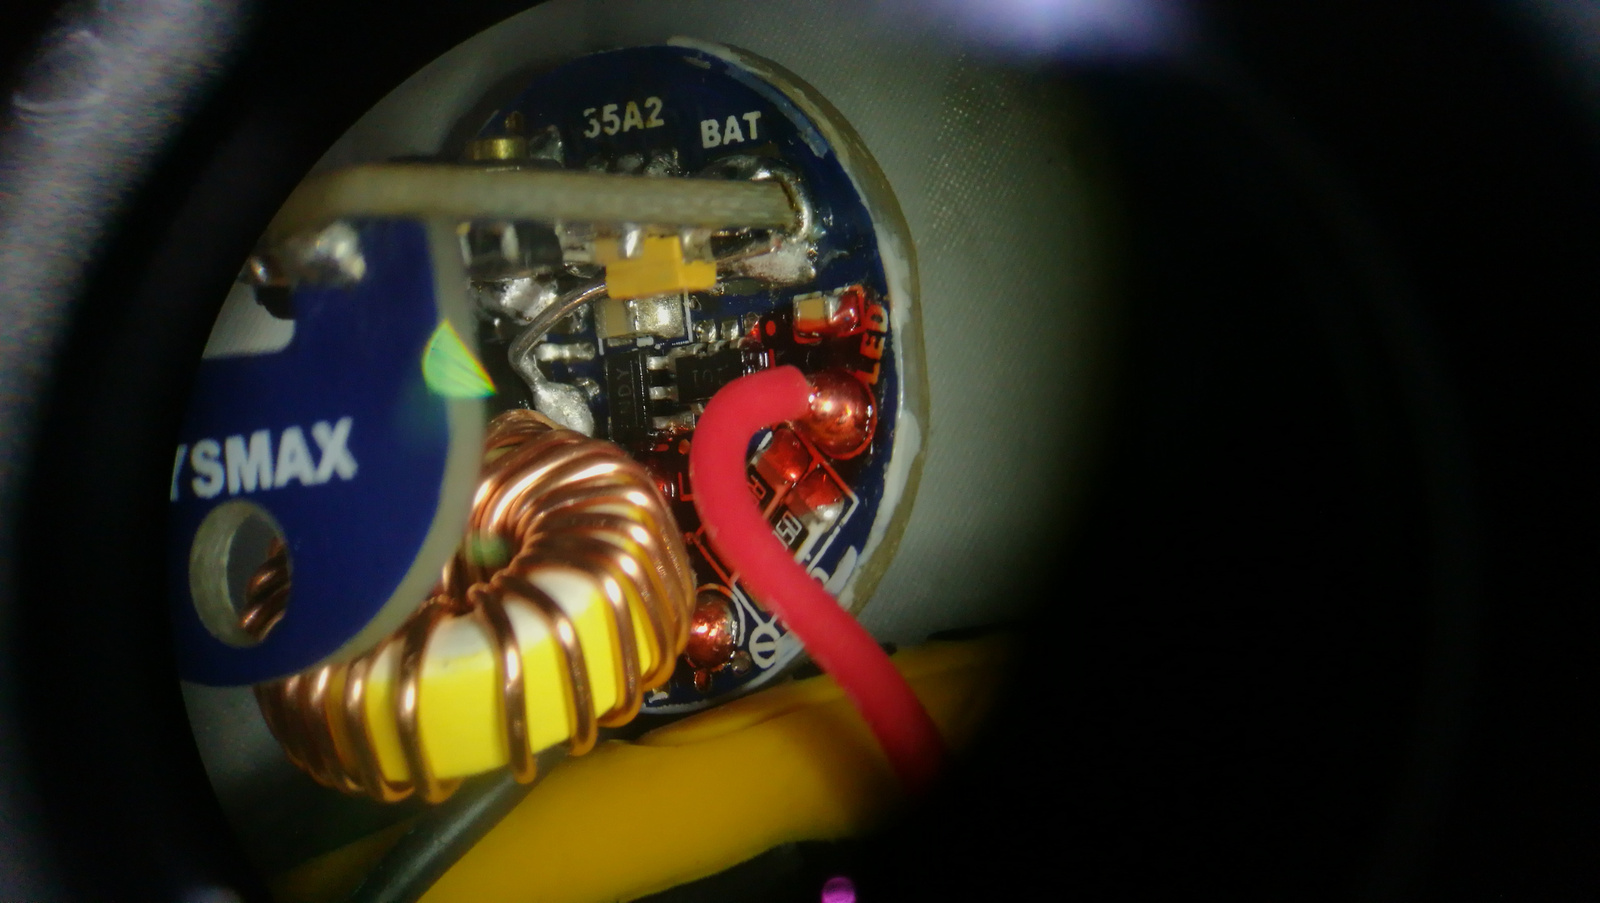
On my S42 i just wanted a simple ramping , so i made a fet driver with TK’s ramping .

It’s a little ugly too , pcb wasn’t cleaned at the time i took the photo ![]()
i filed about .8mm and it has improved the beem a lot! Optics seem to fit ok without adding anything. Glass tightens up against it fine and works good. Thank you again for the tip.
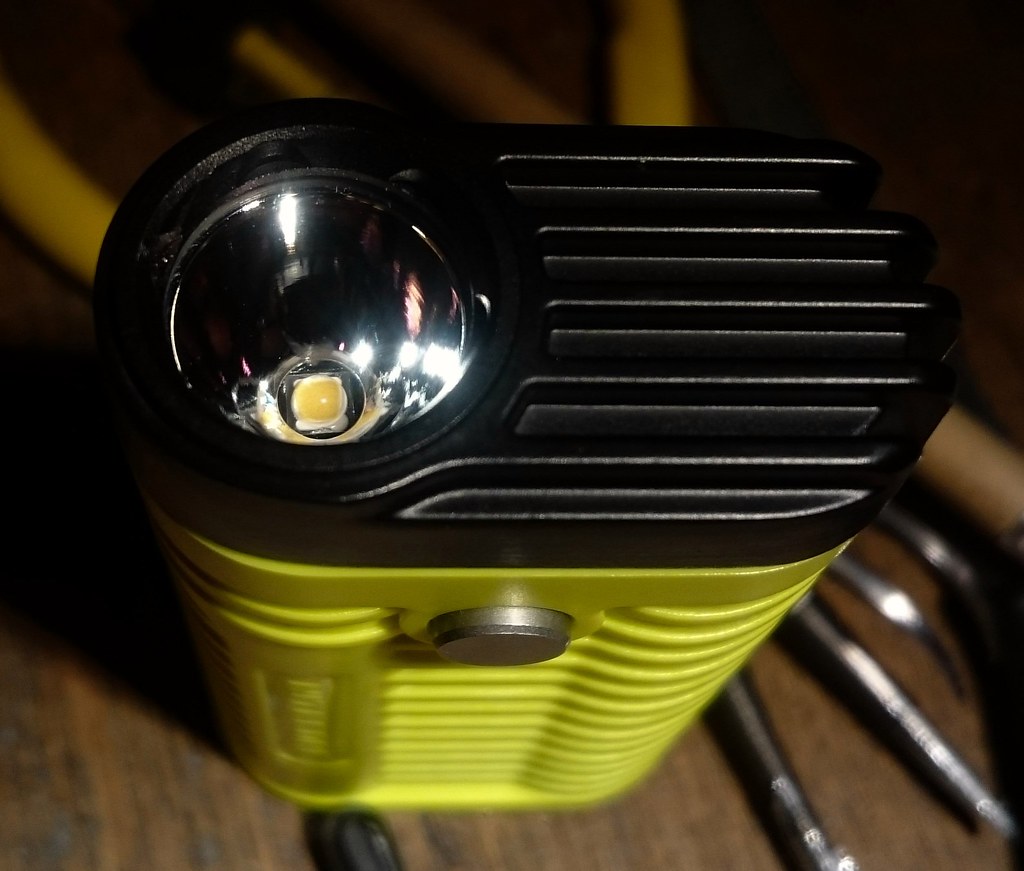
I could not resist… (SM353 R9050)
if you dont put anything between TIR and glass there is a gab and the tir can get loose
another option would be a tiny amont of glue to the TIR legs
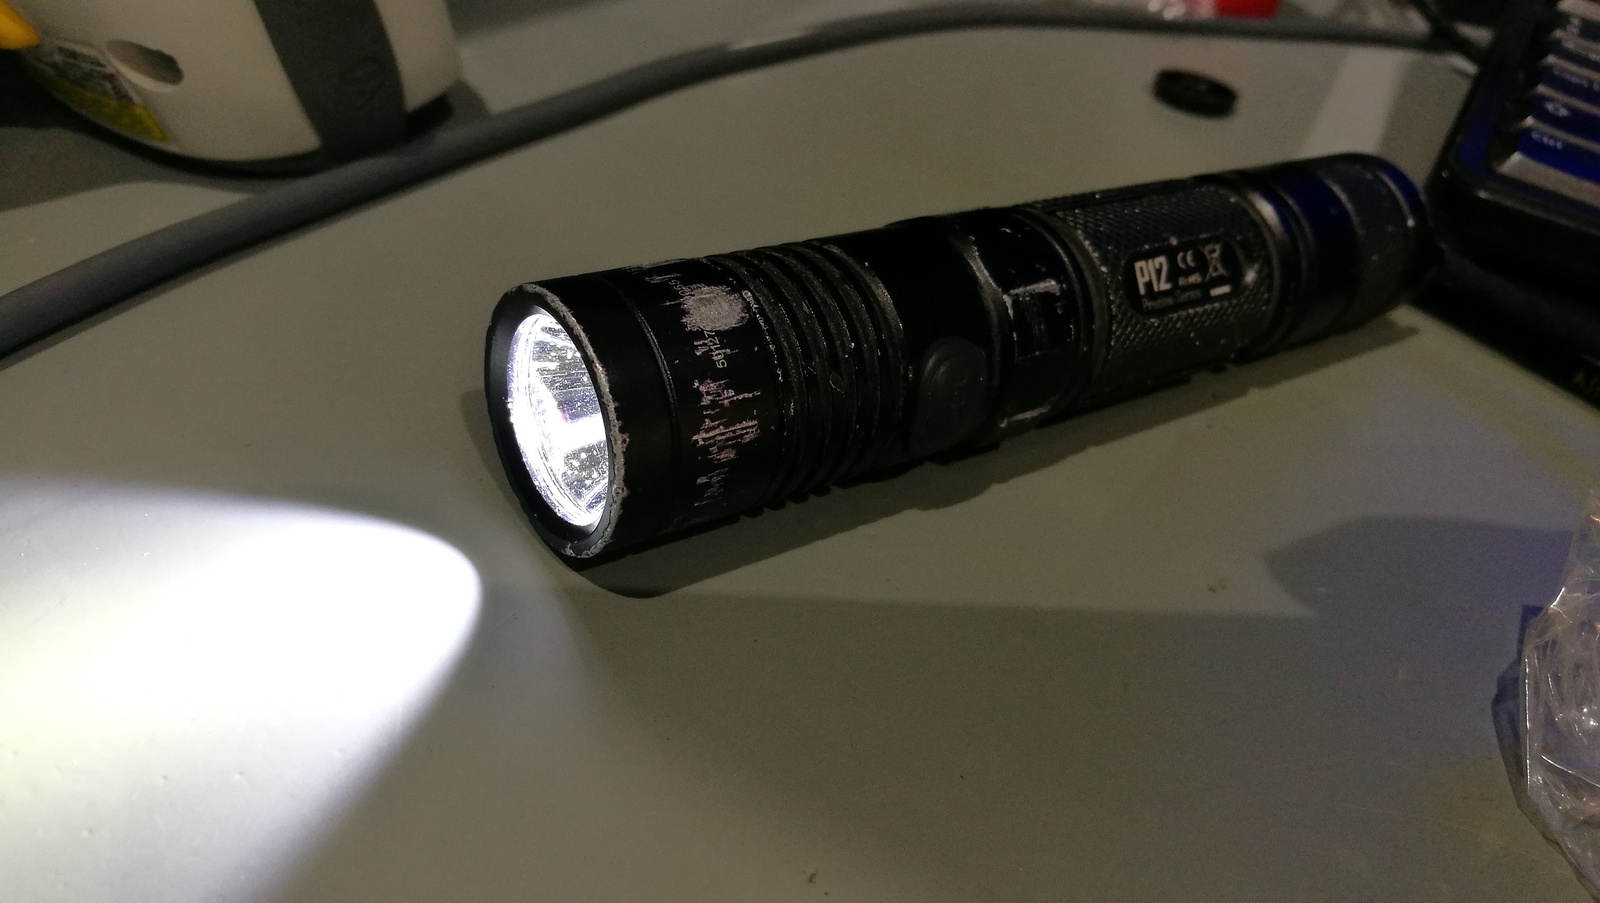
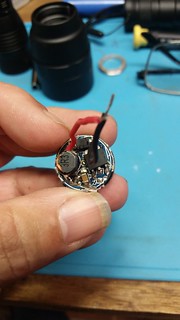
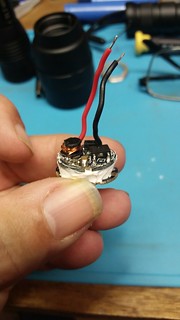
I got back the dead Nitecore P12 with lifted off solder pads on driver and it has a really hard life. The factory scraped it where they asked me to repair or do something with it. And I made for them a Convoy M1 as a replacement. So then I got the dead flashlight to keep it and do what I want with itbecause it was cheaper to them to buy an M1 then pay ma to repair hours of the dead light. And I don’t thought it will be reliable as new.
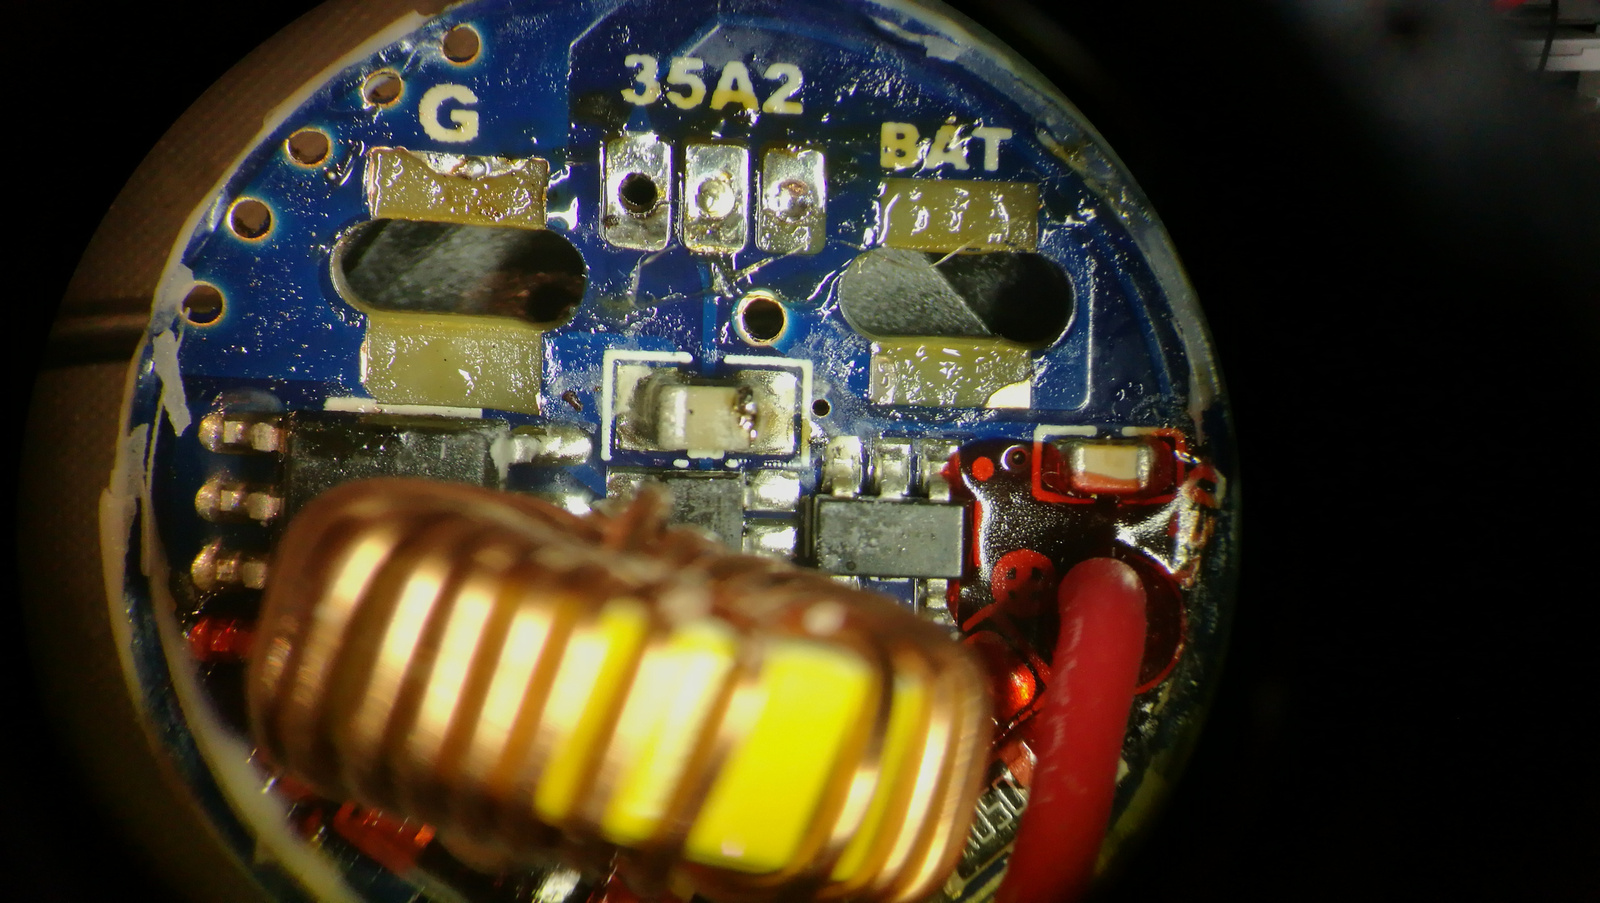
I scraped off some solder mask and put some wires in the vias of the other board to make the area bigger. And the center 3 solder joints also got 3 wires to be more stiff and not peel off the pads.
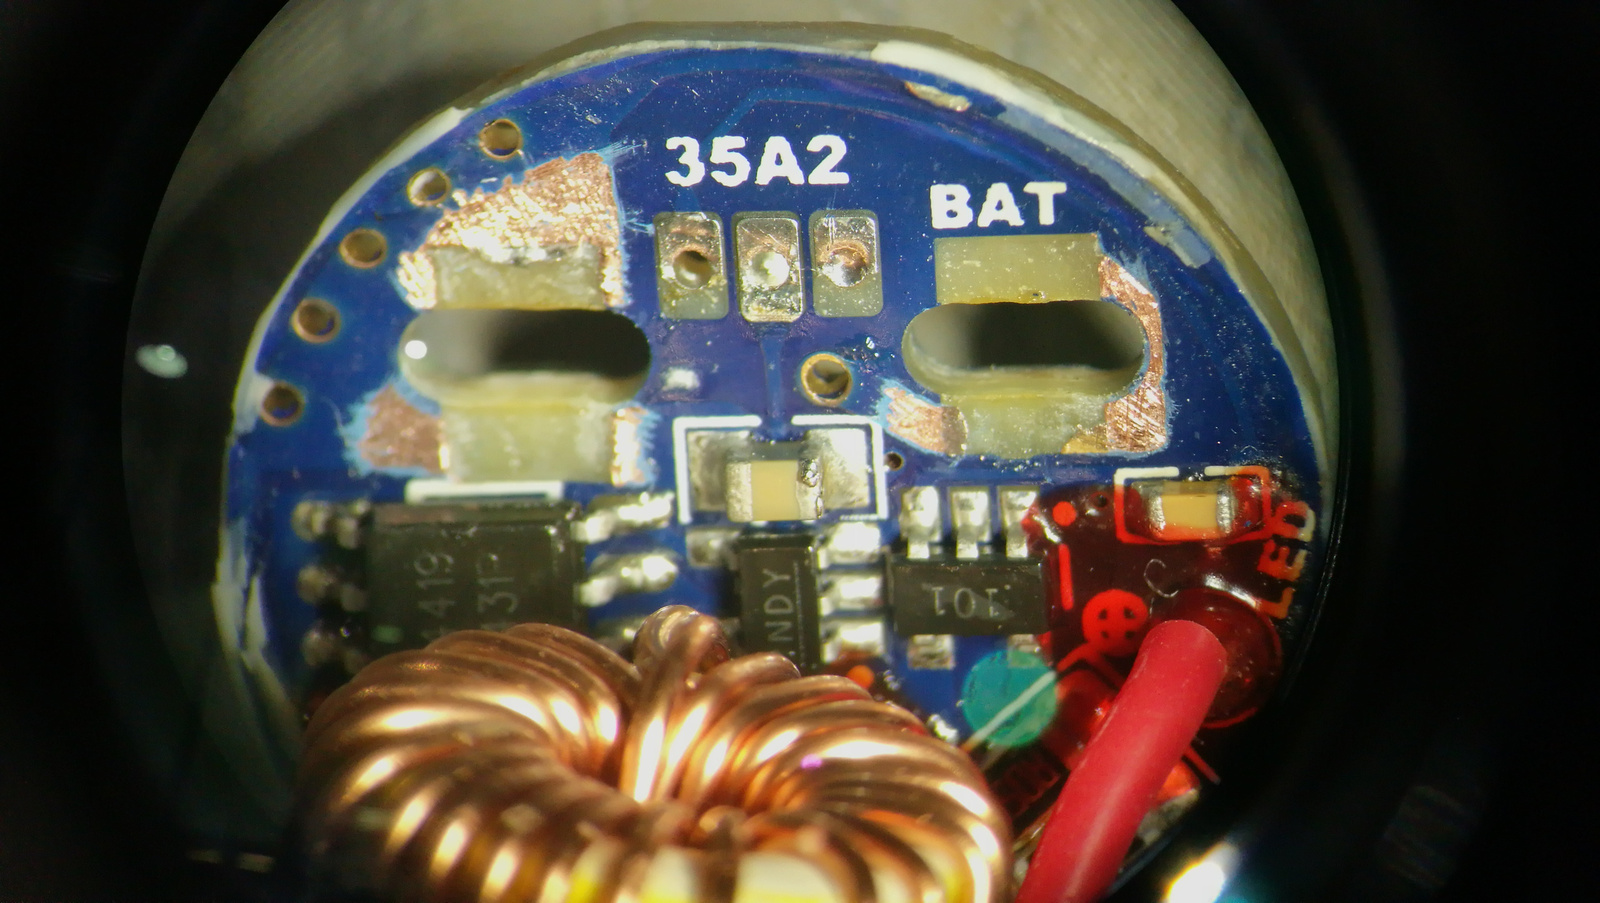
Because the positive trace was so thin to the switch pcb I added a from the IC legs to the switch board.
And it runs after 5-6 hours of figuring out how to solve it and repairing
But it looked awful so I decided to remove the anodising with drain cleaner.
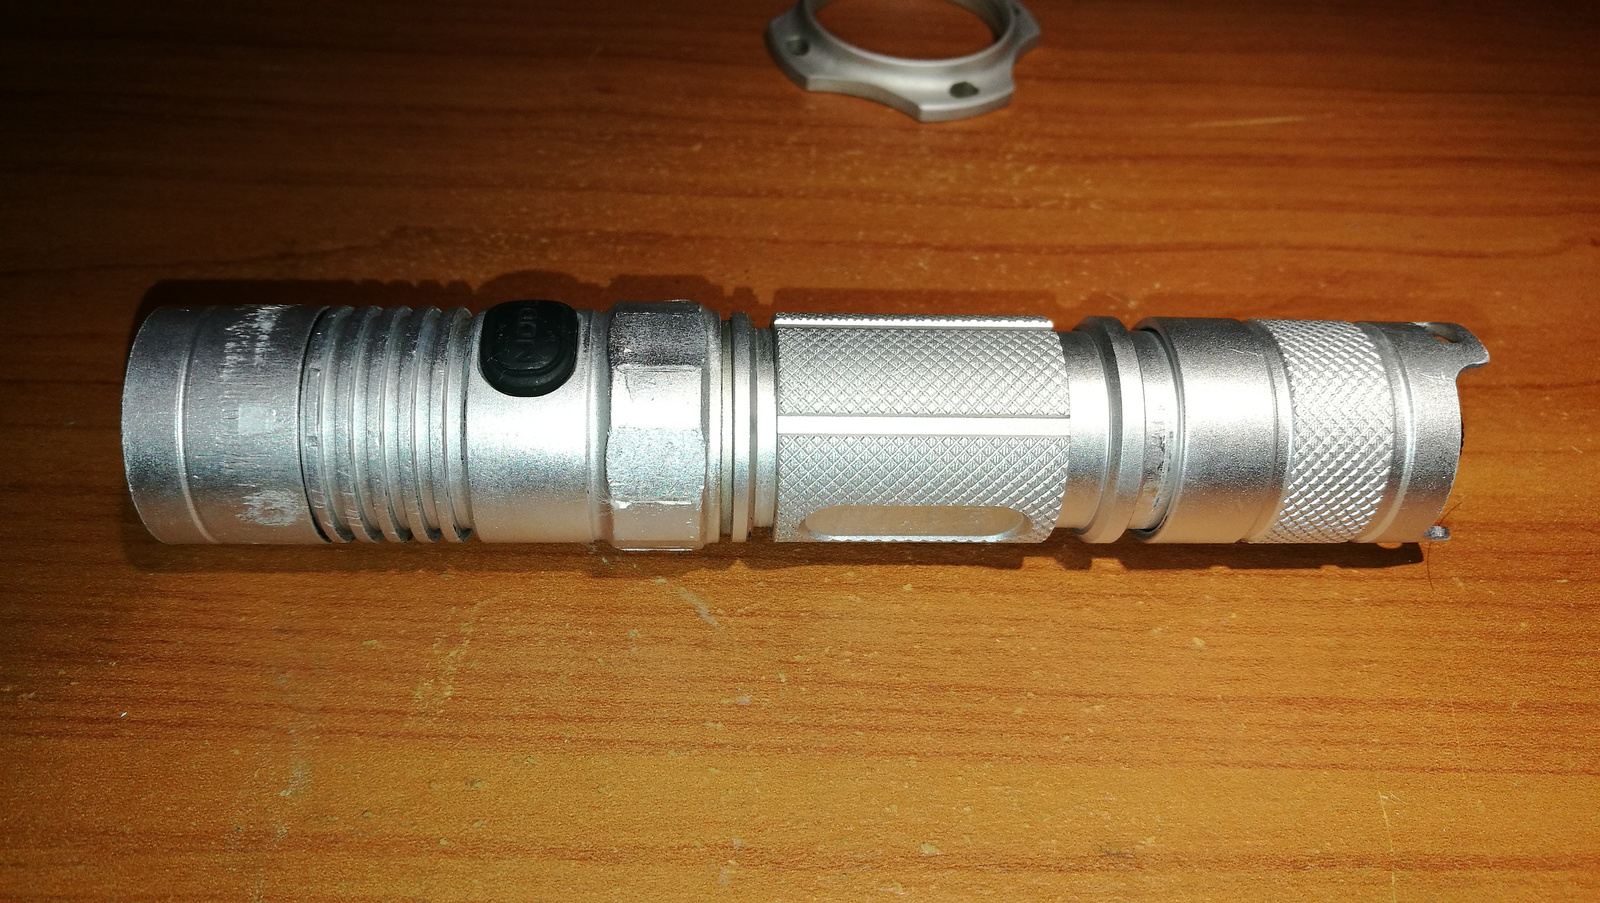
Still has anodising on threads so it can be lock with tailcap.
It came out good. This is my first ano stripping so I’m happy with it. It need a polishing and it will be nice.
A nice dedicated job Zozz!
6 hours of work on a single light sounds familiar and can indeed only be justified as hobby. ![]()
Thank you! It really Is. I needed to buy a bigger flashlight part sorting storage box because I have too many leds, drivers and lighted tailcap stuffs around.
How’s the beam?
I thought you said that the CW tint was going well with the color of the body? ![]()
:person_facepalming: I did say that, and then yesterday evening I had the URGE to do a quick mod.
Btw, the bezel is not glued but easy to scratch (I wrapped some tape around the tips of round-pointed pliers to open the bezel but that did not prevent all scratches, a slight touch-up with a black marker was needed).
The result is that the tint stopped matching the colour but the light is way more usable, I will enjoy it more. The beam is great, Nitecore makes good reflectors and 219C leds behave well.

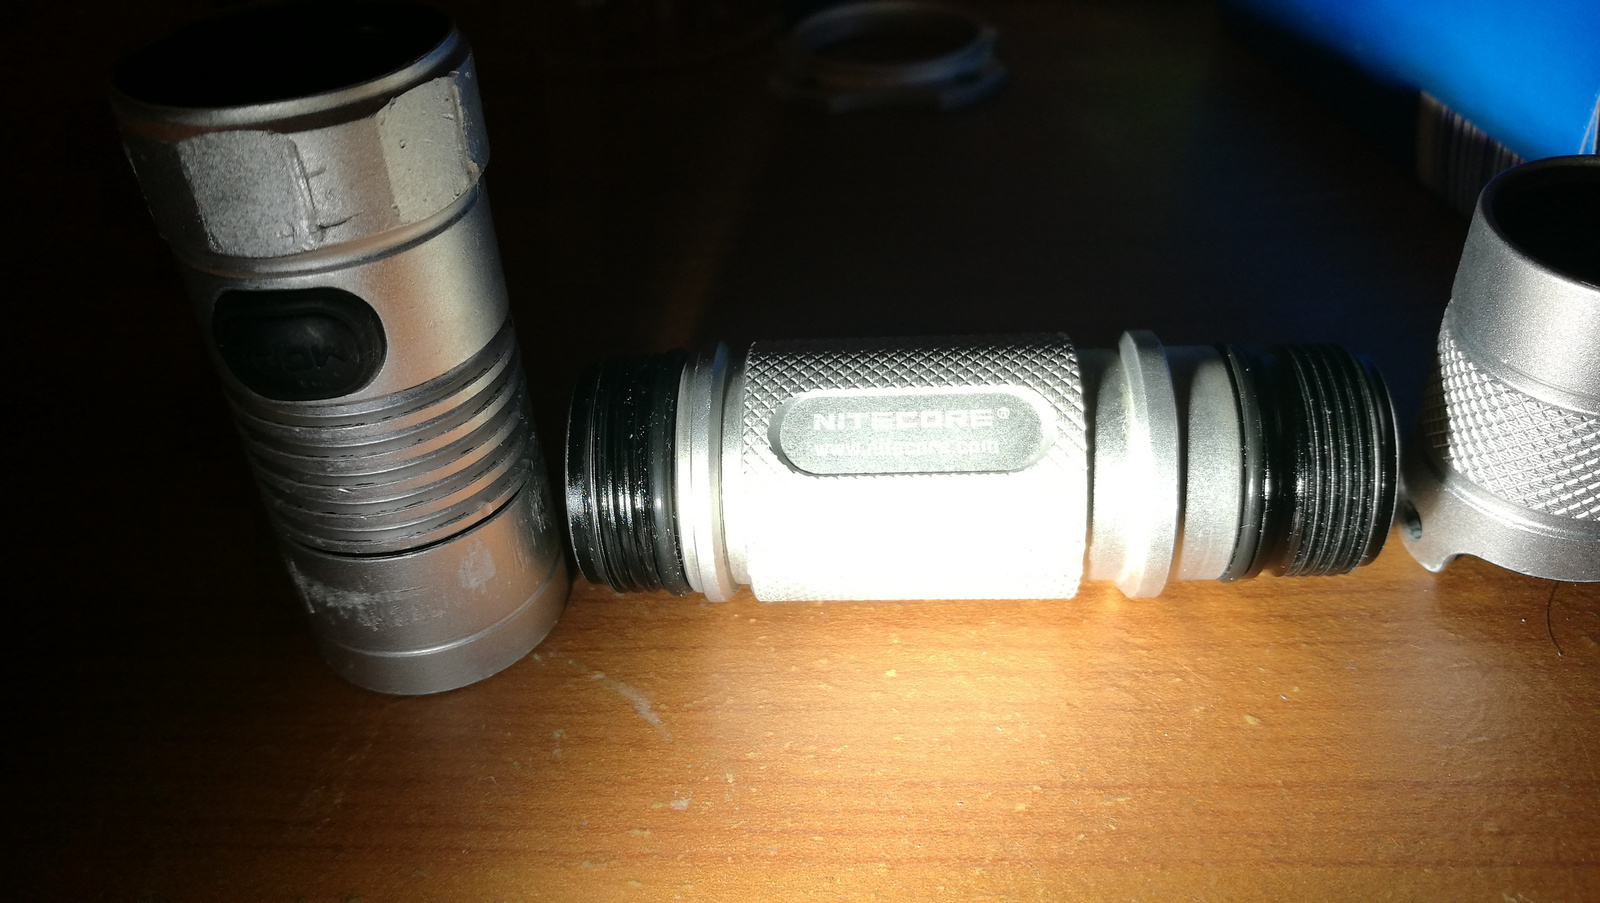
And on it goes! I’m pretty happy atm because I was recently allowed to buy these two stacked small chests of drawers (from ikea btw) for storing flashlight stuff. ![]()

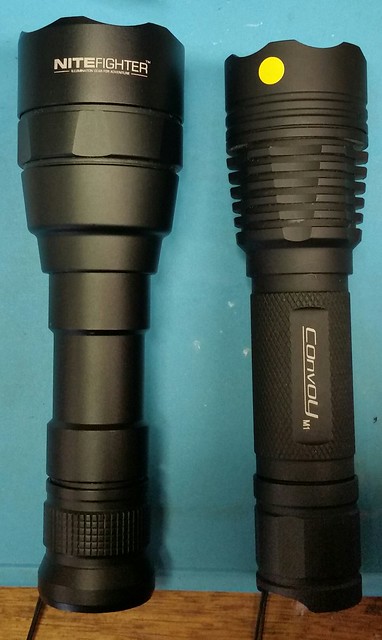
Finally got my first MT-G2 built, used the wonderful Convoy M1 and a FET driver. I would have liked a regulated driver but did not have anything 2S on hand.
Also got a NiteFighter host and turned it into a mini thrower with an XHP-50.2.
Driver from an old BLF Super Shocker, I have been told. 3 modes.
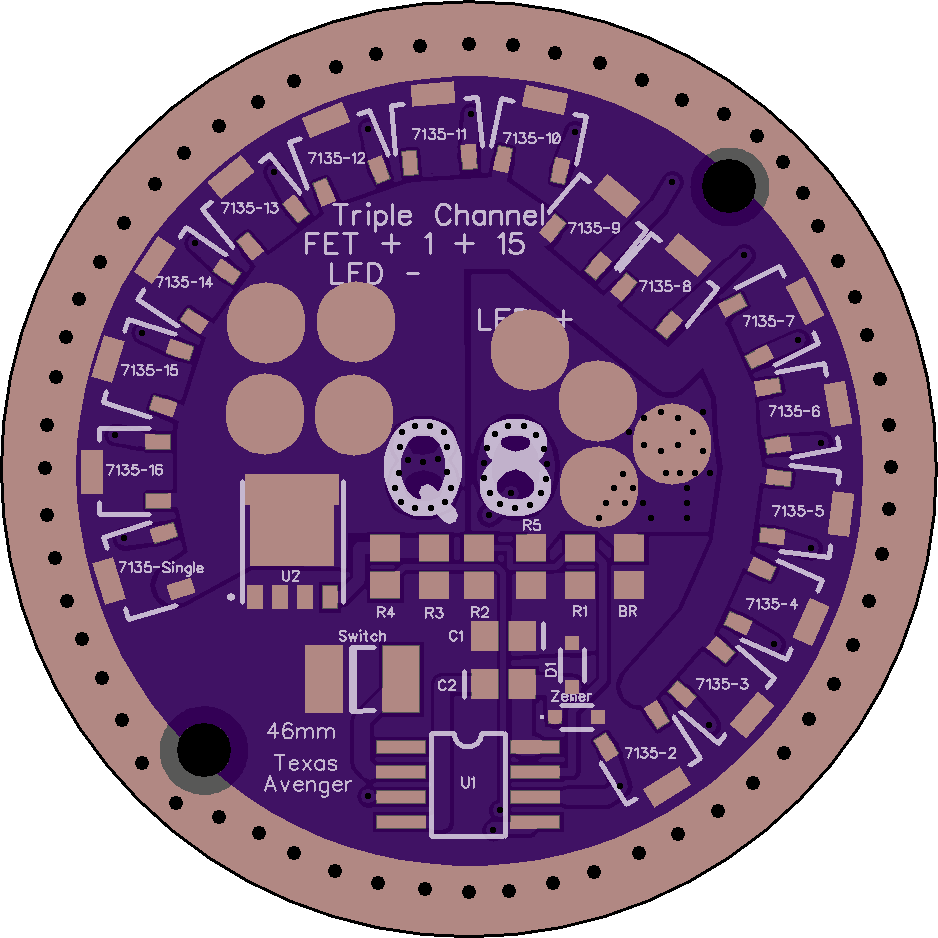
I did a redesign of TA SRK driver for the Q8
I will send the driver to djozz as soon as possible to test out with his prototype
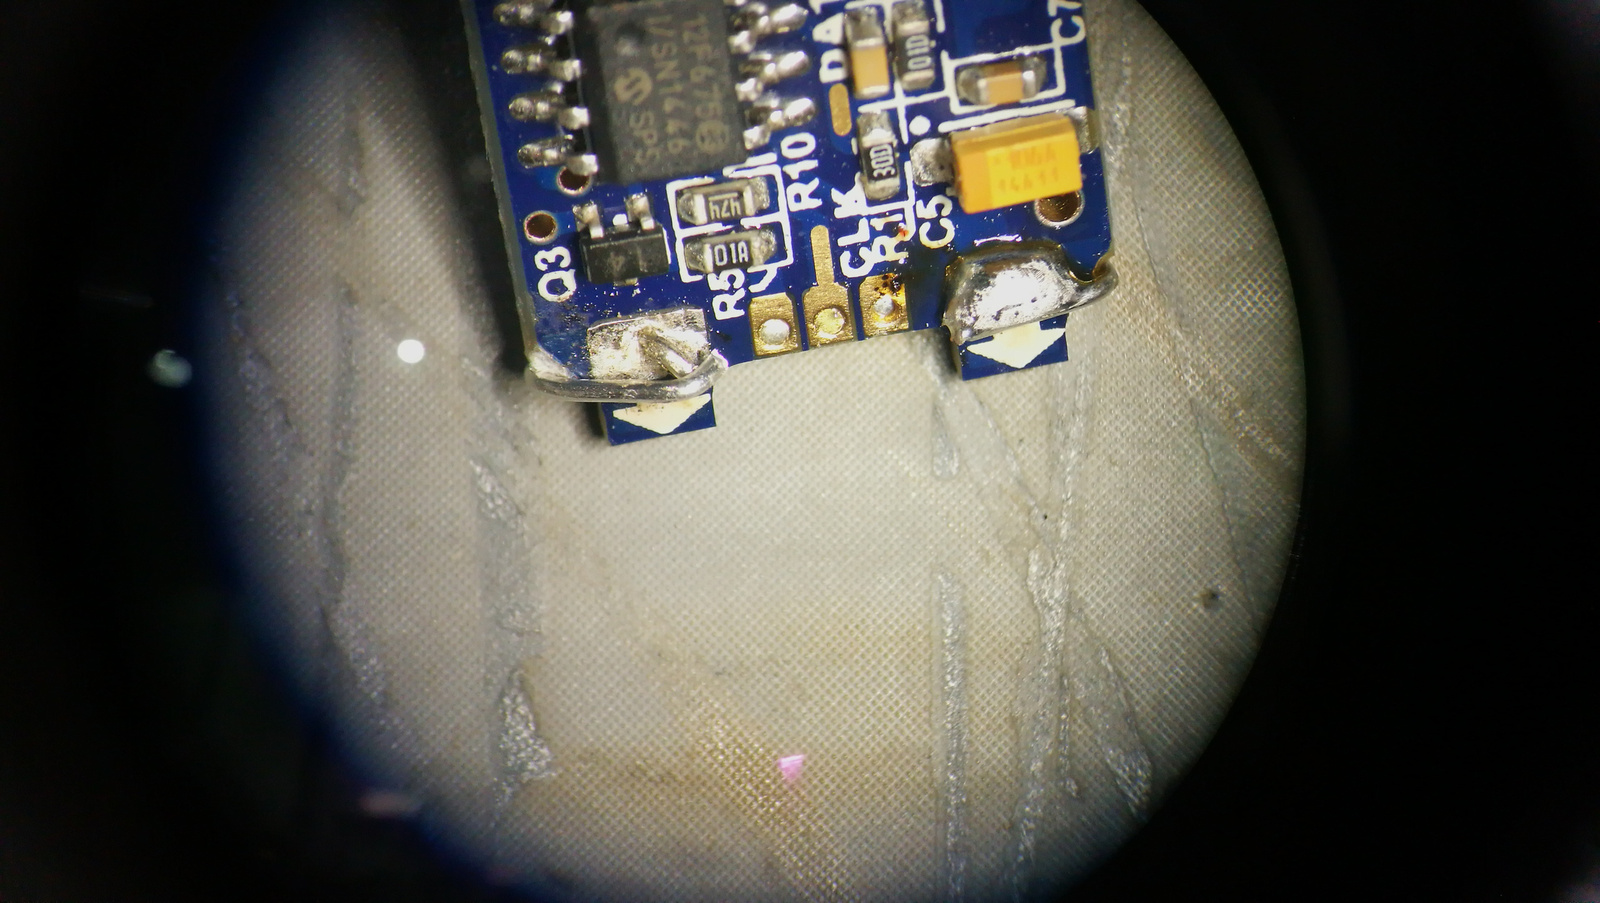
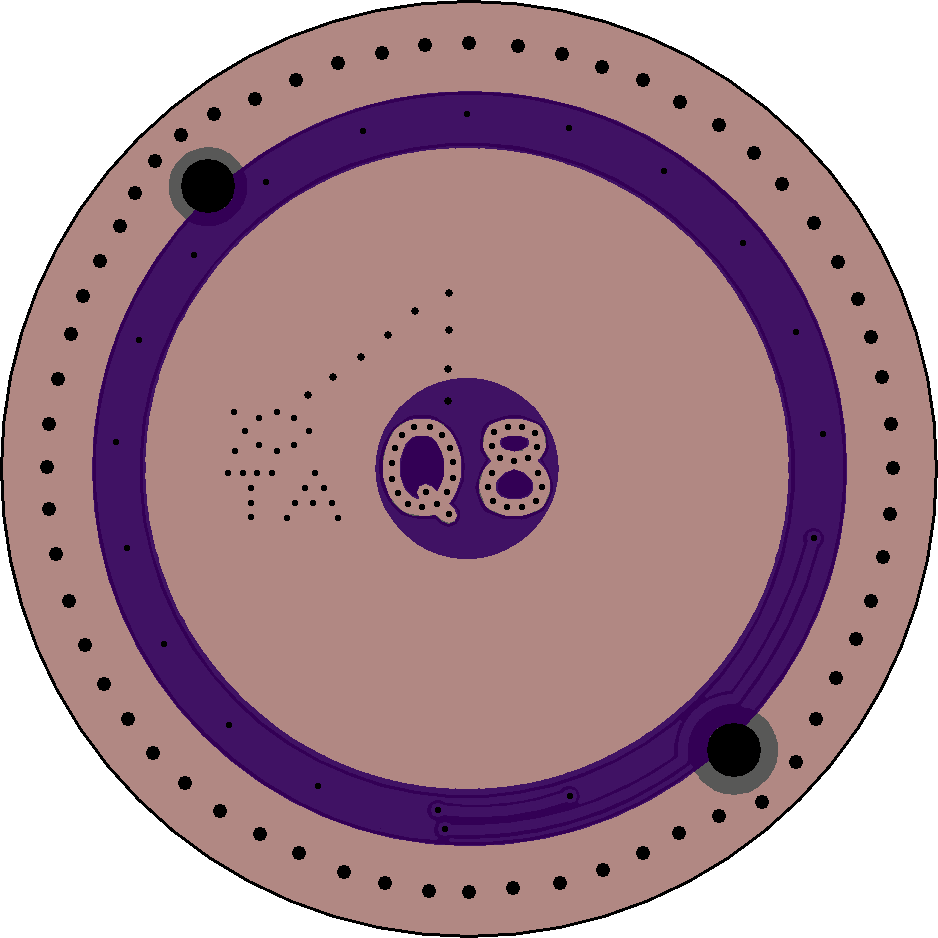
So which looks better just vias or connected vias?
v1.1
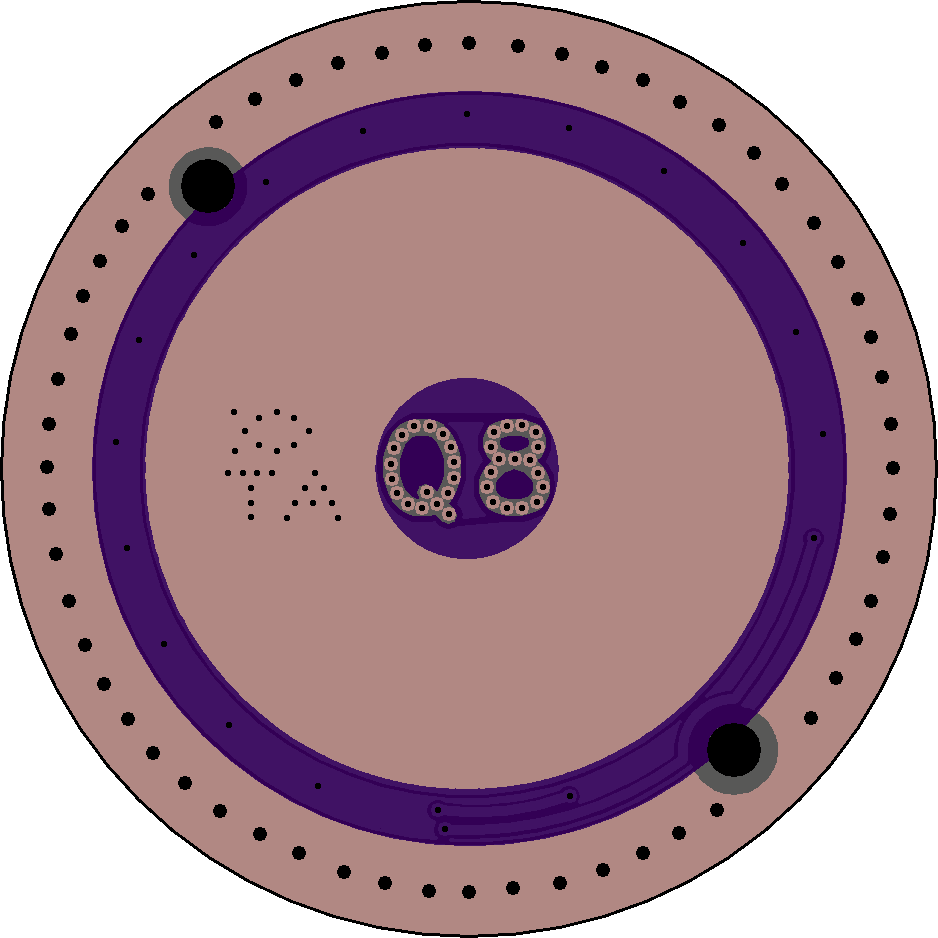
vs. v1.4
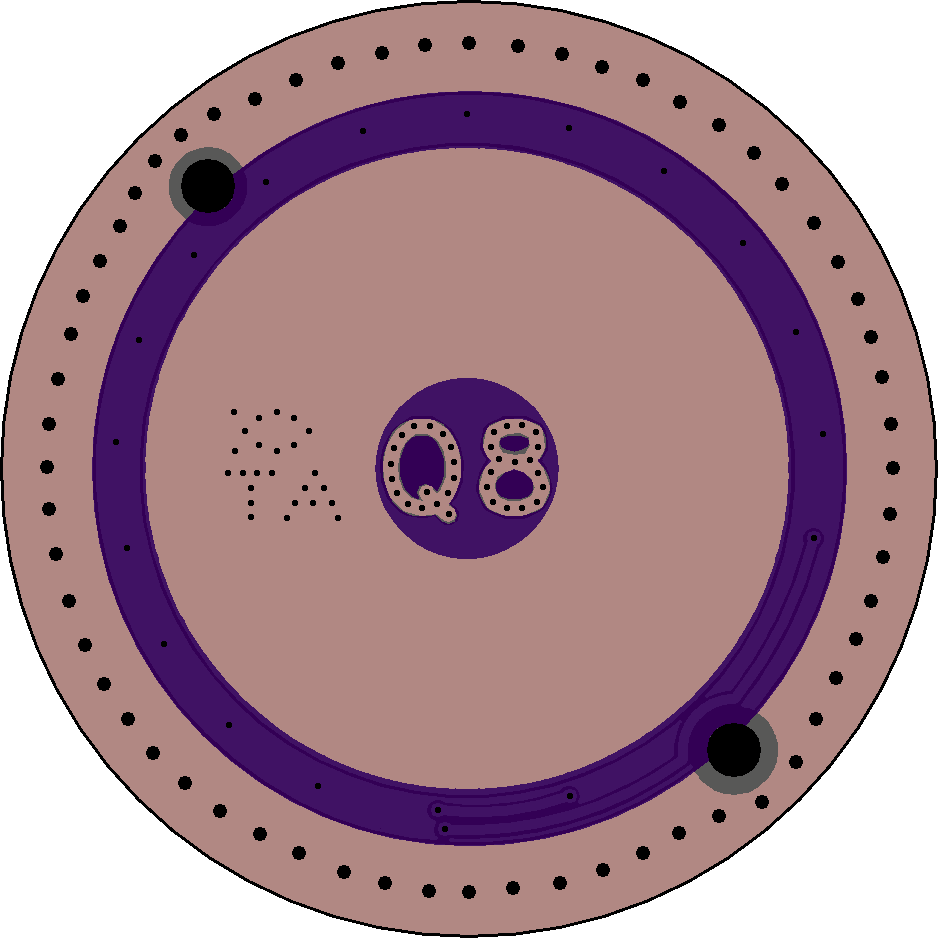
vs. v1.5
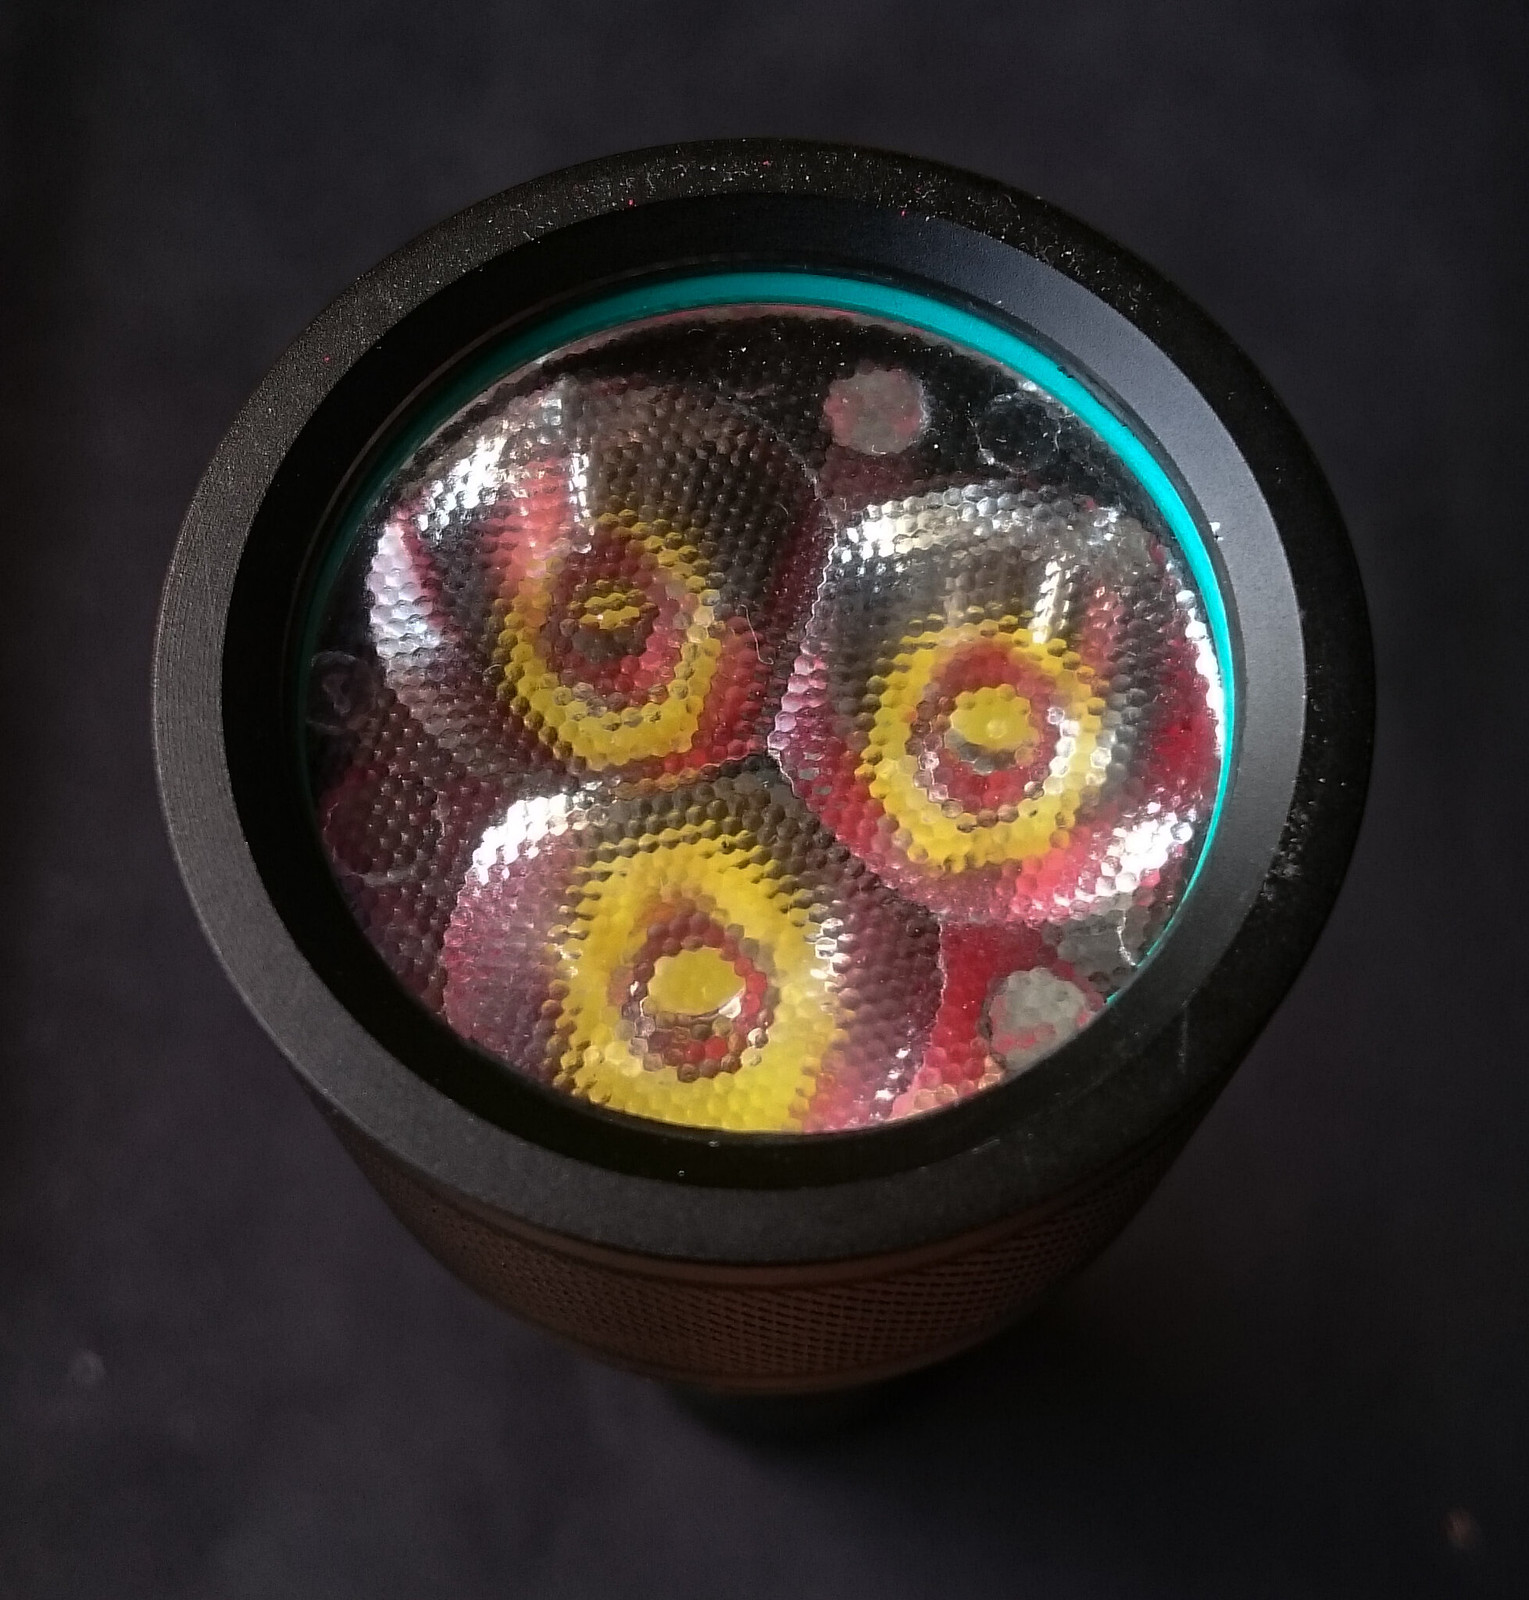
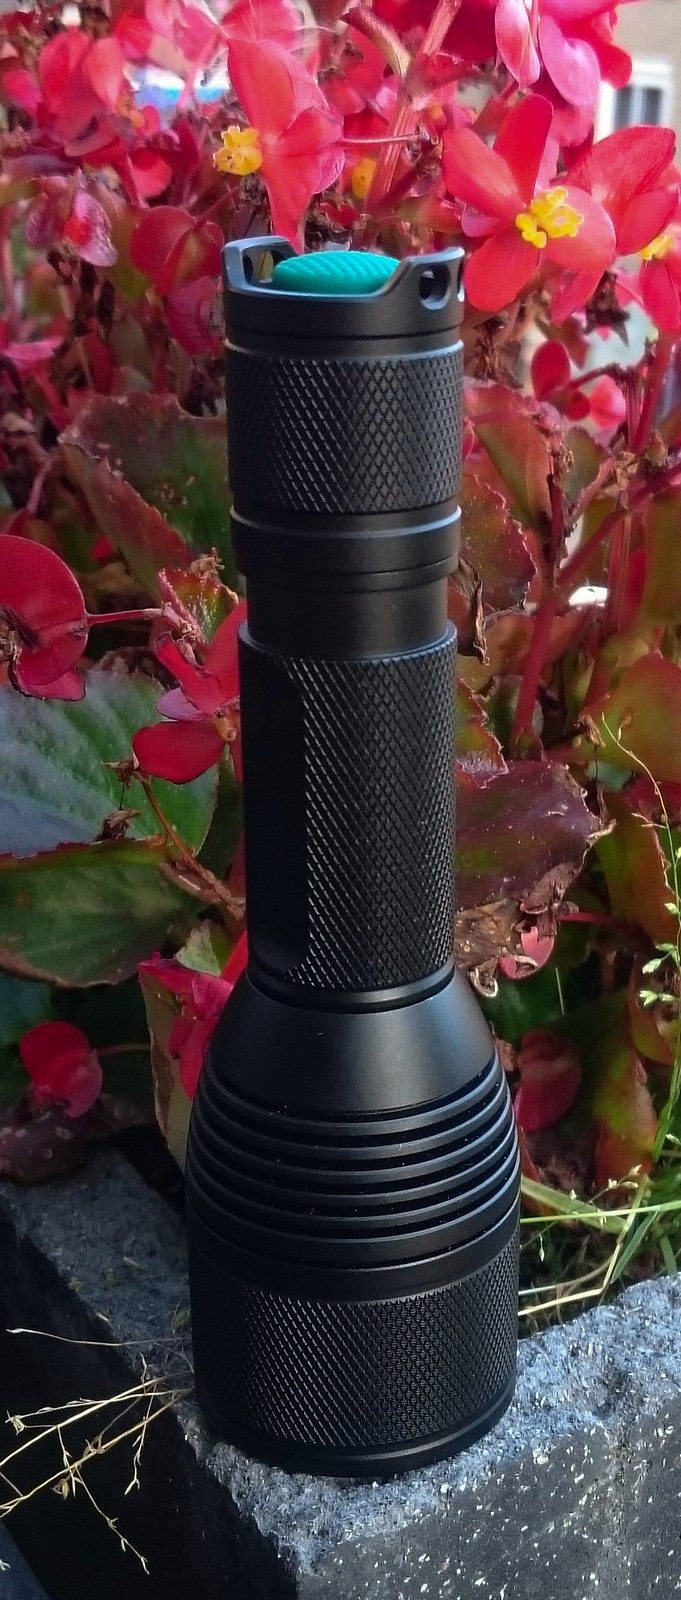
Yesterday evening and this morning I finally did a X6 triple. Not all went well in the process and I did not make pictures of all steps, sorry about that :-( .
More than a year ago Ledsmoke (he's not around anymore unfortunately, life got too busy he said) made me a spacer/heatsink to convert the X6 to a triple using the 32 mm Noctigon board and Ledil Cute triple optic. First part of the mod was making the two cut-outs in the spacer.

Now the (18AWG it will be) wires can get from the ledboard to the driver.
I had to sand off a tiny bit off the ledboard to fit it in the head cavity. I used the disc sander and managed to just clear all circuitry on top of the board so nothing can short against the inside of the head (that is anodised anyway :-) )
Then the spacer was fully covered in a thin layer of arctic silver. The fit in the head is so tight that there is also a good heat path sideways from spacer to head.
The leds are XP-L2 V4 3A 80CRI from Kaidomain, I reflowed them on the Noctigon. The driver is a Banggood bistro driver, that I fixed for the dropfromturbotomoon-problem, and I bypassed the spring with 18AWG silicon wire.
The legs of the Cute optic were shortened a bit because the narrowed ends were longer than the thickness of the ledboard.
The tail was build up using a PD68 low-resistant tailboard, a small Omten and a spring with 18AWG bypass.
Then trouble started:when closing the head (I used a double o-ring on top of each other between lens and bezel because the spacer was a millimeter too thin) , everything twisted and the spacer (I found out later) sheared off the insulation of the plus-ledwire. In other words, when the switch was engaged, a dead-short occurred, the switch was toast, and the brown LG cell died as well (internal fuse blew, voltage nill, never had that happen before, now I know it works!)
The solution, after trying several things, was tapping M3 threads in one of the side holes of the ledboard, and straight under that hole drilling a 3mm hole through the spacer and further down into the flashlight head. A M3 screw was screwed (with plastic washer) into the board which then sticks into the 3mm hole, in this way preventing any rotation of board and spacer. I hope that makes sense because I made no pictures of it.
And of course I soldered a new switch in :tired: . Alltogether, that was a 2.5 hour fix!
Now I could safely close up the light, and everything worked.
That mod was a lot less straightforward than I expected, a tailormade spacer does not prevent all trouble in this conversion.
Now was it worth the trouble? Yes!
The beam is smooth and without obvious tint gradients.

The output on highest setting is very rewarding: on a freshy charged VTC6 without tail using a copper loop and clamp meter I measure 18 A, and with tail in place I get 4750 lumen at start-up and 4340 lumen at 30 seconds. The heat path is really good because for this quite impressive output in a small light the drop is only mellow: it takes a very usable 90 seconds before the output drops under 4000 lumen, the head temperature at that point is 70 degrees Celsius, time to switch to a lower level!
Thats why central hole is more popular solution. Drilling mcpcb is not very easy but anyway much more safety way.
By the way, where did you get this green o-ring?
It is a very stiff nitrile o-ring, I bought some two years ago on ebay for a project I never did. The 2 o-rings stacked only worked because the second one is so stiff.