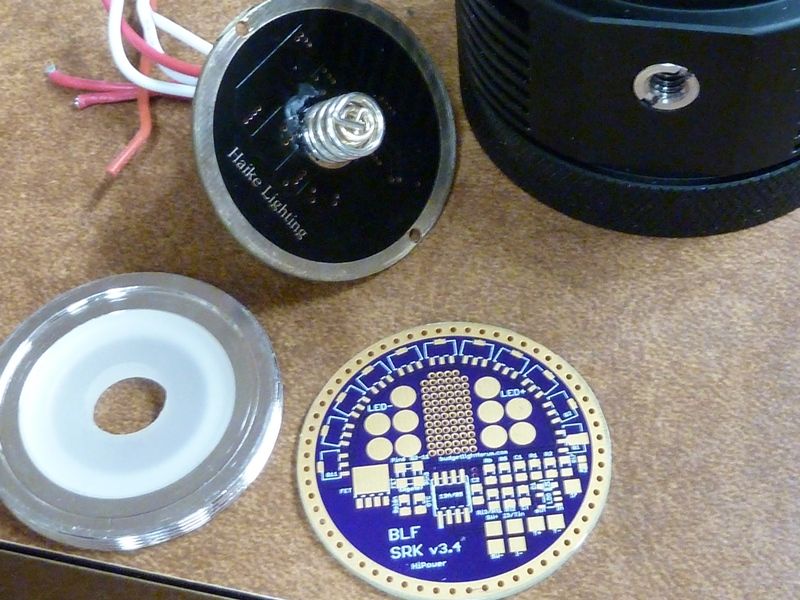
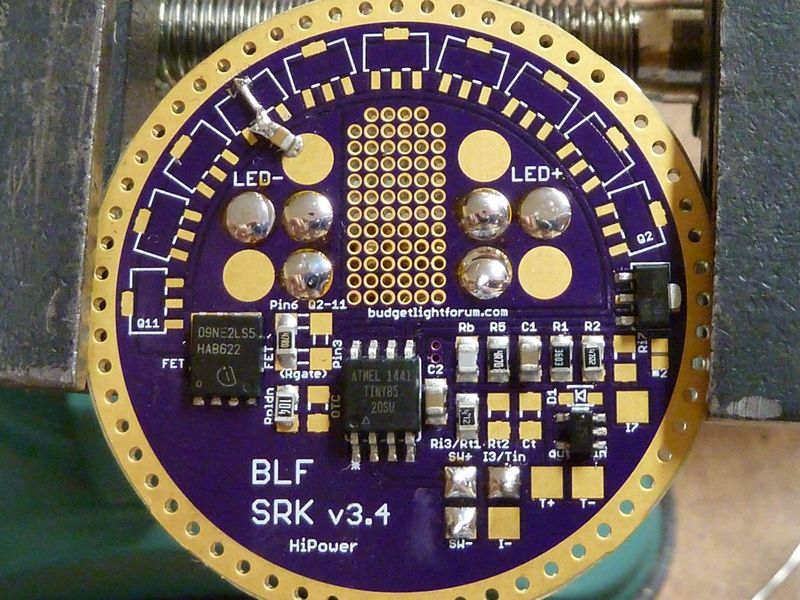
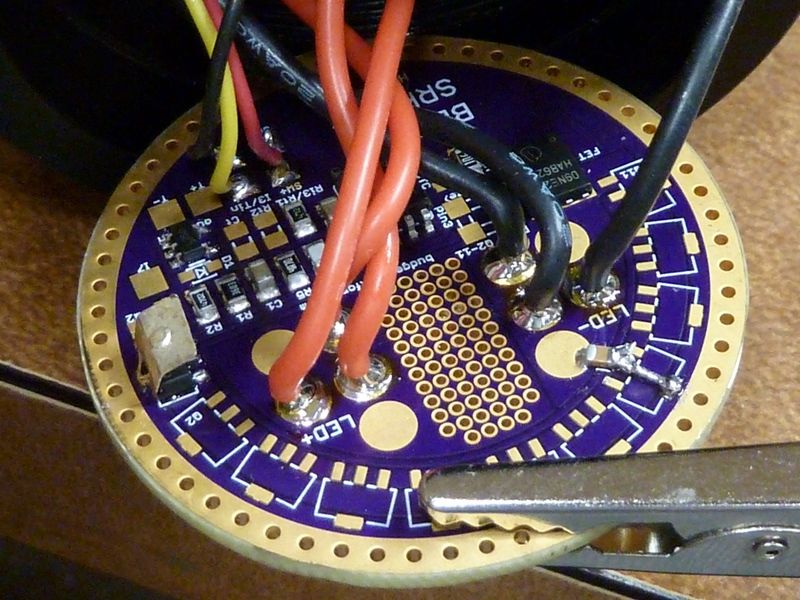
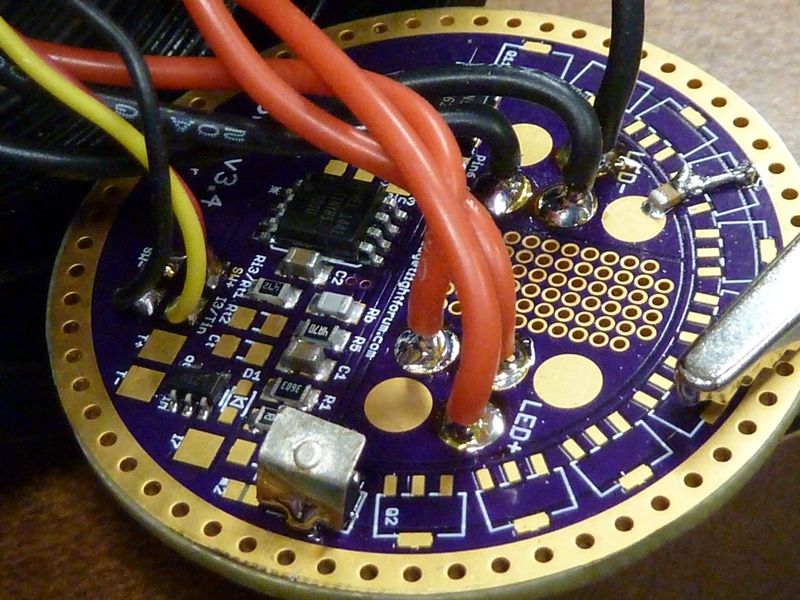
BLF SRK FET v3.4 HiPower
.
Based on v3.3, but with focus on high current.
Still triple-channel, LFPAK56, Attiny13A/25/45/85 and DEL’s R5.
Adding indicator LED at Pin7 and layout improvements.
I kept the QuadPad to still be able to use dual-channel firmware.
.
Changelog from V3.2
To fit the needs for high current applications:
- 70 LED+ vias without soldermask
- more GND vias
- Wider current path from GND ring to FET source
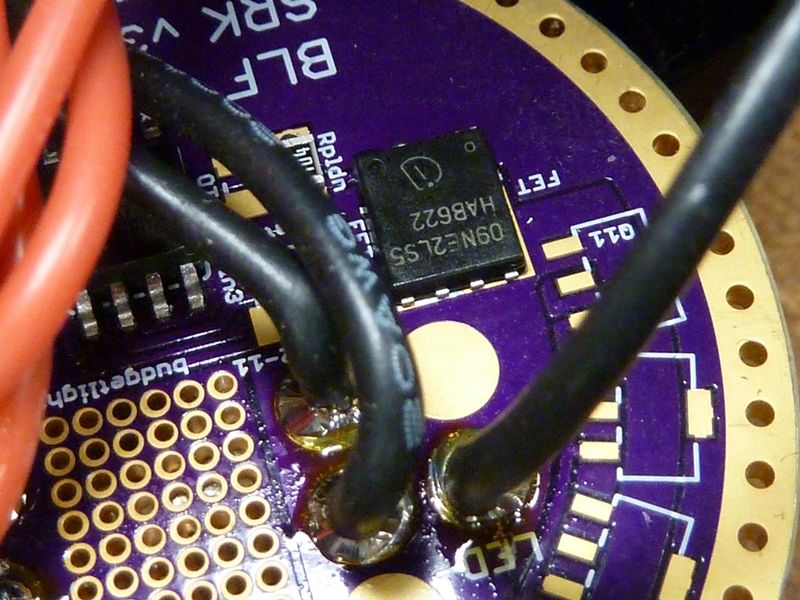
- better heat transfer for Q1
- Increased GND plane
- slightly increased bare copper on battery side GND ring
Other improvements:
- Added Ri7 and I7 for indicator LED at Pin7.
- Added 1 AMC7135
- Added a bleeder resistor from BAT+ to GND
- Reduced size of QuadPad to standard 0805 size
- Removed dedicated Rgate, as the gate resistor fits on the QuadPad and can be used instead of a zero-ohm-resistor between FET and MCU
- Redubbed Rmcu to R5
- Marked in/out for LDO
- Just one place for R1 and one for C1
- Just a resistor in series per indicator LED
.
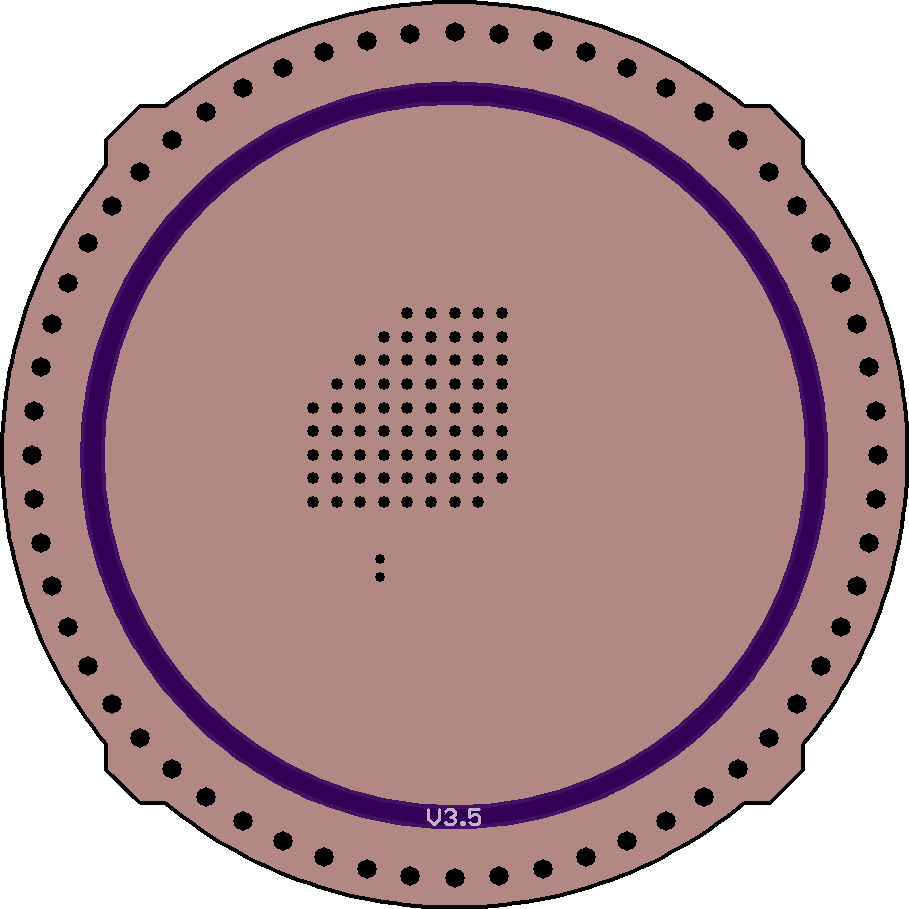
https://www.oshpark.com/shared_projects/4trVY7MM
.
.
.
.
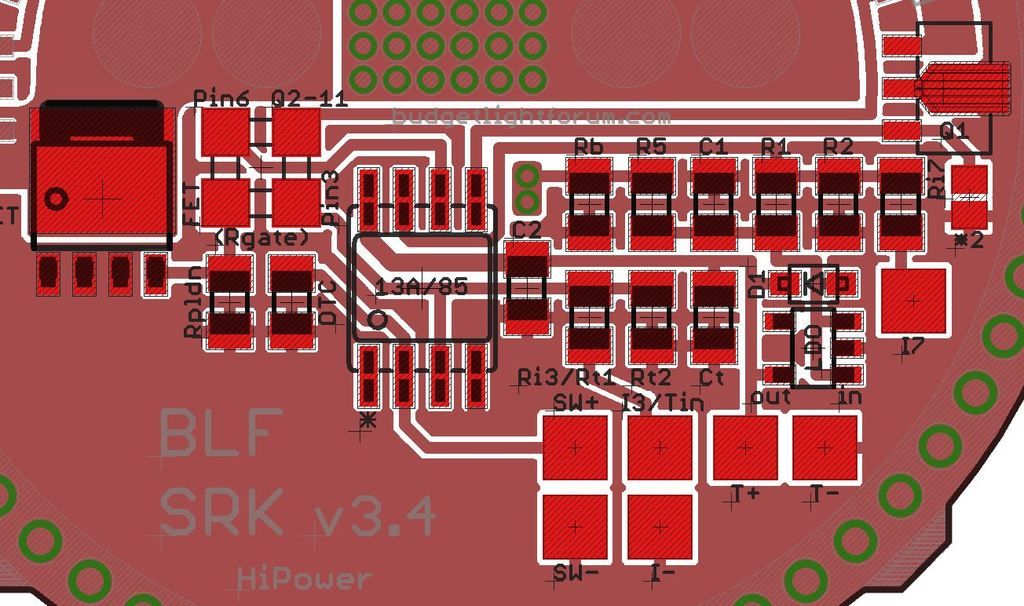
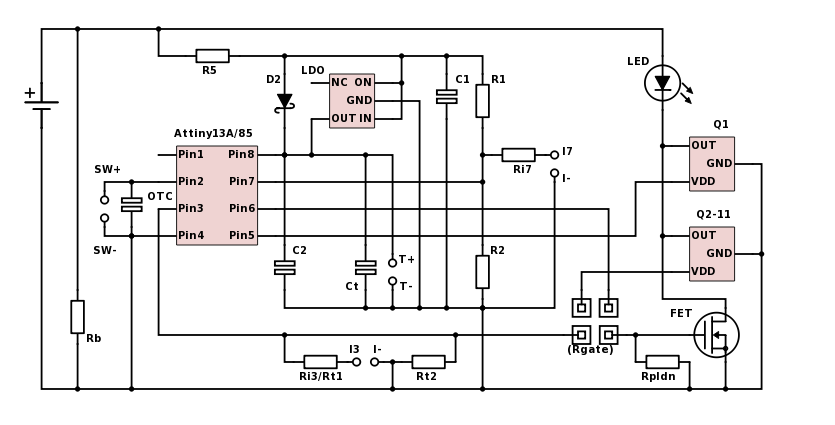
Schematic:
.
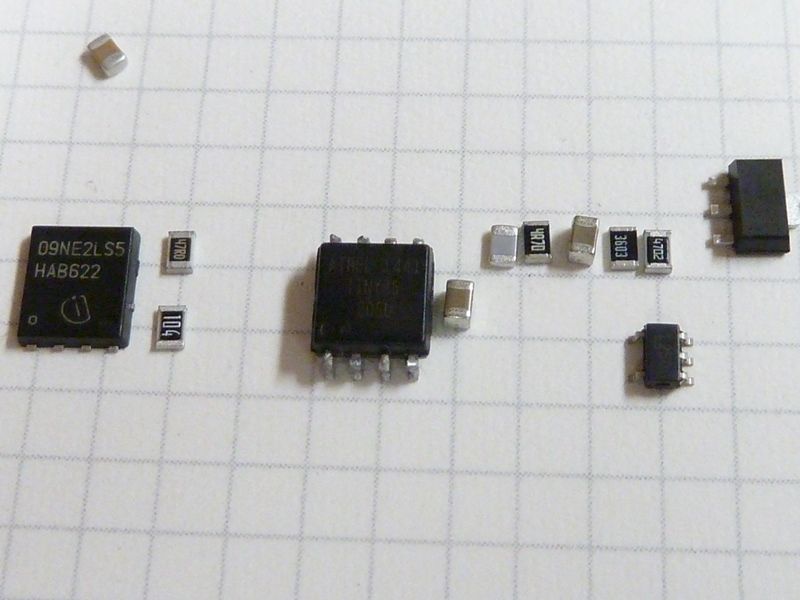
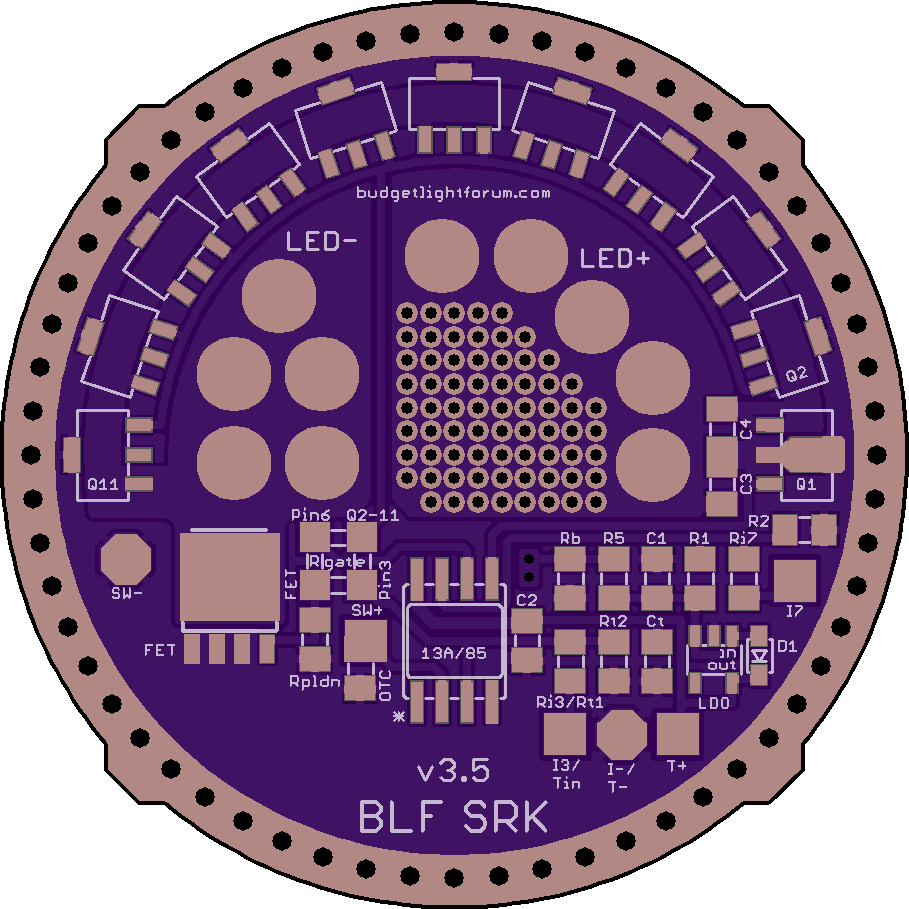
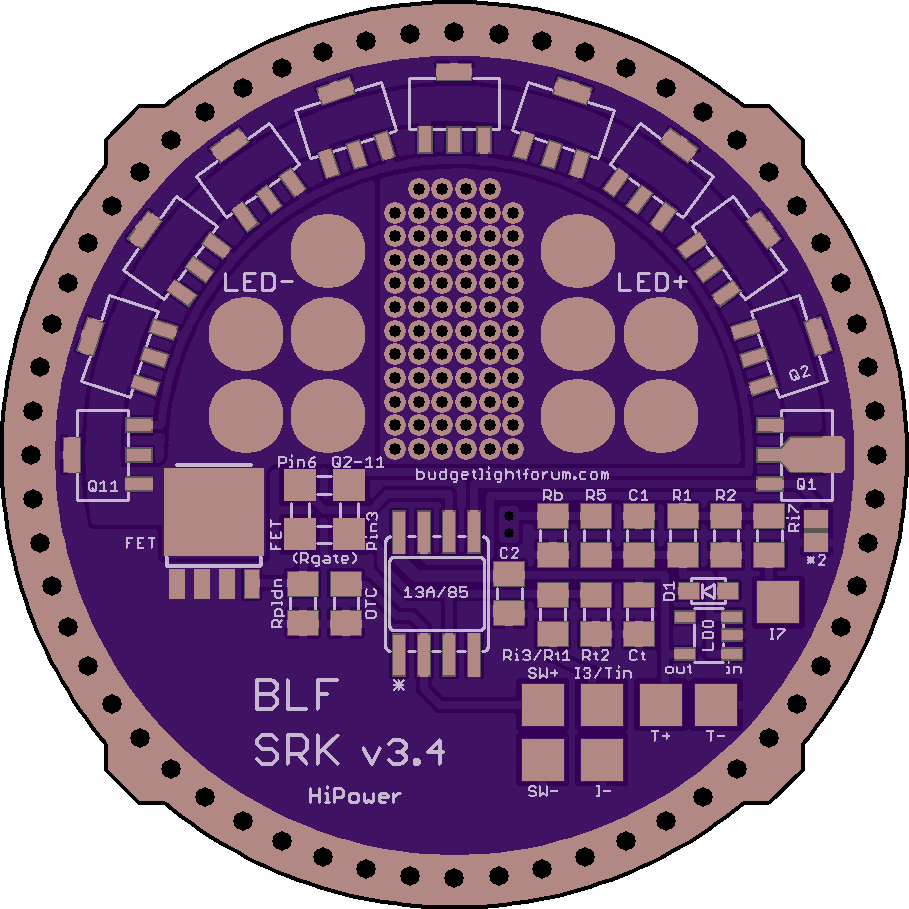
Component list:
- 13A/85: MCU ATtiny13A or 25/45/85; 8S1 (SSU) or 8S2 (20SU)
- R5: Series resistor between VCC and MCU Pin1; 0805
- FET: N-Channel MOSFET at Pin3 or Pin6; LFPAK56
- (Rgate): Series gate resistor; use the QuadPad (FET-to-Pin3 or FET-to-Pin6); 0805
- Rpldn: Pulldown resistor (gate to GND); 0805
- Q1: Single AMC7135 at Pin5; SOT-89
- Q2-11: Up to 10 AMC7135 at Pin3 or Pin6; SOT-89
- D1: Schottky diode (~0.25V) for 1S (4.2V); SOD-323
- LDO: Low dropout regulator for 2S (8.4V) [LDO needs C1 and C2]; SOT-23-5 (Vout is pin5)
- C1: Input capacitor between Vin and GND; 0805
- C2: Decoupling capacitor for MCU; 0805
- R1: Voltage divider to VCC [before D1 / behind R5]; 0805
- R2: Voltage divider to GND; 0805
- Rb: Bleeder resistor from BAT+ to GND; 0805
- SW+: Pad for momentary switch to Pin2
- SW-: Pad for momentary switch to GND
- Tin/Rt1/Rt2/T+/T-/Ct: Temperature sensor
- I3/Ri3/I-: Indicator LED at Pin3
- I7/Ri7/I-: Indicator LED at Pin7
- *2: Dedicated solder pads for Nanjg Star 2
Notes:
- Rt2 can be used as Nanjg Star 3
- OTC can be used as Nanjg Star 4
- A Zener can be placed on Ct, which is MCU+ to GND
- A momentary switch at Pin3 can be soldered to the QuadPad