You need deflectors to cut off the light on the sides you don’t need/want it.
Do you see those dark panels in the center of the image ?
One side is white (reflective) the other side is black matt to cut off a part of a light source placed behind. Here they are using the reflective side.
You can hold a panel between your subject and the light source. Adjust the distance of the panel to have a sharper or blurrier edge of the cut off.
I’ve tried many torches for this sort of photography, but I found none of them are any good shone straight at the subject. What looks like a uniform beam profile to the eye is not to the camera. None of them that I have tried, where a 1/2 or 1/4 stop matters.
I have modified a few with heavy diffuser film on the front, and they are a lot better, but still not good.
Bouncing back into a softbox or other improvised thing works better.
Then you have the colour balance to look at. Maybe “Nichia 90 CRi” are the best, but I’ve tried a few of them and they still fell short.
Really the flat panels (with two types of LEDs, mixed) offered by the serious companies for this application seem to work much better for me, together with careful white balance, and then colourchecker calibration.
It was much easier, and warmer, just using photofloods (prehistoric). Or domestic halogens.
LEDs don’t emit a continuous spectrum. If you are lucky it might roughly match the RGB filtering on your camera. If not, it won’t and you will be chasing your tail.
How long are your exposures? For long exposures flashlights are OK as you can wave them around to even out the light. Diffusers help to. For short exposures you would be better off with dedicated lighting panels or flash units.
The more I think about it, the more I’m leaning toward short exposures so that I can eliminate most of the ambient lighting and make the background look very dark/black.
I did play around with the Viltrox panel and got OK results. Bringing it much closer to the subject did help. I just need to find a piece of reflective material to put on the opposite side of the panel to help bounce a little bit of the light back to help light up the subject from the other side, too. I suppose my photo umbrella lined up with the reflective fabric might work.
I do have a remote camera flash as well, and it does work, too (bounced back through umbrella). I was just wondering if there was anything better…
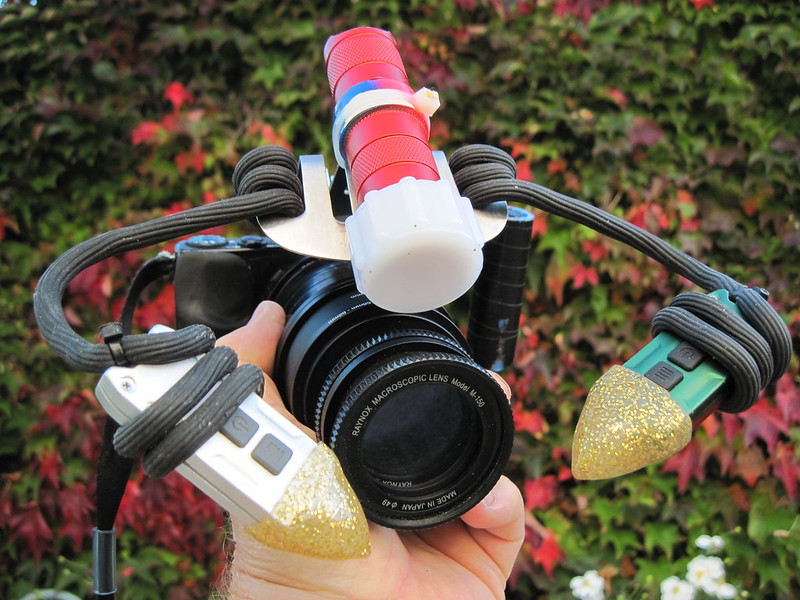
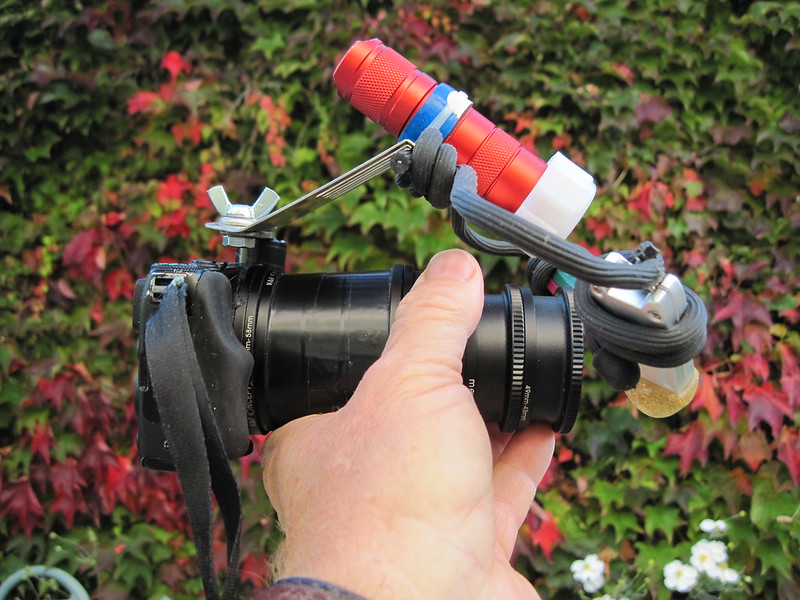
I currently have a project going for a pocketable macro rig that consists of a Canon S120, a homemade extension tube, and a Marumi 200 Raynox 250 Raynox 150. For light I use two Nitecore TIPS and a Convoy S 2+ with a 18350, mounted with cable ties onto a disfigured metal spatula I stole from the kitchen. The lights all have diffusers - the two TIPS the head of a plastic deep-sea fishing squid (9” ), and the Convoy a screw-on cap from Jabsco that I found in a chandlery ( I can find the exact part number if you’re interested). One Tip is a 219, the other is not. The mix of light is balanced and easily managed with your WB setting in camera, or via Temperature later in PP.
With the lighting I can keep the shutter speed high, f/stop low and use a reasonable IS O of 800 or lower. I balance the rig on a stick I use for beating back errant goats and stuff. Simple but effective.
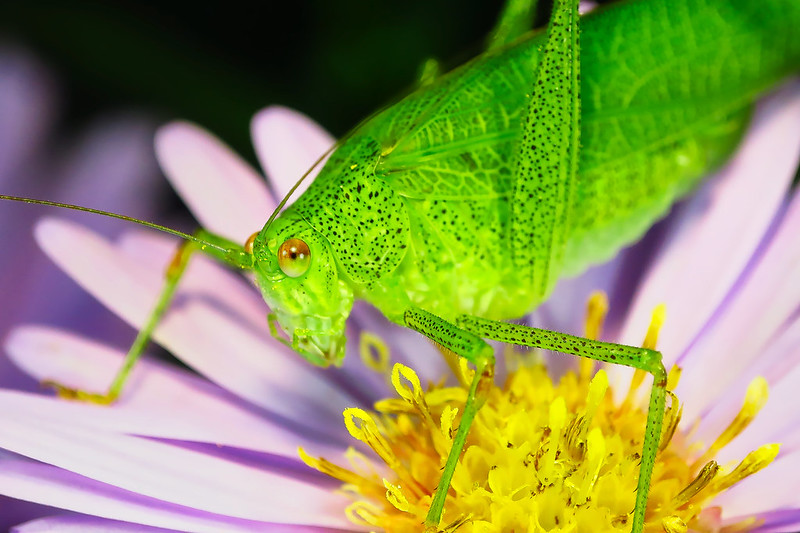
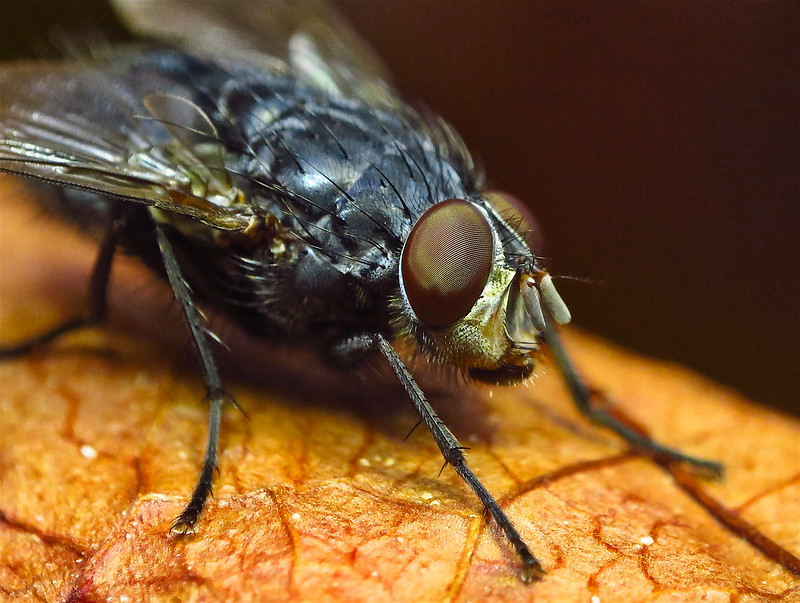
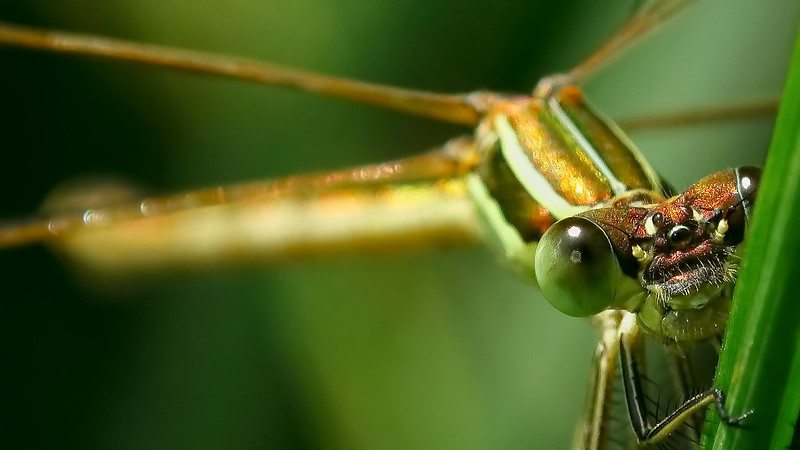
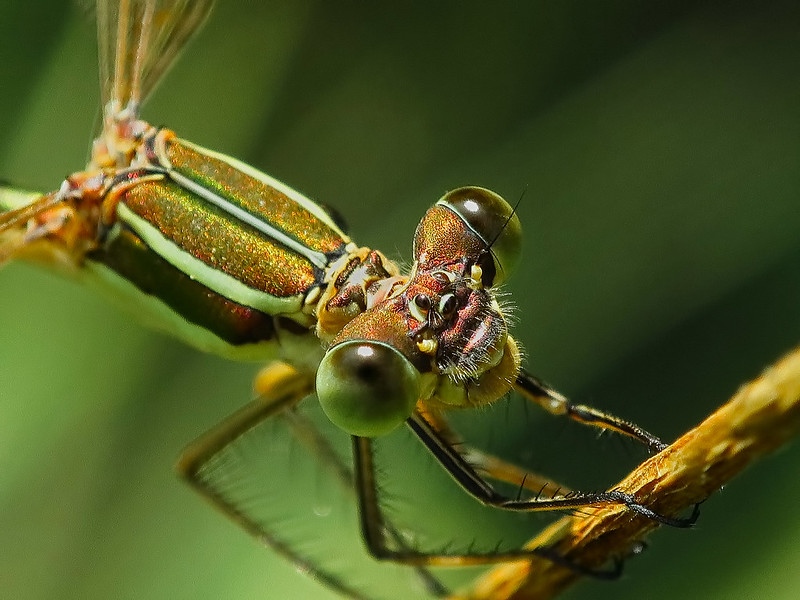
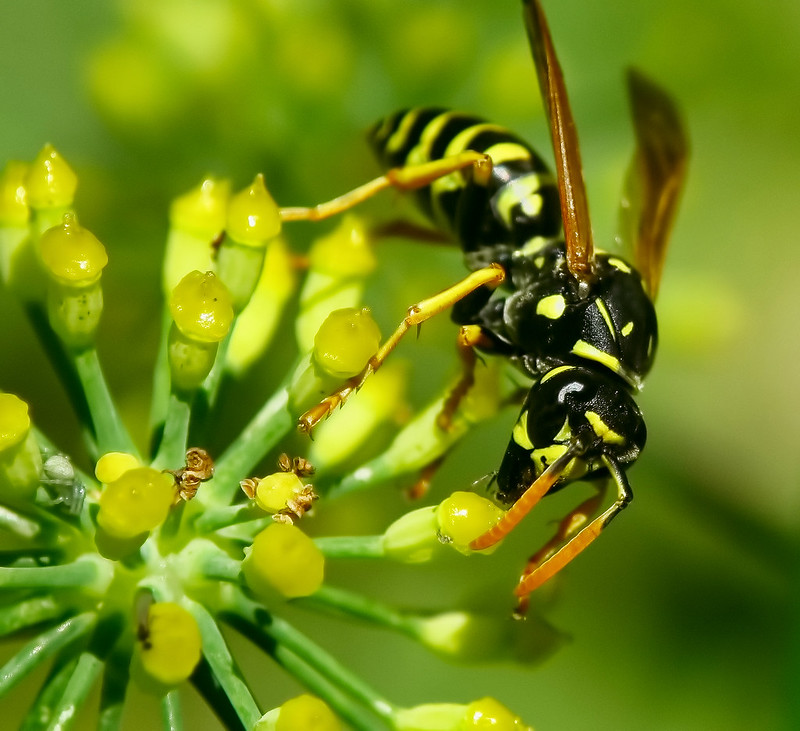
Here are a few samples:
A bush cricket
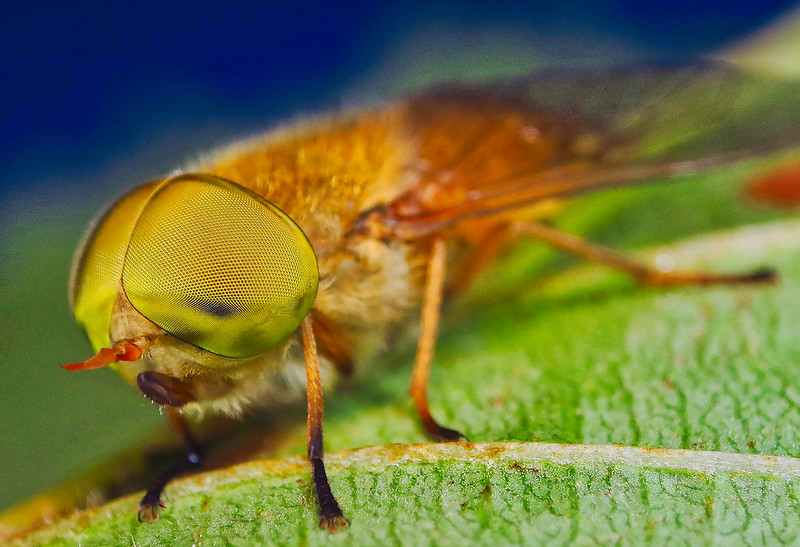
A green-eyed horsefly
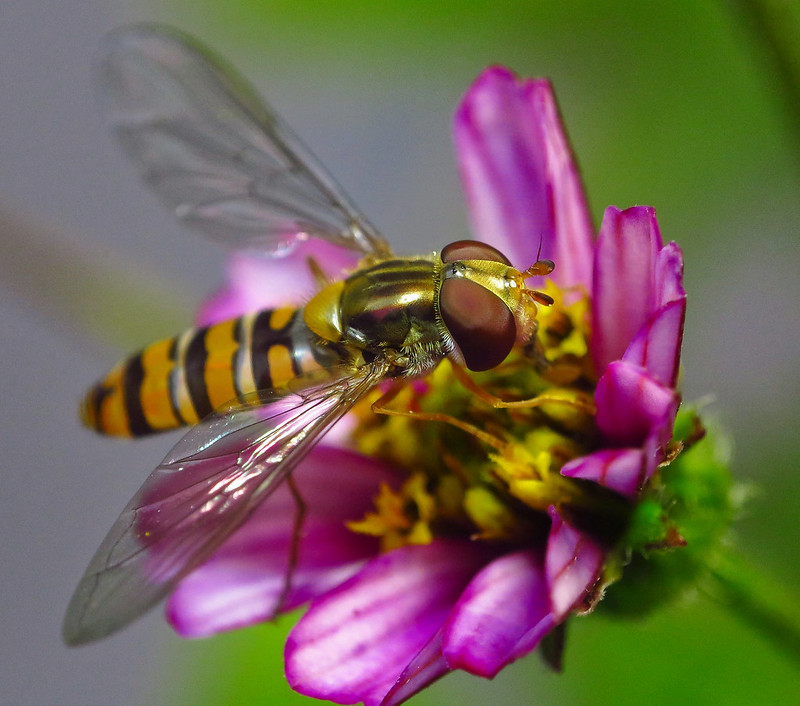
The Marmalade hoverfly
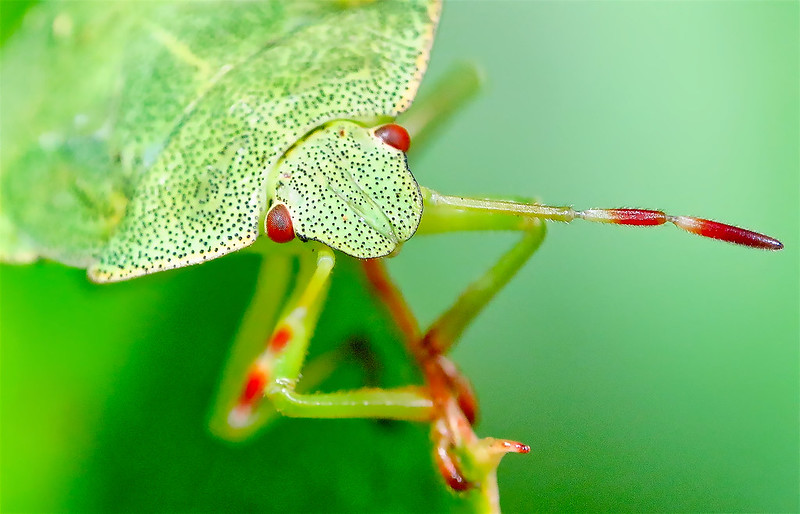
A green shield bug
A muscadae fly
A southern emerald damselfly
A European paper wasp
A Common darter
I can post you some pics of the rig with the lighting rack if you need details. Hope this helps! And thanks for the opportunity to post some insect pics
Have you checked out the Lume Cube? Can be triggered by other flashes (by light) but not by radio triggers. Apparently is quite cool white and not high CRI. Can also be controlled from smart phone via Bluetooth.
Thanks for the compliments guys I couldn’t help myself, sorry. And as there seems to be some interest in the rig I’ll post the pics here later this morning. It’s FUGLY, I’m warning you.
goshdogit - you’ll find my flickr page here if that helps.
jon_slider - if you visit the page above you’ll see the pics in better resolution if you want to look at them in detail. Be aware though that these are taken on a compact camera, so the IQ is not great.
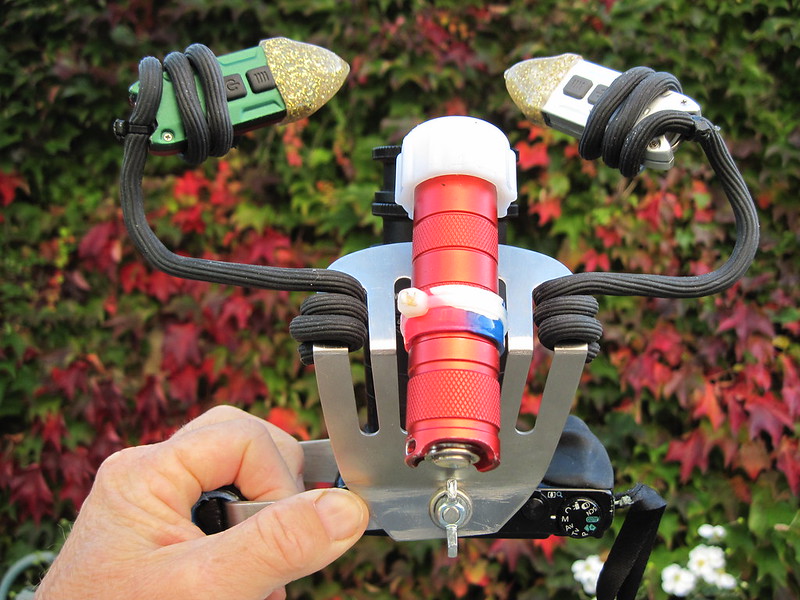
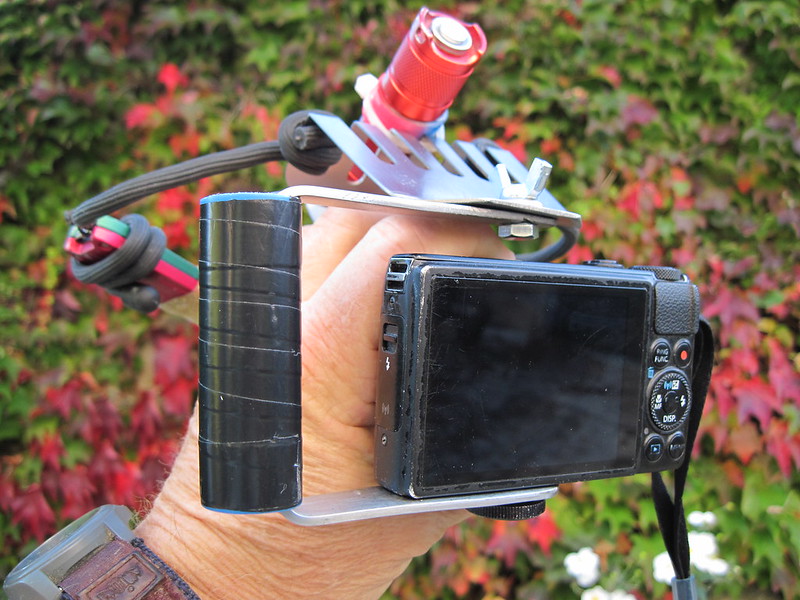
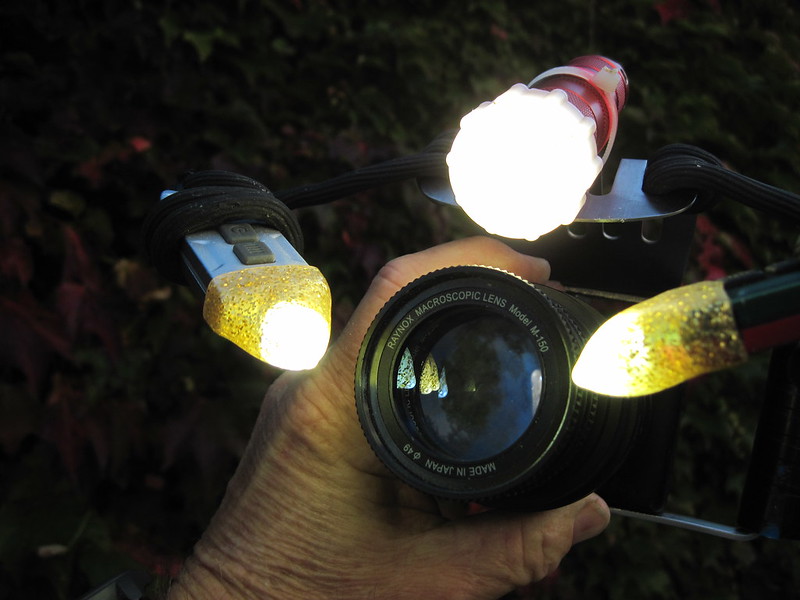
Okay, sorry for the delay. Here are some photos of my S120 rig. I forgot to mention that the Convoy S2+ has a triple XP from kiriba-ru in it. This gives a whack of light when one needs it.
The flexible arms the NiteCore TIPS are attached to are these. I really want to get a couple of the new clips for the TIPS and ‘sugru’ them to the flexible arms instead and then I’ll be able to take the TIPS on and off for charging much easier. As you can imagine the TIPS can be made to shine anywhere - up, side, above, under, behind and all
Interesting setup, DrHook, although I’m not sure this would accomplish what I’m trying to do. I want black/unlit background in my photos. I suppose it’s more about the positioning of the lights than anything else.
Pete, easy enough to do. Find an empty cardboard box and paint the inside of it black, and put a plinth in there to put your objects on and paint that black too. Or line it with black foam board, that’s very effective too.