yeah, i noticed that when installing, checked and checked again to ensure there was no contact.
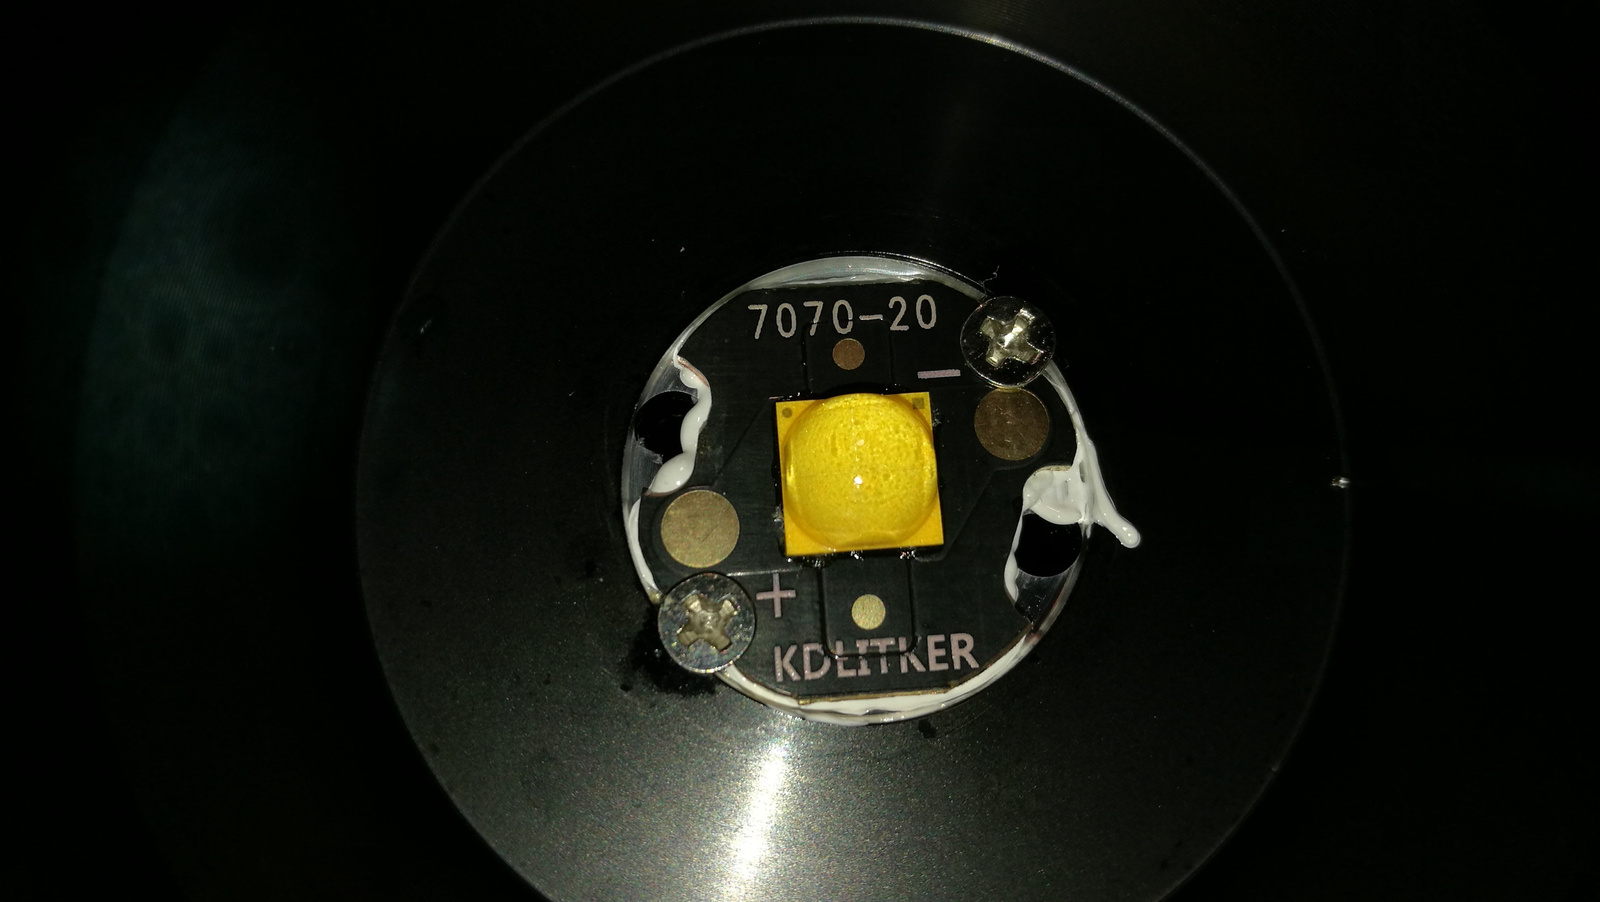
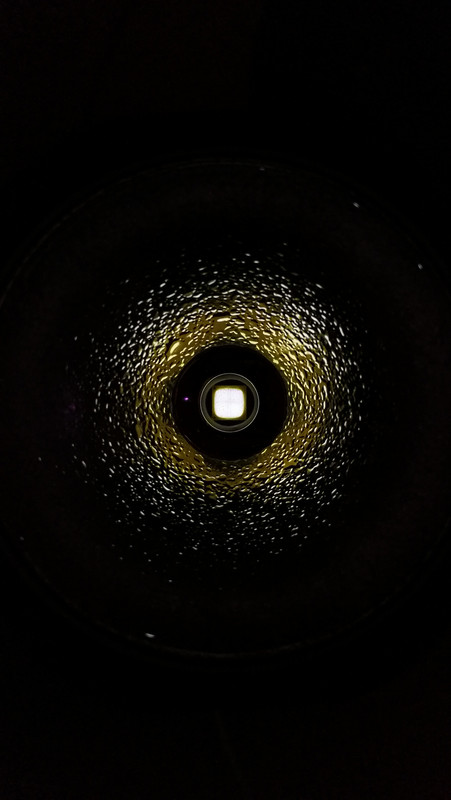
looks as though the MCPCB has cut the positive wire while I tightened the bezel
yeah, i noticed that when installing, checked and checked again to ensure there was no contact.
looks as though the MCPCB has cut the positive wire while I tightened the bezel
Driver is probably ok.
… check around the + wire joins & spring.
fingers crossed! do you think that battery is still ok?
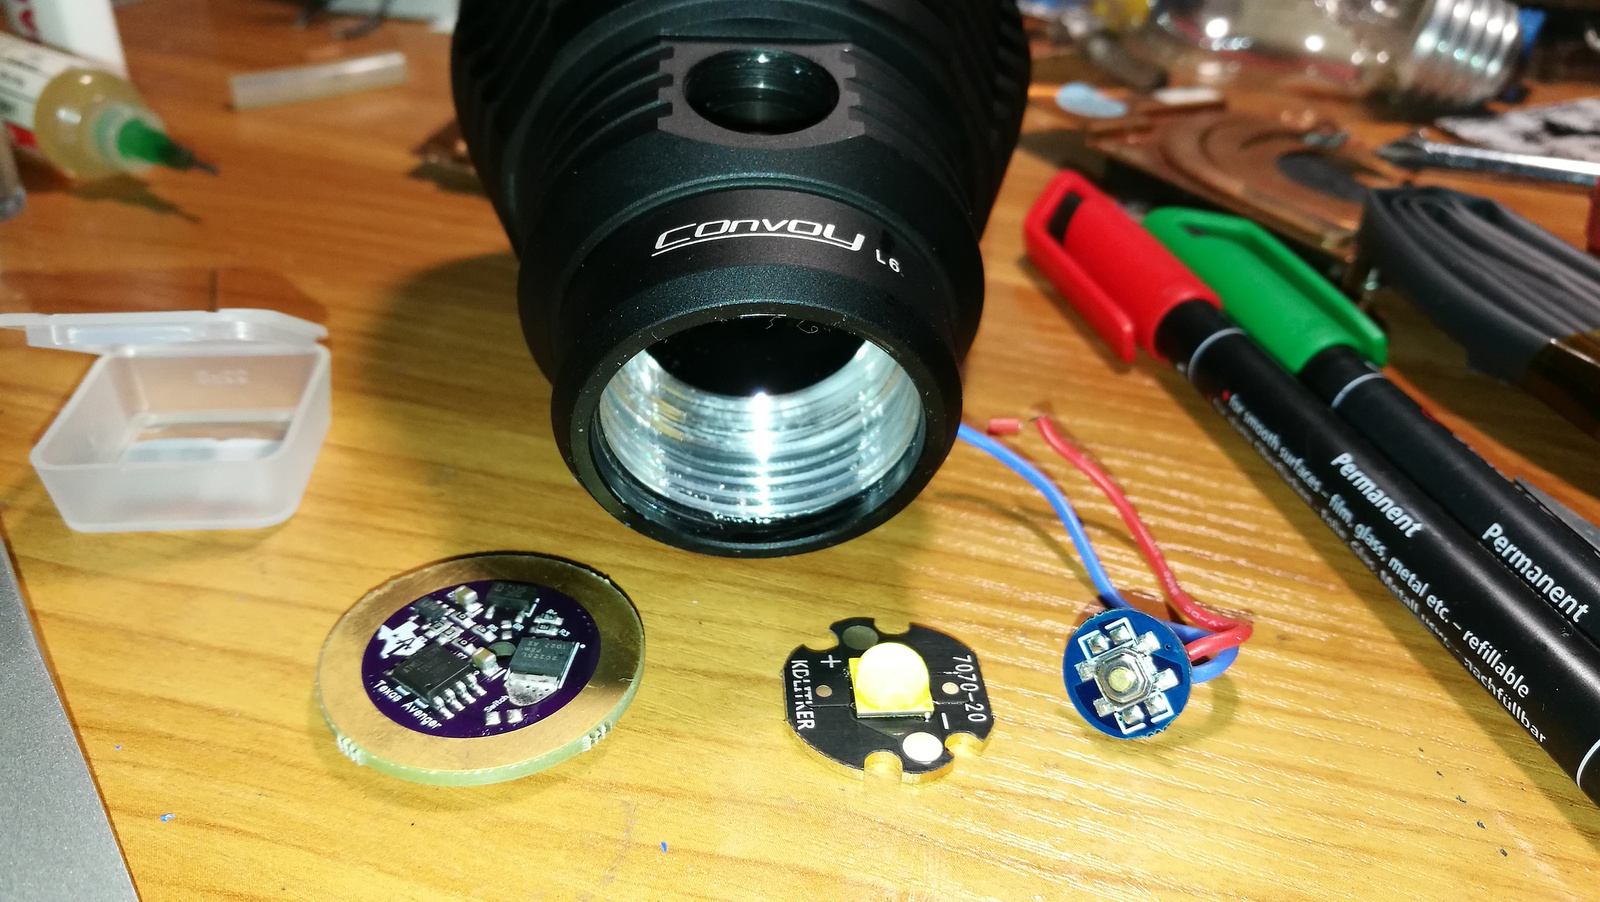
I also found the KD board doesn’t meet the L6 screw holes and wire holes…… Frustrating to say the least!
Nice lights you got there. Got a link to the optics? And what MCPCB did you use for the Luxeon LEDs? Got a link to that one too?
No idea _ looks like it was in great shape prior to the incident though… :zipper_mouth_face:
what makes you say that? i only purchased them a month or so ago.
I mean it was putting out plenty of energy to cause that damage.
It’s more than likely fine.
I have had the same thing happen before. Unless you had the short going for some time , the driver and cell both should be OK. You may have lost a little bit of life off the cell by raising the Internal resistance slightly if anything.
If you haven’t already tested it ,you can get a more controlled result if you have a short jumper wire and just hold it against the end of the tube and the negative end of the cell and then have someone hit the side switch to see if everything is working OK before you put the tailcap on the light. This way if the light does still have a short or anything you can break the connection much quicker than trying to get the tailcap back off.
I would say the battery should be OK if its not getting hot shorting too long, the weak link is the spring and switch
2 26650 Keeppower High Drain cells shorted you look likely at up to 100 amps no wonder spring and switch quit
Those batteries have IR of like 20mOhms, maybe another 30-40mOhms on wires and spring bypass
so we got like 8V on 60mOhms
if the original DTP board does not fit the size of the new you always can drill a hole in the shelf and simply twist one of those self cutting screws in it that are often used in plastic cases if you got no thread cutters
I had the rotating star also a few times, cutting in the wires, never turned out good melting some stuff
You can check the driver if the LED- pad has a very low resistance to ground ring the short created that voltage spike and blew the AMCs, but this usually happens only if the driver had the gate of the AMCs activated
How it cutted the wire? Did you use screws to secure MCPCB? It should not spin. I noticed the hole misalignment on KD stars too and I always grind the MCPCB wire cutouts bigger to fit like this:
Ah i may do this to my star.
i soldered the wires to MCPCB then to fit the screws in i had to turn the MCPCB, im guessing thats when they cut. kicking myself now
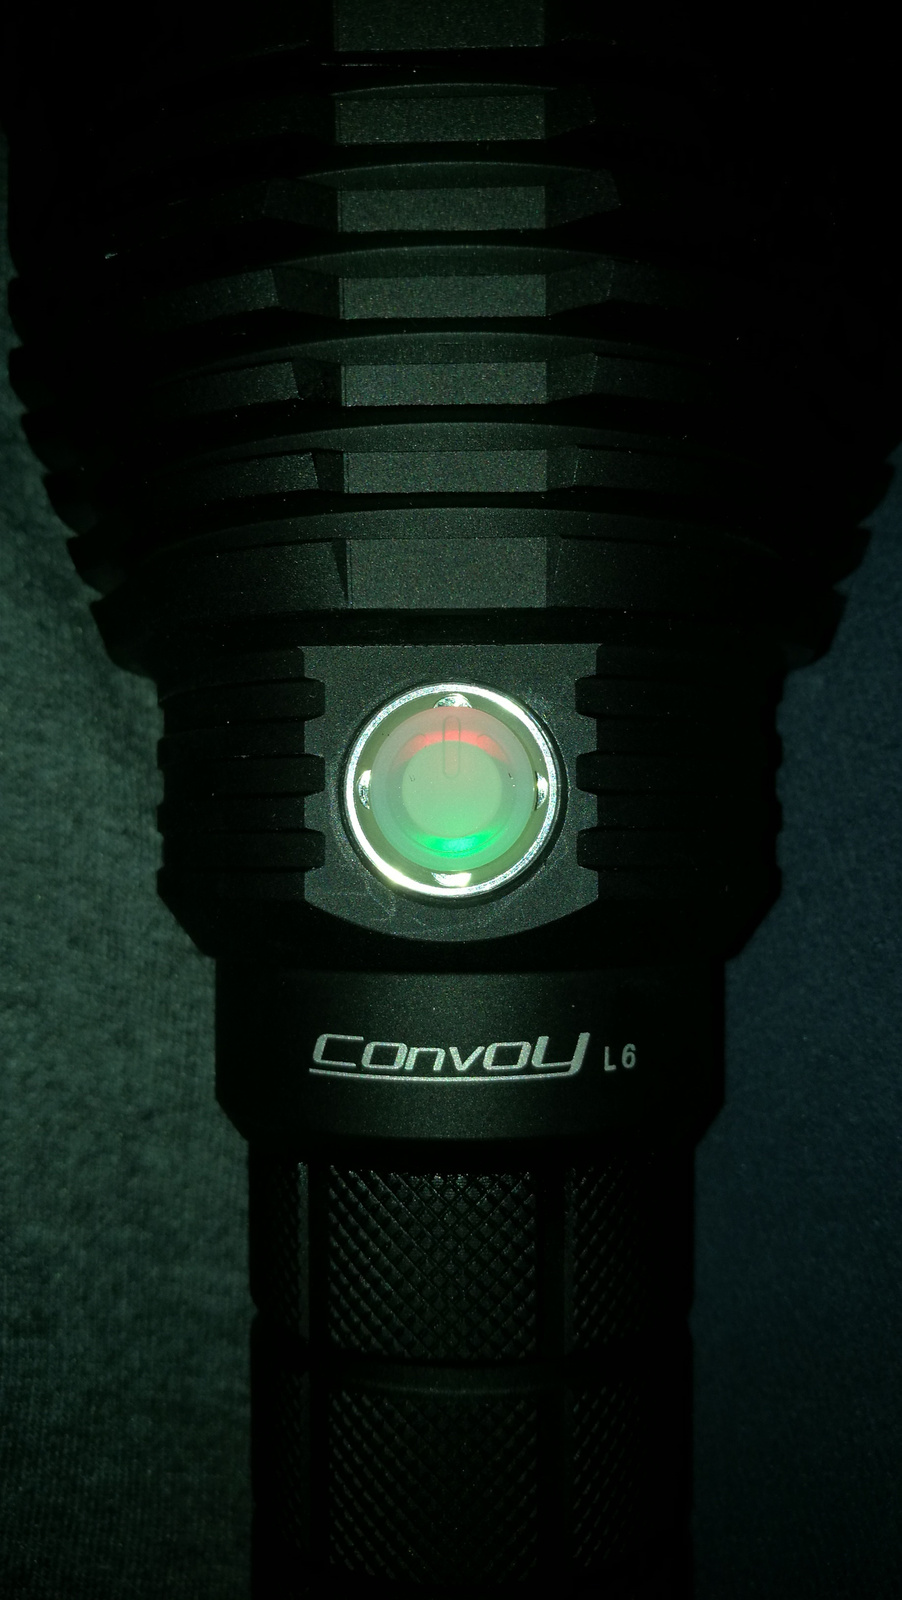
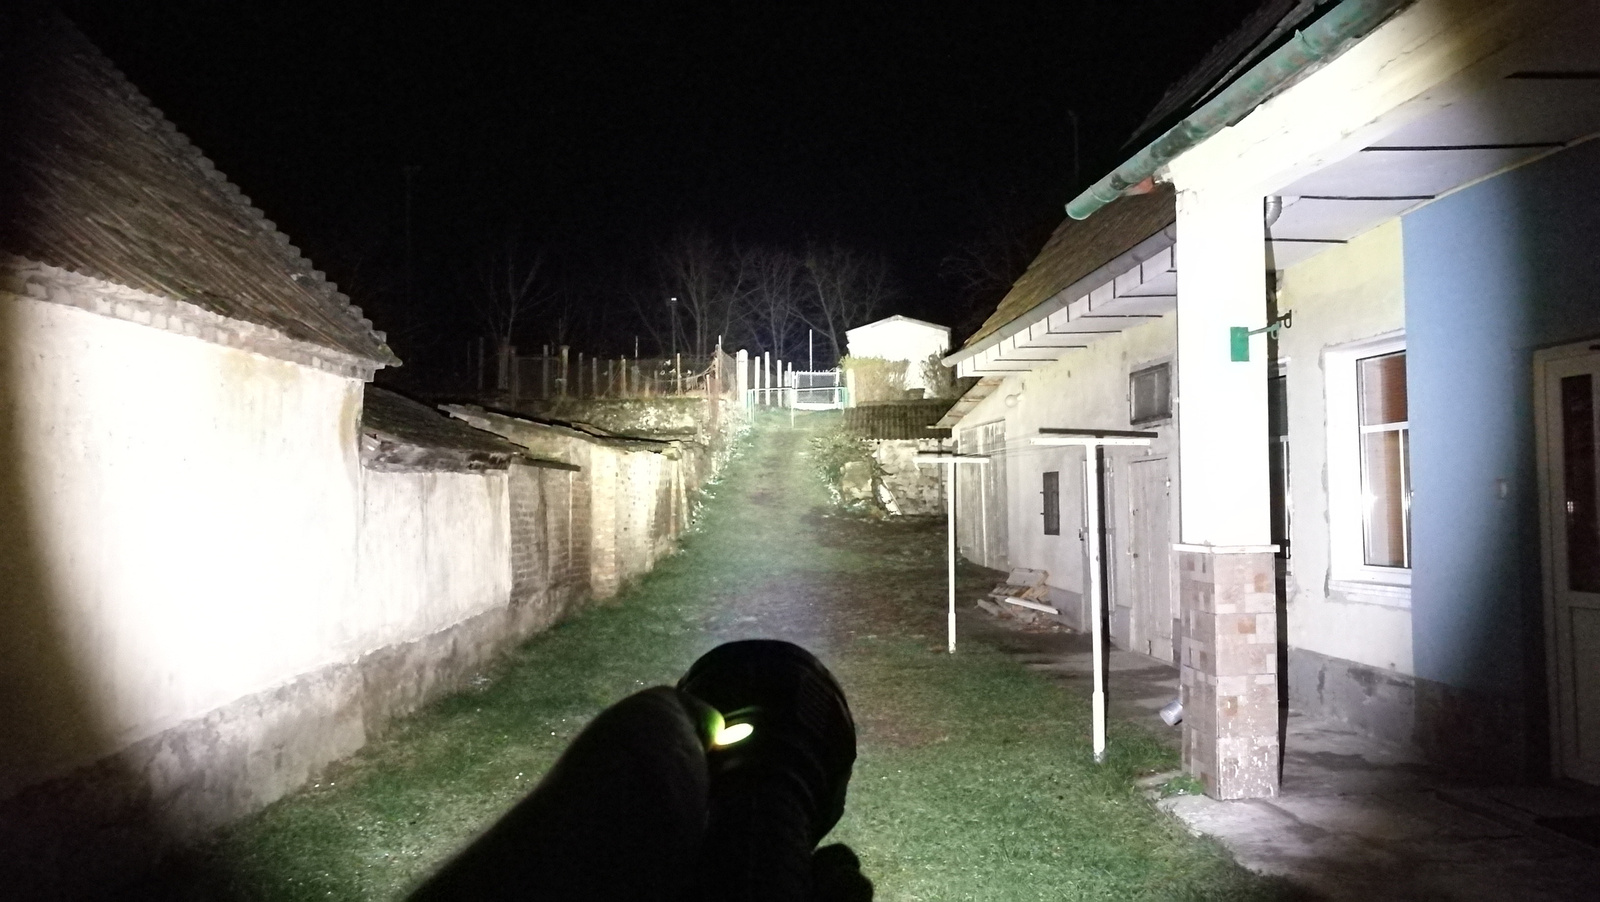
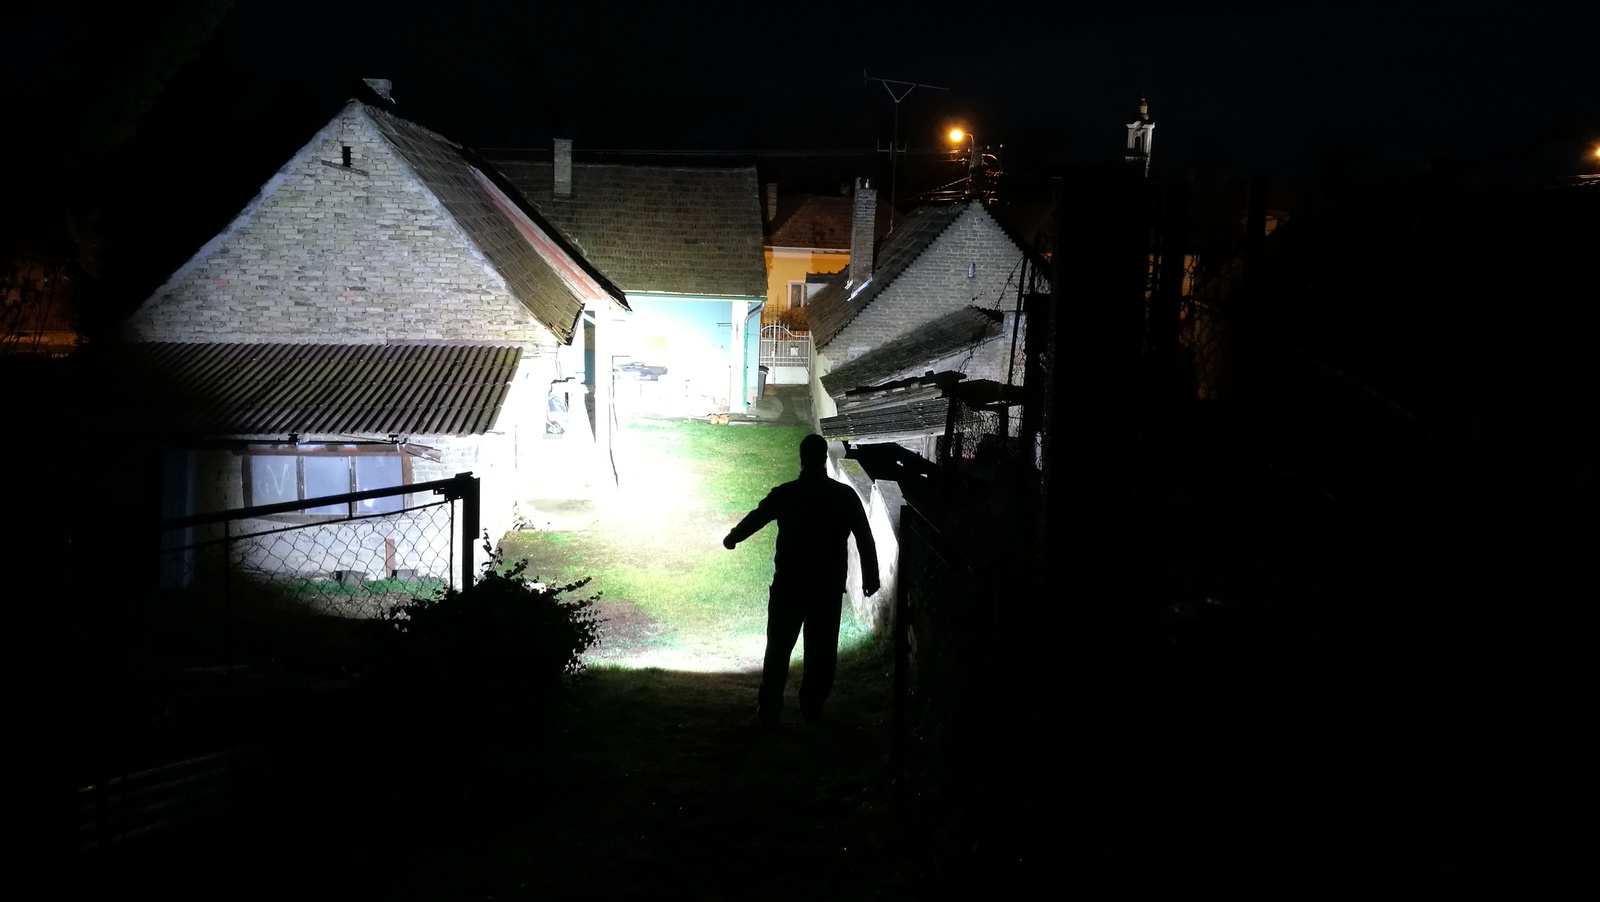
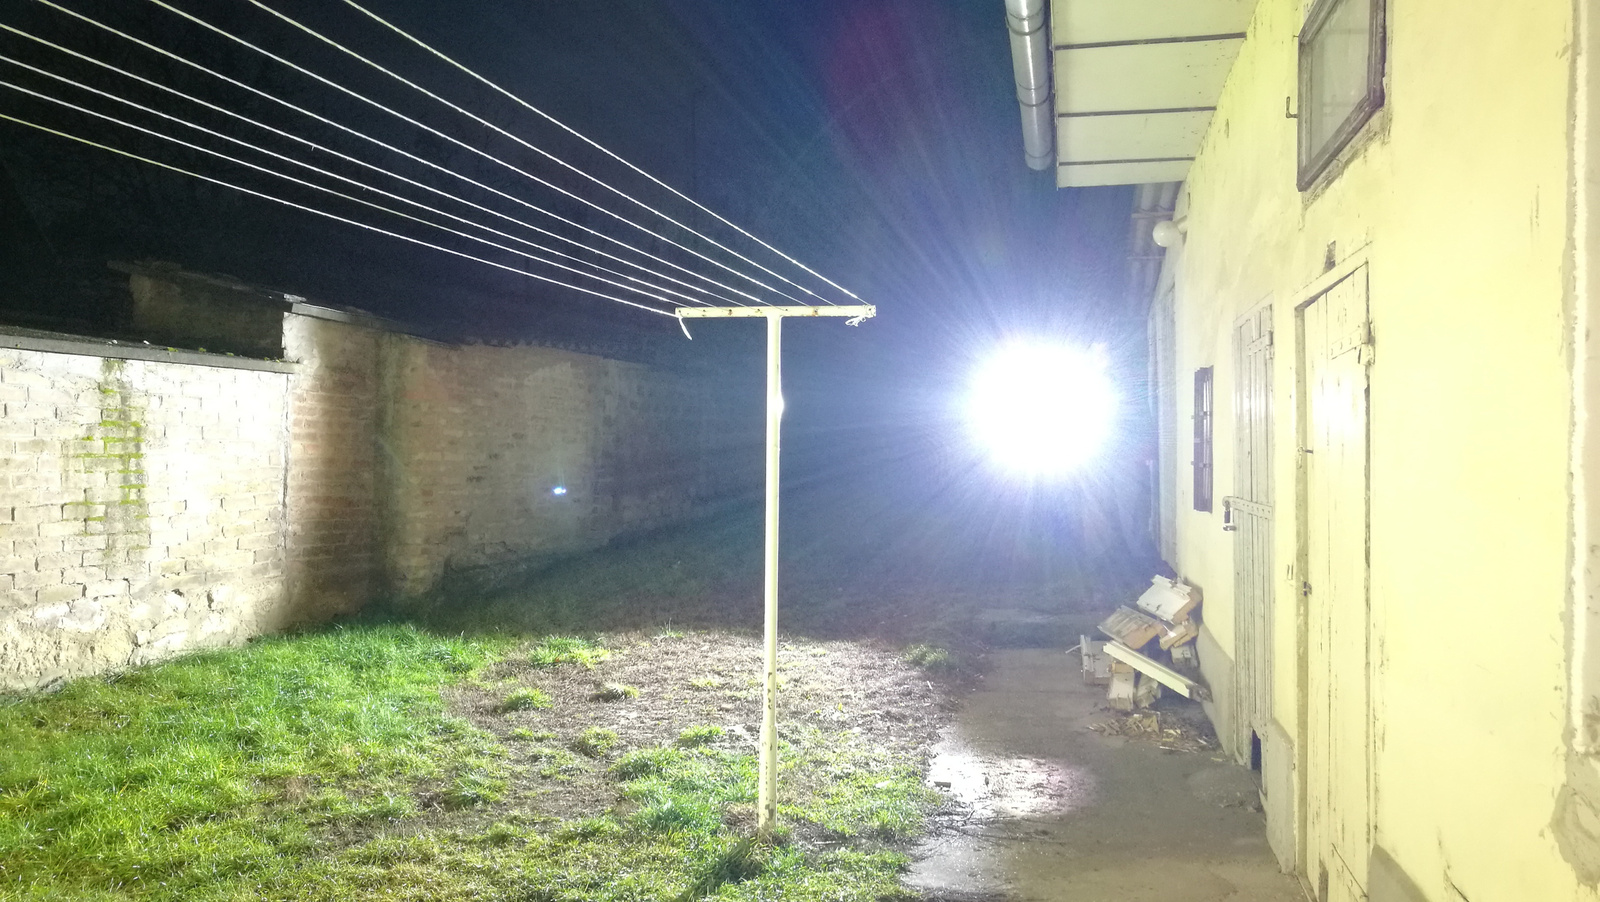
Now that I showed my led I show the complete build. I made it yesterday. It draws 17.6A and puts out 7800 lumens. I’m still waiting for SMO reflector.

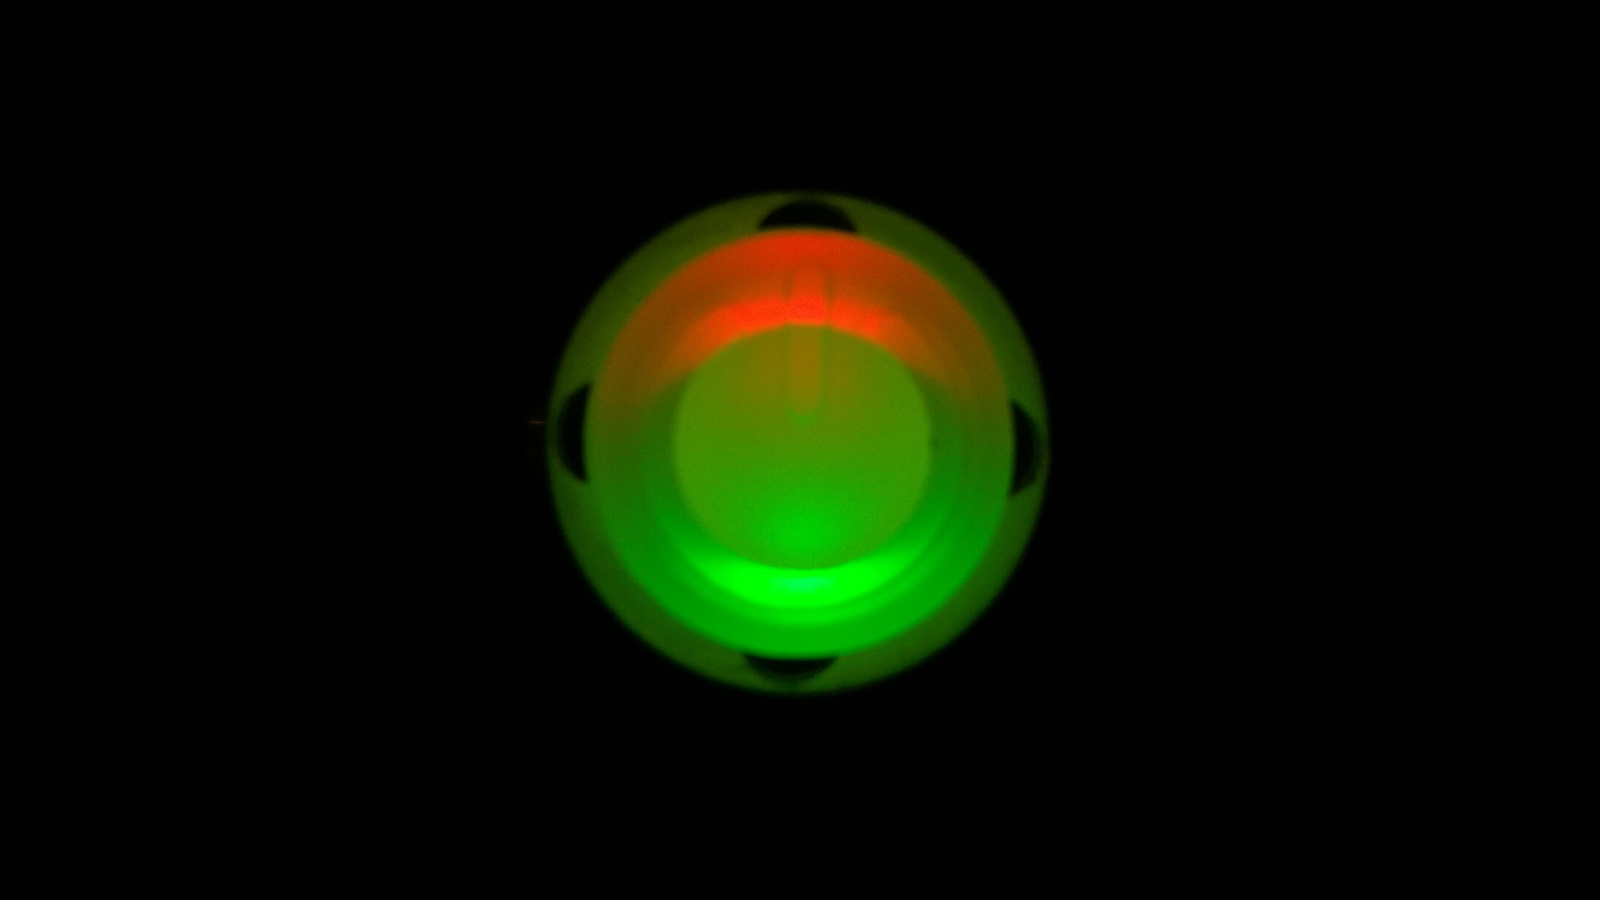
I tried to make the button light show the Hungarian flag colors (red, white, green) but in dark it only shows the red and green because I can’t put white leds in center.
Moon:
Not moon ![]()
That’s Beautiful ZozzV6 and everything I want mine to be. nice build ![]() :+1:
:+1:
Thanks! I had the driver half year ago. Just now got the led and the one L6 of the three that I decided to keep.
I used caustic soda in cold water to remove the anodizing :+1:
Here are the links to a previous experience that reports the overall process:
Today, after that I used a dremmel -like tool with a metal “brush disc” to make it more shinny!
And…this may sound strange, but not having something “good” to polish it, I used tooth paste and a tooth brush to clean it after using the dremmel disc :zipper_mouth_face: Not bad, but not the best method, for sure ![]()
BLF GT Modified…….De-domed E4 XHP35A-00-0000-0D00E40E1 That I purchased from here… Cree XLamp XHP35 High Density LEDs I bought the triple and de-domed all three.


Boosted the driver with a R075 for 3.01amps at the emitter. De tuned with 4.5’’ long Tinergy 24awg leads I reduced the current pull to 2.76-2.78amps at the emitter, where my Light Meter stayed steady. (Ghetto Tuned)


I marked the leads at what I thought were 1/2’’ lines, but they were 1’’ lines, and dropped the driver, unsolder the leads, snipped (a 1/2” at at time then a 1/4’’ when I got closer) then soldered the leads to test, till I got the desired pull (current increase) from the driver, and the light meter didn’t increase, Never upsetting the reflector/head set-up.


Played with a 12v XHP70 while I was at it… 
Does it throw better than XHP35 HI E2?
Yep when both drivers were stock, and both being CW, according to my light meter.
And now the E4 is boosted, YEP! Possibly more LUX gain when I shave the centering ring bar down, I opened up the holes in the bar and mcpcb slightly to allow more float, kept the mcpcb screws slightly loose, the spot didn’t look right after the re-flow, it needed better centering, loosened the head and tightened it a few times, floated it in, the spot looks great now crisper! It’s a Massive reflector, so any misalignment your going to see it, so is the meter!
You’ll see when you get yours and start messing with it…