Encouraged by the good perfromance of the Optisolis leds, I was thinking of how to build a flashlight with the 5000K one. The obvious form for a led with such non-uniform emitting pattern would be a mule, or a fixed convex lens close to the led (like the Klarus Mi1C or the Sunwayman T26C), but I'm not too fond of their beam patterns. So my goal is a very floody flashlight that still has a more or less directional beam. I got away with an XHP50 once by filing the underside of the OP-reflector of a Convoy S8 away so that the protruding ring was gone and the underside of the reflector was completely flat, the led was too far into the reflector and that mostly smoothed out the black cross, at the cost of throw. The idea was to try this with an S2+, and if any irregularity was leftover in the beam I would solve that by frosting the inside of the lens with sanding paper. And because the beam coming out of this led would be rubbish anyway, I decided on a quad to obtain at least a light with close to a decent output. And so it happened.
I used a grey S2+ with short tube and sanded the rim on the underside of the reflector completely away. Then I opened up the reflector hole to 10mm with a reamer and cleaned it all with running water and soap. I put two layers of Kapton tape on the underside to prevent shorts with the led wires.
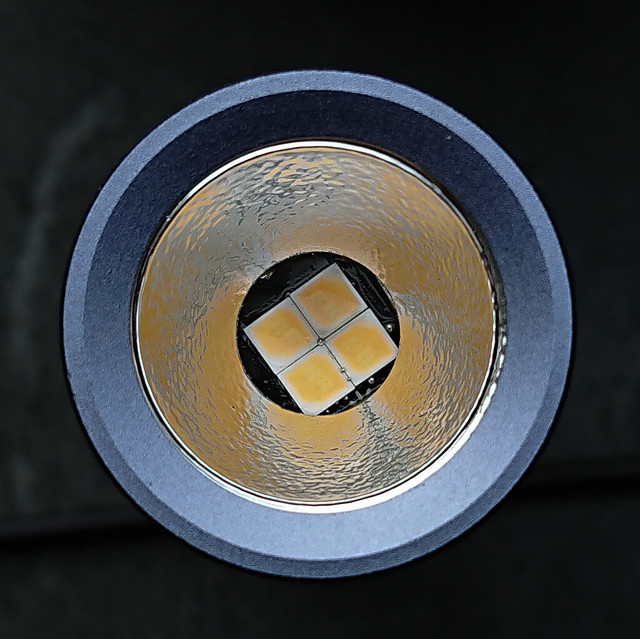
The leds were reflowed on a 16mm DTP XM-board. That fits reasonably well, but I did scratch some solder mask away (not in picture yet) at the outside of the electrical pads.
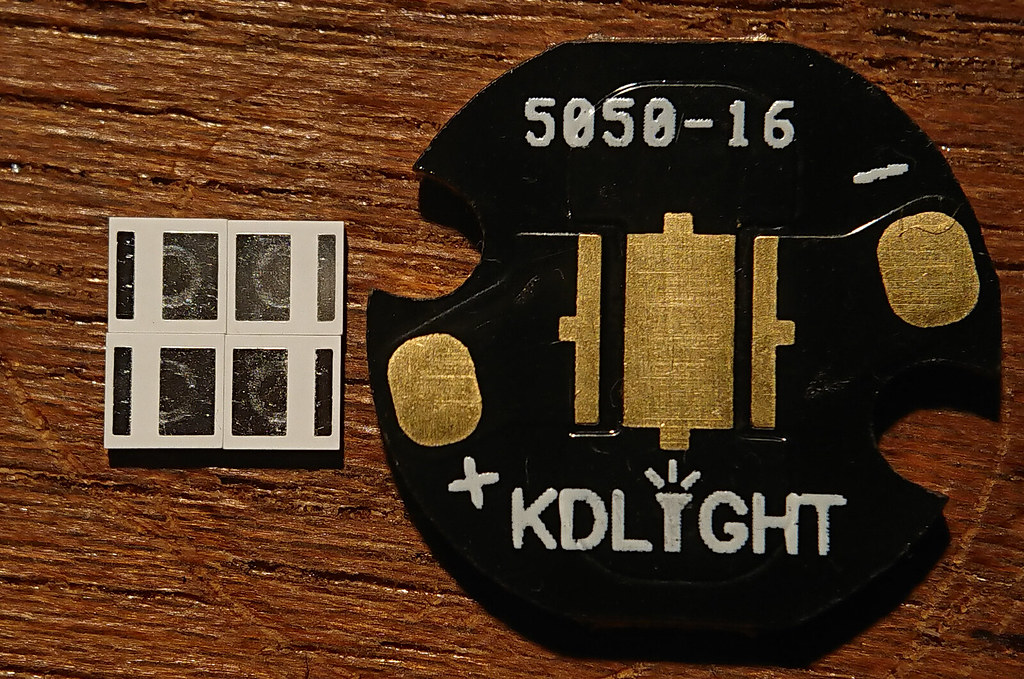
Now both electrical pads are led+ and the central pad (and core of the board) is led- . So I connected both wire-pads with a piece of wire (that also served as a raised barrier for the reflector to push against, obviously a plastic centerpiece does not work, and is not needed), and created a new minus-wire solderpad by scratching some solder mask away to the core and put some solder on top.
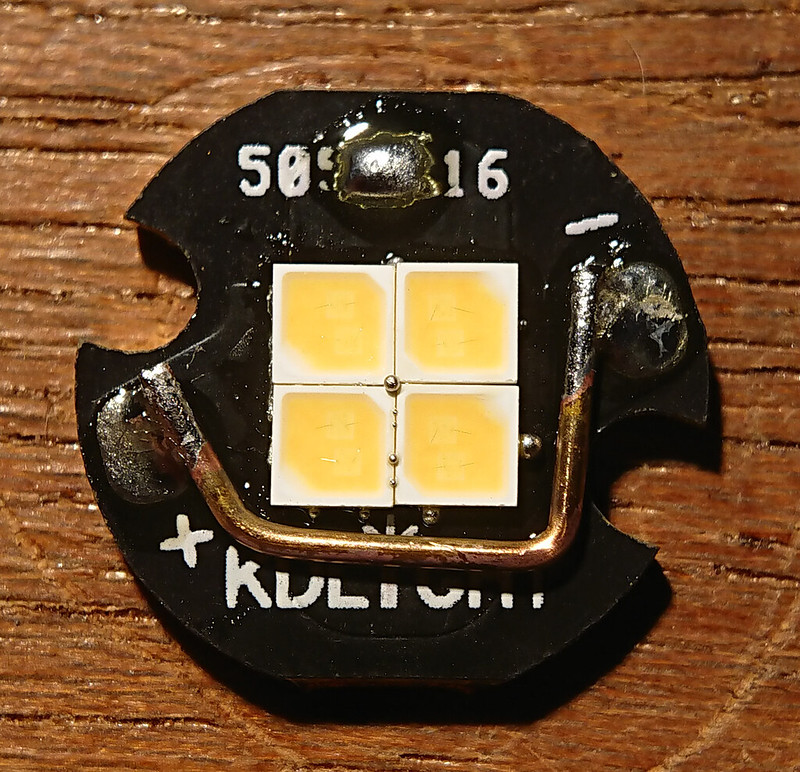
This way the large pads that are directly under the dies are on the DTP middle pad of the board. Good for heatsinking but bad for the electrical connection: the setup now suffers from the 'Black Flat' problem of a non-electrically insulated thermal pad  .
.
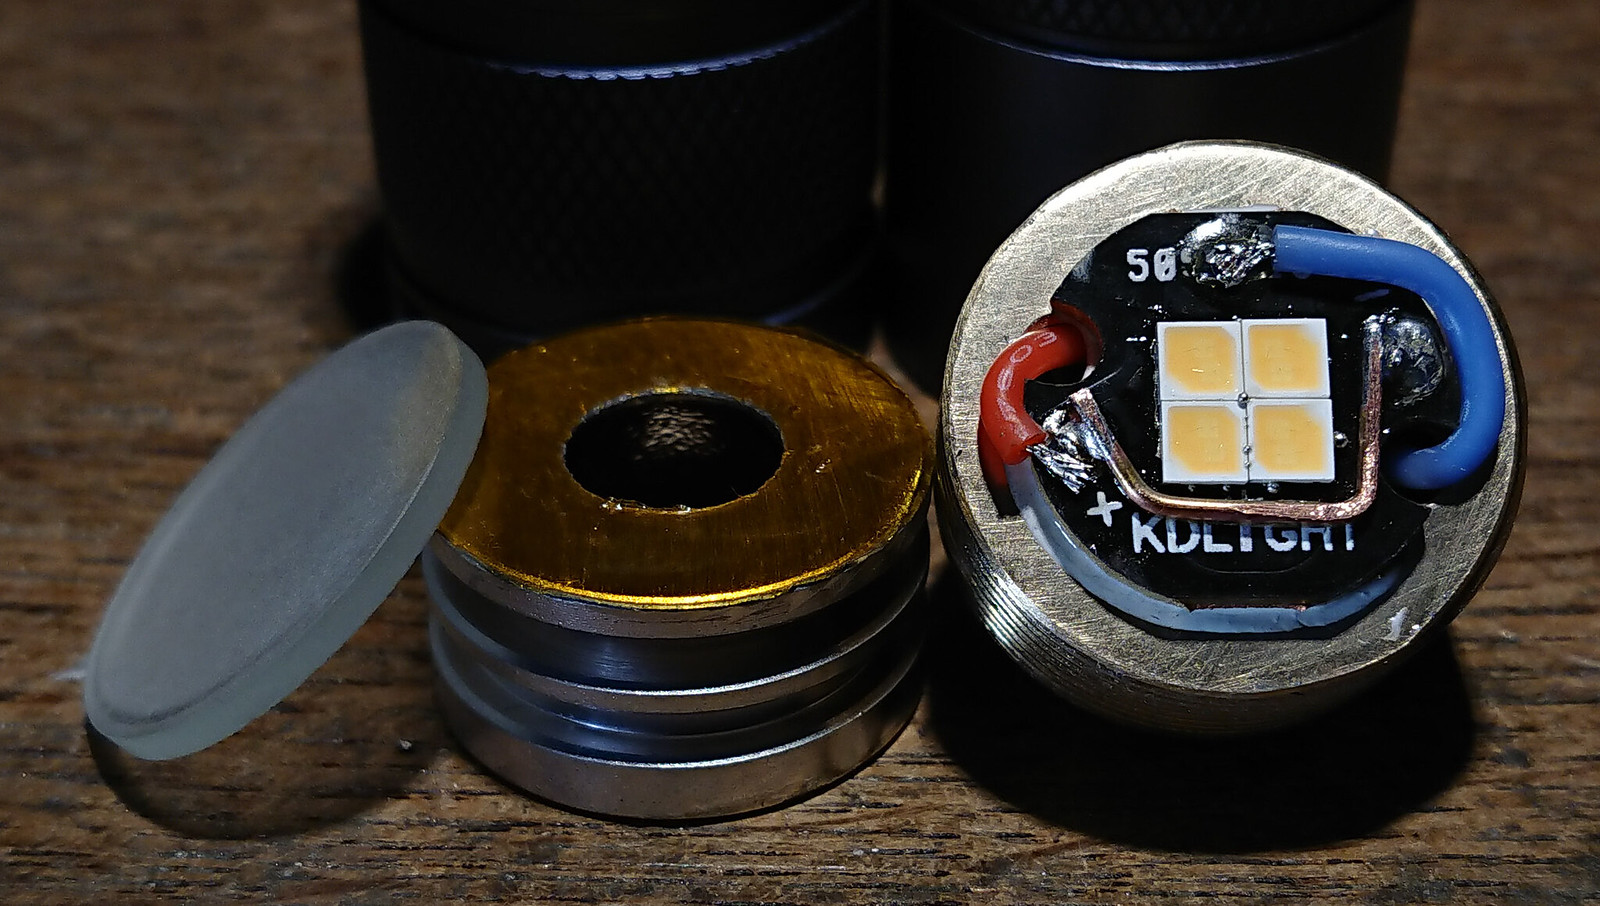
As I found out the hard way, the only way to get this done is glueing the ledboard on its shelf by Arctic Alumina Adhesive, but not before both surfaces are completely flattened. So I sawed the rim off the upside of the S2+ pill and then sanded it very very flat with the disk sander and then even smoother with fine sandpaper on my dedicated flattended iron block. I made the ledboard just as flat as the pill and then glued it with a thin layer of AAA. So now I had good thermal contact with electrical insulation. and hopefully it could withstand the pressure of the reflector when screwing in the pill  .
.
The driver is a 6x7135 (so 2.1A) biscotti driver, with thanks to Steve (MRsDNF) :THUMBS-UP: for sending me a couple of those with the correct firmware.
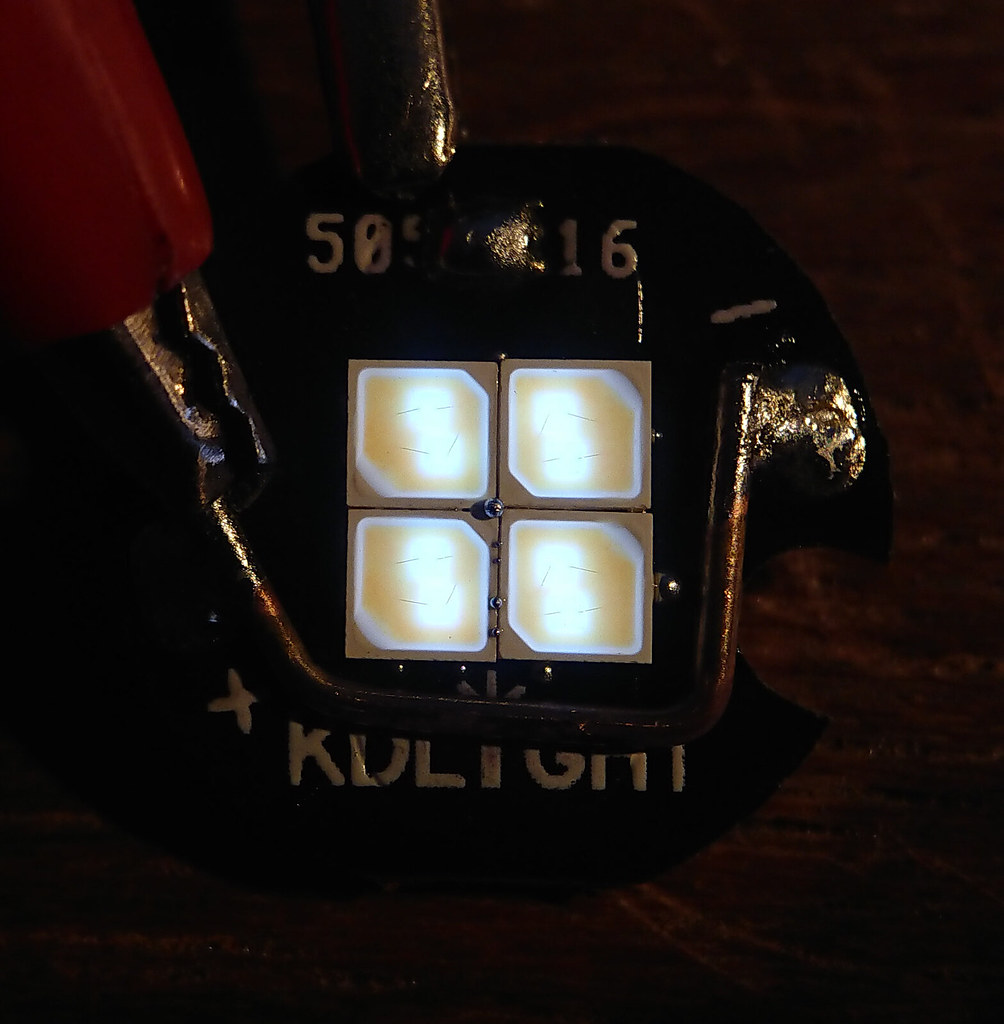
And happy enough it all worked and I got a healthy 460 lumen out of the flashlight on highest setting, stable with hardly any thermal sag.
Now for getting the beam right. The reflector did not really center the leds which does not look nice but may actually be better for the beam.
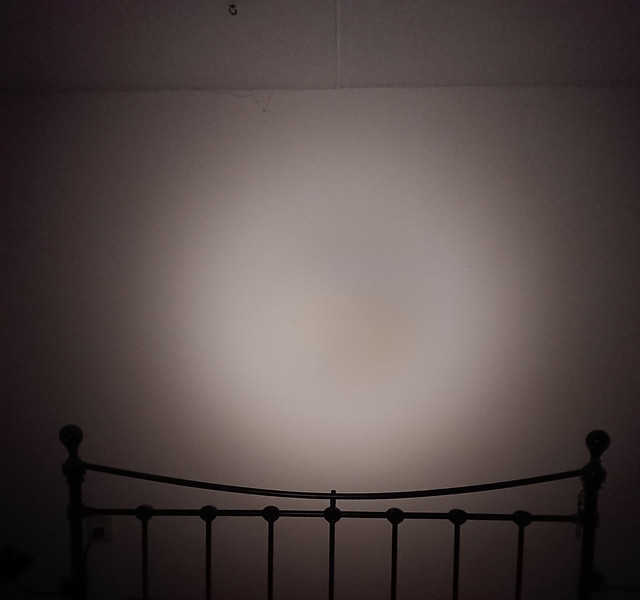
But the beam, although it had no obvious donut holes was not what I want for a nice flashlight like this (beams are at 2.5 meter from the wall):
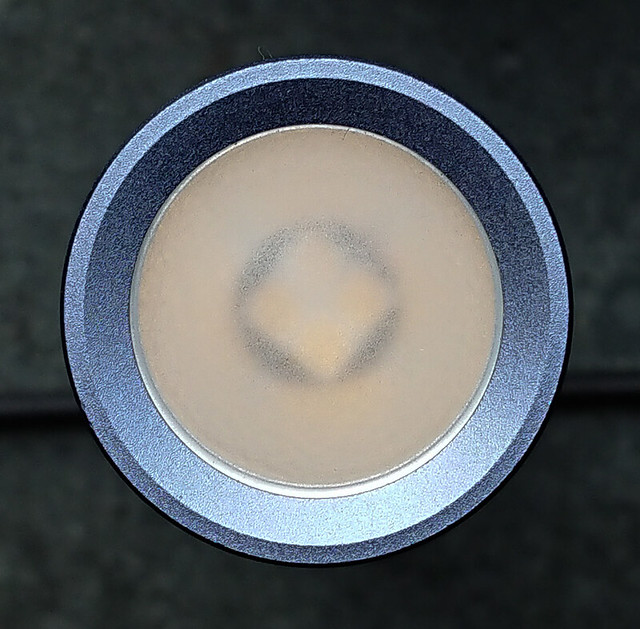
So I frosted the inside of the lens wit fine sandpaper, with the added advantage of blurring the visibility of those non-centered leds a bit :-) :

That improved the beam a lot, but it was still not really smooth:

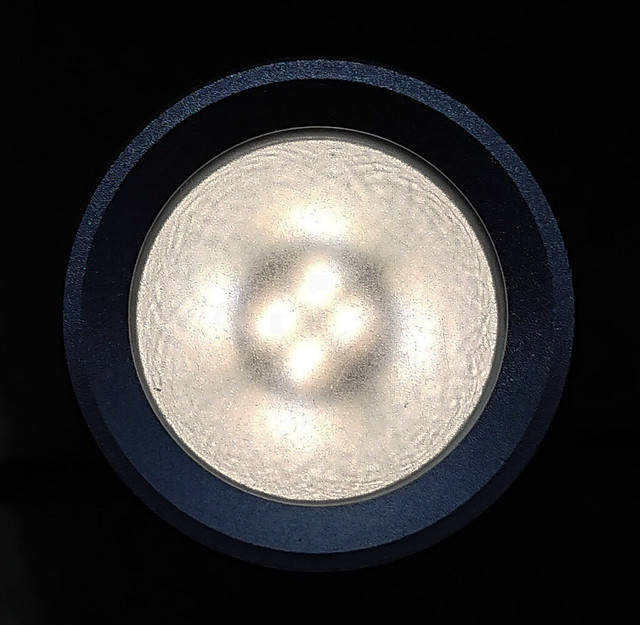
So now some heavy frosting with courser sandpaper (180 grit):
And lucky me this time when screwing in the pill, even the leds were centered much better (I have not touched it since to not try my luck again :-) )
With light on low:
And the beam is great now, floody but still directional, with very smooth brightness transition from center to edge:
The output has decreased a bit by the frosting, went from 460 lumen to 424 lumen (lost 8%) but it has become a real gem of a little flashlight.
And now I'm going to enjoy that great tint! 
