I like your LED reflow technique with the birthday candle mounted on a coin. :partying_face:
Thanks for the ups :innocent:
Yes, I have a lathe. No, there is not likely to be run of these (by anyone). The angular style pocket clip seems to fit the design of the light but both the clip and body are not very durable materials.
I modified a 4.25” bar of 6061 T6 into a LOT of shavings! ![]() It was only 1.75” long but still, the pile of shavings took most of 6 hours. What a mess I have!
It was only 1.75” long but still, the pile of shavings took most of 6 hours. What a mess I have! ![]()
Made a copper spacer to upgrade to XHP35 HIs on my TM16GT. Still need to do some more filing on the MCPCBs before they will line up with the reflector.

Lol, I’ve made a flying birds nest before. Made me jump ![]() :person_facepalming:
:person_facepalming:
+1 on the others. That is one real nice looking torch. ![]()
WillyD, nice mod on the TM16, if I recall correctly doing similar to mine produced some 7000+ lumens and a nice beam profile. Too bad I had to sell it…
WillyD
Sweet mod, looking fwd to see it completed. ![]()
A C8 host was eating dust on a shelf when djozz offered to do a groupbuy for some ZWB2 filters . Well, he did not have to twist my arm to get on-board. Plus I ordered a 3rd-gen LG UV-emitter from Simon. From previous tweaking on other C*’s I still had a C8 size smooth  XR reflctor from Fasttech. To sum it up: I used a LD-1 driver from member led4power in DD-mode. There was a snag, however. The reflector was about 1mm shorter than a regular C8 reflector.
So I made myself a shim  All I needed was one copper Canadian cent, a lapping stone, a small round file and an ounce of elbow-grease. When that was over I could assemble the lot, and this was the result.
A Convoy C8 Black Edition!
It has turned out to be a real (UV) thrower, but I am not able (yet) to show it to you, because White Walls Won’t Work ![]()
Appreciate all the pointers you provided as well. I sort of wish I would have gone with 26mm boards as the pads would have been further away from the reflector openings. If I do get this to work, I’ll be using a lot of Kapton tape. As soon as I get my Texas_Ace lumen meter, I’ll get a measurement :+1:
Thanks. Honestly, I should have had this done by now, but I keep putting it off. A little more filing on the MCPCBs and on the reflector and she’s ready to wire up.
No no…you mean it’s a ‘Murdered Out’ C8 ![]() Looks pretty cool!!
Looks pretty cool!!
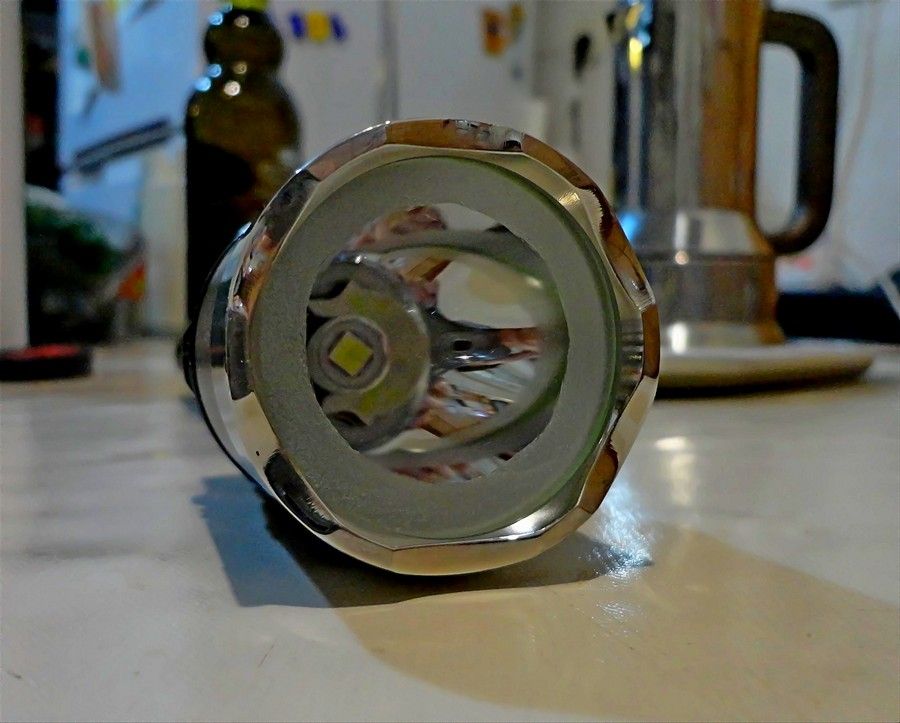
Today I modified an X8 (trustfire X8, but without the “trustfire” trademark);

I replaced the LED, from XML to XHP50 and replacing the drive with this one. (one mode version)
I left the original SMO reflector and to eliminate the central black hole I sanded the front glass, in its perimeter (as you can see in the picture) the black hole disappeared. I feel satisfied.
I also changed the button with a forward; I can use it for research and for signal
Now add these two photos: the first is the light of the X8 at a distance of 6 meters, the exposure is automatic; the second I obscured in “post-production” a little to highlight the center
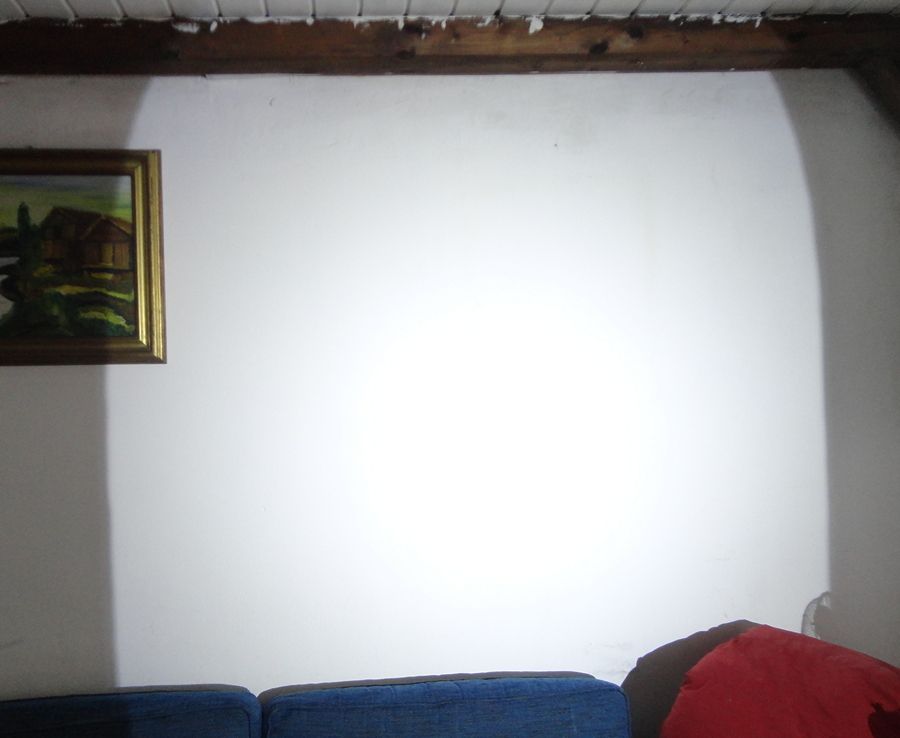
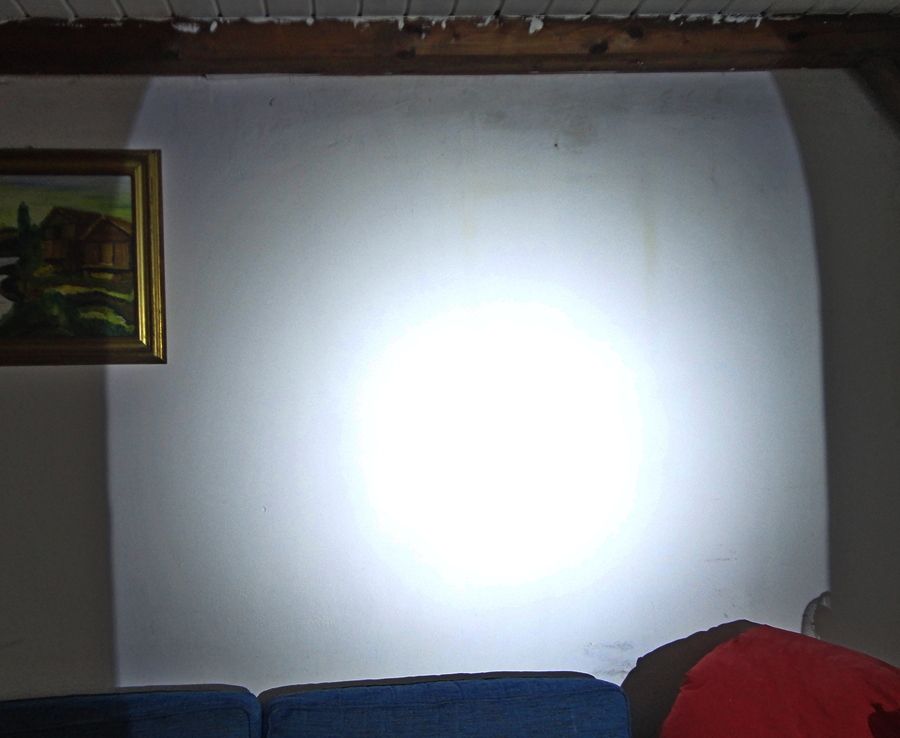
the shadows are due to the presence of an arched door.
^ good thinking!, that is a innovative way to solve the donut hole problem without loosing too much light!
Yeah, good idea. The black hole is completely gone? Or still slightly visible but much better? Could maybe a ring of DC-Fix do the same job?
Before emerying the glass I have tried with a plastic art ring, adhesive, semitransparent and it does the same thing. I have chosen to emery because the plastic was absorbing heat
Today I got Anduril running on my BLF GT. This mostly involved adding pin7 voltage support, adding GT buck driver support, and doing a bit of calibration.
So now it runs on D4, Q8, FW3A, and GT.
As sort of a side effect, I think the GT’s moon level is lower now… not that that matters on a thrower.
^ Hmm, it will never be the furthest throwing moon….
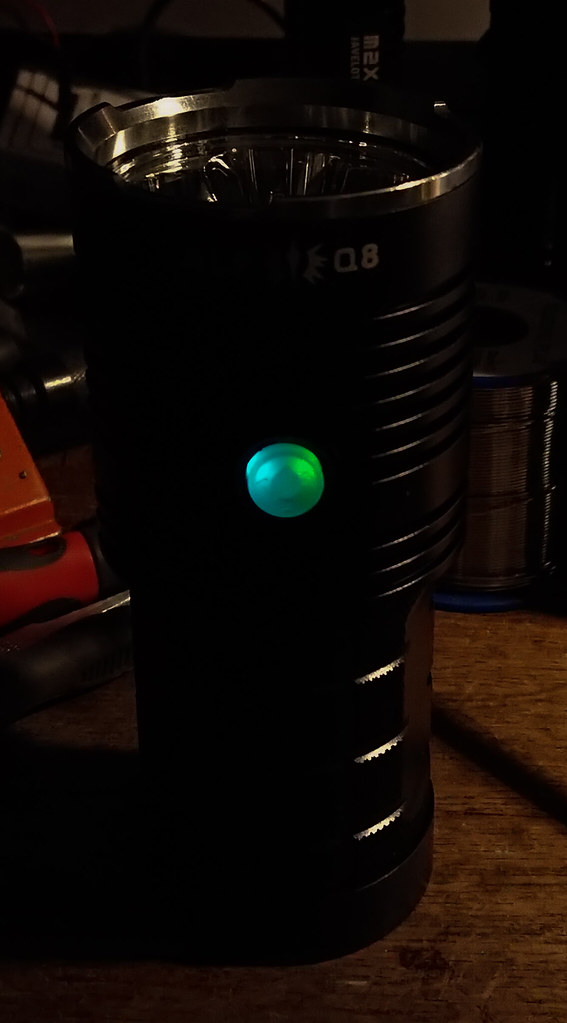
Today I swapped in 4 Samsung LH351D leds (4000K 90+CRI, obtained from member AEDe) into a Q8, and while at it swapped in pretty switch leds.
Compared to stock the beam looks good,the spotsize is virtually the same. As in my other LH351D builds the tint is best at full power, and becomes a bit yellower when ramped down and even slightly greenish at lowest powerlevels. But nothing serious, one (as in: the tint-snobs) gets more and more sensitive to tint over time. While not whitewallhunting the illumination it gives is plainly wonderful.
With phosfor-bronze tailsprings and fresh 30Q’s the light draws at max around 18 amps, the output at 30 seconds is 4600 lumen (4750 at switch-on). Very nice for leds of this light quality!
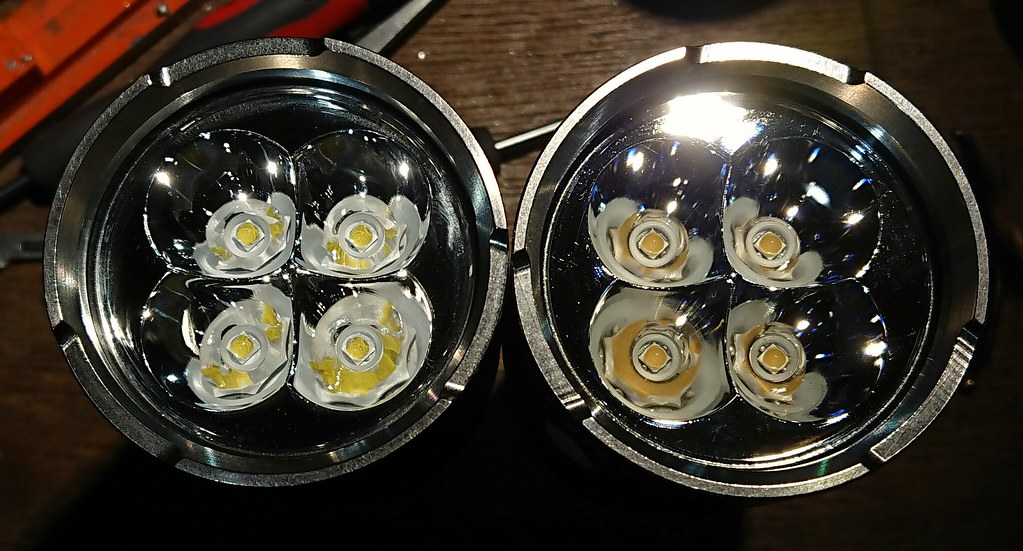
(left stock Q8, right with LH351D)
Edit: some Q8 lights came with AR-coated lens, I tried one on this modded Q8 and it is not good for the tint: it takes away rosiness + adds more yellow. Unlike CRI, tint is very easily influenced by optics and coatings.
No spring bypass!?
So in a light that in general pulls less current (TK05, SP10, etc.), it’d probably be better to use a B instead of D, for the higher current density (smaller chip), eh?
I was thinking that initially, but hearing about it in this case kinda solidifies it for me.
Springs were replaced with thick phosfor-bronze springs which have one-third the resistance of a steel spring but the resistance is not as low as a by-passed spring.
@djozz, why did you have to do the mod before I did?
You should’ve waited until I did mine :+1:
Also, I have the Kaidomain AR lens, and there seems to be a reverse tint shift happening. The tint actually gets better with the Kaidomain AR lens.