I received the Klarus FX10 from Flashlightz.com (for evaluation purposes). I’d like to thank Flashlightz.com for the opportunity.
Listed for $79.95 (August 7th, 2018).
I’m going to eat a little bit of crow on this light. I wasn’t exactly thrilled when I was asked if I’d review the FX10 and saw that it was a zoom flashlight. Not that I’ve had issues with Klarus – in fact I think their products are top notch – but zoom flashlights in general just haven’t done it for me. I get the fact that they’re convenient and remarkably useful – the adjustable wrench of the flashlight world, if you will – but there are sacrifices that must be made (typically in beam quality) in order to realize the ability to zoom a beam of light from flood to throw.
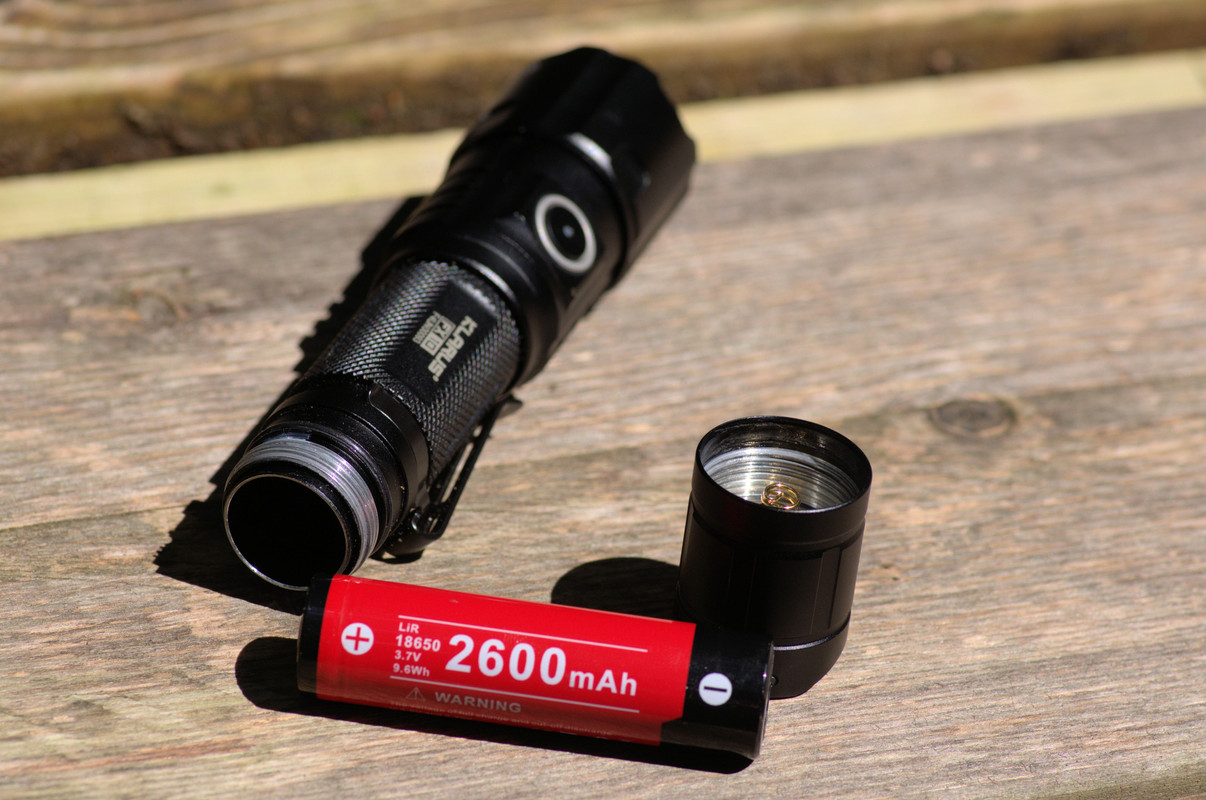
As is typical for Flashlightz.com, the item arrived very quickly and was perfectly packaged for protection. Inside the ready-for-retail Klarus packaging contained the FX10, spare O-ring, lanyard, holster, clip, manual, charging cord, and a Klarus brand 18650 battery (2600 mAh).
Just barely over 5.5 inches in length, the FX10 will fit in most larger pant’s pockets, although it is probably a bit much for most people to EDC. But that’s what the holster is for (and it is a pretty decent holster).
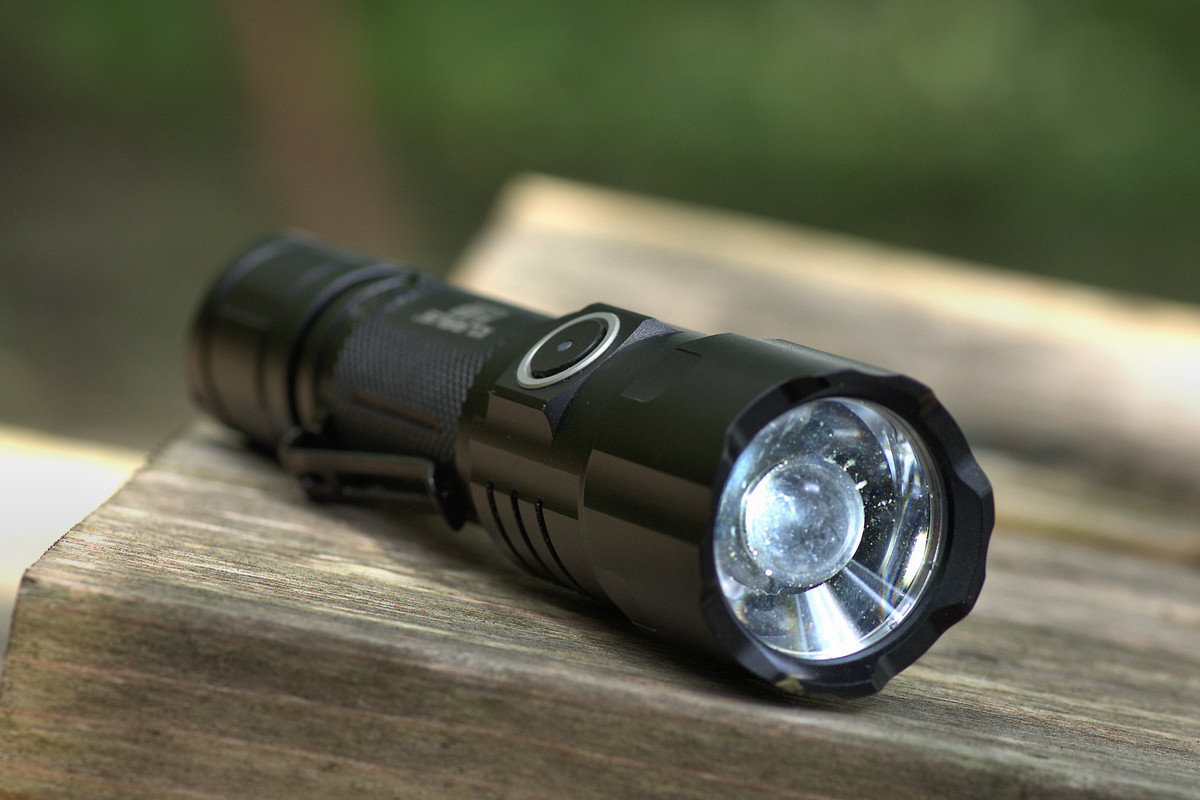
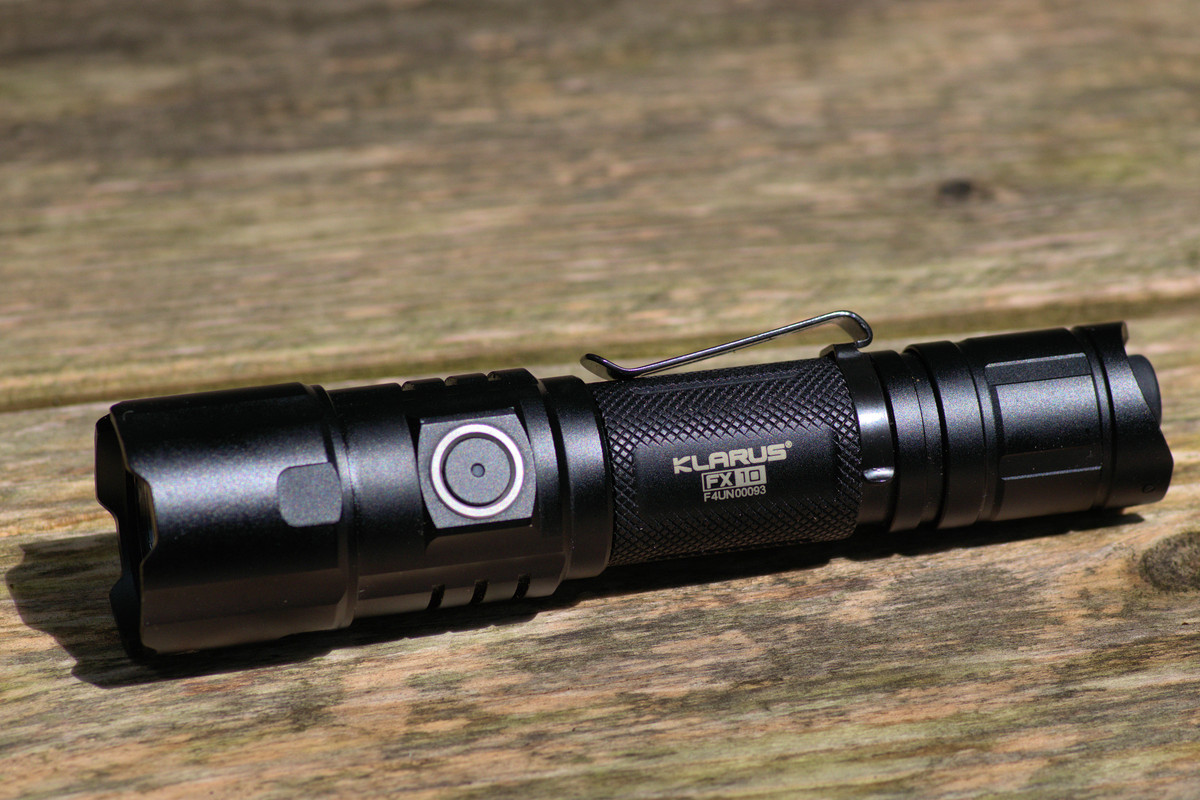
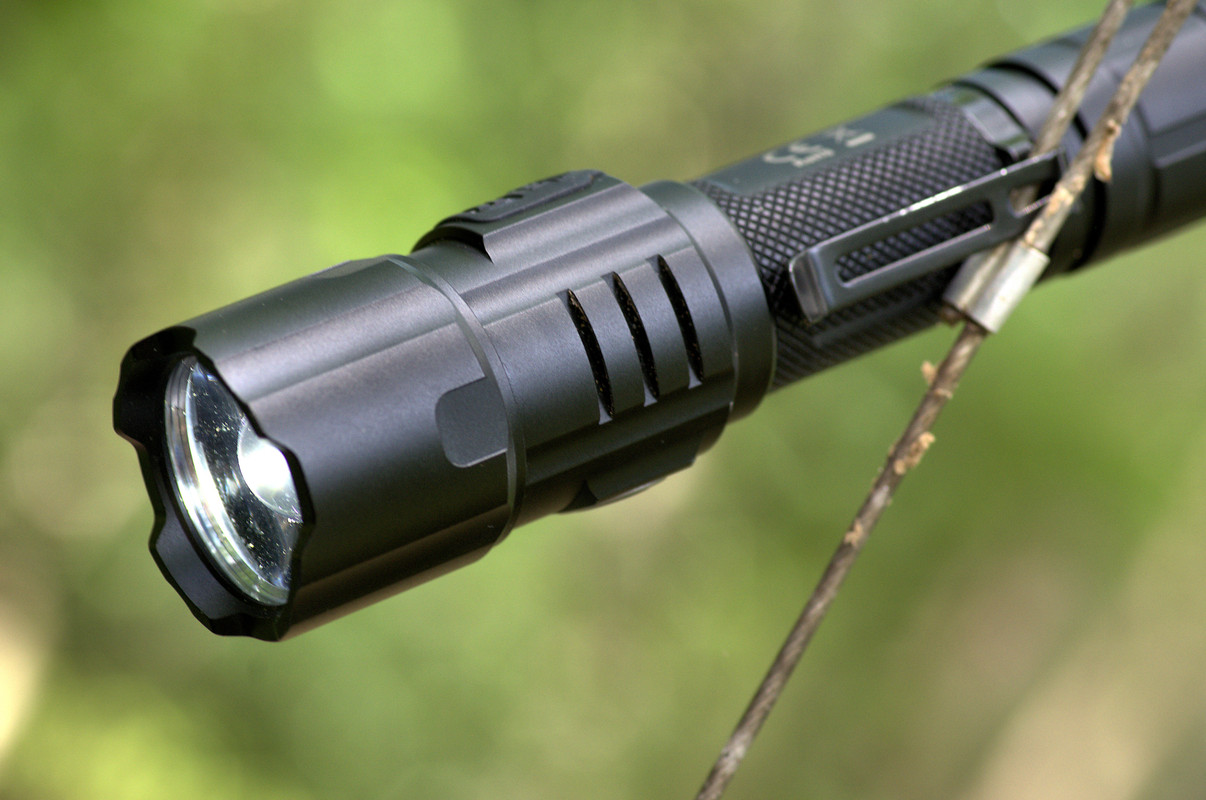
The FX10 is light in weight, but feels solid at the same time. Build quality is what I’ve come to expect from Klarus (excellent) and the finish is the same. In general the FX10 looks quite similar to some of its siblings (XT12S, XT12GT, XT11S, etc…) - a look that (IMO) is attractive but exudes a certain toughness too.
The grip is good, thanks more to the deep vertical grooves cut into the head then the cross-hatched knurling on the body tube (they’re quite small and not nearly as “grippy” in my hand). The large cylindrical grooves cut into the tail-cap aid a good grip as well.
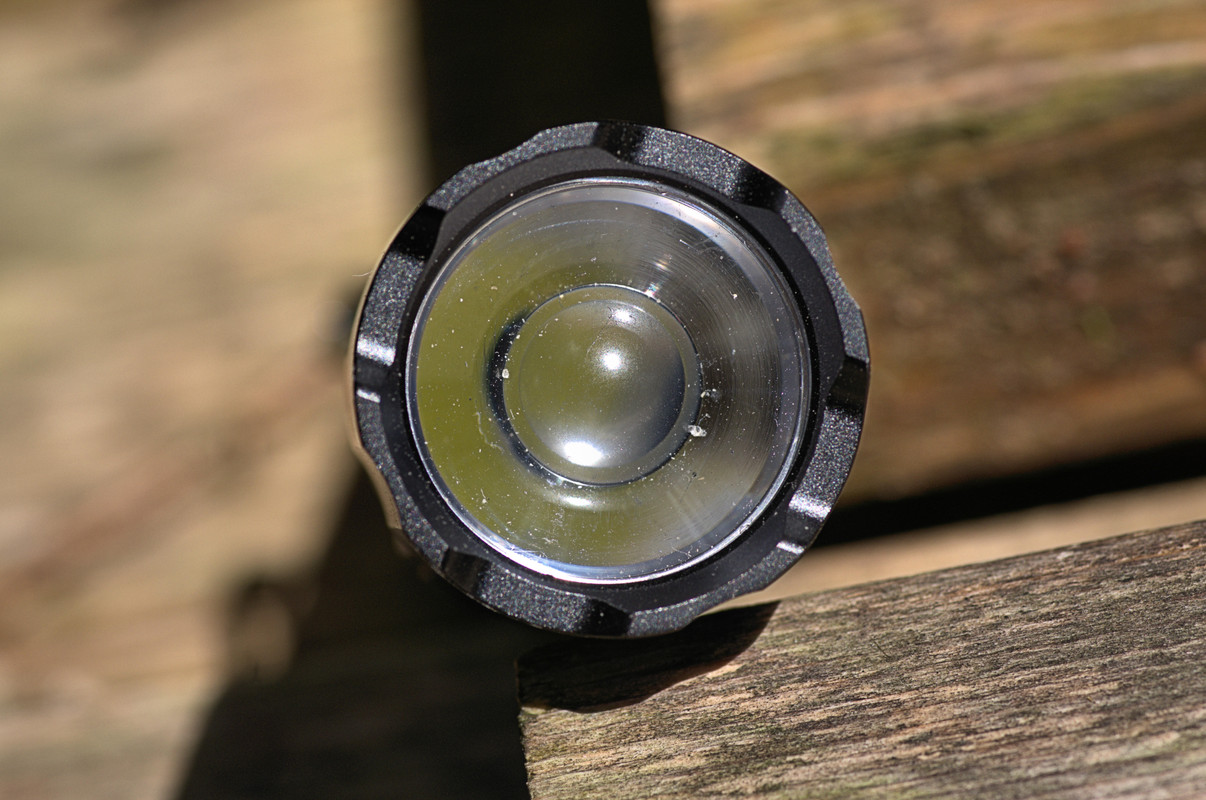
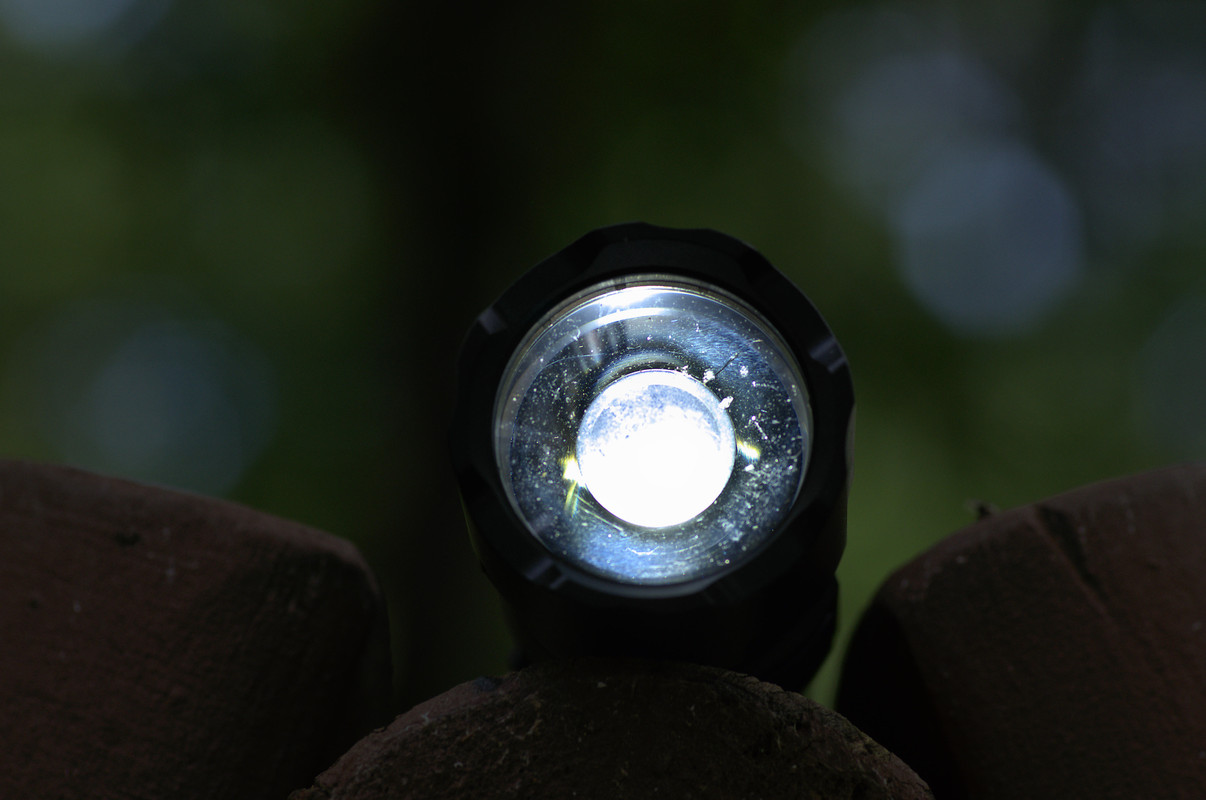
On the business end the lens is something I don’t recall seeing on other zoom flashlights: concave from the outer edges, but convex in the center. It’s a bit like sitting a small glass bowl (upside down) inside a larger glass bowl.
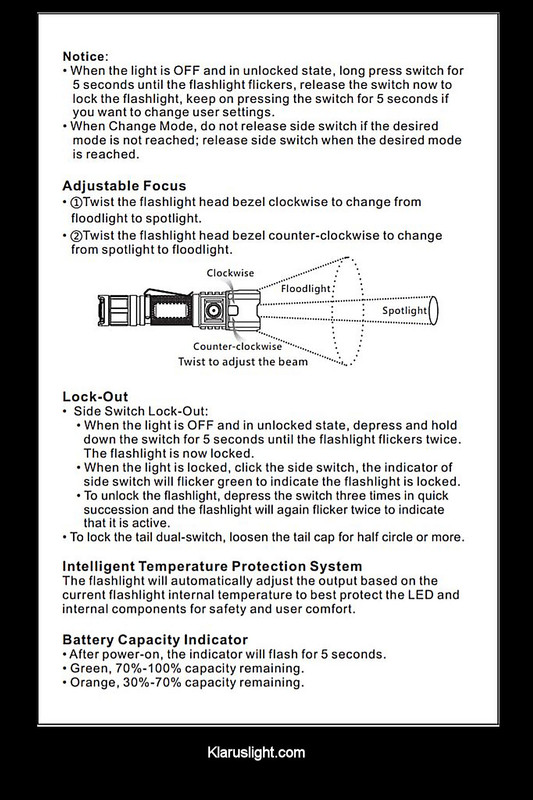
Zooming in/out is accomplished by twisting the head right or left; it does take both hands (for me anyway) to accomplish this, but the head moves quite easily while still having enough friction to keep the lens in the desired position.
The side switch is located toward the back of the head, and mounted on a raised flat surface. The switch itself is plastic, and surrounded by an aluminum bezel. In the center of the switch is an led that gives the user information (battery status, etc…). Feedback is quite good, with a very slight audible click when pressed and released.
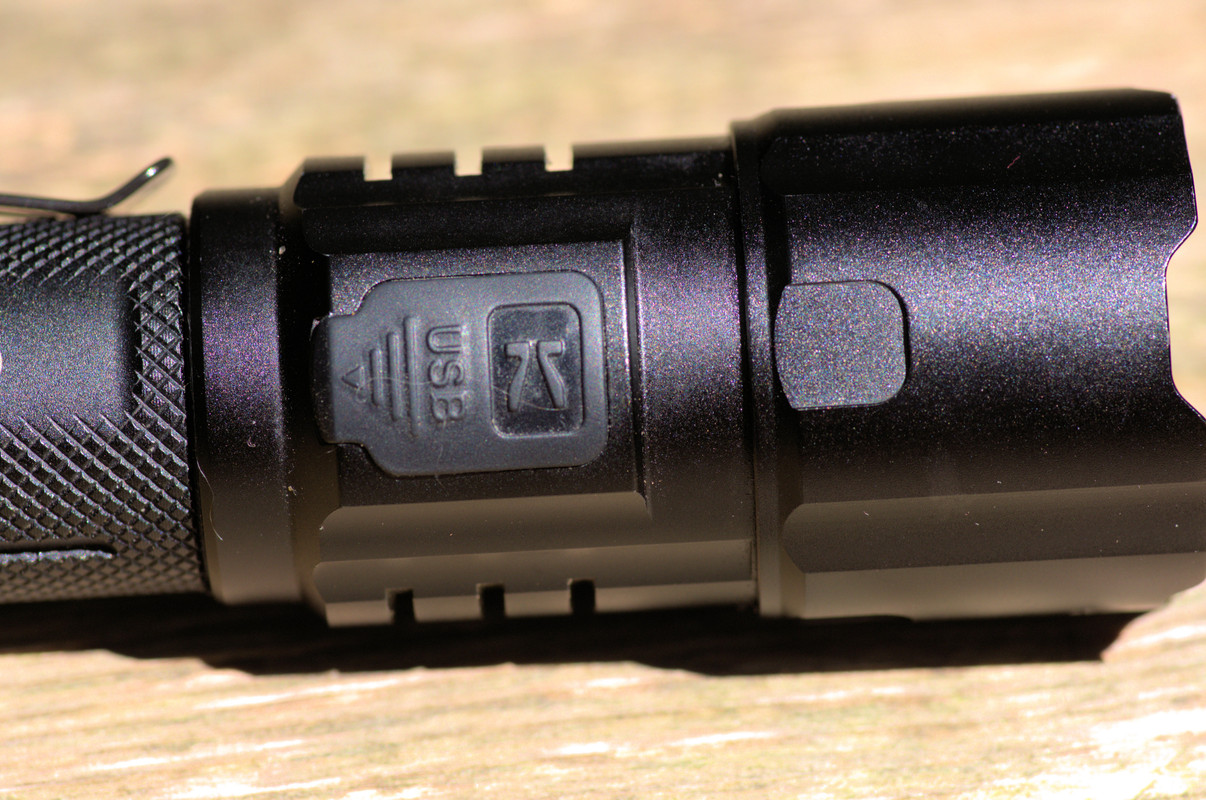
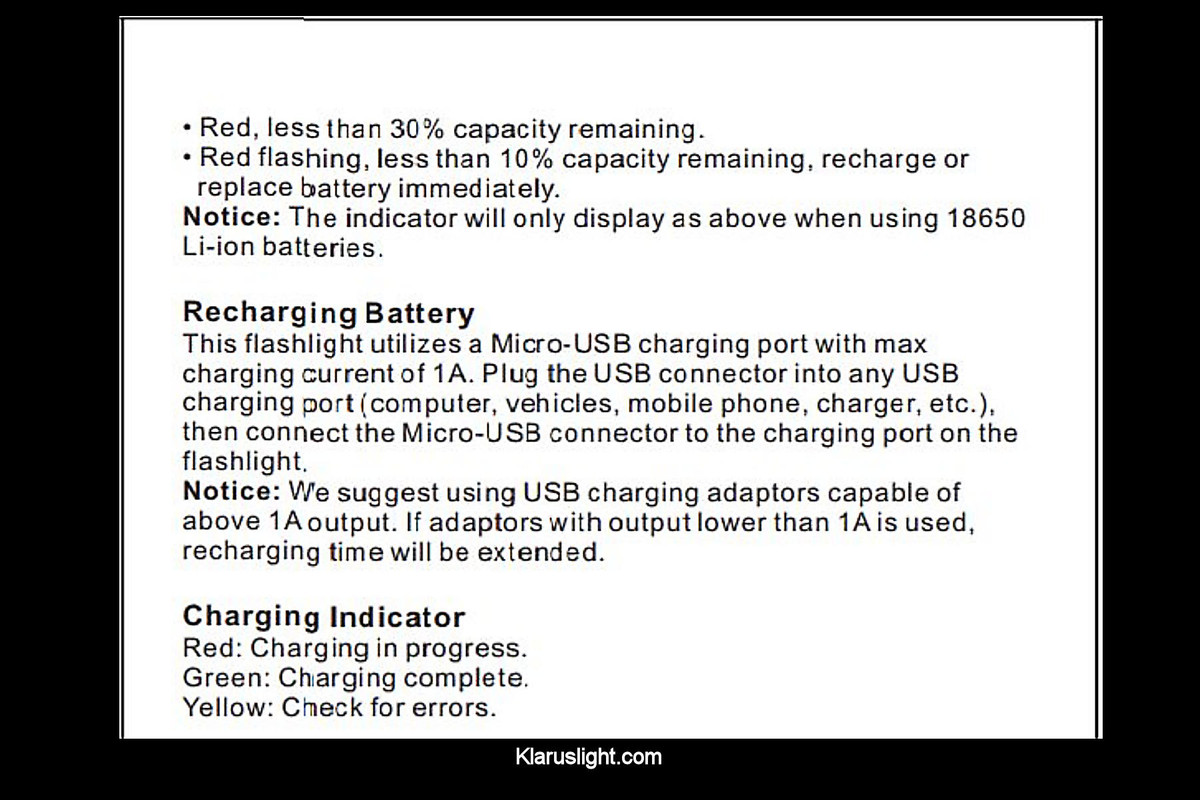
Opposite the side switch is the micro USB port (for charging the battery while in the flashlight). The port is well secured with a rubber cover that snaps tightly in the opening. Other than the initial charging (upon receipt of the FX10) I have not had to recharge the battery (and I have used the FX10 quite a bit).
The body tube does not unscrew from the head. The tube itself is mostly covered with cross-hatched knurling. Toward the end of the tube is the ring groove for the included clip. The clip itself is stout, short, and difficult to remove. For my use the clip is also too short to be really useful as a clip – in fact I would take it off if it weren’t for the fact that I position it in a manner that helps me easily locate the side switch in pitch black conditions.
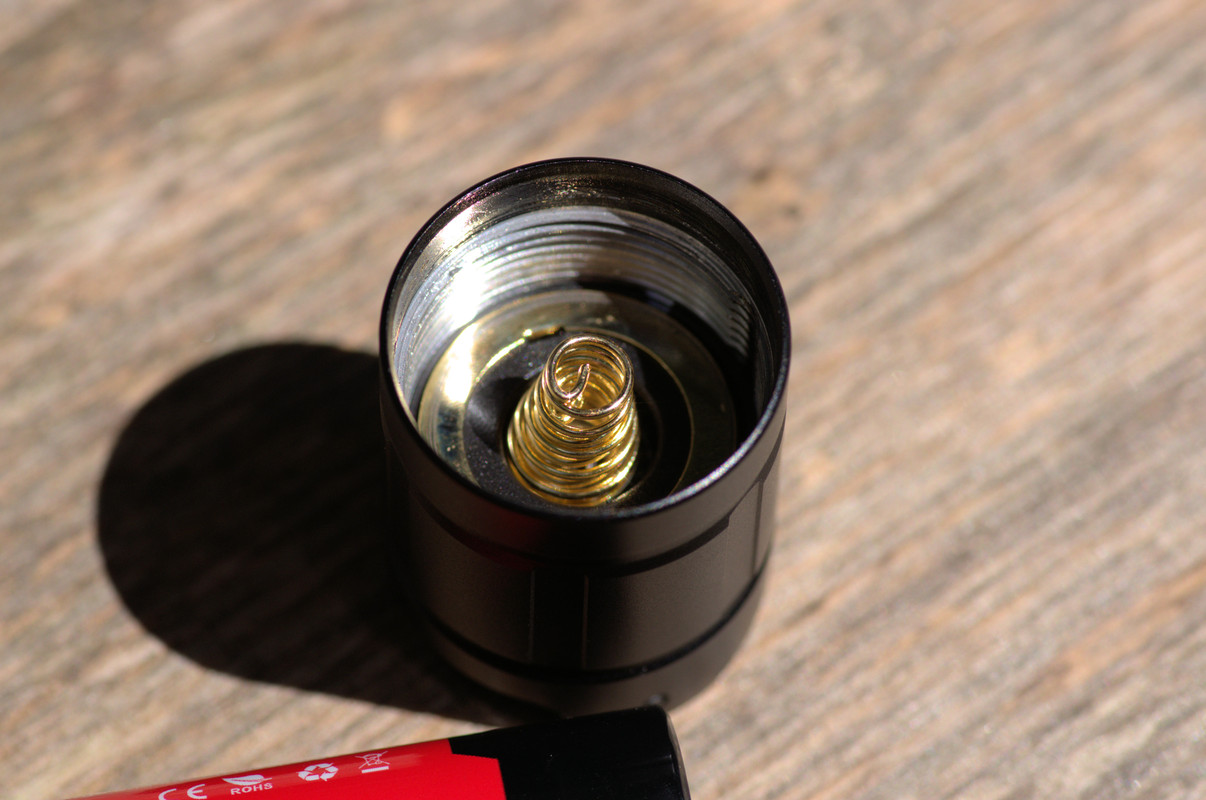
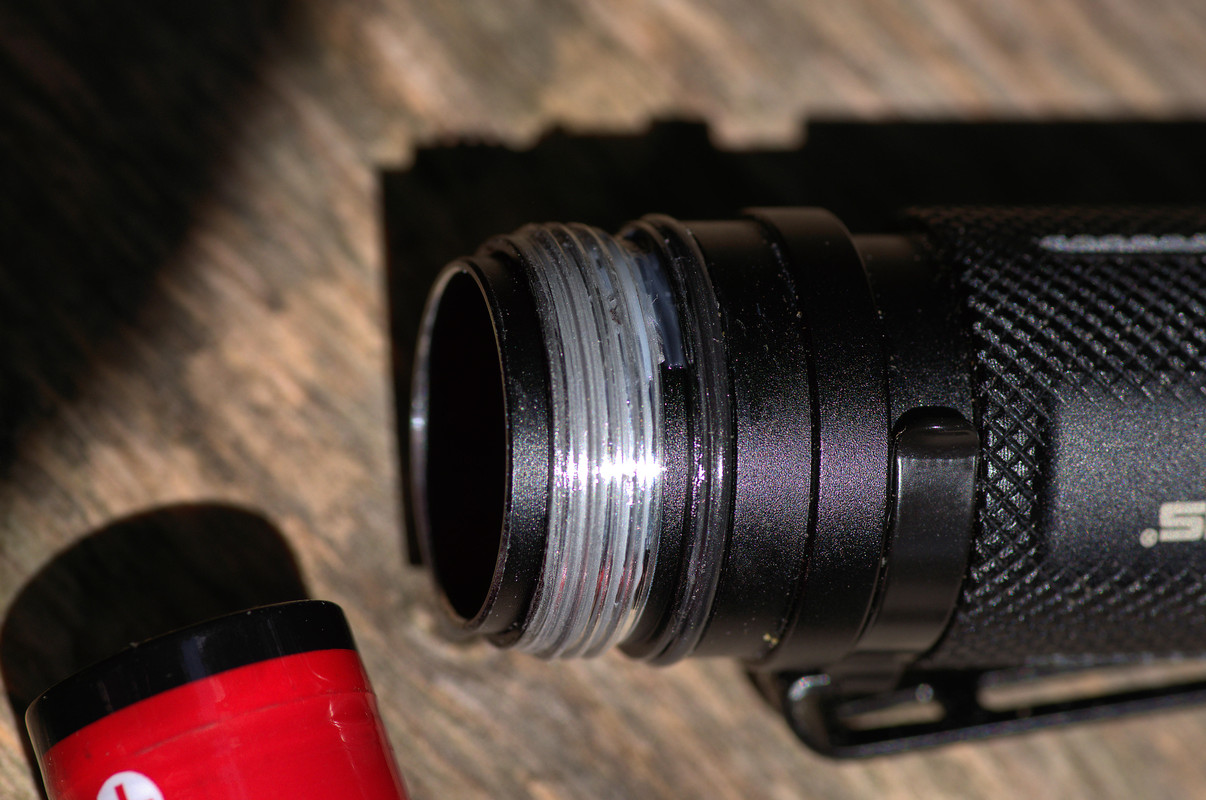
The tail cap screws off/on with ease and the threads are square cut, fairly large, and not anodized (they’re well lubricated as received). Inside the cap are double springs. There are springs on the head-end too, but I can’t see them well enough to tell if they’re double springs too.
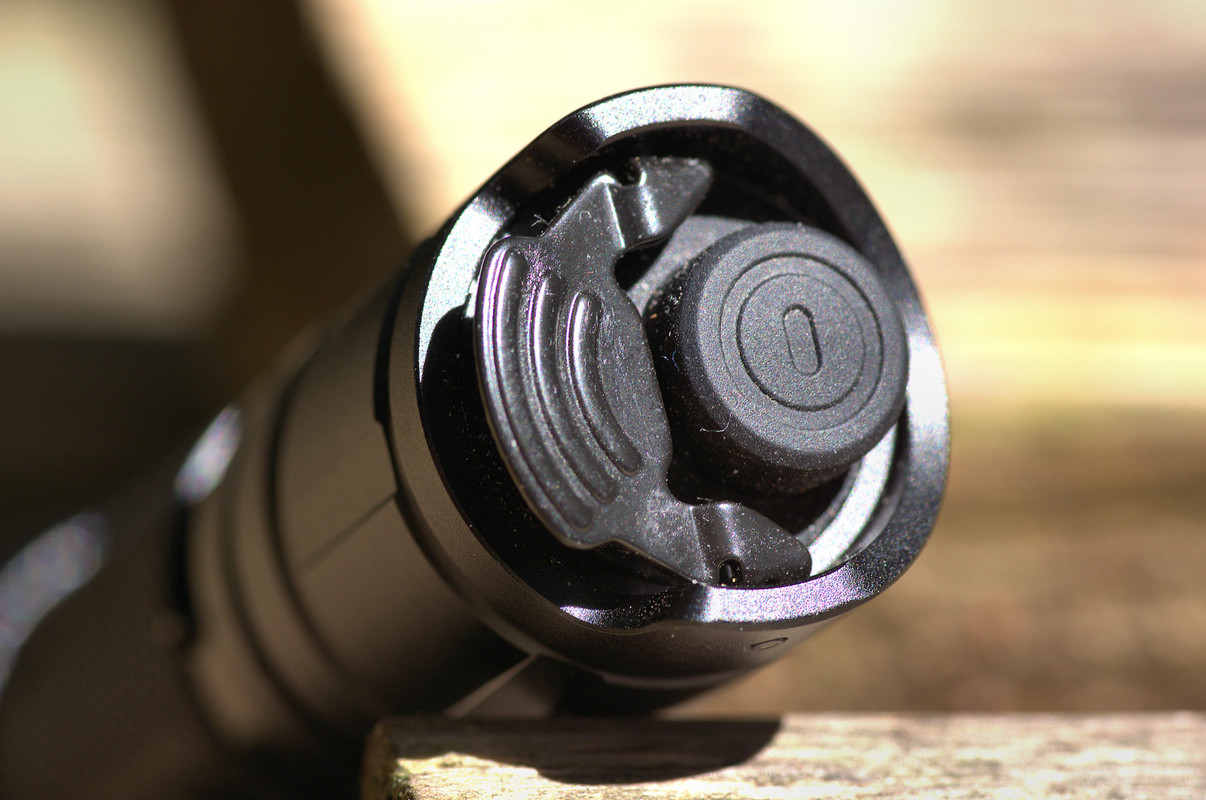
There are two switches on the tail-cap. The circular, rubber-coated, switch is the main switch; its function is on/off and immediate access to the turbo mode. The other switch is a paddle switch: its function depends upon which program the flashlight is in. A small hole, for attaching the lanyard, is found in the side ridge that runs along side the main tail switch. (The ridge is cut out for easy access to both tail switches)
Klarus includes two programs: tactical and outdoors. The former includes instant access to strobe and turbo, while the latter features instant access to turbo and low. As is the case with other Klarus products I own, the outdoor program is far and away my favorite.
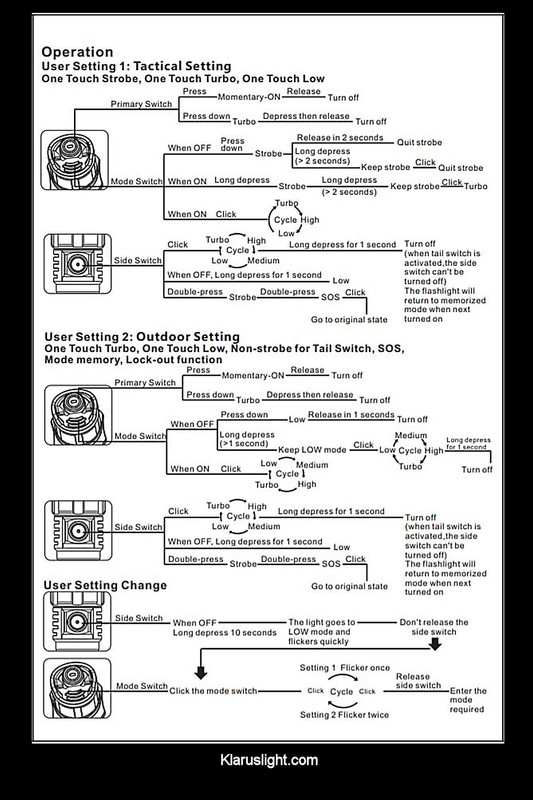
The FX10 has 4 regular modes: turbo, high, medium, low. The side switch cycles through those 4 modes in a circular manner – turbo, high, medium, low, turbo… The side switch can also turn the FX10 on/off – click it to turn the light on, press/hold to shut the light off. I don’t recall seeing this in the manual, but the side switch also provides instant access to the low mode (from the off position) – just press/hold the side switch (about 1 second) until the light comes on. Double clicking the side switch puts the FX10 into strobe mode. Double click again (while in strobe mode) for the SOS mode. Single click to shut the flashlight off (while in either of the special modes).
The paddle switch (outdoor program) also goes through the regular modes; however it does the opposite of the side switch – low, medium, high, turbo, low, etc… This means you can go to the next mode (either up or down) by using the switch that cycles up or the switch that cycles down. Example: if the FX10 is in medium mode and I want to go to low mode, I’d click the side switch once. If I wanted to go to high mode, I’d click the paddle switch once.
While in the outdoor program, the paddle switch provides immediate access to the low mode – press and hold the paddle switch (roughly 1 second). For momentary access (low mode) just press and release the paddle switch. Press and hold the paddle switch, while the light is on, to turn the flashlight off.
In the tactical program, the paddle switch provides instant access to the strobe mode. Press and release for momentary. Press and hold (about 1 second) to keep the flashlight in strobe mode. The paddle switch can also be used to cycle through the regular modes (while in tactical program) but it skips the medium mode for some reason.
Operating the FX10 is quite easy – far more so than it is explaining how the UI works. I much prefer using the flashlight in the outdoor program, as I generally want to start off in the low mode and work my way up to whatever output I feel is necessary. I have grown quite fond Klarus’s paddle switch and find it remarkably convenient. It’s easy to find in the dark, too.
I don’t usually use the main tail button; it works just fine but my preference is to use the paddle switch or the side switch. With both I find that I am never more than a couple of clicks away from turbo anyway – and I can shut the flashlight off with either as well.
The FX10 does have mode memory (regular modes only).
Over the past 18 months or so I’ve tested/reviewed a good number of flashlights (from a variety of makers). I’m guessing somewhere around 130 or so – including lights I’ve purchased – and I’ve given over half of them away. Generally I keep the flashlights that I really like – not always though, as I have given away some of my favorite lights too – and give away the flashlights that didn’t quite live up to whatever it is that I’m expecting.
The FX10 isn’t going anywhere.
That surprises me quite a bit, because I really didn’t expect to like it nearly as much as I do: mostly because I had assumed the beam quality wouldn’t be up to par. I don’t consider myself to be a flashlight snob, but I just haven’t seen many zoom flashlights that put out a really good quality beam.
The FX10 does – well it does as far as the regular user will be concerned. If you’re really picky, then you’ll find issues with the beam. If you just need a really good flashlight that will get the job done time and time again, then the FX10 is your flashlight.
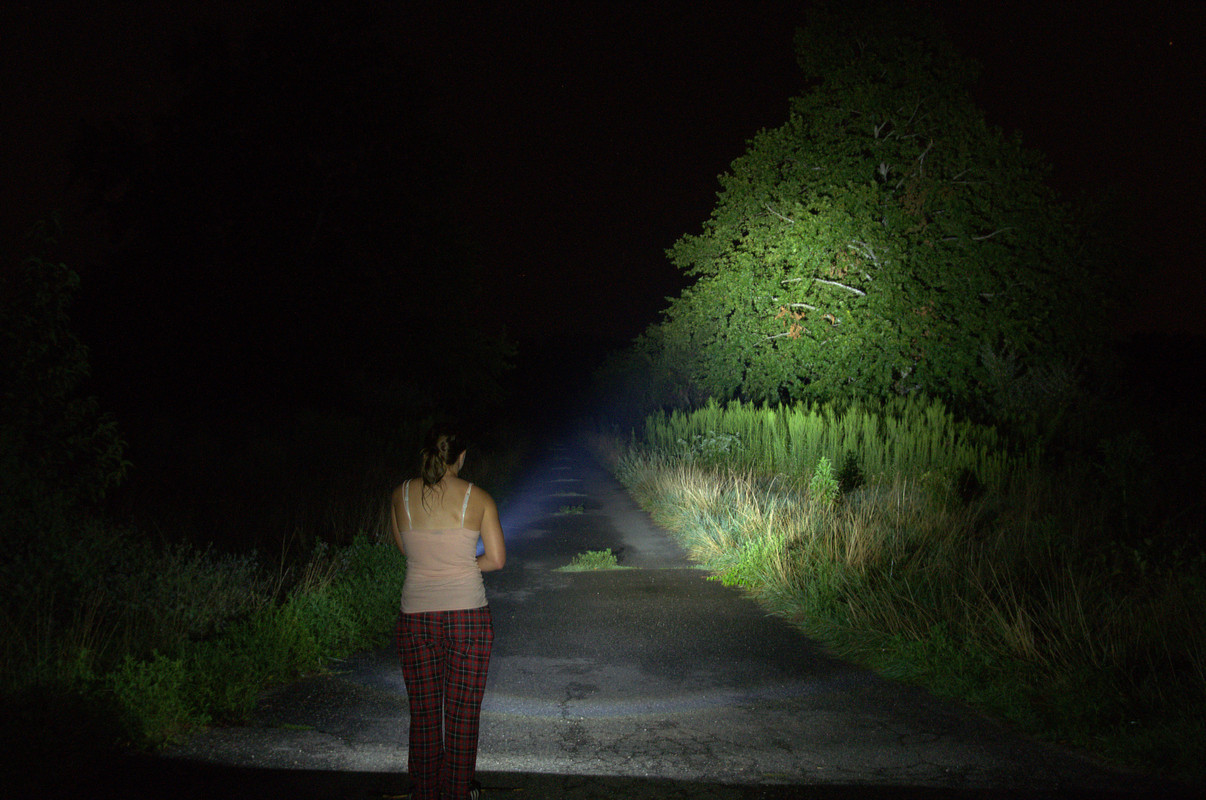
Twisting the head clockwise, just shy of the stopping point, provides the user with the best throwing beam (twist a hair further and the beam isn’t quite as tight). The best thing about the throw beam is that it has exceptionally good spill too – meaning you can actually see something other than that tiny area that is lit up. For me it is the spill that makes the beam such a pleasant surprise: it provides the user with excellent vision for a decent distance (rated at 300 meters, but closer to half of that for useable light).
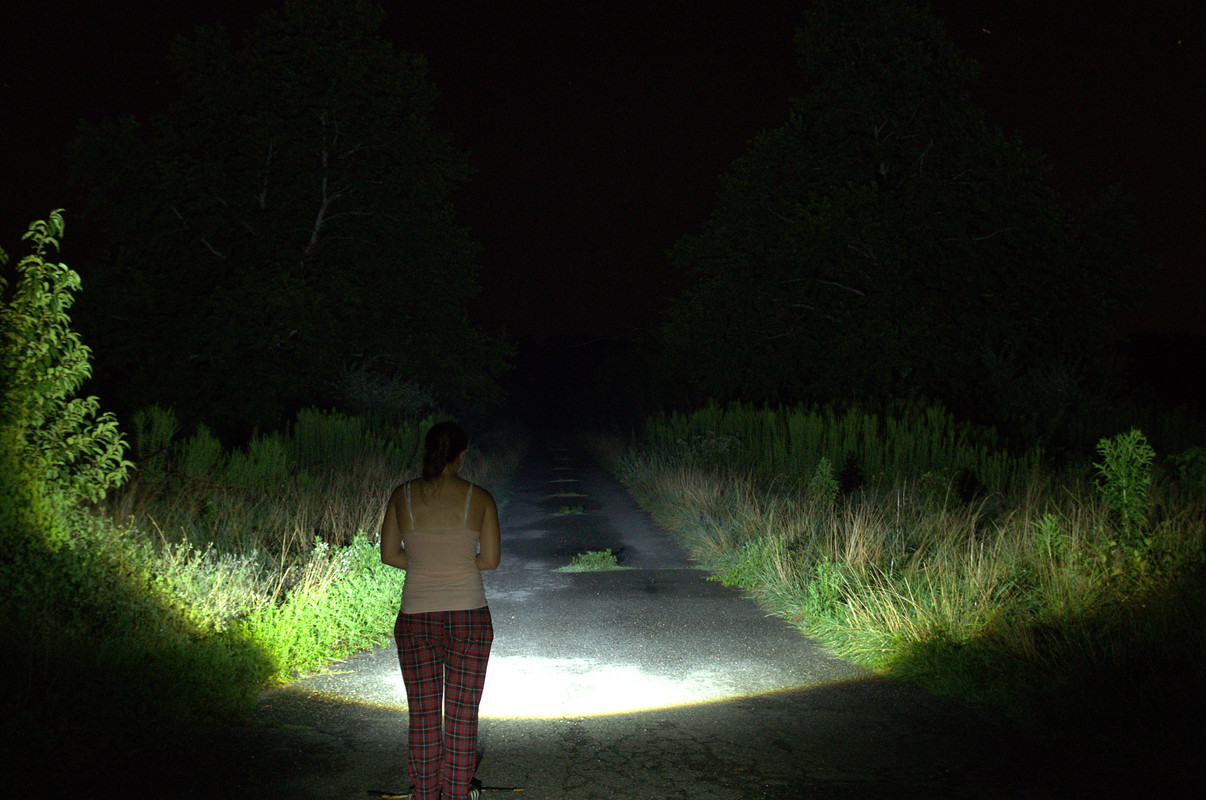
Twist the head counter-clockwise and you’ll have nice, smooth, flood beam that lights up an incredibly wide area. There’s no real hot spot to it; just one giant beam of light that doesn’t seem to fall off until the very edge. This is perfect for up-close work, and will likely be the most used for most people.
In between the two extremes (flood and throw) there is a slight decrease (light intensity) visible in the center of the beam. Unless you’re pointing the light at a wall, or the ground, it isn’t likely that you’ll really notice it. I’ll admit that once I did notice it, I could see it when I was just using the flashlight. But until then, I hadn’t noticed it (at all) in regular use.
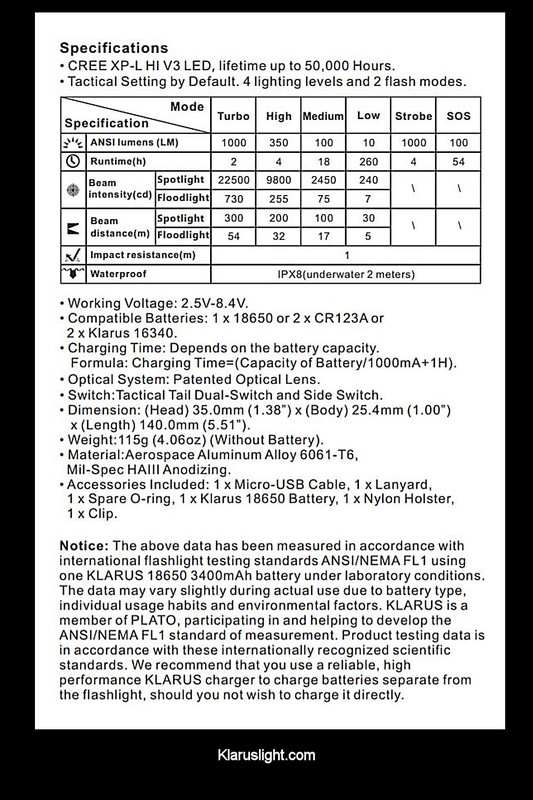
The light temperature is a cool white. Rated at a top output of 1,000 lumens, but it honestly seems to be a bit brighter than that to my eyes (I have no means of measuring output).
There are a myriad of reasons why the FX10 has won a place in my keeper list. Sure, I like the user-interface, and I’m a fan of the paddle switch, but it’s really more about the beam and the flashlight’s flexibility more than it is anything else.
Need a floodlight while working on some project? The FX10 does that.
Need a decent thrower to check out that noise from 100 yards away? The FX10 does that too, and everything in between.
It can be carried in most larger pant’s pockets, comes with a good holster, is waterproof, impact resistant, and can be recharged just about anywhere that you can plug a USB into – including a vehicle if you’ve got the right power adapter. It’s small enough to be everyday use friendly, without being big enough to be cumbersome. It will easily fit in the glove box of most vehicles, has good output, and it is backed with a 5 year warranty.
I see the FX10 has the perfect choice for those who need a do-it-all flashlight that actually can do it all – be it on the job, around the house, or out exploring nature.