This is about as short as possible, for someone who hasn’t done it before. I wouldn’t call it foolproof though:
Get a usbasp device, a ribbon cable, and some solid-core wire or jumper pins which fit into the D4S flashing holes. Hardware links are available at the Link in my signature.
Install avrdude.
Download a pre-compiled .hex file for the D4S. Whatever is most recent here.
Connect the usbasp to the D4S driver using the ribbon cable and pins, according to the pinouts listed in the wiki.
Run “bin/flash-85.sh anduril.DATE.EMISAR_D4S.hex” or, in Windows, copy the command inside of flash-85.sh, replace the filename, and run it.
If avrdude reports success, you’re done! Pull the pins out and use the light.
For other lights, the instructions are similar except they involve a SOIC8 clip instead of jumper pins, and they often involve un-soldering things in order to make the driver accessible.
With Lexel’s flashing key, it replaces the jumper pins and eliminates the need to look up pinouts. Acquiring a key might be tricky, but it makes flashing very quick and easy.
I noticed things were getting pretty messy too, so I tried to clean it up by locking the spaghetti in a box. Here’s an example of how it looks afterward… an implementation of the UI from Olight’s Baton series:
Of course, Anduril is more complicated… but even with that, I’ve tried to make it relatively easy to customize by commenting out lines at the top which enable or disable features.
I get the mechanics…putting pins in things, plugging in cables…good at running windows programs…
Hardware ordered…links to what I bought (no clip for now…will scrounge up some solid-core wire):
(assuming the usbisp will not need new firmware or any jumper changes)
I must admit: Run “bin/flash-85.sh anduril.DATE.EMISAR_D4S.hex“ or, in Windows, copy the command inside of flash-85.sh, replace the filename, and run it.
confuses me.
I know to replace the file name with “anduril.2018-08-22.EMISAR_D4S.hex”
But the “run” command (in a command prompt window?) and the “flash-85.sh” (thats in a avrdude windows program)?
Perhaps it will make more sense when I actually have the items in hand and can play around with the hardware/avrdude.
That part is different depending on which OS you use. I’m using a Linux-based OS, so I’ve been using shell scripts for a lot of things. I run “flash-85.sh anduril.hex” and it works. The current contents of “flash-85.sh” are:
So on Windows, instead of “flash85.sh anduril.hex”, it would be more like this: avrdude -c usbasp -p t85 -u -U lfuse:w:0xe2:m -U hfuse:w:0xdf:m -U efuse:w:0xff:m -Uflash:w:anduril.hex
This happens at a command prompt. Alternately, you could find a GUI wrapper for avrdude, and use the mouse. Or convert the shell script into a Windows .BAT batch file.
Thanks for that information. I wonder where would the XM-L2 (or XM-L) fit in terms of lumens/power (though they’re not XP-sized…)?
The side indicator LED of the BLF Q8, when installed with Anduril, can be configured to have breathing effect (On-Off-On-Off) = is that also costly in terms of power consumption?
XM-L2 would be a little lower than the XP-L HD. Same/similar forward voltage, and therefore same current, but the XPL HD is, I believe, available in high flux bins than the XM-L2
The breathing effect is costly in terms of power regardless of whether it’s on a button or front-facing LEDs. However, Anduril does not have a breathing mode. The closest it has is a blinking mode, and that doesn’t really cost any extra power.
In terms of implementation, it is done by enabling PWM on the indicator LED pin, and then cycling a slow triangle wave (linear zig-zag) on the PWM level. It’s really easy to do, but it requires keeping the MCU awake in order to generate a PWM signal. So in that mode, about 95% to 99% of the total power goes toward running the MCU, and only 1% to 5% for powering the LED. It’s very inefficient.
In contrast, simply turning the LED on and then putting the MCU to sleep makes the button brighter while also greatly reducing the amount of power used.
On the light I measured, breathing mode used about 4 mA on average. Meanwhile, I’ve got moon mode running at about 1.7 mA in Anduril. And the BLF Q8’s button LED uses about 0.1 mA at full brightness. Or running the Q8 button LED in blinking mode, it’s about 0.1 mA while on and 0.01 mA while off, with a ratio of 1 to 8. So overall it’s about 0.03 mA average while blinking.
So on a 3000 mAh cell, I get roughly the following runtimes:
Breathing mode (Astrolux et al): 1 month
Moon mode (Anduril): 2.5 months
Button LED (Q8, high): 3.4 years
Button LED (Q8, low or blinking): 11 years
This huge difference in runtime is why I haven’t added breathing mode.
The lack of Instant Turbo is making the D4S a bugger to review, I’ve had to re-shoot several times noticing the beamshots aren’t bright enough. I’m too used to my many D4’s.
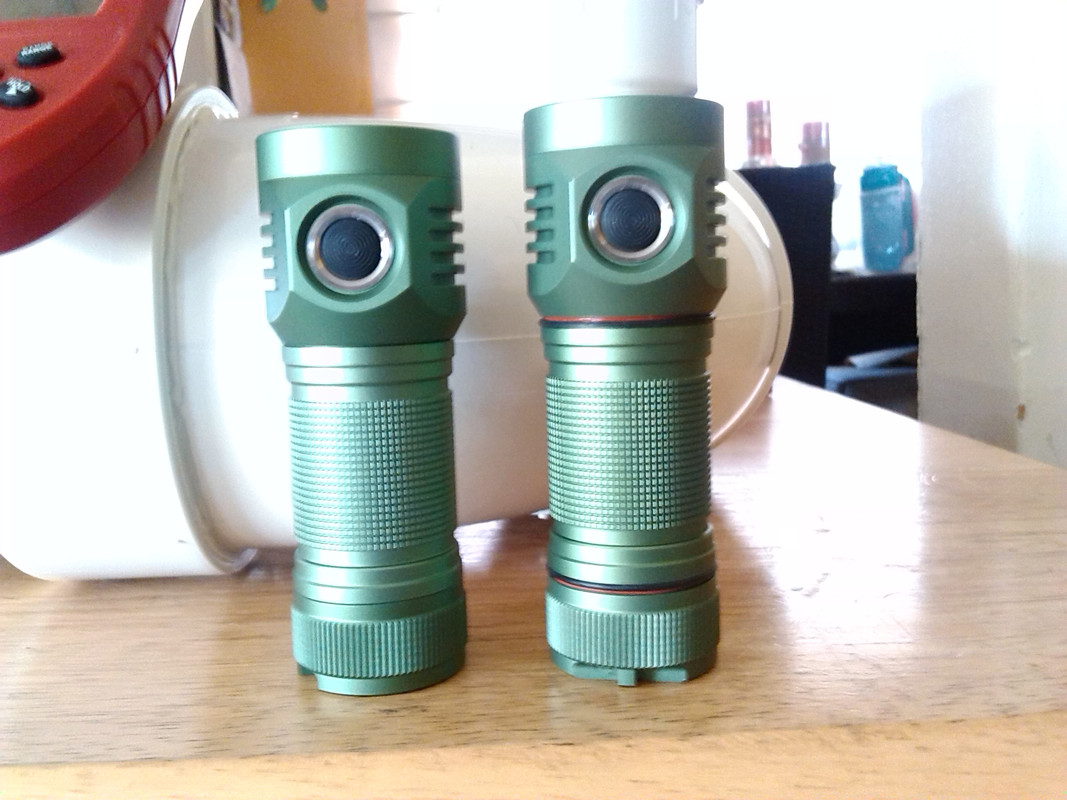
My green one from MTN Electronics got here Saturday and has the programming via’s like the green one shown above right. Richard was positive that the optics are glued to the MCPCB but mine wasn’t, so there seems to be a couple of variables in these, maybe some first runs got through done one way before they figured out a better way?
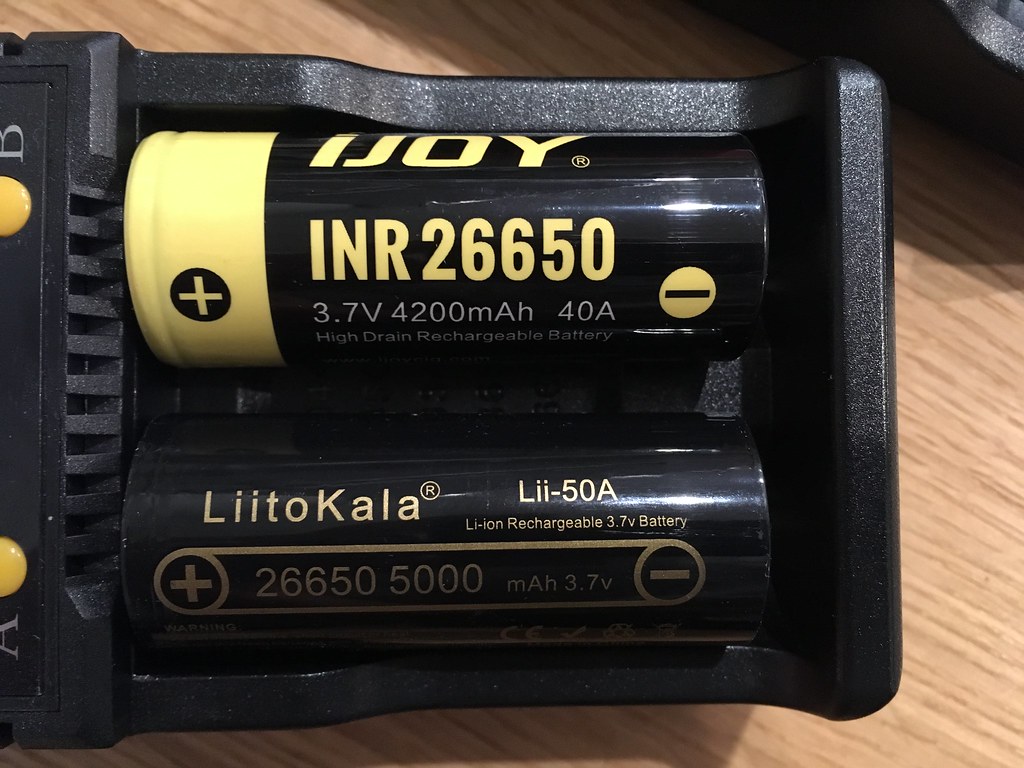
I picked up a couple of flat top batteries for the D4S (it’s finally at Canada customs! Hooray!) and was wondering of one would be significantly better/worse? My TA lumen tube is stuck in customs (9 days now) so I thought I’d ask the collective wisdom here instead of just guessing.
I’m hoping this hasn’t come up already and I missed it. Apologies if it has.