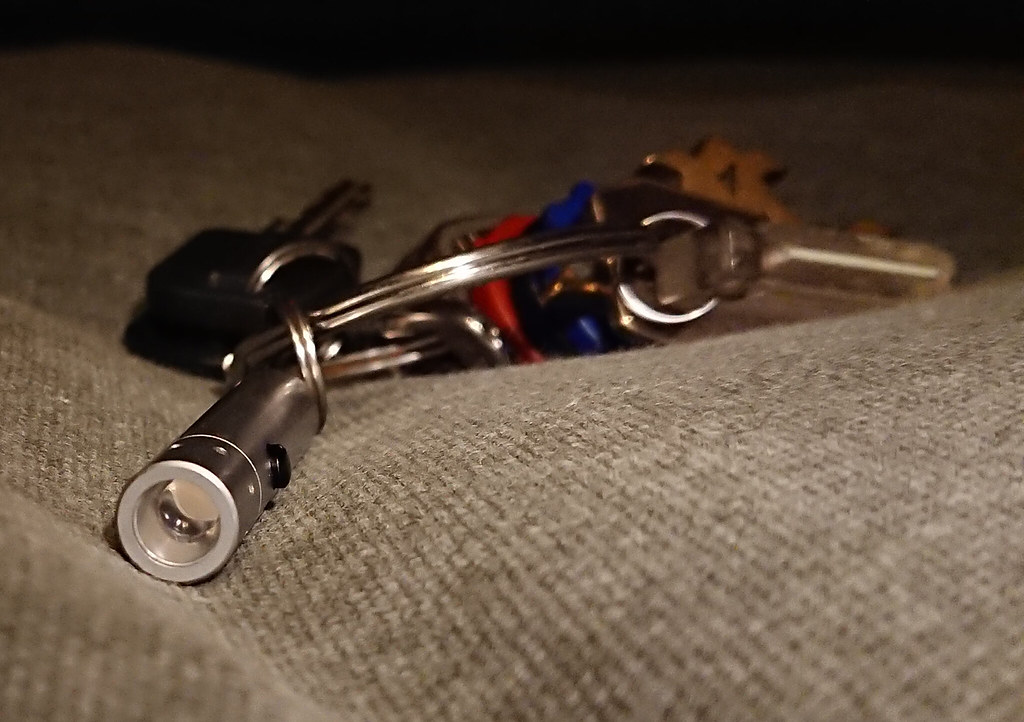
Swapped a 5600K Yuji led into an old Led Lenser keychain light and it became attractive again, so nice even that it made my keychain again after 6 years of absence.
Output on 4xAG3 button cells: 12 lumen
CCT of the spot: 5070K, on BBL
CRI: 95.3
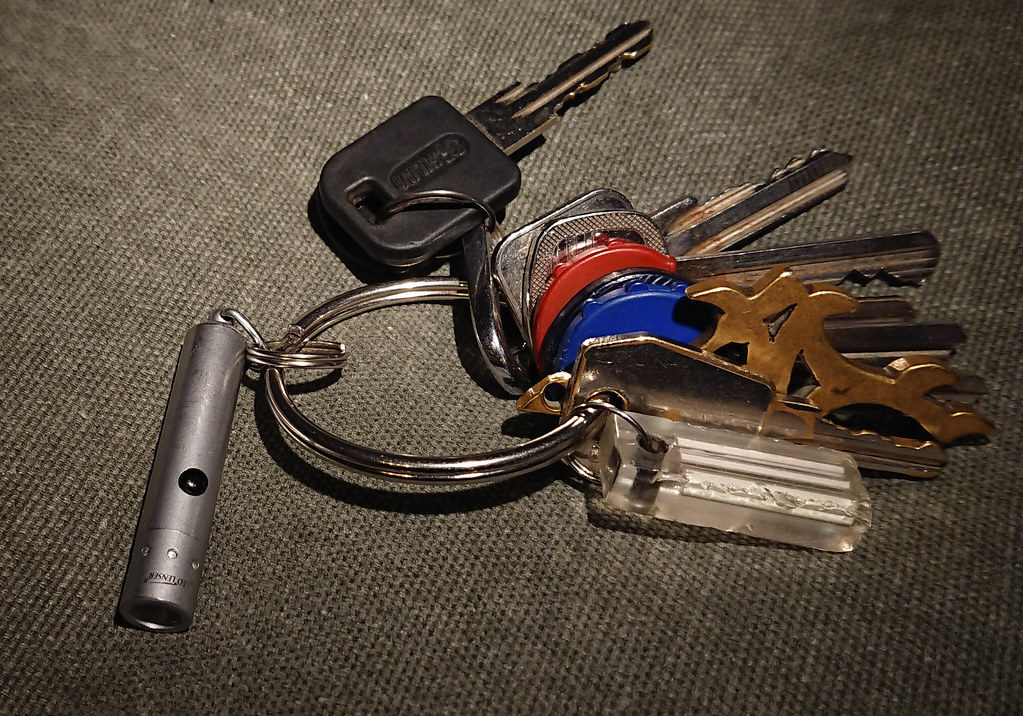
Swapped a 5600K Yuji led into an old Led Lenser keychain light and it became attractive again, so nice even that it made my keychain again after 6 years of absence.
Output on 4xAG3 button cells: 12 lumen
CCT of the spot: 5070K, on BBL
CRI: 95.3
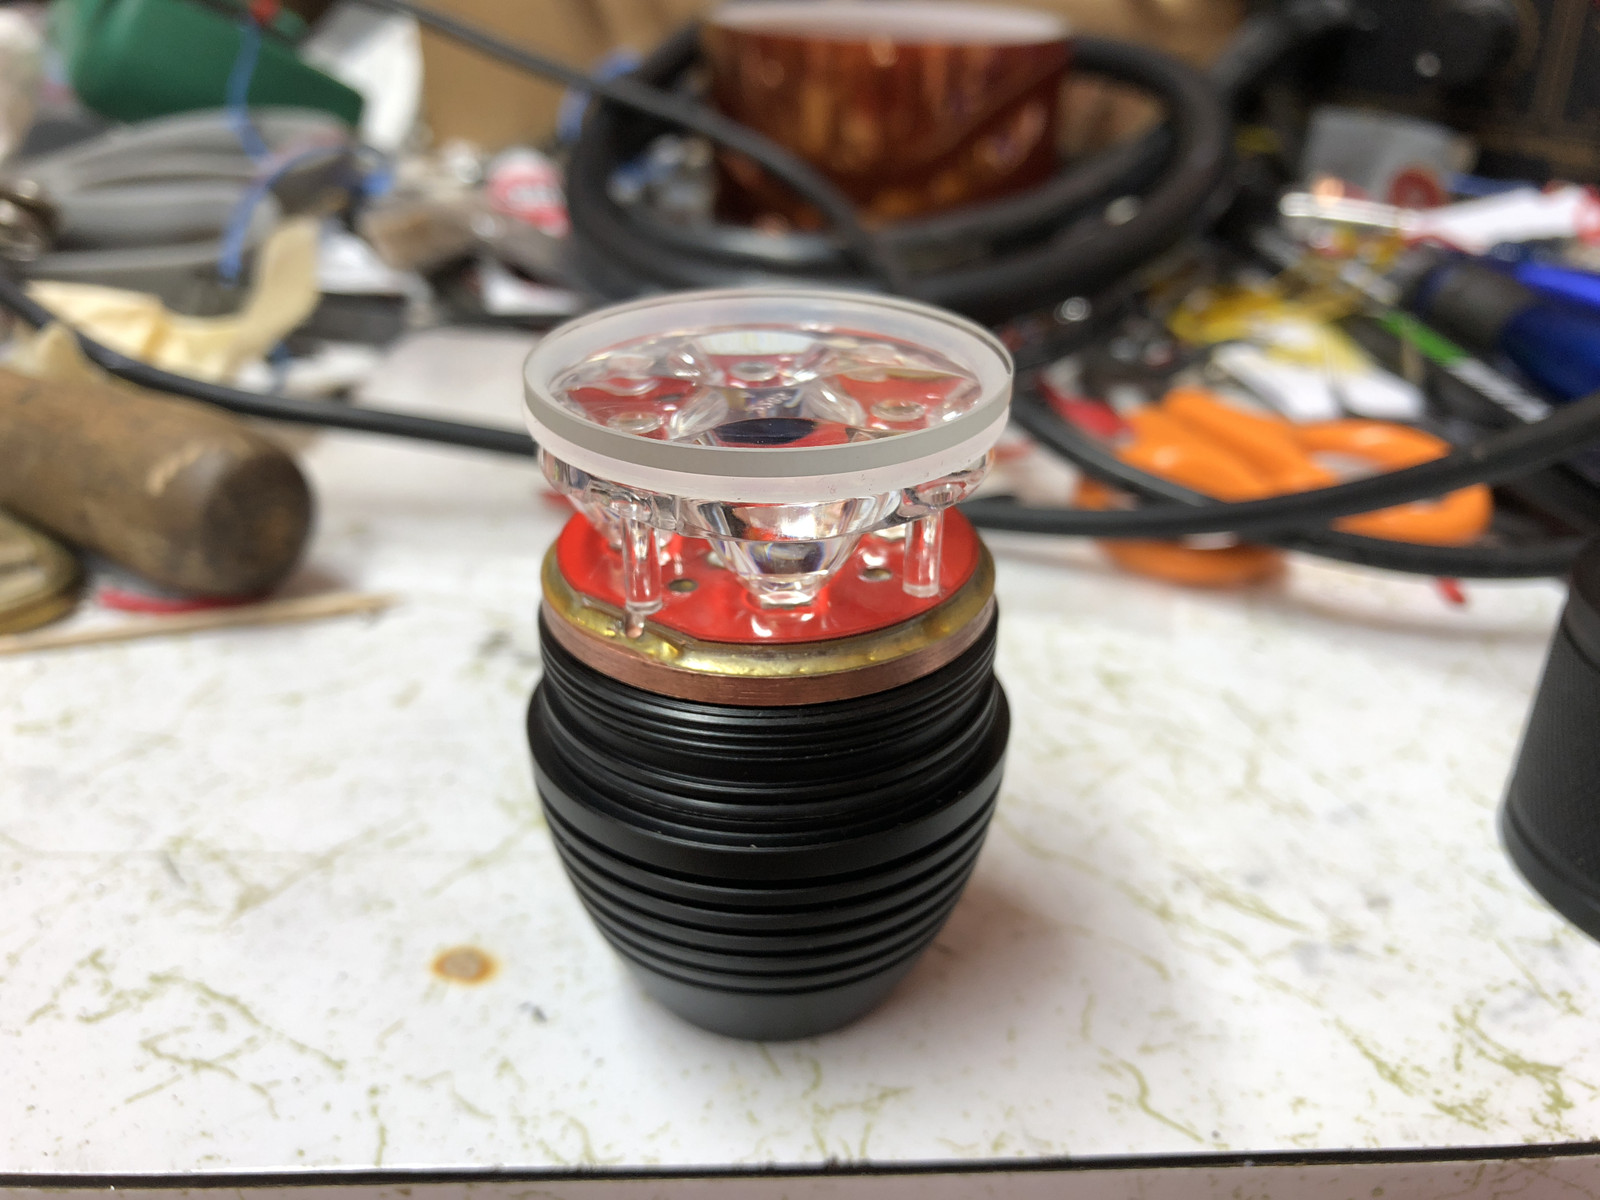
I modded one of these today:

It was $12.22
Nice light for the price. No pill, like Convoy C8. It’s a tad smaller than a C8.
The reflector is seemingly the same size parabola, only shorter and thus a smaller diameter.
I like the simple looks of this thing.
It had a horrible driver with blinky modes and next mode memory…
But i spent HOURS on this thing, and it still looks the same. ![]()
So i put a small Omten in the plastic switch housing,
Bypassed the spring too.
Different switch boot, and it can tail stand properly now.
LD25 FET CC driver, 3 Amperes, 3 modes. The low is a bit low, but i like this no BS driver.
Soldered a copper ring on it to make it 20mm diameter. Had to make that ring from a ‘heat spreader’. (You know, those square 20 x 20 mm things).
Spring solder pad is a bit small, so i had to cut off some of the wide end of a tall spring to get the right size.
I bypassed it too, with a coiled silicone wire.
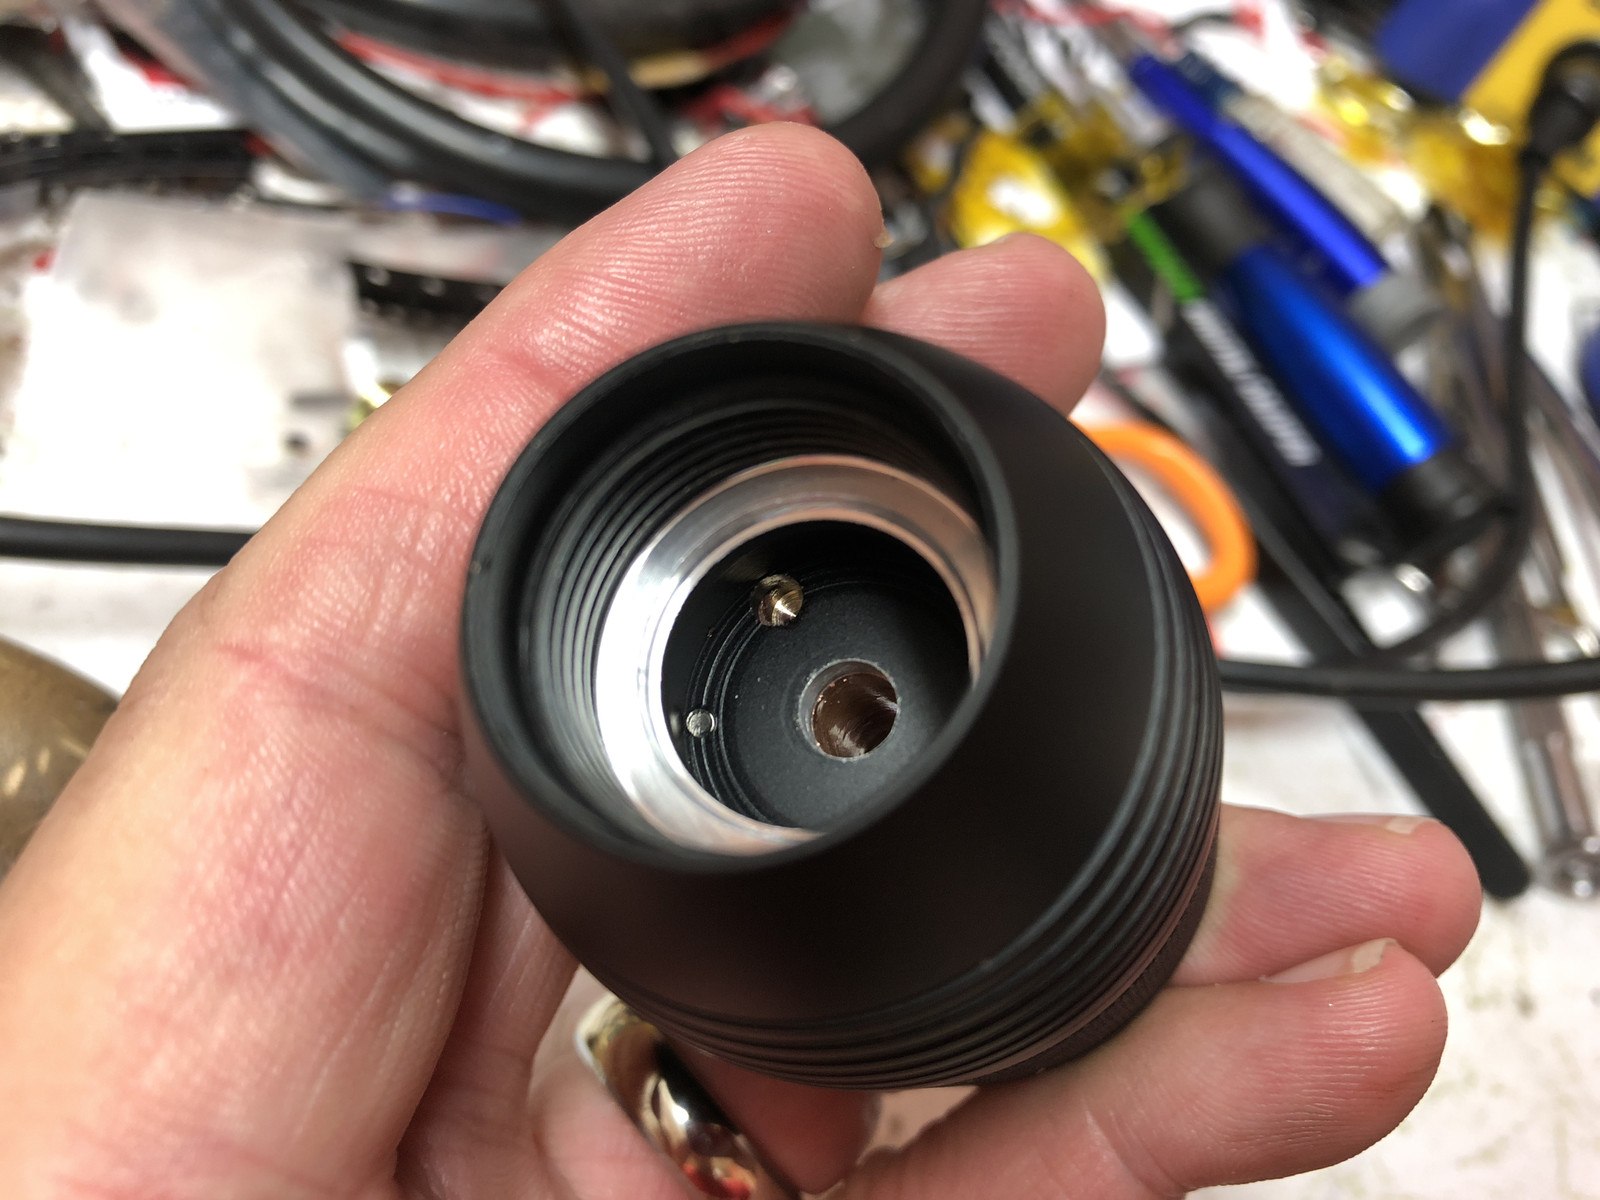
But, the driver cavity is 21 or 22 mm, so i added another ring, cut from a key ring, to have it work out well.
So the retainer ring didn’t tighten flush anymore, so i had to mill the battery tube front end out quite a bit to give it room.
KD 20mm copper DTP XP LED board in stead of the 28mm (?) thick aluminium XM board.
The board was glued in place with white silicone like stuff. Had to heat up the head to get it out.
The cold white XM-L2 seems genuine, but looks like first batches, with clearly visible grid of dots. It could be a fake, i don’t know.
But i put a fresh Samsung LH351D from Led4power in it now. Nice LED. :+1:
Fixed the LED board with 2 tiny screws, after flattening the shelf in the head.
Had to drill 2 tiny holes for those, plus an extra hole for the LED wires (now opposed to eachother in stead of next to eachother).
And then it worked, so i could do some focussing and ‘corona management’ by trying some centring gaskets.
Finally found one that shrouds the LED by just the right amount.
Tightening the bezel, light no worky… :person_facepalming:
Yeah, short circuited the LED wires with the reflector…
Didn’t expect that…
Re-soldered the LED wires flatter and further away from the centre, filed a little off the bottom edge or the reflector.
Re-assembled the head, and FINALLY it’s done.
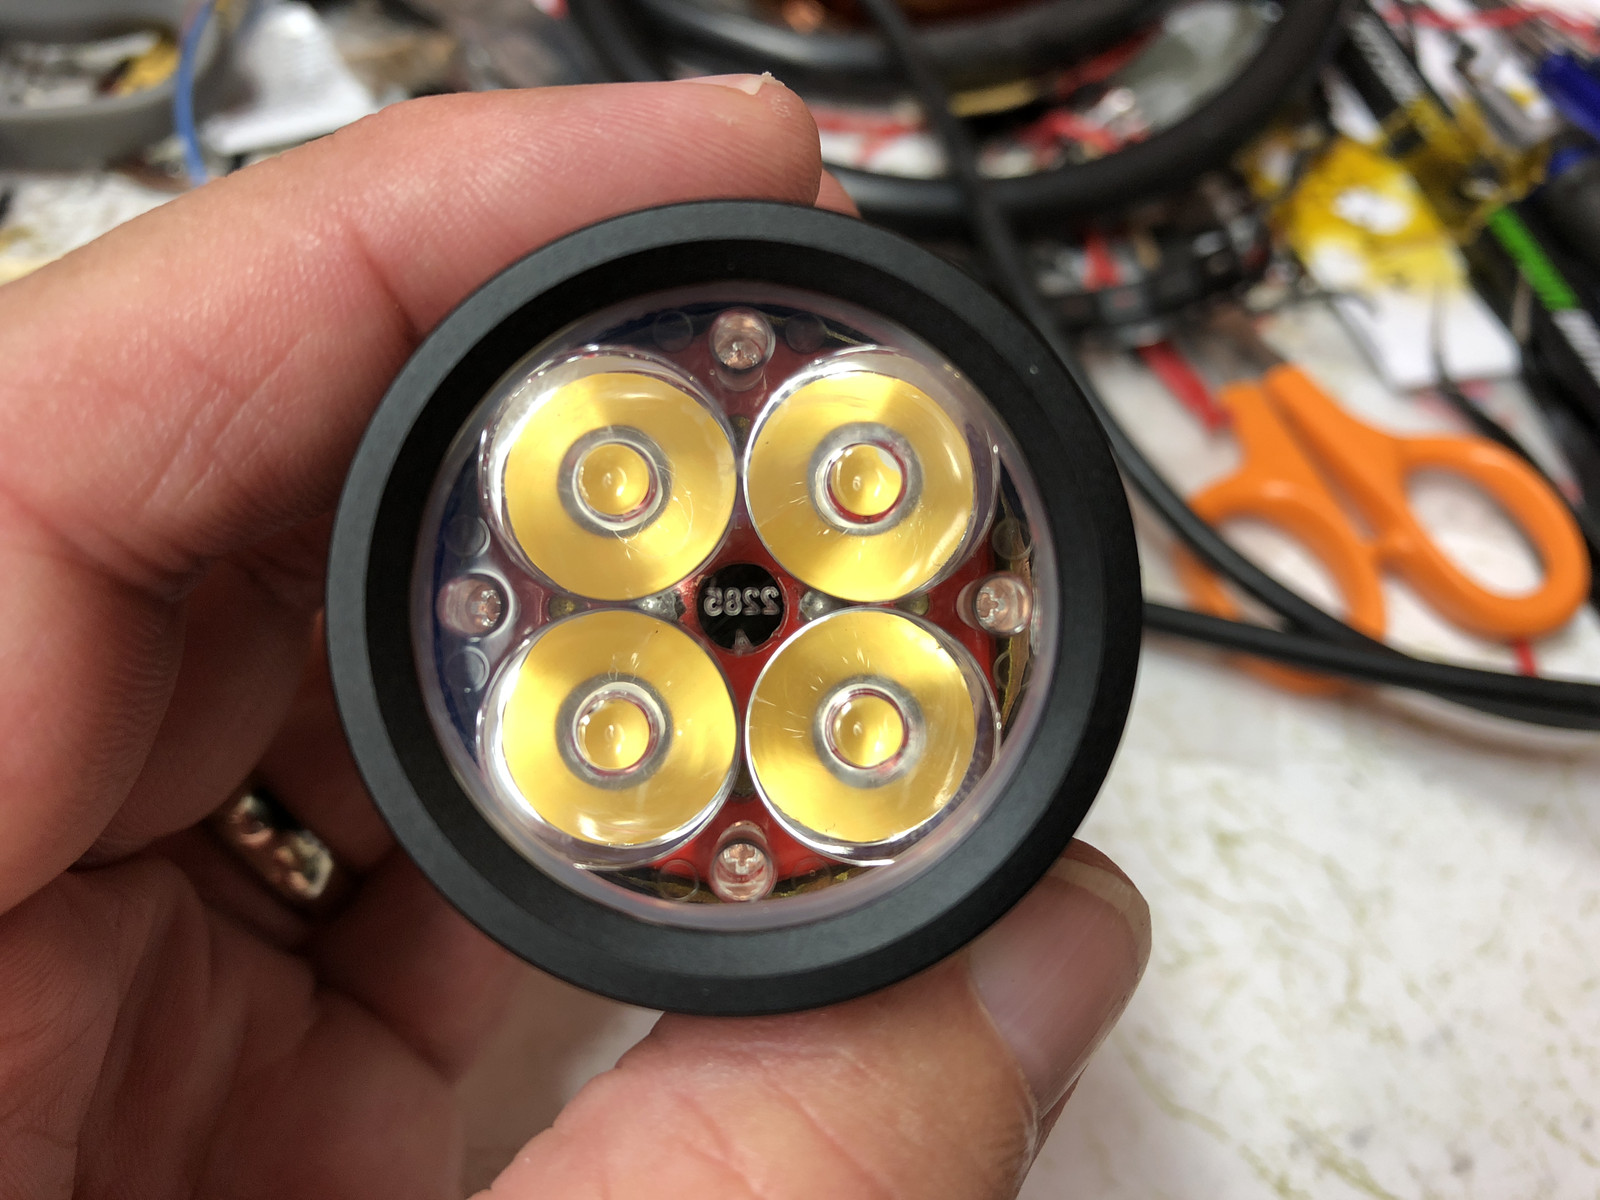
Yeah, nothing really exciting, just a simple C8 sized (a tad smaller) “10 Watt 1000 lumen” flashlight, but with a nice new 90CRI LED in it.
You can tell the die is not small, because it has quite a large hotspot.
Very little tint shift. :+1:
Nice “go to” light in all.
But MUCH more work than i anticipated, so i had to write this long post without pics…
![]()
It IS a nice looking host, that’s sure, and now it’s a nice working light as well. Good work, sometimes the “simple” one’s turn into a days work but then those are the one’s you’re most proud of in the end. ![]()
Had my Tool AA modded to an Oslon Flat with DD driver, than I got too eager and tried a few tweaks and everything went downhill. It all started with dropping the glas lens. :person_facepalming: I thought to myself I’m never going to mod another light in this size again. Same evening I ordered a new one. ![]()
This is my first post but I've been browsing for a few days. I modded an SRK Digital late model clone similar to the ones found here: https://budgetlightforum.com/t/-/45280
I did a spring bypass with copper braid, upgraded from 26ga to 16 ga, mounted an IR3034B capable of 195 Amps (way overkill, but its what I had from an old mosfet box mod project), and I am running 4 solder topped rewrapped well used LG HG2s. I just wish I knew how to push more amperage, then I can attack the cooling problem.
This thing has what are supposed to be XML-T6s but they probably arent, all on an Alum MPCB. Thinking of cutting slots in the side for air flow, will post more pictures if requested of the PCB, bypass, and batteries. I estimate it to be around 3500-4000 lumens after the mods based on my phones lux meter, online conversion, and power draw. I would post images but google photos is being impossible at the moment.
Welcome to the forum Ferocious Bear!
That is nice work you have done on the SRK-clone. The last bit ahead is of course difficult, getting the heatsinking right; there is no 7x DTP-board available so you have to deal with the stock non-DTP one. Luckily with the load spread over 7 emitters, a DTP board is not really needed. I think that changing the leds to “real” ones will give you an extra boost, also because good quality leds perform better in high heat.
Well, technically djozz he doesn’t HAVE to deal with it, he can have a copper DTP 7x board made, for example, or he can use 7 10mm SinkPAD’s. There’s ALWAYS options… ![]()
But yes, welcome aboard Ferocious Bear! ![]()
Edit: This Sofirn SRK style 9x has a hollow tube, the aluminum MCPCB sat on a shelf for crying out loud! So I used a scrap piece of aluminum and made a heat sink for it, put a Q8 driver in it with Anduril, swapped the XM-L T6’s for 9 XM-L2’s that I found in my kit, randomly removed from other lights.
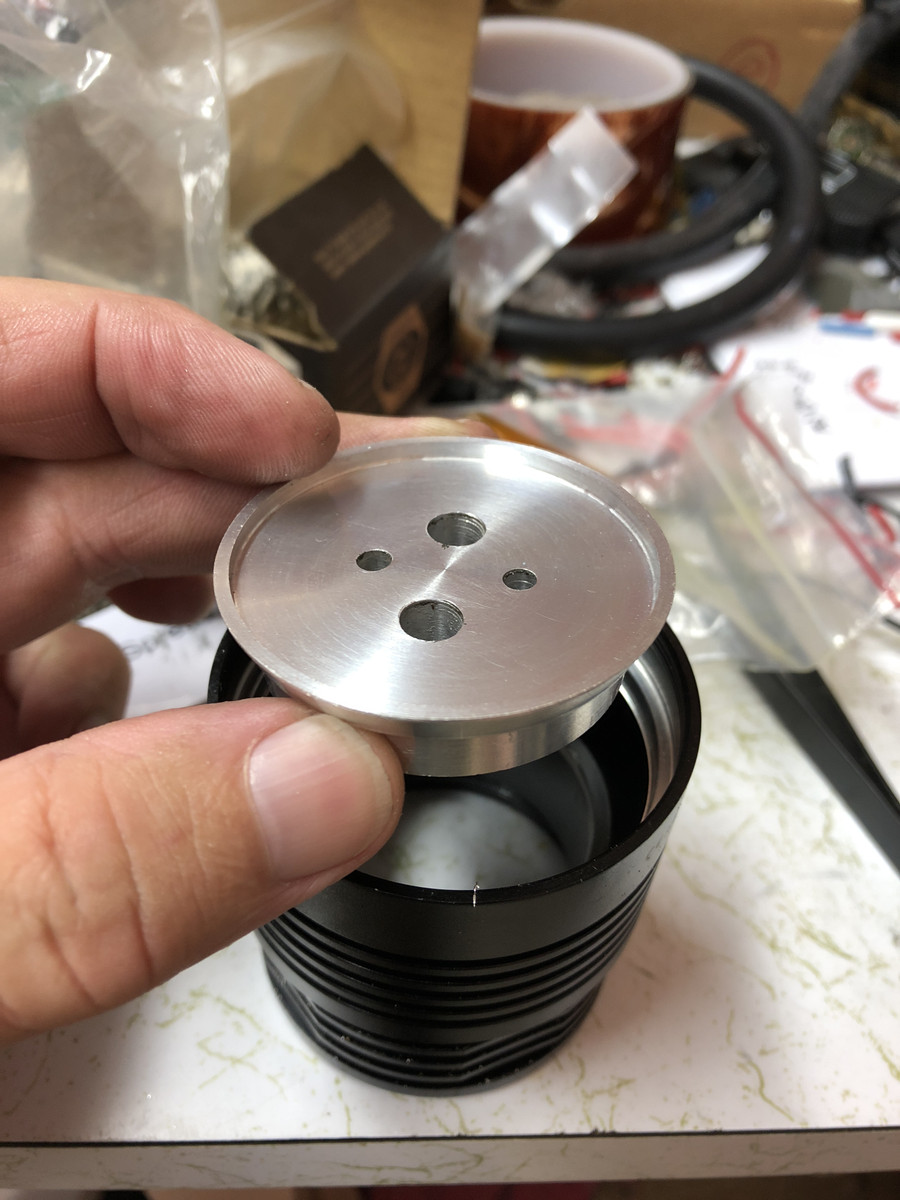
Here’s the stock board sitting in my sink…

And assembled with the stock XM-L’s lit up…

It’s decent, not altogether impressive, but the hexagonal “stop sign” center reflector got my attention and the overall layout made me just have to have one. ![]()
Just wanted to add, we do get used to new people coming in that have no prior experience with flashlights, but it’s difficult to assume whether or not they bring skills to the flashlight interest. We like to assume they don’t, but never know if they’re a Dr. or a CNC machinist…
You’re right Dale, I assume basic skills, but with a bit more skill and perseverence there are more options. Another one is converting the stock board to DTP like comfychair once showed and that I used for a F3X mod: Mod: LuckySun F3X
Thank you for the welcomes DB Custom and djozz! I already feel at home!
I like both ideas, modifying the PCB to include copper slugs and creating an aluminum shelf. Mine actually has 12x XML-T6 clones so I have about 25% more power I can pull with some good heat transfer. I’m wondering if my PCB is direct drive on high or not but I don’t have an oscilloscope to check.(I assume it is.). The copper slug mod on that F3X is super well done. It’d also be nice but nearly impossible to find a ready made drop in copper shelf, however it would be nice. I need to swap out my ir3034b and reroute the buttons controls.
As of right now with fully charged batteries I’m meausuring 8.35 amps at the tail cap pulling 3.5v through the emitter. so almost exactly 700ma per FXML-T6. maybe 25% more and then next Ill splurge on a BLF Q8 ![]()
Ill probably post in the previously mentioned thread from 2017 to get a discussion started. Ideas everywhere because of the coffee and late night. ![]()
You can buy an BLF Q8 driver from Sofirn, about $10 I think, that would be a nice upgrade to your light. ![]()
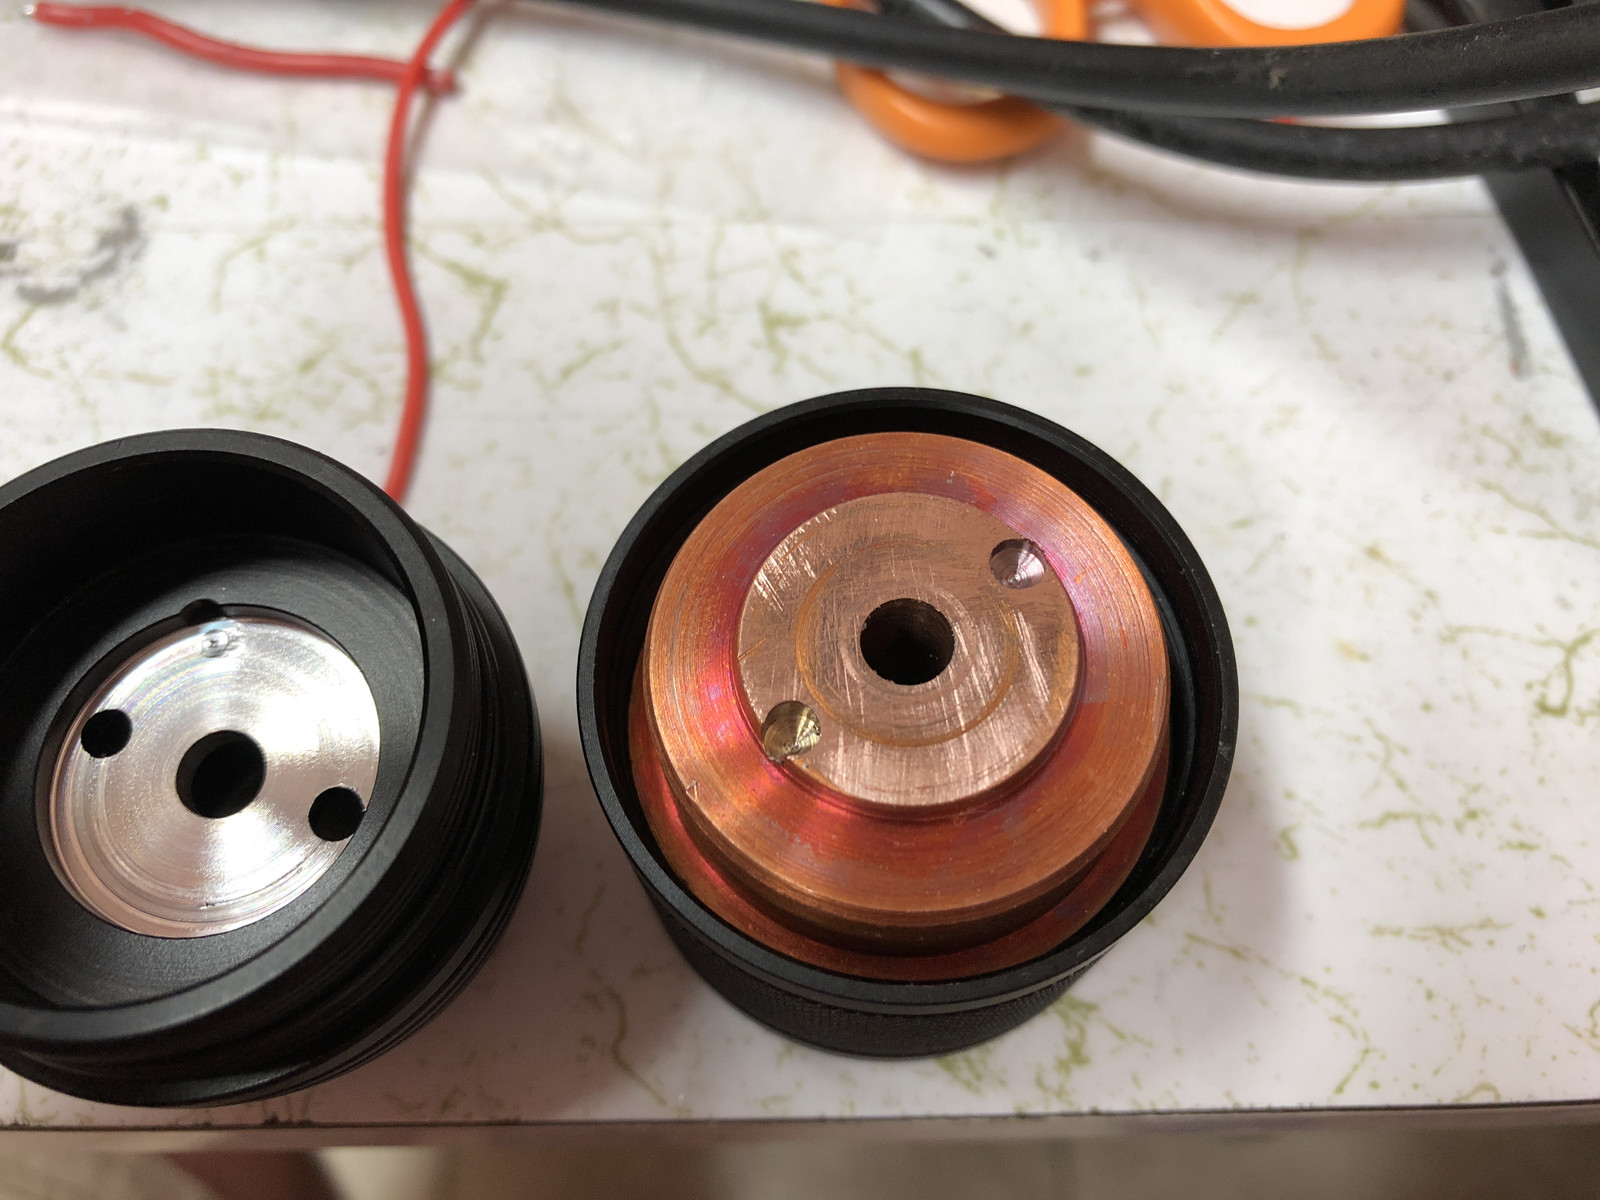
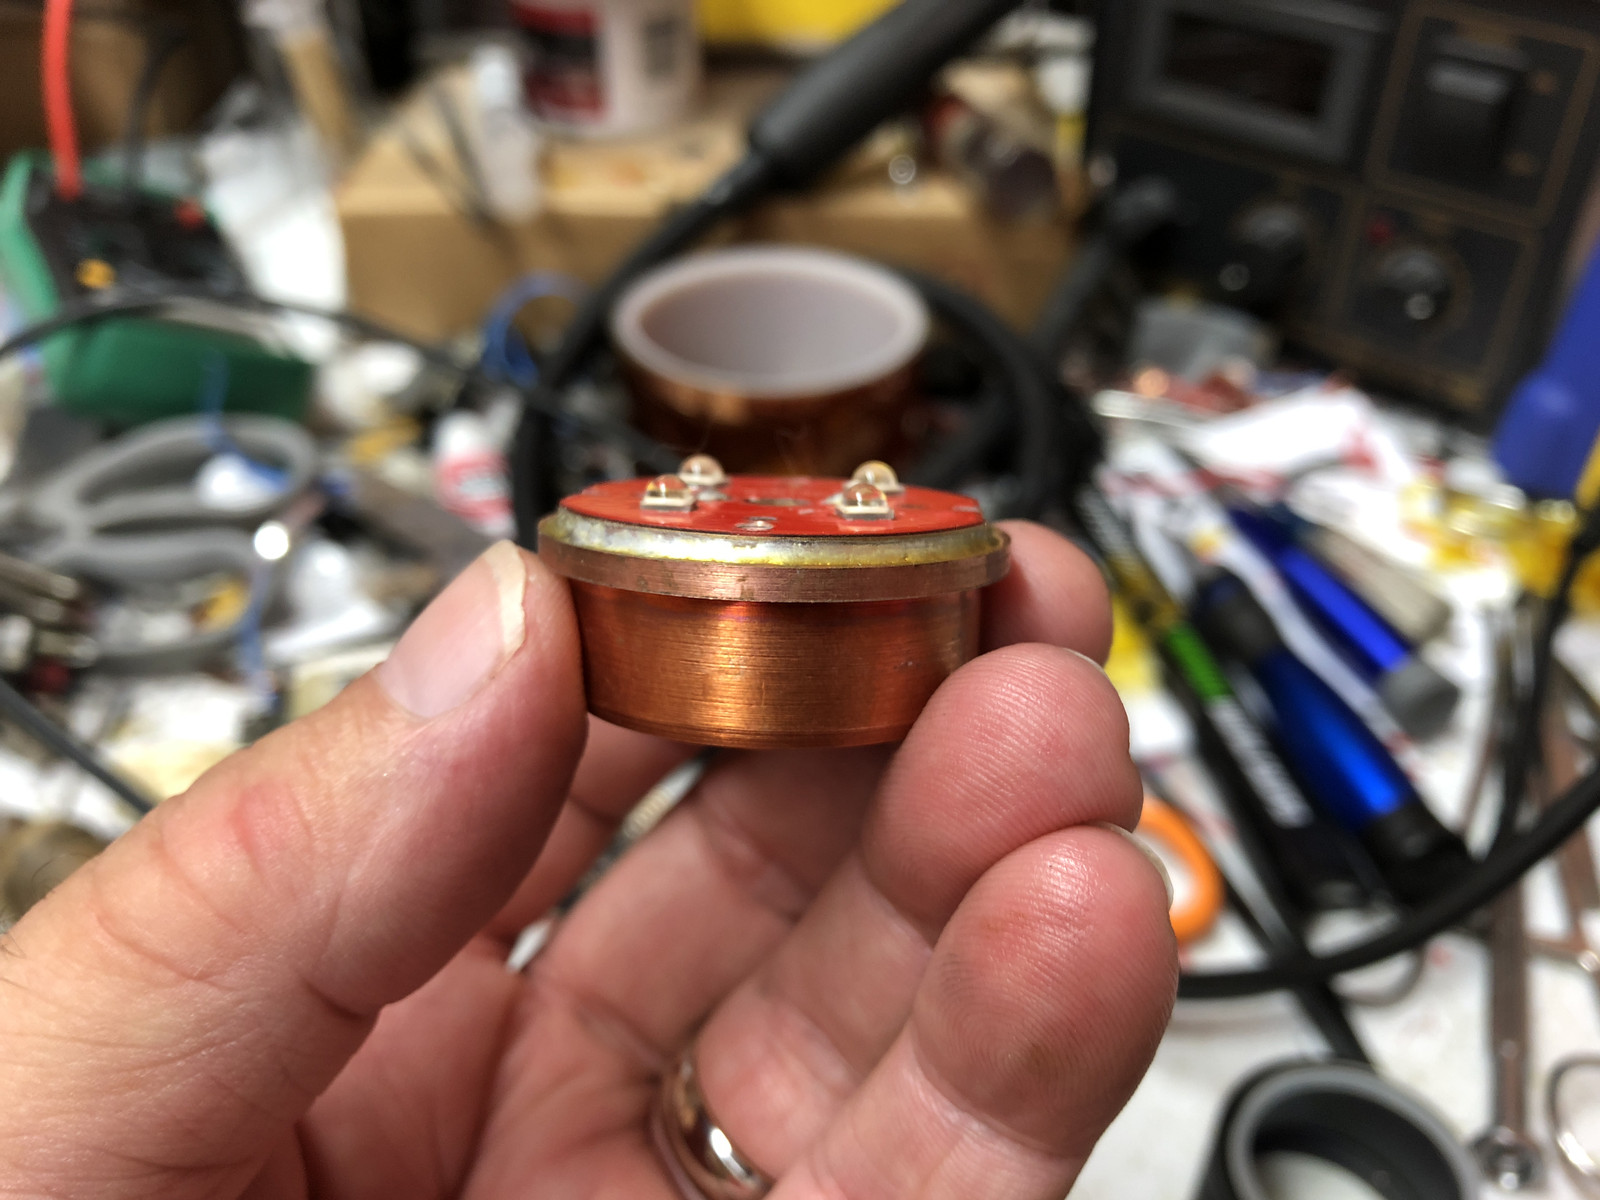
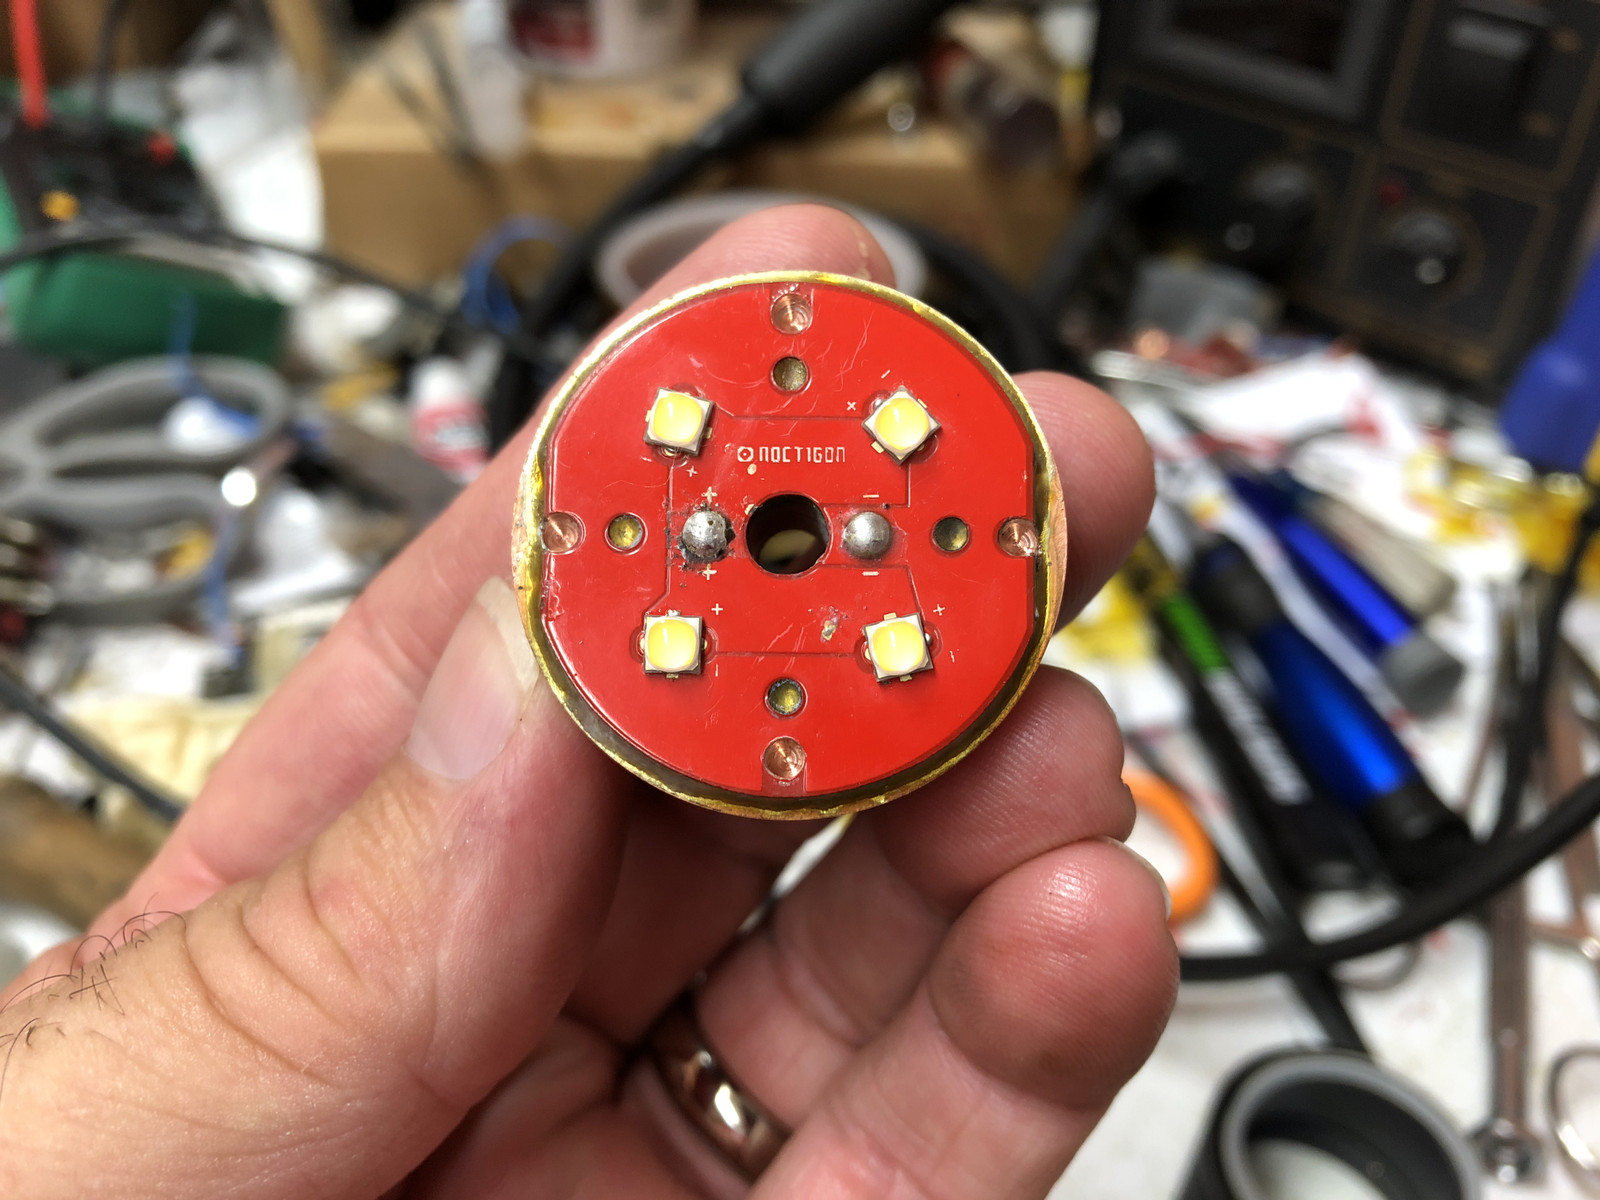
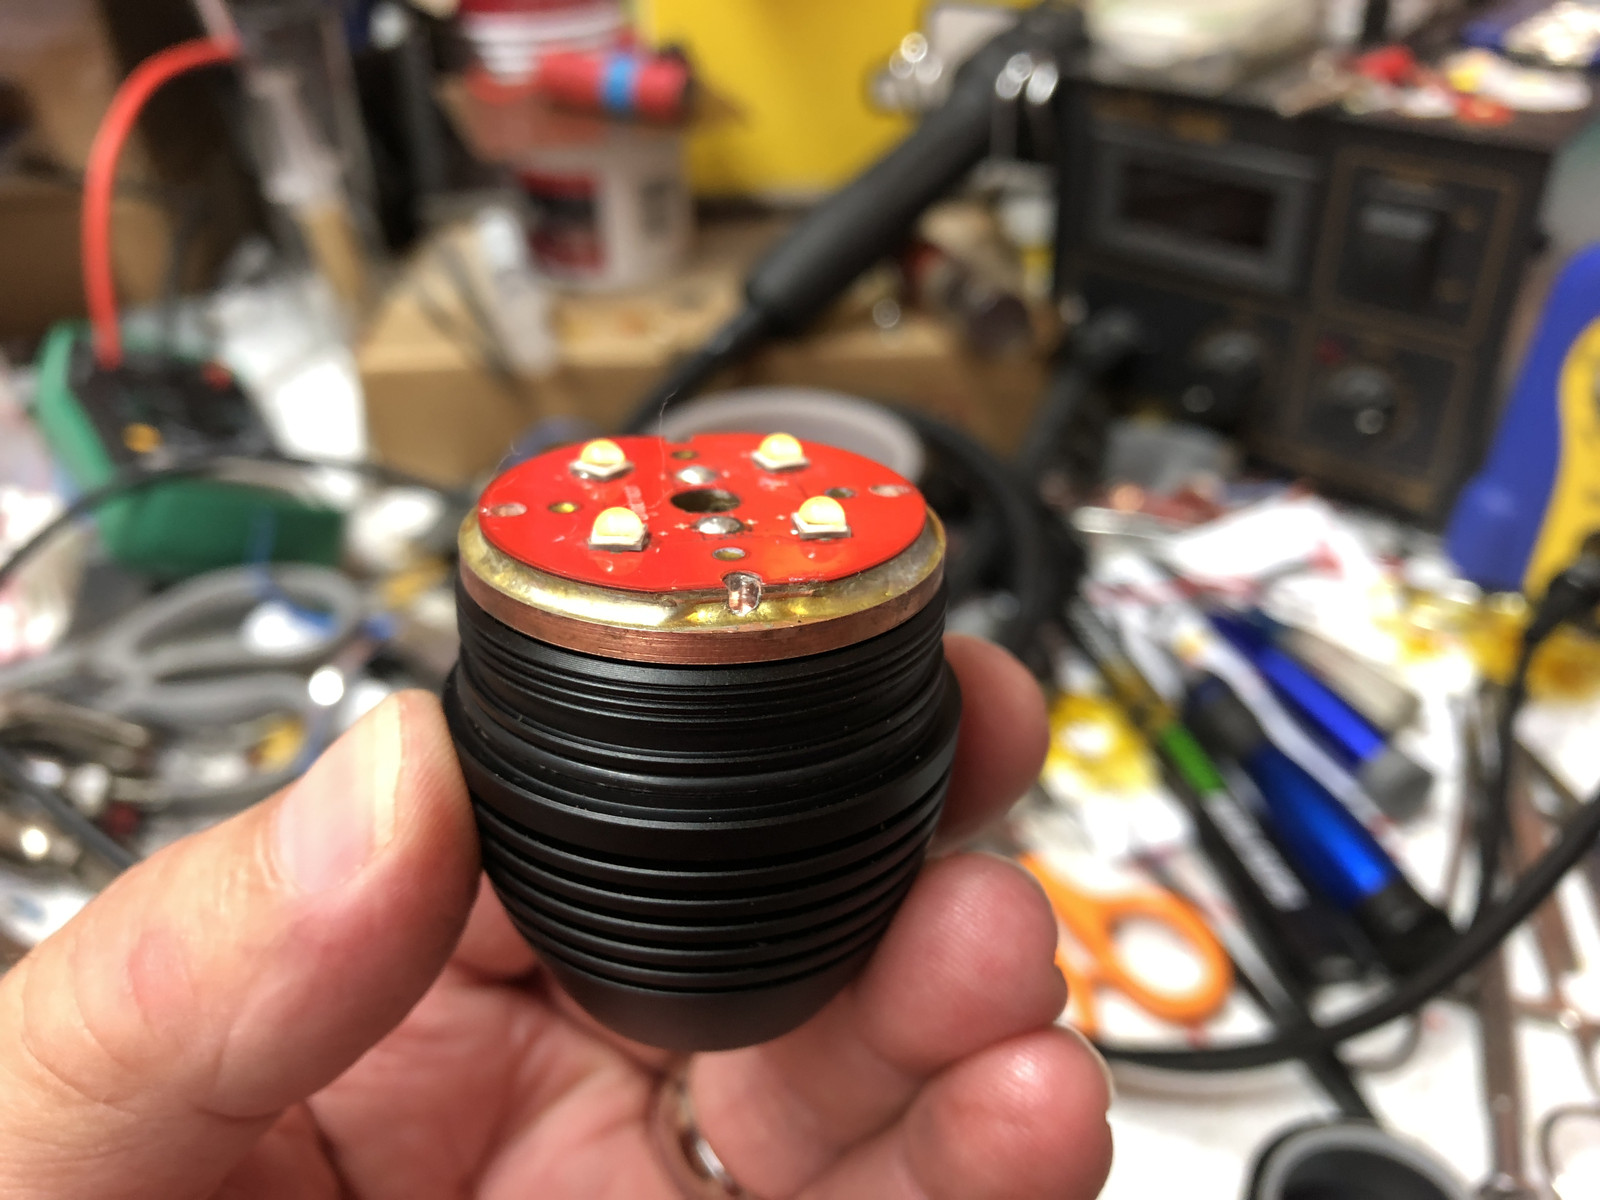
I hope I haven’t already posted this and forgot… when the Emisar D4S was coming out I liked the MCPCB and optic that Hank made up for it (the optic from Ledil of course) So I bought a couple of each from his site and build an Eagle Eye X6 host to be a variation of the D4s, this one uses Bistro with the high current fix. The emitters are Samsung LH351D in 80 CRI 5000K variant. The copper MCPCB is re-flowed to the custom heat sink which is in turn glued into the X6 head with Arctic Alumina Thermal Adhesive. I also used an AR coated glass lens over the optic to protect the softer material. If I remember correctly it’s making 5300 lumens on a top cell (Sony VTC5A)
Build pics of the Quad X6…

Ah, should also point out that the above X6 is one of two options against a modified Q8 in my 18,000 post giveaway. (the one that ends tomorrow at noon. less than 24 hours from now.) Just saying….
How expensive was that copper bit and how much does it weight?
I’d like to know.
The Te/Cu used was approx $9 worth of bar stock, weight should be around 1/2 pound. (1” of 35mm bar is .478 pounds)
Of course, I had to machine it to fit the X6 head as well.
(what with the reduction to fit into the head and another reduction to fit the emitter shelf, as well as the holes for wires, it should be around 6 ounces. I didn’t weigh it before installation and it’s now glued in)
I have zero experience machining (does a dremel and cut off wheel or sanding barel count? ;)) I do have a ton of micro solder and reflow experience however, these SMD components are about twice the normal size I’m used to working with. I’ve got access to a rotary tool and bits, a Weller solder station, and one of the chinese reflows. Copper while super effective, is further out of reach due to cost and it work hardening during machining in my experience. I wonder if anyone has tried to use heavy gauge copper wire or even heat pipes to improvise an odd shaped shelf? Hmmmm…… :sunglasses:
You don’t really need to.
Just get a 0,5-1mm copper sheet, cut a bit into the desired shape and size, and put it below the MCPCB for additional thermal mass.
Heck, you could even stack them using solder paste and a heatgun,
Or just get this monster of a light with a 10mm copper shelf and mod it to your liking:
Now that’s thinking outside the box !! ![]() :+1:
:+1:
Sounds like a good idea BlueSword I could also bond the copper plates with eachother using thermal grizzly liquid metal and then past between the top plate of the shelf and the emitter. Drill and tap a couple locking screws too maybe? Idk, ill have to do some more reading.
It could work yes. Solder would be better obviously, but liquid metal would work well until you get a hot air station like I recently did.
Dollar to a box of donuts it’s a brass pill in that light, not copper. ![]()