No I just pasted that in there :innocent:
CRX always keeping us on our feet! ![]()
Would a Batman mask over the de-domed die yield a Batman beam profile? Should, shouldn’t it? I mean, the aspheric shows a mirror image of the square die so if the die were masked to show only a Batman logo then the aspheric should show that logo in light, only the illuminated Batman just like in the show. Right?
This is how an aperture works in a camera, I can cut out a small Batman and place the cover over the lens effectively making the Batman the aperture, then the Bokeh effect of all lights in the background will be Batman. Like, with a Christmas Tree in the background and I take a soft portrait, all the lights would look like Batman. I’ve done this before with various figures, even a Yorkshire Terrier for an old couple that really loved their dog!
Some PCBs arrived, so now it was time for step 2 of my Nichia Optisolis Ultra-CRI build in an Emisar D4 host.
So here is my own driver. Anduril, 3+1 Channels, 1+2+5 7135 and a seperate resistor moon mode.
It seems like 10k is a good series resistance for moon.
All in all, it works great and there have been no real problems with the PCB design.
The only problem was, that the footprint for the schottky diode was a bit to small for the diodes I had at hand, so I had to bend the legs a bit to get it to fit.
Please excuse the bad SMD soldering as it was done by hand and not with hot air.


Nothing physical, but I finally wrote driver specific voltage calibration values into my customized Anduril build and flashed a few lights.
Im “cut off” for a while. Still looking for a super thin EDC AA light though.
That is a really cool driver zeroflow!
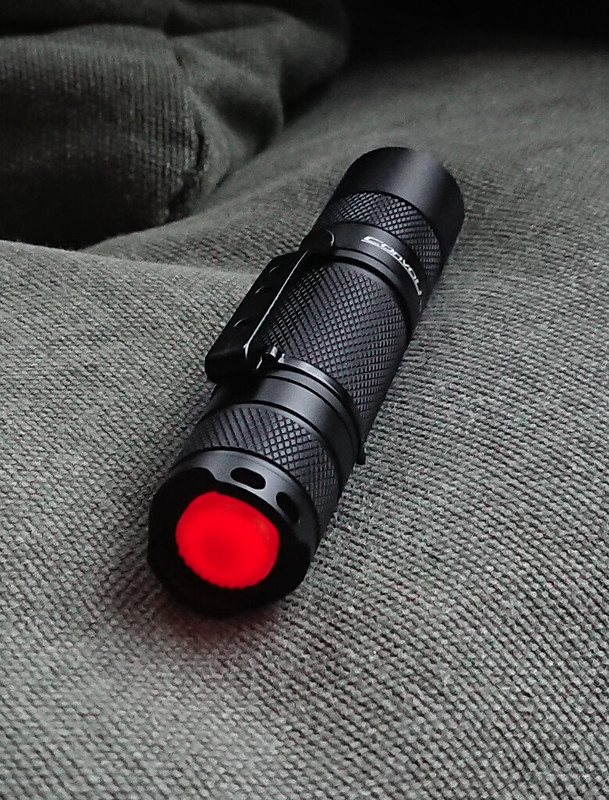
No such skills to design my own driver here or else I would have made a new better boost driver for the Convoy T2 (higher freq. PWM, no memory, no strobe)
Instead I converted the T2 to li-ion, led=my very last 219C SM4070e, driver FET-converted AK-47 C1 (low-med-high no memory) 680 Ohm bleeder, lighted tail with 6x 0603 630nm leds, spring bypassed, orange tailcap.
High at 3 seconds 740 lumen, 30 seconds 580 lumen. Nice beam and very good tint, but not as rosy as some other SM4070e leds that I used, this one is only very slightly under the BBL. (CRI=91.7 R9=60, CCT=3976, duv=–0.0016)
Some pictures
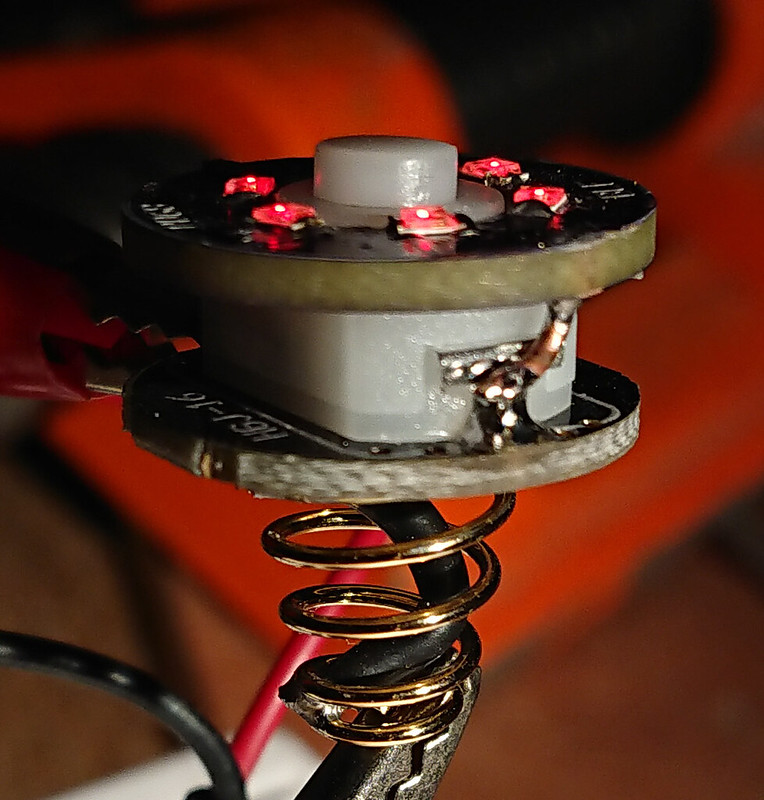
A KD DTP board was sanded to 1mm thickness by soldering a handle on the wire-pads, grab it with pliers and using the disc sander to thin the board, then removed the handle. Then the board was sanded from 16mm diameter to 14mm.
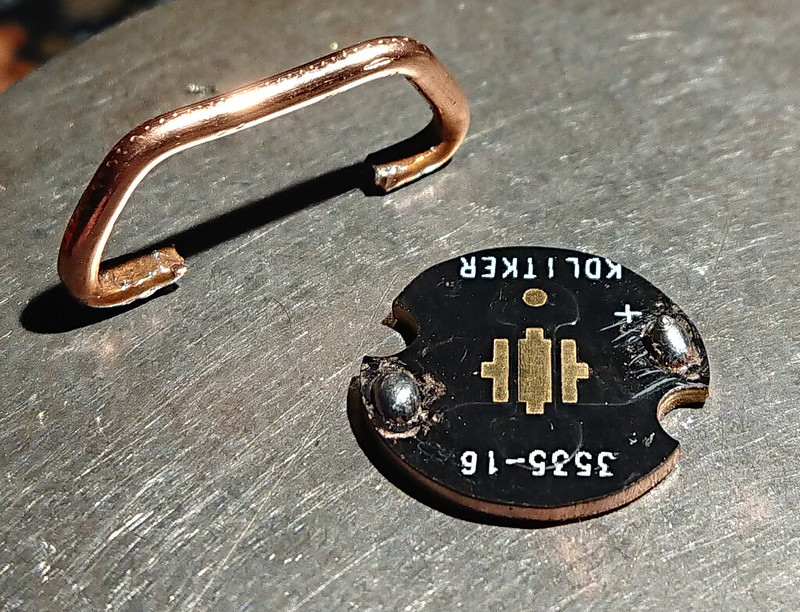
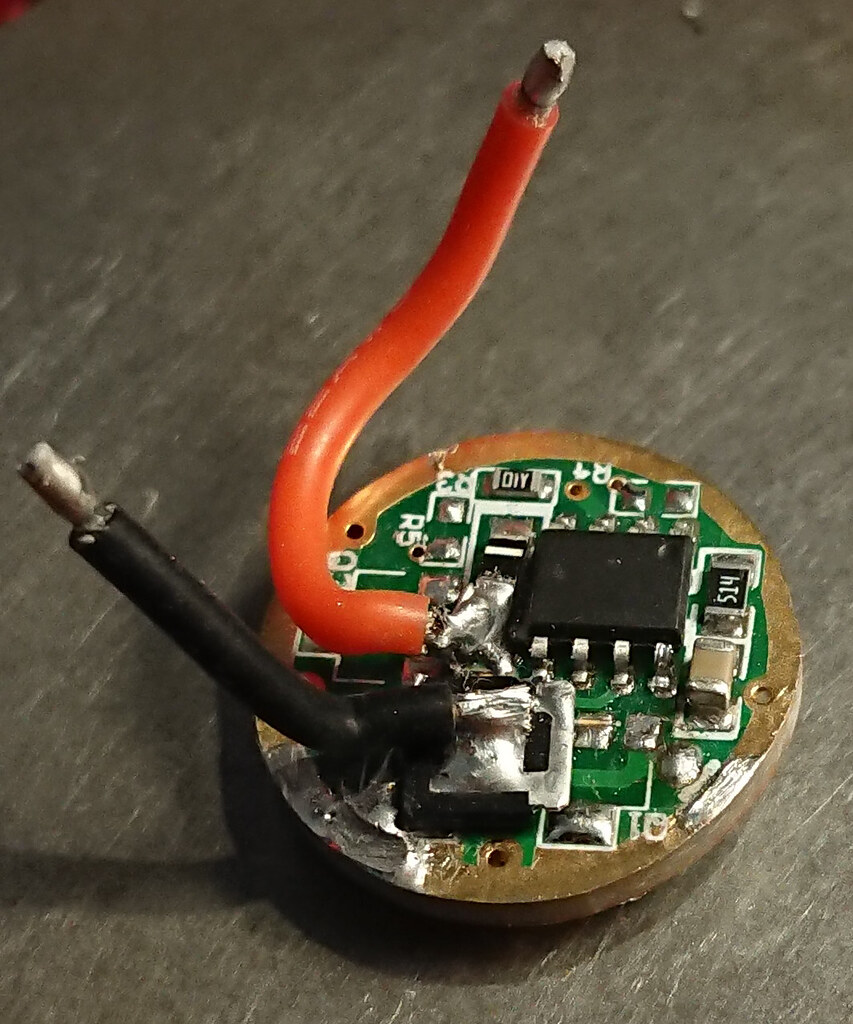
The driver had all 3 7135 chips removed and a FET added (see comfychair-inspired quick+cheap+lazy single-sided 17DD FET-driver (poor man's nanjg92)).
A brass button was soldered and a 680 Ohm bleeder resistor soldered in a shallow 2.5mm hole.
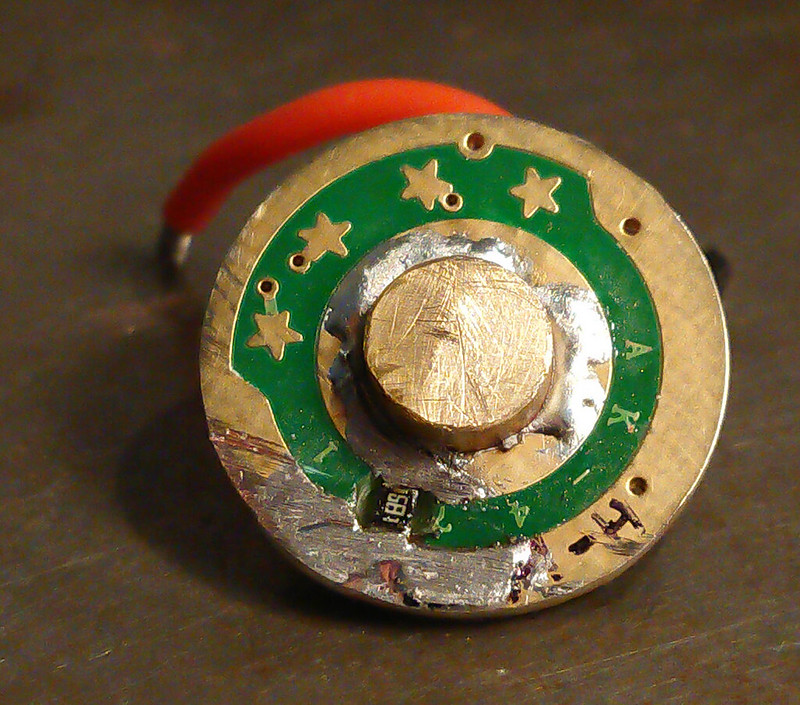
I used the stock tailboard with switch and added a pd68 6-led ringboard, 6x 630nm leds 3x 8.4 kOhm resistors.
Very cool idea with the temporary copper handle! :+1:
I could’ve used that a while ago when I teleported an MCPCB into another dimension while attempting to reduce its diameter on the belt sander.
Maybe I’ll find it again someday. ![]()
I forgot to mention that during sanding, every 4 seconds I cooled the board in a cup of water, otherwise it gets so hot within 10 seconds that the handle unsolders.
Put a 3000k sst-20 in my D25c ti.
I don’t know why but this light by far had the most emitter swaps of my lights. Easily tried 10 different LEDs in this light, hopefully this will be the last.

Finally finished my meldx light using a jetbeam jet II pro as a host. I wasn’t sure I was going to be able to do it, since everything was a lot smaller than I anticipated. There was barely any room to fit all the wiring and to get the switch working properly. On top of it, I only had an xpg3 5000k 90cri led for the main light to use at the time… And wouldn’t you know it but I don’t like the tint after everything was said and done so I guess I’ll wait for another weekend when I’m motivated enough to go through it all over again.
!
!
ps. Thanks to tterev3 and JasonWW for providing me some tech support for the build.
It’s not much, but useful and enjoyable. I swapped 2700k 90+ Nichias into my Q8, added a diffuser, and of course Anduril, and now I’ve got a pretty sweet little lantern to hold me over until the BLF ultimate lantern lands.
The warm tint is super easy on the eyes!

How do you like that diffuser? Remind me which size it is
It’s ok, there may be better out there, but this is the first one I came across that I could actually find available to buy. Also I liked it’s shape, short and squat instead of tall and skinny.
It doesn’t clip on, and it’s definitely not made for this light. It is more of a pressure friction fit. It stays pretty well, I can lift the light up by the diffuser, but not shake it around, or drop it, it will pop off. I’m going to trim the excess plastic soon, and I may glue the whole thing to the lense retaining ring, but I’m not sure on that just yet.
It’s the Fenix AOD-L, and the best place I’ve found to get it is at their own website.
It was on sale when I got it, for $5, free local US shipping. Everywhere else was $7 or 8 plus shipping from China, which would’ve taken longer.

What ?! How ? :-o
Heat color changing paint. Nice job. Now I want to paint a whole flashlight with it ![]()
I’ve just done the middle part too, will post in a bit ![]()
That’s pretty cool hot!
Which temperature is required to change the color?
With the middle section coated too here.
I've had this idea for a while, just got round to it.
I used strips of orange GITD sticky tape, though it looks pink in the gif on the light and black/ clear thermochromic powder mixed with UV setting glue as the paint didn't come in a colour change I wanted.
It's supposed to change colour/ become clear at 31°C, I think there are other temp ranges.

This is nice, you can see the heat creeping up the body.
That is freaking cool CRX! Way over the top : : :+1: :+1: :+1: