I agree. In fact, it’s probably a great idea. ![]()
Man, that is looking so cool MD. Saying I admire your skills would be an under statement. :heart_eyes:
For sure. Those are some serious skills in order to keep everything that consistent and even looking.
MRsDNF, gchart, and all…. thank you very much for the kind words. ![]()
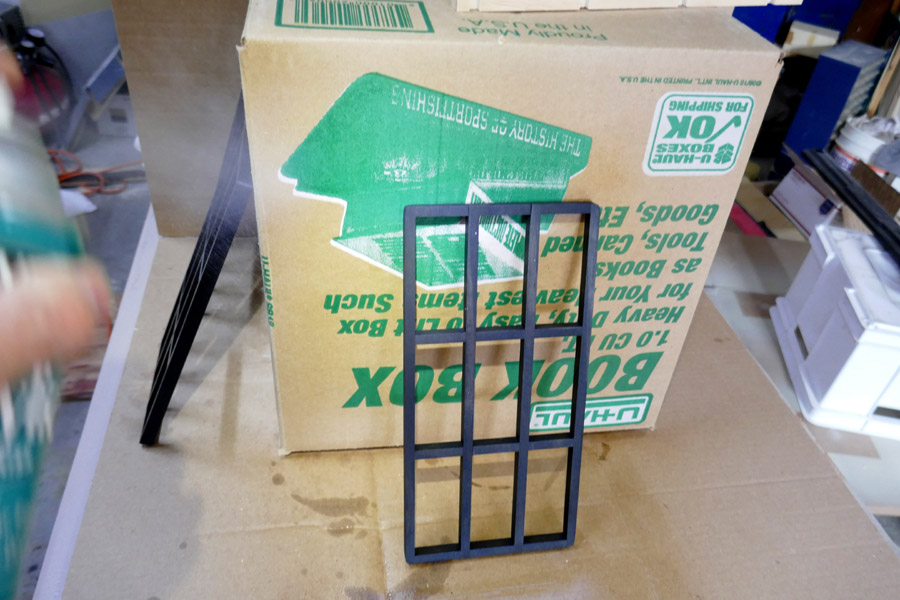
I just did a test stain on some of the pine cutoff pieces. I’m trying the black/ebony. I think it may look nice with the copper.
![]()
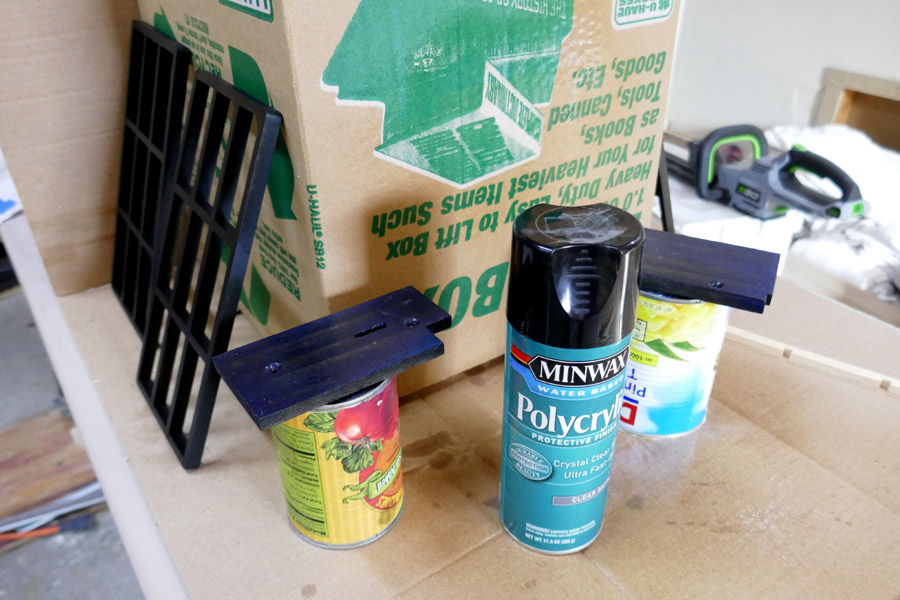
The point of no return, as far as color choice….

Yes, it is black. Or ebony as the can label reads. ![]()

I have stained lots of other stuff black on that cardboard ![]() Pardon the glare please
Pardon the glare please
Yeah, I think that’s the right color choice. ![]() :+1:
:+1:
I love how unique this build is. Great work :heart_eyes:
Missed a bit ![]()
Good choice of lacquer color. :+1:
Wow, very impressed with your woodworking abilities. Beautiful looking lantern so far.
Nice work and write-up! Love the construction process!
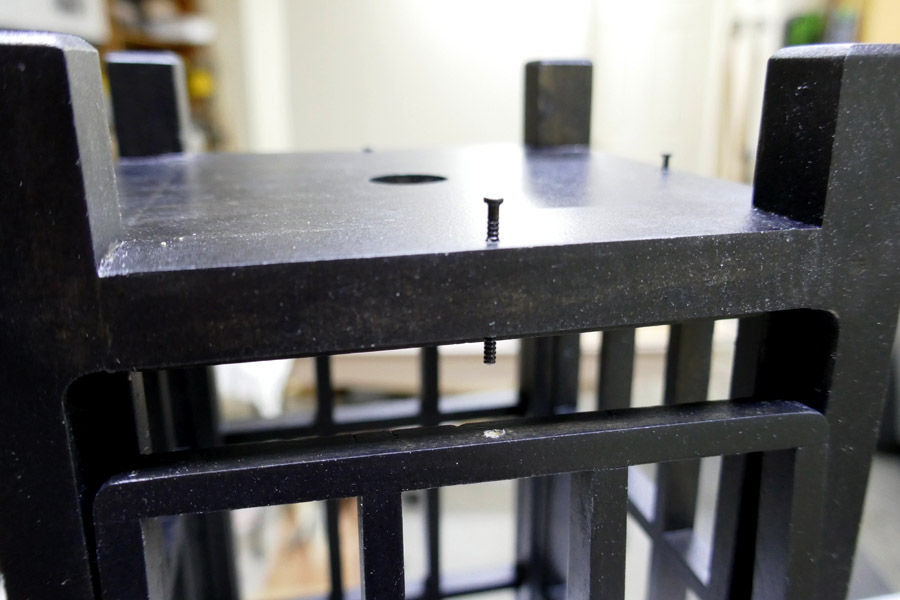
Argh!! There are disadvantages to not making drawings of all the details that need to be met. :person_facepalming: There are advantages too, such as not having drawn plans makes it easy to make changes. ![]()
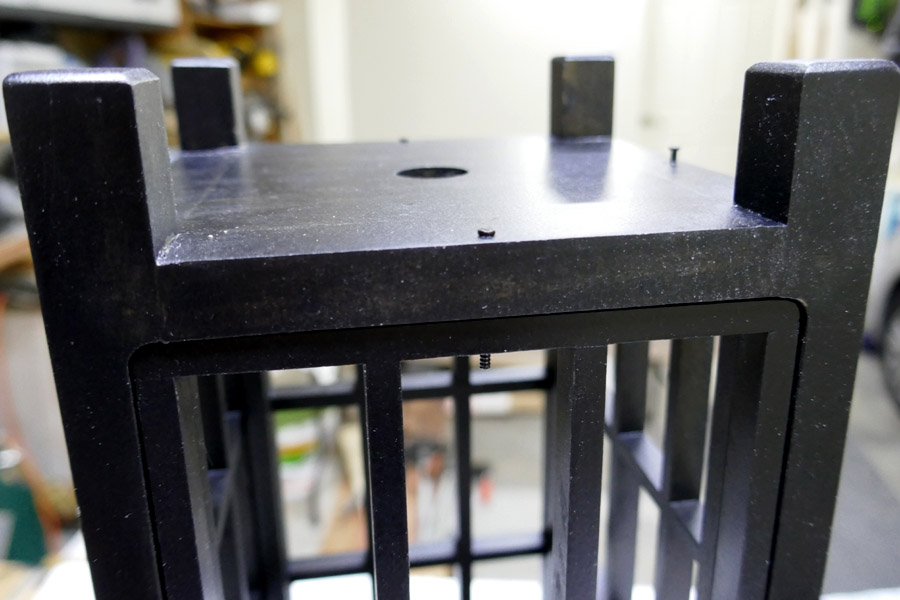
I forgot to drill a hole, or maybe 2 holes if they are smaller. Ineglected to drill out, cut out, the path for the 2 wires needed to connect the bottom end to the topend. :person_facepalming: ![]() How embarassing. However, all is not lost, I will just have to be very careful.
How embarassing. However, all is not lost, I will just have to be very careful.
More later.
Tried to tell you… ![]()
:person_facepalming: ![]()
I missed it I guess…………… ![]()
Ah, well, if you recall the error I made in post #63, that error has saved the day. Made the present task a little easier at least. The extra hole I made back there was barely hidden by the assembled bottom plate. A little use of the carving knife exposed it; I enlarged it and managed to wiggle a test pair of wires through. I can work with that.
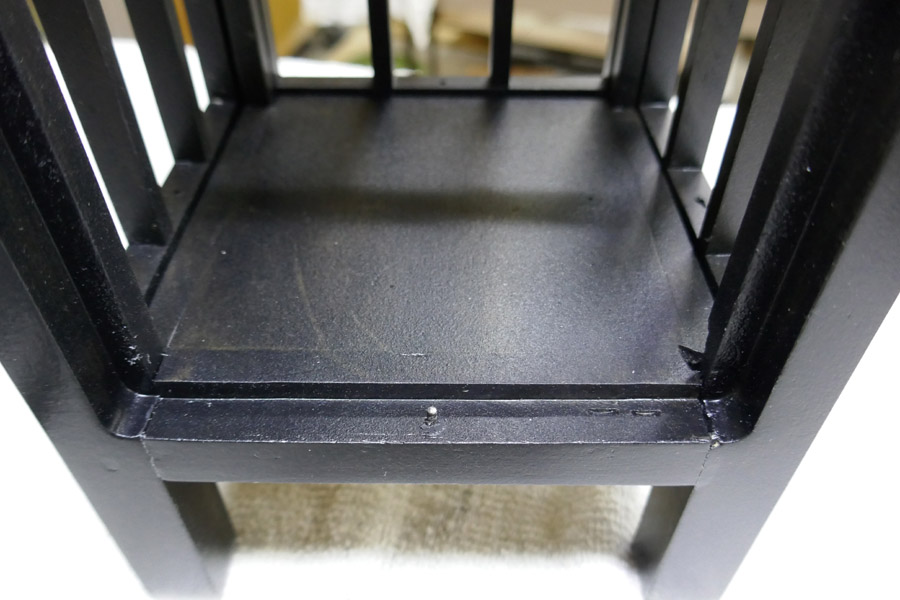
I gave the parts the first 2 light coats of clear coat. In the first image, you can see my left hand in action. There is still detail work to be done, but the non-clear coated wood picks up dust that shows and is difficult to wipe clean, so I did a sealer coat before continuing with the details.
You may notice a slight bluish cast here or there on the black stained wood. If you do, that is from the still wet spray finish. It dries completely clear so that color cast disappears.
How do you think man made fire!!??
Excellent work Don. love it
How are the screen panels to be secured into the openings in the skeleton? There is a bottom and a top pin. Pins are cut from paneling nails, partly because they were already black, I had them on hand and they were a suitable size. The bottom pin is pictured below, installed in the lower plate edge. The nail was cut to length then pressed in a tight fit hole from the bottom and a drop of cyanoacrylate glue was applied. A mating hole was drilled in the lower edge of the screen frame.
A similar thing is used at the top. Here the pin is removable though.
To lock the screen frame in place, the lower edge is lowered into place over the lower locating pin. The frame is then tilted back into place and the upper pin pressed into place. The panel nails have a deformed, sort of knurled, shank. They are a friction fit in the holes. The lower end protrudes enough to be able to press up on the end and make it easier to grasp the top end if there is a need to remove the frame for any reason.