I removed it by inserting a tiny thin mini-screwdriver in from one side and wigging side-to-side to break any bond/glue. Once the bond/glue was loose, it pried out.
Perhaps if done carefully, one could salvage the soft plastic lens for re-use (sans any damage to the edge where the screwdriver went in) but in my case it was already deformed from trying heat so I made no attempt to preserve it.
Afterwards one could either try pressing the lens back in or replacing it with another, in my case I did the latter with a glass lens that I glued in.
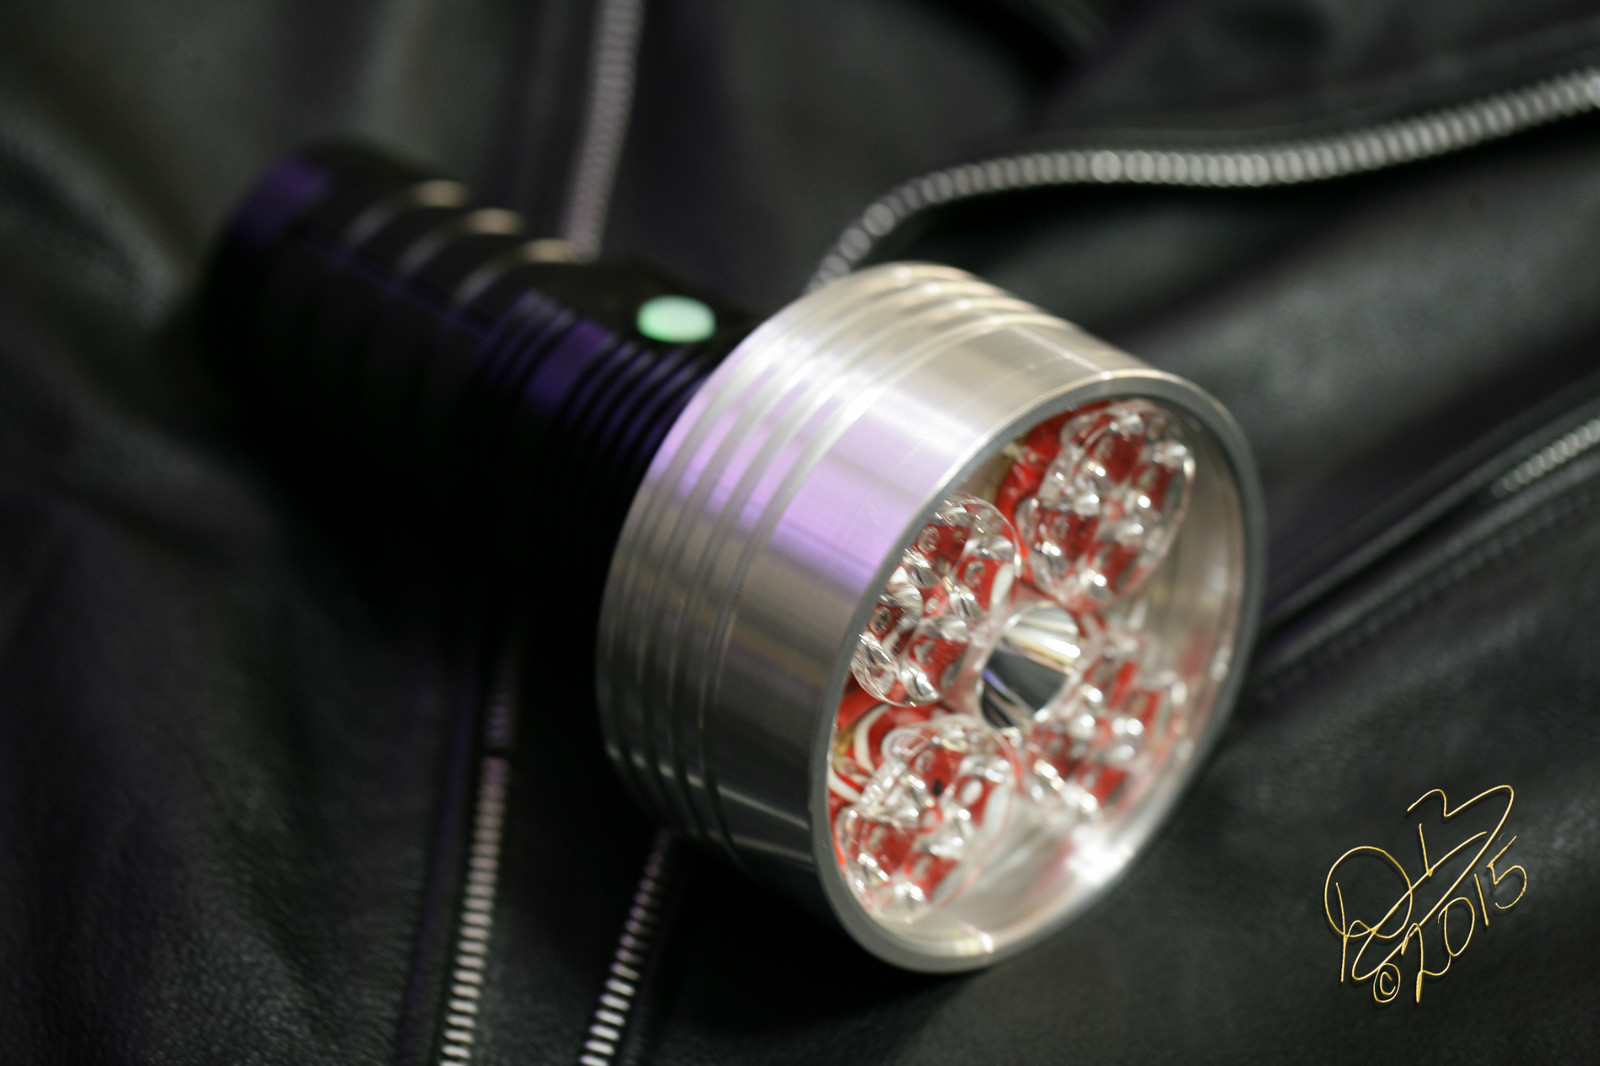
On my big Quad quad plus one light, I was looking at the empty spaces this morning and trying to figure out how to finish that off… Two of the 4 spaces have a “T” intersection of the 18ga Teflon positive wire crossing the 14Ga Red Turnigy, so that needs to be sealed and capped. So I got to thinking, and looking around…. I would like to use 2 of the Sofirn carriers with 8 cells when all is said and done, so it will be 8 18650 cells powering up 5 drivers to 4 Quads and the output really hammers, right? So I found a new cartridge developed just this year for a specialized custom AR-15… the .458 HAM’R! I’m inquiring with brass companies to see if I can get a few pcs of this brass to fit into the voids here, maybe even put small SMD emitters in the primer cup and run these with the switch light for a glow up top. I can use Sugru (uncured Silicone) under and around the electrical connection and also to glue in a cut down .458 HAM’R brass cartridge such that the headstamp is up against the lens like the Quad optics and center reflector. Lighting it may be more than I want to bite off, but I could certainly fill the primer cup with a glow in the dark powder and cut a window in the side of the cartridge to allow this powder to charge when the lights are illuminated.
Anyone got any once fired .458 HAM’R brass laying around?
Richard managed to de-dome the SST-40 and then he sealed it with LED Seal to protect the bond wires. I’ve never used the stuff, but it appears to be a clear almost epoxy like stuff that is put on like one drop, it spreads and covers the die and bond wires and leaves a thin durable coating, like a micro dome.
I thought Richard does a close slice then polish for the SST40. Rather than a true dedome due to the common problem of the weak SST40 bond wires. That’s what it looks like from the ones I’ve got from him. Unless he’s changed his process.
This is the first of my 3535GAW drivers, well not this one, this one is built with all recycled parts off the bench for testing and design verification purposes (digikey order en route) but this is the quad AT-008 one up and running anduril.
Thank you for that pictures. That makes something clear.
I was thinking about, how you will fit these LEDs inside a small Q8 head.
With this new head, you have more terminal heat mass.
Is the new head only screwed to the bezel-threads?
Is there some free space where the former LEDs and the reflector was? Or goes your new aditional head down to the old LED-Shelf?
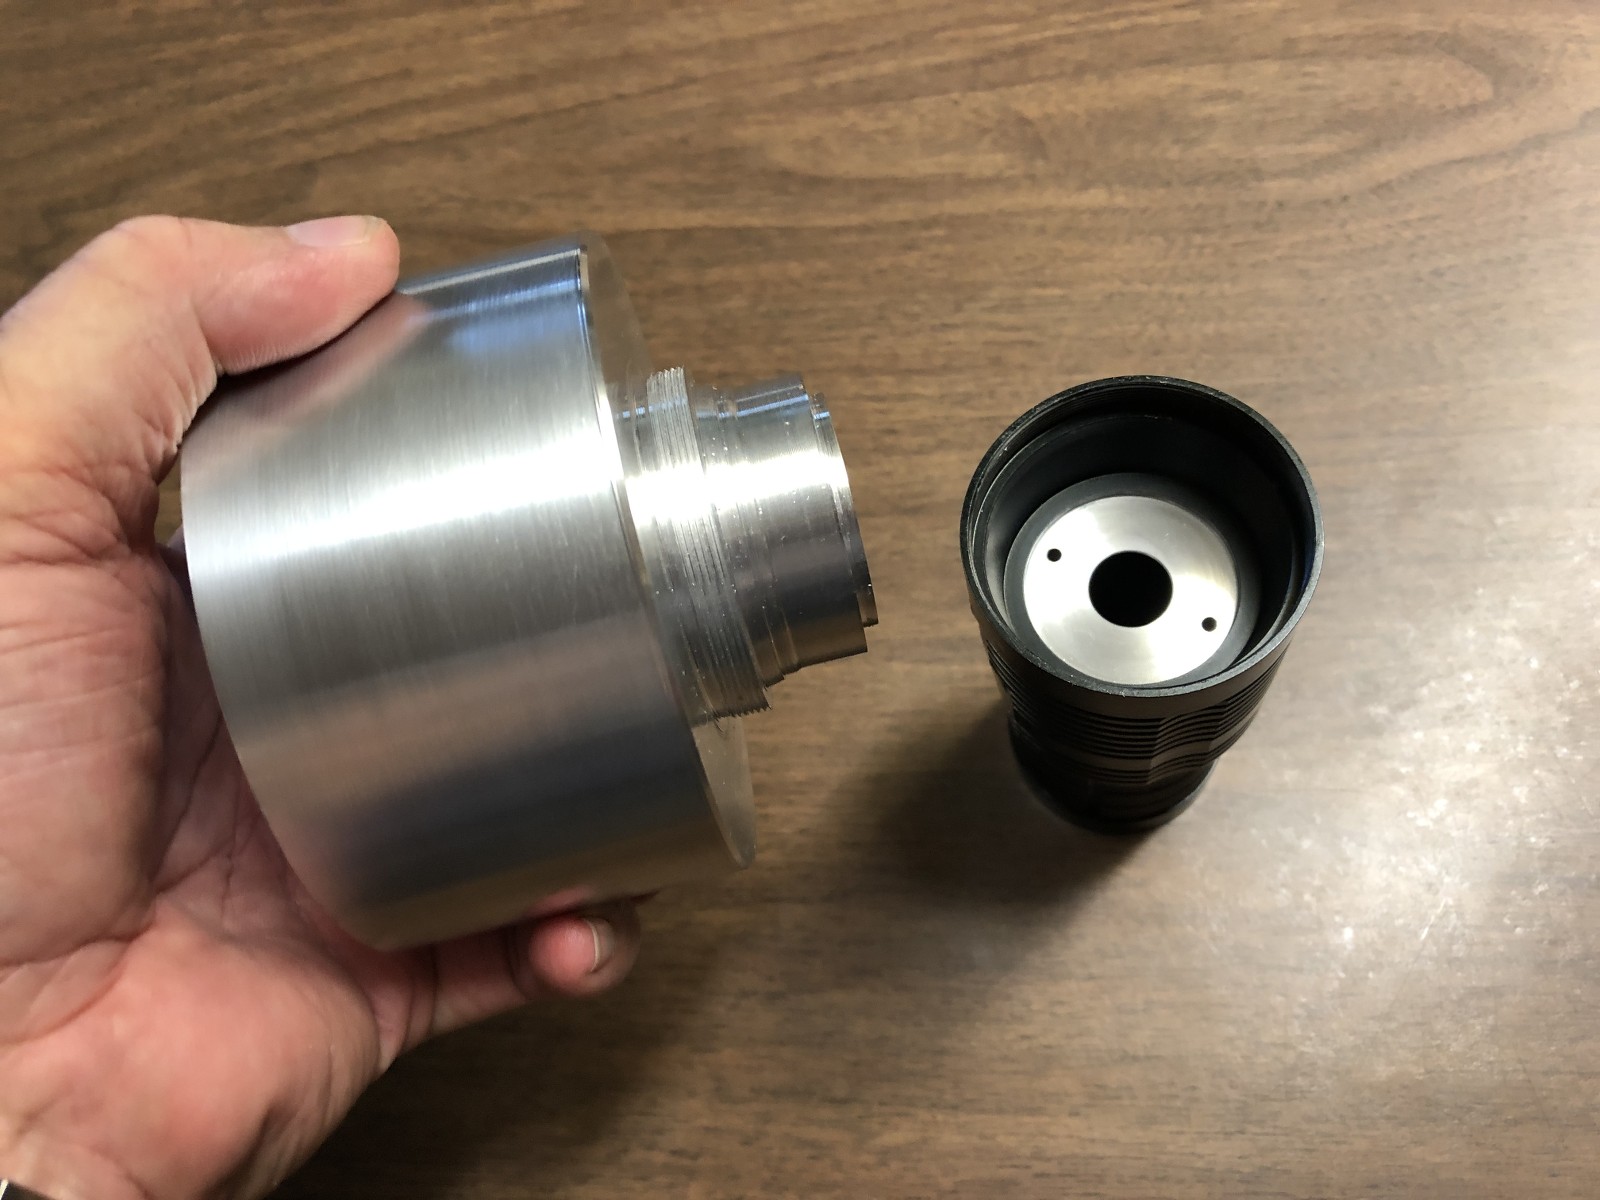
I shaped the end of a 4” bar of 6061 to fit down into the Q8, seating firmly on the original emitter shelf and threaded into the bezel threads. There are more threads in the light than the bezel shows so it takes several revolutions to screw this piece all the way down. The two screws that once kept the reflector from turning now lock this new head in place.
With 4 Samsung 25S cells the light weighs 3 lbs 2 oz.
I had a 3s lipo pack kicking around I made it into a phone power bank. It’s not huge capacity but it will do QC2 Only issue is I have to charge it with a hobby charger through the balance tap. It’s all hard wired and epoxied. I’m thinking I could’ve shortened the cable I little too but never mind.
I put a LH351D 4000K 90CRI in my A6. Measured 1552 lumens OTF. Bought from led4power and was a 5 minute job. Tint is very even with a bit of green, colours pop nicely under it
I was inspired by thisnameisvalid and decided to rebuild my very first modded light, my A6!
I put in a Luxeon V2 4000K 70CRI (a 3535 package brand new LED). I think I got the first 10 available from DigiKey here
According to my shoebox I got 1,367lm turn on and 1,094lm at 30 seconds using a VTC6. I decided not to try my VTC5A yet in case I kill it.
I tried to measure amp draw but I think the thin tube on this A6 makes it hard to get good contact. I think it was ~6.5A on the same VTC6 after about 45s of turbo use. This is with a bypassed tail and blue small spring (no bypass) on driver side.
The beam is similar in tint to Luxeon V1 (the 4040 one) but exactly as you would expect, a bit more throwy and less power. Comparing it to a LH351D 4000K 90CRI I would say the Luxeon is MUCH more ‘rosy’, no hint of green, and just overall more white. However, i’m a little disappointed in the output. I expected something a lot closer to a LH351D as the datasheet and everything matches it very closely.
This week i’m going to build a Sofirn C8F with this LED and drive it as hard as possible (30T probably) and get a better tail reading.