What did you mod today?

Managed to open my Olight S1 Mini Baton (yeah the new ones with recessed blue ring :frowning: ) without toooo much pain and swapped the cool XM-L2 for a hi-CRI LH351D 5000K.

Hereā€™re the inside works, with replacement board.

The original MCPCB (far right in photo) was smaller (~14mm) and thinner (~0.5mm), so I re-sized a 16mm x 1.5mm copper DTP (far left in photo), to fit (final in center in photo) :frowning:

In my excitment to finish before dinner I closed it up before taking a pic :person_facepalming: and I didnā€™t want to open it again.

But FWIW, hereā€™s the beamshot of XM-L2 Before (on photo left) and LH351D After (on photo right) The ever so slight green is gone and in itā€™s place is a whole lotta hi-CRI goodness.

:slight_smile:

Nice job shaping the MCPCB to fit. I find that sort of filing and sanding work to be the most satisfying. :+1:

Yeah, itā€™s the kind of mindless task that you can do while watching TV or just want to zone out with some soft music.

The BLF X5 was before my time but I did get one to make up for lost time. It stayed stock for about 2 days.

Old:

X5 w/ stock XP-L HI
26.5Kcd

New:

X5 w/ White Flat
BeCu driver spring
bypassed tail
69.5Kcd

Tail measured just barely above 5 amps w/ a Vapcell 14500. I didnt do any focusing and didnā€™t bother changing the stock centering ring since the MCPCB and reflector both screw in and the width of the gasket seemed close enough for now. Beam actually has a good tight spot as is.

More adventures with the HarleyQuinn flashing key. The partially assembled driver is now running Anduril. Specifically the tint mixing (Lantern) branch :smiling_imp:

wow!
I will take it :slight_smile:

That is a satisfying mod :+1: , it takes the X5 to a new level that was not achievable at the time.

Todayā€™s mod was one of the more tricky ones for me but turned out well.

Got a Sunwayman V11R during the random eBay deal a few months ago that like 30+ of us jumped on :slight_smile:

Thanks toddcshoe for that deal thread and moderator007 for documenting his previous mods on this oneā€¦

Broke this free with the underside of my huge gaming mousepad, I think it was red loctite. Now I have a cramp in my finger. Only managed one small scuff on the ano that you can see in the bottom right piece.

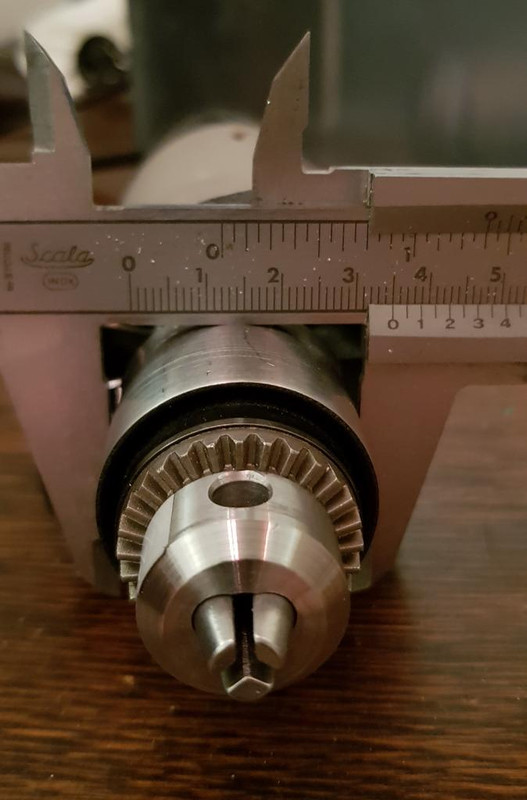
Original ~14mm MCPCB and XM-L U2, bye Felicia

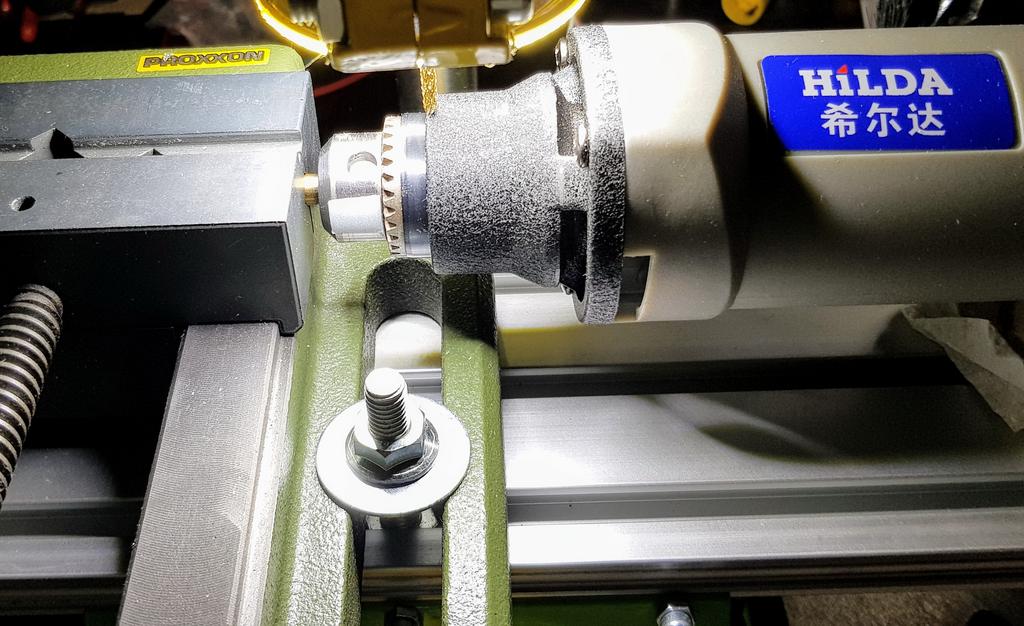
Seeing how much I have to take off my 16mm XP board, aside from filing a few 20mm triple boards for the E2L I have never done this before.
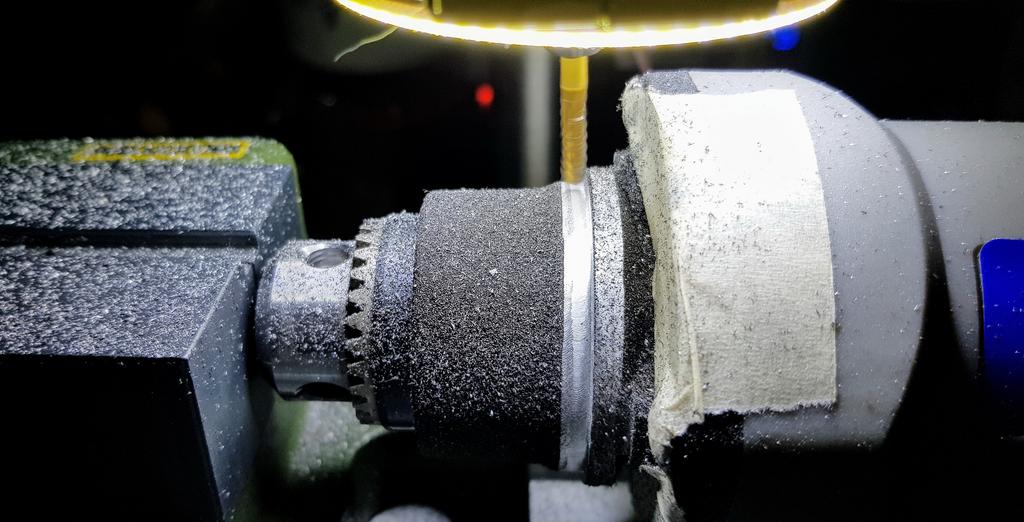
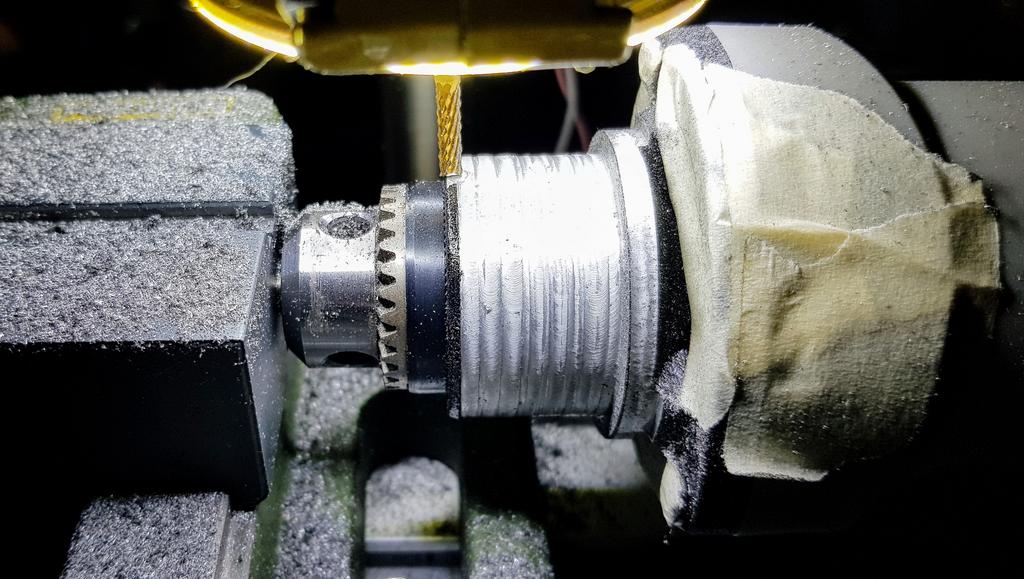
The only grinder I have, itā€™s made for sharpening knives. 120 coarse belt never gets used on knives anyways, lets tryā€¦

Ugly, but it gets the job done. LH351D 4000K 90CRI, GET TO THE COPPAH

Hey, it works. Glad I saved this one. It was from a failed re-flow attempt on a Q8 where I killed 2/4 LEDs with turbo. These were first group buy 4K which I really like the tint of, glad she lives to see another day.

The super low moon this light is sometimes known for looks neat.

Beam is good

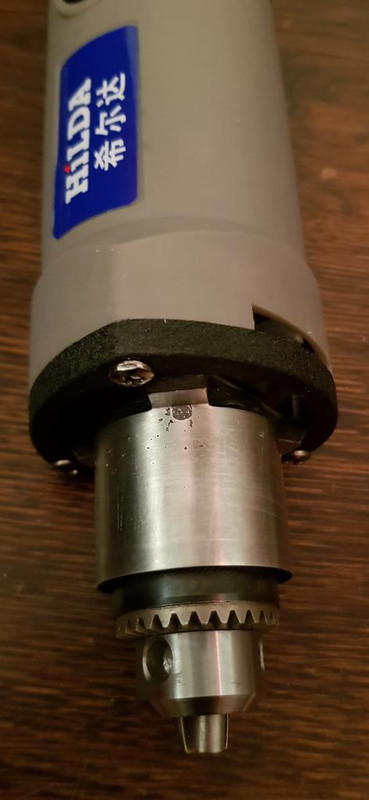
I left out the metal washer/spacer thing so I could tighten the head and get the slop out of the variable ring. Thanks moderator007. Itā€™s possible to over tighten it now but it wont be an issue, easy to adjust.

Random XP centering ring from Kaidomain was a perfect fit.

I ended up thinning the MCPCB too but I wish now that I hadnā€™t. Iā€™m sure itā€™s not flat/level on the bottom but hopefully itā€™s close enough to make a good heat path. At least we are using copper nowā€¦

Cool! I have one of those Work Sharp knife sharpeners too. Love it.

Looks great!

contactcr, excellent job AND writeup

Just did a very simple mod on one of my Emisar D4 lights.

  • Remove the retaining ring. Best way that I found is to use the nail file from a standard small Victorinox mini pocket knife. The tipe of the file tapers to a flat end. And unlike a conventional screwdriver there are no sharp edges so the rubber button shouldnā€™t be damaged. With the file portion of the file almost parallel to the button boot, insert it at a shallow angle over the top of the button. Dig the tip of the file into the rubber below the edge of the retaining ring, then lever upwards. The ring should pop right off.
  • Remove the rubber switch boot. On the underside of the boot is a tiny post intended to hit the switch.
  • Snip off this post using a small scissors. The scissors in the Victorinox mini are ideal for this purpose. The goal is to cut off the post so the interior of the button cover is flat. Take off only the post. Do not go deeper.
  • Reassemble. Place the switch boot in place and then insert the retaining ring. To get the retaining ring to lock back into place, I found that placing the switch upside down on a small anvil and then applying steady pressure by hand worked well (do not hammer). I tried to only have the edge of the retainining ring I wanted to press down on the anvil. Once that was in I rotated the light and repeated. I tried to avoid placing the center of the switch boot directly onto the anvil.

Result: The button now requires noticeably more pressure to depress. My guess about two to three times as much. It also clicks on at a deeper depth than with an unmodified boot. I can now place the light button-down on a desk and press and the pressure from the desk will no longer activate the switch.

The entire mod was quite easy and fast. It took less than 5 minutes. While this doesnā€™t eliminate chances of accidentally pocket activation it certainly makes it less likely.

My Yihua YH-858D hot air rework station arrived a couple of days ago so Iā€™ve just done my first emitter reflows.

First I desoldered a few dead emitters and reflowed an LH351D 4000K 90 CRI from AEDeā€™s second group buy onto one of the old MCPCBs (destined for a Thorfire TK4A), then I decided to replace the CW XP-E in a SingFire SF-348 with a LH351B 3000K 90 CRI also from AEDe.


Above: Comparing the 3000K LH351B to a Nichia 219C ā€œBLFā€ 348 with a particularly poor tint.The picture was taken on my phone so all settings were auto.

Now that Iā€™ve finally started reflowing emitters my next goal is to make some illuminated tail switch boards before eventually assembling some drivers.

I KNEW I was doing something WRONG! I always hold the copper MCPCB by hand and use a 3ā€ belt grinder with a 50 grit beltā€¦. sucks when I forget the waterā€¦

Or when you shoot it into outer space.

Today I rebuilt an sk98 for Larry.
Filed and pressed a Cu disk into the pill, built a moonlight special (1+7 7135) driver for it running BLF A6 and swapped the XP-E2 Torch out for a more useful XP-L HI.
Optic loss is quite high (as with any cheap zoomie) but itā€™s doing 694 OTF zoomed out / 354Lm zoomed in at 2.94A.

I then wanted to fix a personal light which died last week, diagnosed it as a dead switch and digging in my crap pile collection of good stuff I found a baggie of them and put the light back together only to discover the button cover didnā€™t make contact with the button! The culprit? Switch height difference.
So then I got my surgeon hat on and rebuilt the switch itā€™s self, took the tall button from the bad switch and put it in the good short switch and it works!

Does anyone have a link to get some more of the tall kind (the left one)? I didnā€™t realize there were more than one and all of them I have are the short ones.

Epoxy a small disc on top or silicone an extra piece of rubber on the boot.

ā€¦or the fastest option: a drop of Norland64 (or other UV curing glue) on top of the switch, illuminate with your favourite 365nm torch for 10 seconds and presto!

Nice work everybody!

I am a bit jealous of you guys! I have never really been mechanically inclined, although there are Three engineers in my immediate family!

My specialty is being an expert battery re wrapper! :smiley: in addition to being a fanatic about numbers,battery cycles, run times, purchase dates. born on dates,ect.which I all document.

My closest thing to a mod was changing the boot and tightening the retaining ring on the tail switch!

You have to start somewhereā€¦My hiking buddy is an expert at soldering,27 years experience. His dad taught him when he was 15 years old. Maybe he could teach me.

ohhh yaaa,I did take my computer apart once, removed the fans and lubed them w/ NO-OX-ID. It did turn out good, it just took me twice as long as it should have because I struggled remembering how all the parts went back in because I did not memorize/pay attention enough while I was dismantling!!

Today i did not mod a light. But something that will help me mod lights in the future. I have no access to a lathe or a mill. So i bought a drillpress stand (and modified it) to be able to do small milling jobs on soft metall parts (like flashlights). But the old and tired dremel was not cutting it. So i bought a Hilda grinder from BG. But i did not notice that this grinder would not fit the 43mm Holder inside the stand. And making a adapter is not so easy when the head on the grinder is conical. After talking with kiriba-ru (i have to say thanks for his thoughts) i decided to use what i have and try to make something conical straight.
First i clamped a 6,5mm drill inside the Hilda grinder (max he can handle) and the other side inside the vise. From the top i use my dremel and turn the Hilda grinder slowly by hand. With a sliding table i controll the left right movement.

First i decided to let a 3mm ring at the upper end of the head. I did this because i was thinking that i could open up pockets in the material if i take to much material away.

Working slowly turn after turn (it took some time with the old and tired dremel)

In the end i decided to take the upper ring down i first had left there. This was not the best idea because i was right with the pockets. On every of the 3 corners i opend a pocket in the material. I used some ā€œbiggerā€ aluminium shavings and mixed them with JB weld and filled the pockets up. A day later i grinded everything down and used some sandpaper to get a better surface finnish. Now i have a straight 35mm area on the front. Next step is to get a 35mm to 43mm adapter. When ready i will have a lot more torque campared to my dremel. And i can use tools up to 6,5mm inside the Hilda grinder (dremel max 3,175mm).