- This content originally appeared at zeroair.org. Please visit there for the best experience!
- Didn't really know where else to put an "internal cell" light.... technically it's a lipo, but that doesn't fit the specifics of this sub. But even less so the others!
- Thank you for reading!

I reviewed a few lights for RovyVon, and one of those was the E300S. That light has Cree XP-G3, one of my least favorite current emitters, and after the input from my review (and let’s be humble, probably other sources), RovyVon released a Nichia option! This review is largely the same as that original, with the main difference being the emitters.
Official Specs and Features
Here’s a link to the official product page.
Versions
There are a few versions of this light. First is the aforementioned emitter choices – Cree XP-G3 and Nichia 219c. And there are two body colors too. Black, seen here, and a titanium gray body.
Price
These lights are currently $82.95
Short Review
I liked the original E300S …. but I actually did an emitter swap on it to put in…. Nichia 219c. So I sort of feel like I’ve had this light before (even though I gave that one away!). This is a fun light, and the Nichia is really an upgrade. There are a few things that could be improved – the pocket clip, for example. Also the light is a bit large for this style, but that’s understandable.
Long Review
What’s Included
- RovyVon E300S
- Paracord
- Pocket clip
- Manual
Package and Manual
The package on this version is decidedly different – I had a pre-production model before. The package for this light is well done, and nicely printed.
The manual is a two sided A4 paper with all the info you need about the light. Unfortunately the manual hasn’t been updated to reflect the lower output that Nichia provides. So be aware that the numbers on the manual (and also on the bezel of the light itself) are not accurate for the Nichia version.
Build Quality and Disassembly
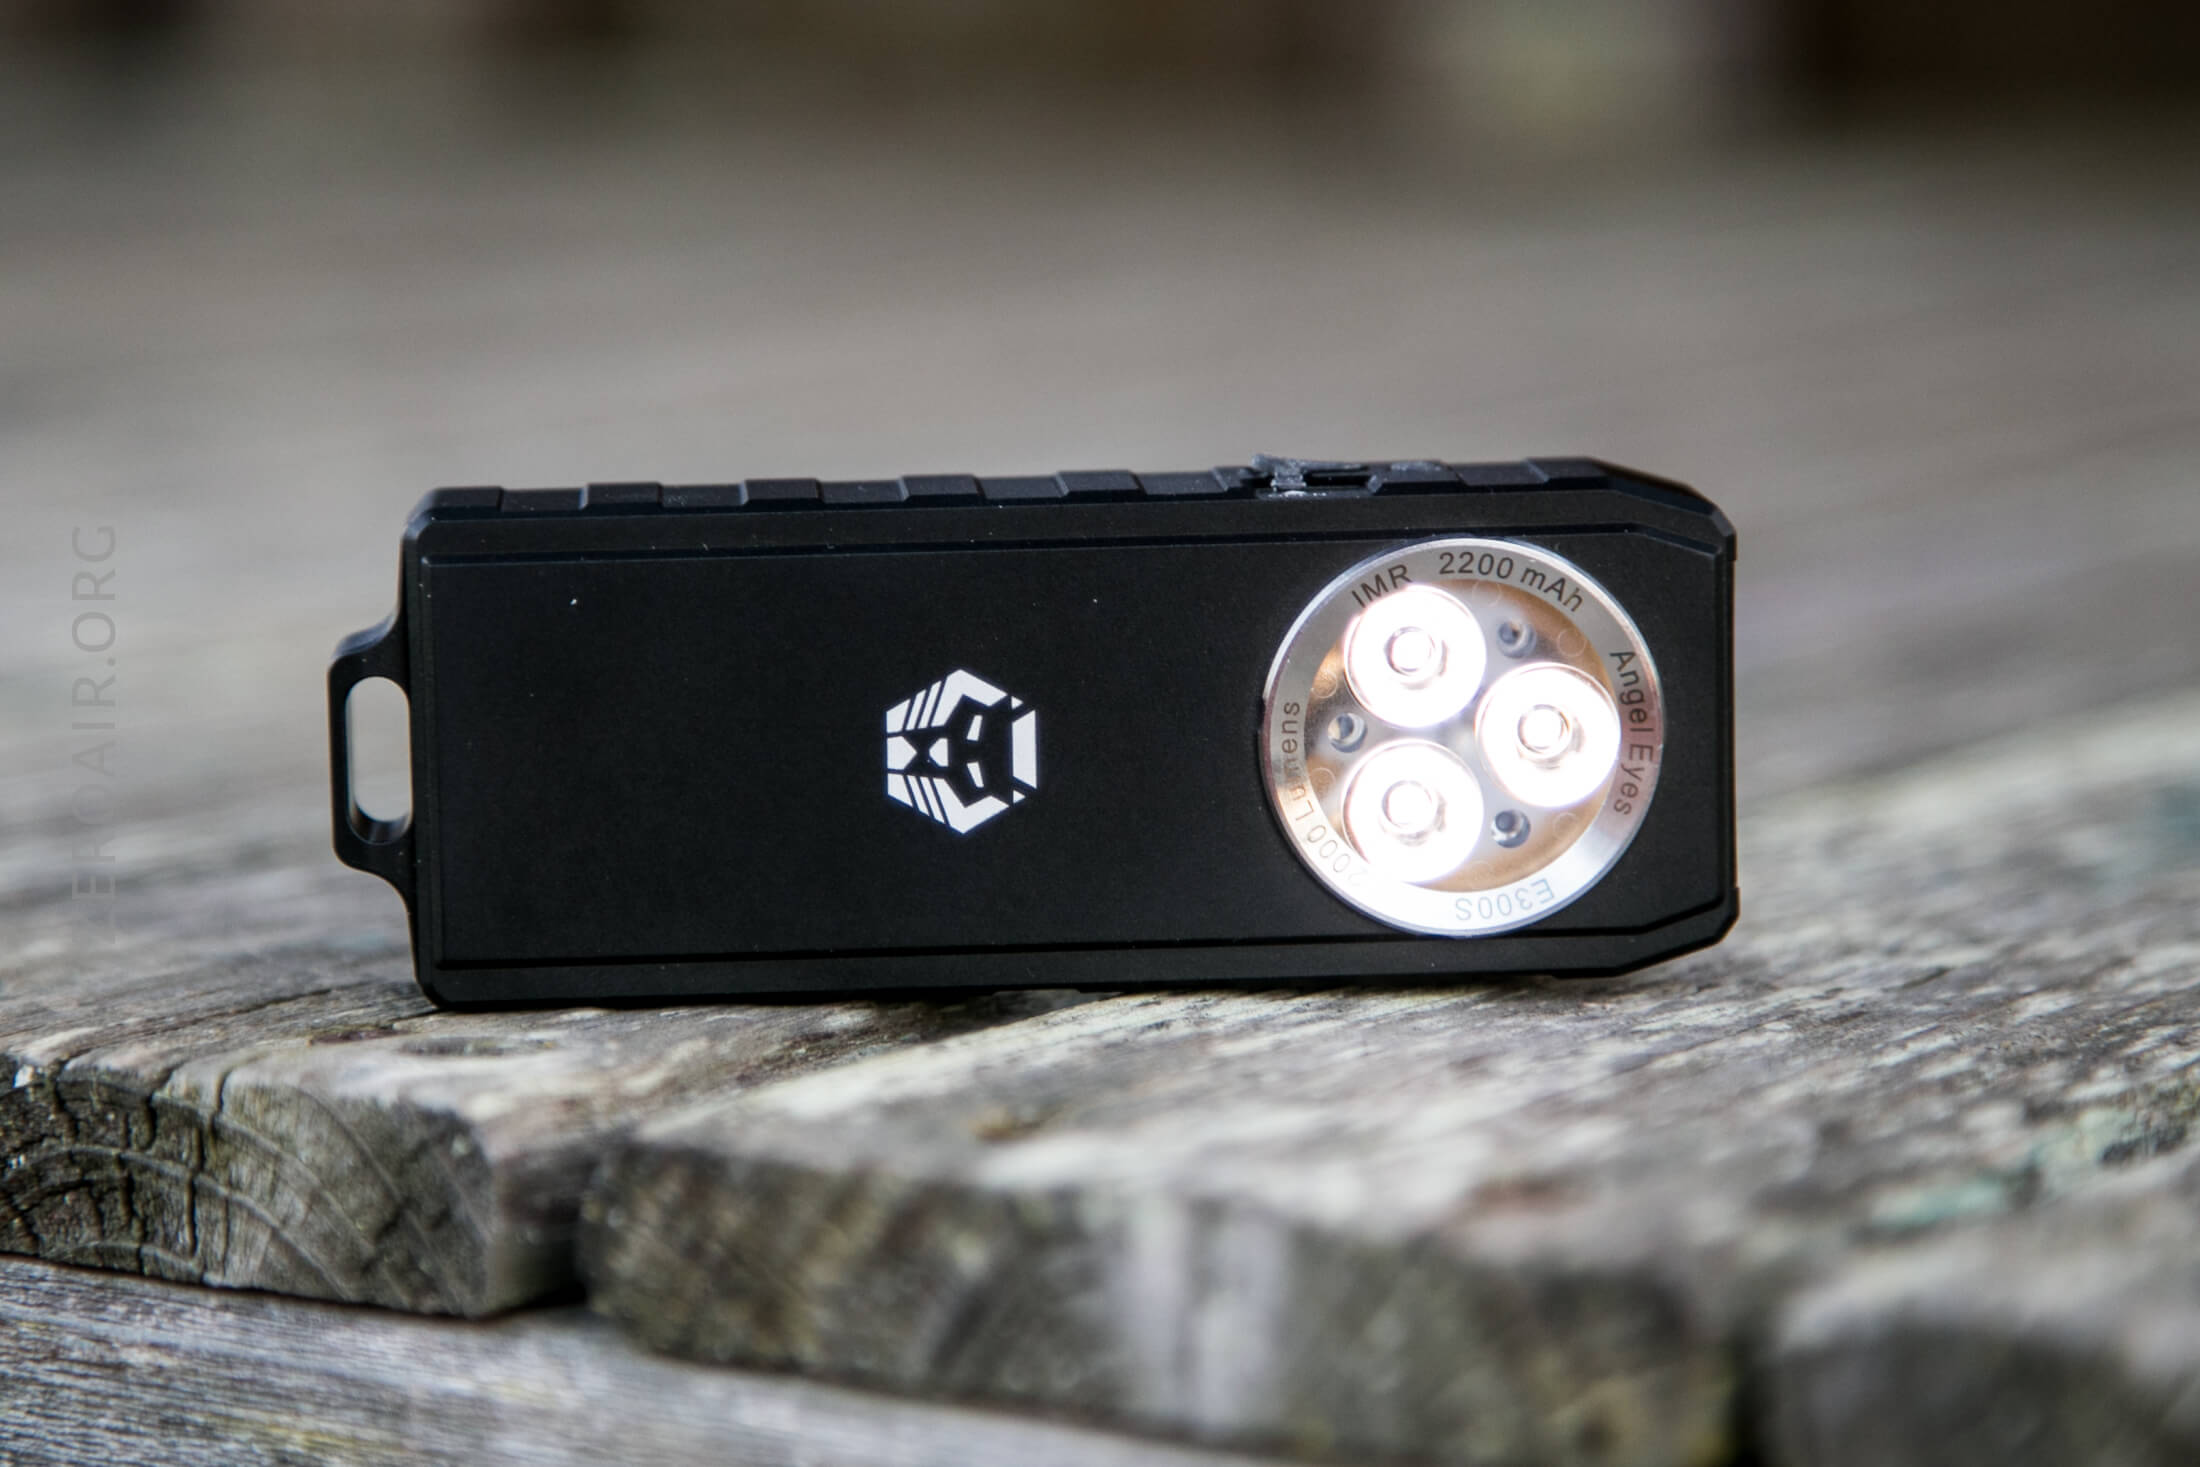
This light has a very interesting and unusual look. Almost any other light I can think of in this format a) isn’t a triple and b) isn’t a right angle light. That’s neither good nor bad, but it does make this light stand out.
The build quality feels good. As I said in the intro, the light is quite big for what it is and what I was expecting, and that’s reflected in how it sits in the hand.
There’s plenty of texture on the body, but none of it is particularly grippy. The light is well made, in any case.
Two torx screws hold the body together. Yes just two! They’re on the head end of the light, and once removed allow the light to slide apart.
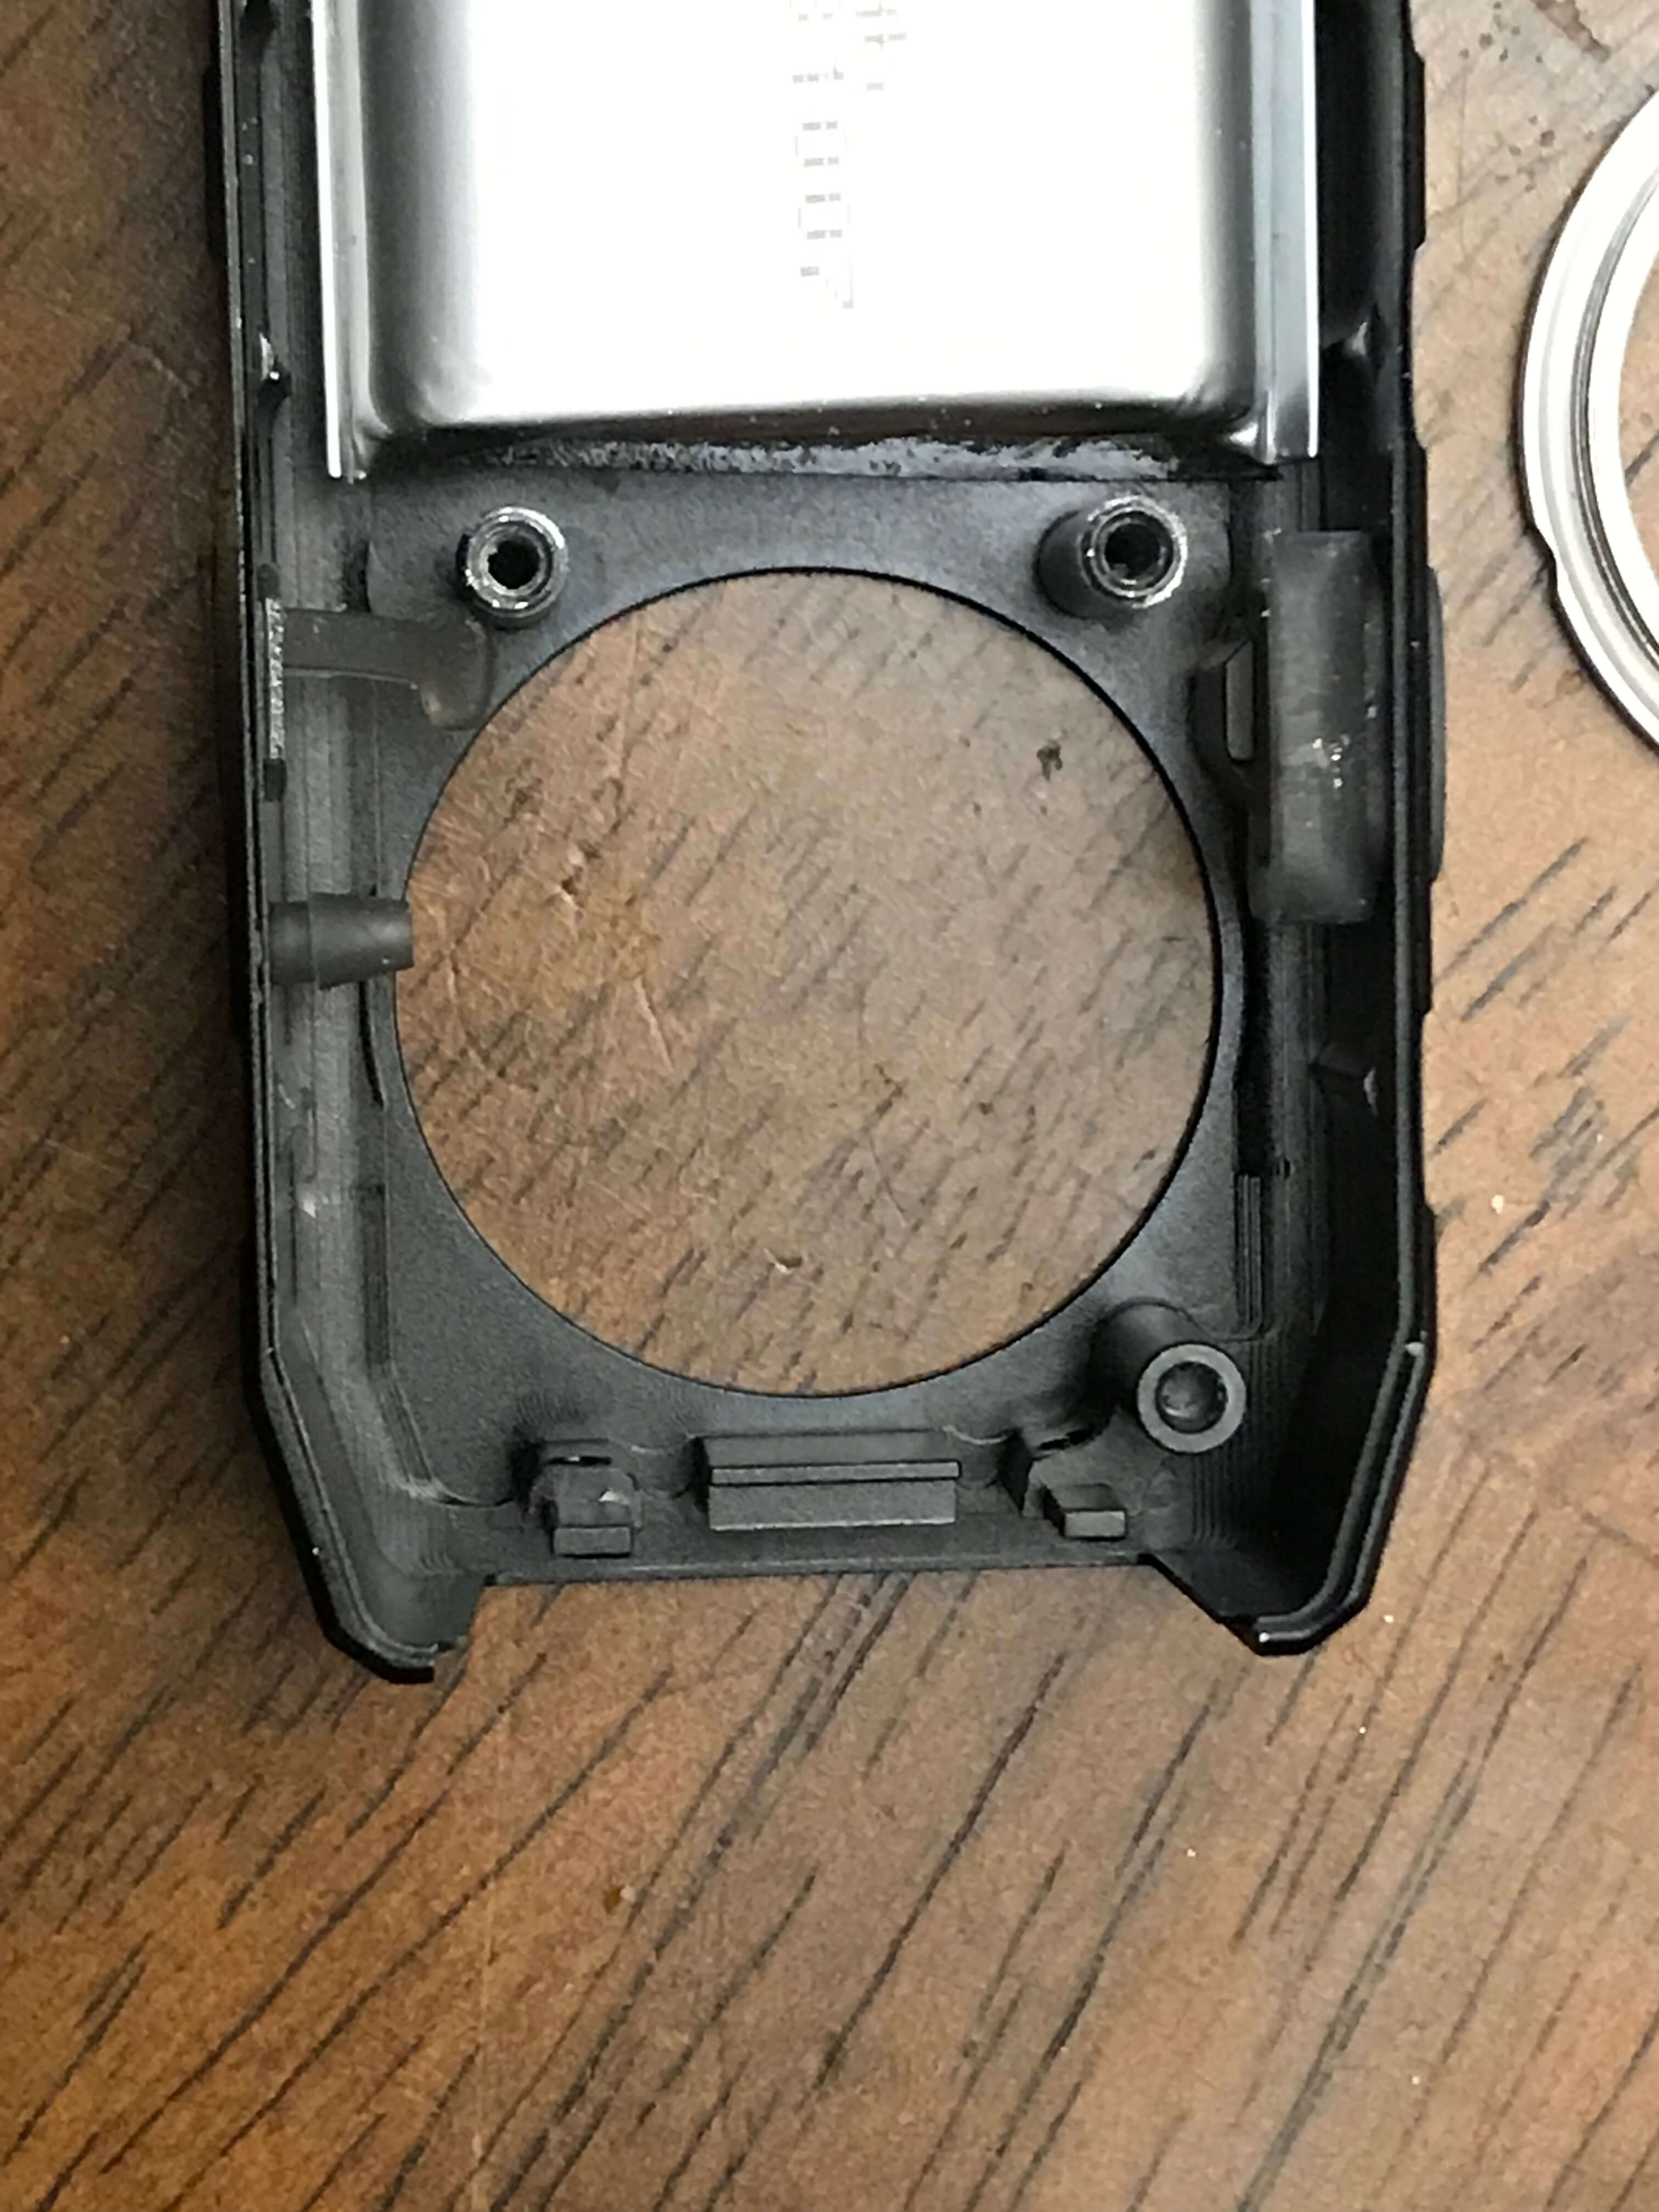
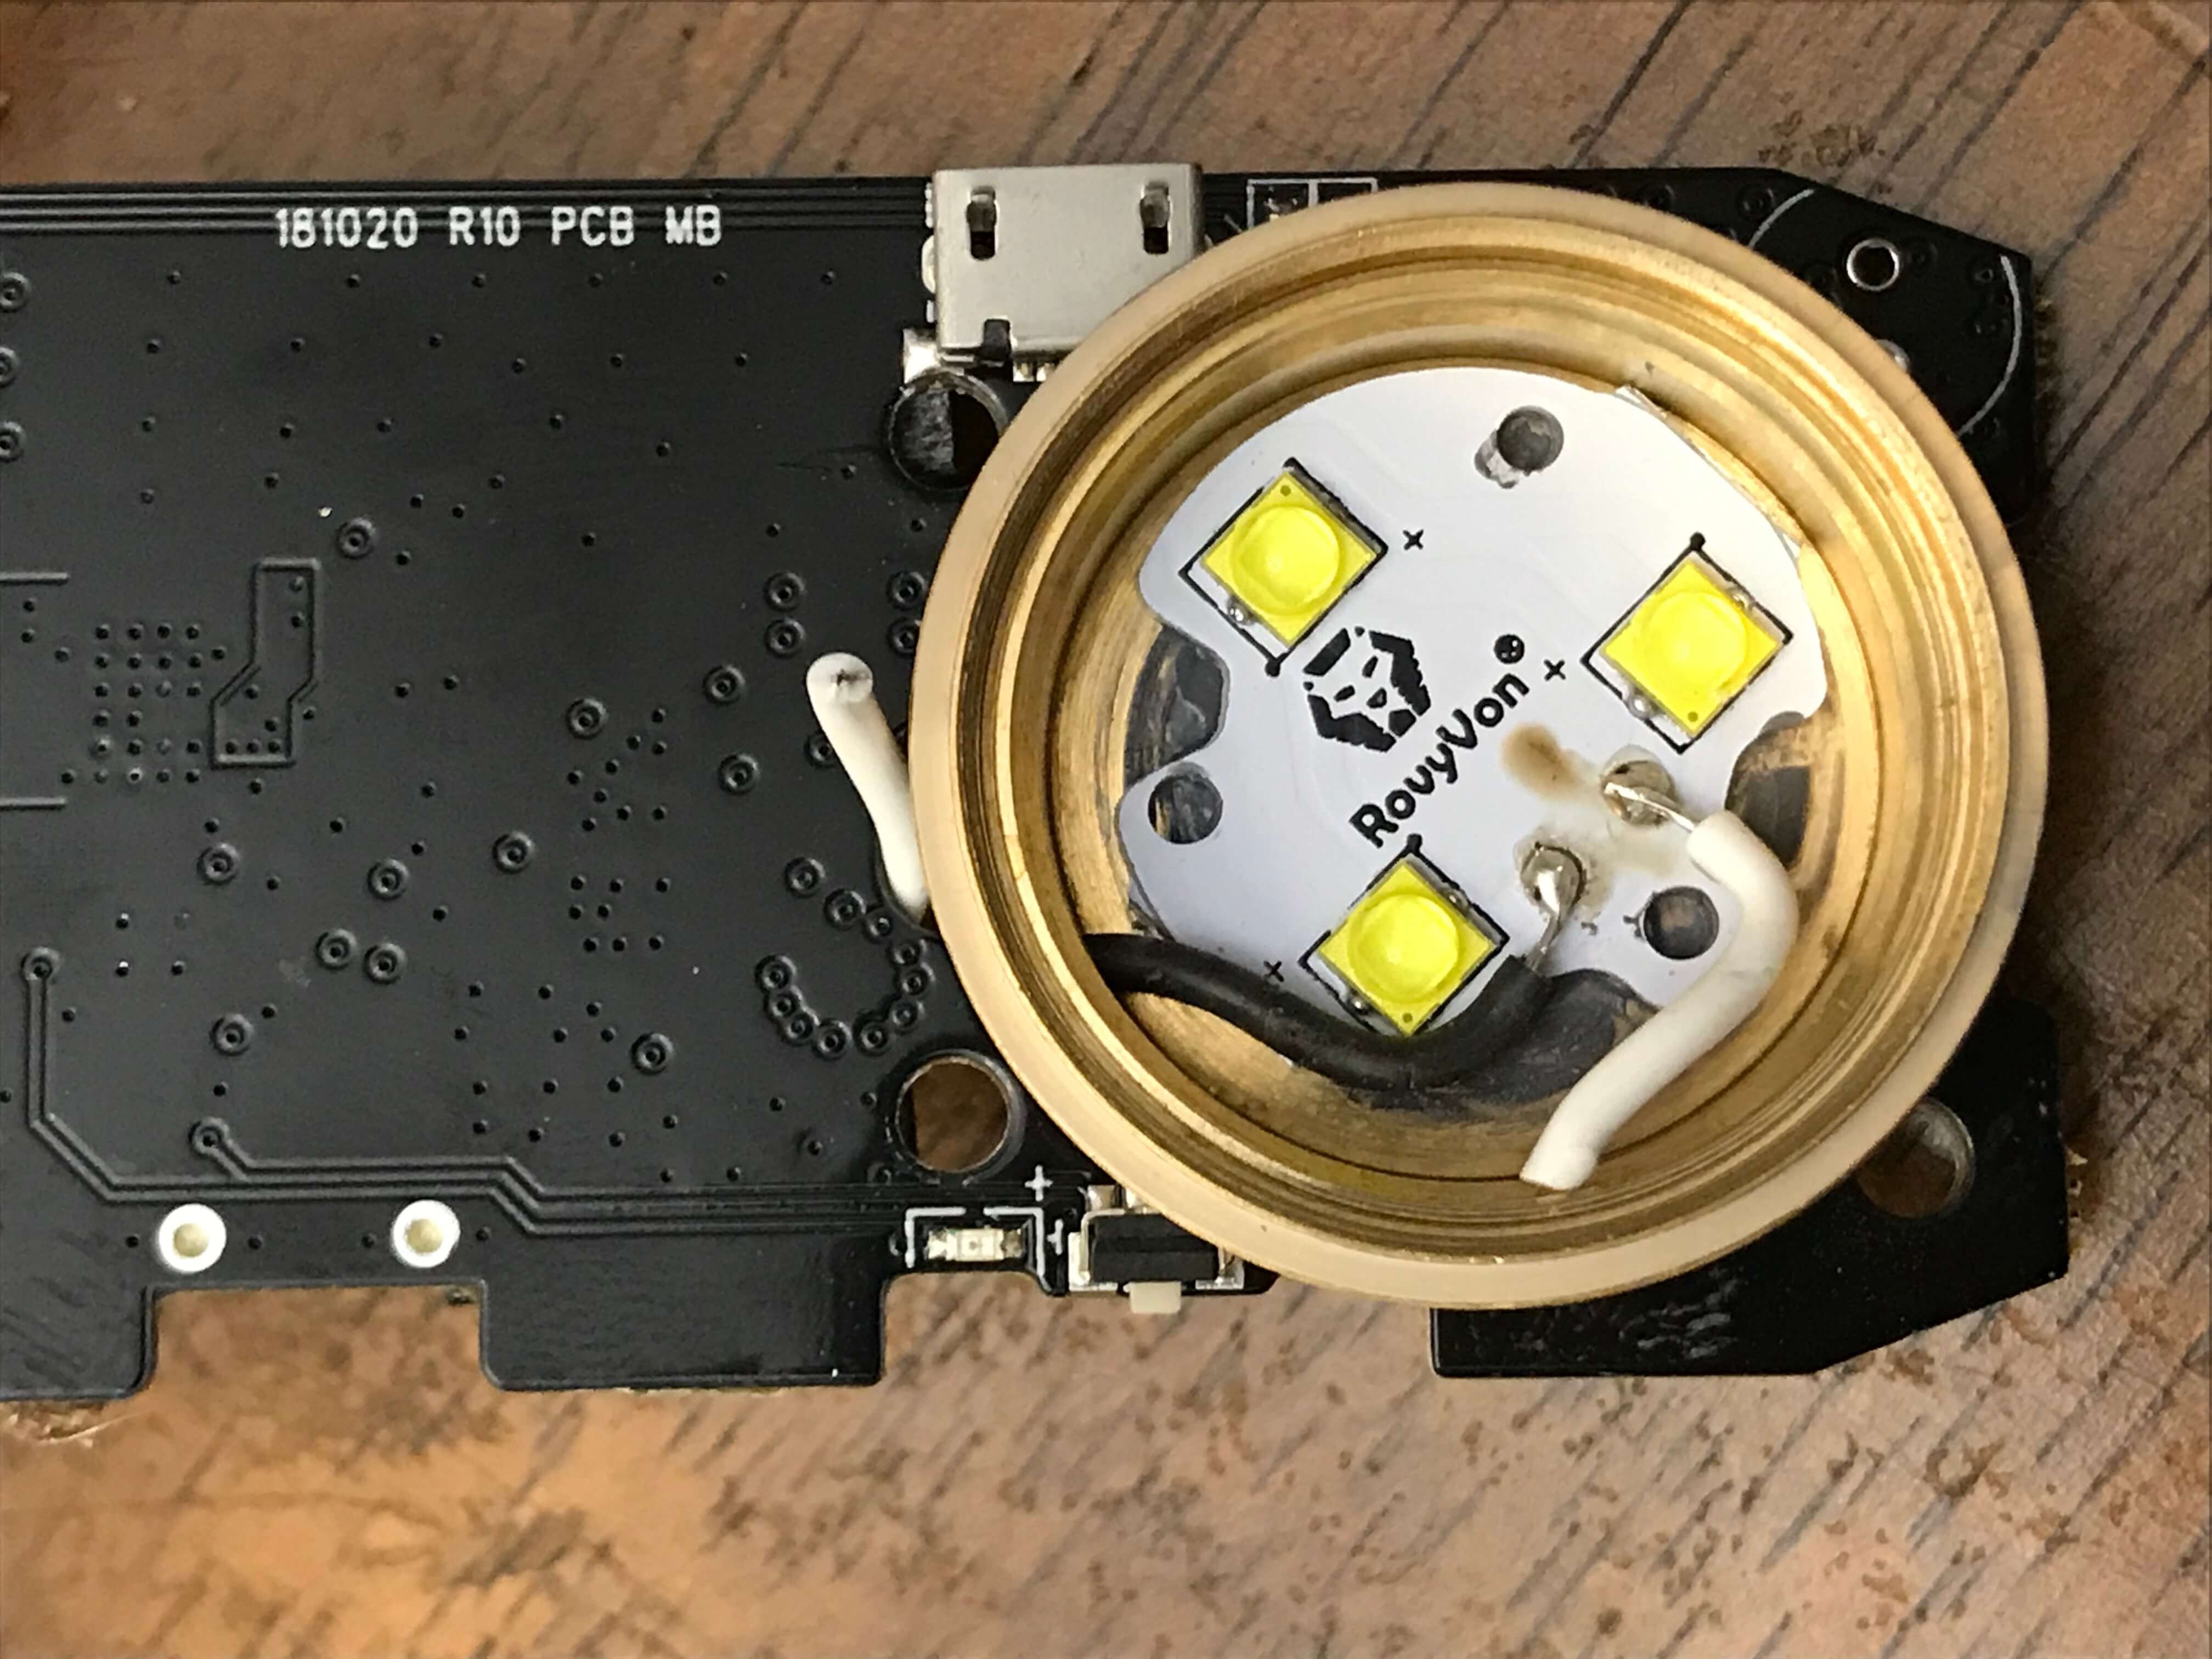
Here are a bunch of disassembly pics!! These are from the original review, but the internals should be exactly the same. Just disregard the XP-G3 emitters in the pics below!

Probably a temperature sensor there – normally in contact with the brass… thing… – I’ve lifted it for this pic. That’s just thermal paste, not glue or anything permanent.

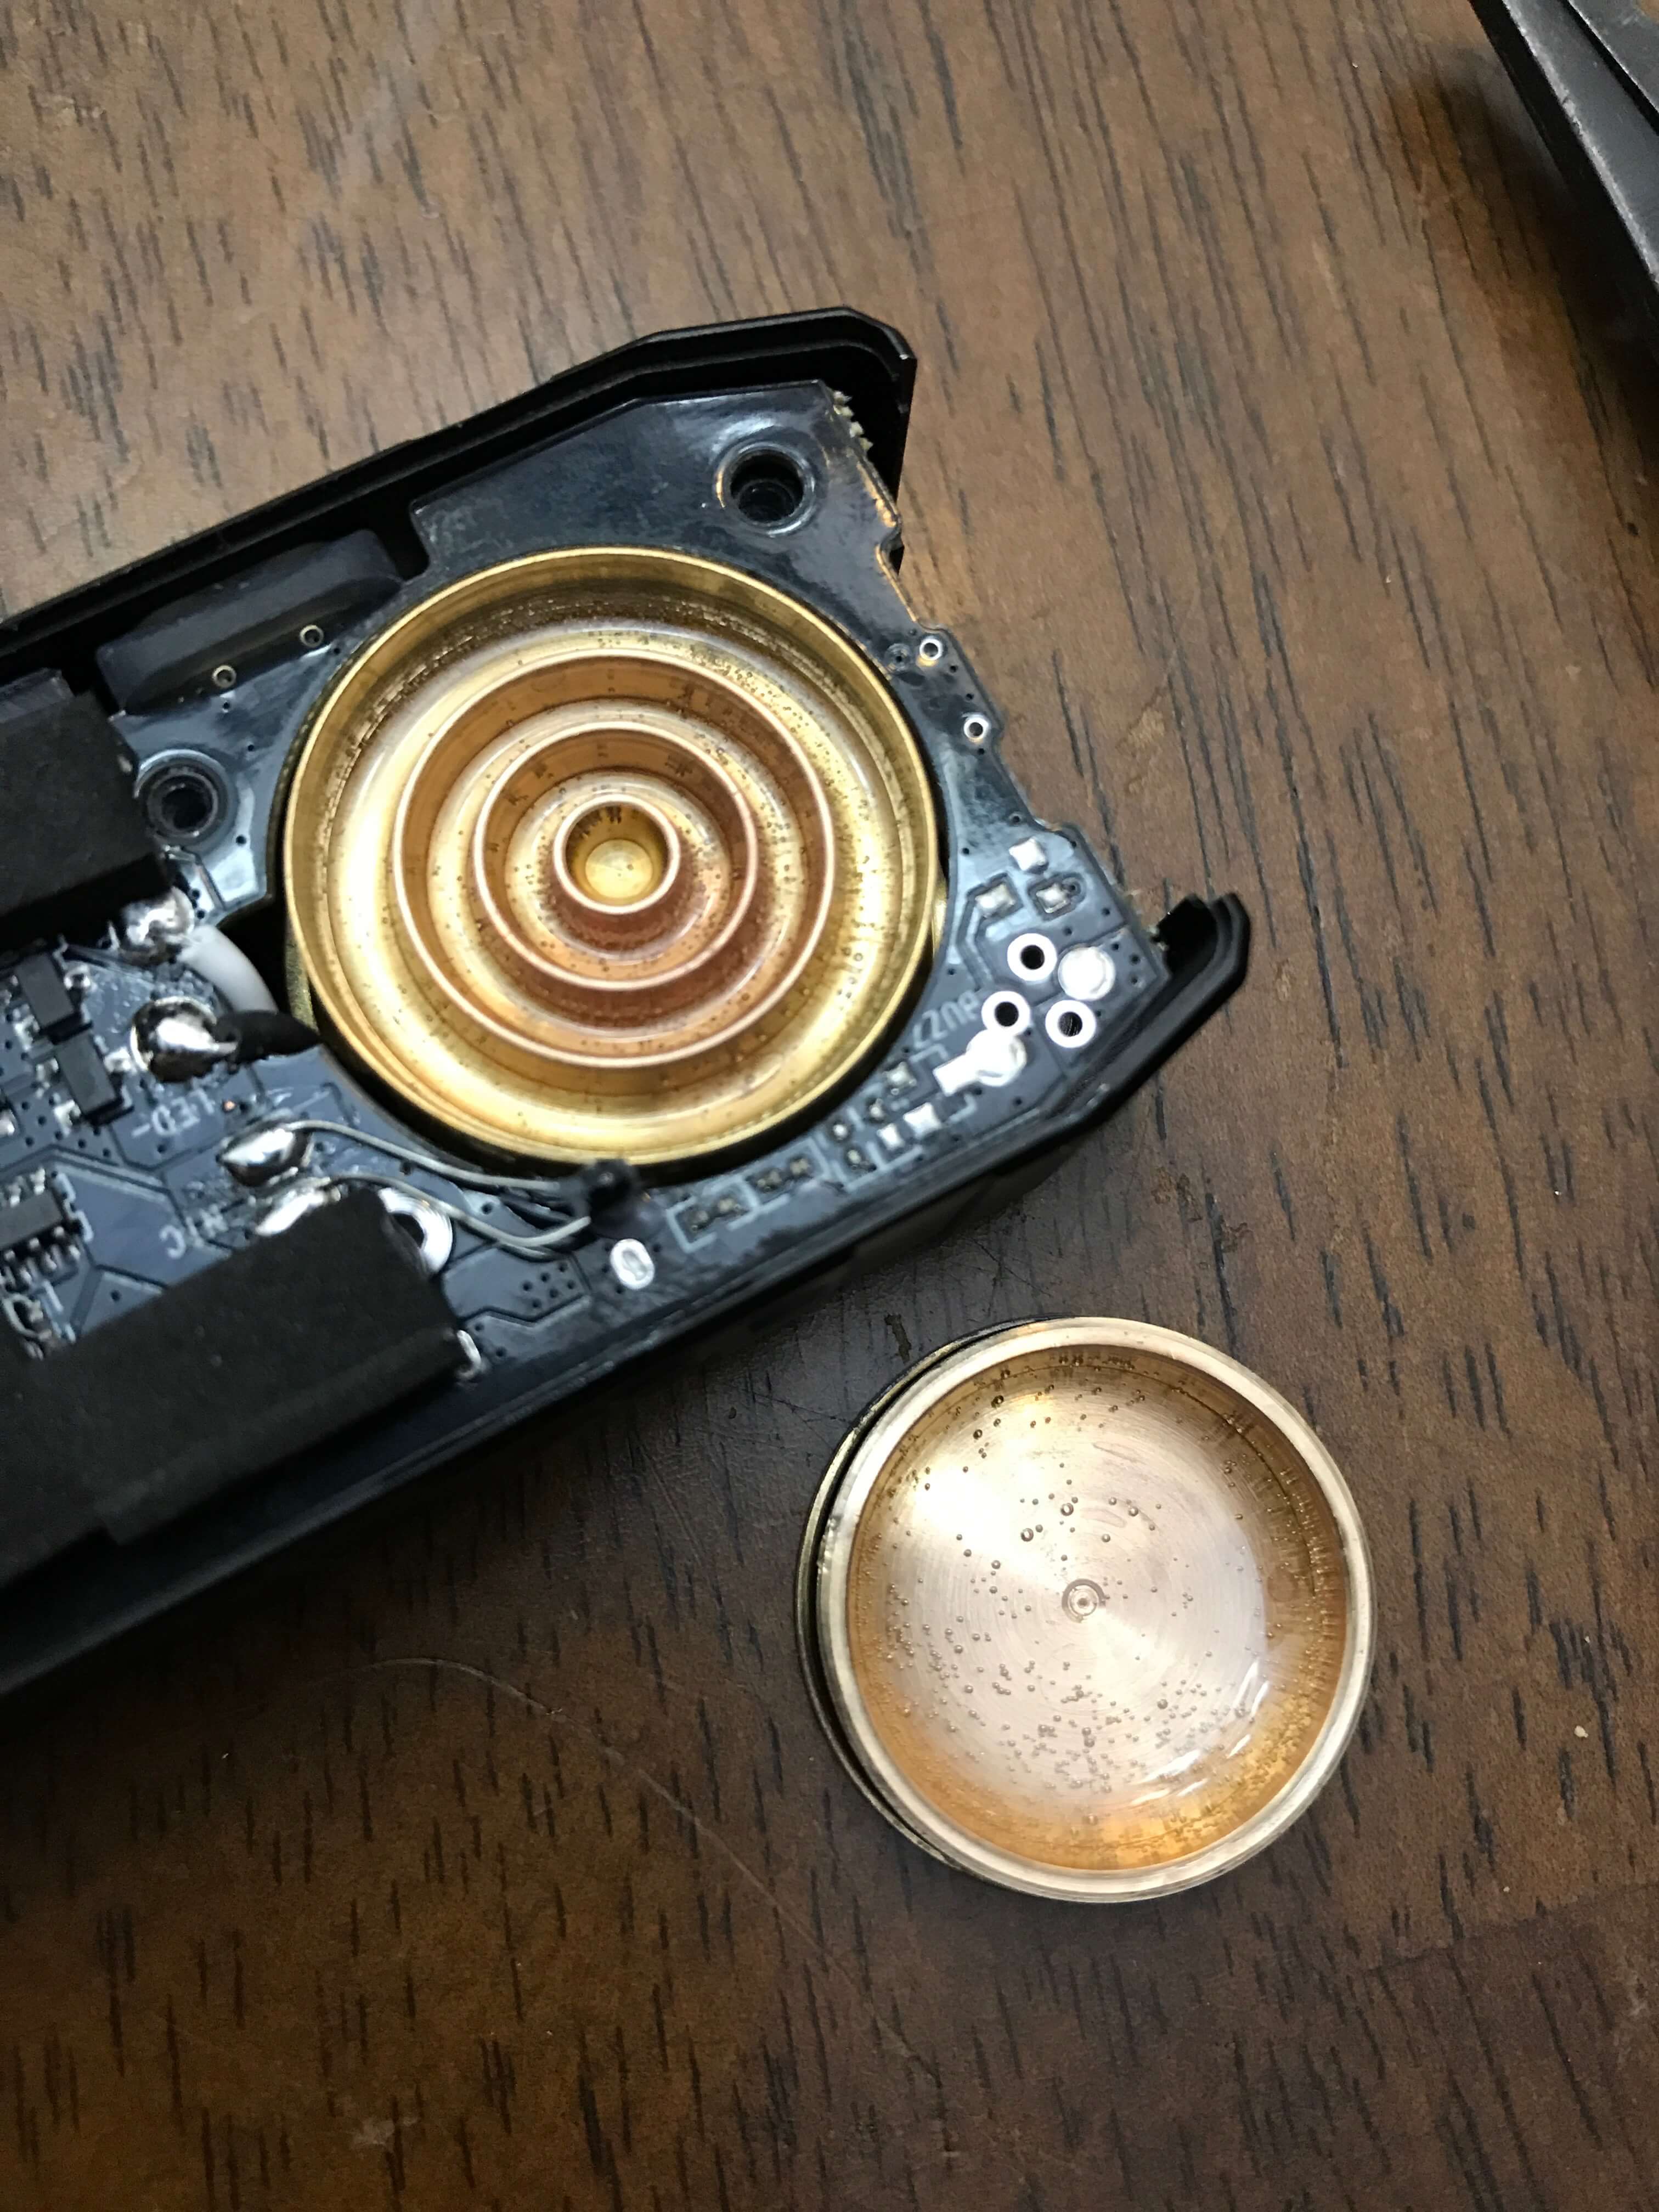
Now look at this!!

That’s a heatsink with liquid! Oil, of course.
Really though, to get into the light, one must remove the bezel. It’s not easy; I finally just used pliers and grabbed the edges. Surprisingly didn’t really damage it, though! You’ll need access to the back (more or less), to keep the back bits in place for the removal of the bezel.

Once the bezel is out, and the three Torx (T6) screws are out of the pcb, parts start coming out!

The battery (confirmed 2200mAh).

The optic:

Here’s all the screws required to get things completely apart. Two Torx T6 on the outside, three on the inside:


Here’s the whole emitter/cooling all in one. This is as closed as I can get the liquid cooling now – it was probably installed under vacuum or something, to keep air out. With that in mind, I recommend that you don’t remove the brass cover. Better left closed.

There are two holes into the (non liquid part) of this container. They’re for the leads. I broke a lead when unscrewing – learn from my mistake. Don’t twist on this too hard! Should be an easy fix, though.

The mcpcb is thermal pasted down, but not glued. Easily removable – I’ll swap out these XP-G3’s asap.

Charge port and the leds beside it.

Side switch:


Size and Comps
Dimensions: L 101mm x W 36.7mm x H 17.3mm. The weight is around 95g, or 105g with clip.
Here is where you’ll probably recognize that this isn’t a small light. On the thin side, it’s almost as thick as the Convoy S2+. And much too close in length, too.
Retention and Carry
A pocket clip is included. It’s the same style as other RovyVon lights, with the clip basically friction fitting around the sides – a hugger clip, if you will. It’s different from many friction clips though, in that it can be positioned just about anywhere up and down the body of the light, front or back. That gives quite a few options, for very precise placement.
Unfortunately my clip doesn’t fit on the body of the light right. It’s like the arms are just a shade too short, so (as you can see below), the clip doesn’t grab the body fully.
Then there’s the built in loop on the tail end of the light. This could be used any number of ways, primarily with the included paracord. This is a good option, and while other parts of the light have sharp edges, this part doesn’t – it should give the paracord a long life.
There are no magnets. A big fat (ok “thin”) magnet right in the center of the internals, where the light could face outward would be a no-brainer for this light.
Power and Runtime
There’s a built in battery for the E300S. No mention is made of replacing it, and no other power source can be used. So this light necessarily (like all internal cell lights) has a limited (probably reasonably long, of course) lifespan. The claim of the internal battery is 2200mAh.
The claim of 1200 lumens is confirmed in my testing. At 30 seconds I measure over 1200 lumens. This is why the light ends up being so big – to get those big numbers, there needs to be adequate heat management, and a big capable battery. Output steps down fairly hard at around 1 minute, and then just drifts downward until the side switch begins warning the user that the cell is depleted.
High looks about the same, and also has a noticeable stepdown, this time a little bit later. After that, the graph looks about the same as with Turbo, but at a lower output.
With the internal battery comes built in charging. There’s a micro-USB port on the side, plugged with a rubber cover just like on the Aurora series. (A spare cover is included.) Beside this port is a charge indicator.
RovyVon includes a USB to micro-USB cable, too.
They also include a spare cover for the charge port. I always thought “why” do makers include this. Well when I was unplugging the charge cable one time, I accidentally grabbed the cover without knowning it, and jerked it right in half. Not just out, but actually broke it! So I’m glad to have a spare!!
Charging looks quite good, and is surprisingly over 2A to the cell. That’s probably not too much for the small cell, since the output at Turbo is likely draining it at a much higher C. Charging is quick, at just under an hour and a half (!!). The indicating switch turns solid blue when charge is complete.
Why are there two vastly different charge graphs there you may ask? Good question! The higher current graph is from a QC3 port. It’s not using QC3, but the port has high current capabilities. The lower charge rate is from another, less capable setup. So the E300S will make use of good charge ports!! Use’m if you got’em.
PWM
For reference, here’s a baseline shot, with all the room lights off and almost nothing hitting the sensor.
Looking at the graphs below you may say “wow PWM all the way to turbo???” Yes, but no. Look at the scale: 50us. That’s MUCH faster than anyone will ever be able to see. This is as close to “good pwm” as I’ll ever agree. It’s completely unnoticeable.
User Interface and Operation
There are two switches on the E300S. The main one I’ve used is the side switch. The “power switch” is on the top (and labeled with a power symbol).

They are both e-switches with rubber covers, and identical in size. Actually… both are labeled with a power symbol! Clearly the same cover. And they both have the ability to turn the light off, so that’s reasonable. (Also note in the picture below since I don’t think it shows elsewhere, how much the bezel sticks out from the body.)

H
ere’s a UI table!
| State | Action | Result |
|---|---|---|
| Off | Click Side Switch (SS) | No action |
| Off | Click Top Switch (TS) | No action |
| Off | Hold SS | Moonlight |
| Off | Hold TS | Momentary Turbo |
| Off | Double Click TS | Strobe |
| Strobe Group | Click TS | Strobe advance (Strobe>SOS>Signal) |
| On | Hold either switch | Off |
| Moonlight | Click SS | Mode Advance (LMHTL) (Moonlight not in mode cycle) |
| Off | Double Click SS | 250 Lumen output (not “Low” or “Medium”) |
| From 250lm Output | Hold SS | Infinite Variable output (fast ramp up and down) |
| Off | Triple Click SS | Medium – 450lm |
There’s a chance I missed something in the UI. It’s fairly robust, but there’s a little overlap between the switches. The ramping is neat, but doesn’t blink or anything at the bookends – so it’s hard to get “exactly” low or “exactly” high (which are 60 and 1600, respectively, for the variable mode).
LED and Beam
Big ol thanks to RovyVon for putting Nichia emitters in this light. I like a responsive company, and RovyVon certainly seems to be that!
These beamshots are always with the following settings: f8, ISO100, 0.3s shutter, and manual 5000K exposure.
I might be willing to say the turbo pushes these emitters close to the edge, because I pick up a little pink in that turbo beamshot.
You may find yourself wondering how that compares to the emitter swapped version I myself made? Well I can answer that too. I edited that post before I gave away the light, to include beamshots with Nichia, on that light. See here. Very similar indeed!
Tint vs BLF-348 (Killzone 219b version)
I compare everything to the Killzone 219b BLF-348, because it’s inexpensive and has the best tint!
The Big Table
| RovyVon E300S | |
|---|---|
| Emitter: | Nichia 219C |
| Cell: | Internal |
| Runtime | Chargetime |
| LVP? | Switch warning (red), and very low output |
| Power off Charge Port with no Cell? | – |
| Claimed Lumens (lm) | 1200 |
| Measured Lumens (at 30s) | 1239 (103.3% of claim)* |
| Claimed Throw (m) | – |
| Throw (Calculated) (m) | 149.1 |
| Candela (Calculated) in cd (at 30s) | 322lux @ 4.155m = 5559cd |
| All my RovyVon reviews! |
* Standard measurement disclaimer: I am an amateur flashlight reviewer. I don’t have $10,000 or even $1,000 worth of testing equipment. I test output and such in PVC tubes!! Please consider claims within 10% of what I measure to be perfectly reasonable (accurate, even).
Conclusion
What I like
- I like the novel idea of this style light
- Build quality seems good
- Charging is excellent, at over 2A
- The UI has something for everyone!
- Love that it’s Nichia!!
What I don’t like
- Overall, this light is too bulky
Notes
- This light was provided by RovyVon for review. I was not paid to write this review.
- This content originally appeared at zeroair.org. Please visit there for the best experience!
- Whether or not I have a coupon for this light, I do have a bunch of coupons!! Have a look at my spreadsheet for those coupons. It’s possible to subscribe and get notifications when the sheet is edited!!


