I knew somebody would get it! ![]() :+1:
:+1:
Yes…awkwardly so (head) heavy…
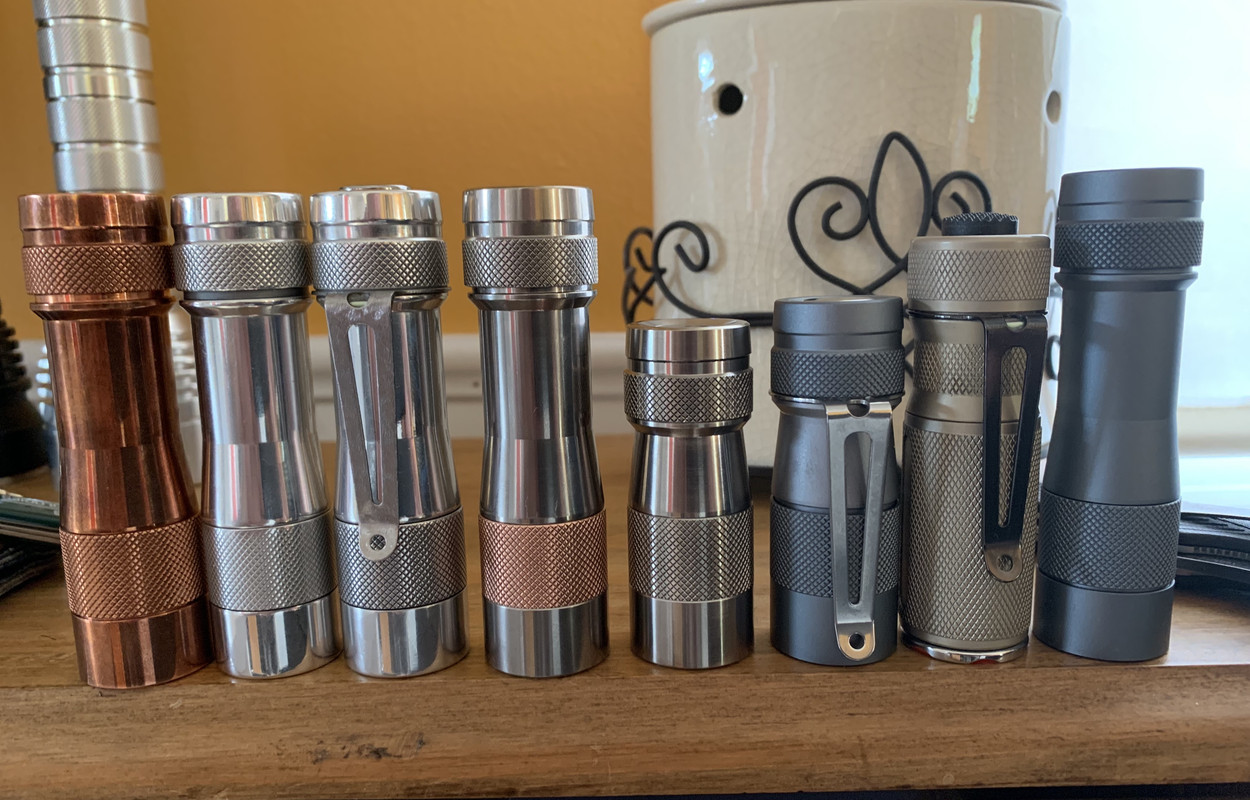
Family group shot…
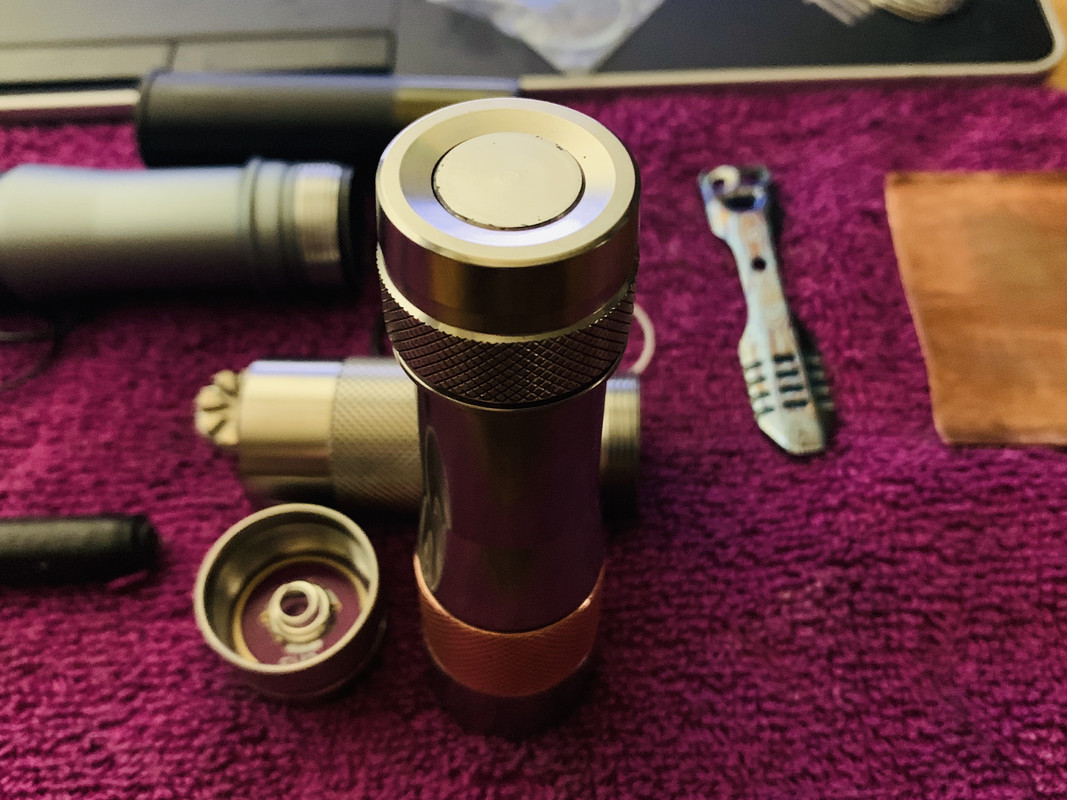
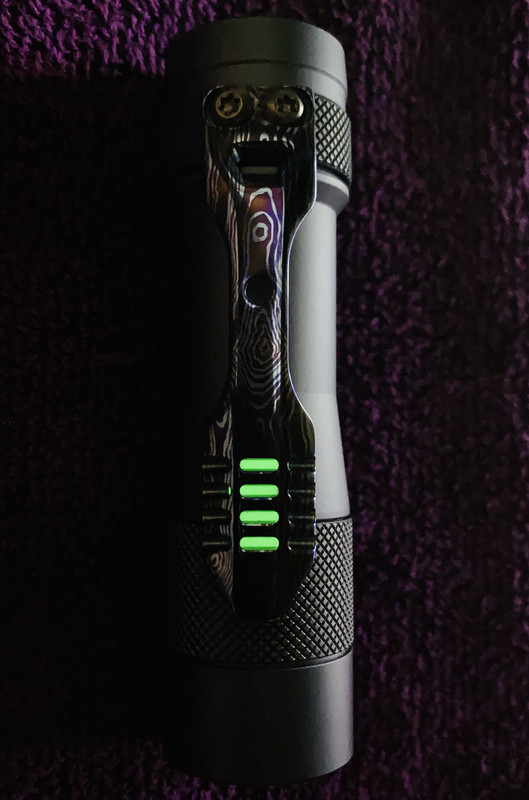
Shimmed the hole switch package down on the little Ti to make the button almost flush…
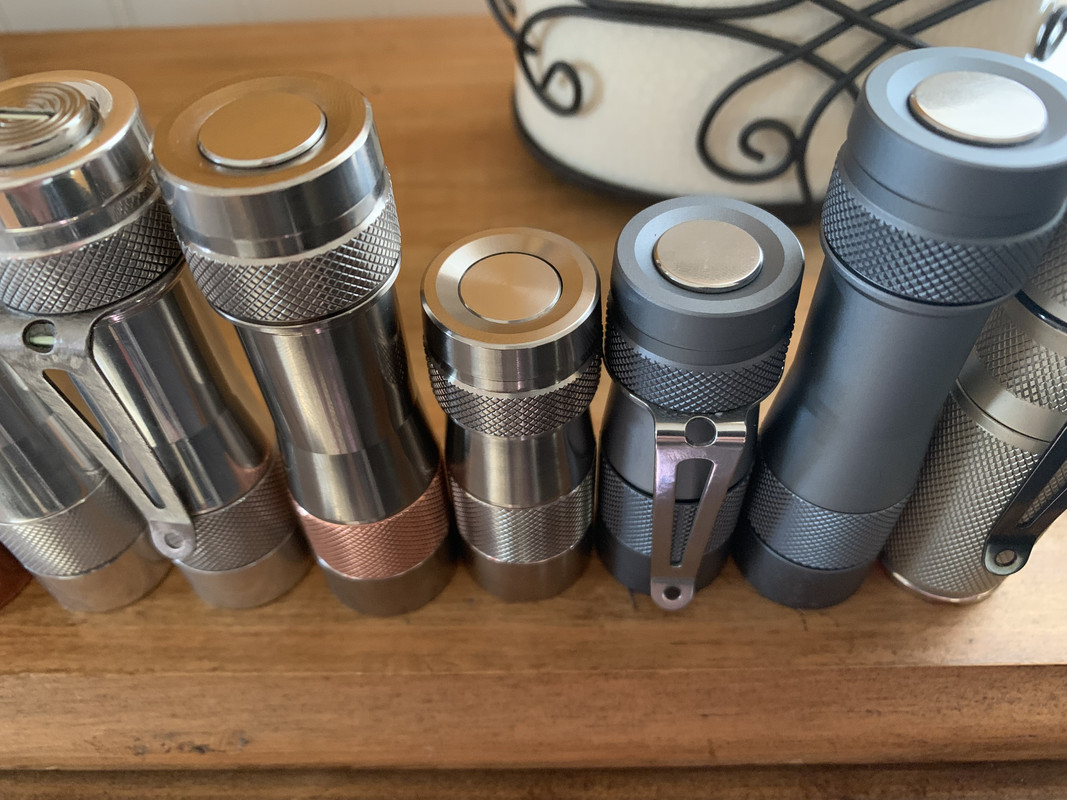
Whhhoooaaa!! Nice family…
Wow that baby ti is shorter than the baby al ![]() ….and it will be welded
….and it will be welded ![]()
![]() ….so if it’s a laser does that mean it can engrave/etch your ti as well?
….so if it’s a laser does that mean it can engrave/etch your ti as well? ![]()
![]()
![]() Super nice mod :heart_eyes:
Super nice mod :heart_eyes:
I was initially surprised at how light the aluminium version was when I first got it. The ti version is noticeably heavier. I realise you’re asking about ti vs ti/cu but I don’t have a plain ti version. I took some measurements of weight. The head has most of the extra weight but not all of it.
Alu version


Ti/cu version


While I was at it I weighed my D4ti with v2 head (aluminium)

Thanks! Great info. So do you find it head heavy too? Also, your d4 has the aluminum heatsink right? I remember the cu/Ti d4 to be tank like. It was too heavy for me.
Edit: sorry reread your post about the d4 v2 head. How much does the full ti/cu d4 weigh?
Nice work ![]()
Yes the fw3 ti/cu feels a little head heavy but I don’t feel it’s awkwardly so as kawiboy puts it.
The D4ti is a tank. Stock weight 126g nearly half of the weight is in the head 62g.
The D4v2 is 71g and 27g respectively.
Note - the Lego only works one way. By that I mean the V2 head fits the ti body but the cu head does not fit the Al body. Reason being different thread profile, the older being v-cut the newer being square or trapezoid.
Any pics of that operation ? I’d love to make the switch flush on mine
It is just a copper spacer/sealing ring(s) that were laying around, I pounded it flat enough to the size of the switch pcb… I made 2 of them 1mm thick.
. I packed the button with a little bit of NO-OX-ID, (the cap/button jiggles a little) set the rubber boot in and then the copper spacer, switch and retaining ring, it works with out the retaining ring also…
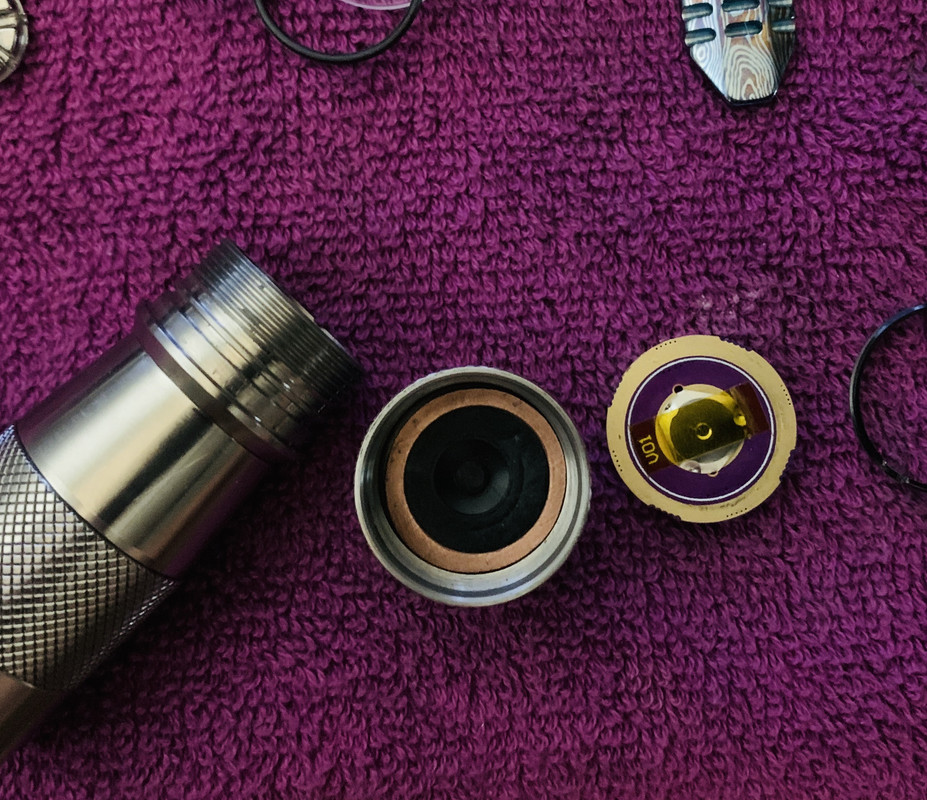
. Just tried it on my Ti/Cu ……it works just the same…
KawiBoy1428, I’m still praying ![]()
Nice work on the Ti version ![]()
Does the spacer increase the gap between tailcap and body? So the clip no longer works?
Posted my fw3t mod in the other thread. Wanted to mention here also that the mcpcb of the ti version is very thick. So no easy mcpcb swapping.
It is a tad loose, it will rotate with some effort, i used one of those white FW3A gen 1 white o-rings and it tightened it up.
. But now the trade off, it leaves a bit of a gap between the head and battery tube, because it pushes the signal tube forward some.
. you could shave the front of the battery tube to lessen the gap…
. or throw an o-ring in between the head and body….
. or leave as it be with the gap between body/head…
. or don’t attempt it, just leave it stock :+1:
. Here is a couple pics….
White o-ring installed…

Gap at body/head…

FW3A (gen 1) An attempt to MUGGLE PROOF the FW3A for those that can’t READ the card ![]()


Going to need the right size Torx bit to get that tail cap off…MUG’s! ![]()
Very nice!
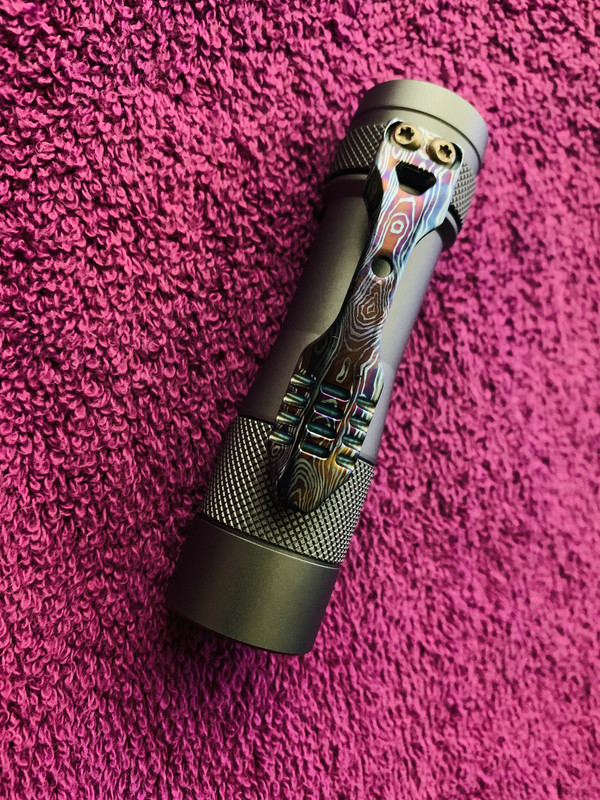
That is a beautiful clip?!
Thanks for the info Kawiboy. Btw, as per your suggestion, I added a bunch of no-oxid grease in the switch. Much quieter now (though perhaps a bit sluggish). I added extra kapton tape after a bit to prevent grease from getting in the switch. Good idea on the grease. Makes it much more enjoyable to use.
That clip is freakin’ gorgeous! Also I think I may attempt the flush button mod.
Post #1000!
(at the moment)
Yoink!