MtnDon's Hand Made Class, 7th Annual BLF/OL contest entry topic

A modest beginning. Here are a couple of pieces of raw materials that I plan on using in this project.

Aluminum tubing (or aluminium, if you prefer); 1” x 1.5” OD, 1/8” wall (25mm x 38mm, 3.3mm wall). I will use a portion of this. Acquired somewhere, some time ago, for some forgotten reason.

Copper strap; 3/4” x 1/4” (19mm x 6mm) I will use a small piece or two of this. Left over from making buss bars for a solar power storage battery installation.

Not too much will happen to these pieces for a few weeks. I knew I had them someplace in the shop and hoped I could still find them. I came across them today while looking for something else. I thought I’d post the picture to perhaps build interest in the contest.

First pictures, nice :+1:
Got the old imagination going on what the build’s going to be like :wink:

What, no wood? :slight_smile:

A light baton? :slight_smile: suspense is killing lol!

I made an executive decision on this project. The two 18650 Panasonic cells will be charged by an onboard 2 amp TP5000 charger board wired to a non-compliant USB-C port. :laughing:

‘You’ made the executive decision…? You make it sound like you are part of upper management :stuck_out_tongue:

I am retired from the mid-upper level position that used to occupy my time decades ago, however, I am the chief cook and bottle washer on this project.

I went through some parts boxes today and found some things I will most likely use for this project. I’m trying to recycle parts on hand before buying anything new.

a 20mm Qlite 105E (?) with 8x7135 (380mA?)
a few assorted Carclo triple optics…
20mm Noctigon with some flavor of XP-L HI by the looks of them
assorted size rev clicky switches
some red XP-E2 emitters; one on a single mcpcb and 3 on a triple (KD mcpcb)
a 17mm Nanjg 101 with 4x7135
a couple of Panasonic 18650GA (red) 3500 mAh cells with welded tabs
some TP 4056 and TP5000 charger boards
micro usb and usb-c female sockets on small pcb’s

more copper bar and strip stock; assorted thickness, width, length
sheet lexan cutoffs, assorted thicknesses

And yesterday I ordered four very special Ledil optics. Two to be used in a Christmas gift, one to be used in this project plus a spare.

I need to get the Christmas project done before getting into this light with actual cutting, drilling, etc.

Raise your hand if you thought this was never going to get worked on.

Another materials shot. I know some of us like to see stuff like this

I needed to cut off a small length of the 1/4” copper bar. Here’s how I hold the small end to keep it from being shot like sharpnel around the shop. The clamp is a part of the miter saw. This was, as is obvious, taken after the cut was made. I can’t take pictures and saw at the same time. :person_facepalming:

That little piece will become the mount for an MCPCB. This is from a previously modded light that was modded again and this triple set of XP-L HI led’s left over.

Getting set to drill a hole

Hole completed and chamfered each side. I used a countersink bit.

I need to break off and go make dinner. I’ll post a few more pictures from today’s work a little later.

Plus I’m planning on starting a new topic to show one of the other projects that was, and still is, in the path of getting this done.

It has begun!

Never had a doubt :wink: :+1:

Heh! YAY! IT BEGINS!

Just returning the encouragement you gave me! I can’t wait to see what you come up with!

Had a great fish ‘n’ chips dinner; where chips = french fries (home-made in the air fryer)

Okay, the 27 mm length of copper bar is now silver soldered to a length of 1/8” thick copper bar.

Viewed from the other direction.

The silver solder fillet came out larger than I thought it would be. It needed cutting out to clear the MCPCB/

I used this cutter in my Dremel tool.

Now the MCPCB fits and the hole in the copper aligns with the center hole of the MCPCB.

The copper needed some filing and sanding to make it slip inside the aluminum tubing. (The aluminum tube is 1” × 1.5” OD, 1/8” wall or 25mm x 38mm, 3.3mm wall.

More on another day.

Here’s a link for anyone intersted, to the project that got in the way of me starting my contest entry.

Nice. No wood in this one? I liked the woodgrain pattern in the other one

no wood —- yet. :wink:

You have to eat?
Nice work Don. :beer:

I did a little more on this today while I waited for a couple of little things for the other project to arrive.

I needed a piece of copper plate with a driver sized hole bored in it. I started with this scrap. No idea what the stamped letter “P” was for. I started with a smallish drill bit and worked my way up to 5/8”


Then I used the miter saw and clamp to cut off what I need for this

This new piece was clamped to the previously shown bar and silver soldered in place

It looks a little messy. More so when the images presented are larger than life (depending on your monitor size.)
Metal work is not my forte.

A 17mm to 20mm ring was silver soldered to one side of the plate with the large hole

I cleaned up the flux residue

Thanks for having a look. More later; or another day.

That ought to be able to sink some heat!

P in this case stands for perfect. :slight_smile:

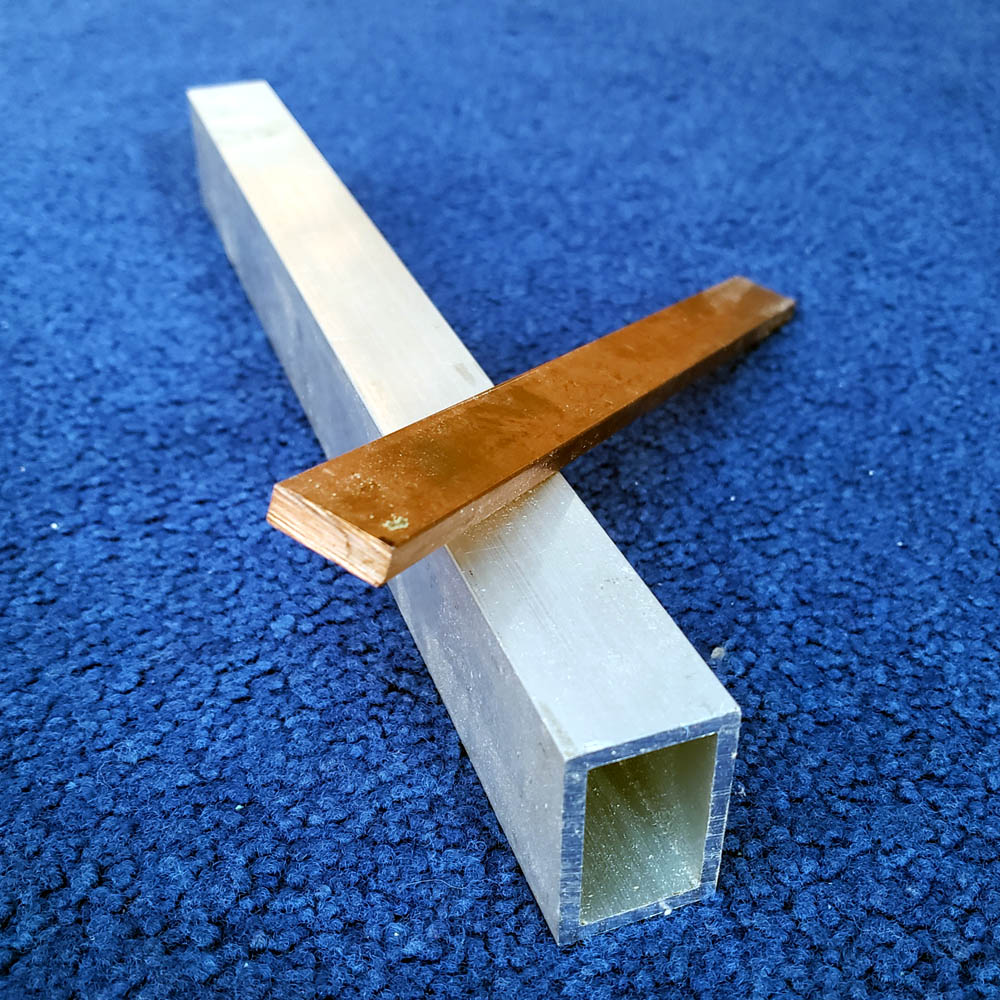
I realized today that I have been remiss; I have neglected to state what I am trying to build for this project. :person_facepalming: All I’ve done is show an assortment of parts and a little bit of what I have done so far with cutting and soldering some copper bar stock.

So. I walk a lot. I walk in town for short errands. I also walk for exercise. Sometimes I walk in the evening when it is dark. Some of those walks are on roads without any street lighting. Some of those walks place me on or alongside a roadway. There may be vehicular traffic coming from either direction. When traffic is coming towards me I wave the light I carry about a little and am fairly confident they see me or see my light. I have thought that having a tail light would be nice. I even looked into using a bike tail-light.

This years contest build is an attempt to fulfill my desire. This light will have a typical forward white light beam with several levels. It will also have a rearward-facing red tail-light. :slight_smile: With a stuttering blinky mode. And built-in USB recharging.

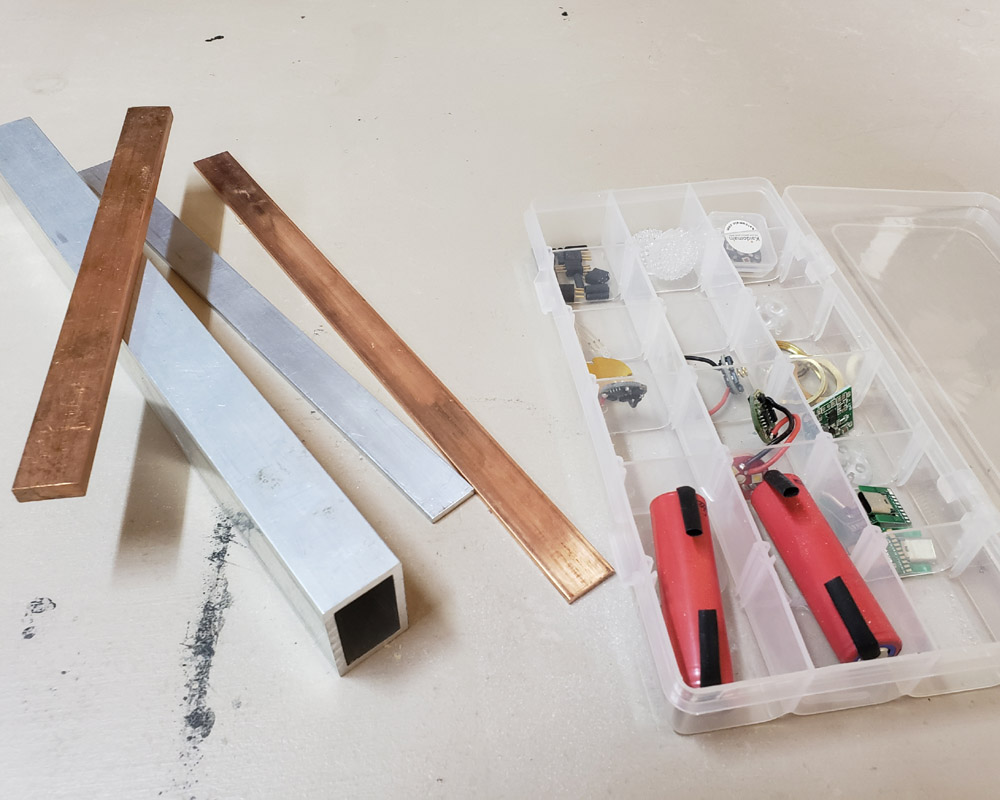
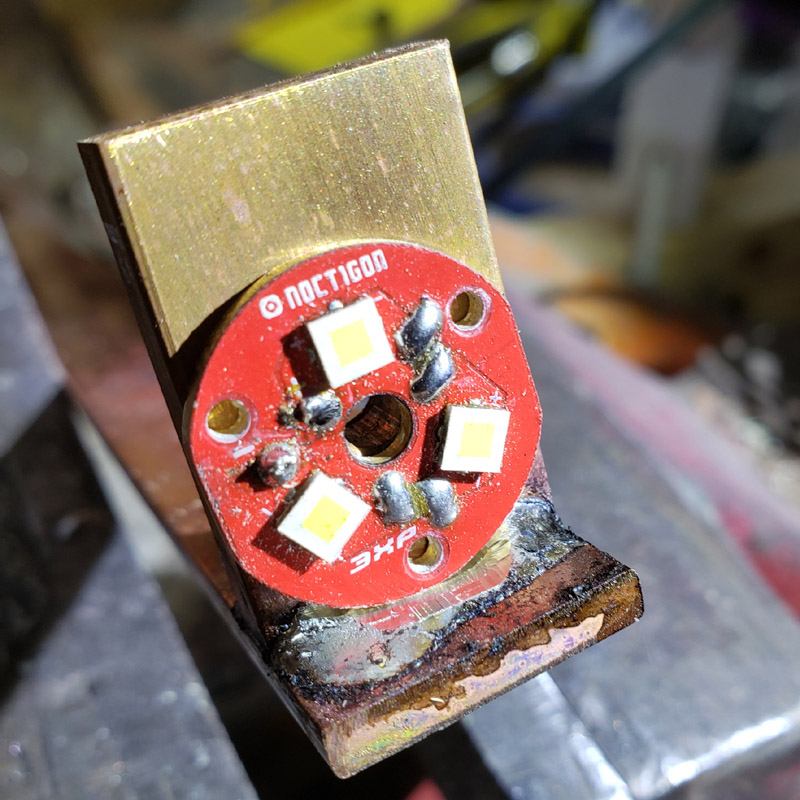
I had mentioned a few sparse details way back. I have already altered some of that. This will have one Panasonic NCR 18650B cell, not two. It will have a 1 amp charger instead of a 2 amp as I have several on hand. Very likely a C-type USB port will be used, although since I am trying to use up parts that have been lying about for a while I might just use a micro. The front LEDs are from the miscellaneous, previously used parts box; a triple XP-L HI and the rear led an XP-E2 red. The red tail will receive one of the same spikey Ledil diffusers that I am using on the other, non-contest, project I have a topic on. Those Ledil’s were ordered from DigiKey; Ledil # C15419_ZORYA-MINI, in case anyone is interested.

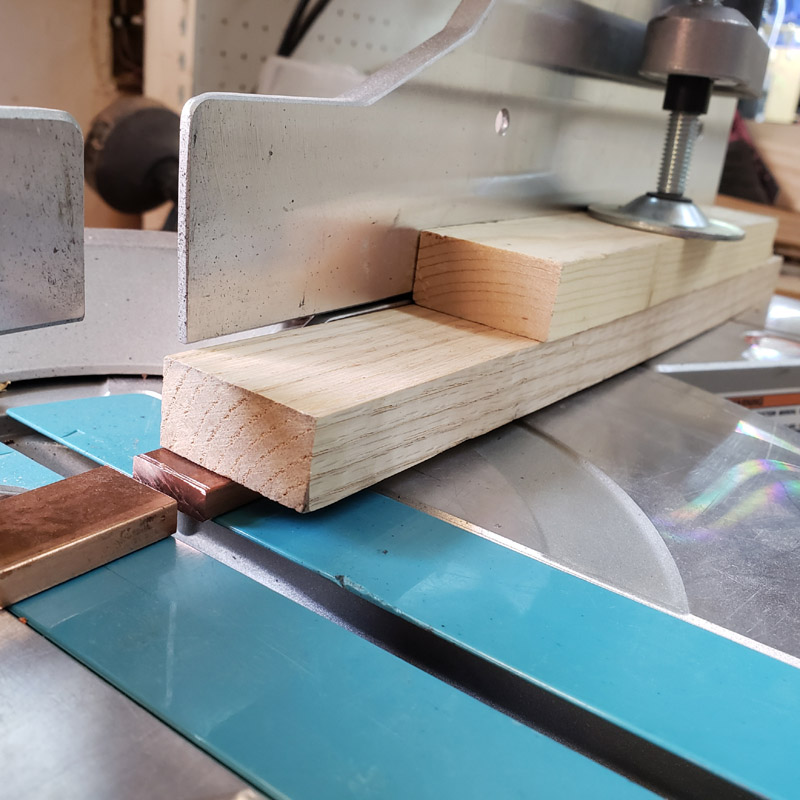
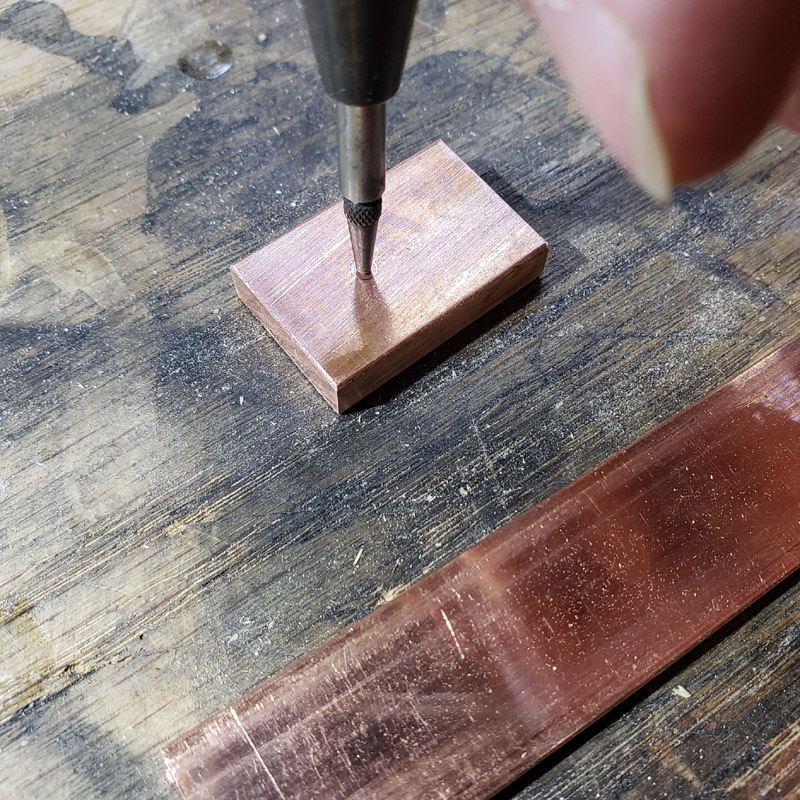
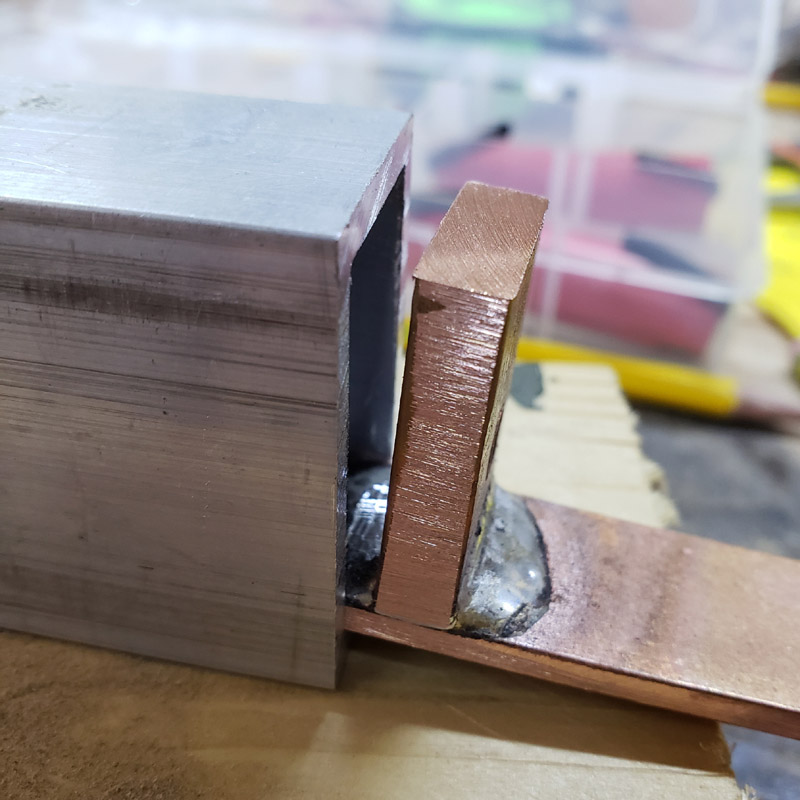
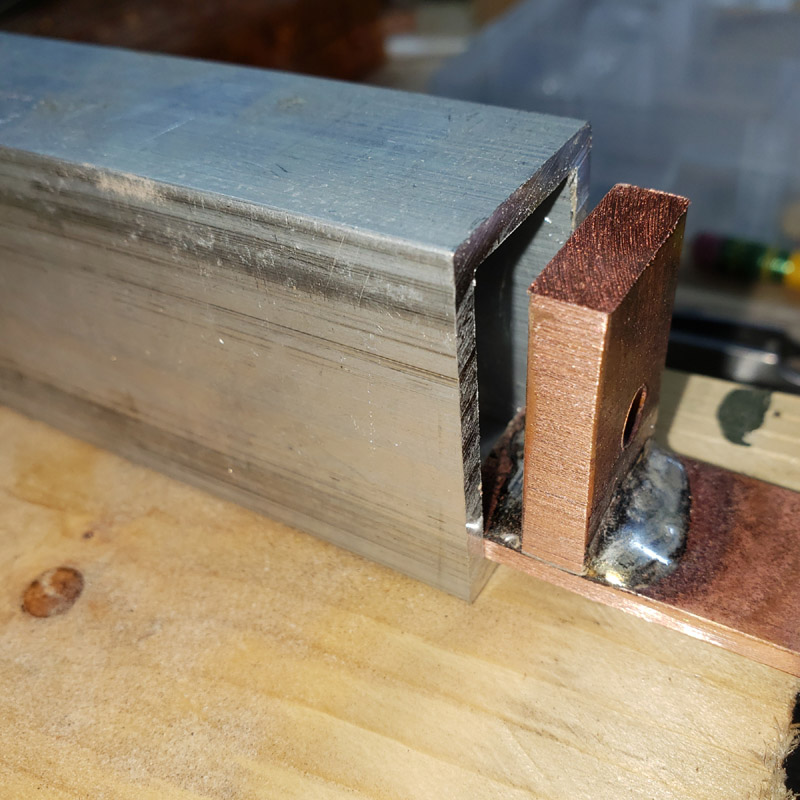
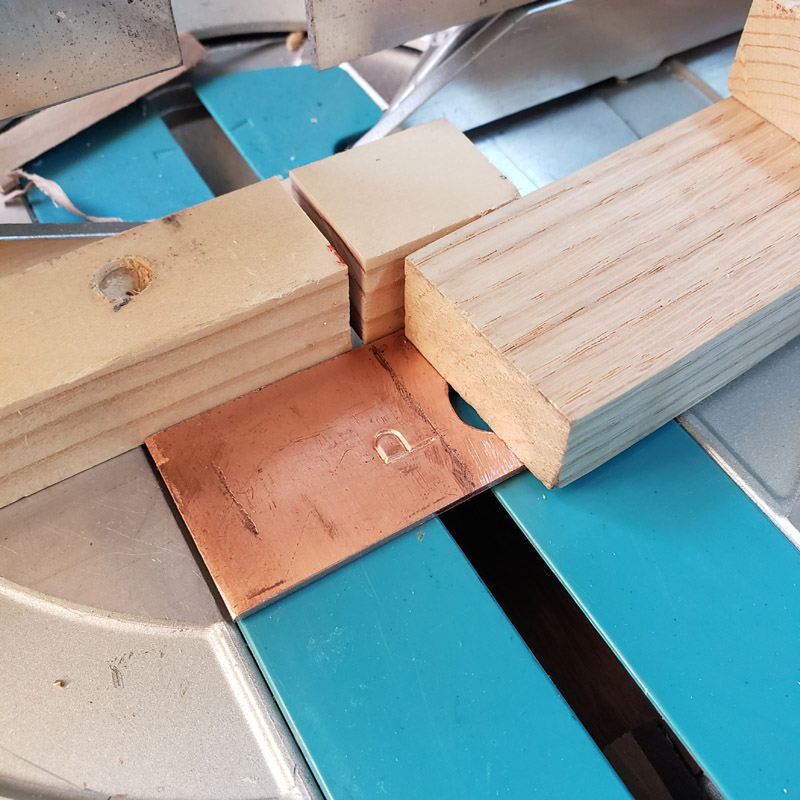
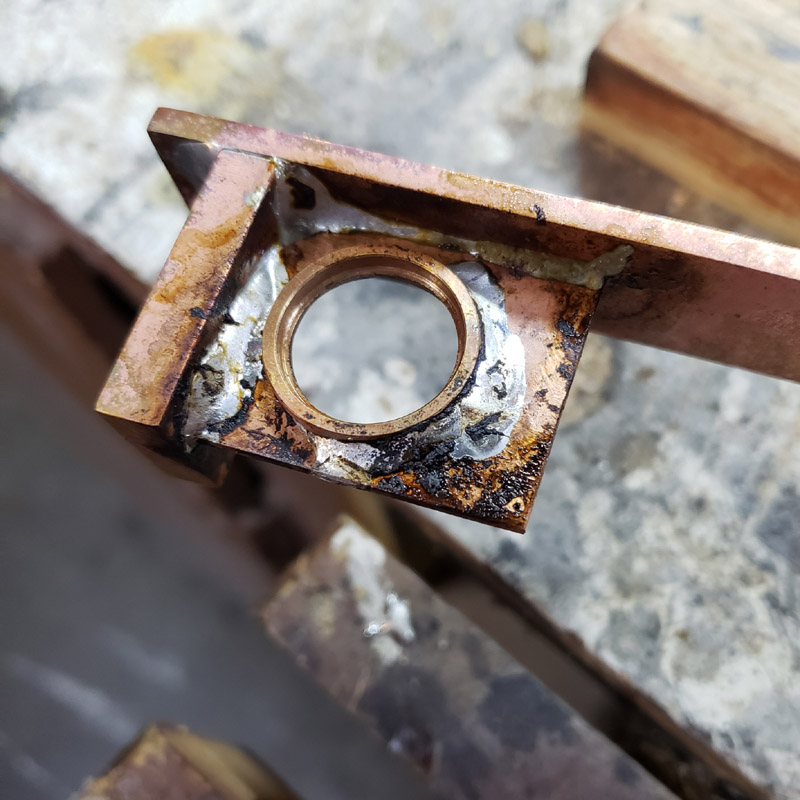
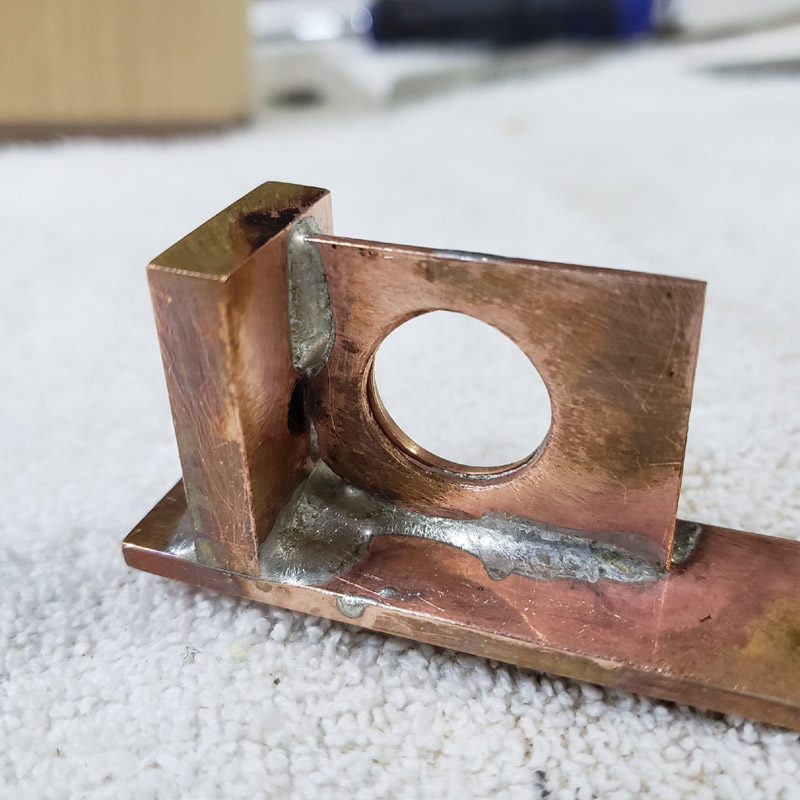
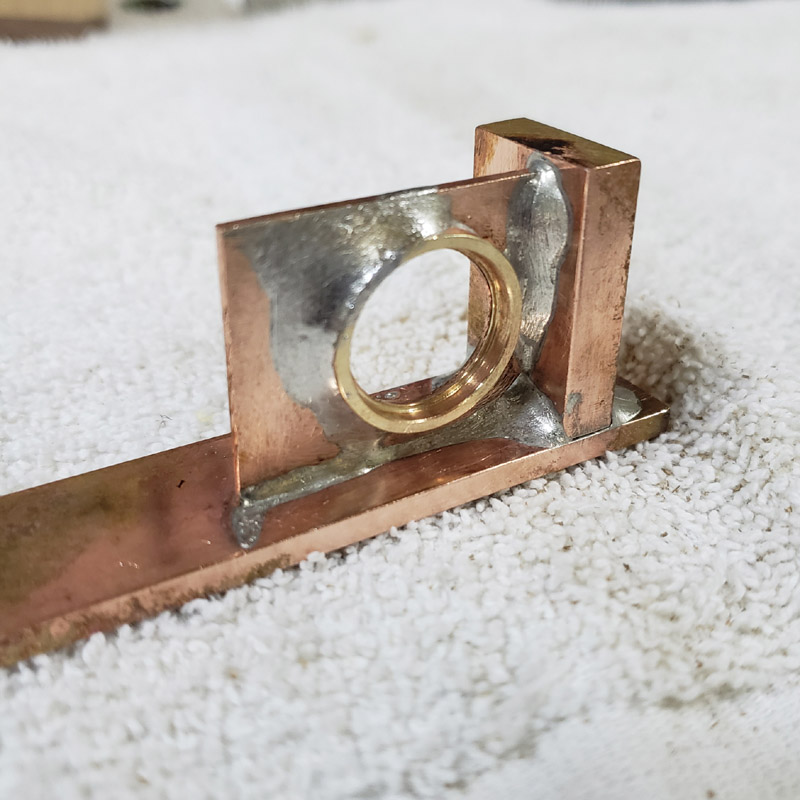
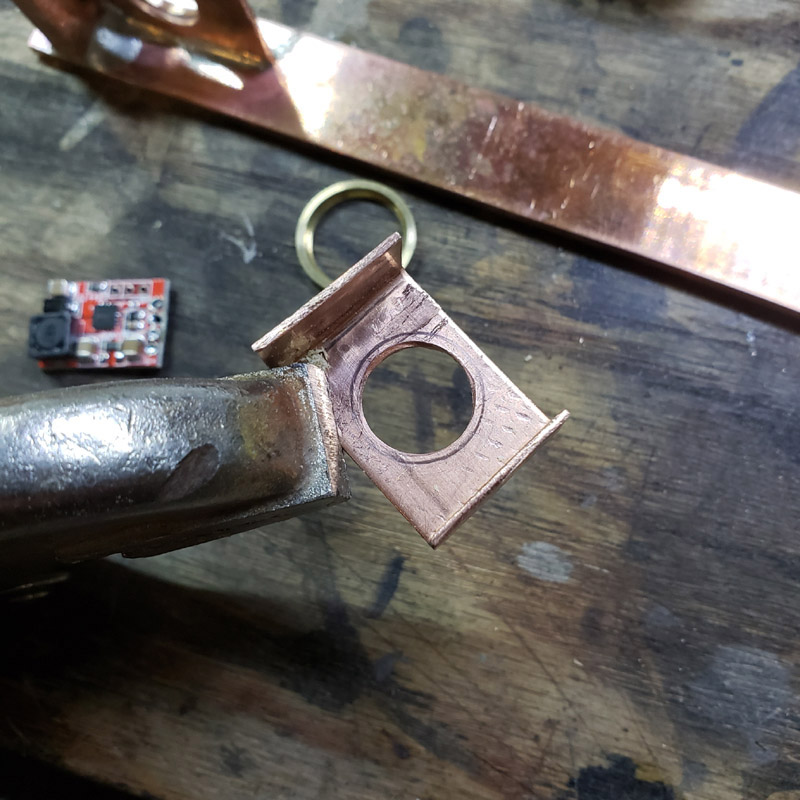
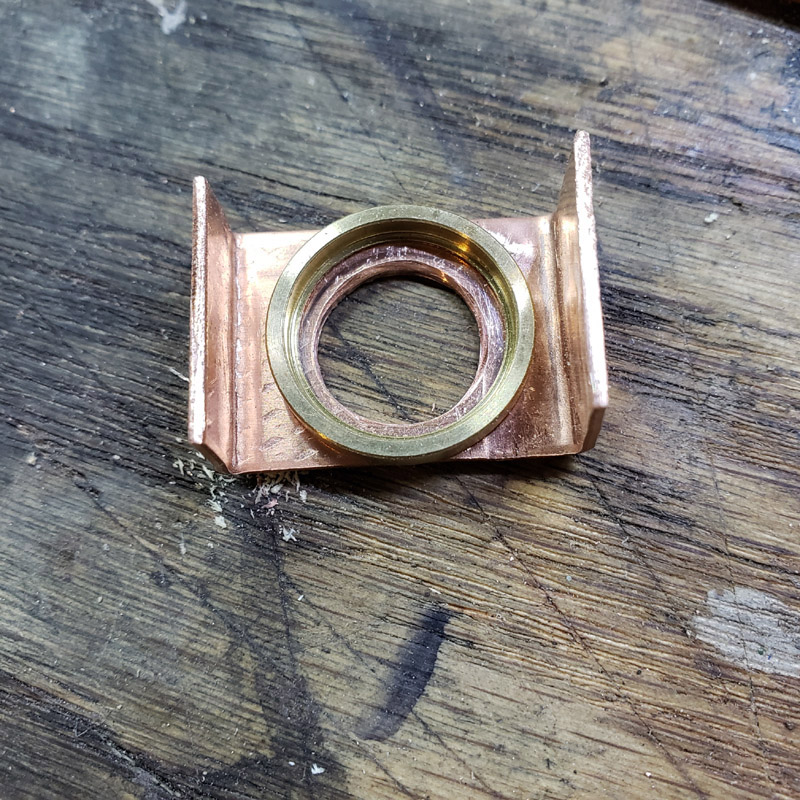
I did a wee bit of work on this tonight. I made a copper bracket that will be silver soldered to the previously shown copper bar stock. Just some cutting, bending and drilling.

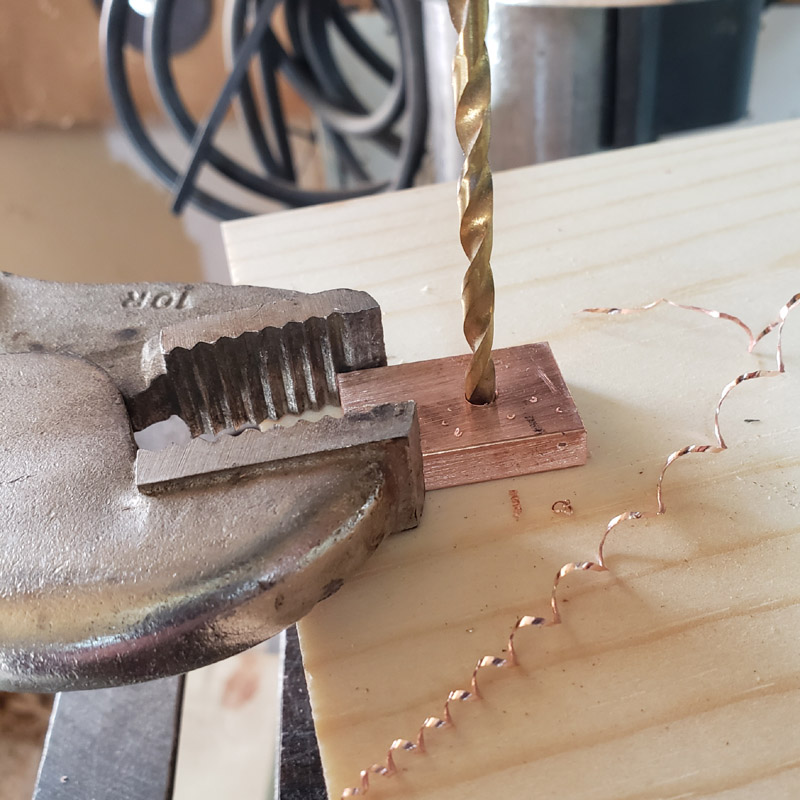
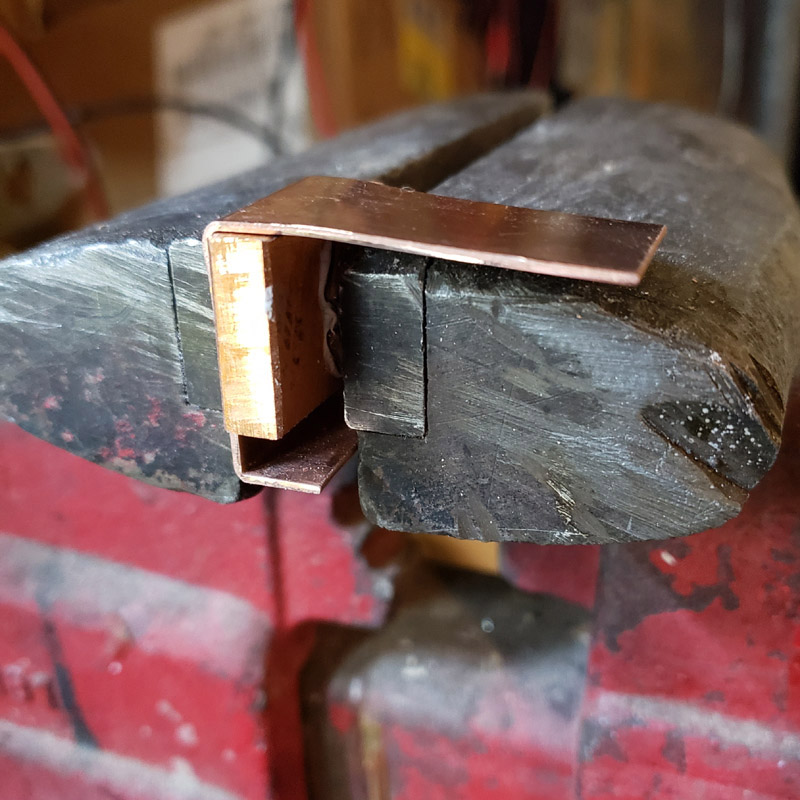
It would be nice to have a sheet metal bending brake, but I make do with a vice, blocks of wood or metal and a hammer. …in process…

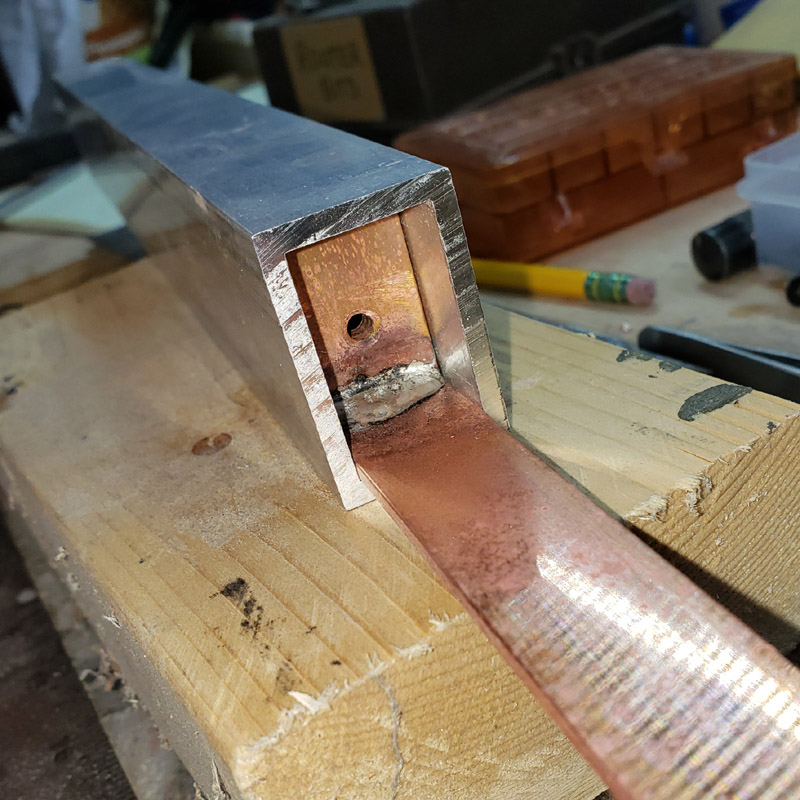
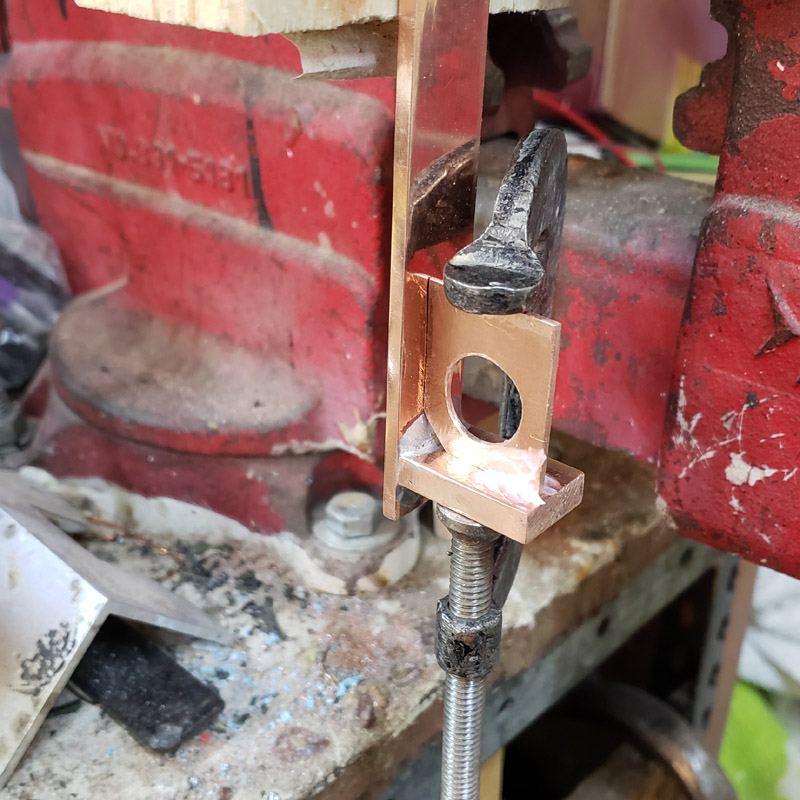
After bending and cutting and marking for a hole here it is… 18 gauge copper… The charger board to be used is shown.

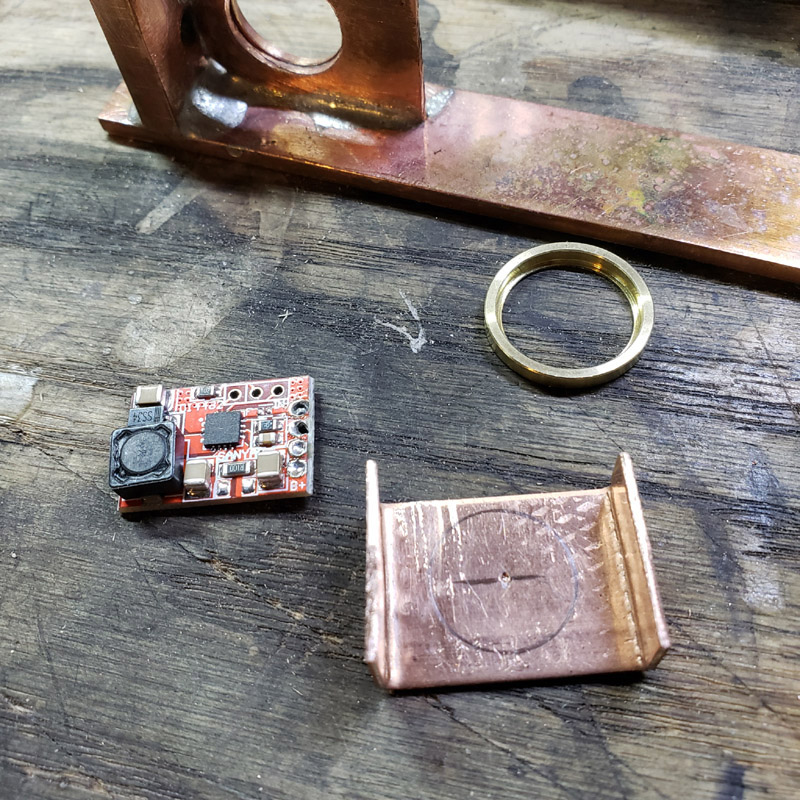
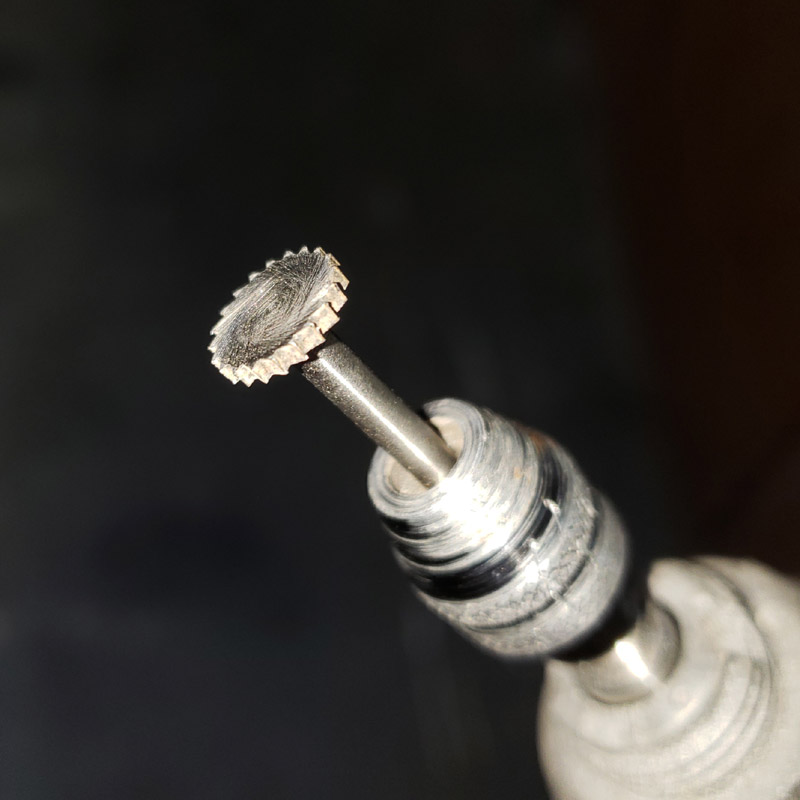
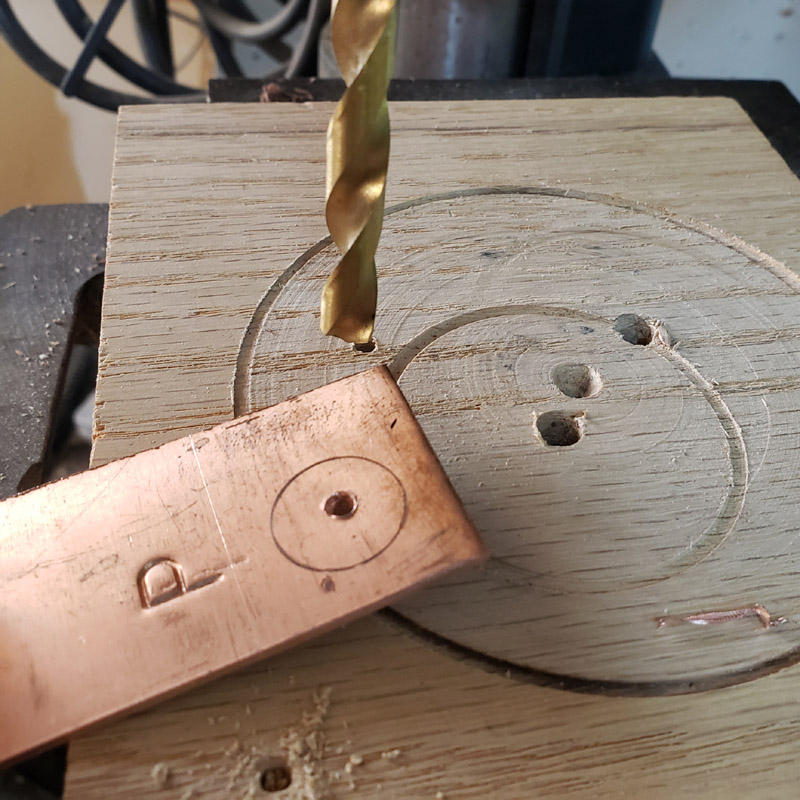
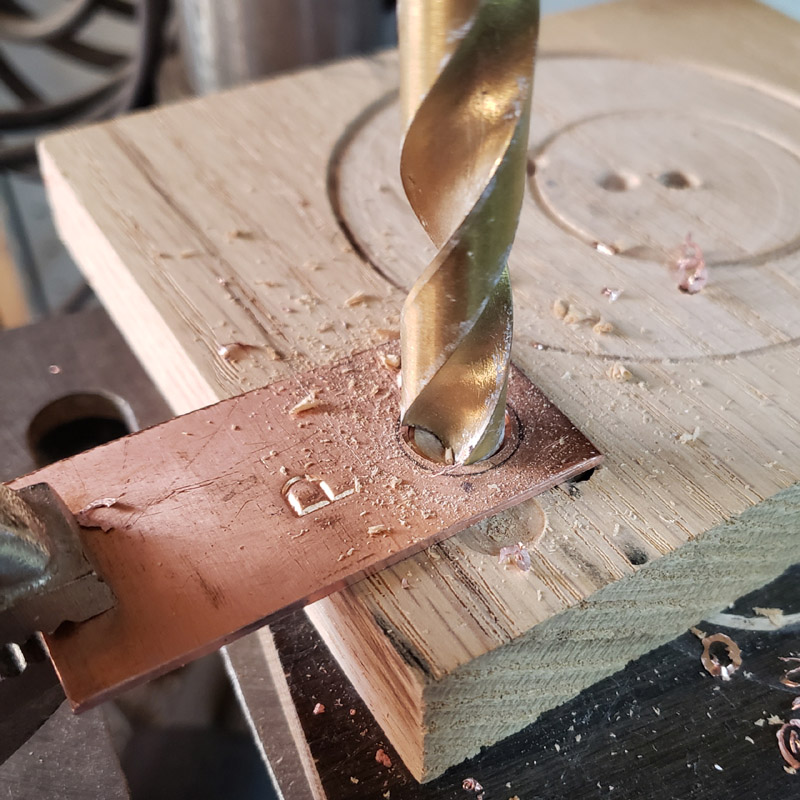
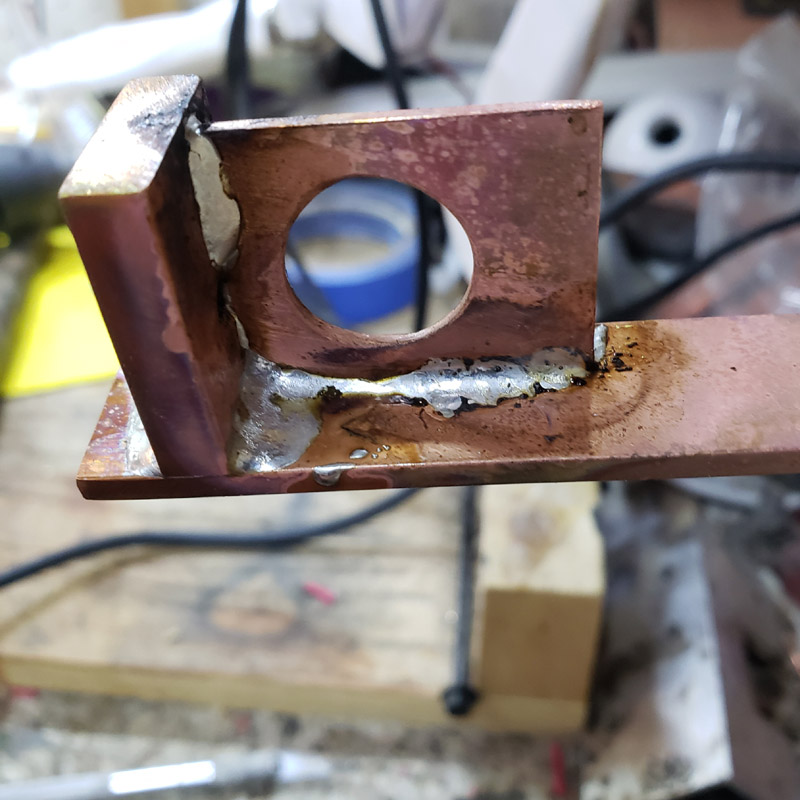
I drilled a 1/2” hole, in steps as before. This is for the rear light driver, a simple Nanjg101 (?). It doesn’t have as many smd’s as the front light Qlite so it doesn’t need as big a hole to clear the parts.

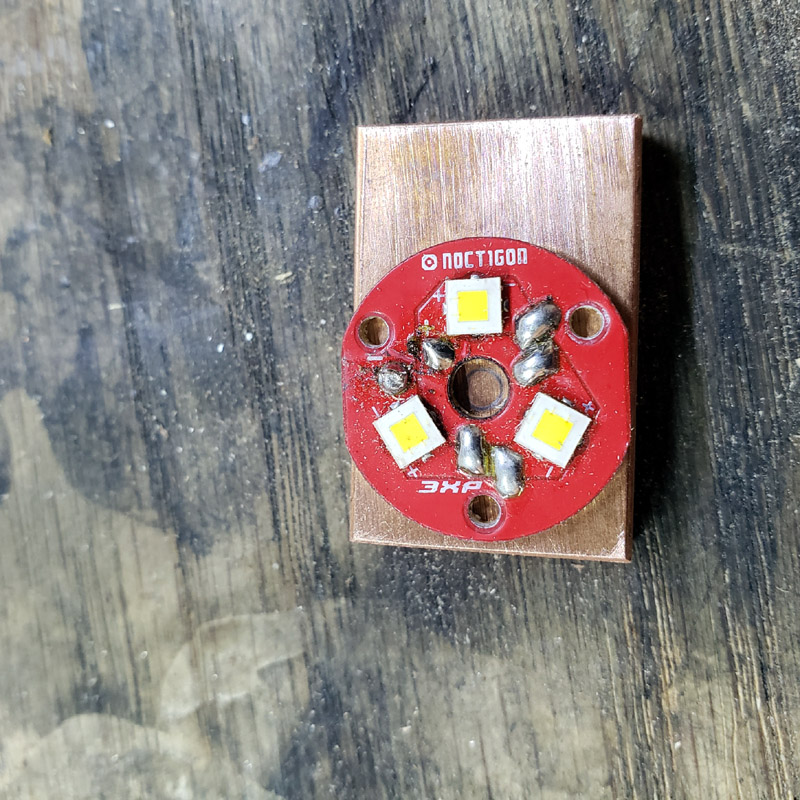
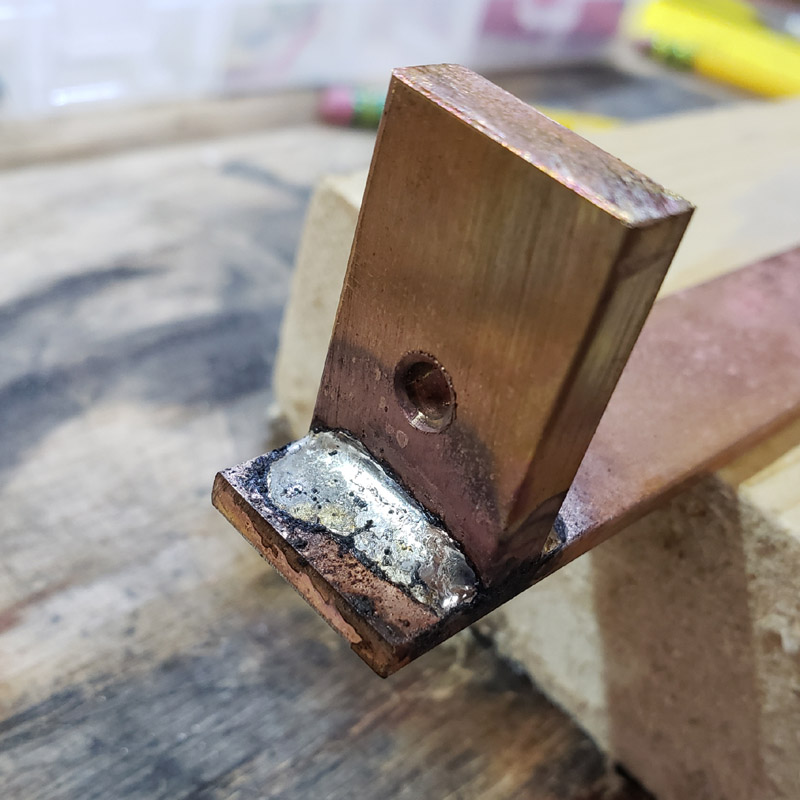
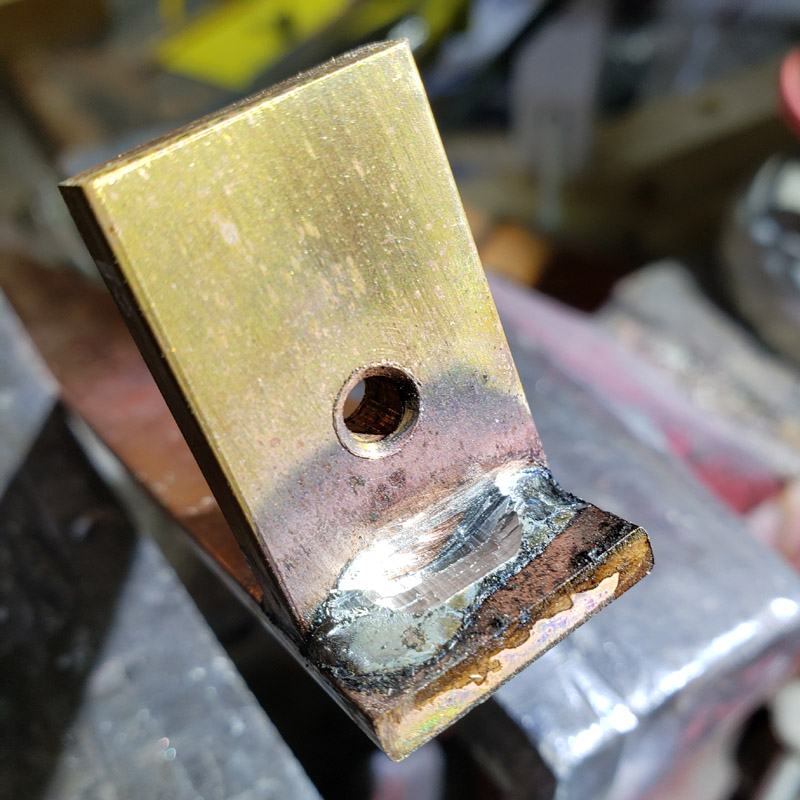
That will be silver soldered in due course. Before that though I need to make the tab where the mcpcb will mount as flat as possible for best heat conduction. Sanding…
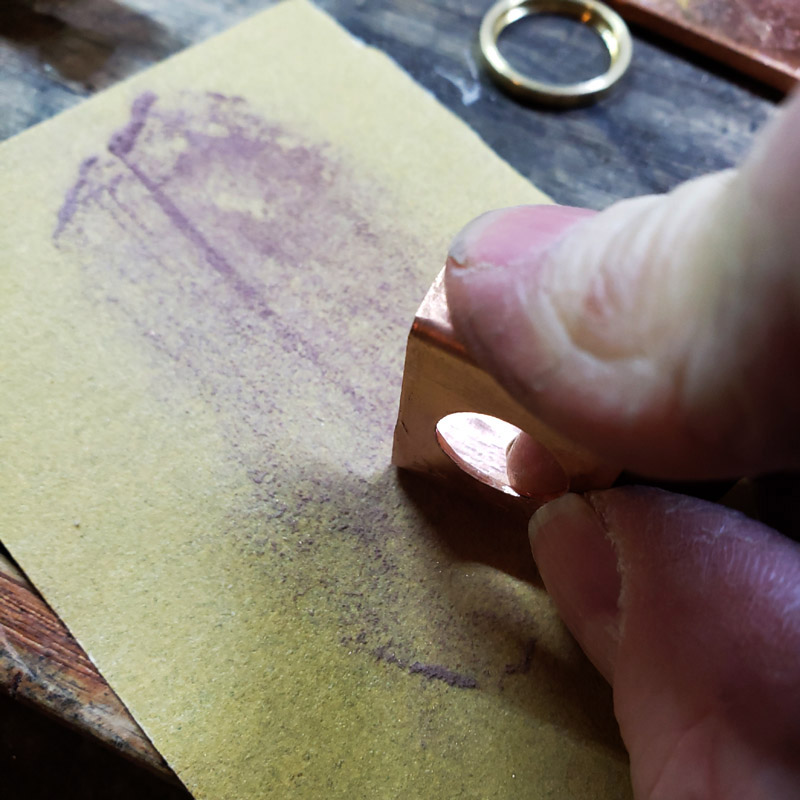
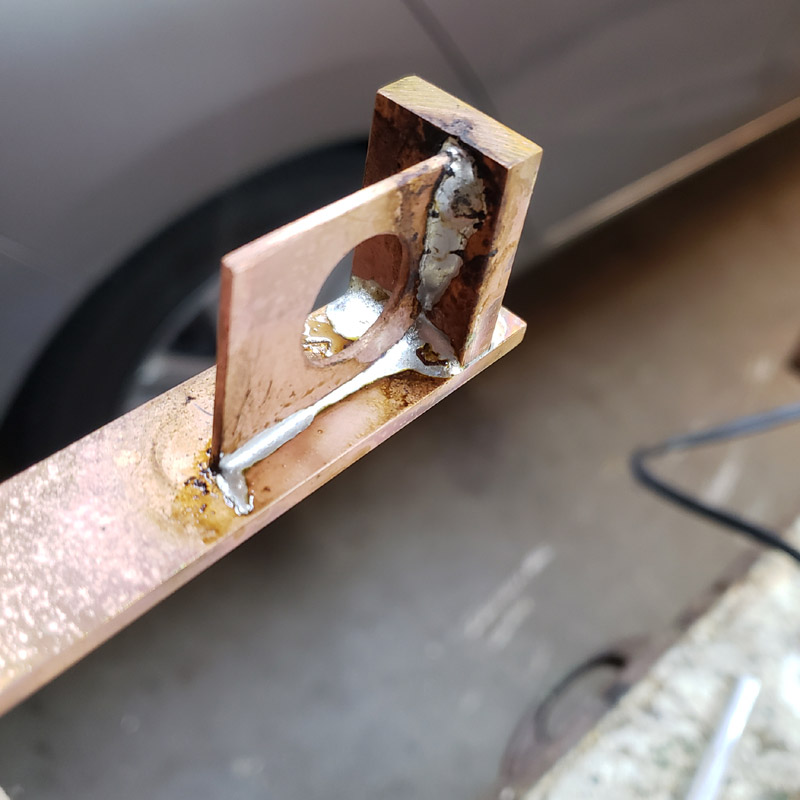
Not quite there…

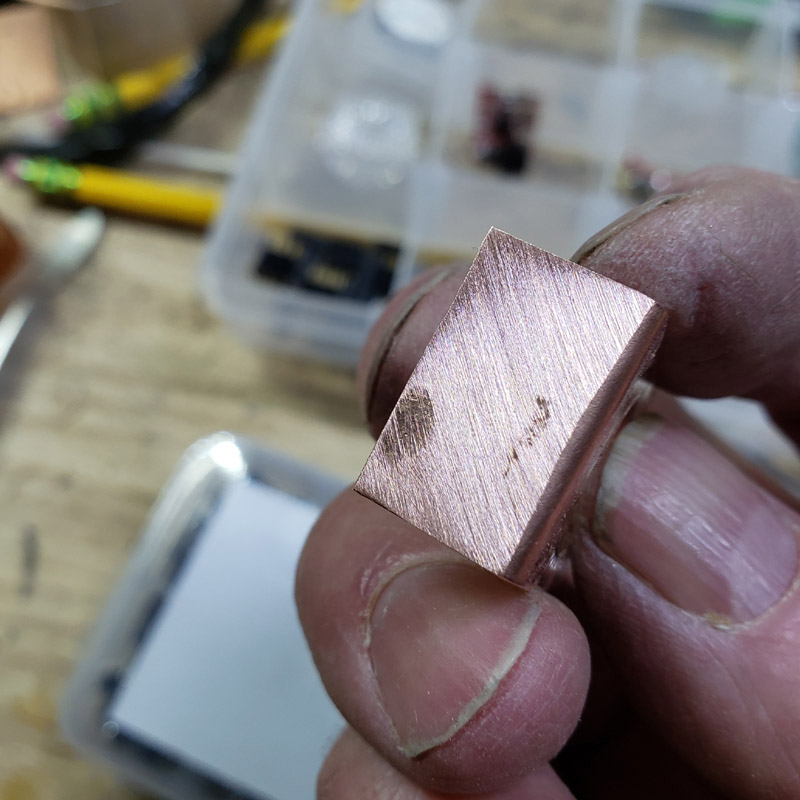
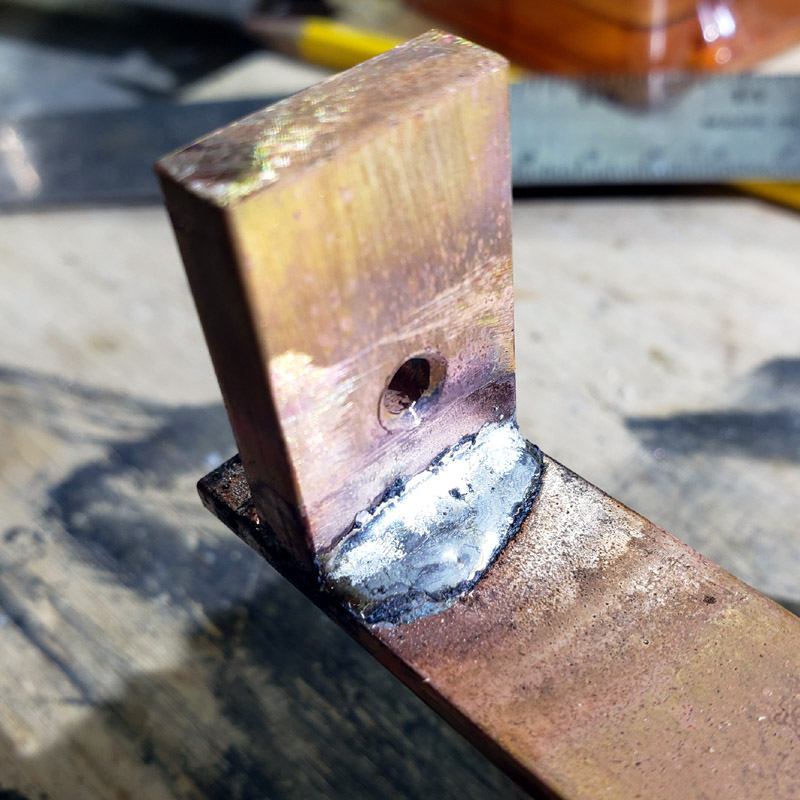
Just about perfect. Good enough for government work, as the saying goes. I did refine it but that image came out a little off focus so there is no proof to show at this time.

That’s all for today. Thanks for looking in.