Although I already made my own helmet mount, I decided to change it and go for the common GoPro mount.
I bought an aluminium mount but had to modify it in order to fit headlamp instead a camera and also to shorten it in order to keep the light closer to the helmet
Then I had to cut part of the heatsink in order to make space for the mount as close as possible to the body
And the final result
Now I have to drill in my helmet, not sure I am ready for this irreversible step
There are several varieties. I do not know all there is to know about which one for what job. BUT, the VHB tape is used to hold the aluminum metal panels to the welded steel or wood framework of some cargo trailers. Many trailers use screws to secure the panels, but there are some that have no exterior screws showing. Those are VHB taped. I have used VHB for small projects and it has worked extremely well.
I would have used it to affix the wood skins to my contest entry, but the only tapes I have on hand are too thick. But probably ideal for a helmet light.
Logo’s are attached to car bodies with similar tape, typically 3M. VERY difficult to remove once pressure-set in place. An absolutely clean surface is required of course for the adhesive to stick at full strength.
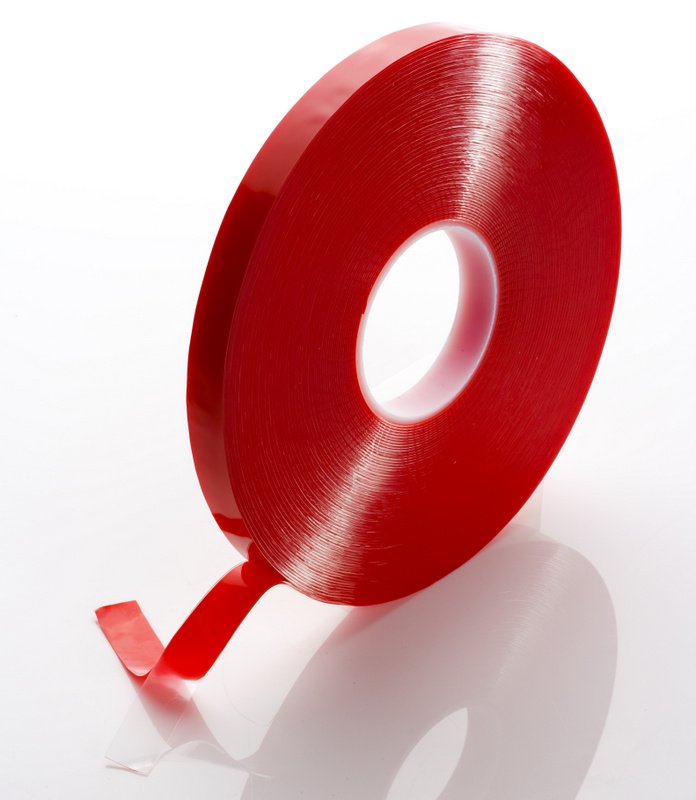
I think the stuff you guys are on about is acrylic adhesive tape. 3m make the original stuff, though you can buy it anywhere. As DB says, once that stuff gets hold of the right surface, it’s not coming off in any hurry - on the wrong surface it will fall off just as easily lol! It loves plastics, but not oily types ( I don’t mean covered in oil)
This is the stuff , but you can get it on double sided foam too.
It is time to start working on the circuit, I had an Idea to try print the PCB at home but most of the components are still on the way from China
Luckily I did got some drivers for other project and can use them:
In order to separately control 2 LEDs (Flood and Spot) I have to use both PWM pins of the MCU. (pin 5 and pin 6).
Pin 2 (PB3) will be set as a pull up input and be connected to GND by a Momentary NO switch.
Pin 3 (PB4) will be set as a digital output and connected to a blue (red is in the lost package) LED for battery indication.
Since I have to use a Nanjg 105C and a 1.4A single mode Drives, the control of the 2nd driver will be connected to Star2 (pin5 - OC0A) of the Nanjg.
The blue led will be connected to Star3 (pin3 - PB4)
Startin soldering, first I had to add 4 more AMCs to the 1.4A driver in order to allow maximum output of 1000 Lumens for each LED
Unfortunately it wasn't the tiniest thing I has to soldar, but first I cut the outer GND ring of the Nanjg 105C to allow easier and stronger soldering to the stars:
Finally I soldered 1806 resistor and LED to star3:
This is the first time I am soldering SMT parts by hand and it wasn't fun.
Next step is optics.....
But before burning my FW to the light, I had to calibrate the voltage measurements, using my BattCheck FW, heavily based on ToyKeeper's Battcheck firmware (Thank you ToyKeeper)
You can download my FW here
Now I only have to mount it to the Helmet and test it in a cave
Just did the final adjustments, some fixes and mount it to the helmet
First I had to sew the elastic band that hold the battery box to the back of the helmet (never thought that sewing can be part of building a light)
Then follow the advice of MtnDon, pinkpanda3310, DB Custom AND G0OSE, I used 3M double sided tape to glue the GoPro mount to the helmet
And now I can finally say that this build is completed (one week ahead of due date)!
I had this Idea of building a budget profesional caving lamp forever but always had something more urgent to do so this competition was exactly the encouragement I needed to complete this project.
I tried to document every step of the build as clear as I could and shared my FW in case other people are interested in building a similar lamp.
A rough estimation I did, shows that the parts cost me about 30 USD, not including aluminum pieces, Perspex, plastic, wires etc. which I disassembled from old stuff or had at home.
An equivalent commercial caving light costs more than 600 USD and the FW is less suitable to my needs so, in my opinion, it is really represents the BLF spirit.
If you have any comments or ideas please comment and don't hesitate to ask me any questions if you are interested in building a similar light.