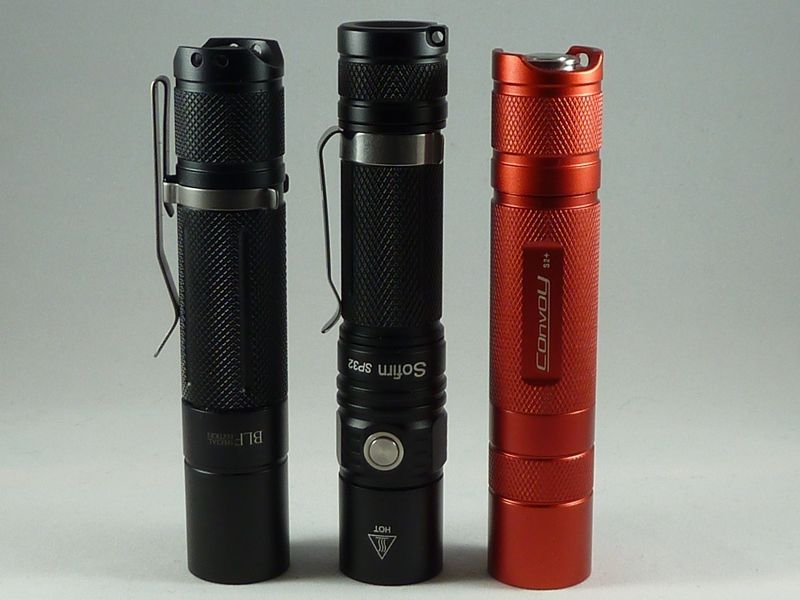
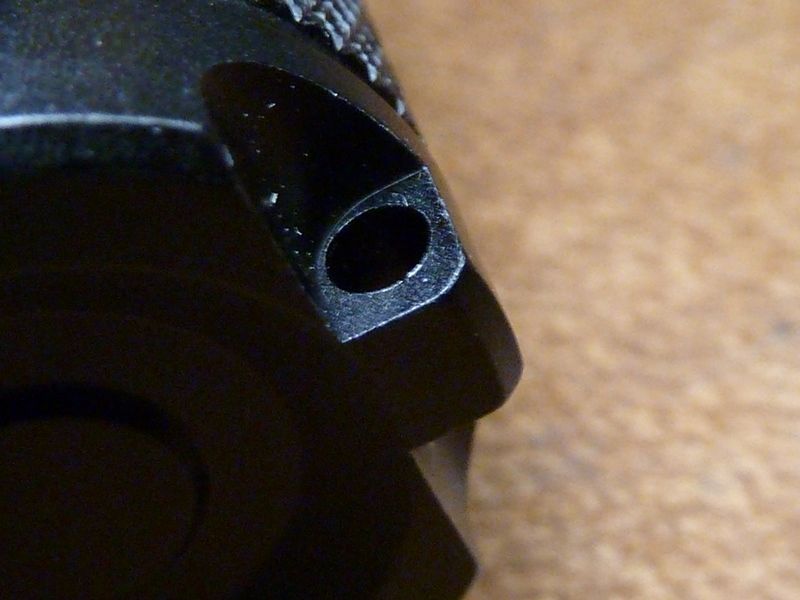
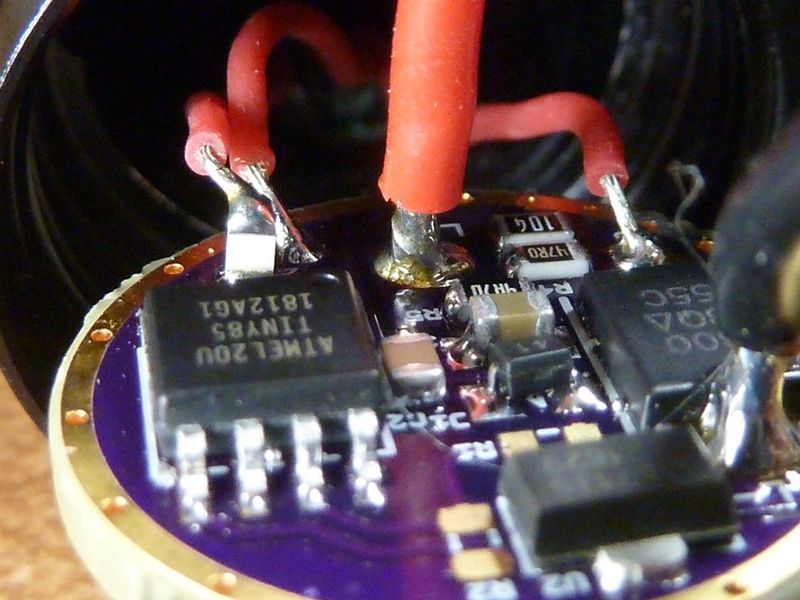
Yep, I should know - I have a SP32 :FACEPALM: - think it's the original version, pics from June 2017. I gave up on the SP32 since it had a switch mount on a vertical board, making it very difficult to mod with a FET+1 driver. Here's some pics from them, probably posted elsewhere long ago, also showing the sharpness of the lanyard hole trim:
The tailcap does look unchanged, didn't try to LEGO yet.
Always thought it odd Sofirn was selling a SP32A V2 host here, and sold 9 of them, when the driver replacement is so difficult. Only other explanation is for replacing an original host. It has 1 5 star review as well, but in Russian.
When the SC31(B) came out, sure looked like a standard side switch PCB light:
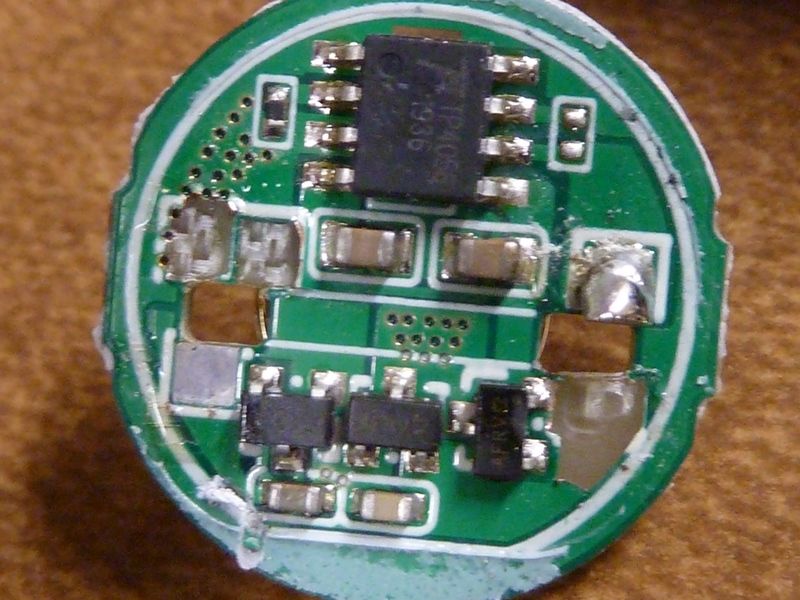
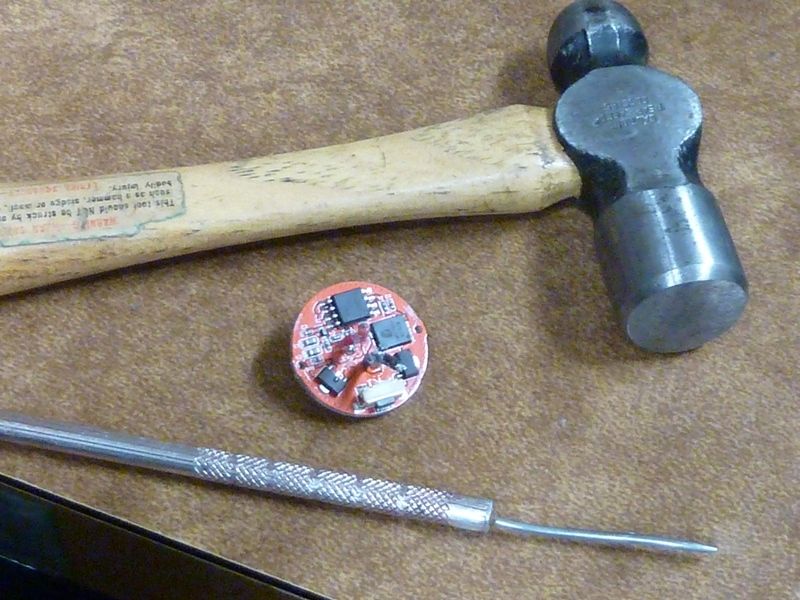
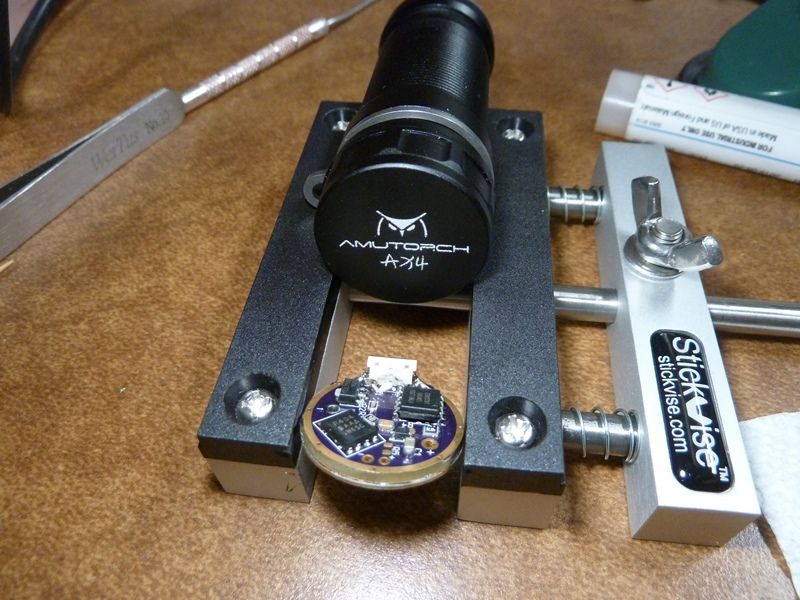
Sure. Driver is glued down, plus it has a vertical board centered for mounting of the USB connector. From what I recall and what I typically do is desolder the LED wires from the MCPCB, then use a solder pick tool to push thru the wire hole, applying pressure. If pressure alone doesn't work, I'll give it a few taps of the hammer - lightly at first, trying the minimum amt of force that it takes to break the glue seal. For this SC31B, the vertical board broke off from the hammering (most likely). You can see the white glue (or silicon) on the bottom and a little on the top.
I've removed many glued drivers using this method. With the solder pick, usually you can salvage the stock driver with minimum damage, sometimes a surface mount gets damaged bad - usually you can "feel" if the solder pick is on an IC or not.
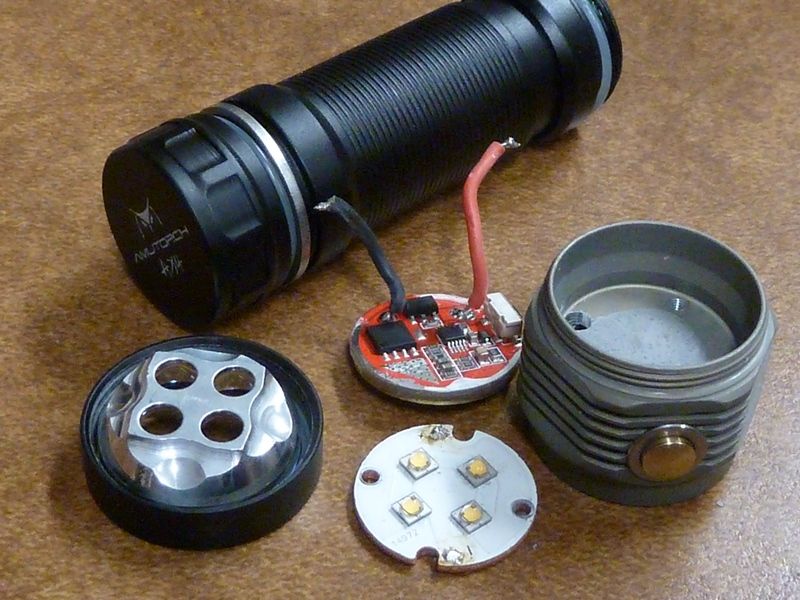
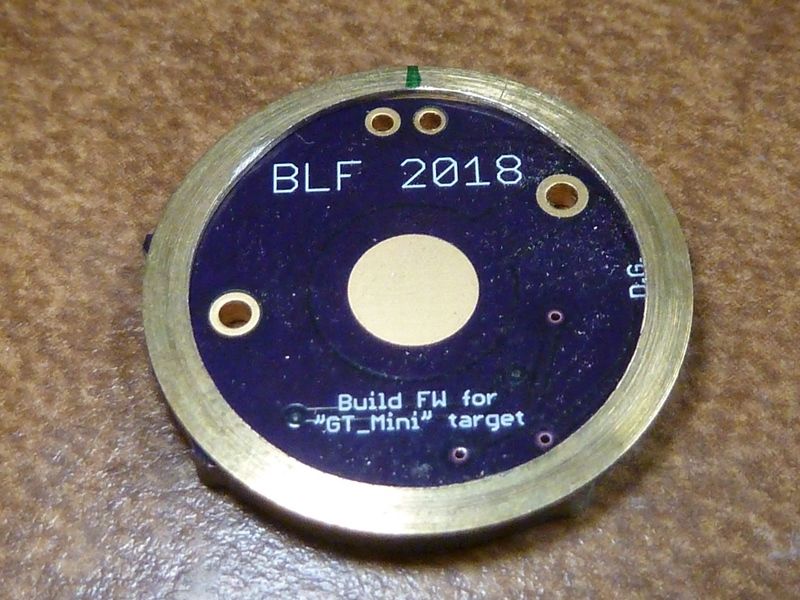
I suspect the Pro driver is glued down as well. The brass ring around the driver on the spring side doesn't look threaded down to me - I've seen these thin brass rings used before to protect the driver from wear and tear and to make good contact with the tube. I've even desoldered those rings and re-used them on a driver replacement. For my modded SC31B, I did not glue the BLF driver - the tube threads down to hold it in place. This works for me -- don't like glue.
These are the glued driver removal tools, EDC18 driver shown:
Thank you for the detailed response Tom E!
I was thinking about doing something like that. But I definitely expected some damage would happen. But this is good information.
My SP40 short tube’s threads fit like clockwork. But as mentioned, the springs on both ends are compressed about as “tight” as any light I’ve cranked down. If you were going to keep it an 18350 shorty it’s whole life I think it would work fine though. But the springs might get pretty flat after a while
Mine indicated 4.2V whereas the battery’s actual resting voltage was 4.05V. It would be nice if Andúril had some feature to calibrate the voltage measurement.
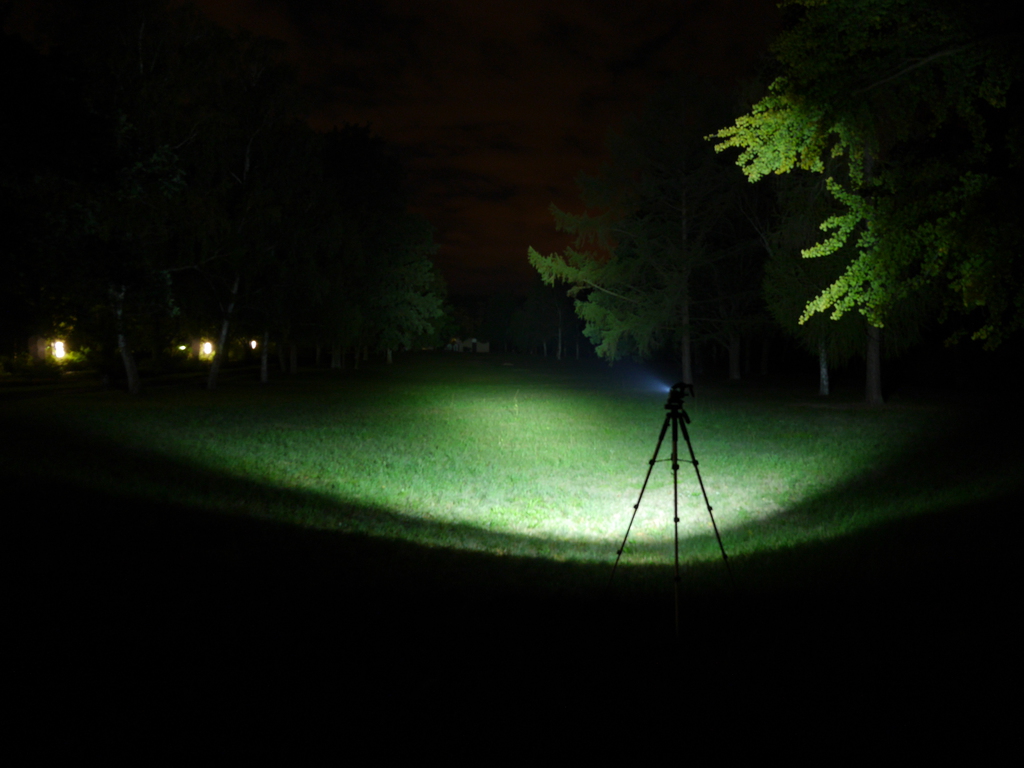
Some beamshots I took yesterday night. The white house is about 120m far away.
Sofirn SC31 Pro (Luminus SST40 6.500K 70CRI) 2.000lm
Thanks Lux-Perpetua! Probably it is Ok that the battery check indicates higher charge than the actual one. Hopefully the built-in charger does not overcharge the cell.
Can you please try to immediately measure the battery‘s resting voltage with a(nother) voltmeter? If it’s really overcharged way above 4.25V it seems to be a severe problem that deserves further investigation. Thanks for letting us know about it.
Btw, I added voltage cal to Anduril, but only to the 2019 version. TK changed the voltage reading quite a bit since, so it would take a little time to port. After years of frustratingly voltage cal'ing each individual mod light for Narsil, finally built it in to Anduril.
I got Anduril working like Narsil: 3C to voltage, 2C next to temp, 2C next to version #. When you are in voltage reaging mode, 4 clicks to calibration.