Looking good Don. ![]()
I am by no means adept at making things from wood but did find these when I made a wood, aluminium and brass torch.
Looking good Don. ![]()
I am by no means adept at making things from wood but did find these when I made a wood, aluminium and brass torch.
I like the looks of these from that search link , but need a smaller size package. ![]() The point with the notch cuts the wood fibers as the screw is turned.
The point with the notch cuts the wood fibers as the screw is turned.
They are used when installing cabinets (as in kitchen…) and I never thought of them at all. I do have some here someplace.
I should try one in a scrap of the bloodwood and see what happens. Thanks.
I hope they are not attaching kitchen cabinets with finish head screws. ![]()
They’re used to secure the face frames to the adjacent cabinet. The screws pull the cabibet face frames tightly together and bury the head in the wood. Tighten just enough to make the head flush with the side surface of the face frame. The face frames are clamped together tightly first, then the screws installed. The doors hide the edges of the face frames too.
I think even though they are self drilling I will still pre drill hard woods. They make good sense for attaching things to the wall though with a washer head into 2x. I’m old school when it comes to things like that.
A little longer than those. 2, 2 1/2 inch
Woo-Hoo!!! The switches and a few other things arrived today!!
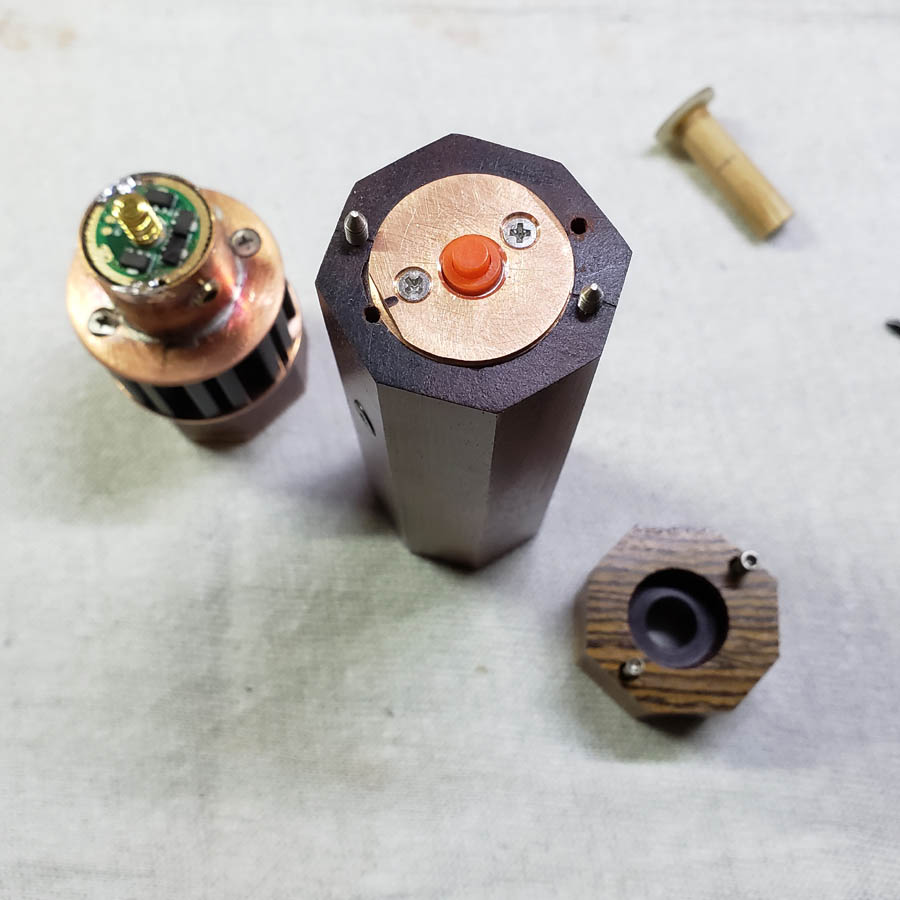
Here are three of them along with the frp mounting blocks I previously made.

What sets these switches apart is that the tabs are not meant to be soldered like other switches. One tab is bent up and over the top of the switch with a hole that fits around the button. The other tab bends under the switch bottom. In my design the upper contact fits against the inside of the copper sleeve/pill. The frp blocks provide insulation. The bottom contact touches the brass center screw which will contact the negative end of the 18650 cell.
The rear switch pill is a press fit into the main copper body tube. The two small screws through the copper pill end squeeze the bottom frp block to the center block which holds the switch.
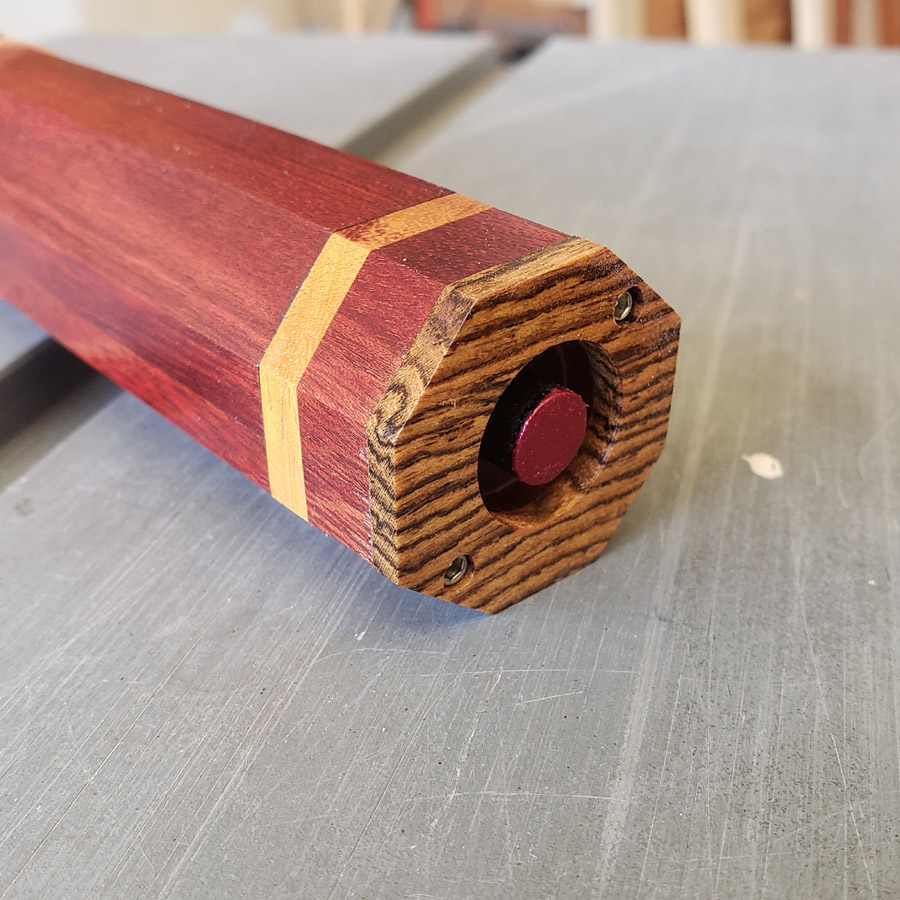
I tested the switch operation with the actuator rod. It needed a little sanding to provide a small amount of clearance between the plunger and the switch button. Then I shortened the actuator rod so it does not protrude past the end of the rear cap. The light can tailstand. And the light works when tested with a cell. Woo-Hoo!!!
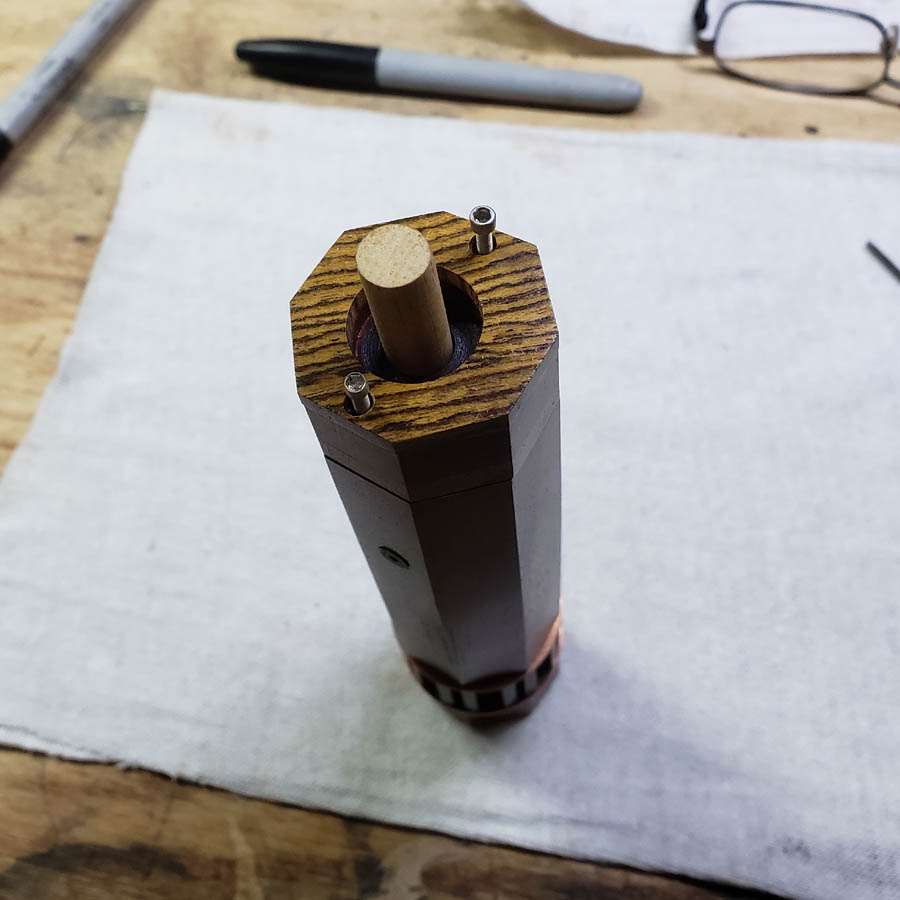
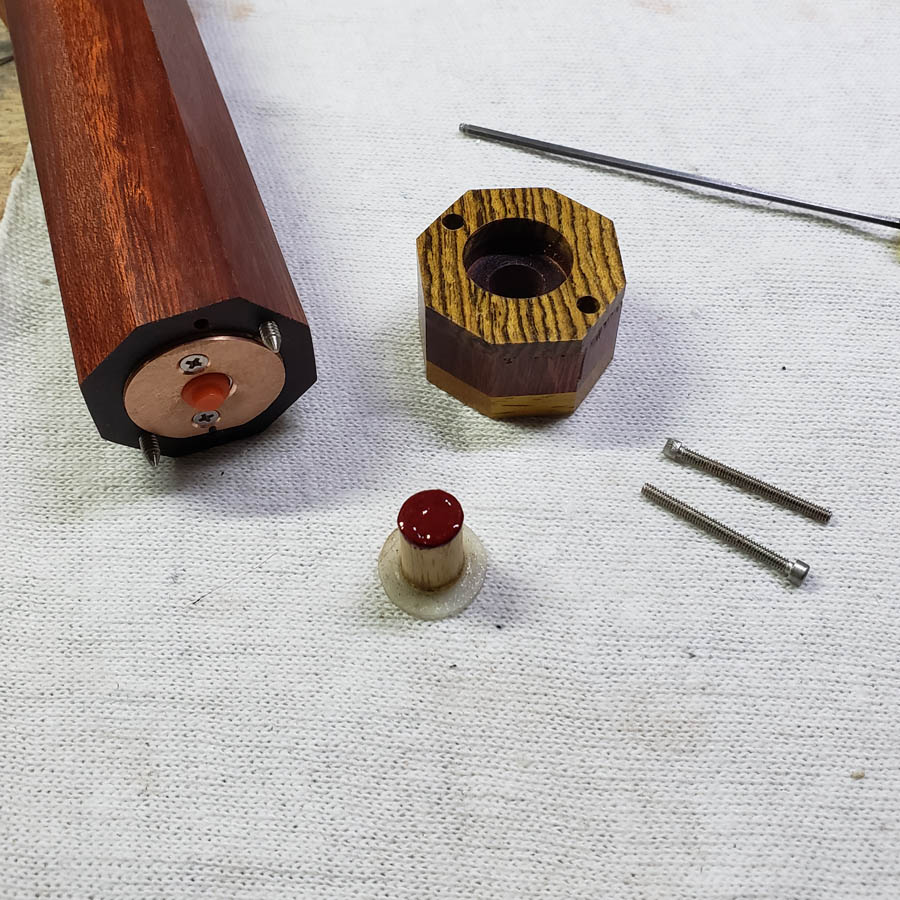
I applied a dab of paint to the actuator rod end. (Using touchup paint for my Toyota Tacoma). When dry I’ll reassemble the light and post some more images; a short video too showing the light on and how the ramping works.
Thanks for looking.
Nice finish of the button ![]()
I remember that switch, has been around for ages, i.e. it is in the Xeno E03 as well and in a few other lights.
I like the way it’s looking, nice work ![]()
Very clever MD. ![]()
This post has nothing to do with this contest entry, but has everything to do with having some fun. ![]()
While I was waiting for the switch to arrive, my light had a baby.
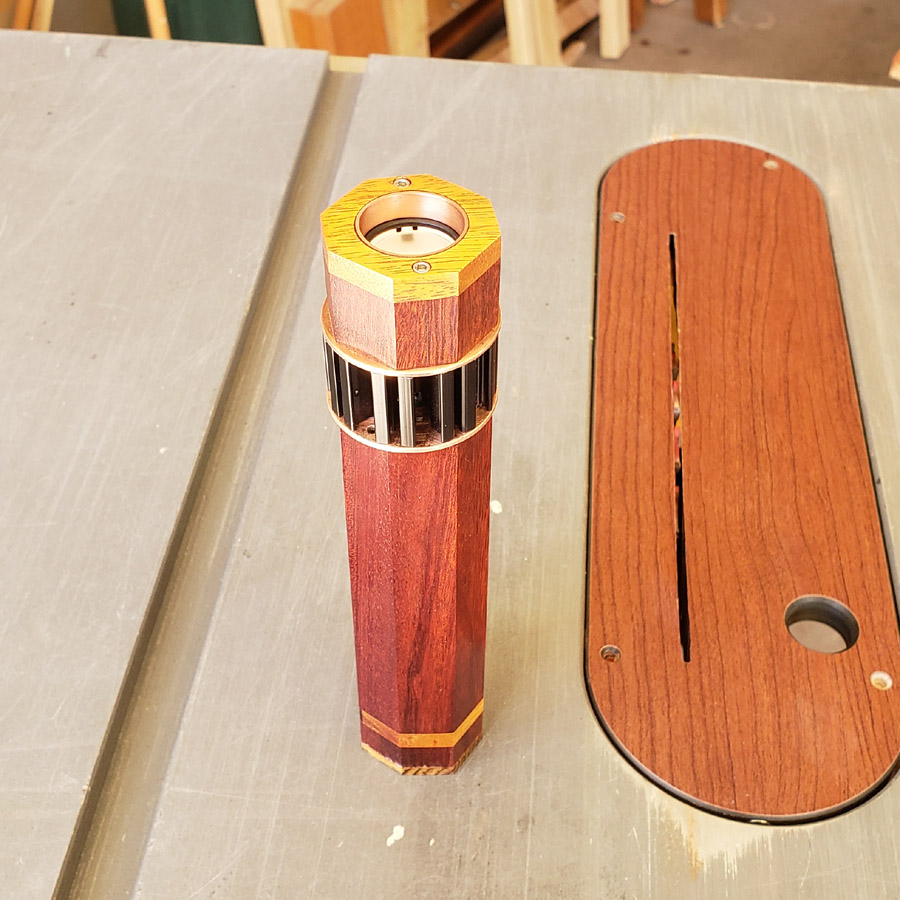
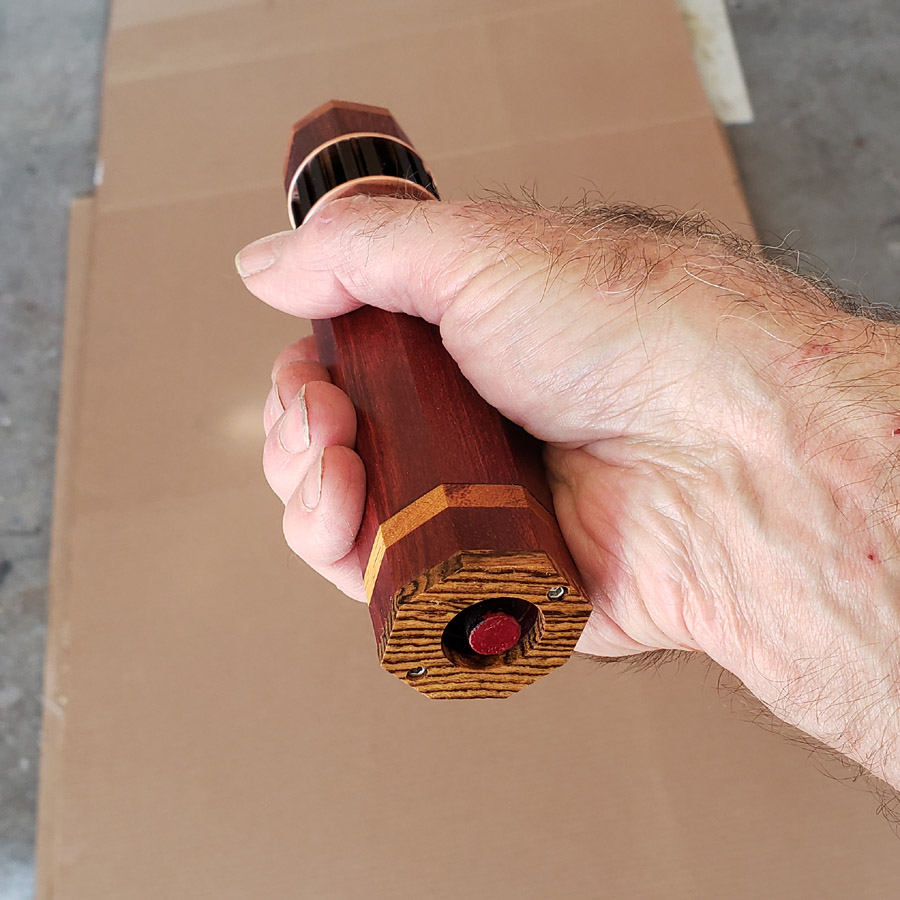
Remember the BLF-348? For those who are not familiar with the several years old BLF-348 here is one of mine, along with the baby. (The BLF-348 uses a single AAA cell and has one mode.)
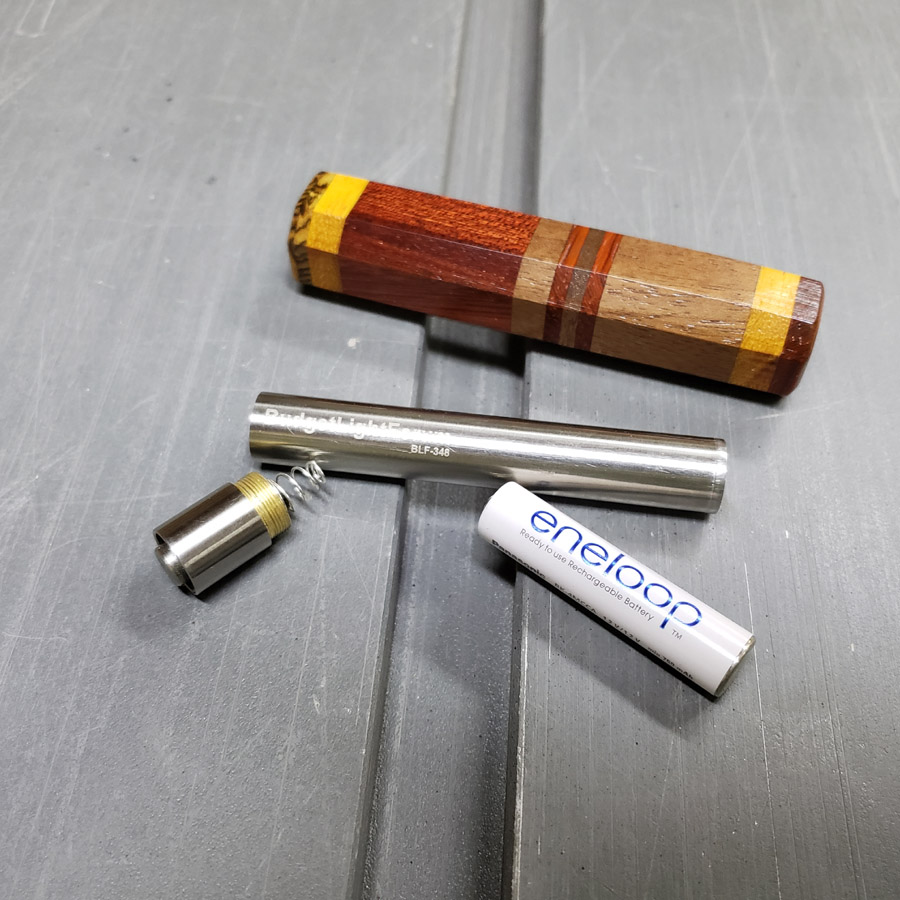
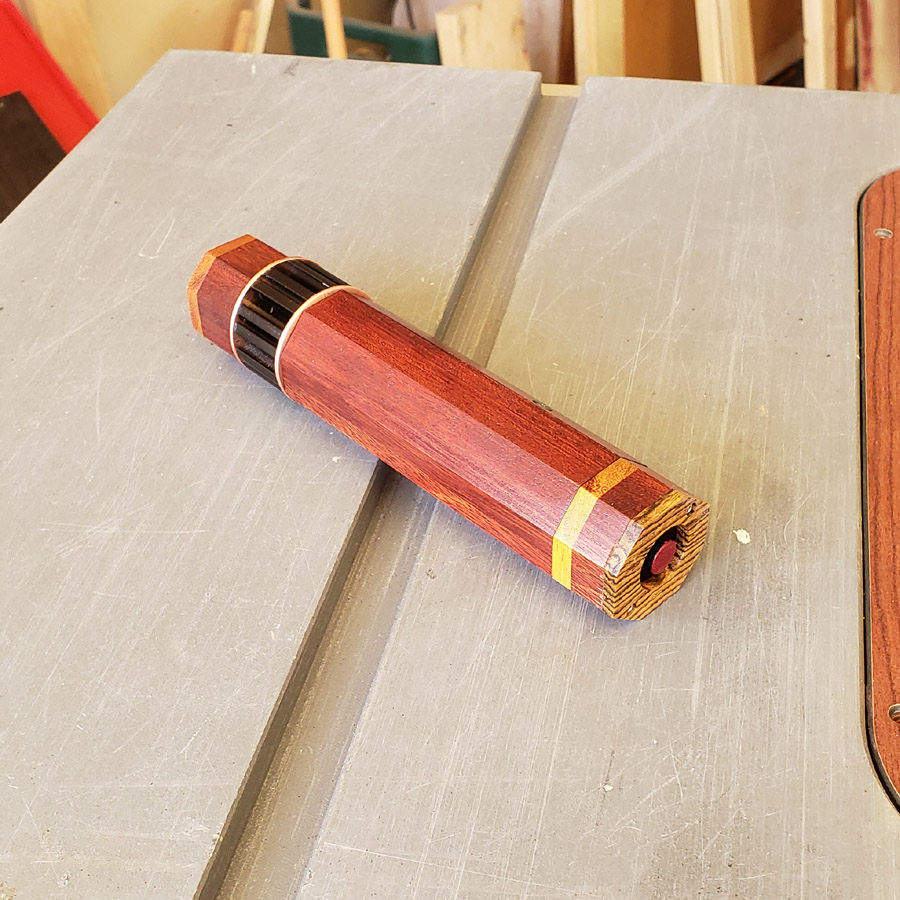
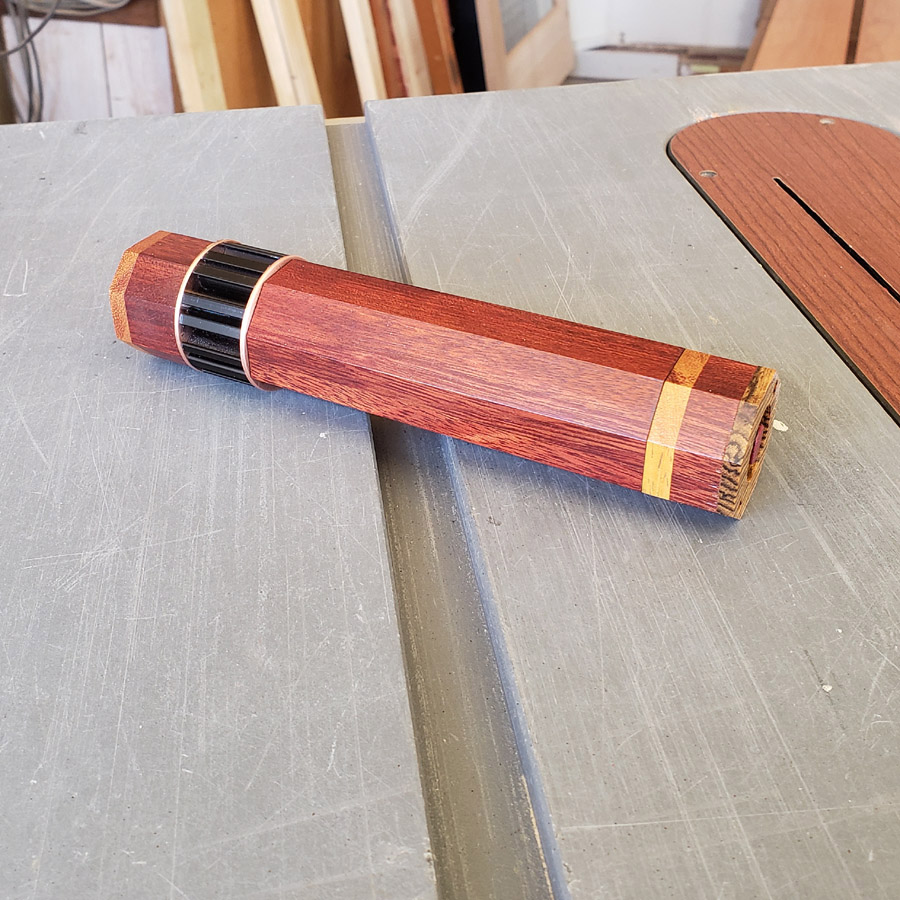
I had this weird thought and measured the BLF-348 dimeter and sure enough, its 0.47-inch diameter was a near-perfect size. After gluing up some scraps of woods I bored a 31/64 inch hole through the block. A few minutes on the table saw and I had roughed out a near-octagon cylinder shape. I finished it off using the bench belt sander. A short piece of brass tube was press-fitted at one end and hit with a little cyanoacrylate glue. The brass ring serves as a stop for the ligght. After a final sanding with 400 grit, I sprayed it with clear lacquer. The 348 slides in with a mild friction fit. It will not slip out on its own. I use a rubber-tipped pencil to push it out far enough to be able to grasp it.
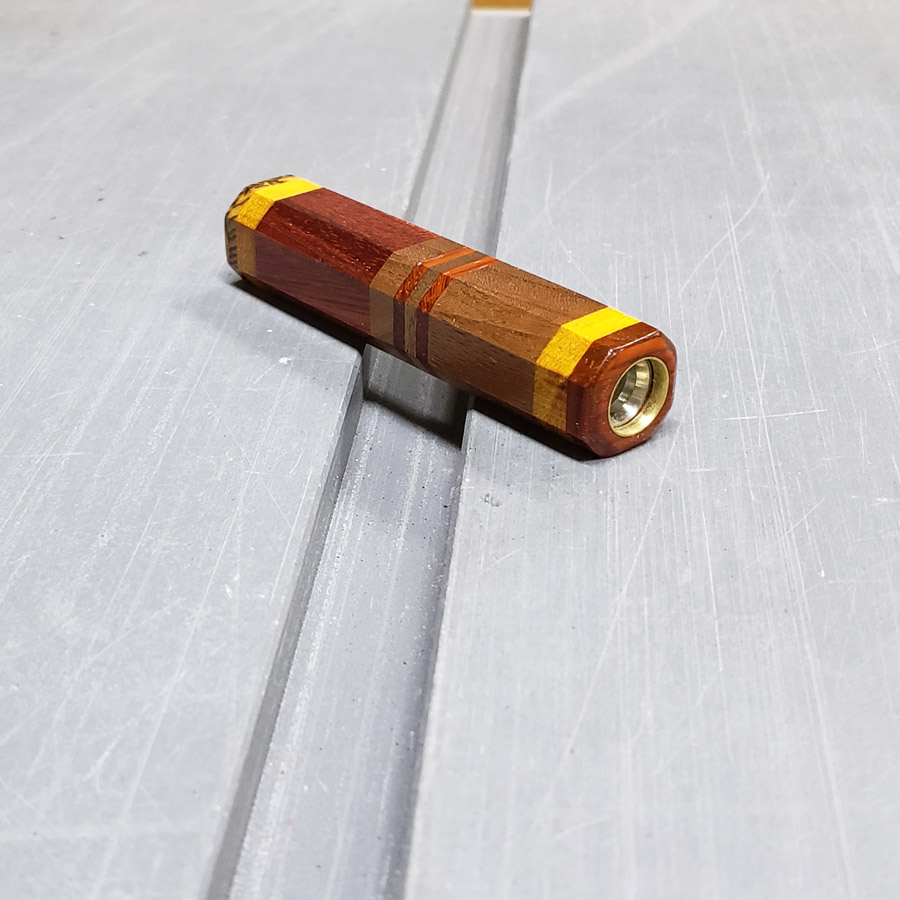

The woods used include; bocote, osage orange, bloodwood, walnut and padauk.
I’ll return to the regularly scheduled program for the next installment, which will be images of the more or less completed project light.
![]() Nice idea.
Nice idea.
The bocote around the switch looks especially nice.
Thanks, I like that wood a lot too. I have only scraps left and it is not cheap; 3/4” x 3” x 24” is about US$28 plus shipping in some cases as nobody within my local area stocks it.
Here I have the luxury of the Amsterdamse Fijnhouthandel, a shop near my work in the Amsterdam port area so I can go there in a lunch break. They sell almost every type of special wood, and still have stock leftover (although often just small scraps) from times when chopping ancient trees from primeval tropical forests was no issue. Their new supplies (they say) follow the newest guidelines for sustainability of forests. But in any case they serve such a small niche market that their turnover will not be the reason that the planet looses their primeval forest.
I looked them up! Wow! A wood guys dream place. One of the advantages of a port city. Twenty-soe years ago there was a company in Albuquerque (65km distant) that sold many exotic woods. That is where I bought the piece of bocote I have been whittling away at. Nowadays there ia a place that has a very limited selection of exotics, or online orders.
They have bocote in stock. Really Scary price. ![]() But then it had to travel from Mexico/Central America to NL.
But then it had to travel from Mexico/Central America to NL.
https://www.fijnhout.nl/shop/bijzondere-houtsoorten/bocote-ongekantrecht/
The little 348 looks like its ready to pounce at any time ambushing something or someone from its little hideaway. ![]()
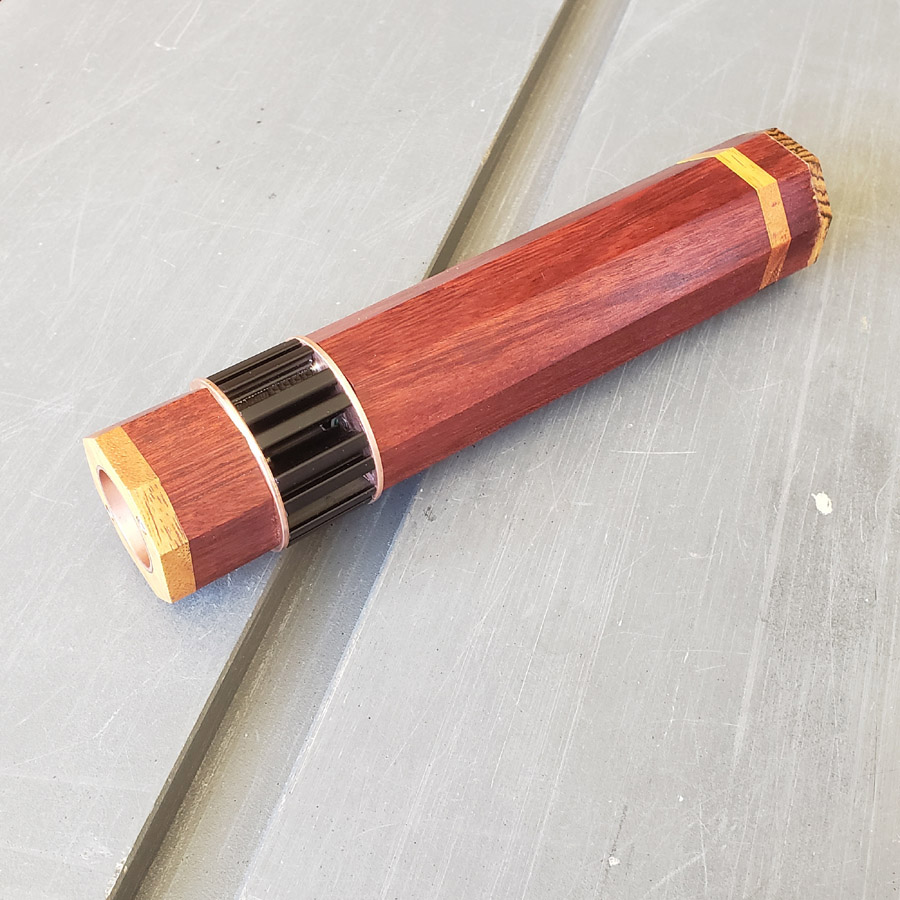
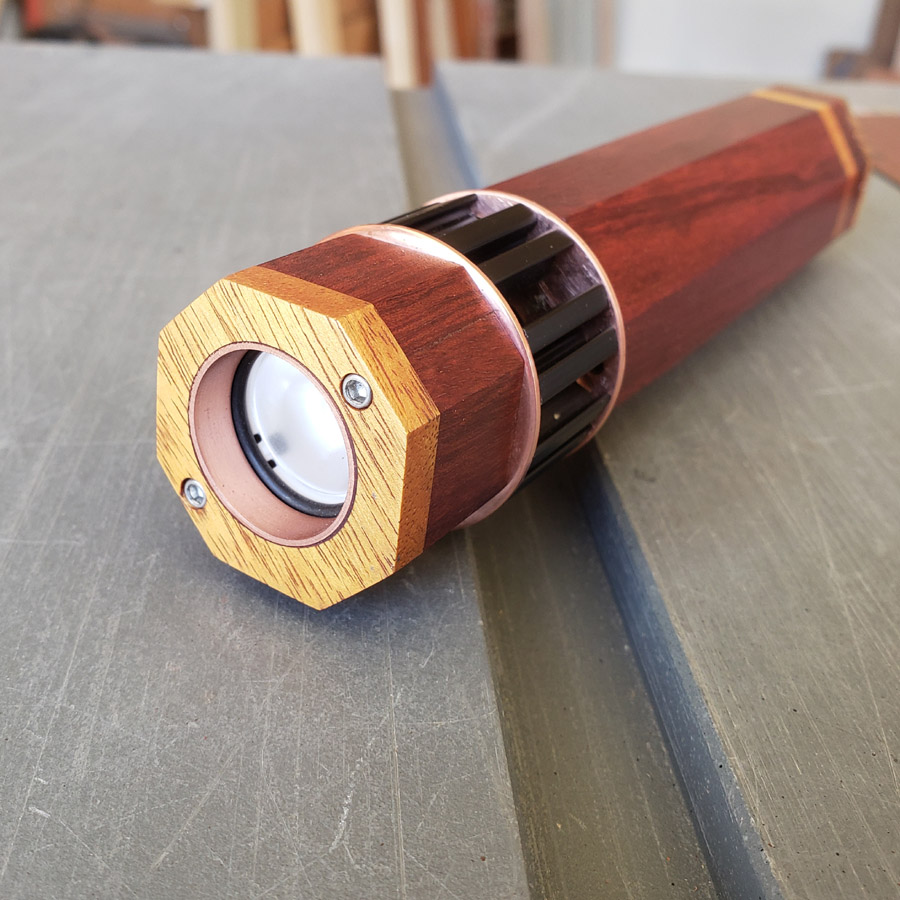
More pictures. I believe this is now complete, but I could be wrong. I reserve the right to make changes and update this anytime before the contest closes. I will be doing a video displaying the functioning light but that has to wait until some evening when I can have a little darkness.

Well done MtnDon ![]()
It looks super gorgeous!
You have your own “brand” here on BLF with the wood construction and this is surely a nice adition to it ![]()
Thank you so much!
In case I did not mention this before, the front end is osage orange, as is the other lighter colored band near the tail. The striped tailend piece is bocote and everything else is bloodwood. No stains or dyes were used. The wood was sprayed with three coats of satin finish clear lacquer after being sanded with 400 grit sandpaper.
I am not a great video producer. But, I made two attempts tonight. Part of my trouble is that I only have the camera in my phone and the auto levels feature of that tries to even out the rise and fall of the crescendo firmware.
The second video includes having the light I made in the view.

