Has anyone tried this driver?淘宝网 - 淘!我喜欢 Maybe this manta ray can go higher. I have this other manta ray driverhttps://a.aliexpress.com/_uJQ8Tm pushing a sft40 over 10A and it is a blast
I think these are the best c8 size hosts to handle heat, there is a lot of material underneath the mcpcb. one sft40 and one sst70 with convoy drivers
€ 10,18 | Controlador 8A para KW CULPM1.TG
€ 9,87 | Controlador XHP70.2 para una celda
Nice builds Pacolux. I always looked the look of that MR c8.2. I just never carry lights that size. Your mod reminds me that I need to get my hands on some more SFT40s, stat. Hoping the mystery YINDING round emitters perform well and show up quickly. I’ve been denoting them in my build plans as YDpi…
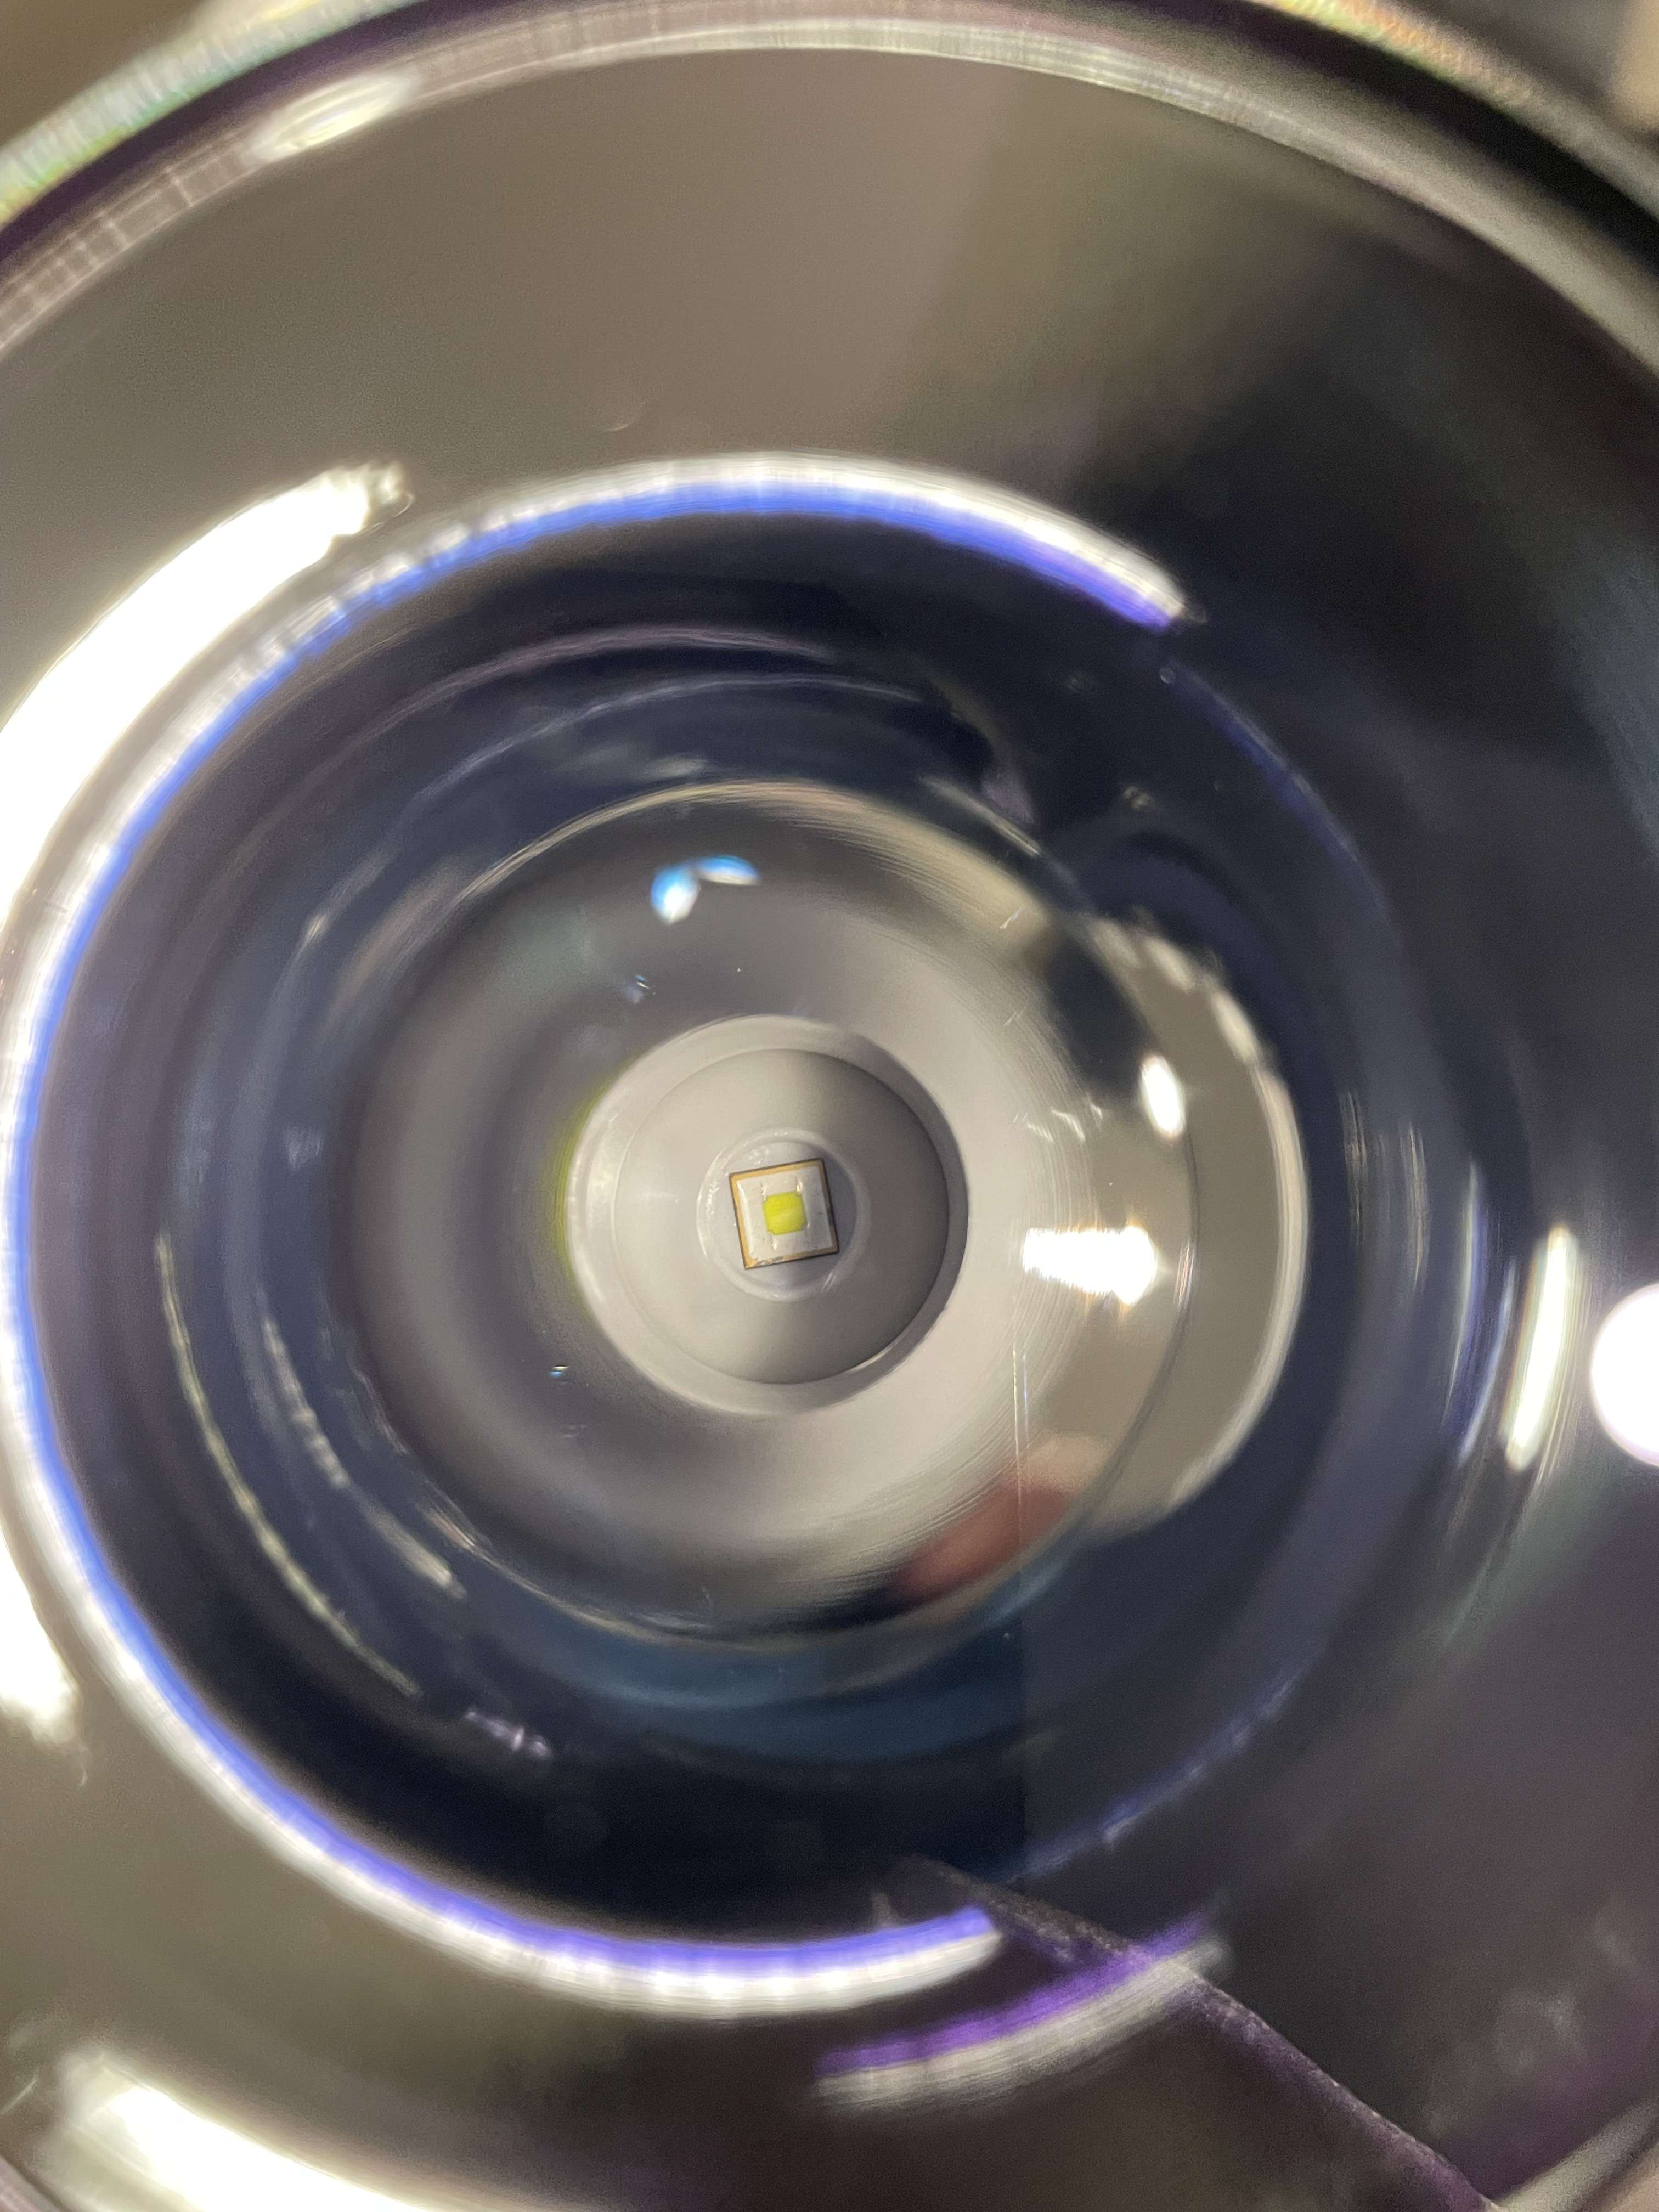
I built MR C8.2 with Fet driver and dedomed XHP70.2. Almost 15A from tail at 6V is quite a number. ![]()
I did same test rig for Kaidomain B70 boost driver. M4 bin XHP70.2 and Molicel P42 at 4,1V.
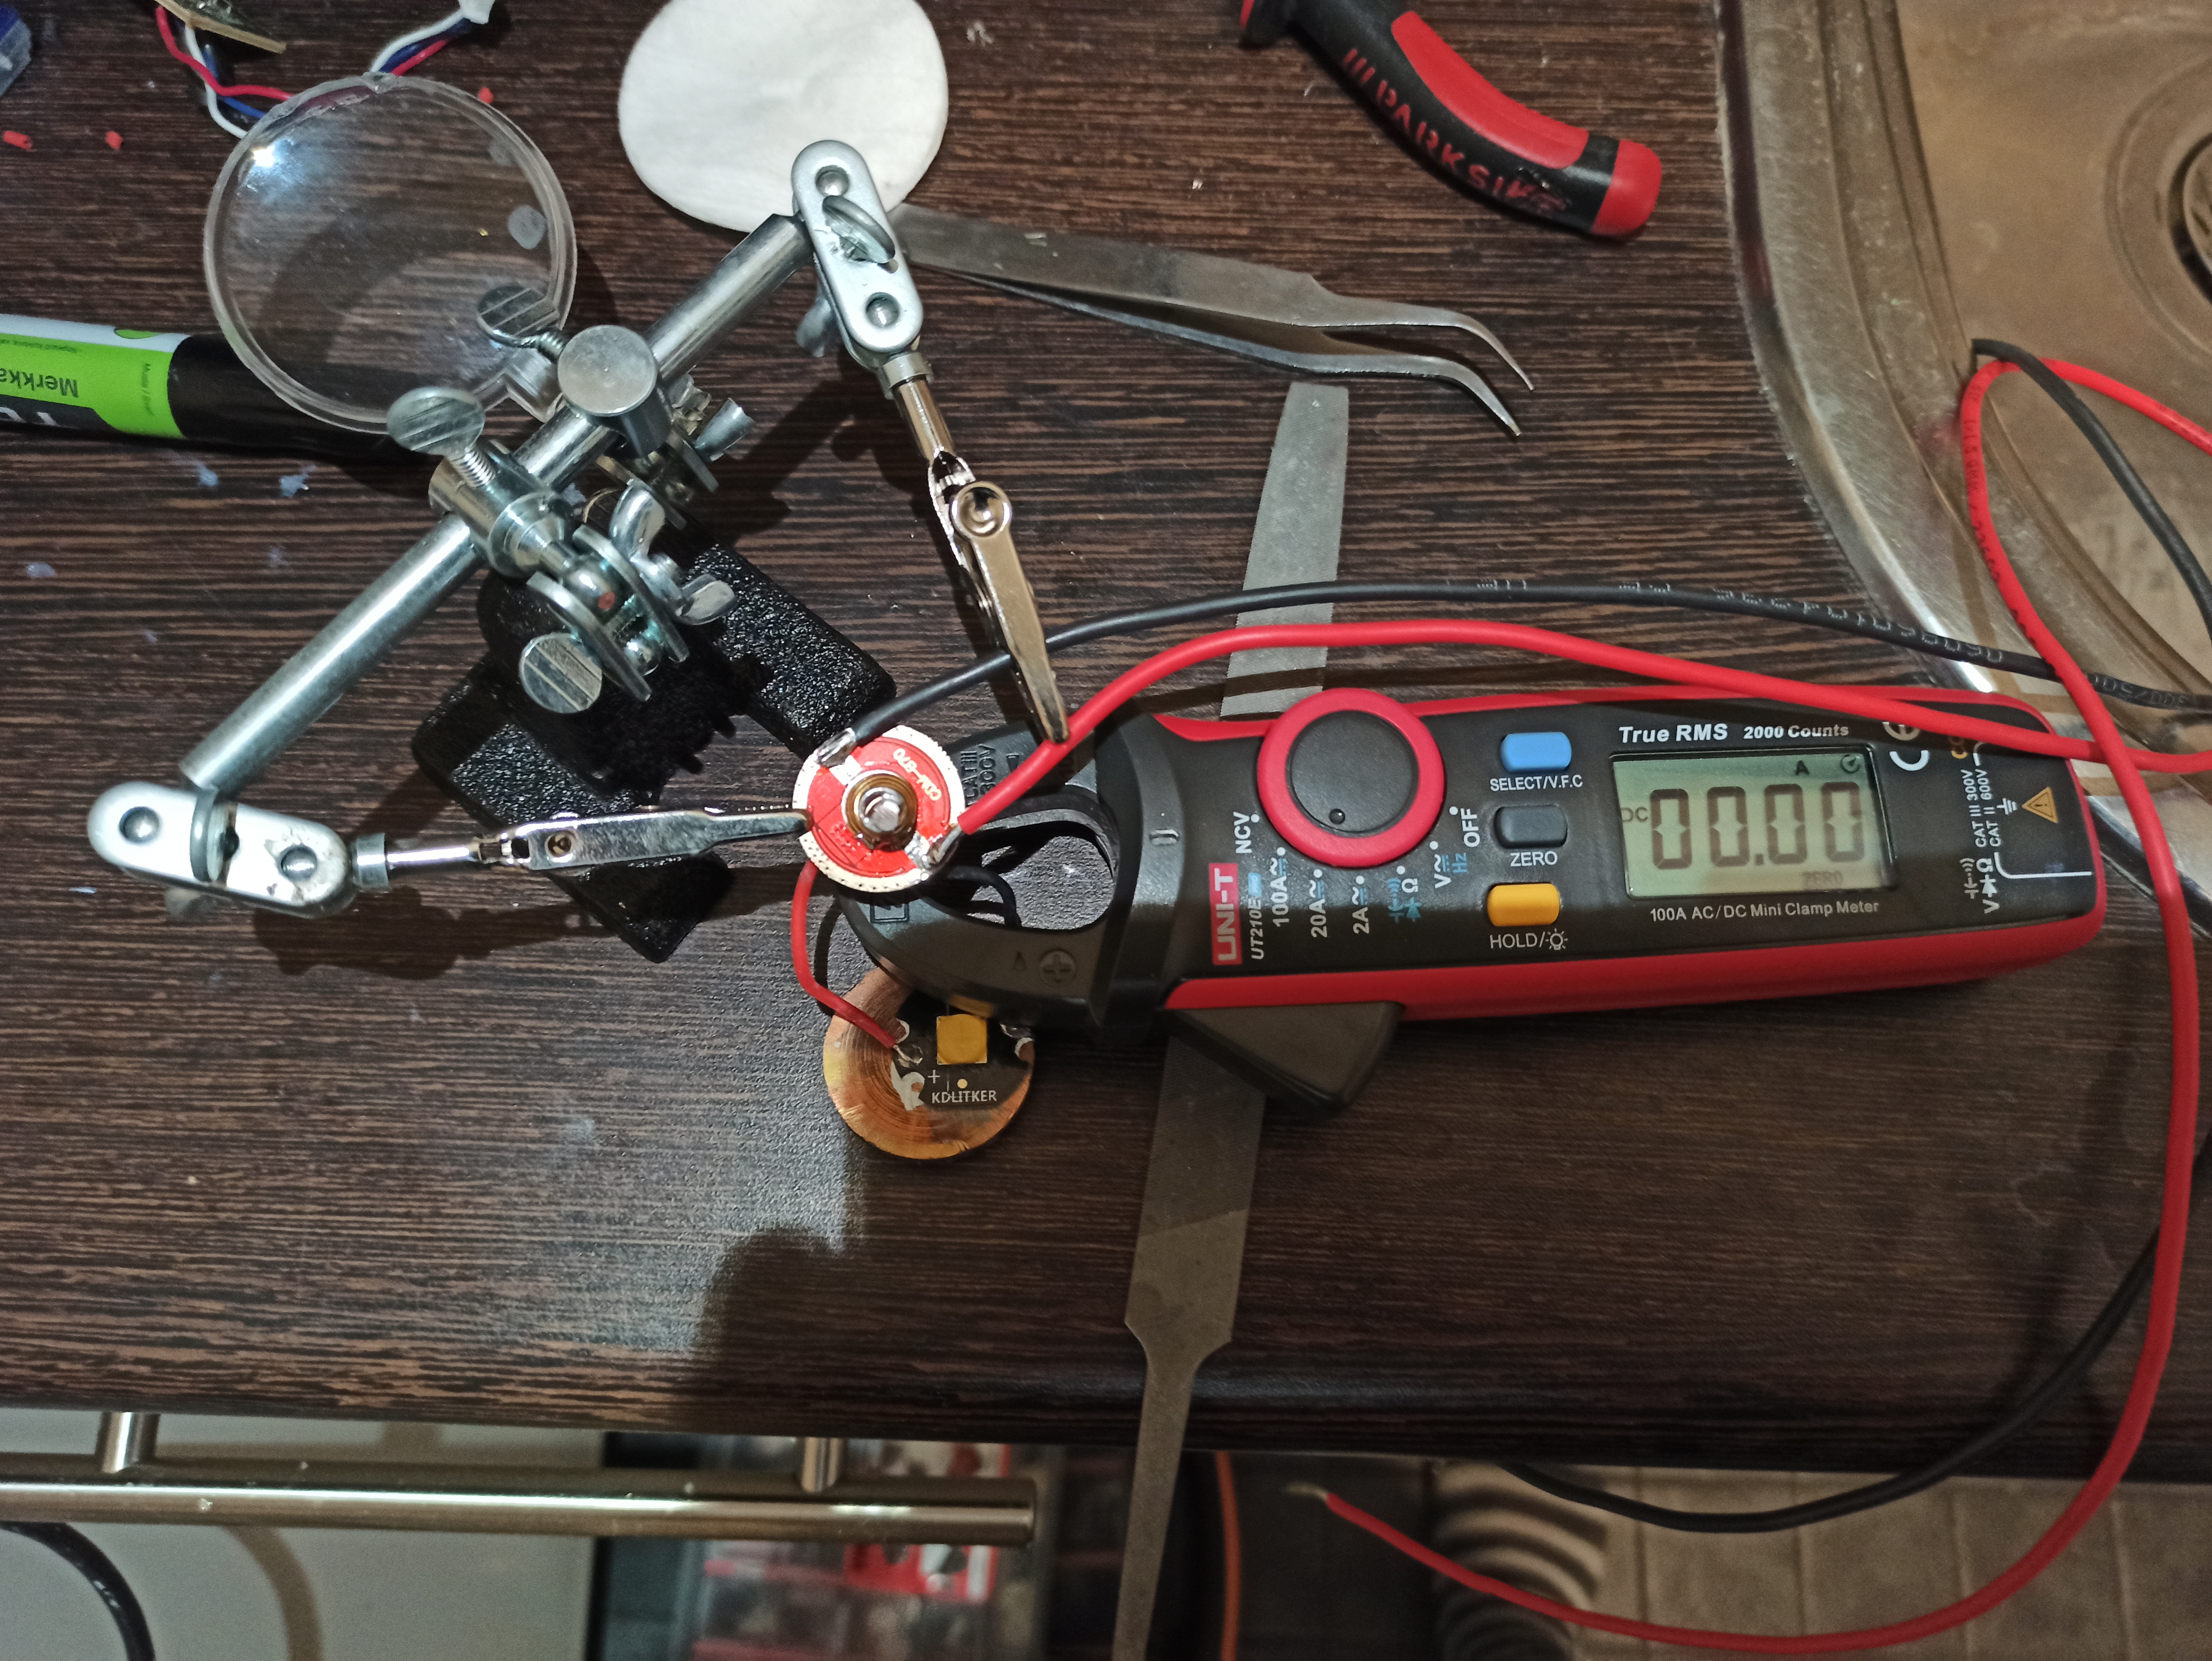
First with stock 10mOhm current sense resistor.
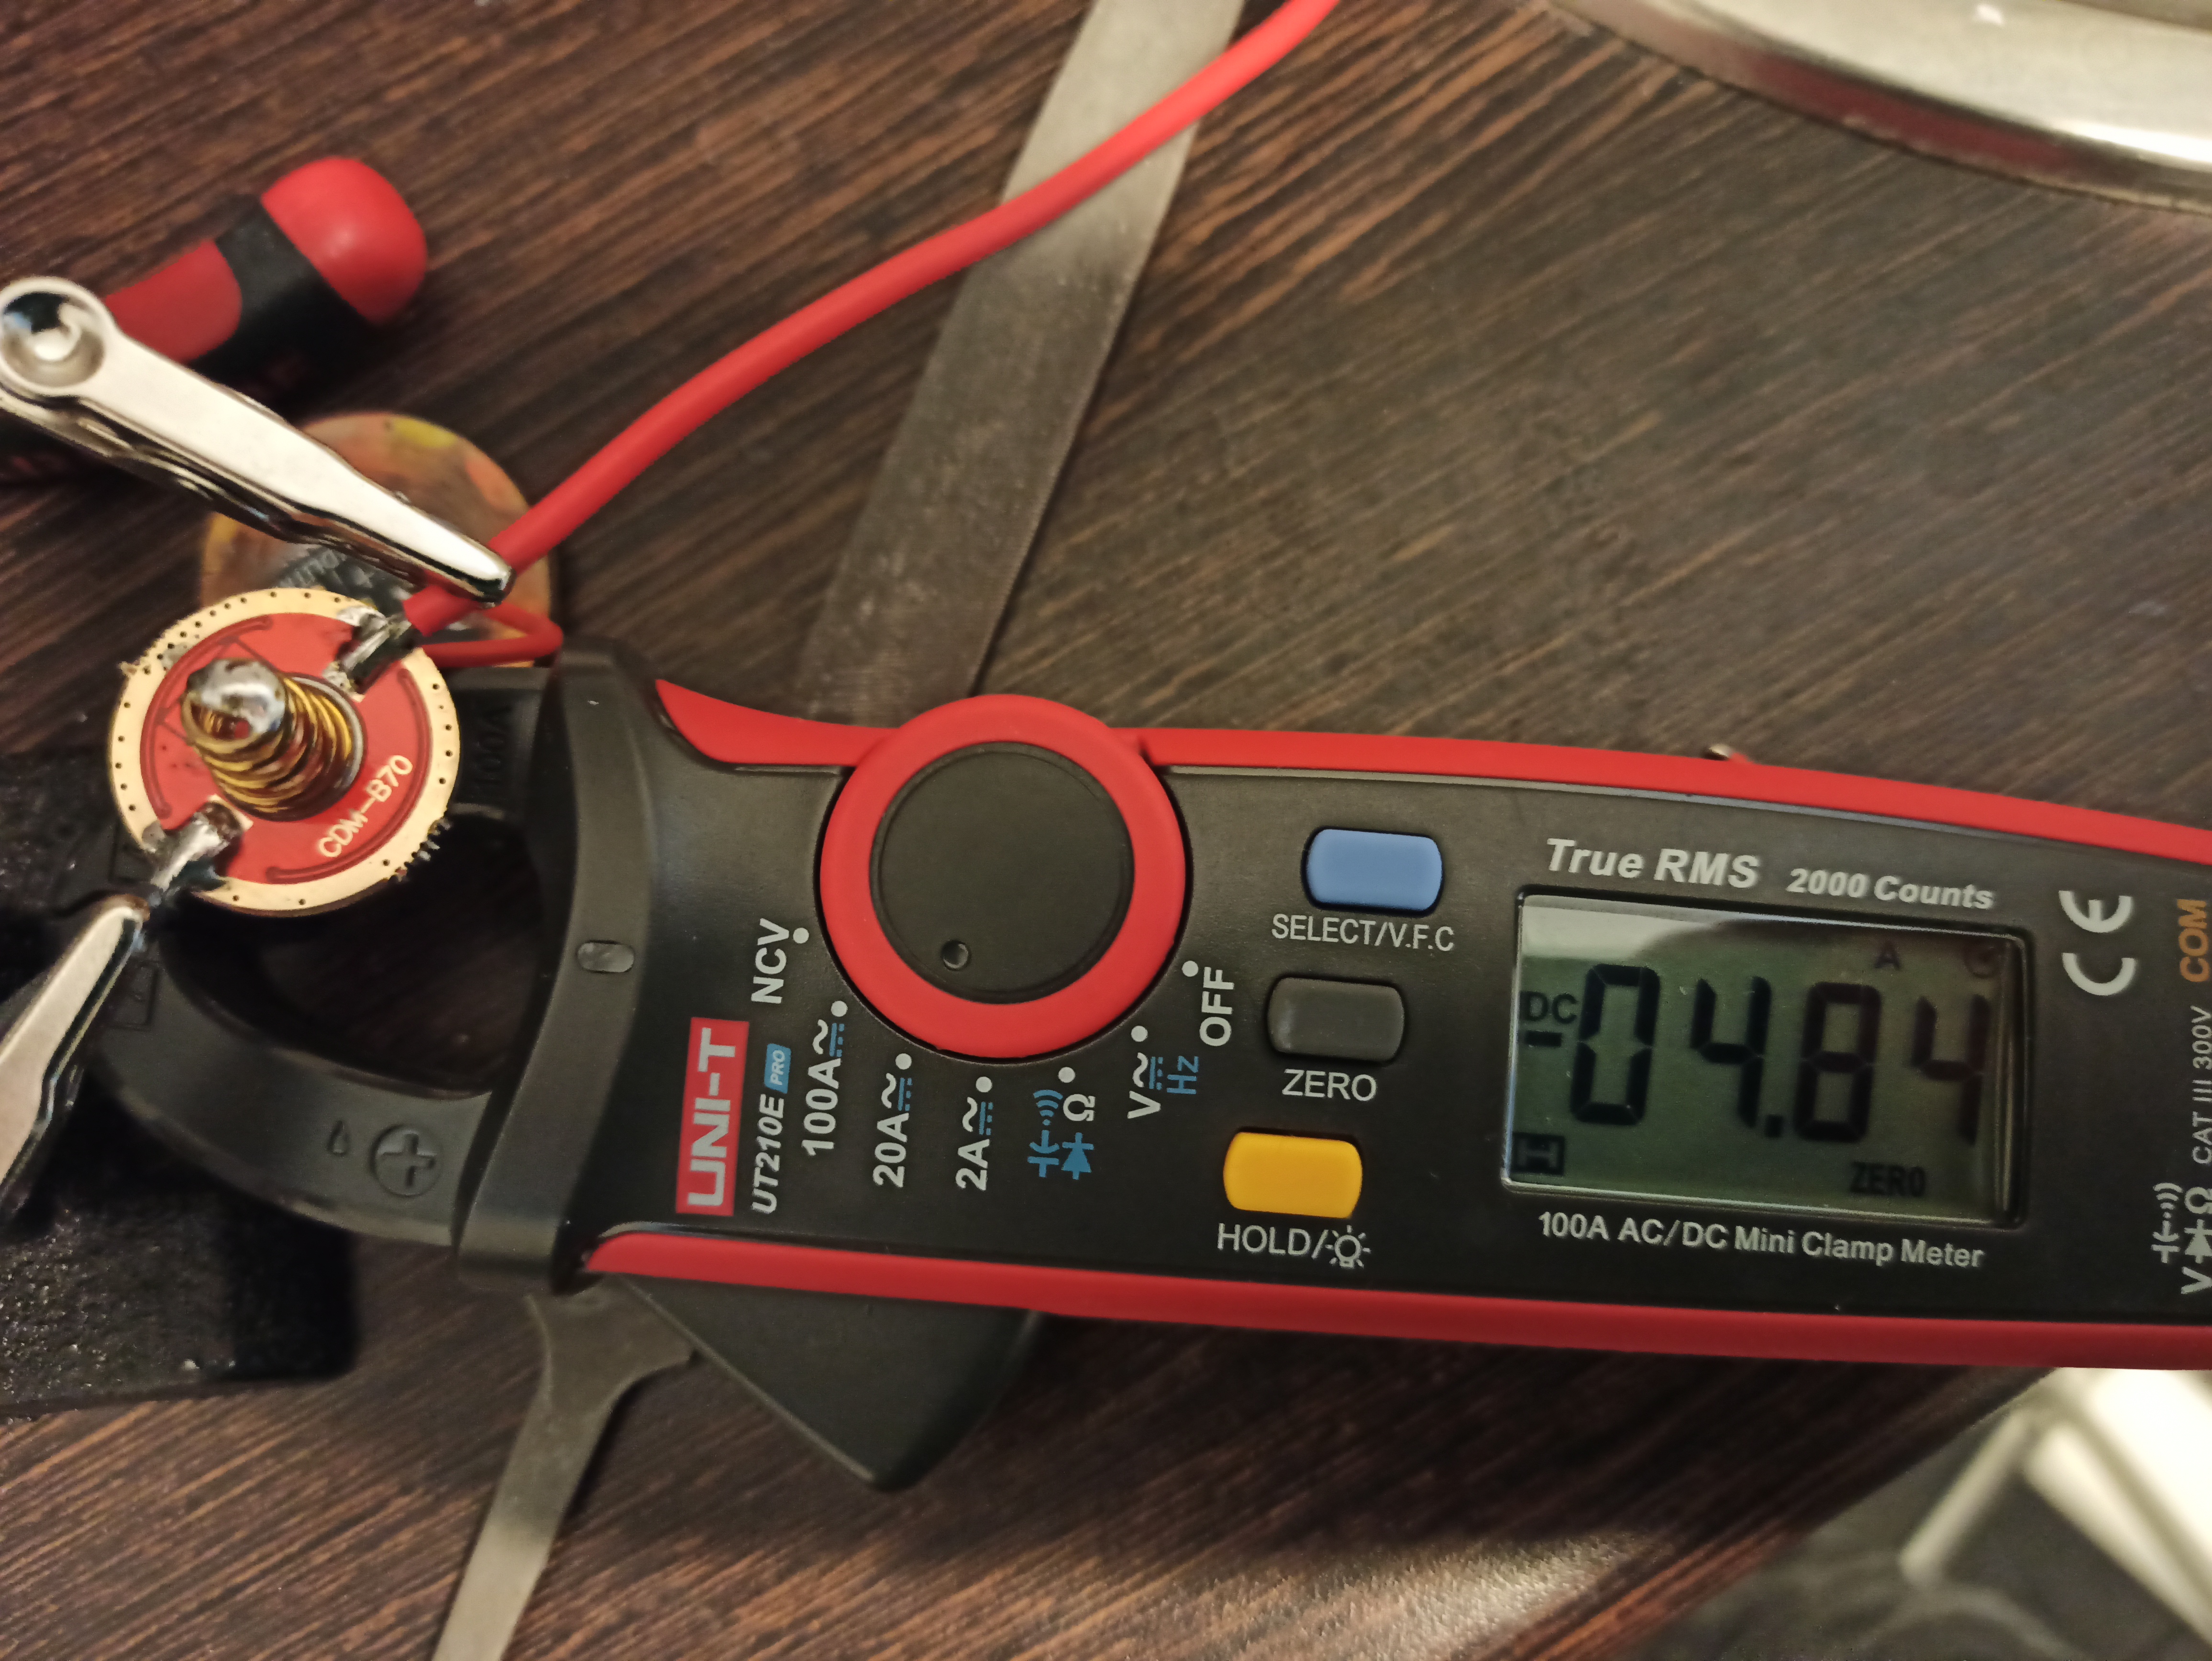
Then with 10 and 20 mOhm parallel
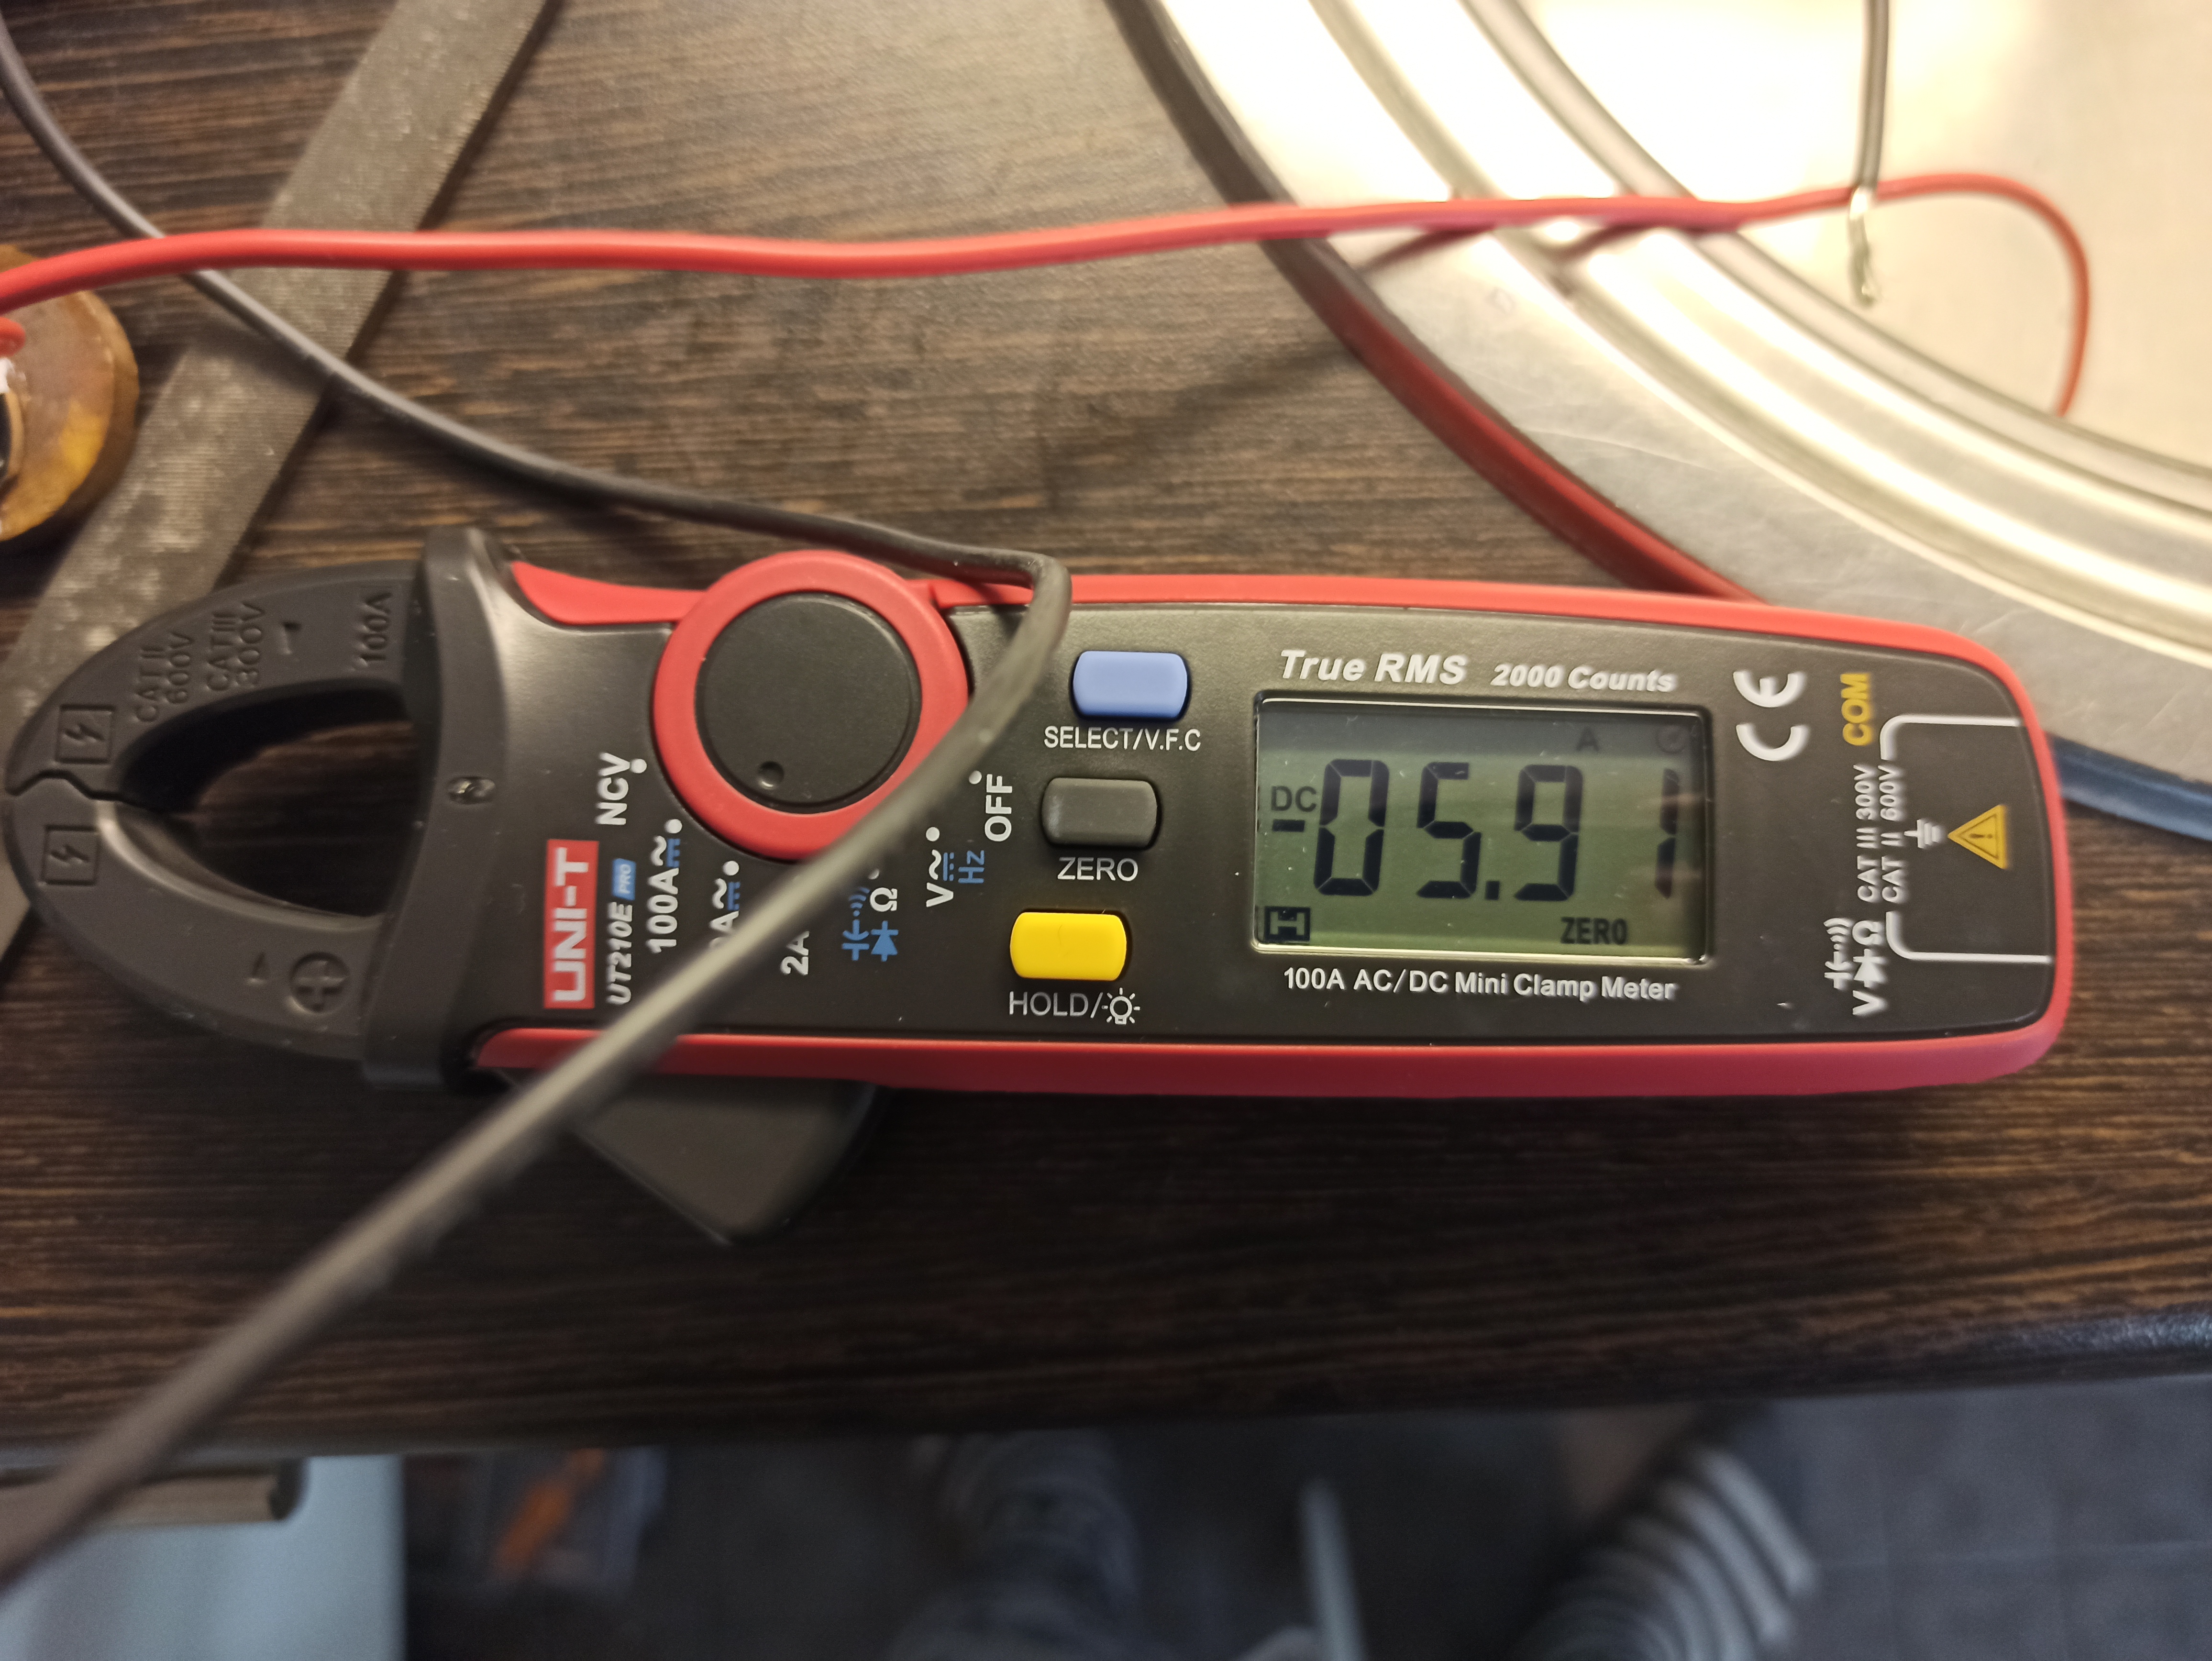
22% increase in output. Also stock driver performs better than Convoy’s one.
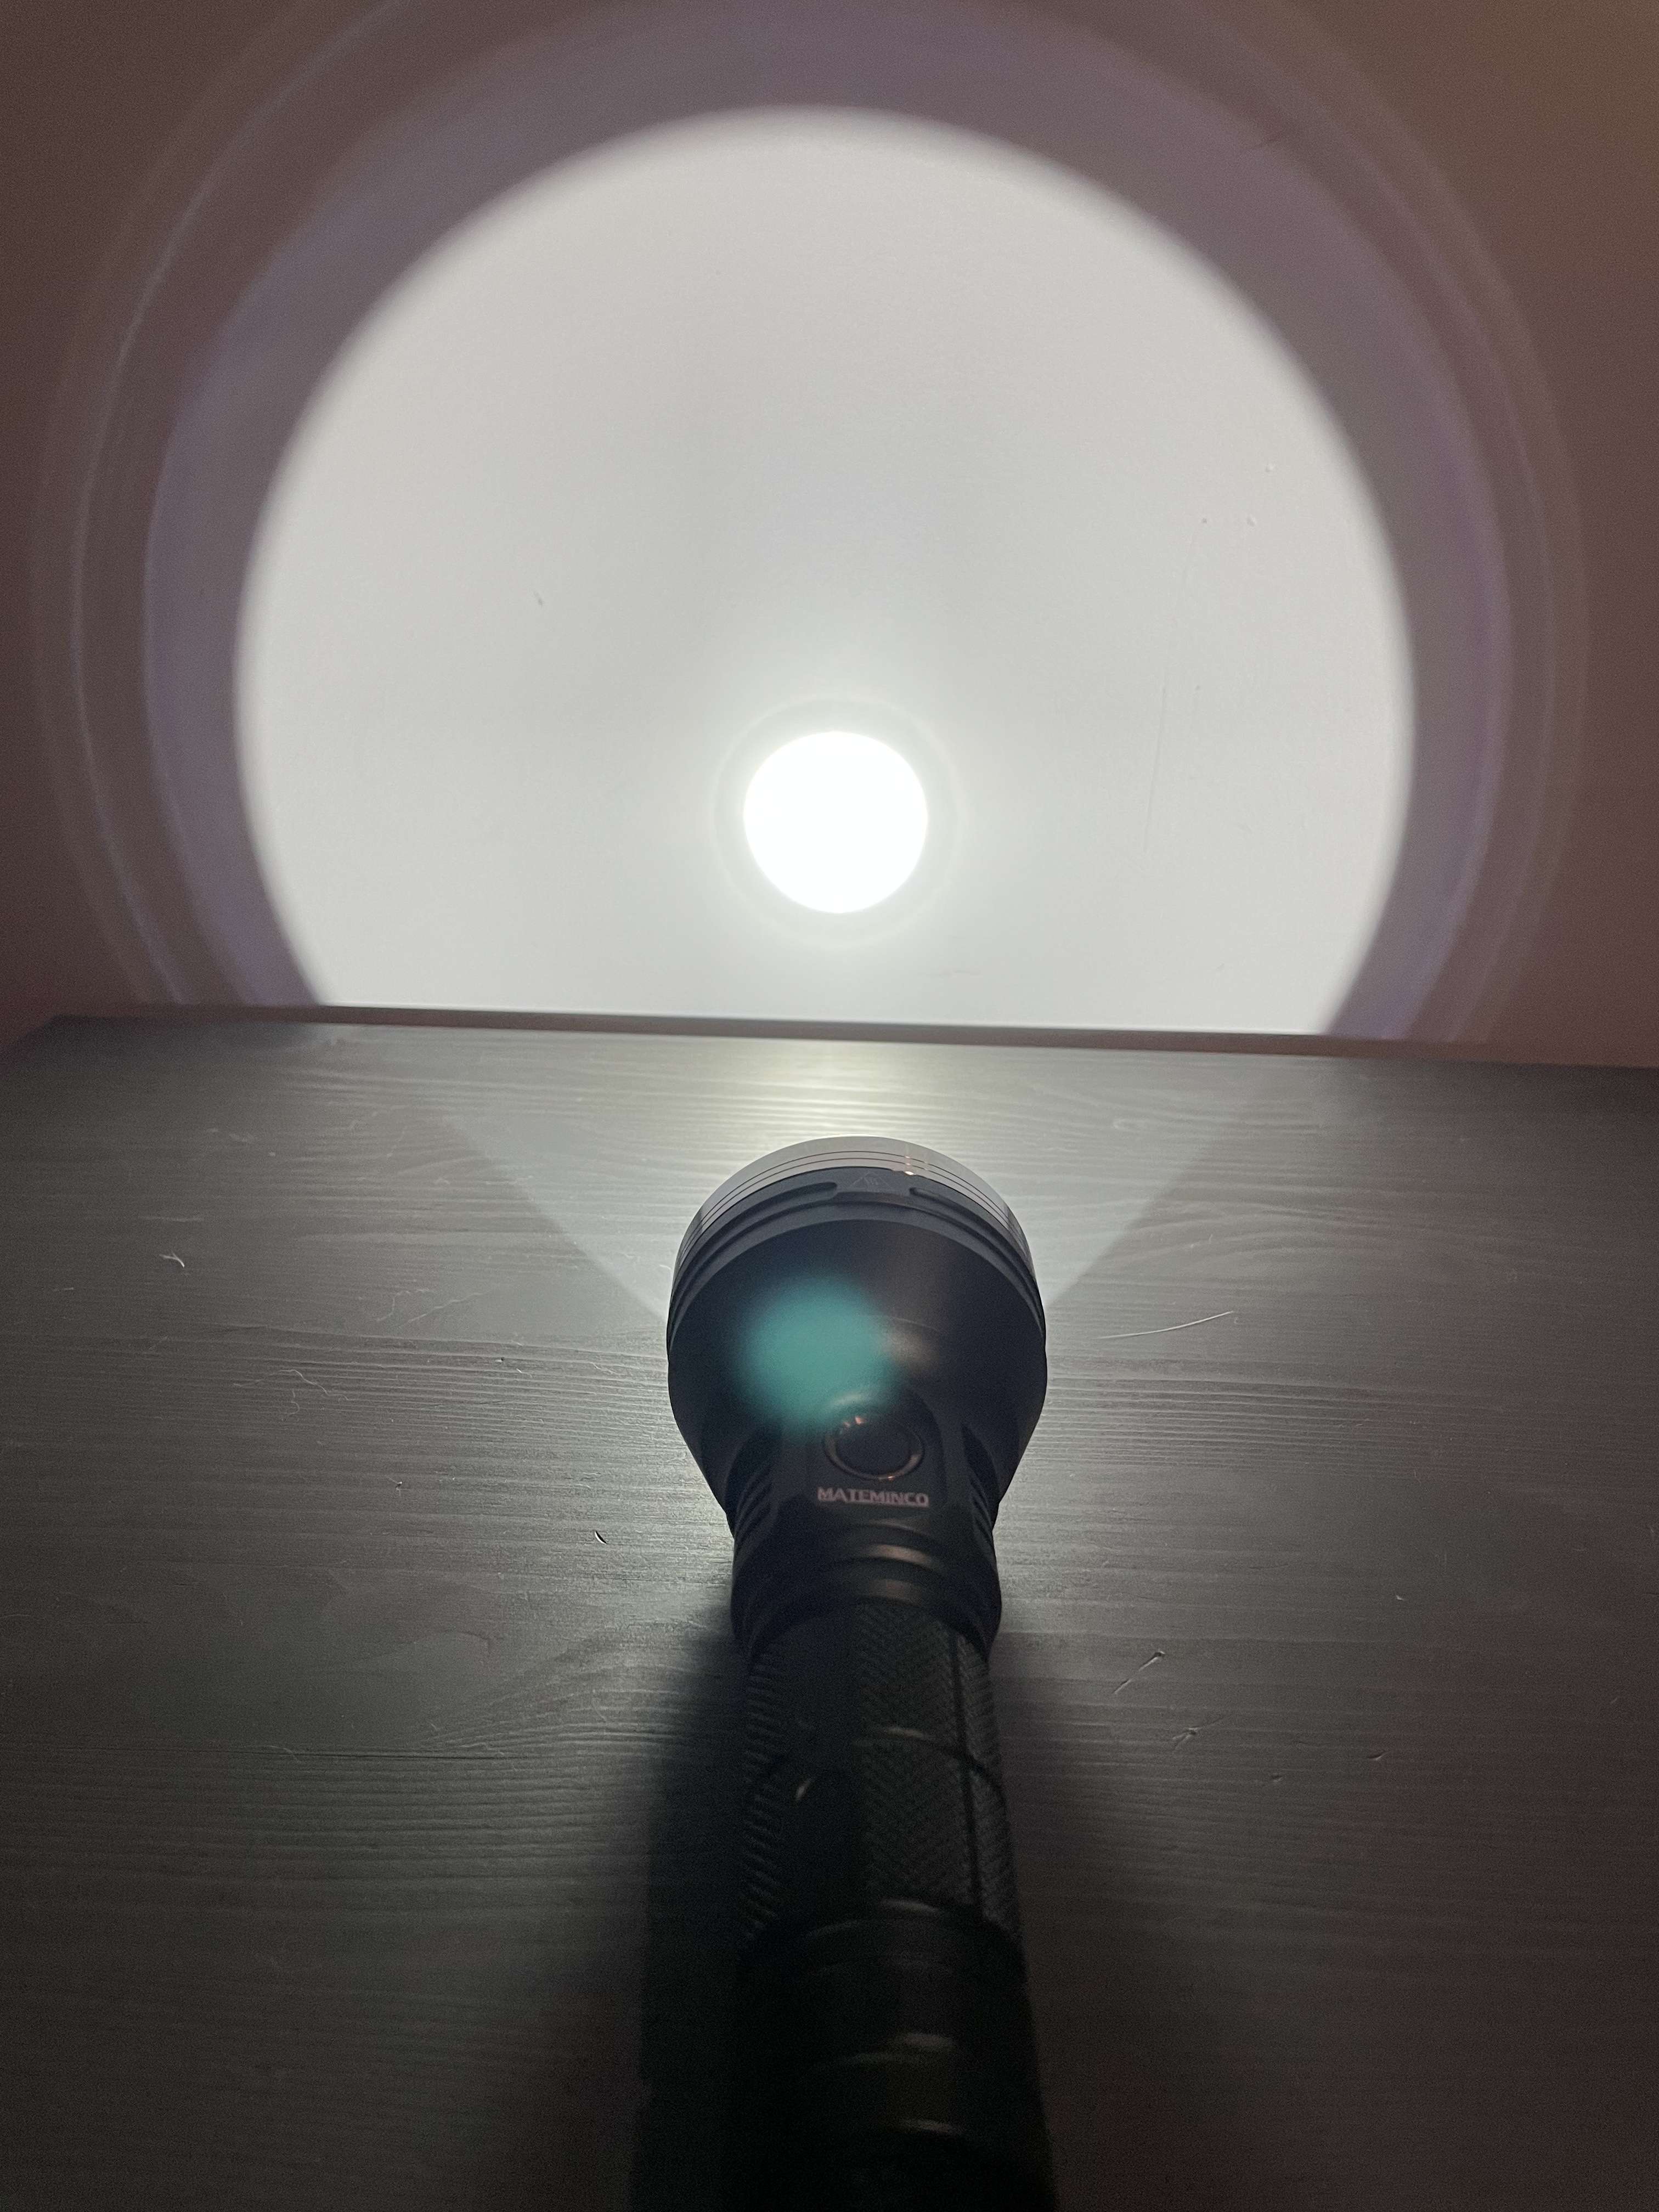
after a month of trying to get a nice center even beam on my FT03 sft40, i did it! its really good!
the TLDR -
I reamed the original large centering ring of the ft03 to just under 9mm, and snapped in the square 4040 centering ring simon sells ( i had extra) and what he uses in the L21a sft40. Now, its really good!
A good day of mods! See the link, here's the run down:
Left to right:
Gt Micro- Installed cslpm1, brighter and centered
Sofirn sc31T- installed CULPM1- much better
Reylight Pineapple- installed sw30, so much better
FT03- finally perfectly centered the sft40, took a month of tinkering, ended up being easy
Ft03- sfn55.2 - swapped in the smooth reflector, rhe throw is massively better! Will test it
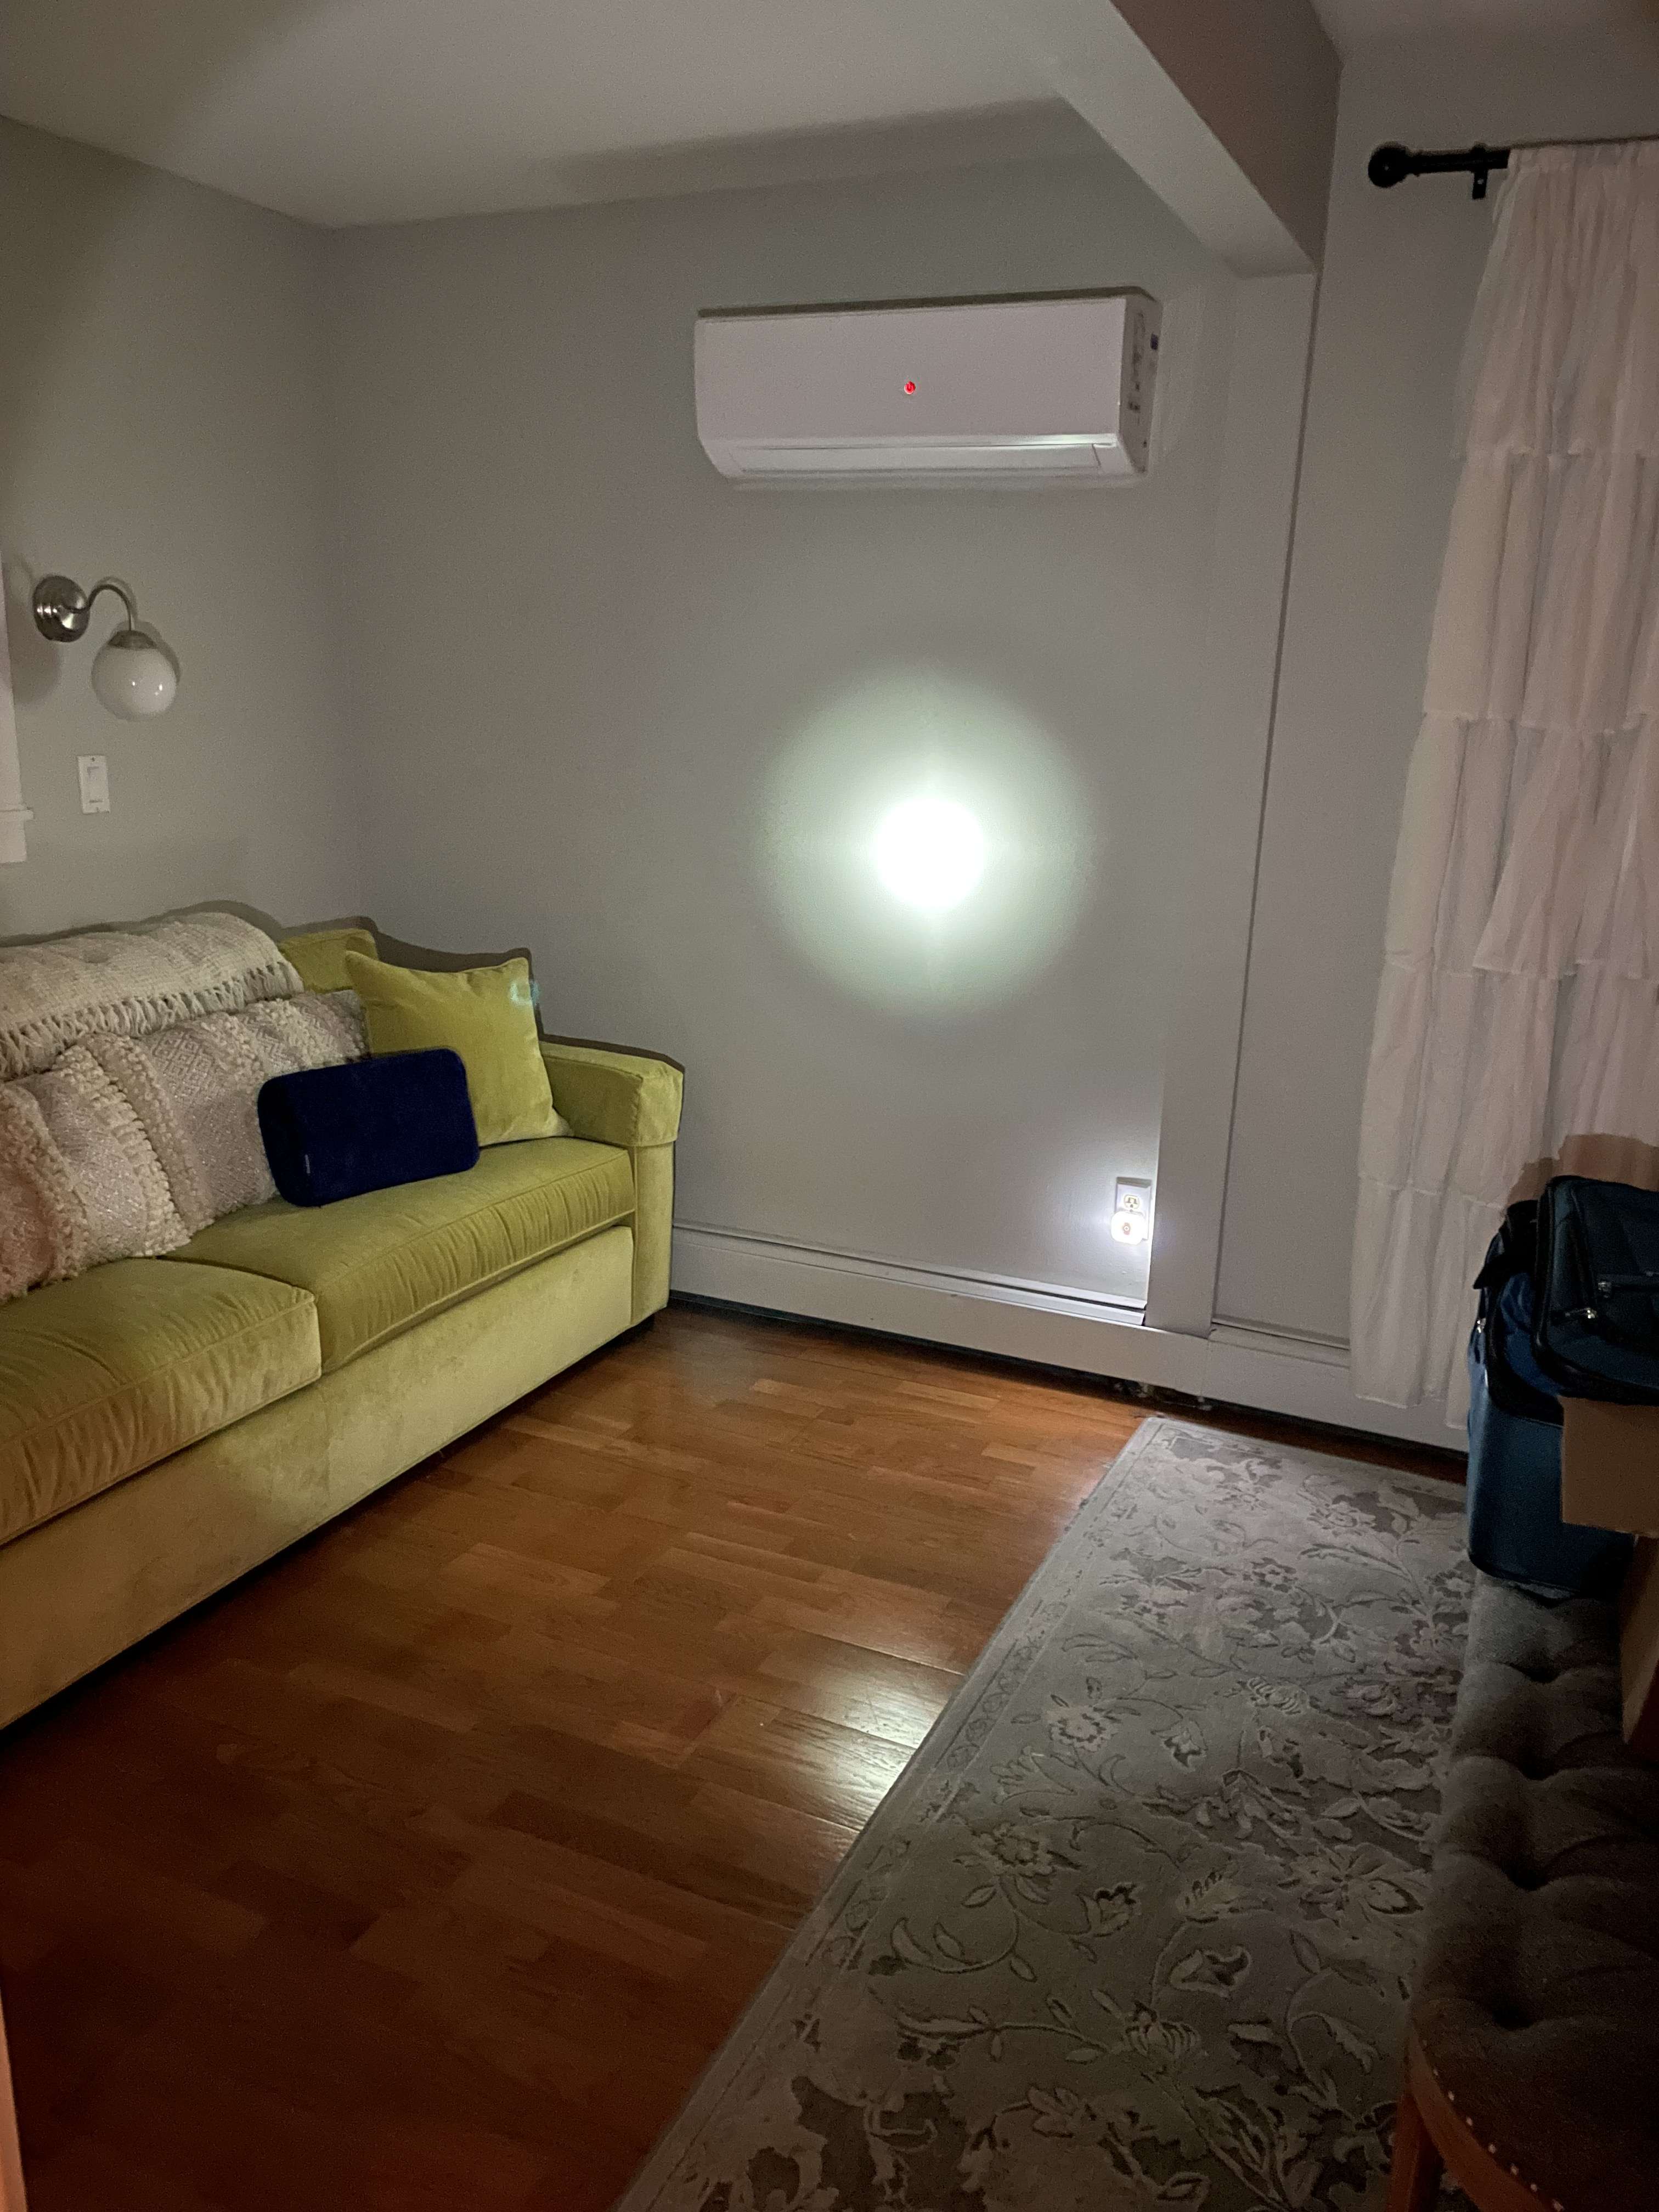
I mod this one month ago with SFT like you. Try one week ago in the night and in this moment for me is the best thrower for Best Money/Meter/Beautiful/NO parasitic drain torch
I am so happy
Do you have a link to this metal switch mod ? I’d really like to see how you did it.
honestly, me too! Now that I have the beam centered and dialed in this is probably my favorite thrower. For size, ease-of-use, throw, and heat management plus battery life, I don't think this can be beat. price to, because I want to put one in a K-1 but that is twice as much money. I'll be interested to see if Astrolux has the beam centered well or if they use that stock centering ring which will not work properly
Here you go:
1. My first Emisar D4 lighted metal switch mod
2. Updated Emisar lighted metal switch with better lighting
Here’s a post that provides extra detail on how to make the metal button. This one is not lighted, but the process is the same. For the lighted version use a slightly smaller button so the silicone has a gap at the edge. And it is necessary to add a raised switchboot retaining ring since the stock ring is too flat:
3. Metal switch mod with no light, but more detailed instructions
Note that if you have the raised-ring Emisar D4v2 you may be out of luck. You can shave the boot down and glue a metal disk on top as-is, but at least on mine, I found that retaining ring impossible to remove.
Thanks for the links Firelight2 ![]()
I am not clear about the firmware of this driver. There are two, one cannot be turned off from the rear switch and the other cannot be turned on from the rear switch? isn’t there one that can be turned on and off from the back switch?
https://www.mtnelectronics.com
One basically ignores the rear switch. When the rear switch is on, the light has power. You can turn it off and on, whatever. Turn the rear switch off and power is physically disconnected. Light goes off no matter what.
The “turbo on” option just tells the driver “when you receive power the first time, go straight to turbo”. Then you can turn the light “off” with the e-switch and use it like normal. But if you turn the tail off, the light is still off no matter what else is going on, because it still disrupts power physically.
good explanation thank you very much, I think I would choose the “turbo-on”
the standard firmware is like that of fx30 convoy? if you turn off and on again the rear switch turns on in the last mode where did you leave it?
Both get turned off from the rear switch - turning off the rear switch cuts power completely off, so no power to the driver, no power to the LED.
The only difference between the two options is how the light behaves in turning it on from the rear switch - as he says:
- Standard. In this revision, when the light is powered on by clicking the rear tailcap switch, the light defaults to the "off" position. The tailcap simply serves as a power lockout.
- Turbo-On. In this revision, when the light is powered on by clicking the rear tailcap switch, the light defaults to the "TURBO" or highest mode level. The front momentary switch must be pressed to ramp down or turn off the light.
understood, thank you very much! yes I will definitely ask for “turbo-on”
I was having problems with my quad E17A S8 with a Convoy SST40 driver. Every once and awhile the driver would reset to mode group 1 and memory mode.
I was thinking the driver was the issue and was planning on replacing it, though not looking forward to taking the head apart. Then I thought to swap the tail out with a non-lighted switch and sure enough that resolved the issue.
The driver says it works with lighted switches and all my others (10 in total) work perfectly fine with them. But it appears that since this was a green lighted switch, the 0.03 mA current was too low.
So I dropped the resistors a level which raised the current to 0.10 mA. And to reduce the brightness, I put some blue permanent marker on the 0805 SMD LEDs. It worked!
Swapped 219B sw30 into my 2019 RRT-01. Super easy swap, and I already had a good Kaidomain reflector and gasket prepared in advance thanks to some helpful threads around here. No pictures; the head came right open since I’d defeated the thread locker in a previous swap. I ordered some 12mm MCPCBs at some point (they came with XP-G2s installed on them) for both of these mods. The reflows were routine.
My VR 10 Ti+ was more challenging. To begin with, it required significantly more disassembly - not just the bezel, but the next piece down had to come off. I referenced this thread (from the other forum) for disassembly. I was worried about the reflector. The Kaidomain model for the RRT01 does not fit. There’s possibly an alternate but it would require heavy physical modification to even try it, and I don’t have it on hand. However, I test-fit the reflector and the focus looks okay - that is, I don’t think it can be worse than the stock focus with the XM-L2 (horrible, ringy beam, and like 6000K if I had to guess). I had to fashion a centering gasket adapter - I took a simple ring-style gasket and filed the outside slightly and reamed the inside significantly such that it fit inside the bottom end of the existing gasket, and sat around the 219B sw45k. Next was the grease - since I was at the point of disassembly where I could simply lift the control ring off the head, I stripped the existing grease out. The light was beginning to bind if it was left for more than a few days without use - I had to be careful to put it away at a “middle” setting so I could twist the ring without unscrewing the head instead. I replaced it with a thicker synthetic lube which I hope holds up - but if it doesn’t, I’ll order some of that Nyogel that JonSlider seems to like so much. The beam looked good in the reflector when I was done - for about 5 seconds before I let the smoke out . So I guess that’s my next pressing project… driver repair. Worst case I’ll have to scrounge up a used aluminum model (V10R or V11R or something) for a donor driver.