Much better than my setup. Whenever I want to do a reflow I stick a wooden clothespin in my adjustible mini-vise. I use the clothespin to hold the side of the star.
I use my left hand to hold the heat gun from my reflow station underneath the star blowing upward. I use tweezers in my right hand to manipulate the LEDs.
My setup may not be professional, but it is fast. I can heat up and reflow stars in 30 seconds to 1 minute with no need to preheat anything.
I’ve seen it done with candles or BIC lighters. I’ve done it like you once but I use my hotplate every time now. It’s just too easy. If I can come up with a way to do something with the hotplate instead of hot air or iron I’ll always choose that method.
Looks great! If I made such a homegrown solution I’d probably ruin the beautiful simplicity by trying to add a thermostat or at least a temperature readout.
Before I had my block I did reflows with a small blowtorch under the board, worked like a charm, but using the heat block it feels good that the led never exceeds specified reflow temperatures. And having two hands free during reflows is always handy.
I have all the stuff in house to make a version with thermostat and tempeature read-out, but I just can’t be bothered building it. If I need to reflow a led, I go for 2.8A, if I need a bit hotter (for led testing I place the ledboard on a small aluminium plate and put them together on the hotplate so that the temperature rise is more gradual, more according to the reflow specs. This requires a bit hotter heat block) I go for 3A. I monitor with the infrared thermometer.
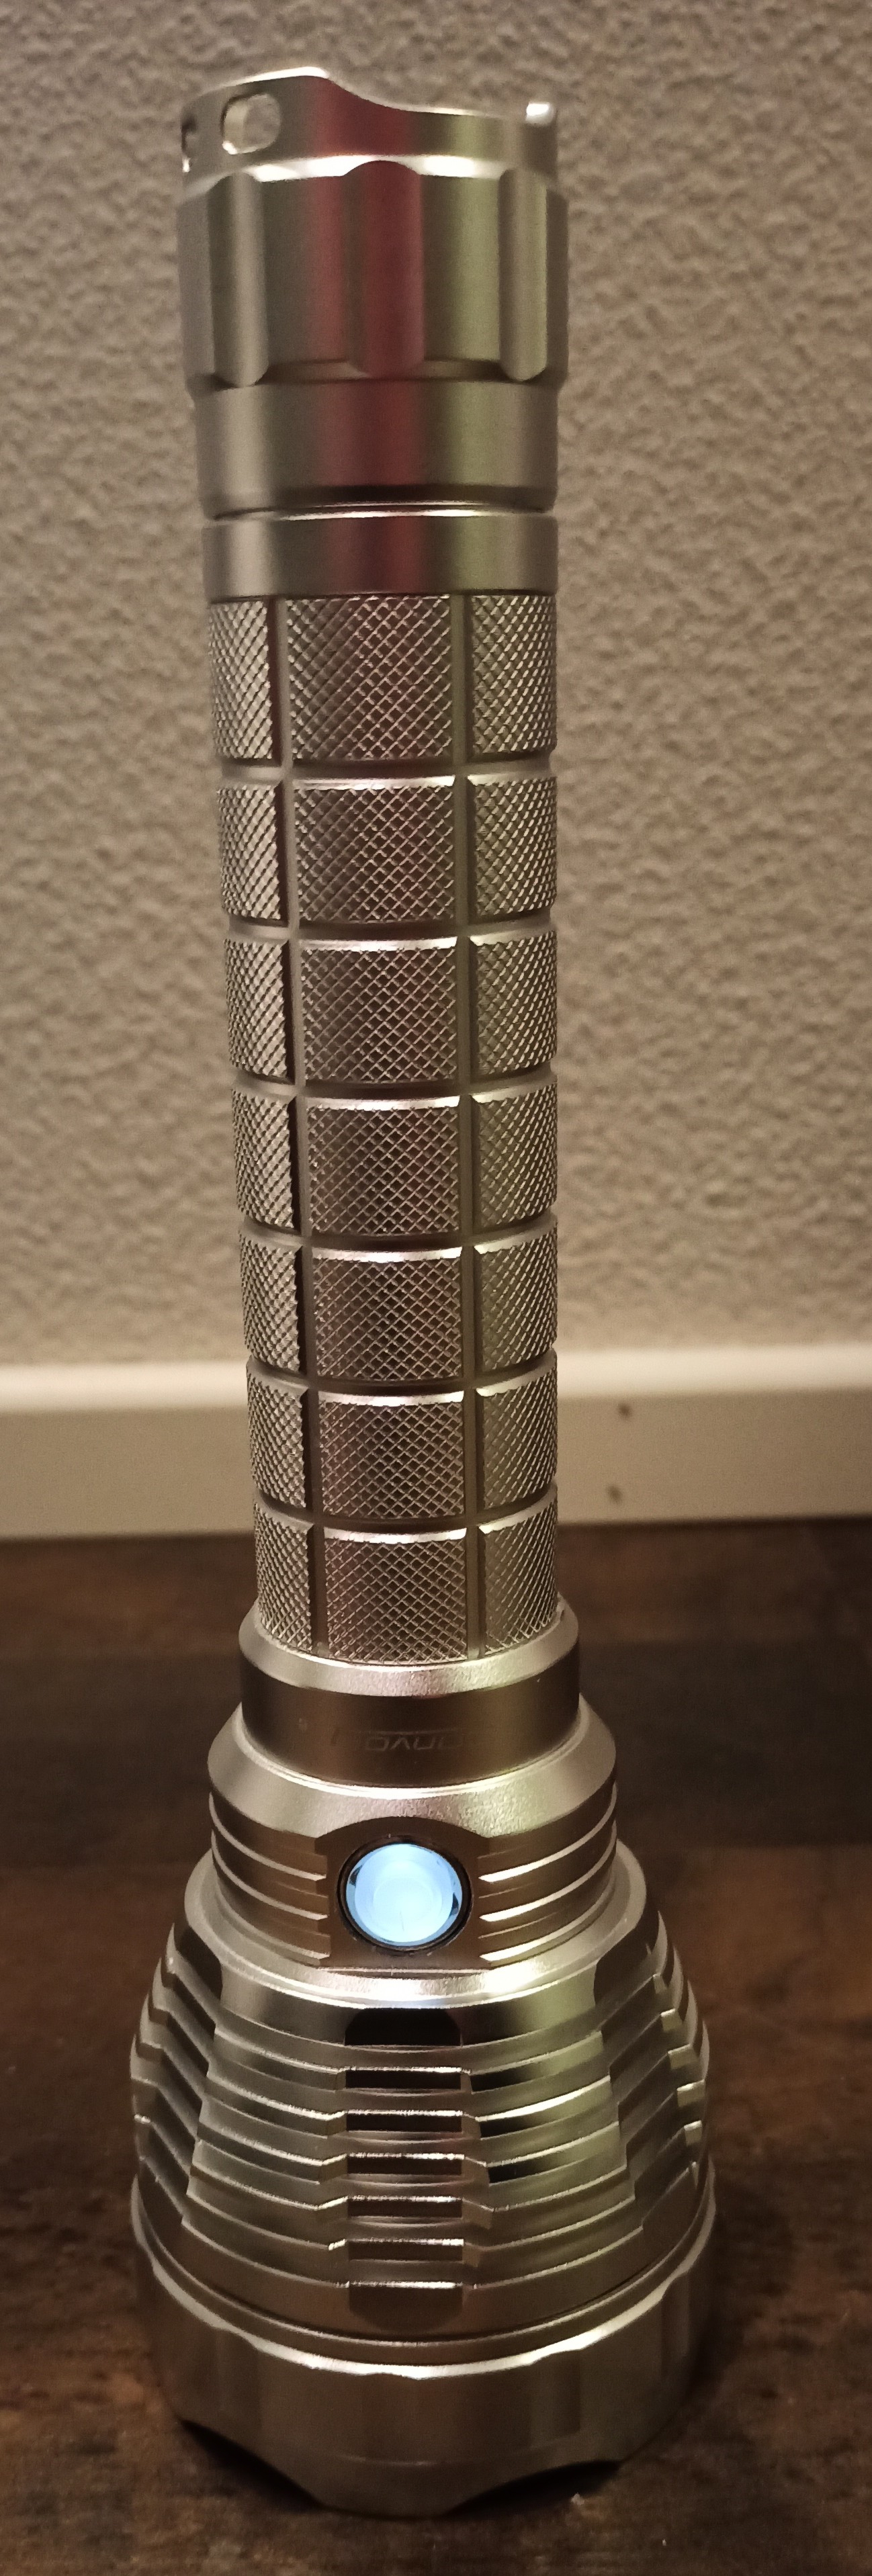
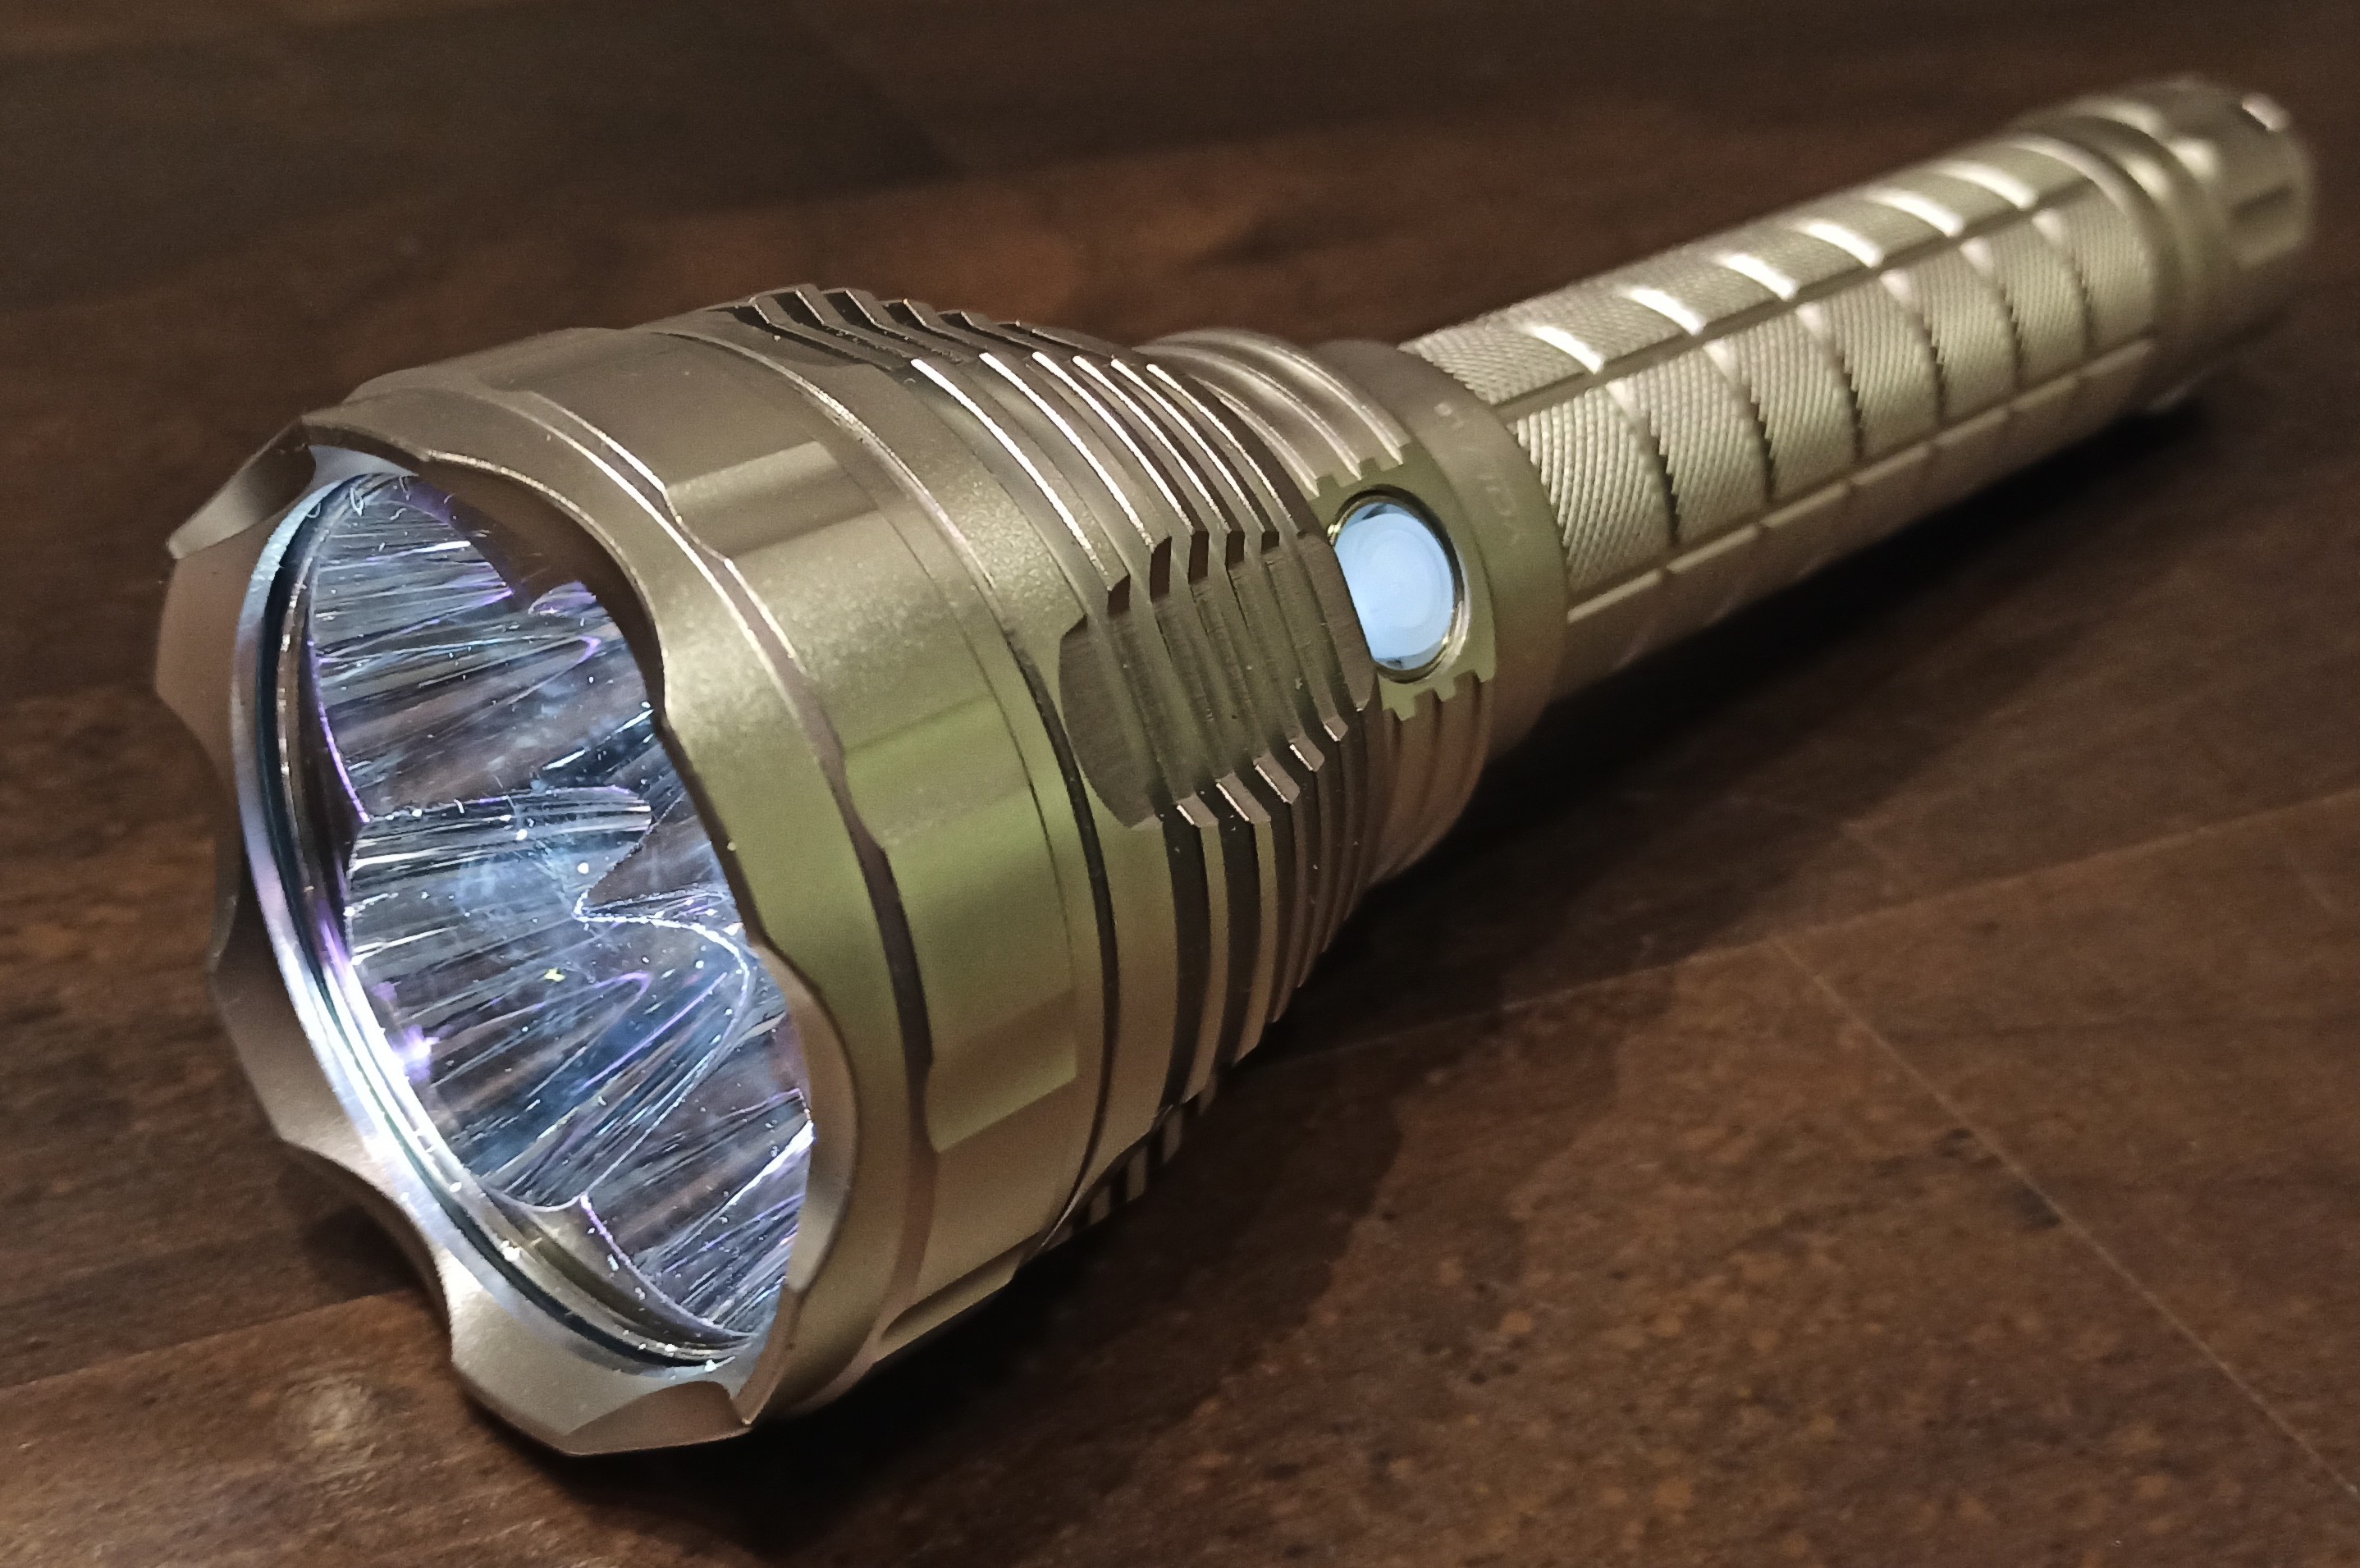
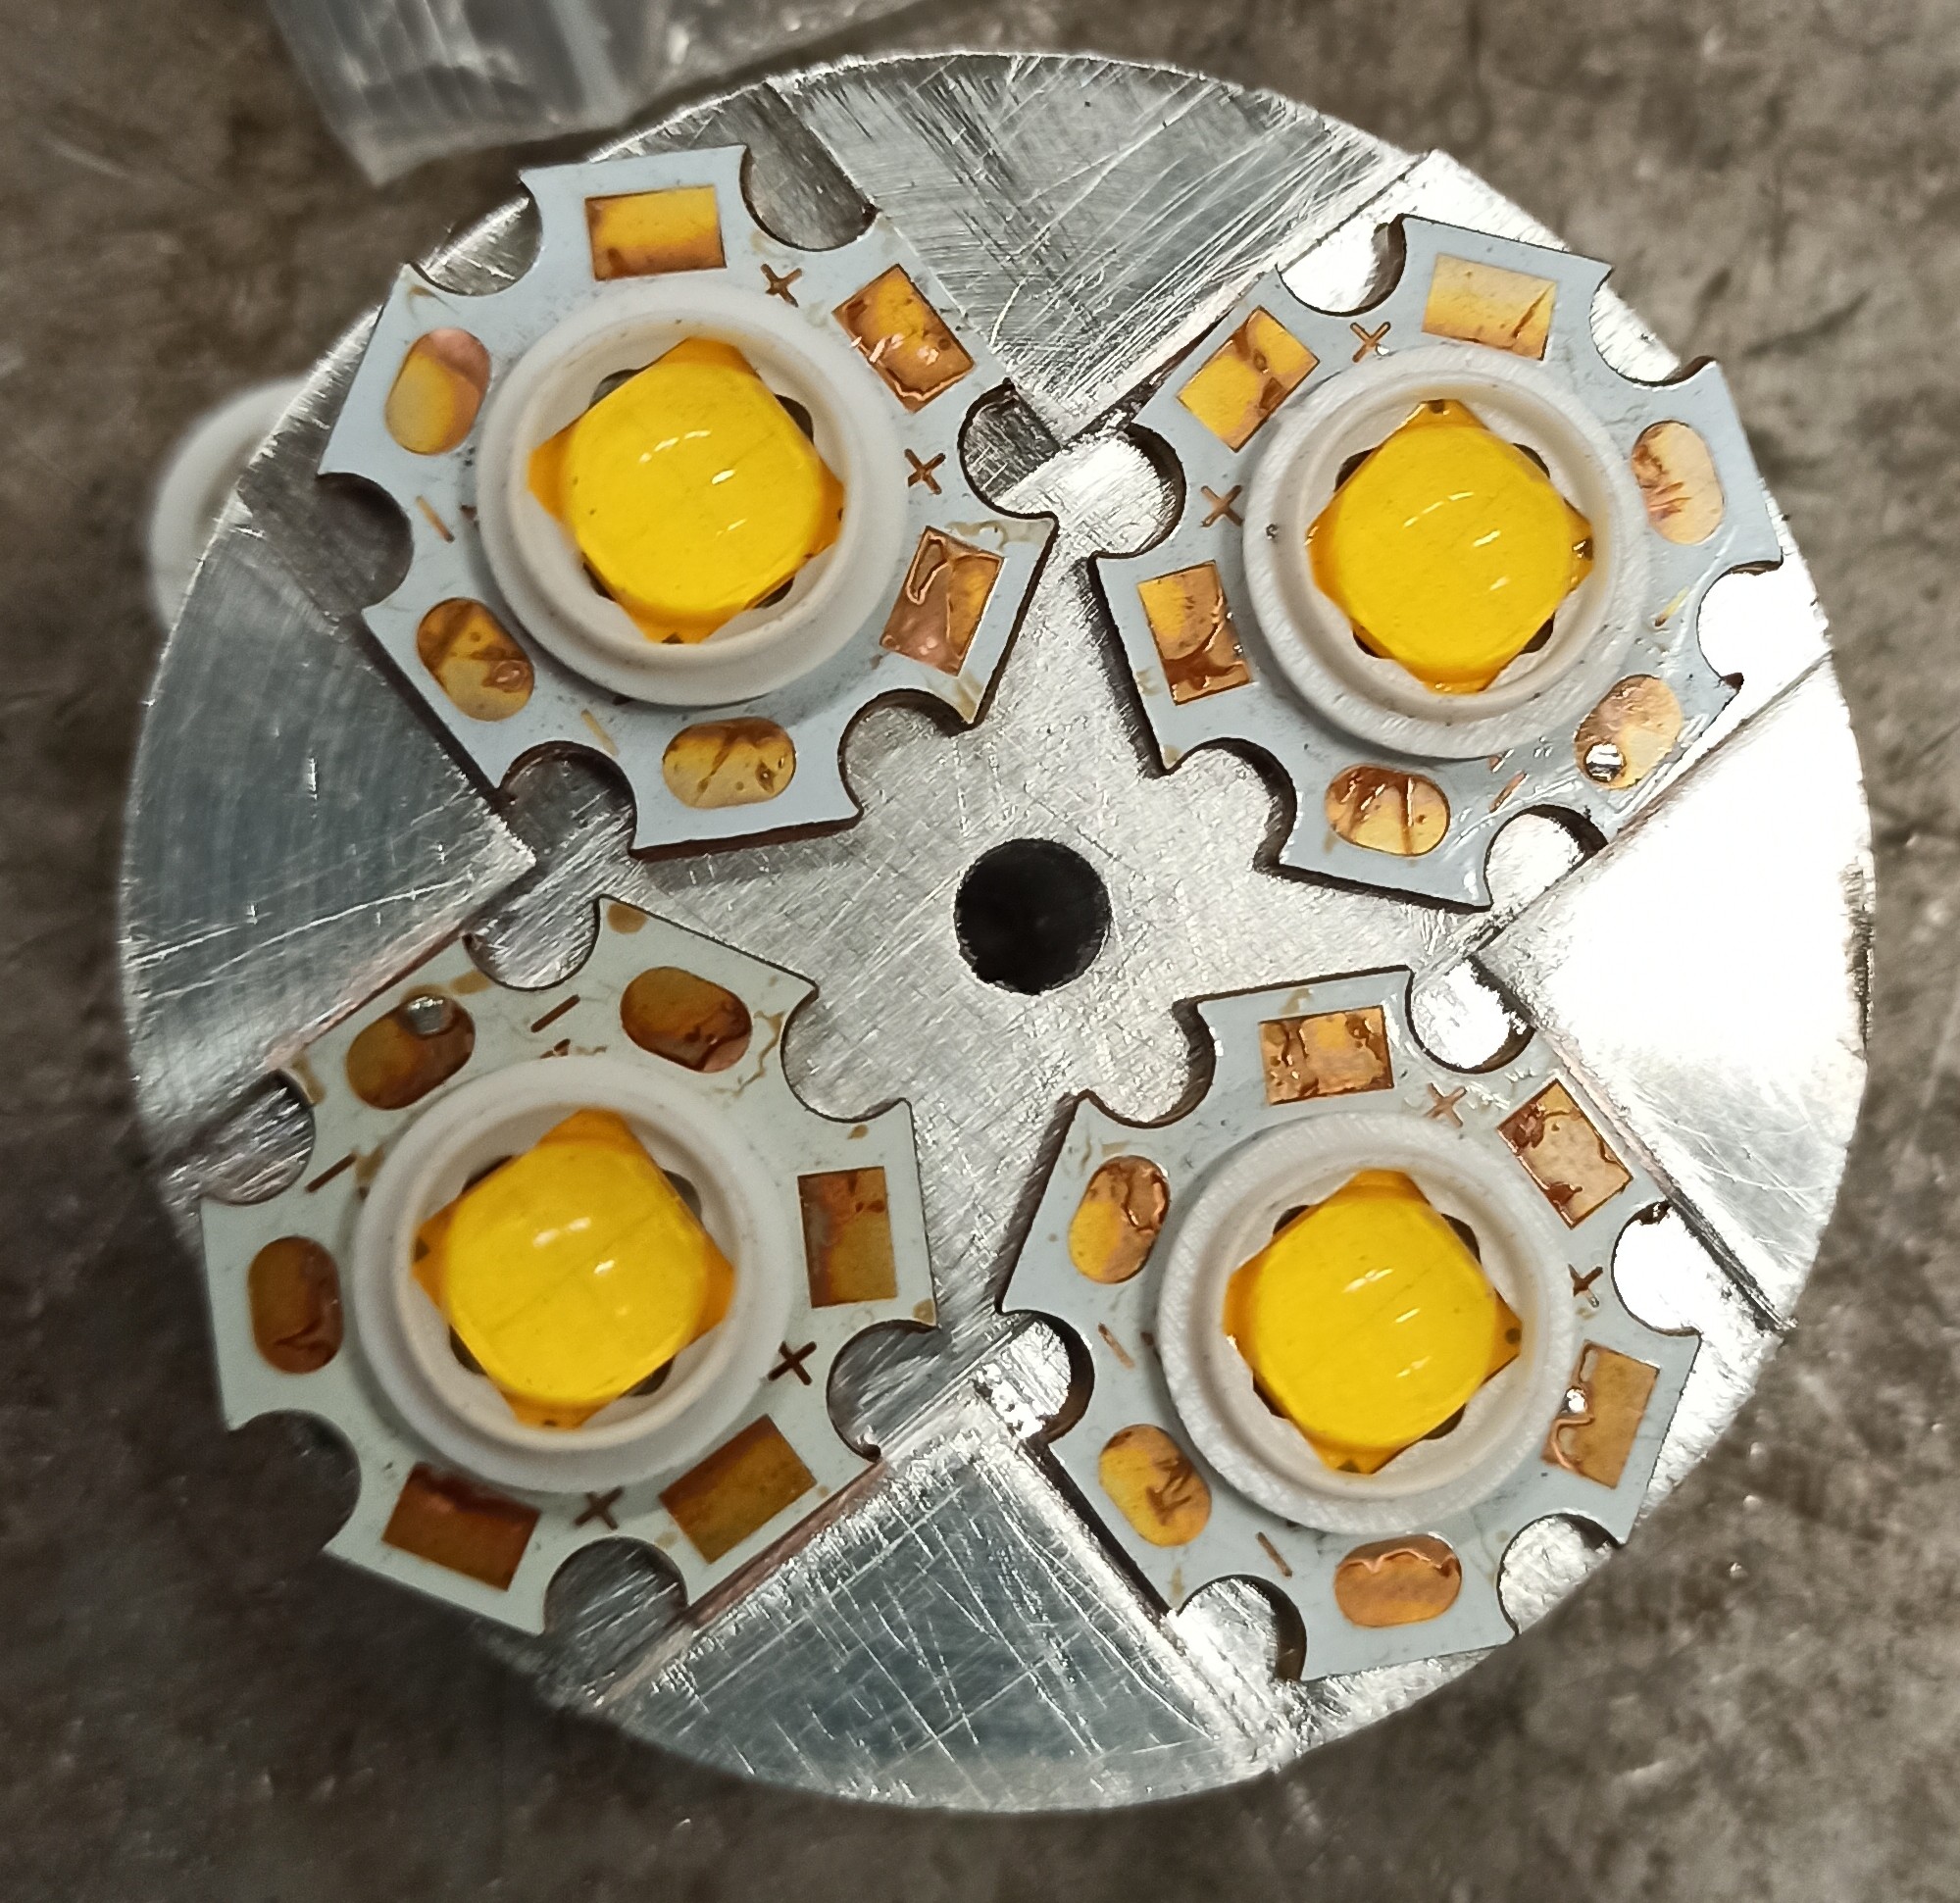
I built Convoy L6 quad with 4 XHP70.2’s and fet driver. Reflector and leds are from Kaidomain. Driver nd switch from MTN Electronics. I made aluminium spacer for 4 20mm mcpcb’s. It took lot’s of measuring and patience to get everything to fit together. Finally it’s done to be never used.
Here is the reflector if some else wants to build similar. Spacer is from 50mm round stock. I machined grooves for pcb’s for easier assembly and made the spacer so that it gradually narrows towards the original shelf. I also bolted the spacer to reflector with leds in between, so that I could drop the whole package in. Cable management was the most difficult part of this project.
Last night I successfully swapped a 219b SW45k into my Sunwayman V10R. I like it better than the cool white XP-L HI that was in there, and is still plenty bright. The low now goes down so far, I have to look at the LED to tell that it’s on.
Today, I swapped emitters in the Drop Blue Titanium AAA I received a couple days ago in the mail, which unfortunately wasn’t the 219C version. The XP-G3 it came with was one of the worst tints ever. Now it has a 219C 4000k and is much more useful. Head was glued so heated it up with a torch first and it loosened up.
Thanks, and good catch, lol. It’s actually 4000k, just edited my post. It’s from mtnelectronics.com, I bought several.
I also worked on a few more flashlights today. I swapped in a 219C 4000k into a AAA Coast G22 flashlight, and added a diffuser as the reflector had an ugly beam.
I had a SS SingFire 14500 flashlight laying around, and also put a 219C 4000k into that, along with a 45 degree TIR.
LED swap in a Skilhunt H300. Previous LED was cold white and low CRI. Used an XHP50.3 4000K 90 CRI from Digikey. DUV is a little positive (slightly green) but overall much nicer.
The stainless bezel had little divots, but I couldn’t get it unscrewed using normal tools so I designed and 3D printed a tool to remove it. Worked perfectly!
Gigantic parasitic drain. So much so that I suspect the light was defective. It would actually drain a full 18350 in less than 24 hours while off. This is pretty gamebreaking, because the only way to avoid it is to do a tailcap lockout, which I hate doing.
Charging port hatch cover is poorly designed. It sticks out, is flimsy, and doesn’t lock into place securely. Not a big issue since the cover is optional. The port itself is waterproof according to Eagletac so the cover is just there to keep lint out.
I noticed that current flowed between the positive and negative pads on the bottom of the driver when the head was not connected to power. I got around 400 ohms resistance, which seemed high.
I managed to remove the driver, but in doing so I ripped off the 3 tiny wires for the charging port. Oops! Even worse, they were so tiny that even after spending 15 minutes with a magnifying glass I could only find one of the bondpads that they were attached to. I ended up permanently disabling the charging port by clipping off its wires.
This light was a royal pain to reassemble. I have no idea how they managed to assemble the thing at the factory. The plastic jacket that sits inside the rubber switch presses so firmly against the switch on the driver board, I was barely able to get it in even after filing the corners down.
Without the charging port attached, resistance between the positive and negative pads on the bottom of the driver jumped to 685,000 ohms. Hopefully, this means less parasitic drain. My cheap mini DMM doesn’t measure current so I’ll stick a cell inside tonight and see what the charge looks like tomorrow.
Guess I’ll also epoxy over the charging port since it’s no longer functional.