Yes, the coating is flexible it can be removed and reapplied
Additionally it’s Fluoresces under UV-A light so you won’t miss any uncovered parts
It seemed that way at first.
… but then problems developed. Sometimes after battery changes I noticed the light was staying on at a low level even when the switch was off. Then it got worse and was staying on at a higher level. I spent last night trouble-shooting it:
- Perhaps the problem was a short under one of the stars or between one of the jumpers on the Noctigon. I removed the star and reflowed the LEDs and jumpers. But that didn’t fix it.
- Perhaps the unusual arrangement of 2 wires at the sides to a triple was causing issues. Maybe when I screwed down the bezel it torqued the driver wires causing a short through the silicone insulation. I removed the driver, drilled a hole through the center of the shelf and redid the driver wires with a more conventional “through the center” format for a triple. That didn’t fix it either.
- I checked the star outside the light and noticed the LEDs did turn on at a low level when I connected negative to ground and positive to the positive on a battery showing a short somewhere at the star. But reflowing again didn’t fix it.
- Finally, it occurred to me that my filing of the edges of the star might have created a short. BINGO… that was it! When I filed the 2 notches for the driver wires they lifted up the mask slightly at one point. Then when I installed the driver wires it hooked a tiny portion of the contact under the mask down until it hit ground. This was all miniscule and required a magnifying glass to see, but it was enough. I cleaned it up and then it worked fine.
- On reassembly, I also noticed the optic was sitting on ledge just inside the bezel rather than pressing firmly to the star. To fix, I filed down the edges of the optic. (though now that I think about it, a better way would have been to lift up the star slightly by inserting a copper disk between the star and shelf. I also replaced the snipped 2-legged optic with one with all 3 of its legs for more support.
Now it works perfectly. It is nice when the troubleshooting process solves the problem.
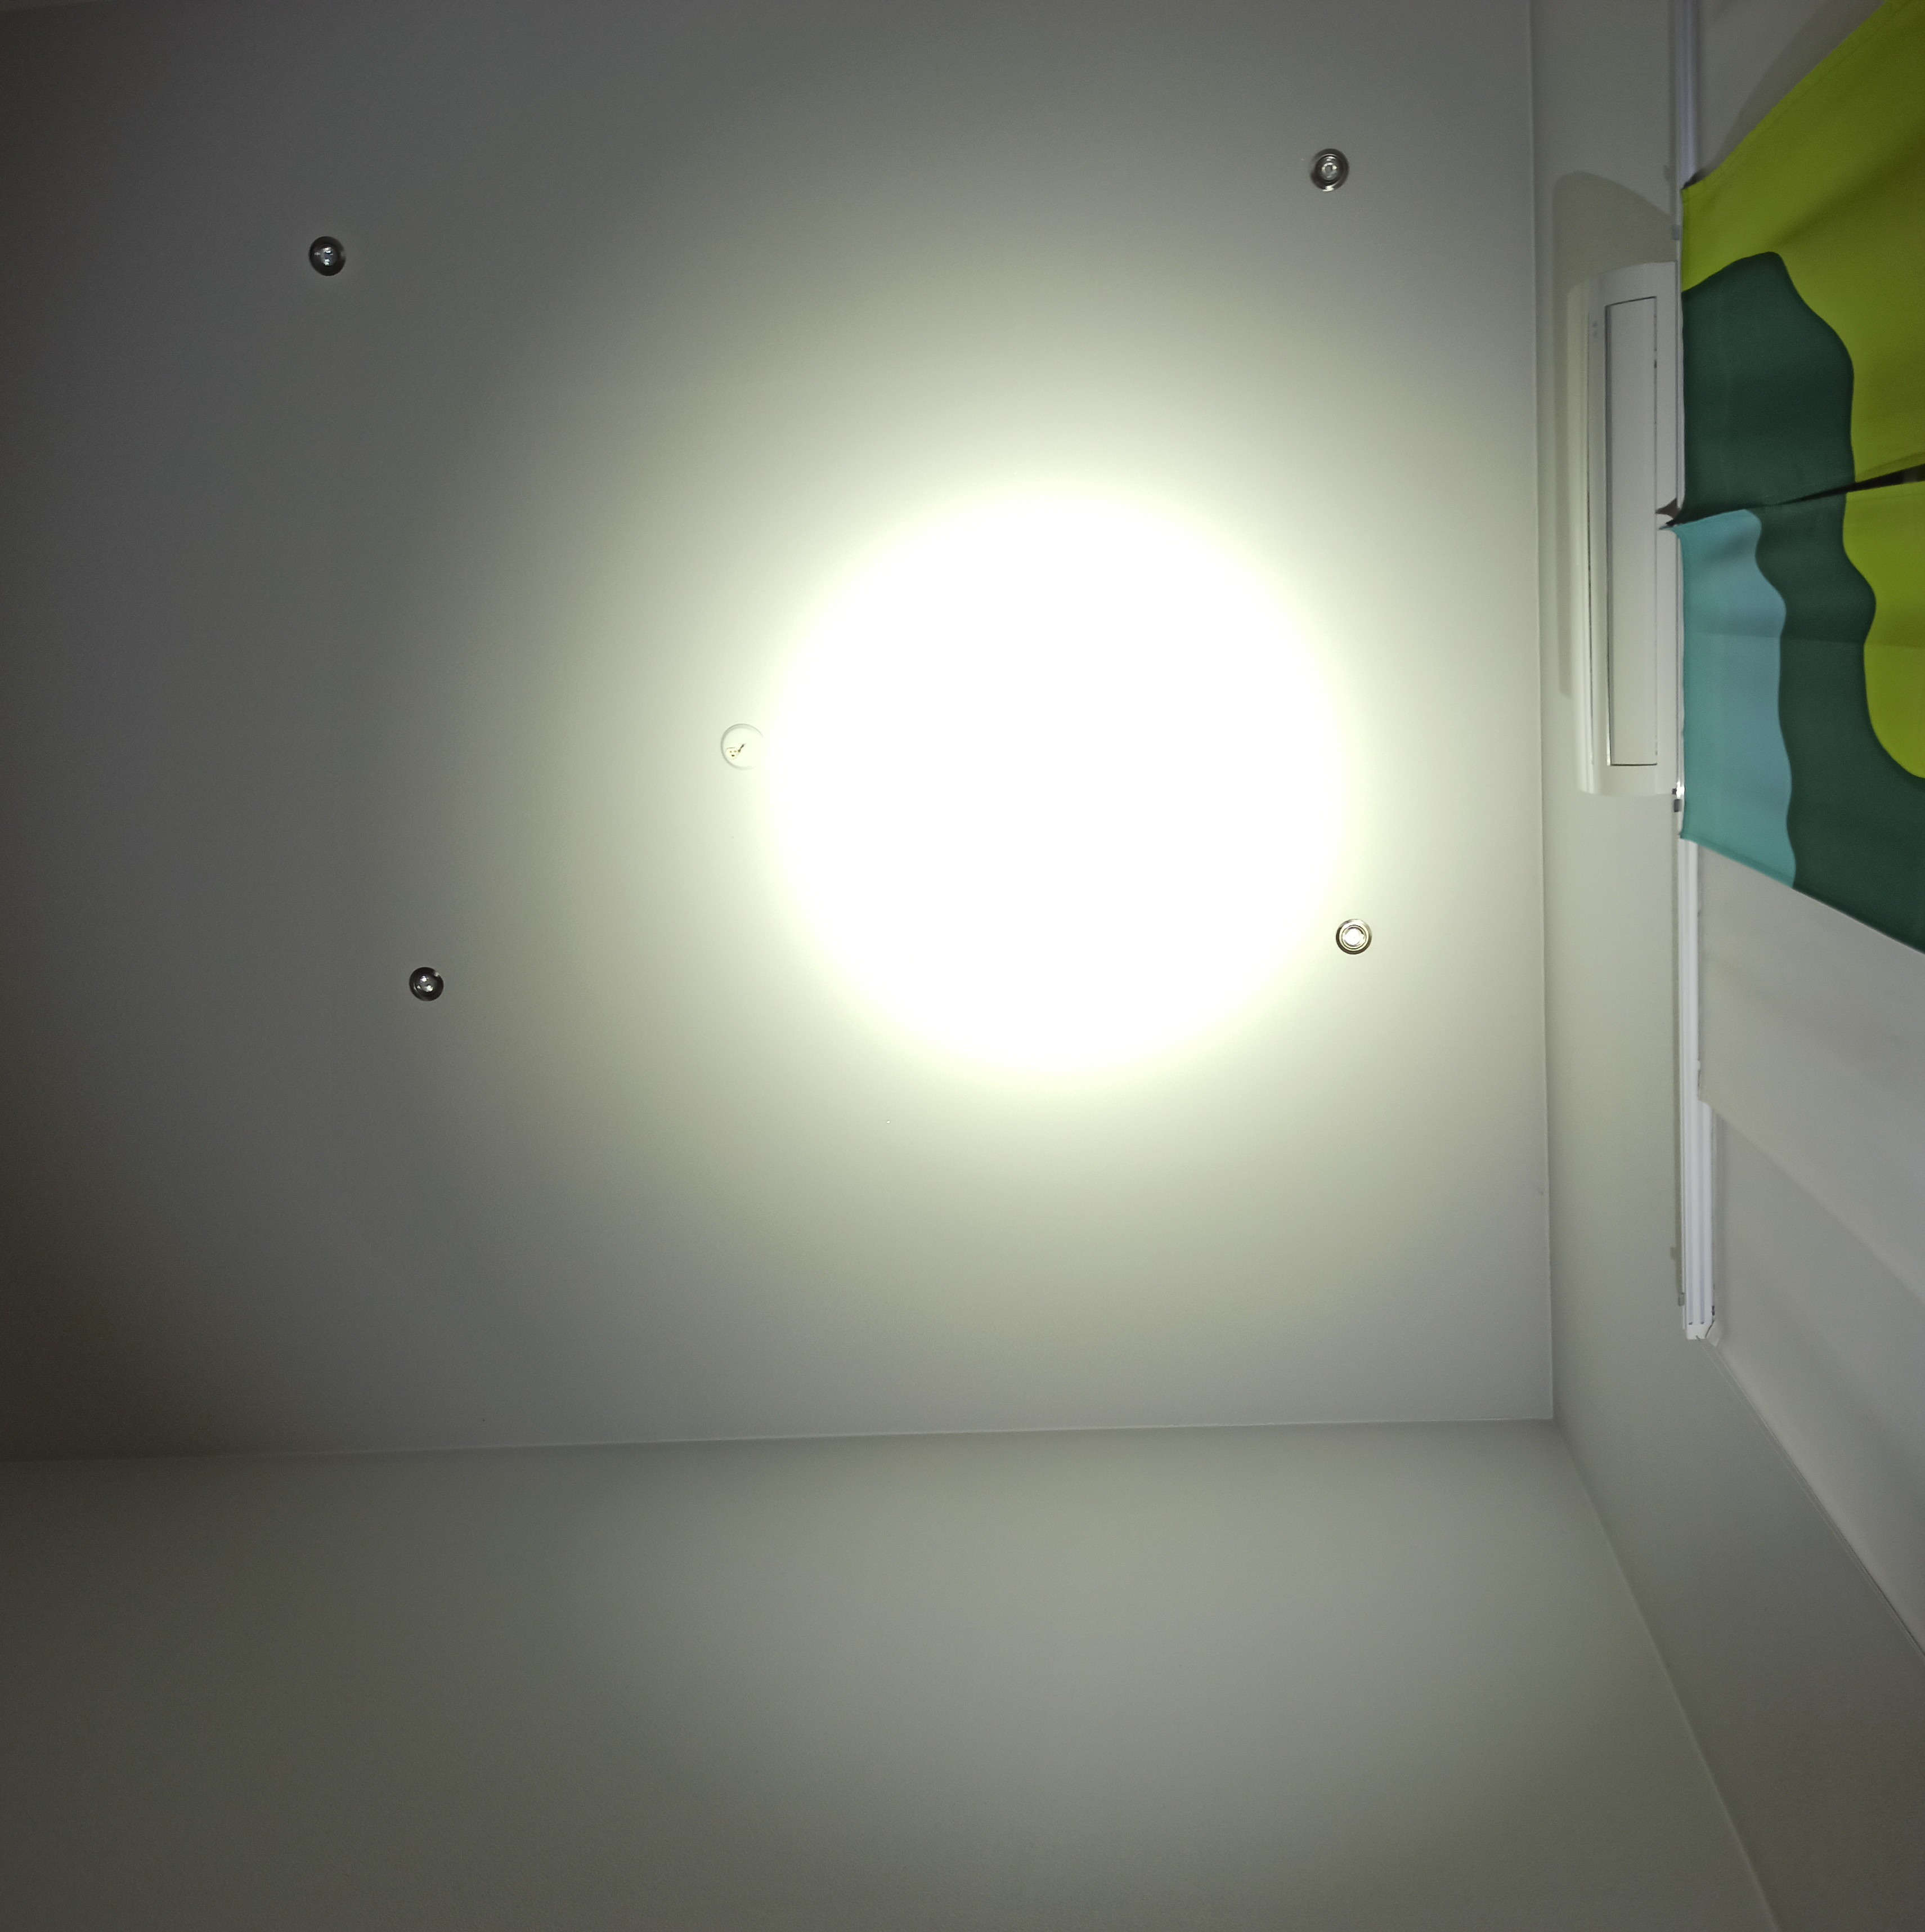
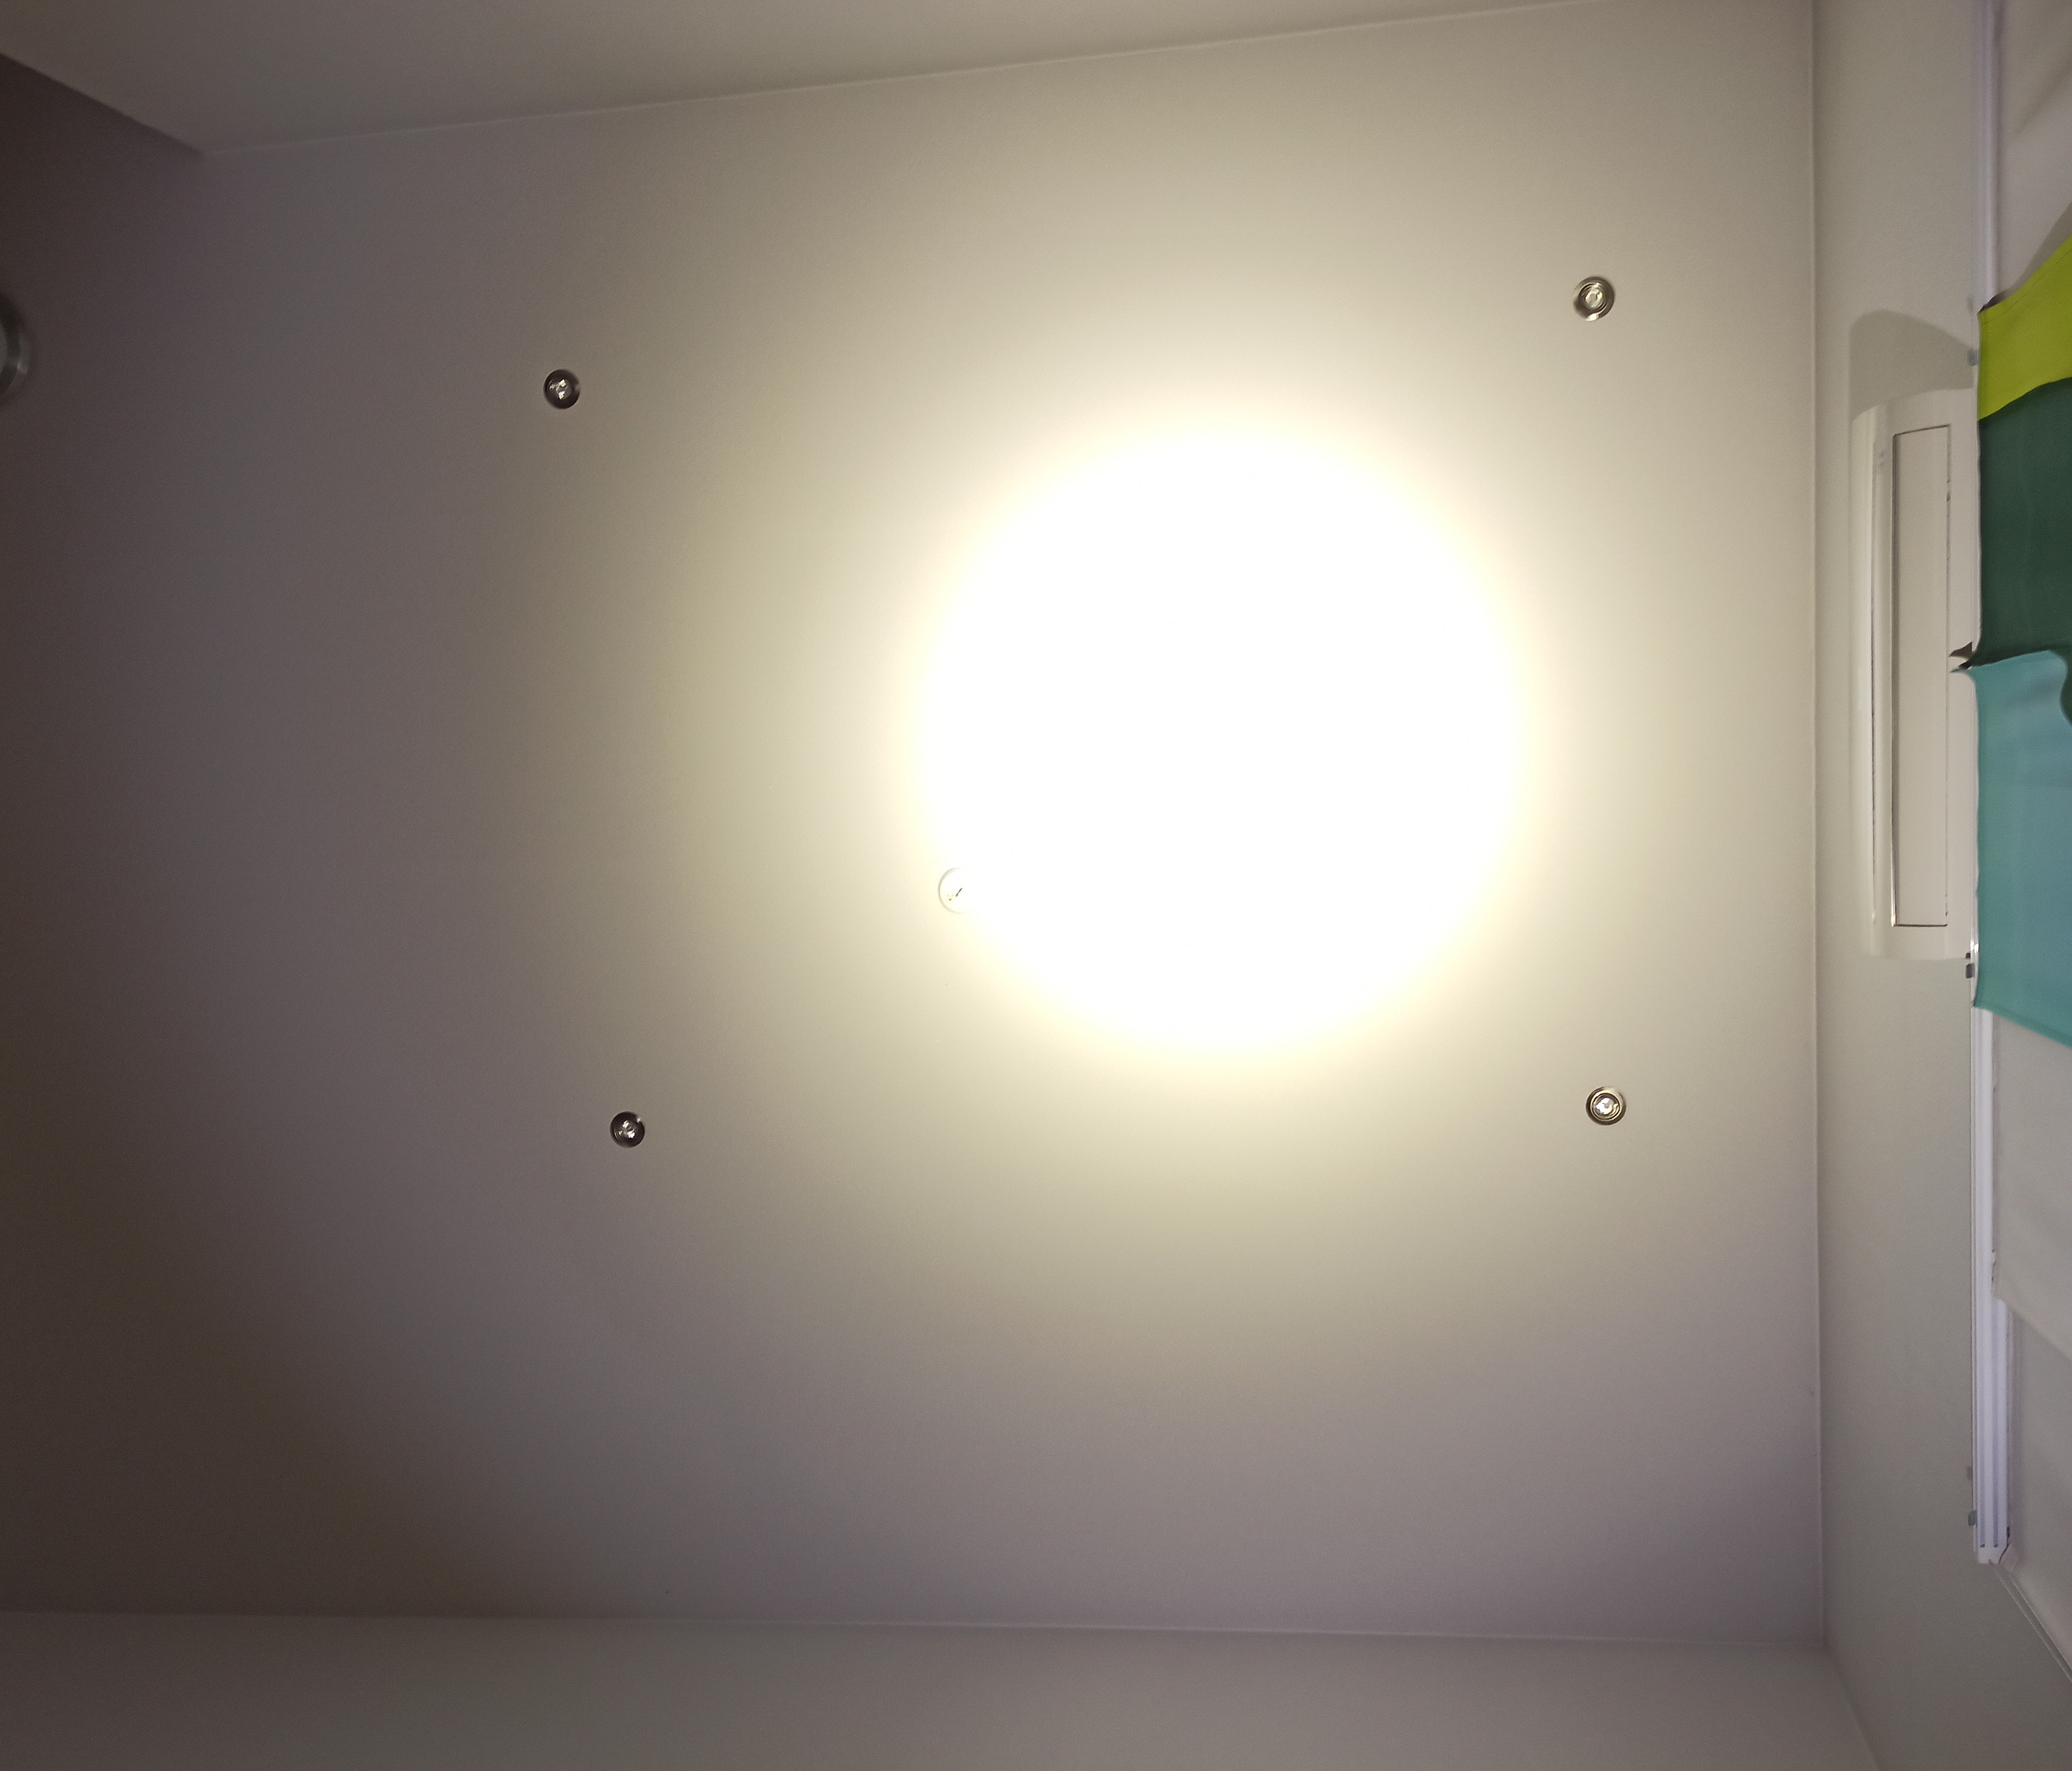
Today I made few visual comparisons between XHP70.3 and XHP70.2. 70.3 is 6000K P2 from digikey and 70.2 is 5000K P4 3A from Convoy flashlight store. I used M21E with OP reflector and camera settings are tweaked so that photos look realistic. Same settings for both leds.
XHP70.3 100%
70.2 100%
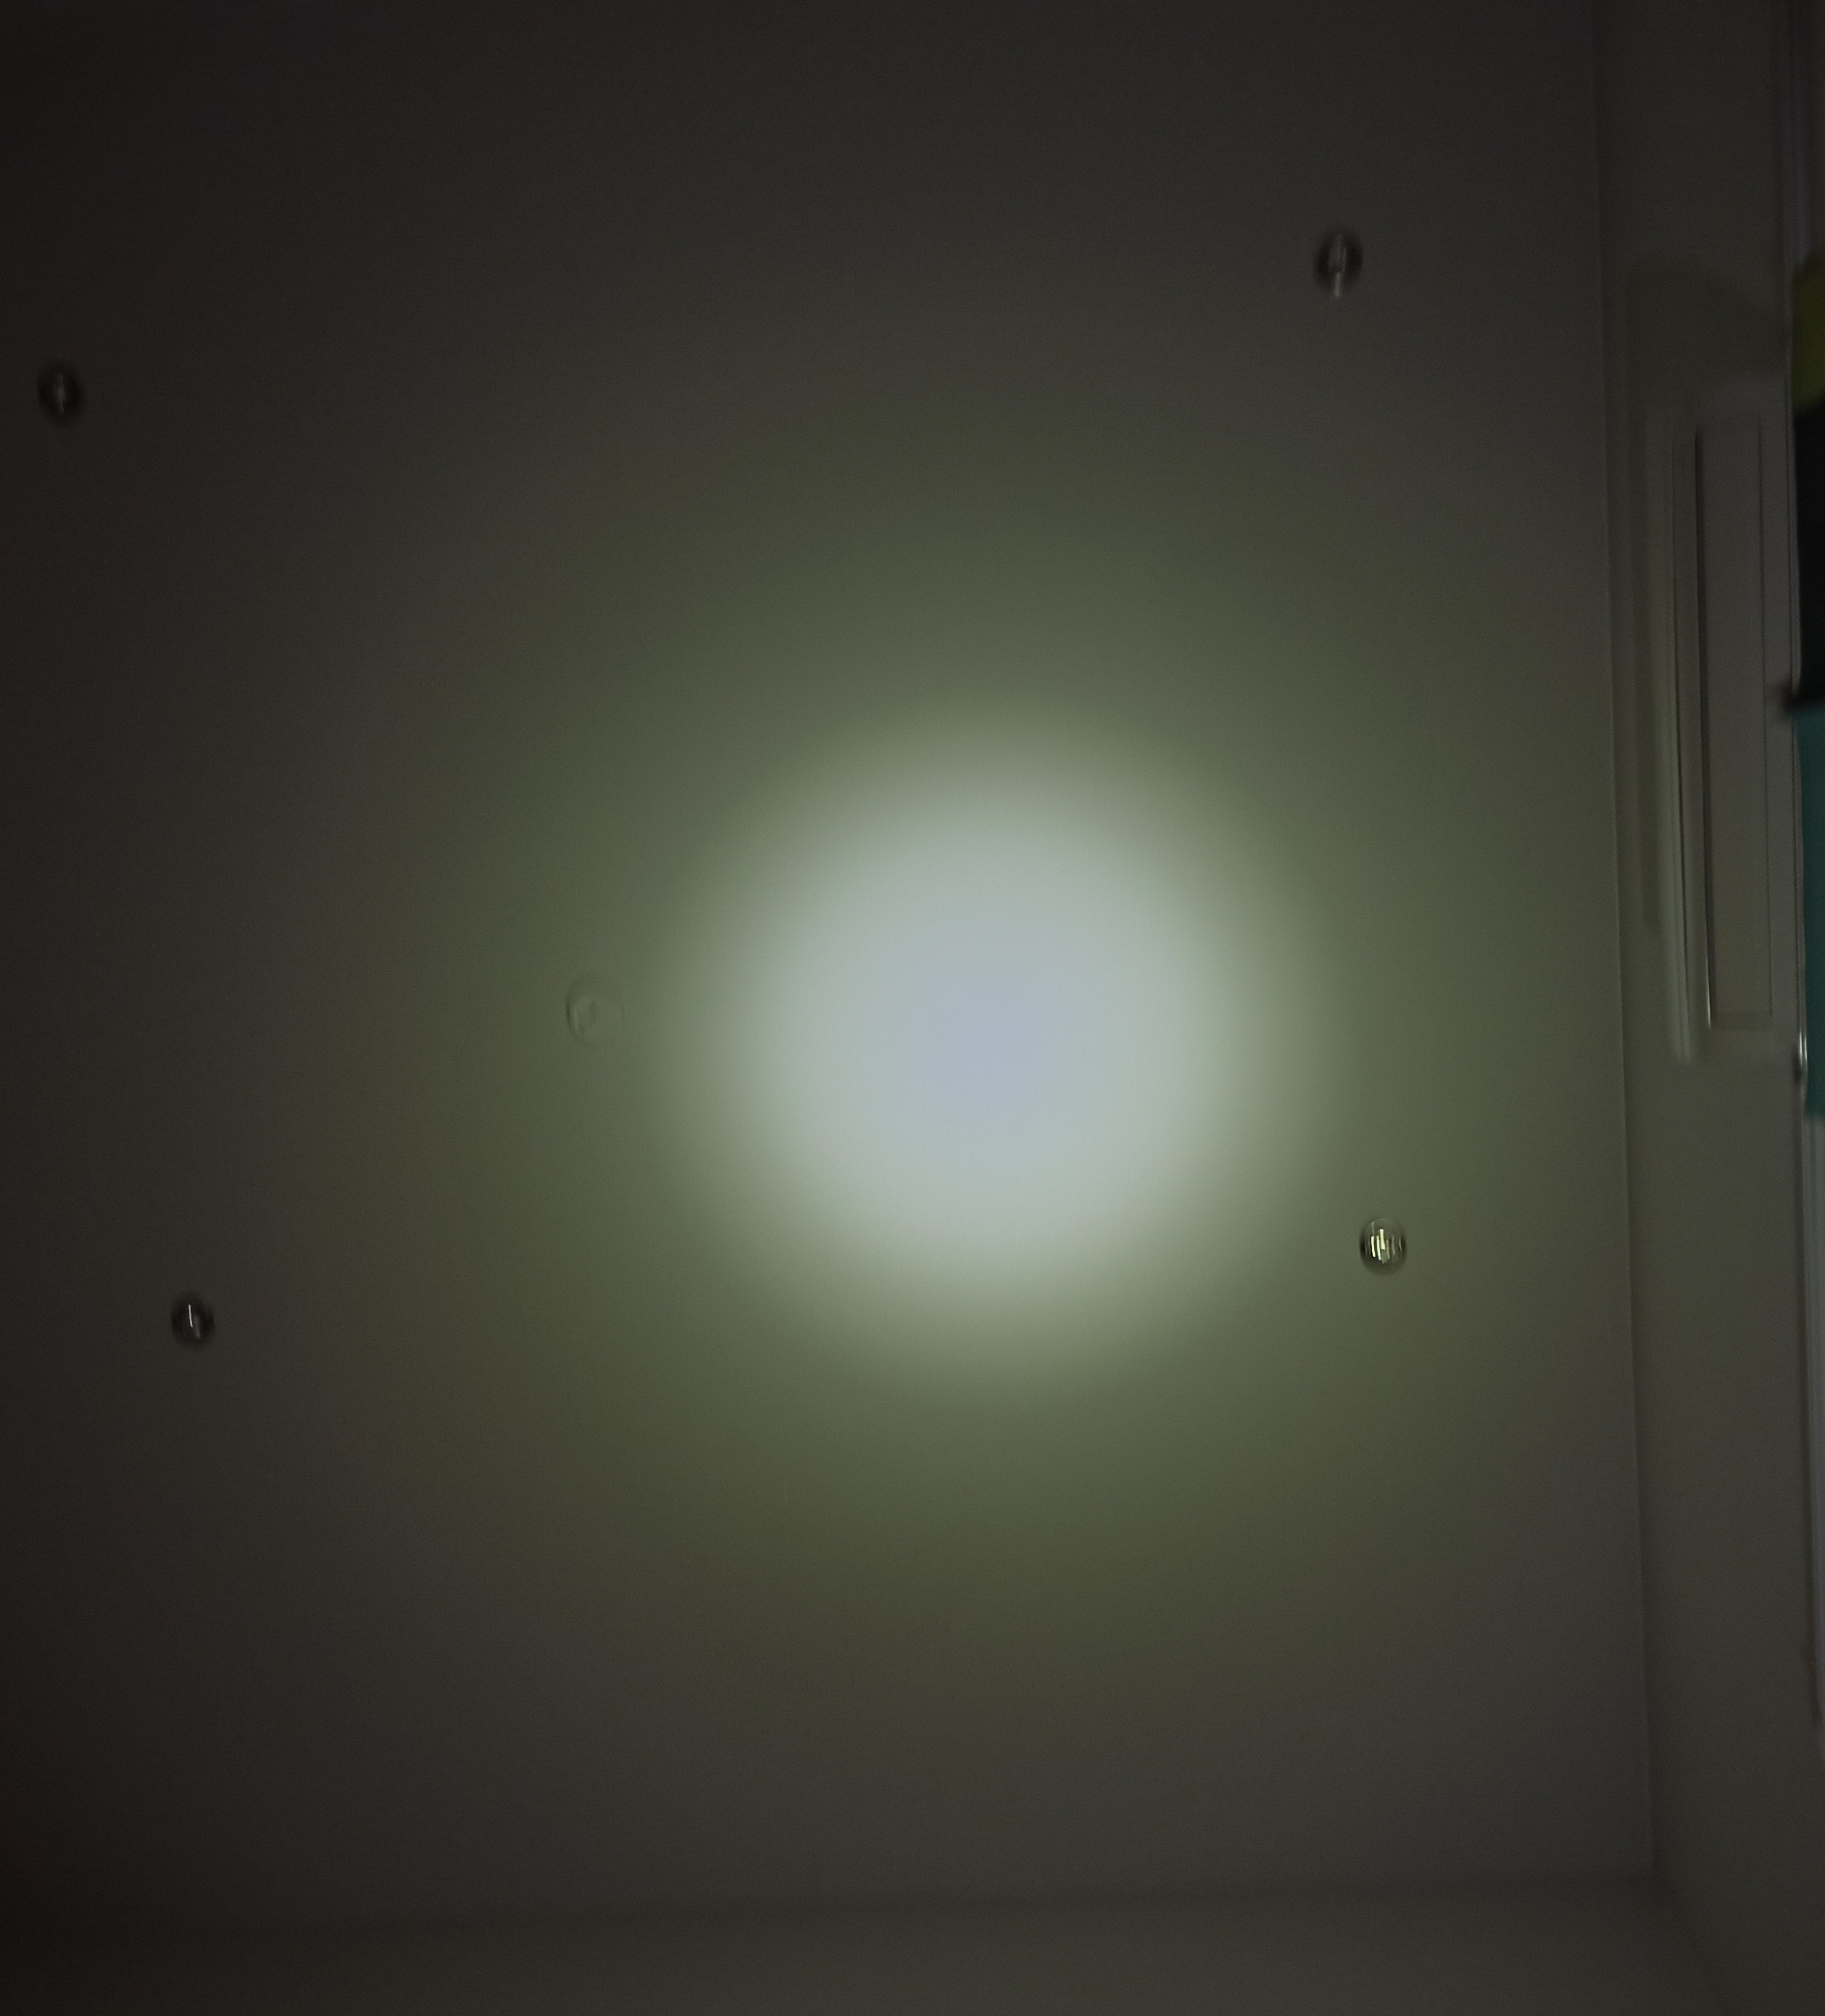
Second lowest step in stepped mode 70.3
70.2 same mode
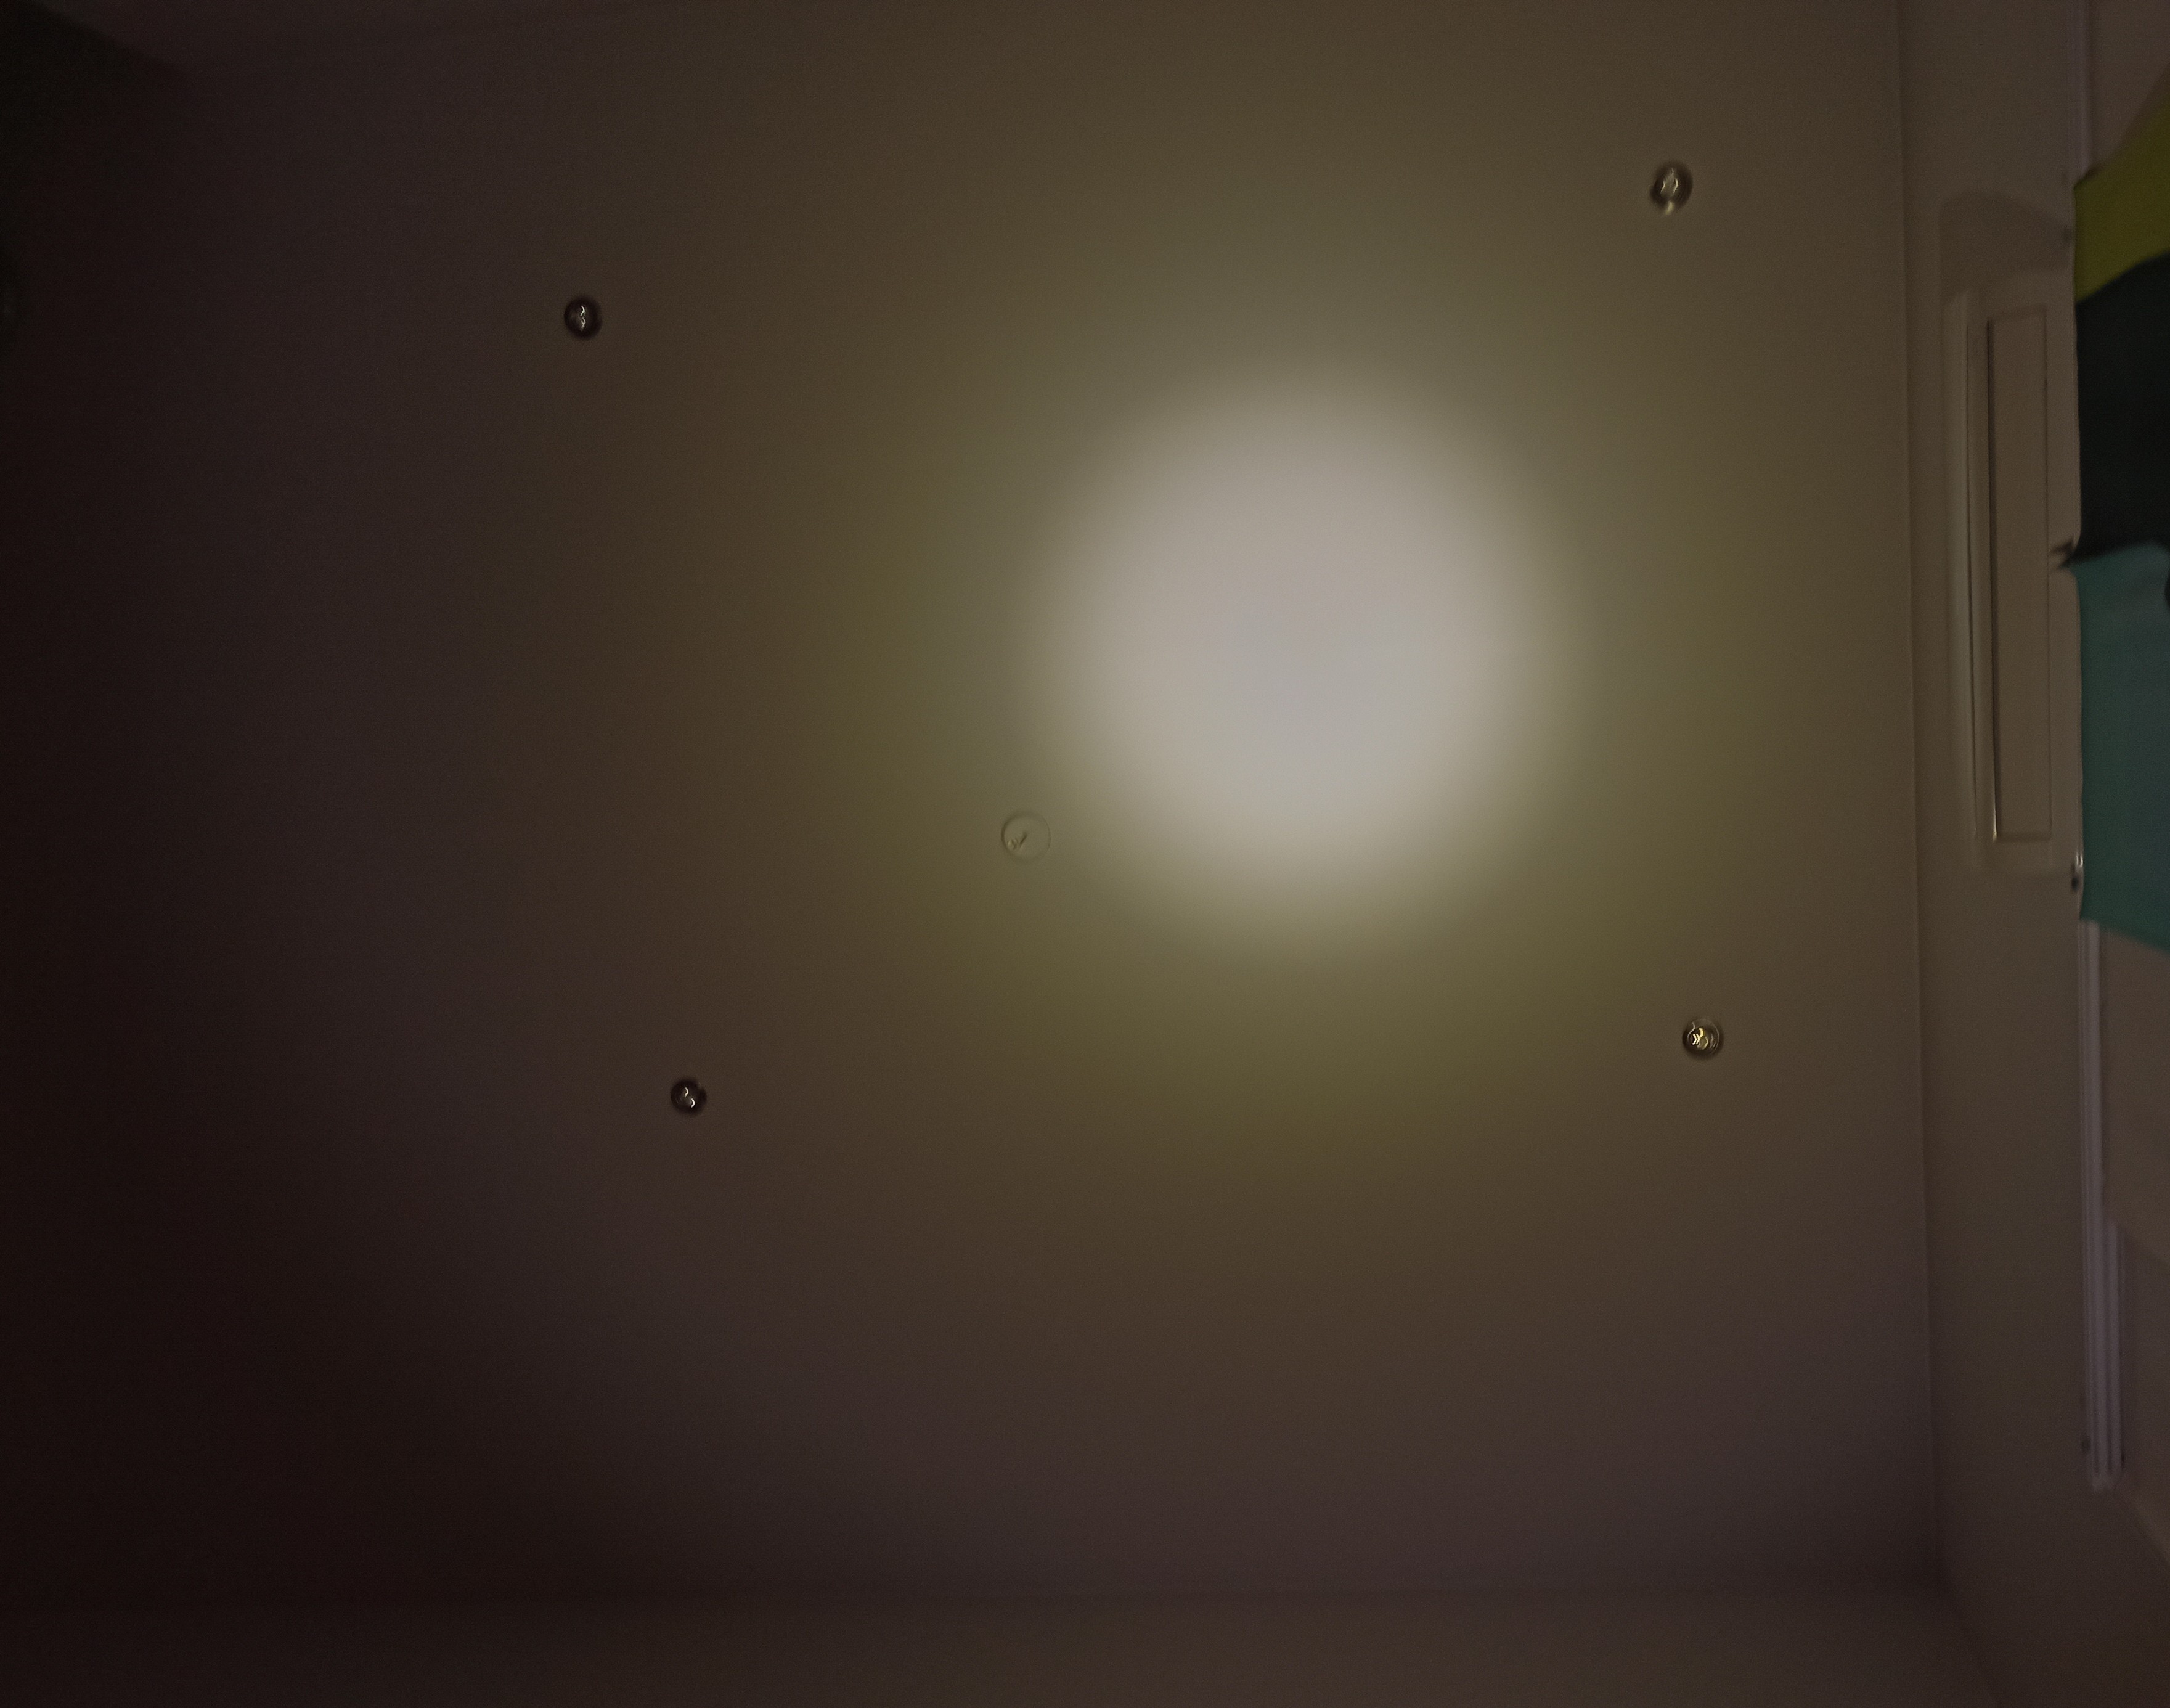
Small difference in beam profiles. 70.3 is little throwier, but it also has big blue center in hotspot. 70.2 has uniform hotspot. Similar tint shift in both leds. Not so bad in this reflector.
I have tinkered quite a lot with Convoys and this M21E’s driver is very different physically than other Convoy ones. It has two horizontal pcb’s that are connected together. Upper seems like normal Convoy boost driver and lower one is probably for the charging circuit and it also has momentary switch directly mounted on it. Two pcb’s seem to be connected together with some kind of rods. Can’t remember excactly. It’s been few days since I opened it.
Change to LEP
Post 23
A provesorium driver 0.3A
No results.just test
Regards Xandre
Turned a cheap incandescent flashlight into something useful. Now has a warm high CRI XP-G and TIR lens with a 1-mode driver.


Awesome. I have the same (or similar) flashlight and I don’t know what to do with it.
Bought a gently used Lumintop D2 off ebay, and swapped in a sliced 3V XHP50.2. The reflector in the D2 is awful so I’m waiting for a couple different sizes of TIR lens to try but they’re coming from China.

I made a quad 21700 flashlight:
- Host from Kaidomain
- Nichia 219B 2700K LEDs from azhu
- Spacer and optic from MTN
- Driver and lighted switch from Convoy
The host was different than what I was expecting since the reflector was shorter than the 21700 black host that I bought previously from Kaidomain. So I had to shorten the S2 spacer much more than anticipated and could’ve just bought the shorter S2+ spacer if I had known. The spacer went from 13.4 to just 3.9 mm.
I also had to make the quad optic a little smaller so I sanded down the parameter to make it fit into the head. That then made the LEDs to align perfectly into the head.
For the lighted tail switch, I found some purple 0805 LEDs on eBay and added them to the blue LEDs that came with the Convoy switch. That made a very unique dark purple color which draws 0.15 mA (3.8 years).


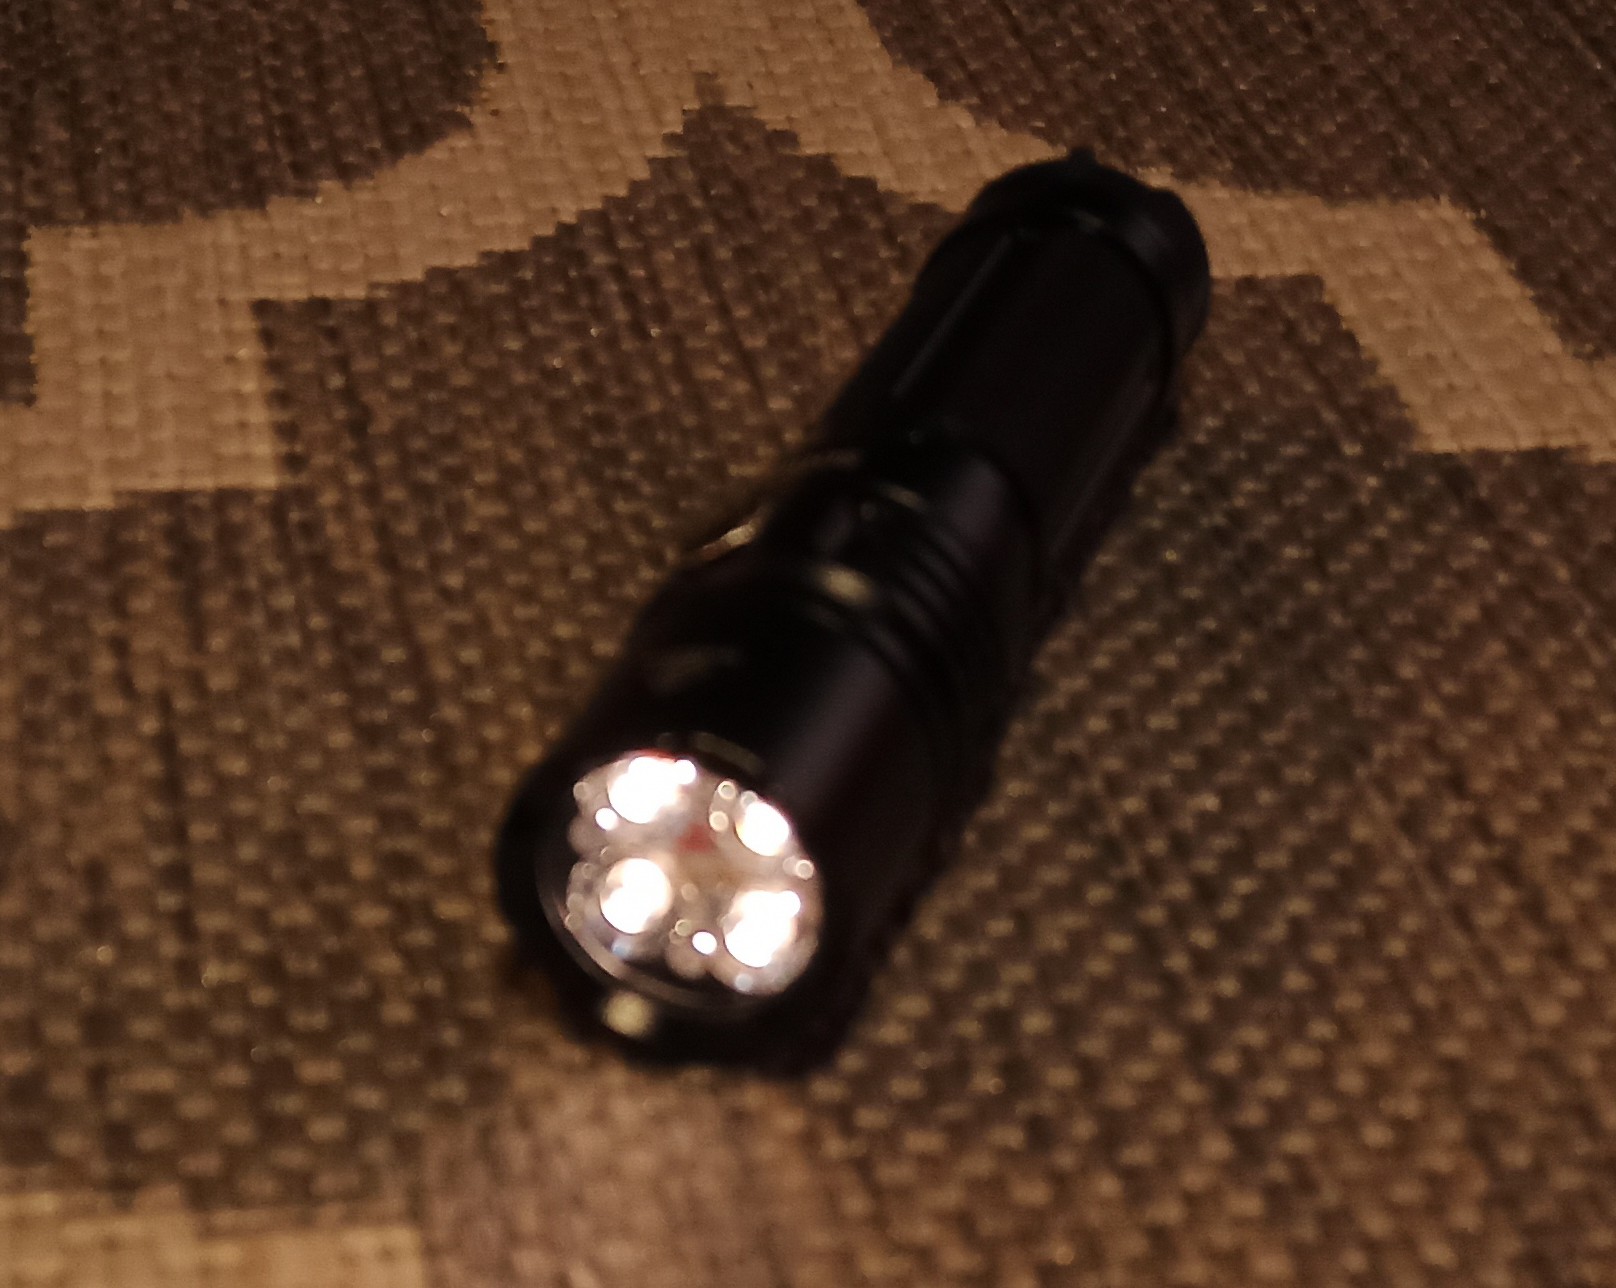
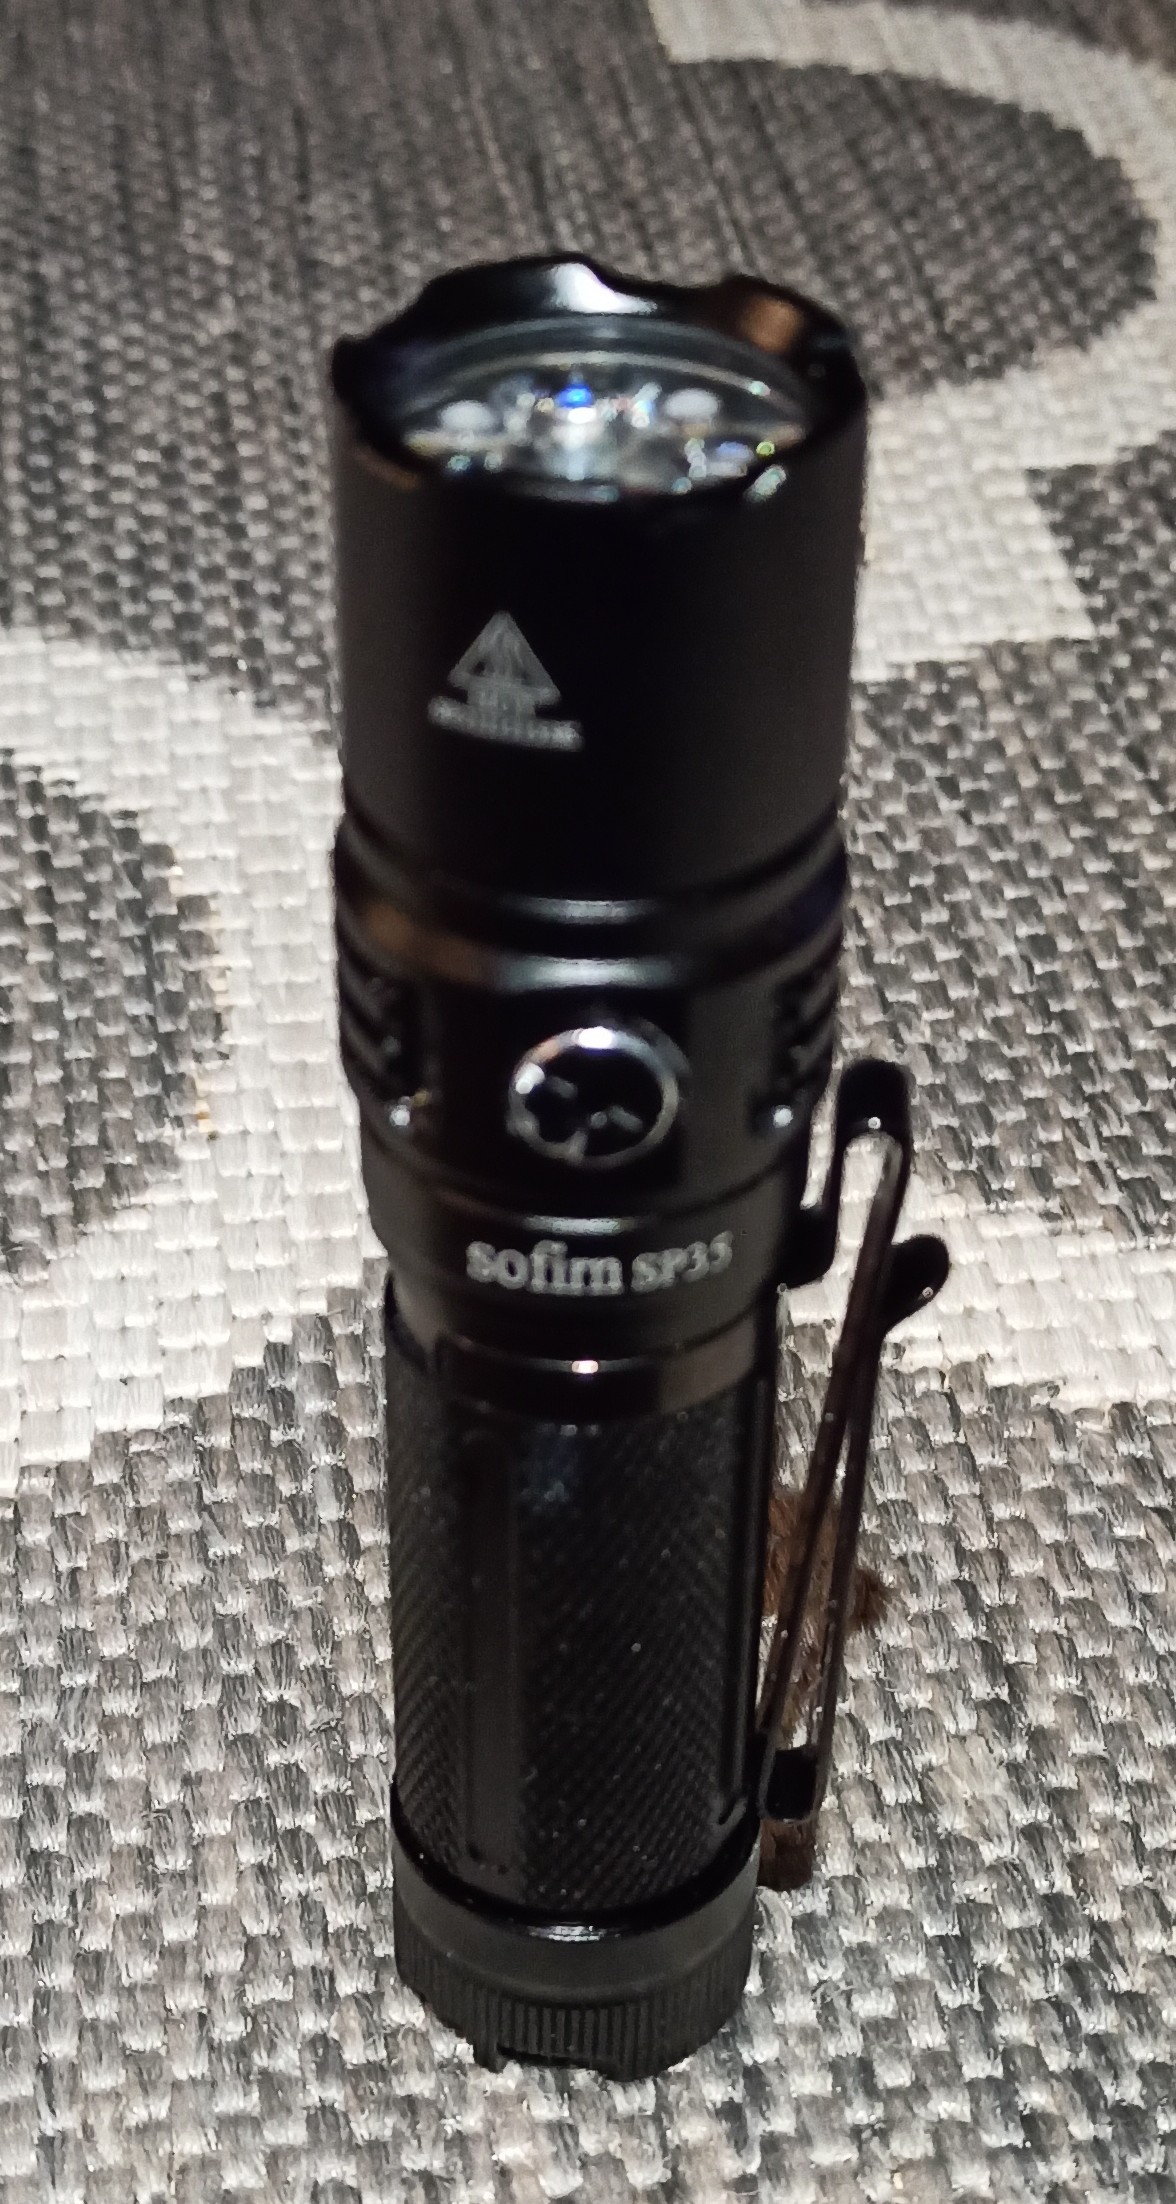
Today I finished my Sofirn SP35 quad build. I used SST-20 FA3 leds and Carclo quad narrow optics.
It needed spacer, so I made one from copper bar.
I wanted to use the original buck driver. I measured with clamp meter what current the original driver gives to led. Only 5A, so no wonder that in reviews it hasn’t met the 2000 lumens that Sofirn gives as a output.
It used 2 20mOhm sense resistors. I halved that value to 2 10mOhm ones. Something else in driver must be restricting component, because it only added 50% more output.
Hardest part of the build was removing the driver and the switch. Driver was glued and switch is press fitted. I punched it out from chargers hole Esterafter the driver was removed.
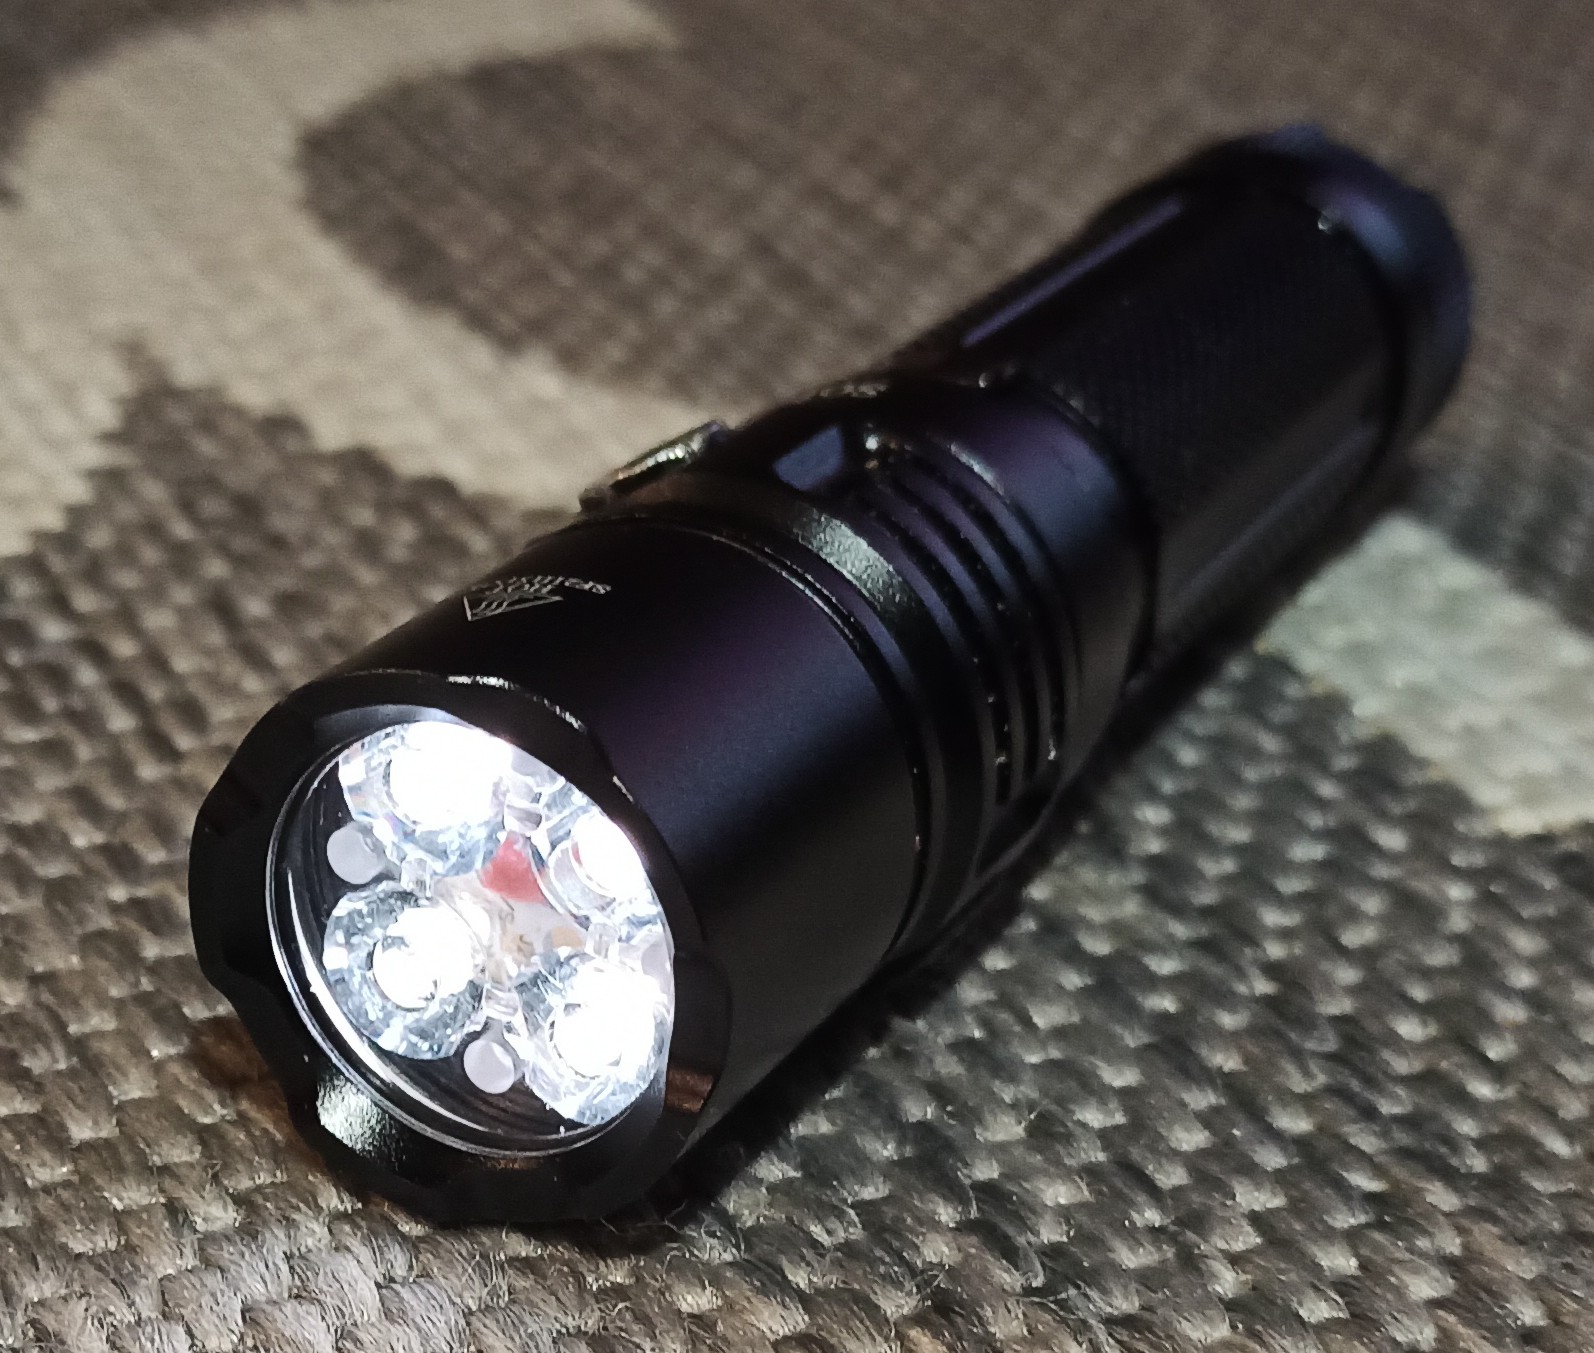
So here it is. Another flashlight for which I need to invent some use case. ![]()
Great you helped out. And this is not just a repair, but an upgrade.
Thanks for the driver details and good work with the mod. Sounds like the driver is beyond it’s limit. Sounds like an R056 on top of the two stock R020s would be about as much as I’d push it.
Good luck finding a home for it. 21700 tube lights, side switches especially, are a hard sell honestly for me. YMMV.
Yeah, I thought might as well try what it could deliver. Now I know that it’s 7A. I might adjust it to that range someday.
Sillen kindly offered to give me a new black WT3M in exchange for swapping the FWAA emitters and to fix the button LEDs in a clear WT3M. WildTrail provided the black WT3M as a replacement due to the faulty button LED in the clear WT3M.
The button LEDs were ok individually but wires for the 3-pin switch PCB were crushed. Continuity was ok. I didn’t know what the root cause was at that time, so I swapped the newer driver and 5-pin switch PCB into the clear WT3M. It has a red charging LED on the switch PCB instead of hidden away on the driver. It seemed like the safest way to fix it (desolder two wires from the MCPCB and swap). That said, the wires need to be neat to avoid shorting on the reflector.
I then put the prototype driver and switch PCB into the black WT3M after replacing all of the wires. It’s working now too. It’s not exactly a cheap flashlight. Much appreciated! ![]()
I ended up with an Amutorch E4 in a trade, and I love the weird little host but the insides needed some upgrades. I reflowed four sw45ks and replaced the stock driver with a 20 mm 6A Convoy 12-group programmable. Much better.
The only thing is, the Amutorch driver was held in by tiny screws, and there’s no room for drilling matching holes in the Convoy driver. So right now it’s just floating in there, held in by the battery. The prospect of soldering it to the host, essentially a giant brass heatsink, doesn’t appeal to me. Any other ideas for keeping it in place?
Does the body tube clamp down on the perimeter of the driver directly? If so, using a low strength silicone potting compound/epoxy/adhesive could work. I wonder what product the chinese manufacturers use, it’s a light grey/ white and peels off with your fingernail, but is enough to hold the driver in place during a battery swap
Yeah, there’s a ring around the outside of the shelf that the driver sits on, with a small space underneath for wires. Then the body tube holds that in, along with the battery and spring.
Keeping the driver from twisting is enough for me, it’s held in well enough once assembled. I wonder what they use…
Today I “modded” an old bunkerlamp to use on the balcony of our appartment. Not really modding, I cleaned it, polished the aluminium refector, adjusted the rubber glass seal, added new wiring plus a rubber ring to seal the wire entrance hole, drilled a hole in the window frame for the neoprene wire to go into the house (the window is under a broad overhang so the hole will not rot, still I sealed the inside with outdoor paint), and screwed the lamp to the wooden frame that covers one side of the balcony.
The lamp is branded “Industria Rotterdam” which is pretty cool because here in the Netherlands there has never been very much “make-industry”, a lamp like this would typically have been made in France or Germany.
For fun I fitted an old russian E27 neon glow bulb, bought a few years ago on ebay from I think it was an Ukrainian seller, cool stuff and very cosy but not really enough light to illuminate even a small balcony. When spring comes and the balcony gets used again I will use a Philips Warm Glow >90 CRI lamp that dims from 2700K down to 2200K.

It is nice to re-use something that might be tossed out by some folks, especially when it has a local or at least national connection that may not be commonly found.
I have refurbished and re-used things that were tossed by someone else.
Not sure if I should admit to taking someone else’s trash.
When I was a kid many of my toys were hand-me-downs from cousins.
35 years, or so, ago I found a steel American Flyer wagon that was discarded. I rescued it, repainted as it was rusty as could be, installed new wheels, and made a gift of it to our son. That wagon is still in service at another home with another youngster. Toe wagons are still sold today but are no longer made in Chicago.