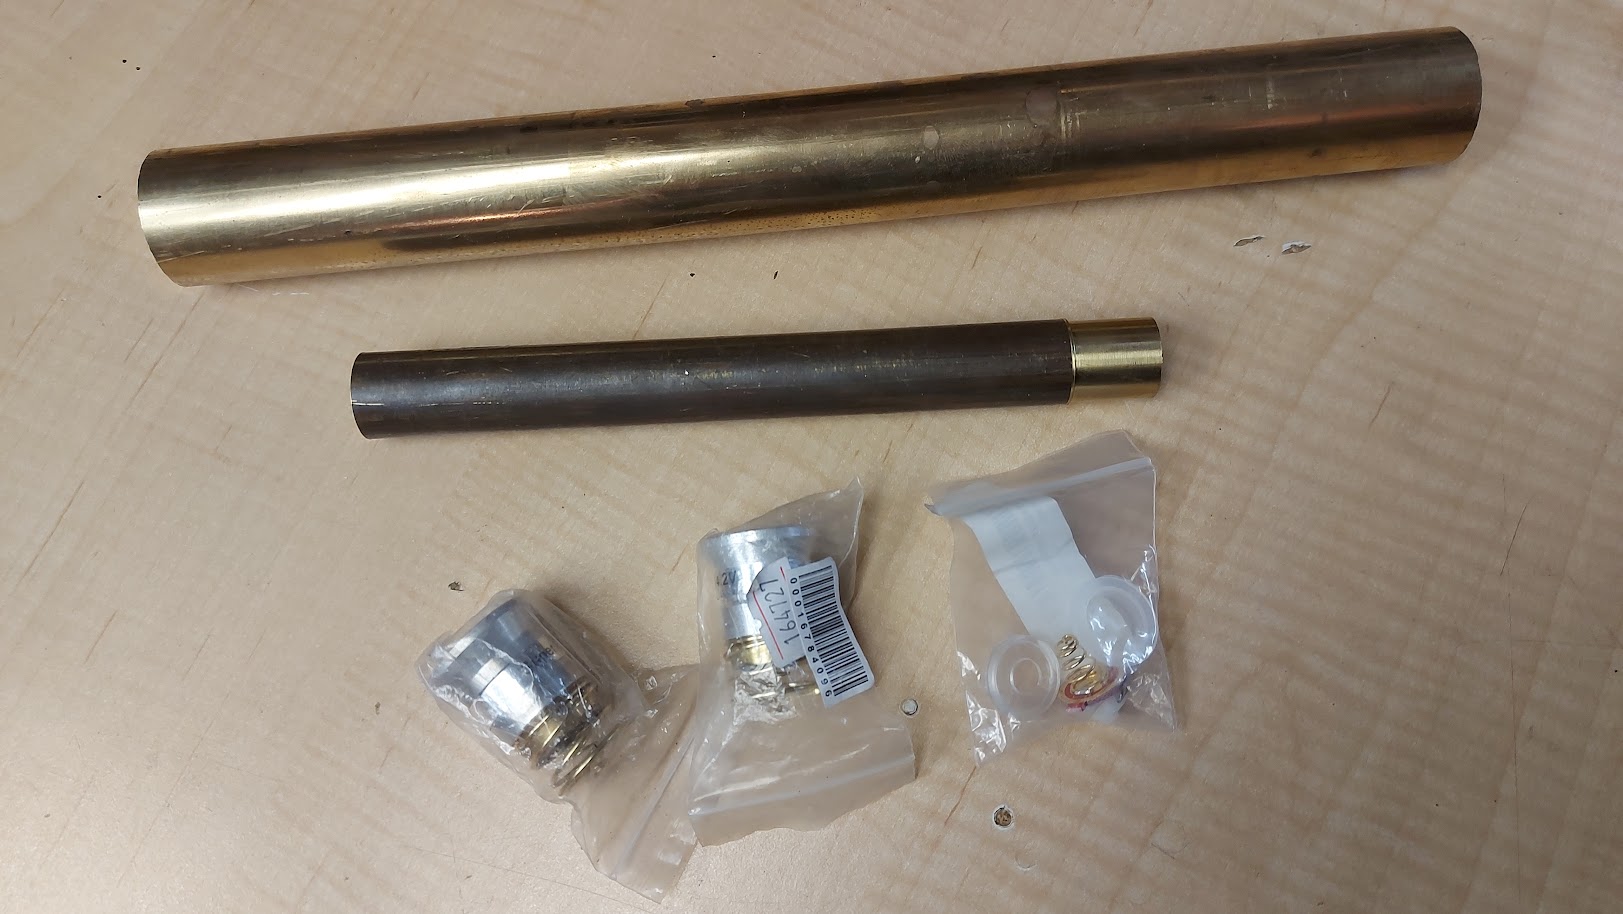
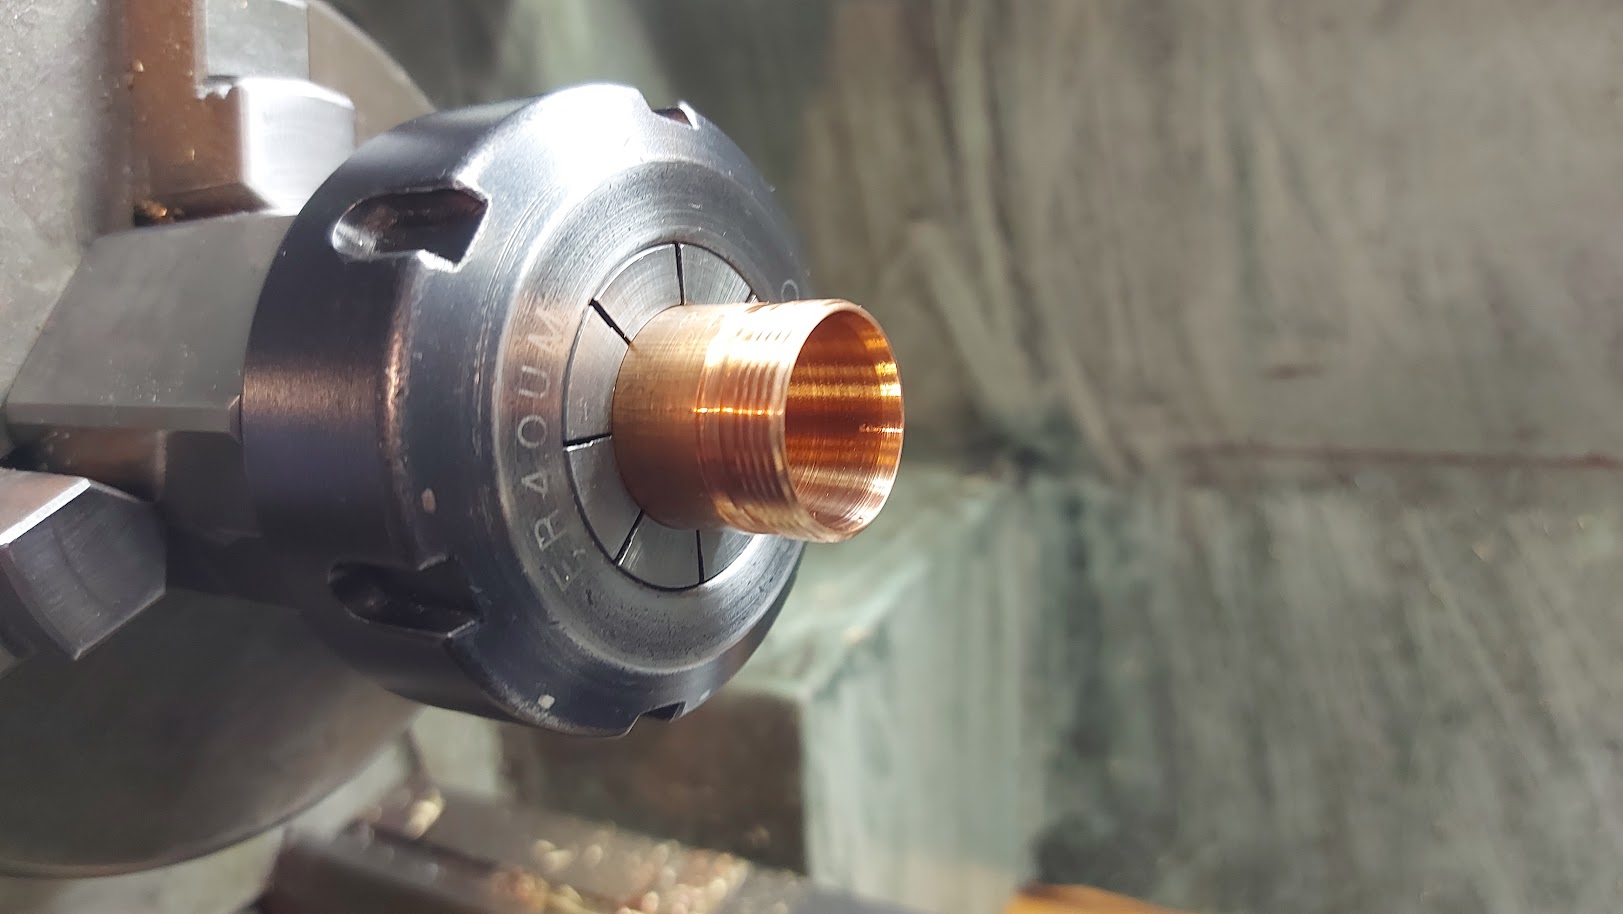
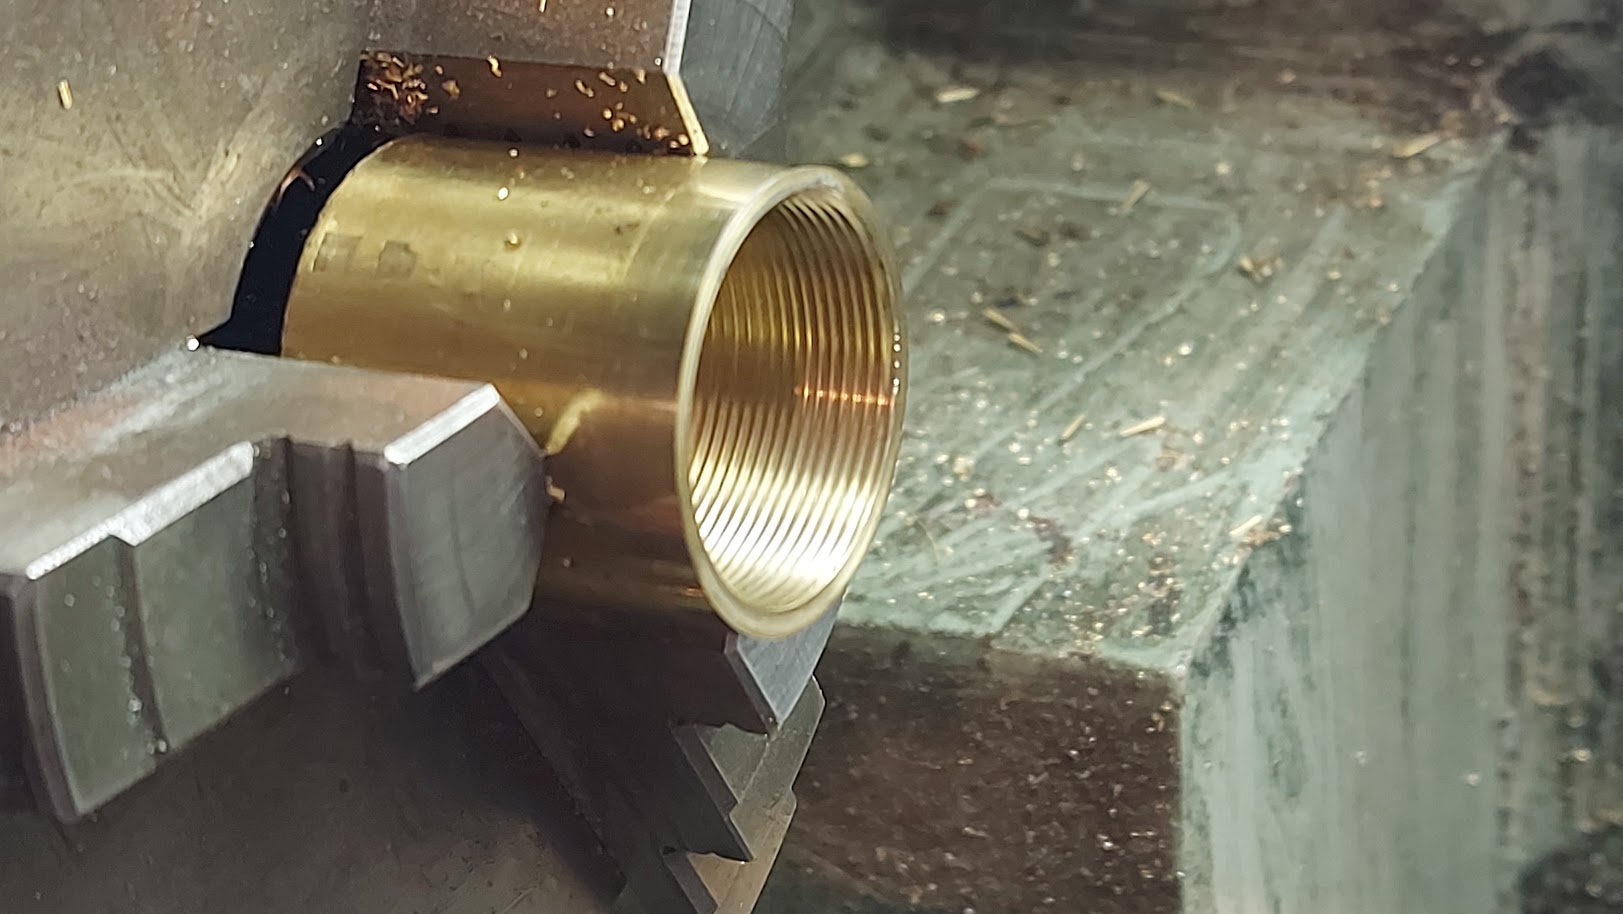
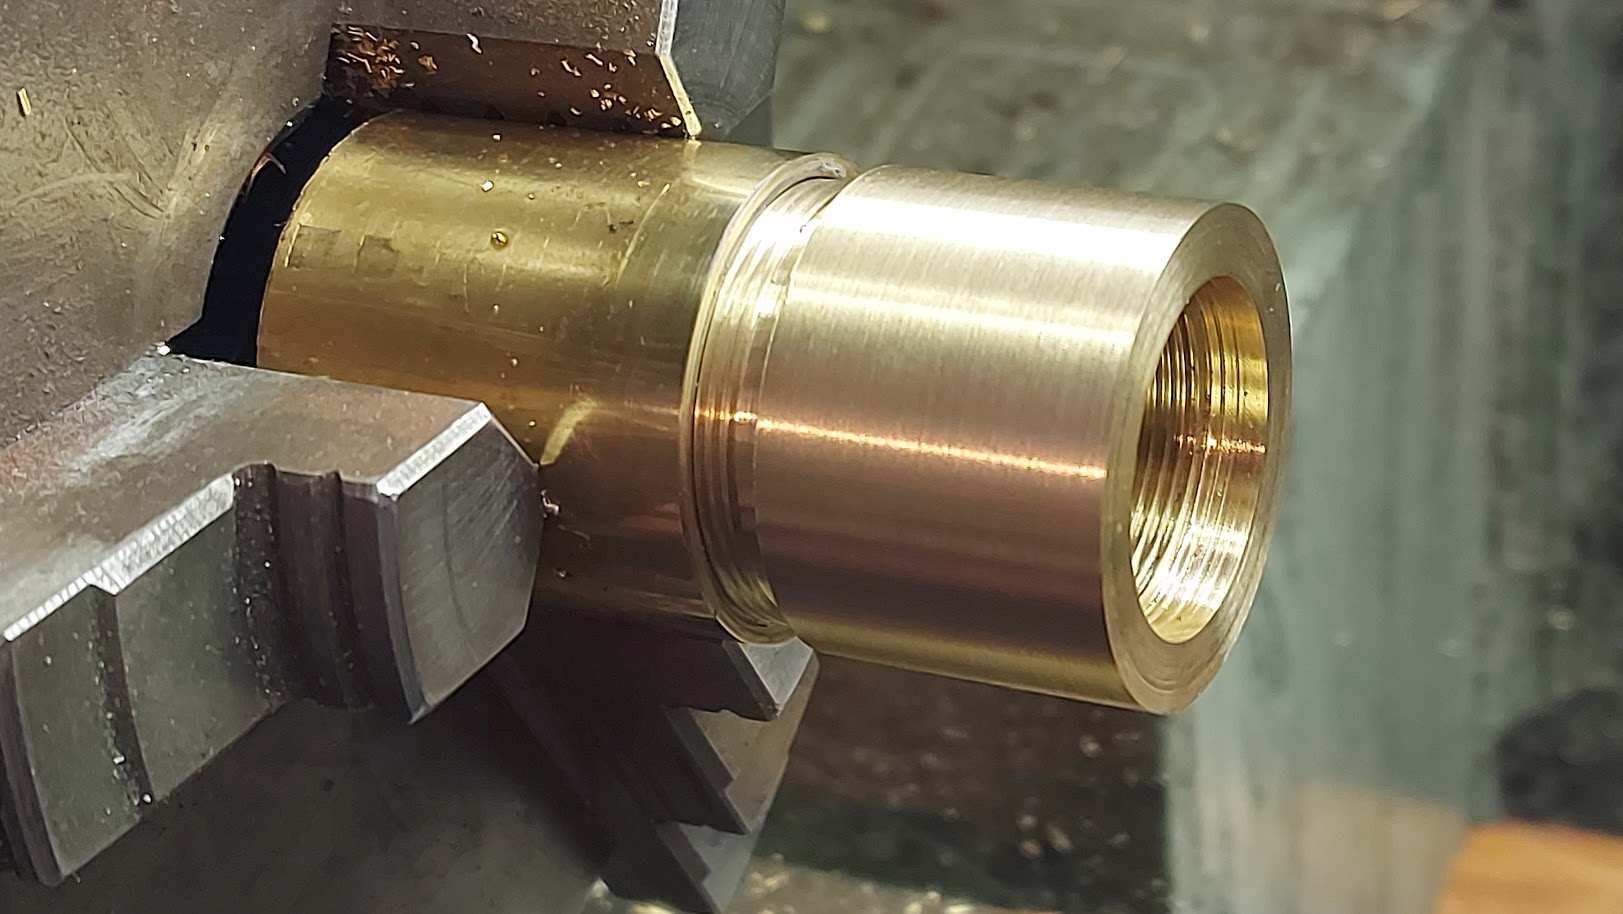
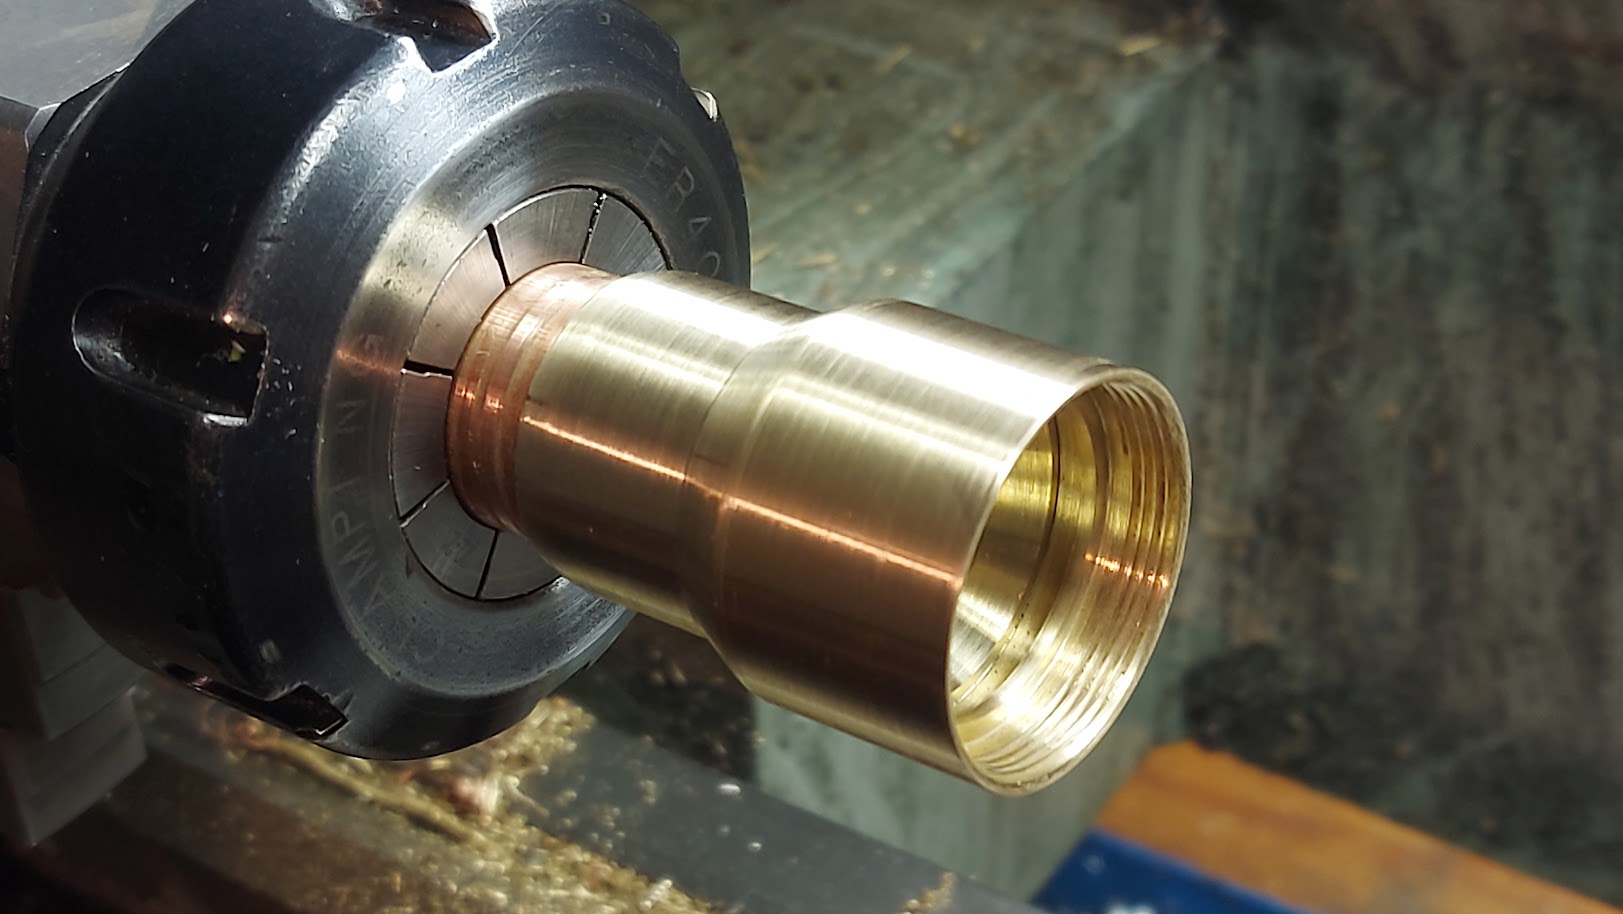
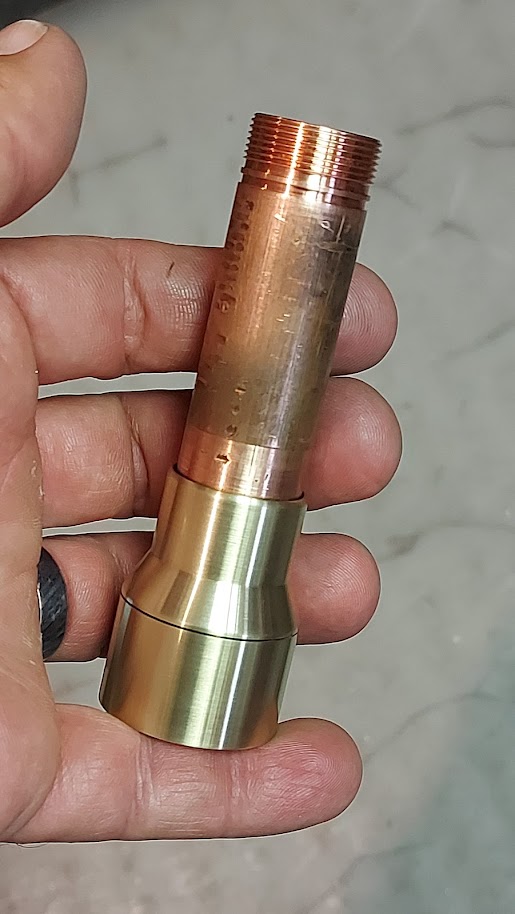
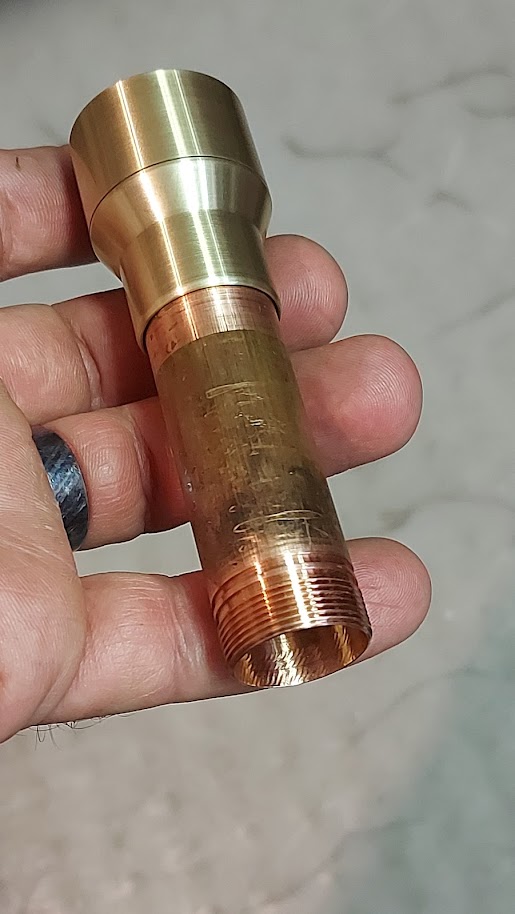
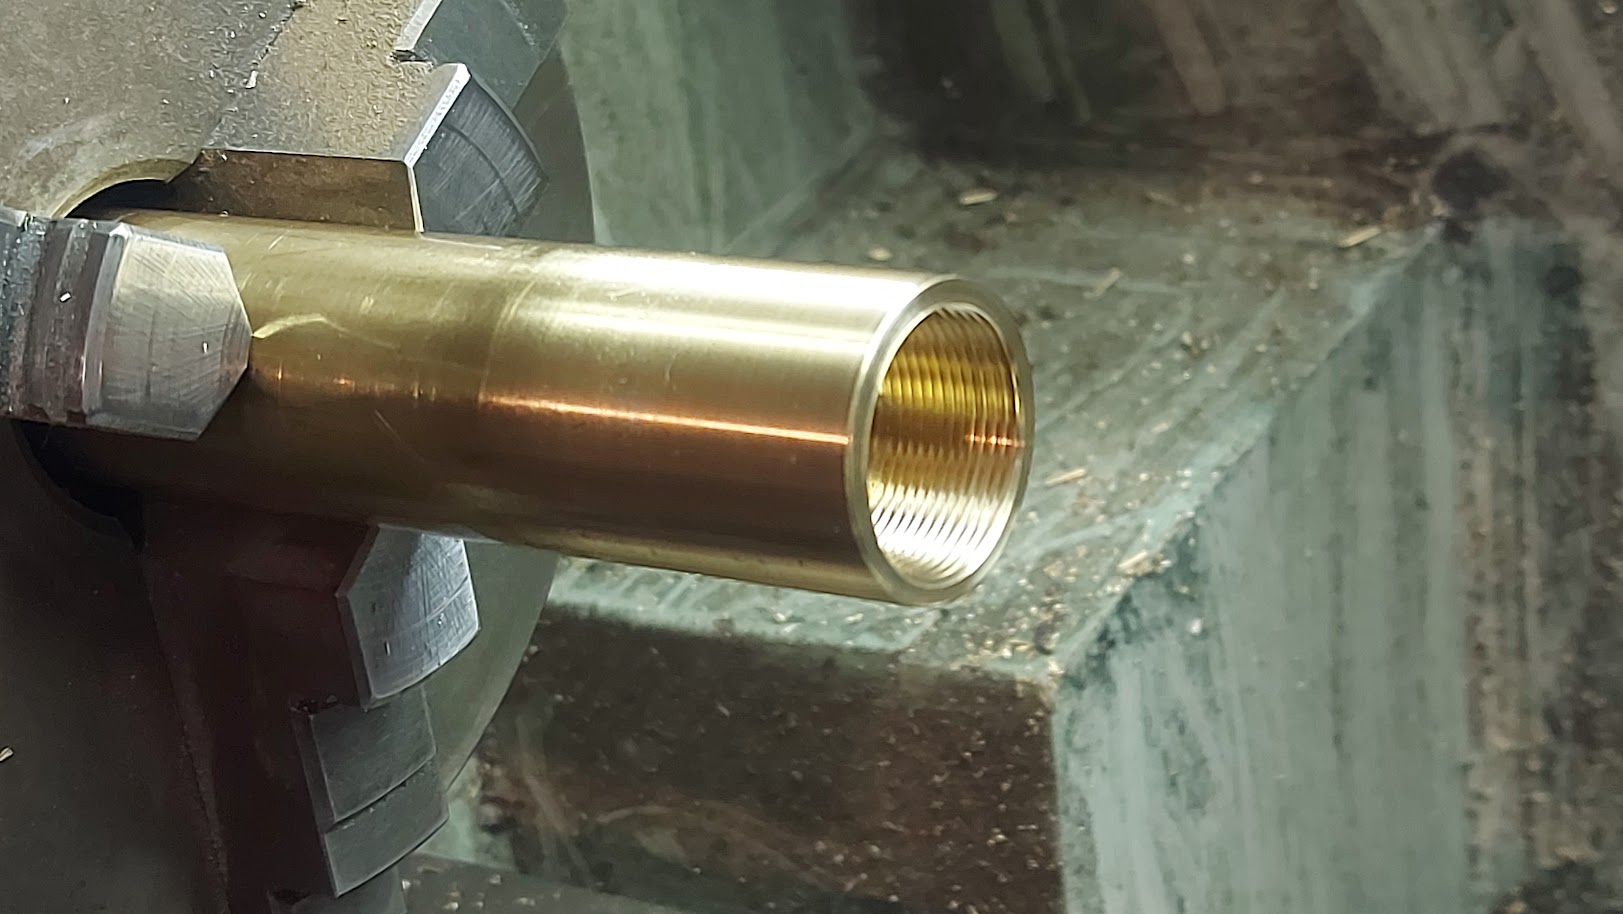
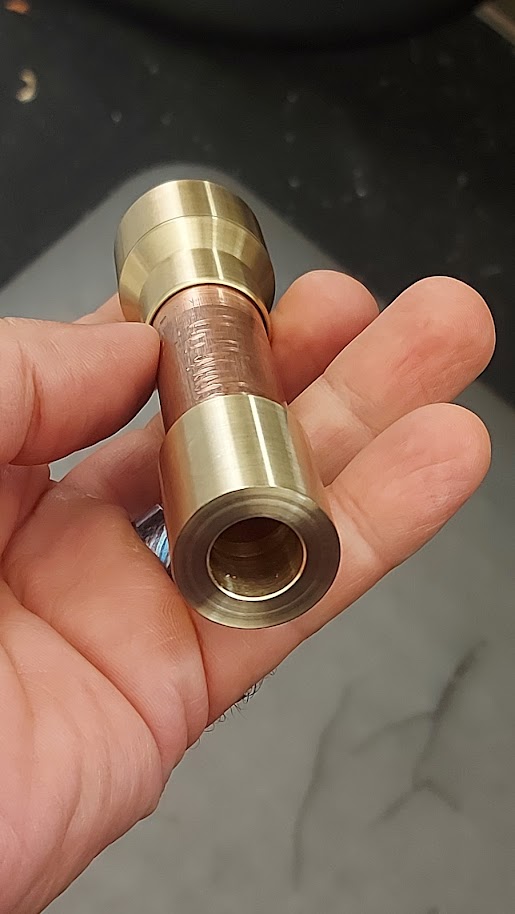
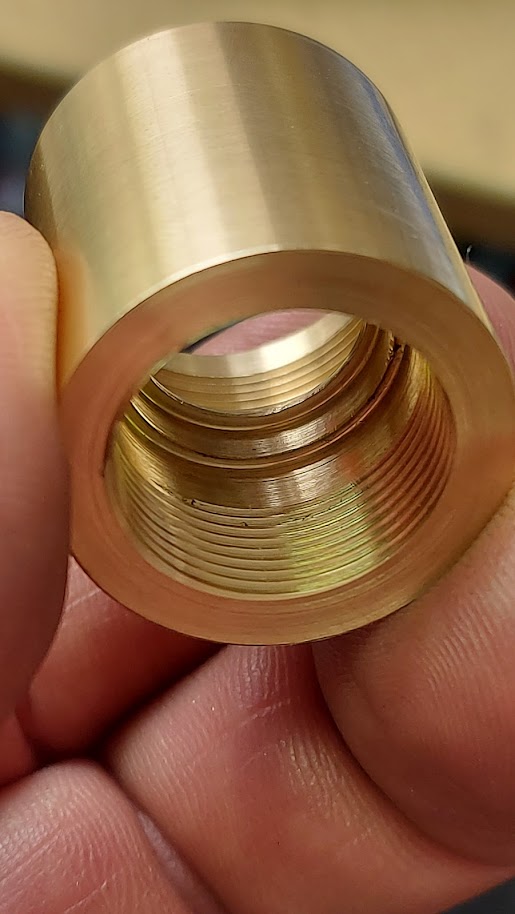
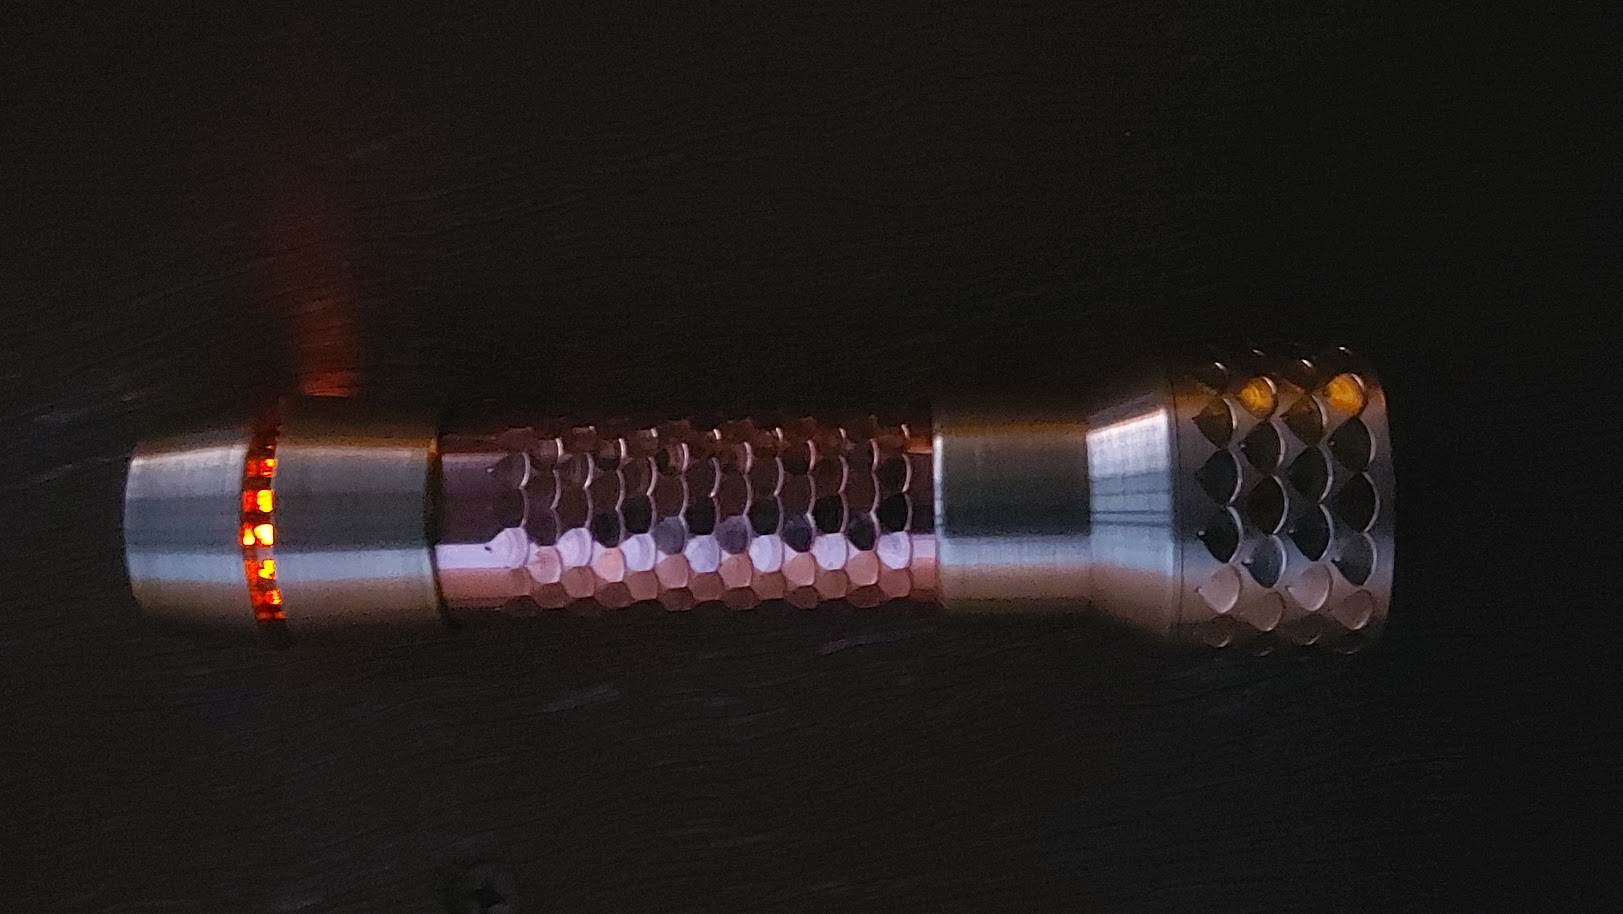
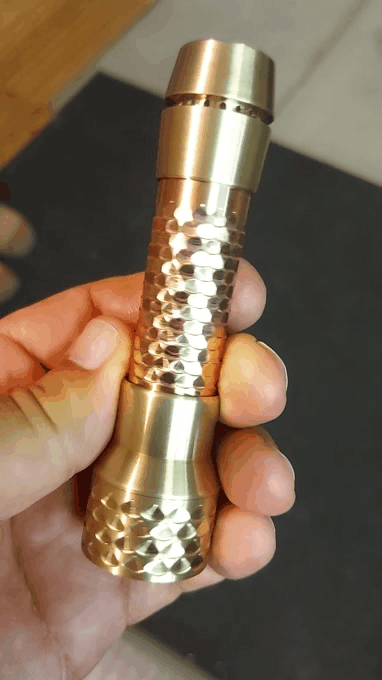
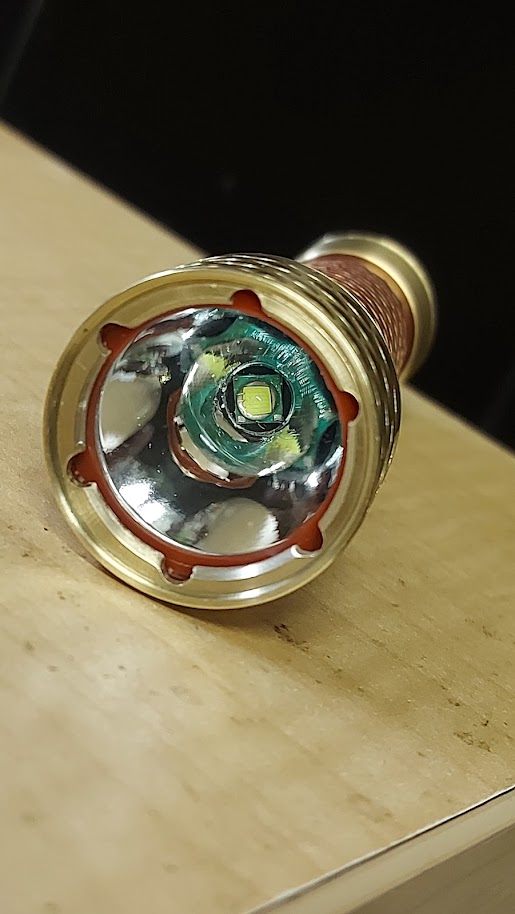
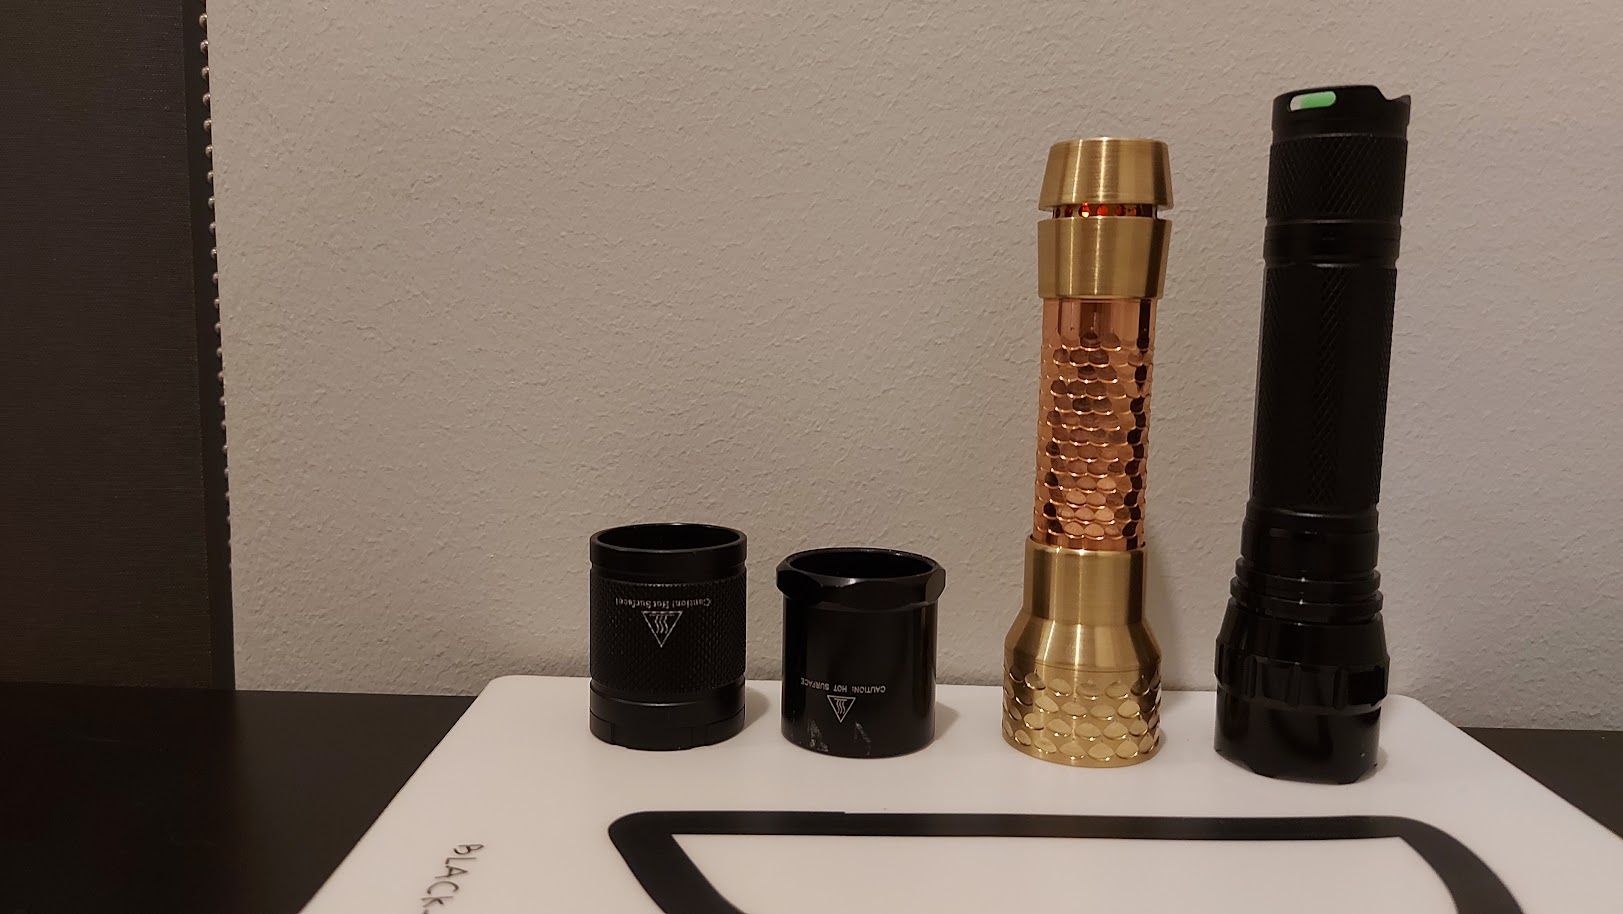
This build seemed to take ages. 2 months and i’m not quite finished yet. I still need to epoxy the holy tail. I initially intended for it to be all brass but I found i didn’t have the right sized tube for the body so the body is now Cu (hence the name - copper and brass P60 ). The copper pipe was also a bit short which made it a fraction too short for 18650 cells so this light takes 18500 cells. I haven’t made any changes to the cheap p60, eventually this light will end up in someone else’s hands and they can change out the module to their preferences.
I don’t have much in the way of other P60’s to compare it to…
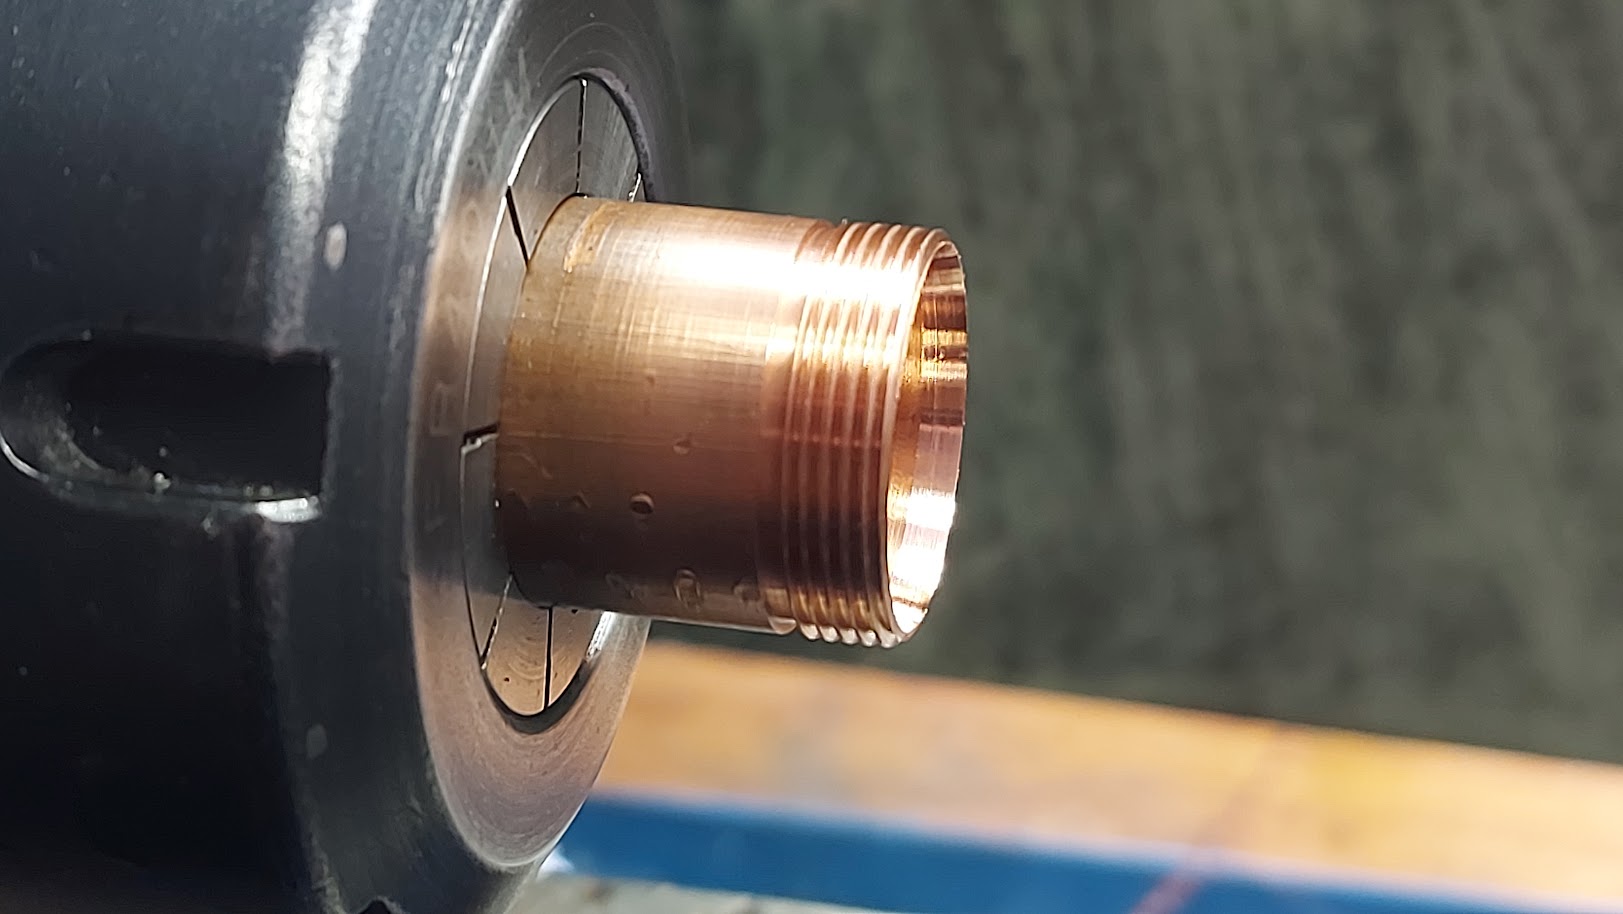
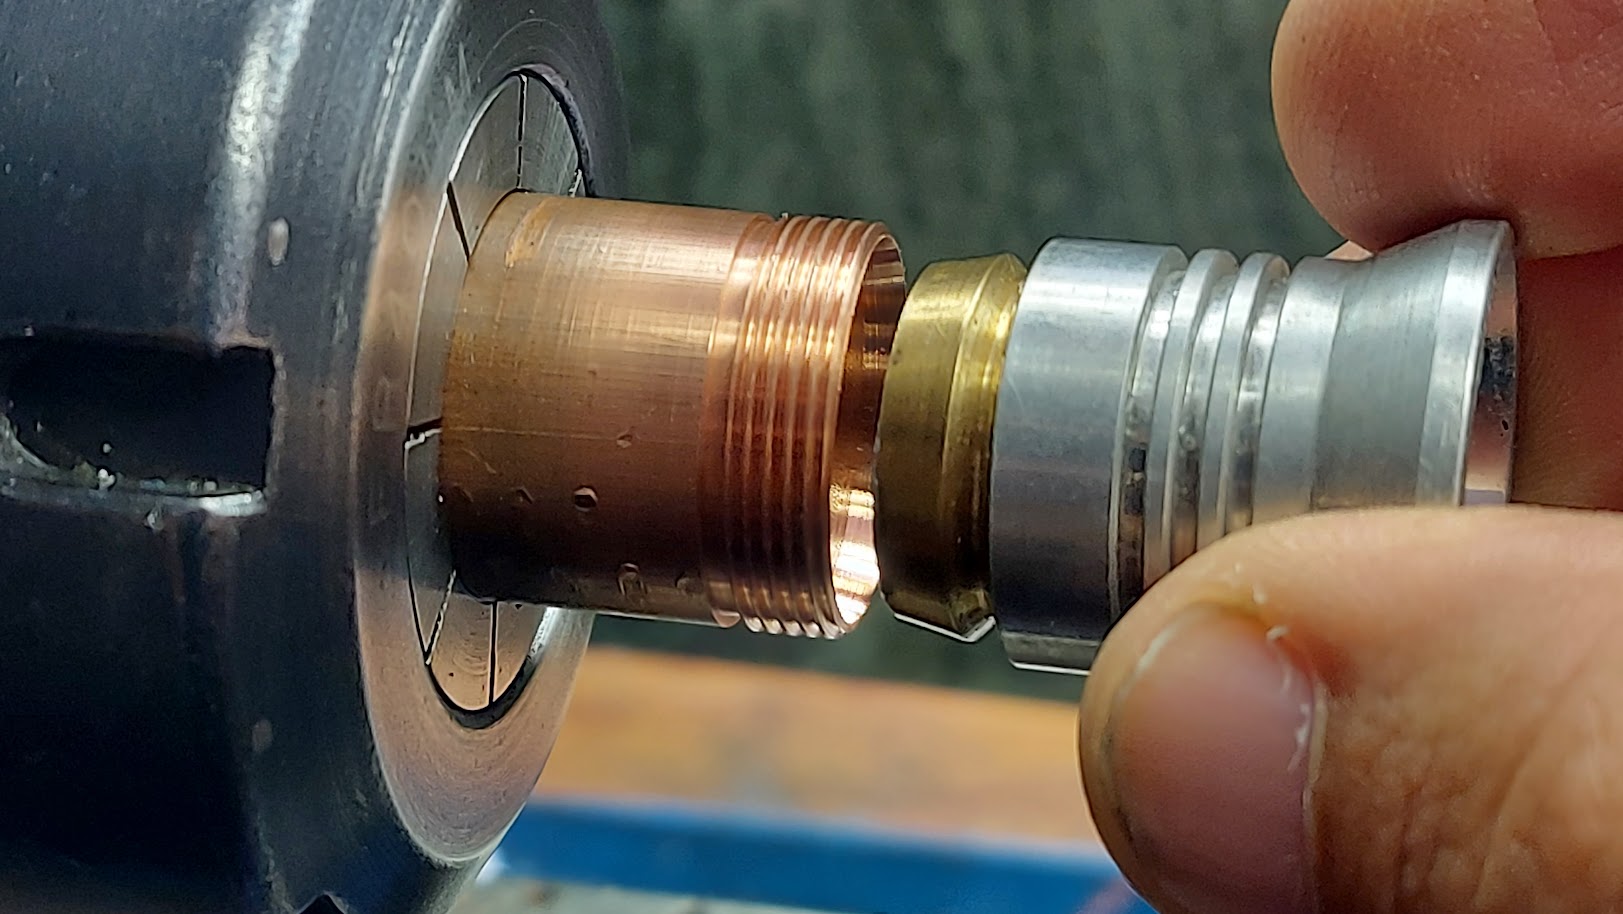
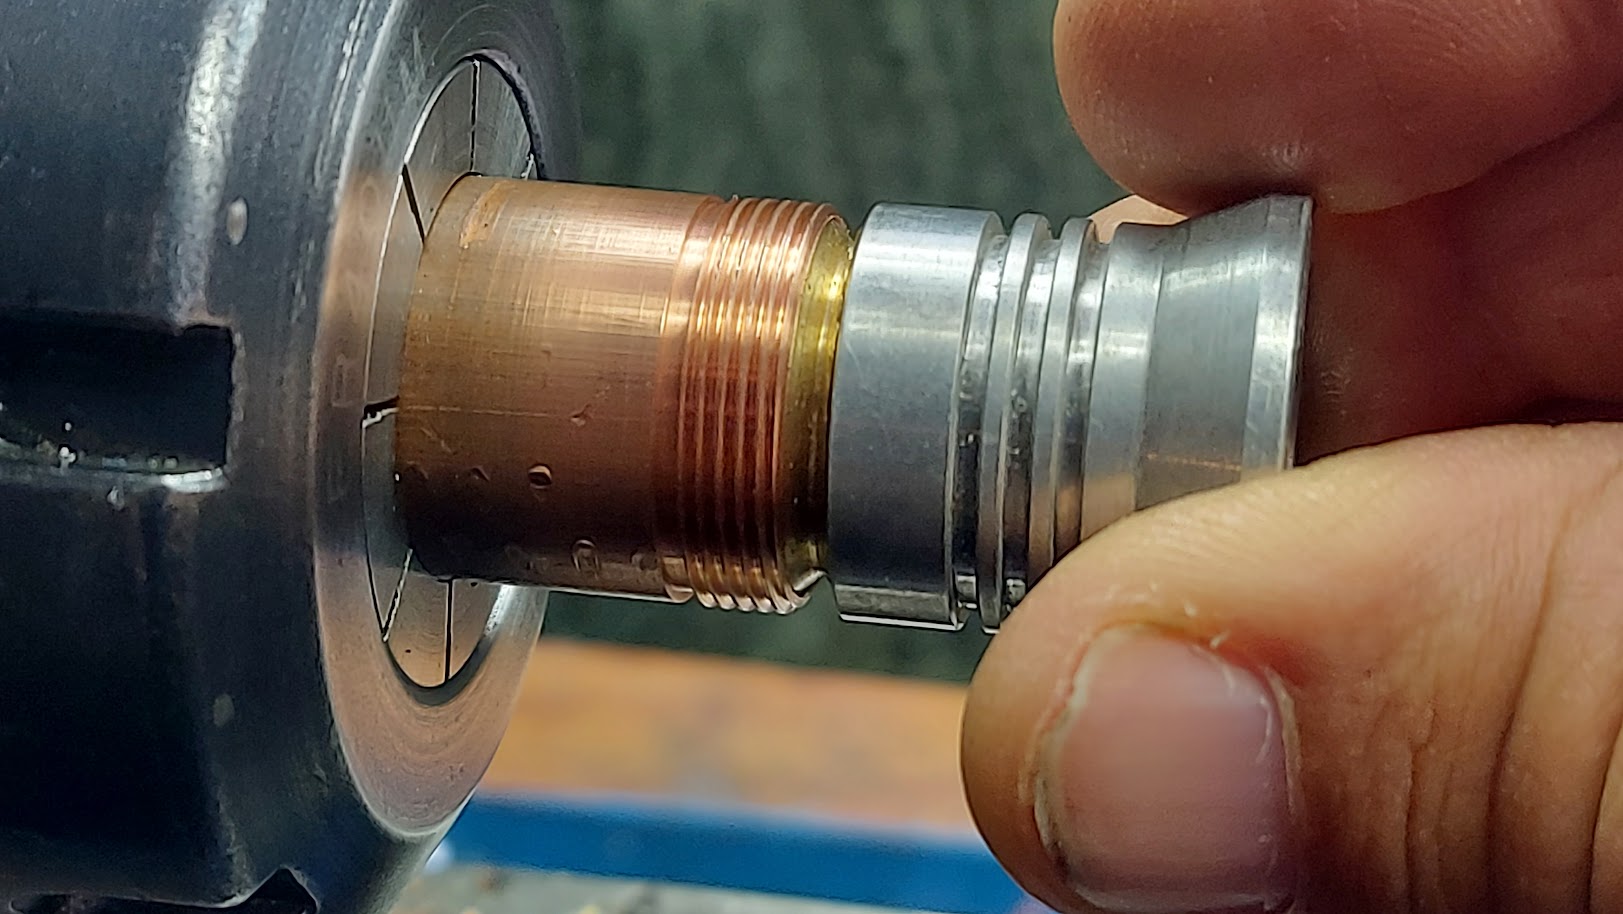
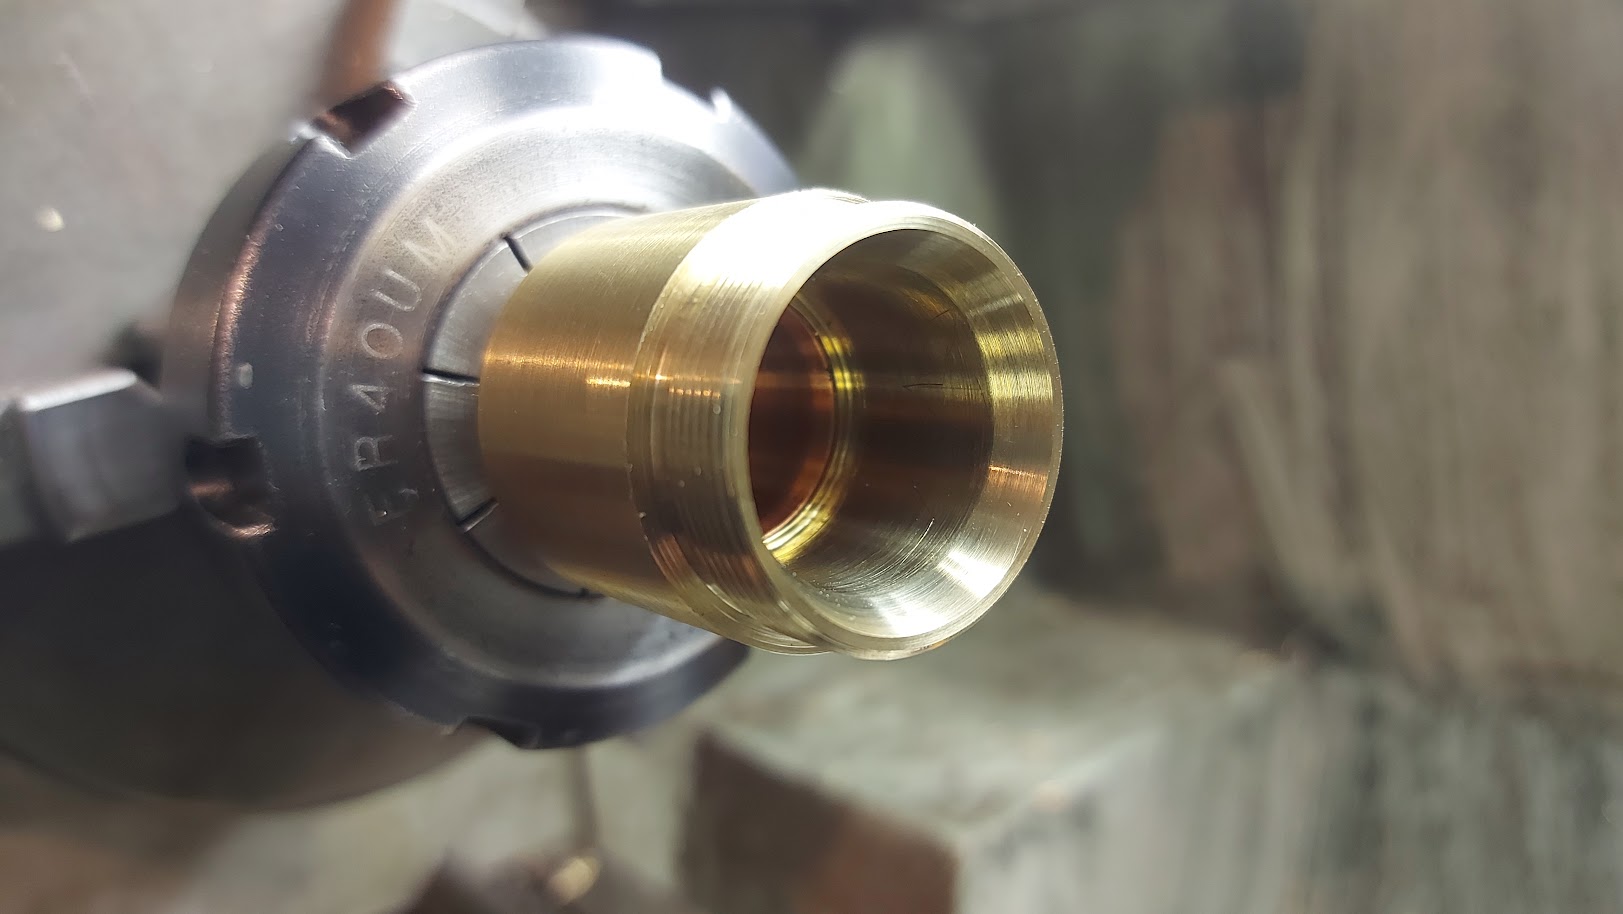
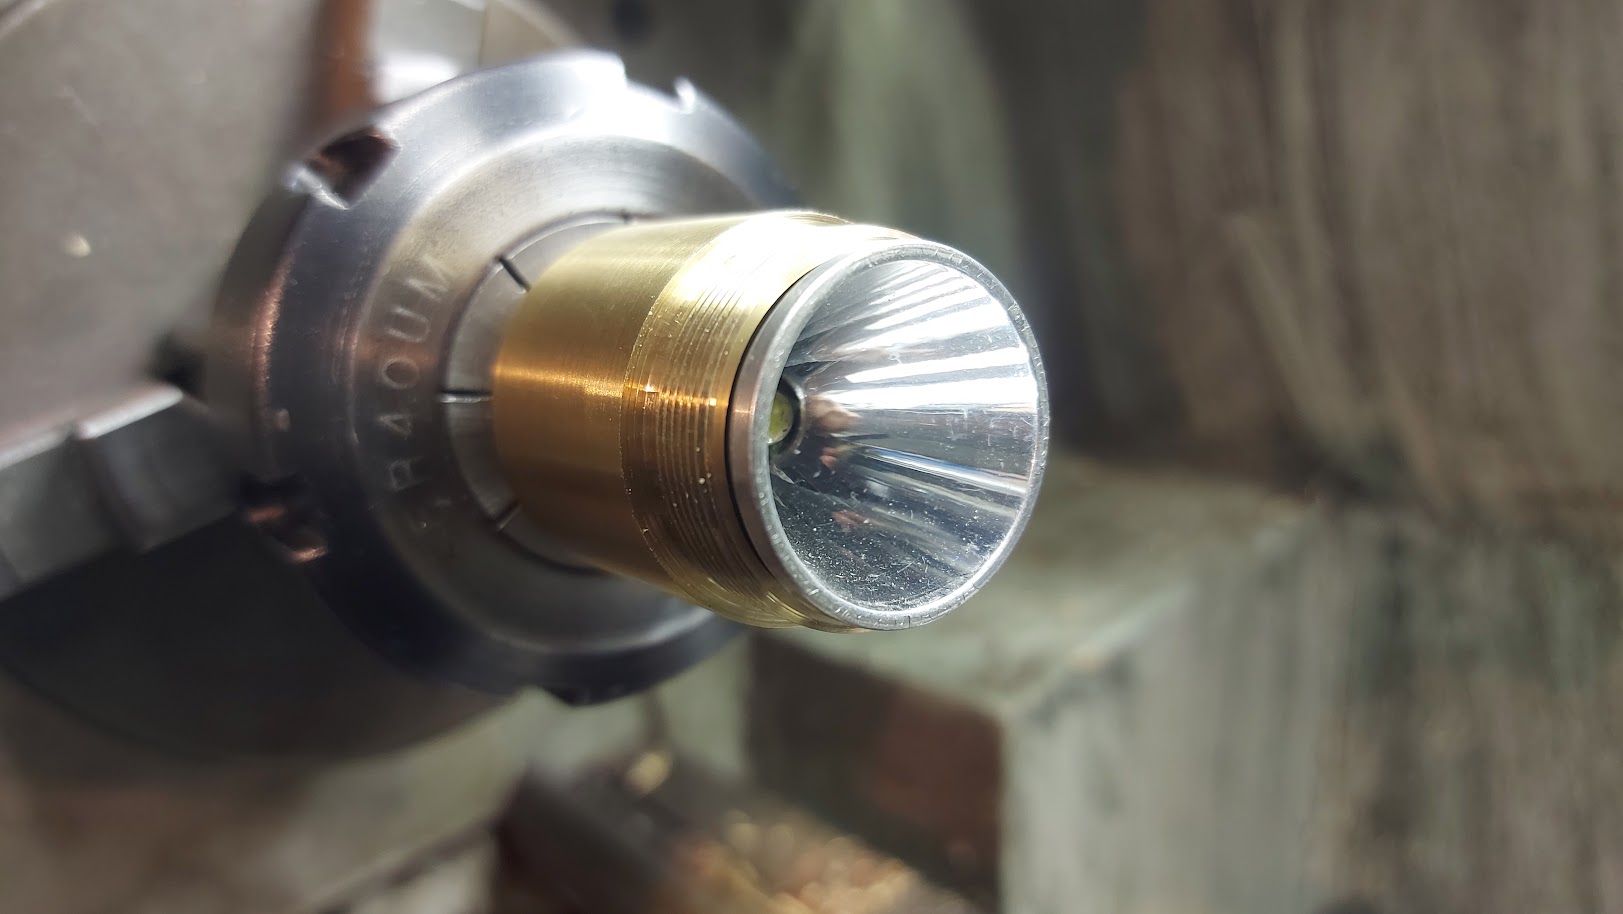
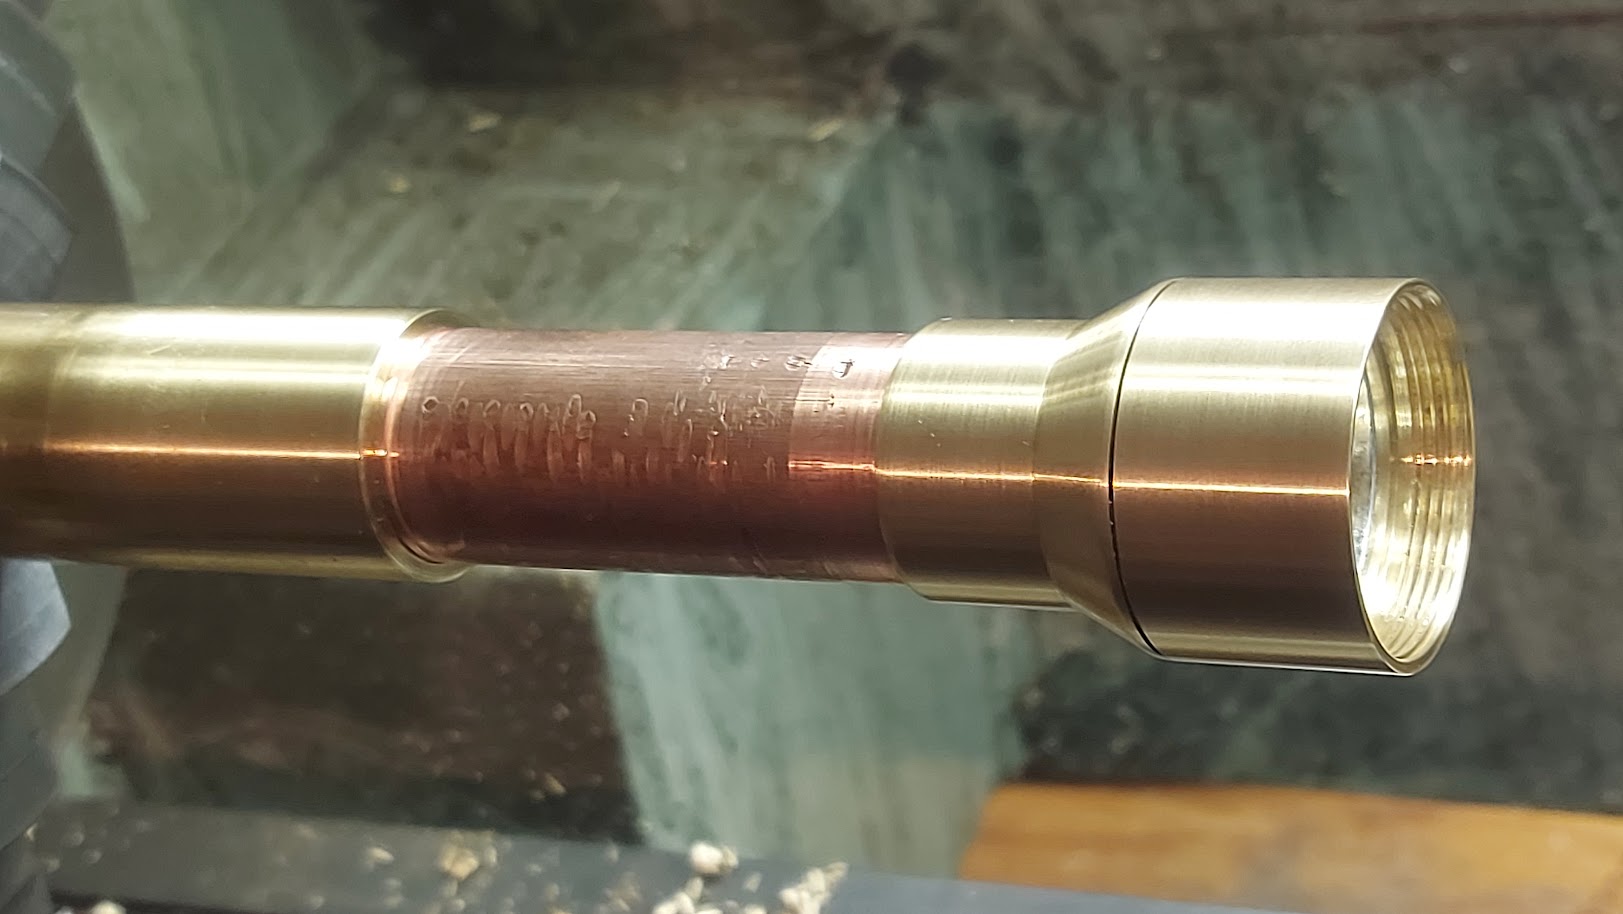
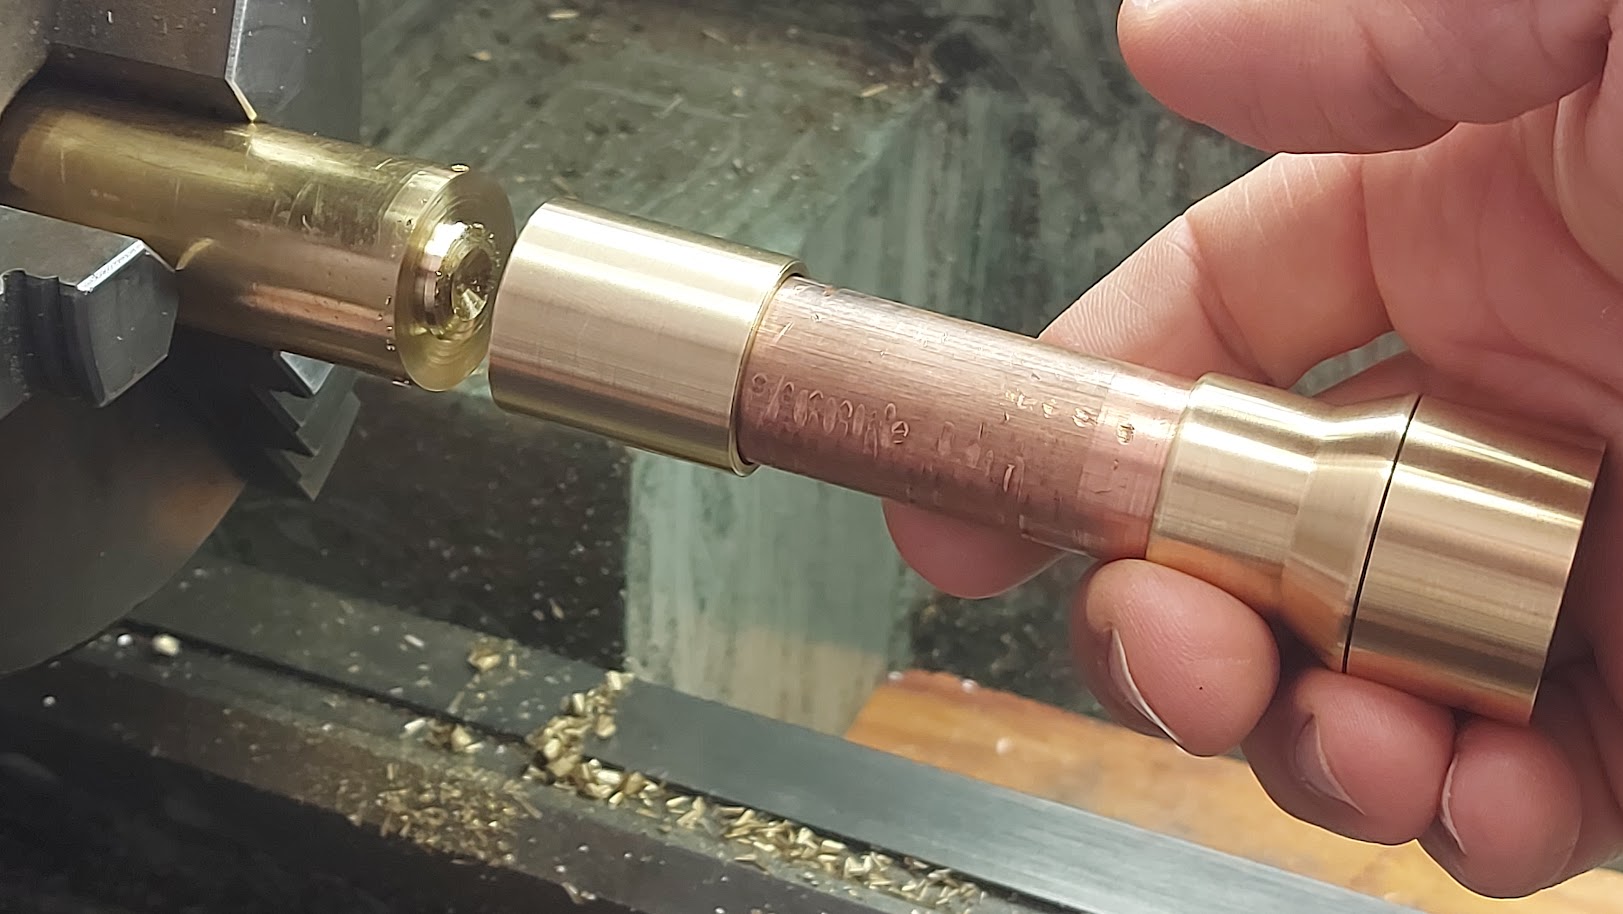
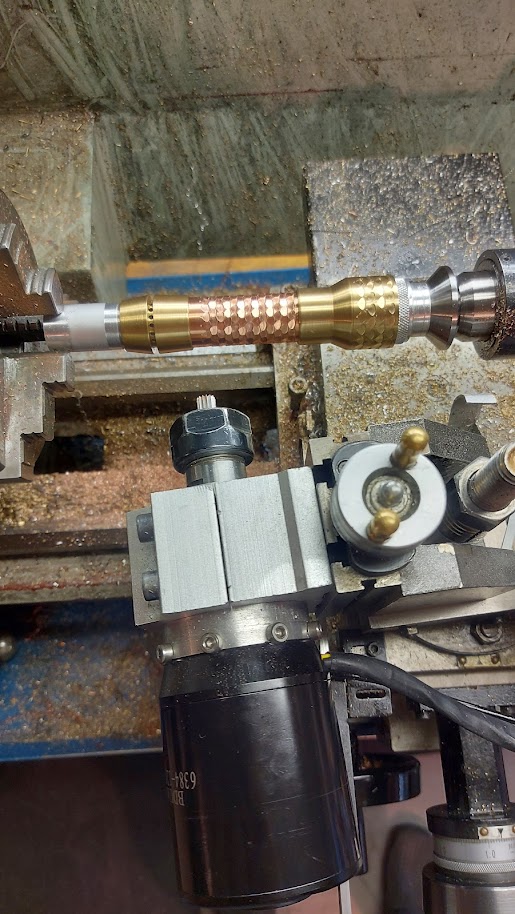
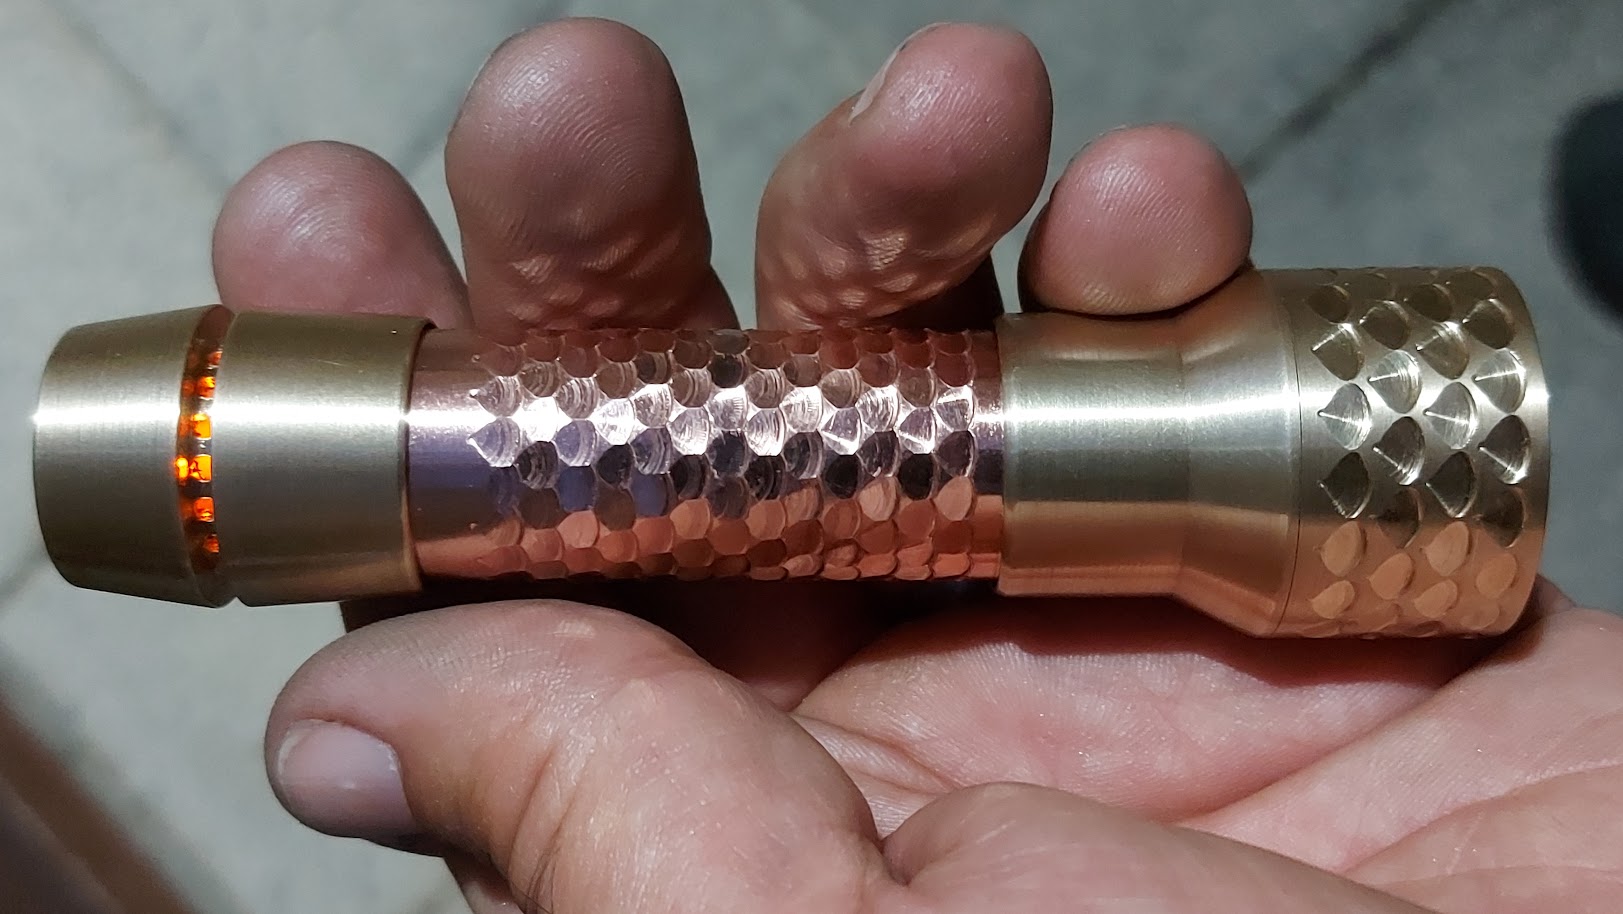
It is actually the same pattern on the bezel and body just slightly different spacings. The pattern around the bezel is not even because i didn’t mount the part perfectly concentric in the chuck when i made those cuts. I overcame the issue when i did the body though. I was planning to blacken the patterned area’s but decided against it when i saw how it looked. I made this light clamp the p60 in place so no outter spring is needed. For this to work best the head should be loosened module installed then tighten the head again. One the things i have noticed when removing the head is because the body ‘grabs’ the back end of the pill it can also unscrew the pill when removing the head.
Wow, love P60’s and this one is way cool! Someone out there is going to end up with something very unique indeed. Reminds me of something CRX would have built.
Very nice! The tight tolerances will help with heat transfer, I imagine.
Edit: I really like P60 lights (good beam pattern, physical form) and still have a few that I won't let go, yet. I've been testing what lights in my collection work for off road biking including, S21A & TIR, S2+ triple, my C2, the SD05. I have a Sky Ray S-R5 that I'm reminded of with the OP and definitely will test it.
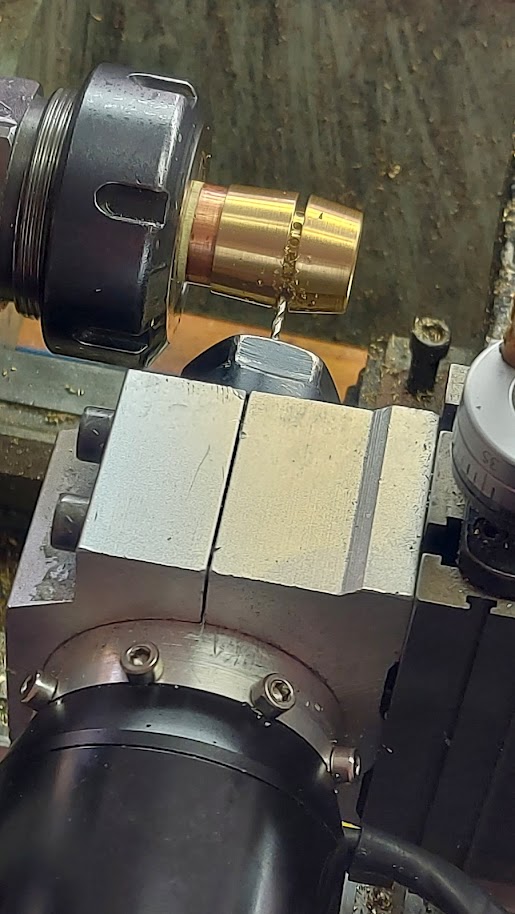
Many hours there. I had to look at the detailed setup to make those ‘scales’. What angle is your rotary toolset on the compound?
I have a Palmgren adjustable vice that can mount to my compound and have been using a rotary tool in there for some multi-lateral drilling (indexing backplate on the spindle). but I wouldn’t have the patience to make 355 indents – I’m taking a guess at 20 x 4 rows (head) and 15 x 13 rows (body).
And the peripheral light holes in the tail. Makes for a very nice visual of the lighted tailcap.
So you have a knack for pushing the envelope of design beauty coupled with simplicity. Kudos!
Compliments like yours are just that little bit more heart warming when you show some understanding of the labour involved. Thank you
I wrote down the details of the set up somewhere but I’m at work at the moment. From memory the live tool set to 5° angle. Head 4 rows of 18, body 13 rows of 18. Total 306 indents plus the tail.
If I had such patience and perseverance. My best shot was 78 holes .030” in Stainless .100” thk. (showerhead, which I’ll have to dismantle and acid clean the scale sometime soon).
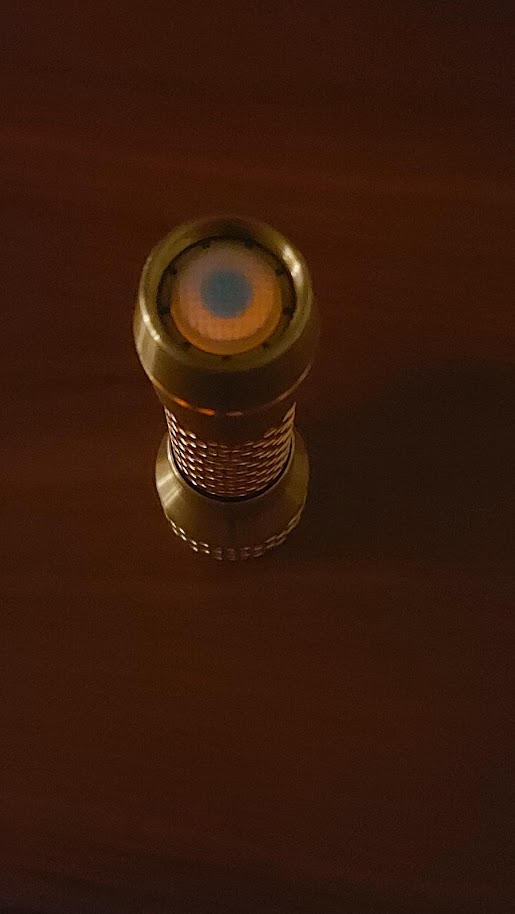
The inner crown in the head is a novelty that I’ll most probably “steal”. It does make for a nice top-off that isn’t pocket gouging as some “tactical” lights.
As for the shortness of the copper blank, perhaps add a copper extender when / if you get hold of some tube. Maybe pirate some plumbing fitting in red brass?
You only mentioned briefly the epoxied tail. Would that be filling in those windows? Curious…
The inner crown is actually a retaining ring for the lens. I designed it to fit a bezel tightening tool (edc+ 2in1 diffuser / retainer tool). So that part is actually function over form
You’re assumption is correct about the epoxy, it’s just too seal those windows in the tail.