01-05-2013
I have a couple 2D Maglites hanging around here and there, so I figured I would do something with one of them. Something I haven't tried yet.
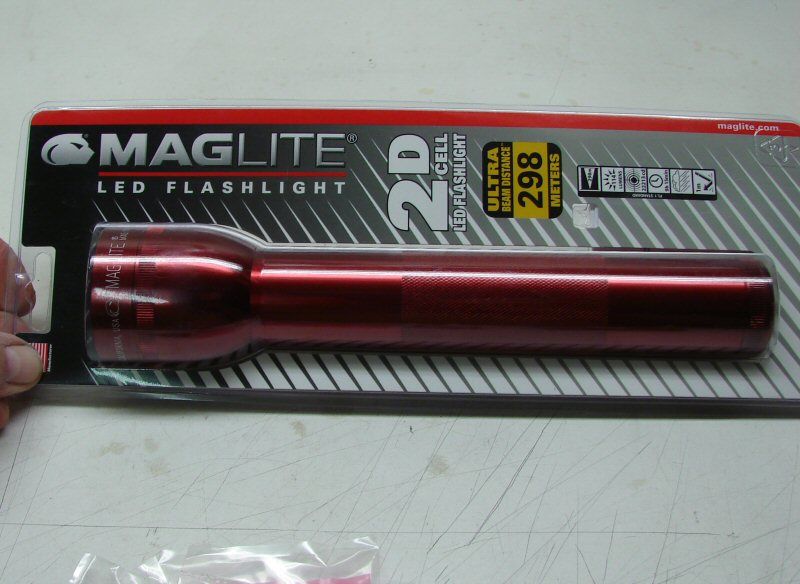
Actually, I have a Red Incan too and I might just use the Incan first and save this one.
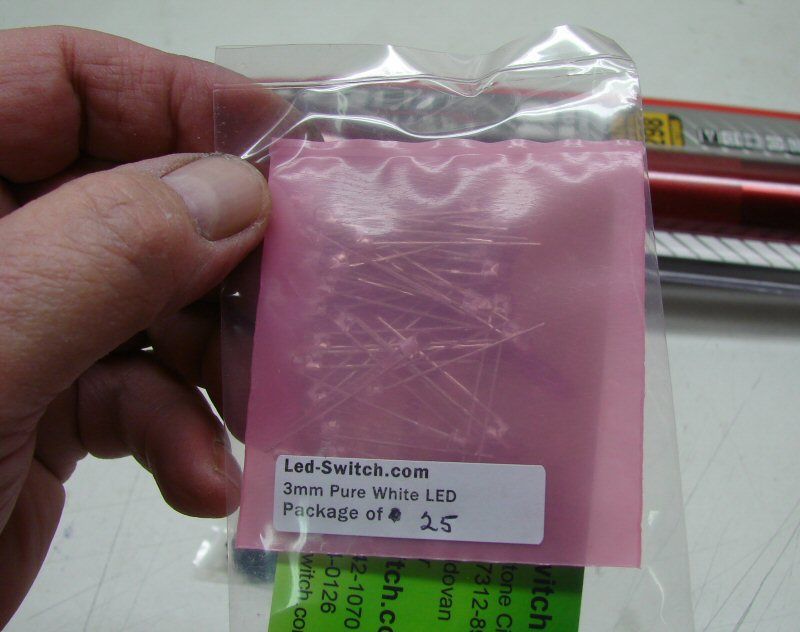
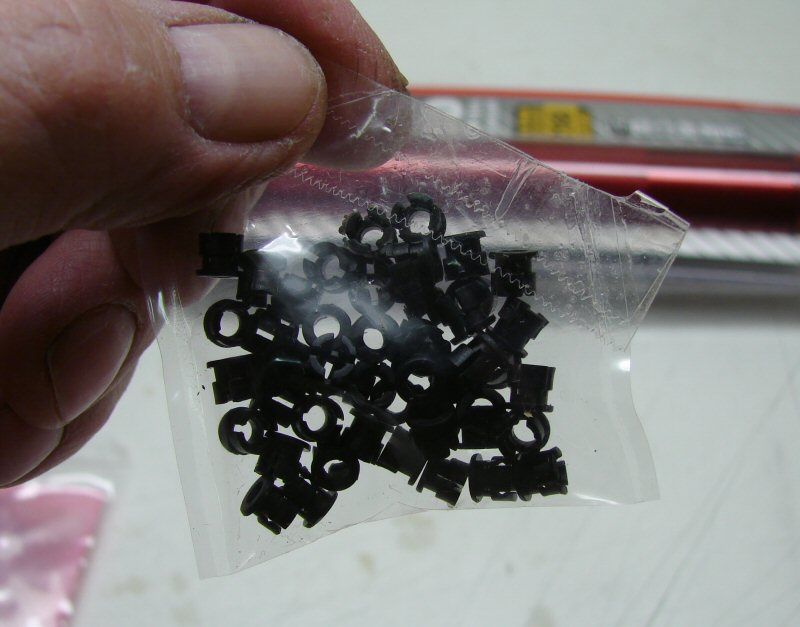
I have a bunch of 3mm LEDs hanging around also and I thought I must find a way to use them. I have the black holders for them too.
Problem is what do do with them? I really would not want to make a "shower head", but maybe they can be used as an accent to a regular LED?
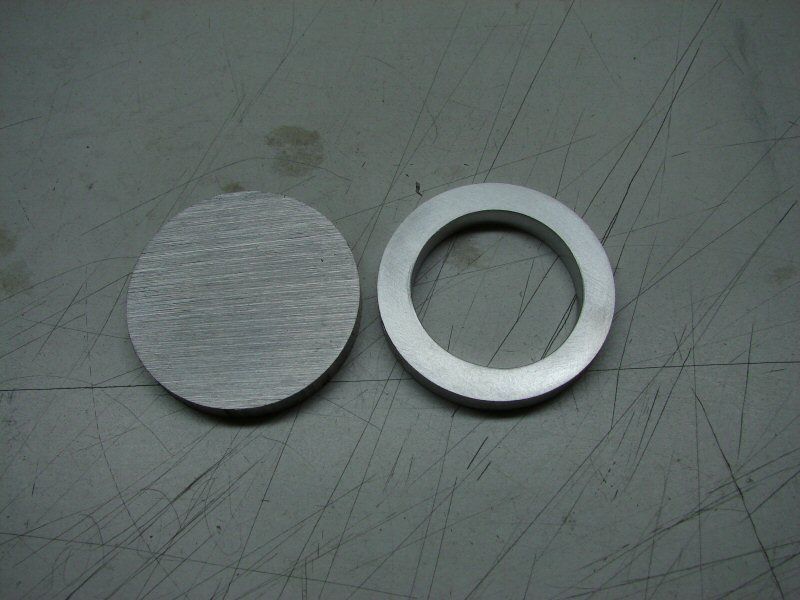
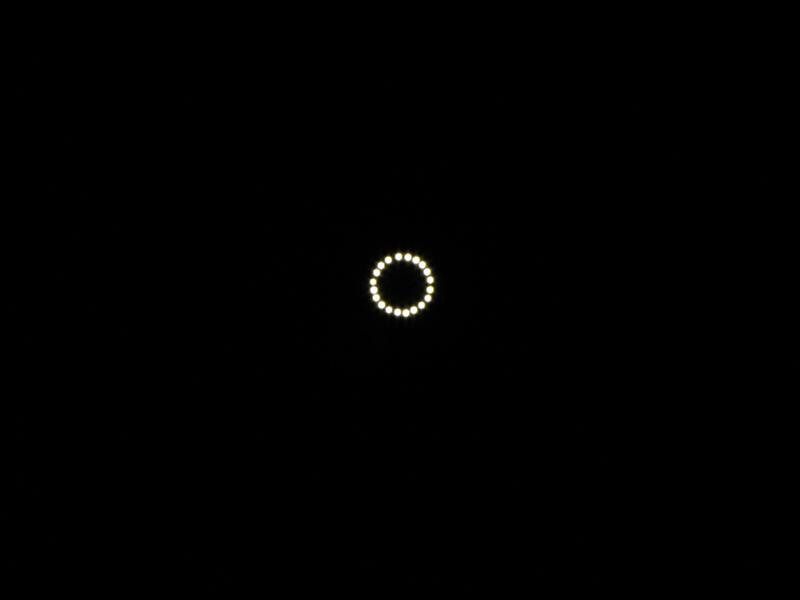
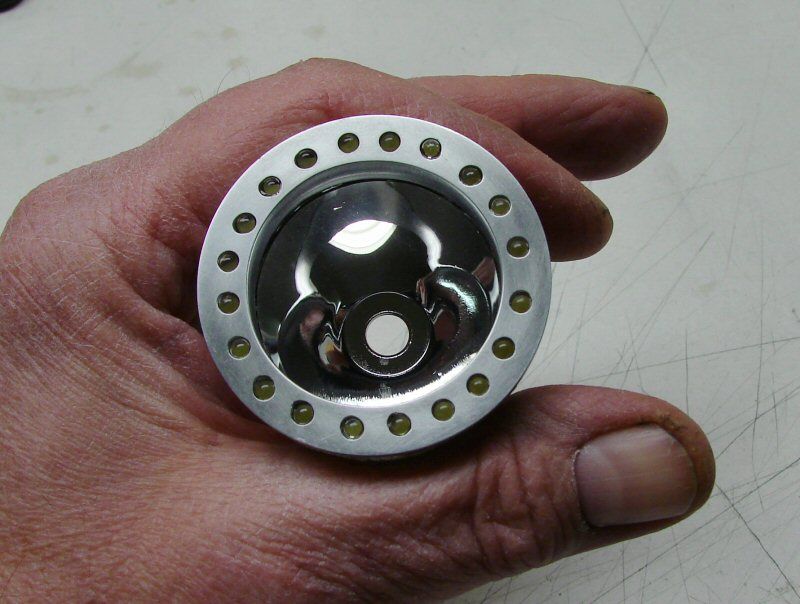
I had a couple 2"x3/8" aluminum heat sinks from when I did a 3up, so I thought I might make a ring out of one. It was more than I figured on, but I ended up drilling a bunch of holes and then using a dremel to cut the rest away, with some filing and sanding to get it fairly round inside. A reflector in the center and a bunch of 3MM LEDs embedded in the ring, all around the reflector.
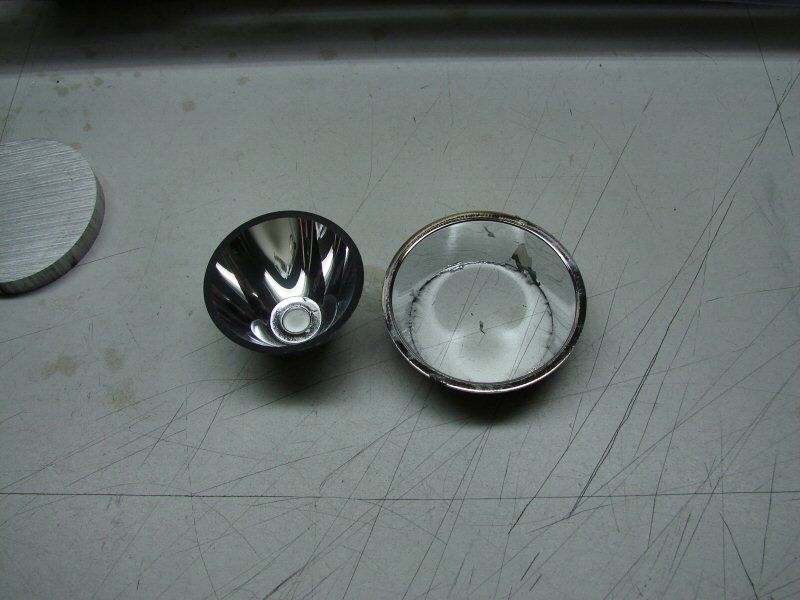
I also had two plastic reflectors that were 51mm in diameter, so I figured I would try cutting one to make a smaller diameter reflector, to fit in the ring. Good thing I had two of them. The first one is in the trash.
I cut the reflector with a hacksaw and then I used my sanding blocks and sanded till I got the thing even. It's going to be stippled anyhow, but I got lucky and there's no marks inside the reflector.
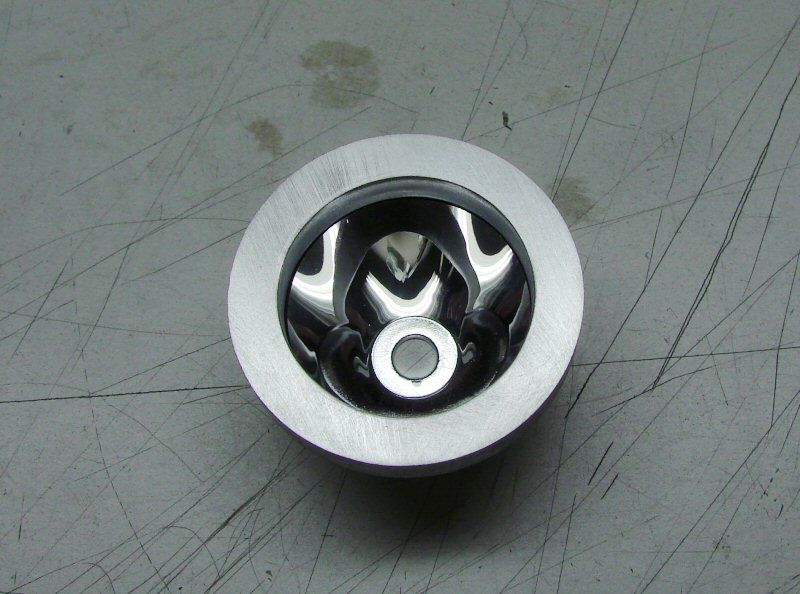
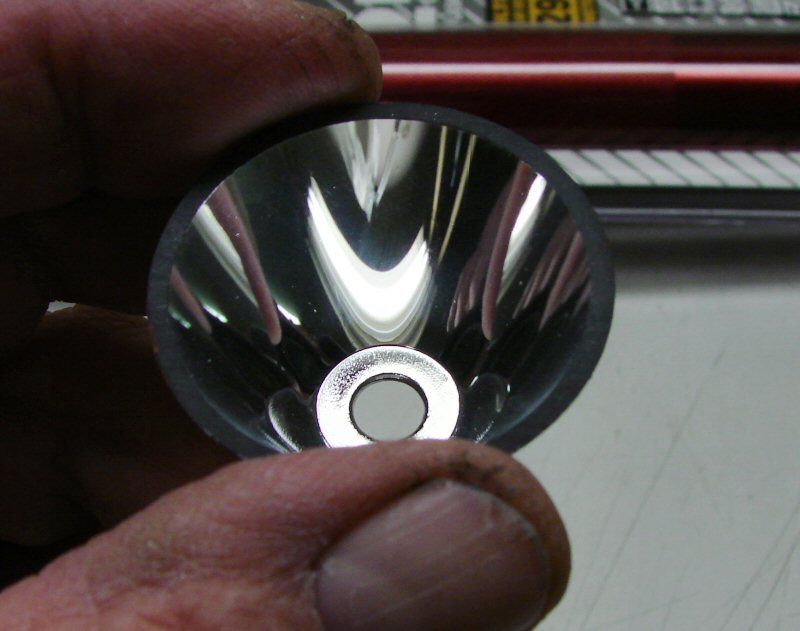
Here's how the ring "may" sit on the reflector. Too soon to tell, but probably it will be like this, with a bunch of 3mm LEDs evenly spaced in the ring.
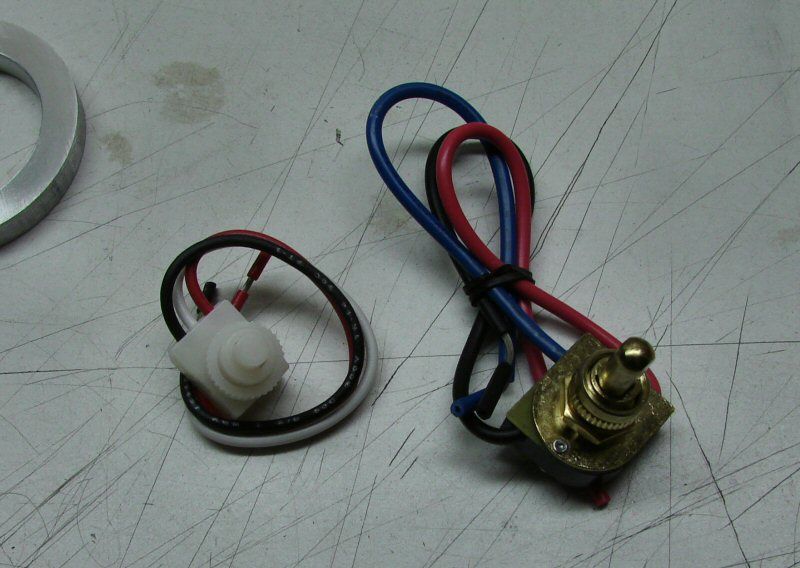
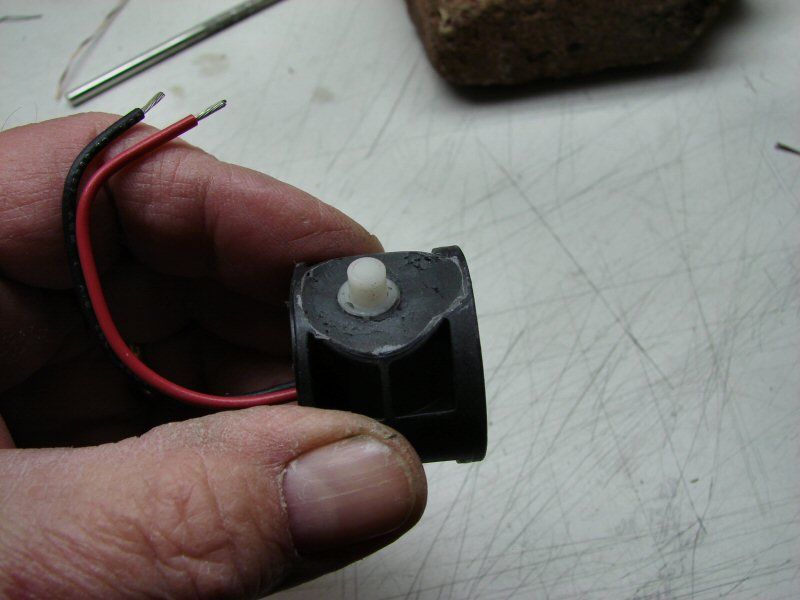
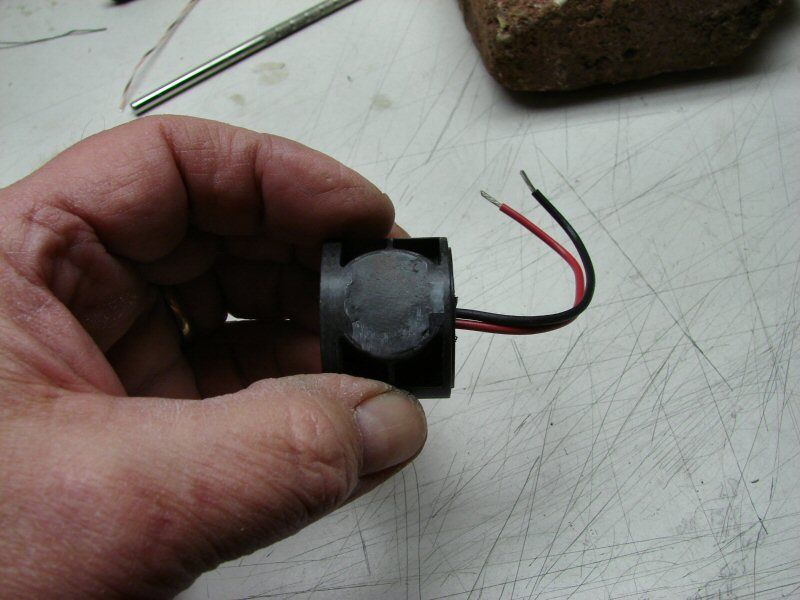
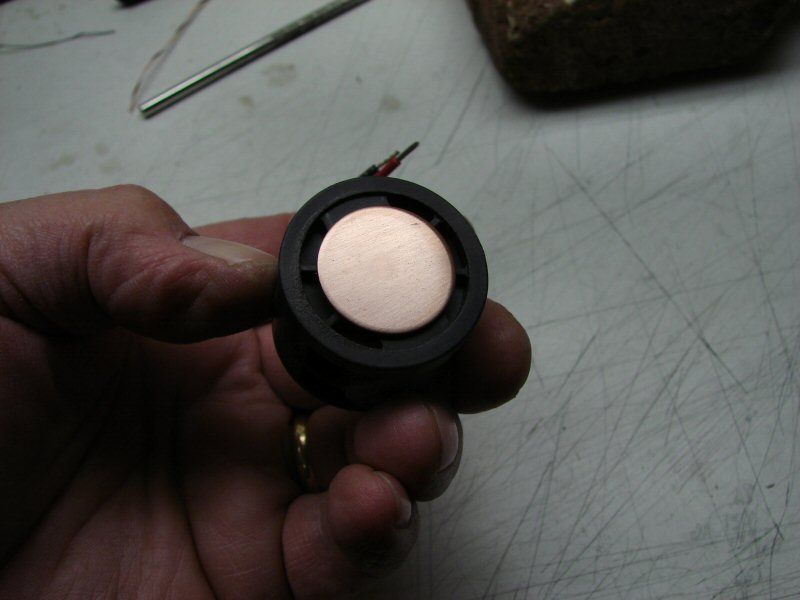
I will be gutting the stock Mag switch and using one of these. One is a pushbutton 3 position and the other is rotary 3 position. Both operate 1-on/2-on/1&2-on/off. That way the ring can be on, or the led can be on, or both cam be on at the same time.
I still have not decided on the drivers yet, but the led and the 3mm LEDs will be driven with separate drivers, (I think).
I plan on using 6AA Eneloops in a 3S/2P configuration. 3.6V/4000mA.
That's about it for now... more when I get more done...
01-06-2013
I managed to do some more with the light (Now called "Angel Eyes").
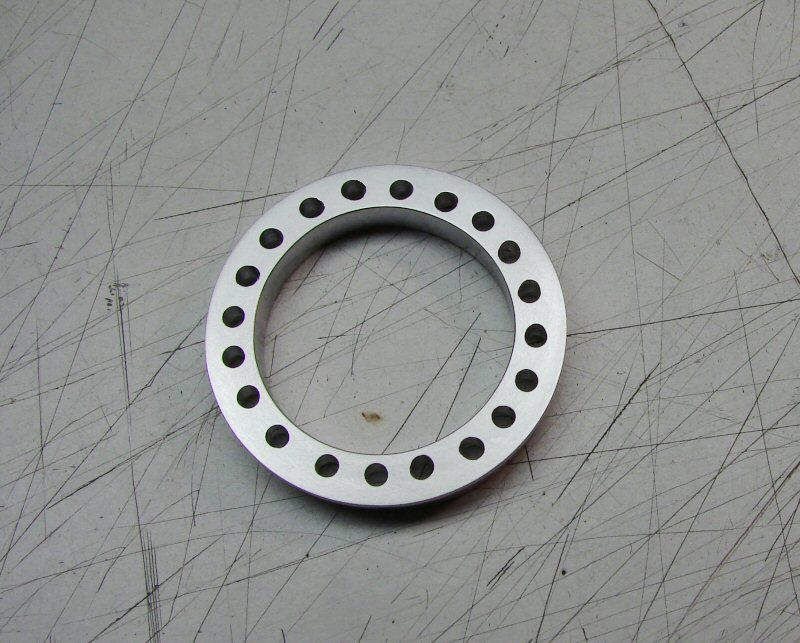
20 Holes! These were all drilled by hand, holding the ring in the vise and drilling with my Dewalt drill.
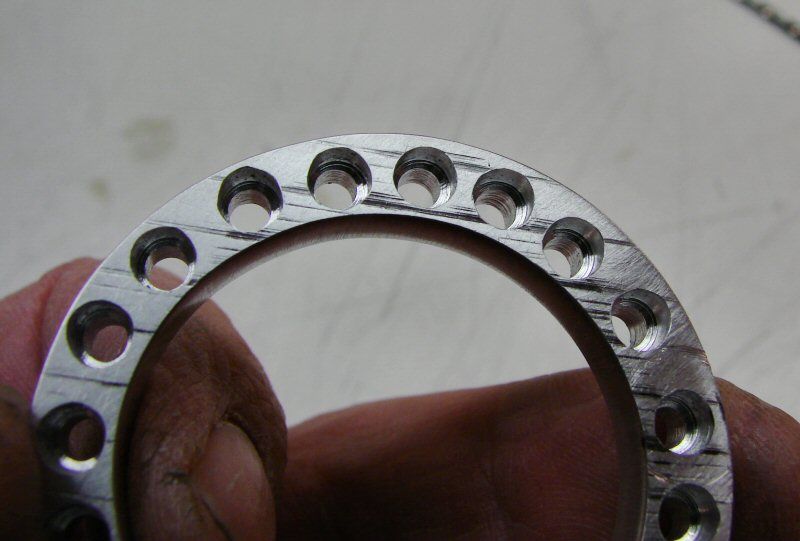
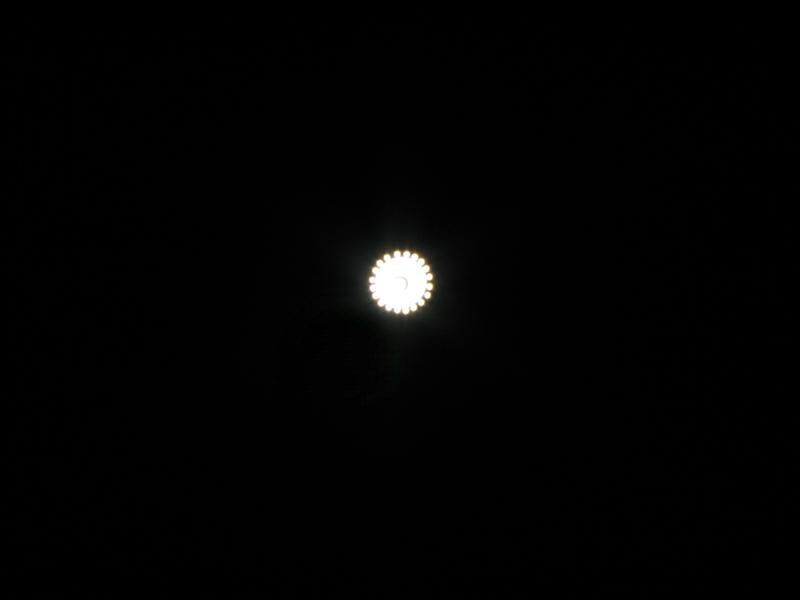
That's not the worst of it! I also had to drill 20 More Times on the back side with a larger drill, to make the step for each led, so they would fit flush to the front. 40 Holes and the step cuts were hard. I had to constantly check each one as I drilled, so the leds would be in the same depth. I did not have a depth stop and I tried the old tape method, but the aluminum shavings just rip the tape up.
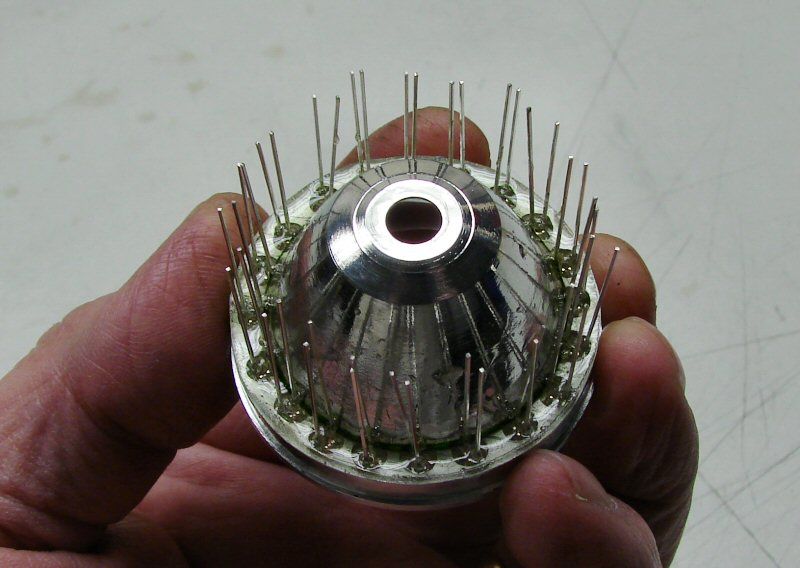
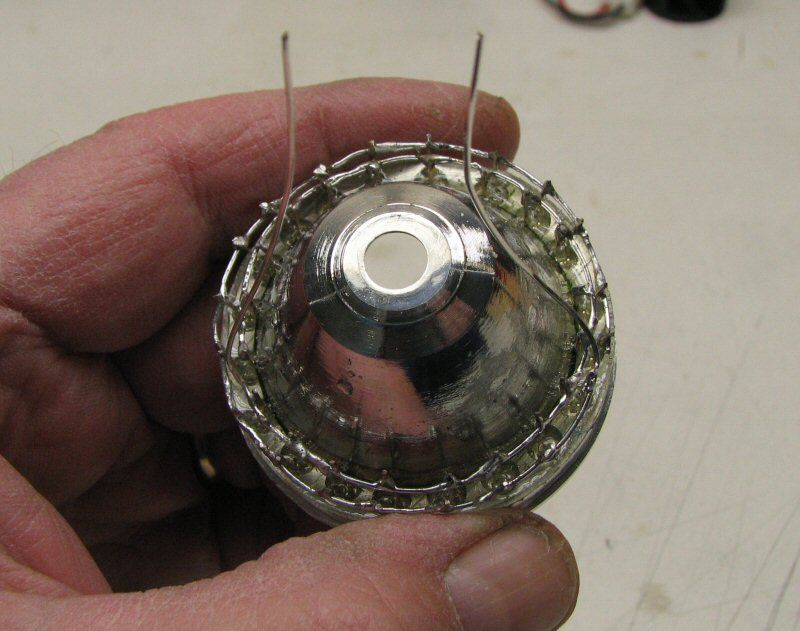
I put the leds in and the center reflector and poured some two part epoxy in, to keep everything where I want it. I just wrapped a piece of masking tape on the outside, so the epoxy would not run off.
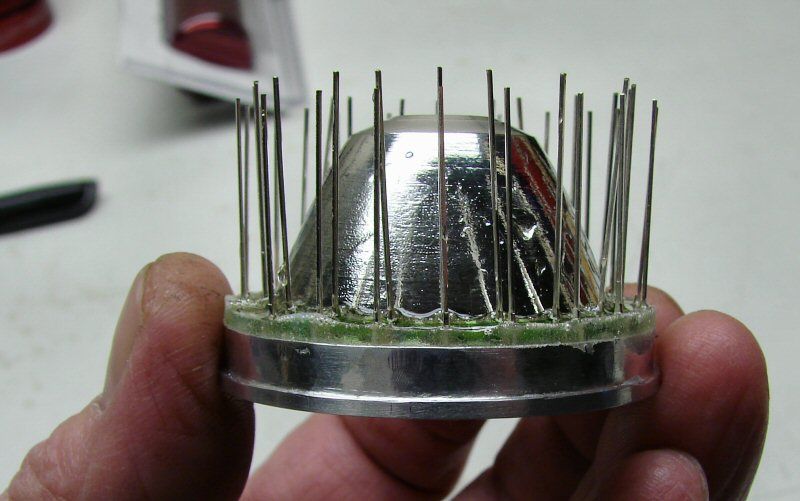
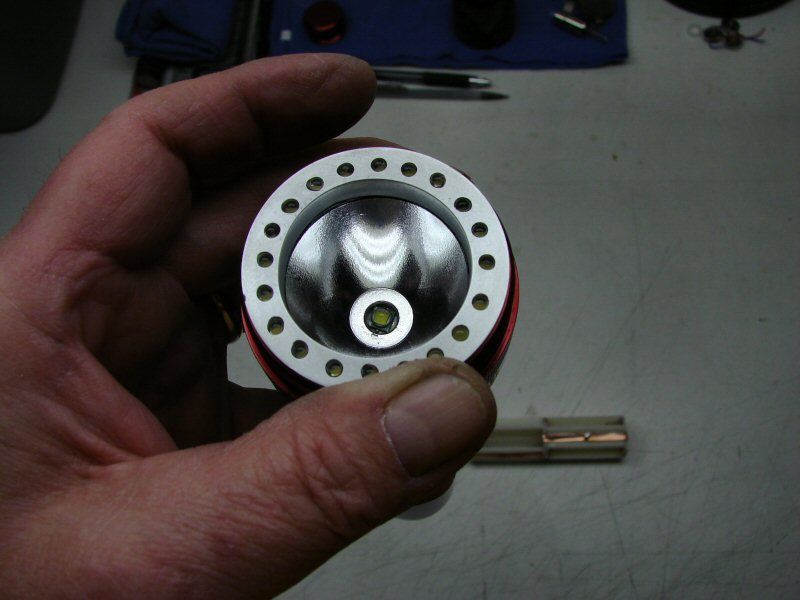
Here, you can see the thickness of the epoxy and also the step that I had to dremel on the aluminum ring, so it would fit in the Maglite head. Now it's the same top spacing as a normal reflector.
That's it for a while. All of my components are due to arrive from China by the end of this year, (if I am licky and the slow boat does not capsize), LOL. Hopefully they will arrive in a couple weeks and I can finish the build. For now, all I can do is the cosmetics and make up the heatsink.
These are "Warm White" leds. I had both warm and pure white. I decided on the warm white.
Later.......................................................................................
01-07-2013
I managed to wire up all of the 3mm leds this morning. I used 22ga solid wire.
It looks terrible, but it works!

They really are warm white. Well at least neutral to warm.
That's all for now.....
01-08-2013
I try to work an hour or two a day, before work, if I can. I got a little more done today.
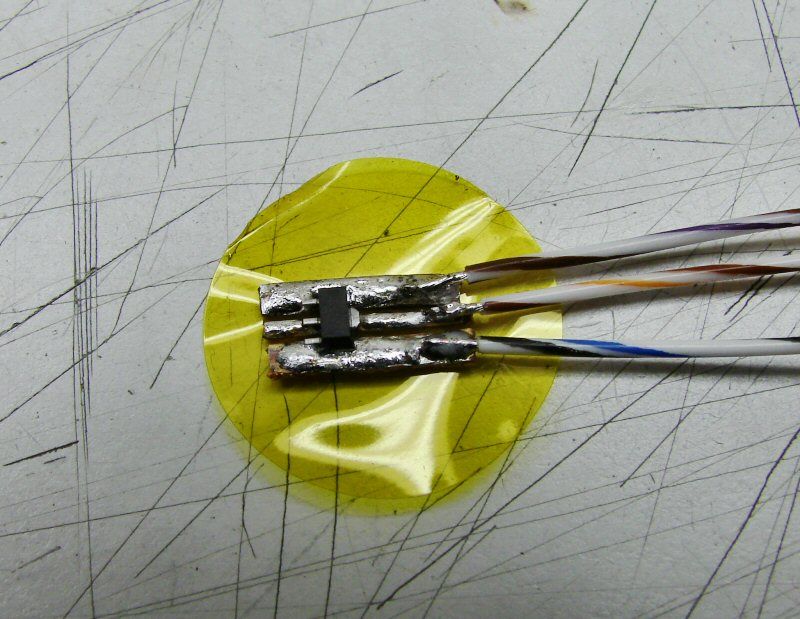
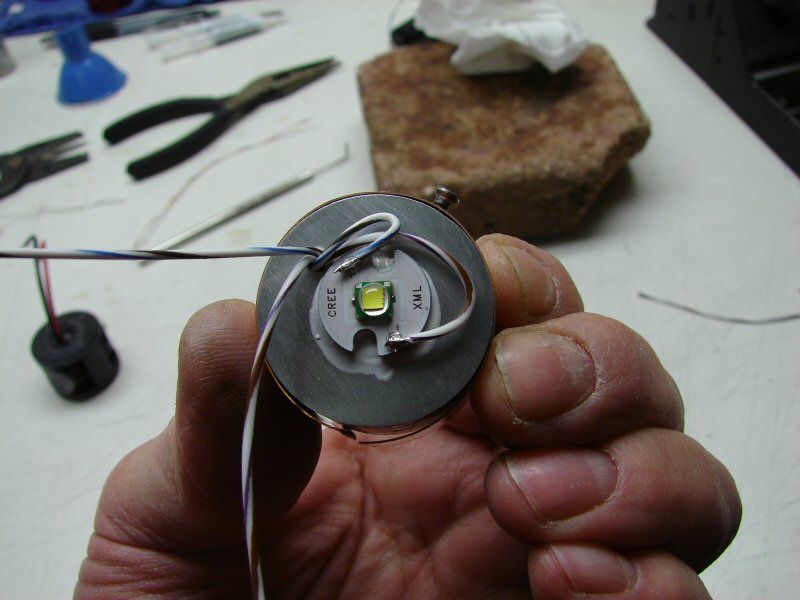
I decided to use one 7135 chip for the 3mmLEDss, so I cut 3 thin pieces of some copper plate and soldered the chip and wires on it. That's Kapton tape and I used it to hold the copper in place, while I soldered everything together. It works well for holding small parts while soldering. I will attach this to the large heat sink, when I get to that point.
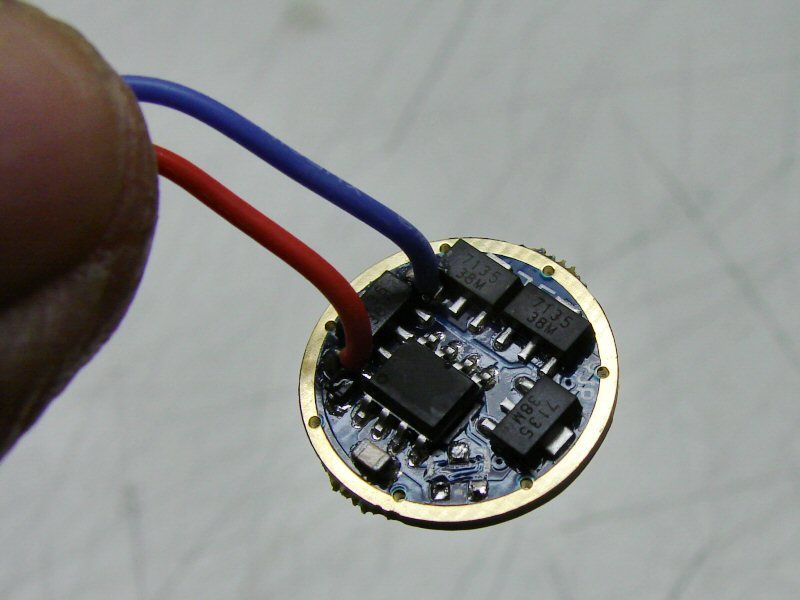
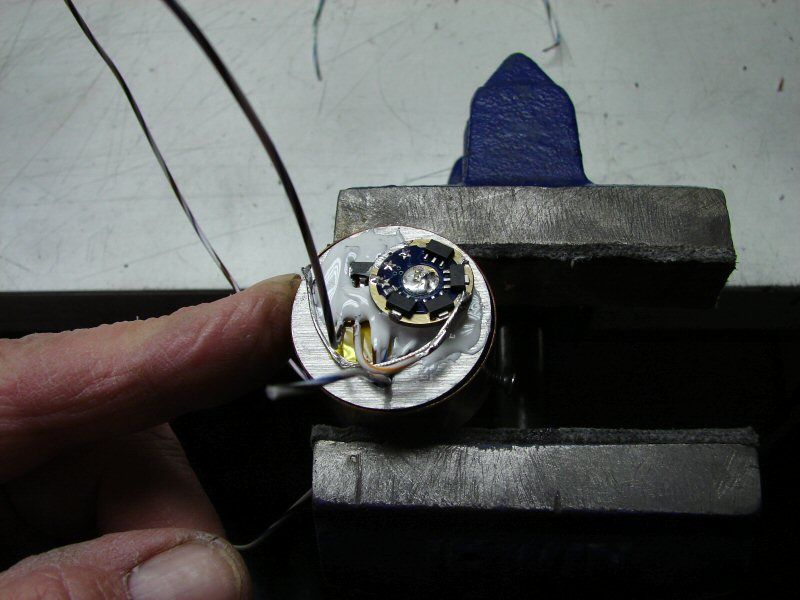
Here's the driver for the XM-L. I have not used one of these before, so I will have to test the different modes it has. It has three stars for different mode sets (I believe) and I will need to test each one.
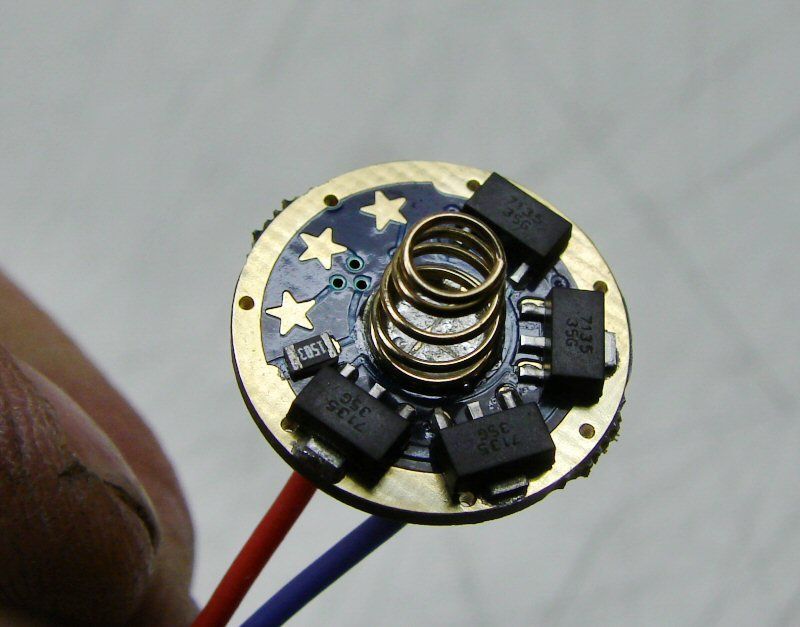
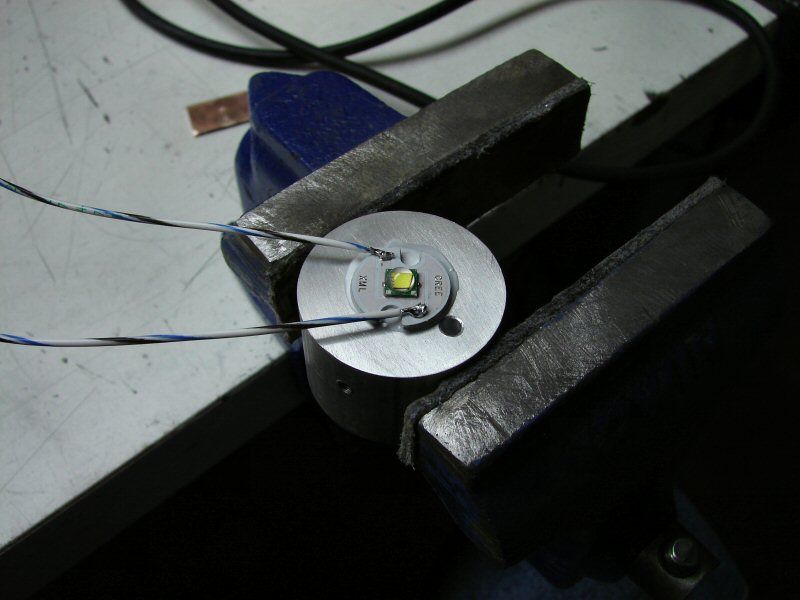
I put an XM-L on a heat sink so I could do the testing of the driver. I also wired up a 3xAAA holder to the driver for power during the tests. Now I can find out how these drivers work. They were less expensive than the normal NANJG 105C drivers. I hope they work well. They are assembled well, so we will see.

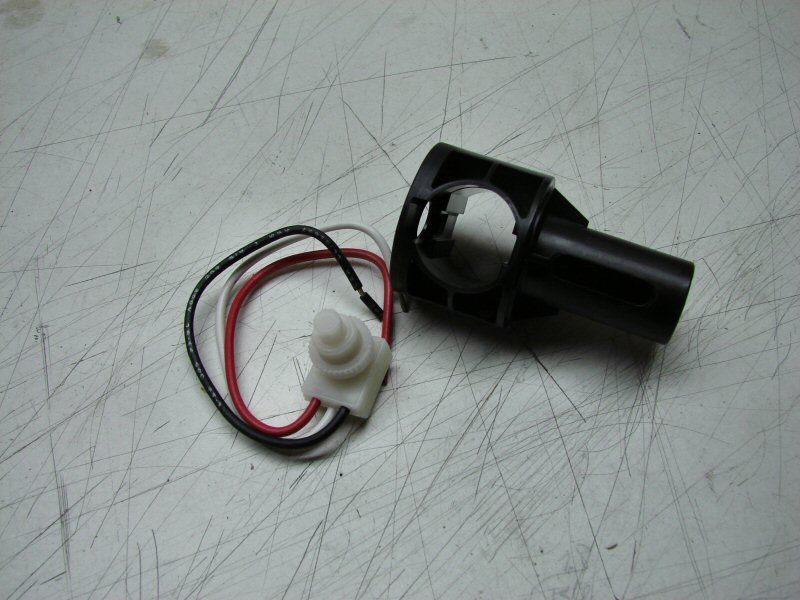
I am also working on putting the 3 way switch into the stock Mag switch housing.
That's it for today!
------------------------------------------------------------------------------------------------------