Earlier in the year I recived a damaged Skyline 1 and it's un-damaged replacement. I ordered an XM-L T6 and an 8x7135 driver from KD.
Just two and a half short months later...bah! They finaly arrived.
I would have taken photos of the parts while I was fitting them, but sadly my camera was rather more broken than expected and I couldn't wait for it's replacement. :P
Removing the existing driver from the Skyline is obviously not something Solarforce thought anyone would want to do, it's held in place by a c.15mm long interference fit brass tube. It is obviously rammed home under some preassure and there's not much hope of just pulling it back out.
I eventually came up with rather an easy way to remove it - I used a 1mm drill bit in a pin-vice and drilled down the length of one of the sides, turning the ring into a big brass circlip.
From there it just needed a little squeeze and it slid straight out.
As the reflector had been damaged around the LED hole (for which I'm sure there has to be a better name), I chose to file the bottom off it. This would allow the reflector to sit a little closer to the lower profile XM-L...it does look a little ugly though.
Anyway, the good news is I've now got a shiny new (to me) camera an Olympus E-410. It seems to be very nice...and I'm sure once I've figured out what any of the 20 or so buttons do I should be able to take some half decent photos again.
While obviously leaving the camera on automatic isn't good for comparative beam shots, it's the best I can do at the moment :P
XM-L on 1x18650, XR-E on 2xCR123 as that's (stupidly) how it performs best in it's default setup.
(Mouse over for before and after)
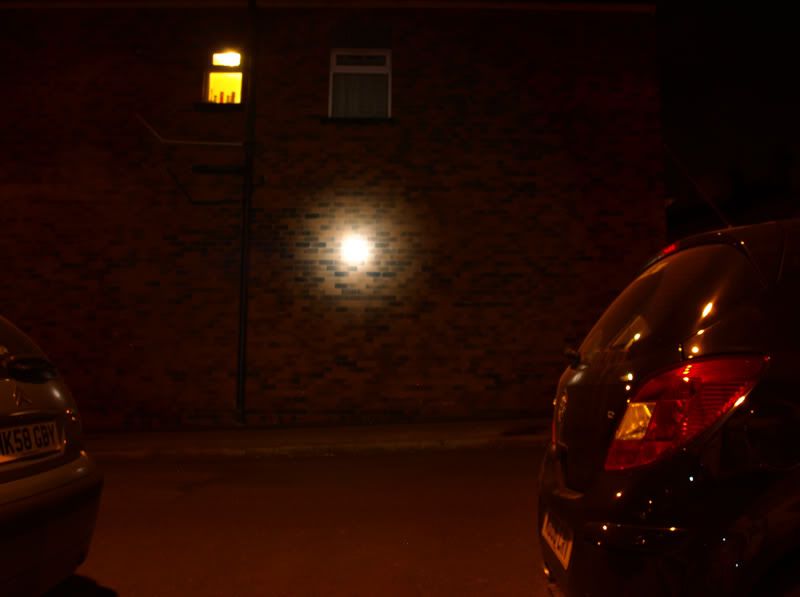
Here's a beam shot at 10m of both Skylines side-by-side, the noticibly less bright hotspot is the XM-L
These two pictures (mouse over) show the diffrence in a rather more easily seen way.
The XR-E shows it's "white laser" style beam where as the XM-L is much less focused and rather more spill.
I took the XM-L for a walk int he park last night and was rather amazed with the result. The Skyline while fun, isn't in truth very useful - I can't think of many occasions where you would want to realy light up something far away but not want to be able to see you own feet!
The XM-L version is fantastic, it doesn't throw quite as far but it lights up everything between you and what ever you've pointed it at.
I measured the current on the XM-L light with a battery just of the chager and was rather pleased with the result, exactly 2.80A.
Which is of course what it should be, but it's nice to know my multimeter is accurate.
To aid heat transfer I filled the area between the head and the underside of the reflector with foil, I ran 2 flame Trustfires through it on high and it became nicely warm...about as hot as my L2P KD-XML does after about 10minutes. So that big head is working quite nicely as a heatsink.
At the moment it's still using the dimmable switch that came with it. The dimming function no longer works - as soon as it starts to dim the driver cuts out. So far no problems with the switch at 2.8A it switches nicely between the modes and doesn't seem to be misbehaving yet. However...I suspect the switch is slightly limiting the current reaching the emiter and will switch to a normal switch (as always, when ever those arrive:)
So in summation I have to say I really like it and would recomend the emiter swap to anyone who would prefer a rather more useful Skyline.
***
Sorry fo the length of this, I just can't get away from using 4 words where 1 would have been perfectly fine :P