Thanks tom, what about installing the Dry driver? I’m going to do it once my dry driver gets here because it seems that my turbo mode on my BTU isn’t working (Turbo looks the same in all my beamshots as high and there is no step down from it after 4-5 mins thats even gradual).
Can you direct me to any place that discusses installing it? Thanks!
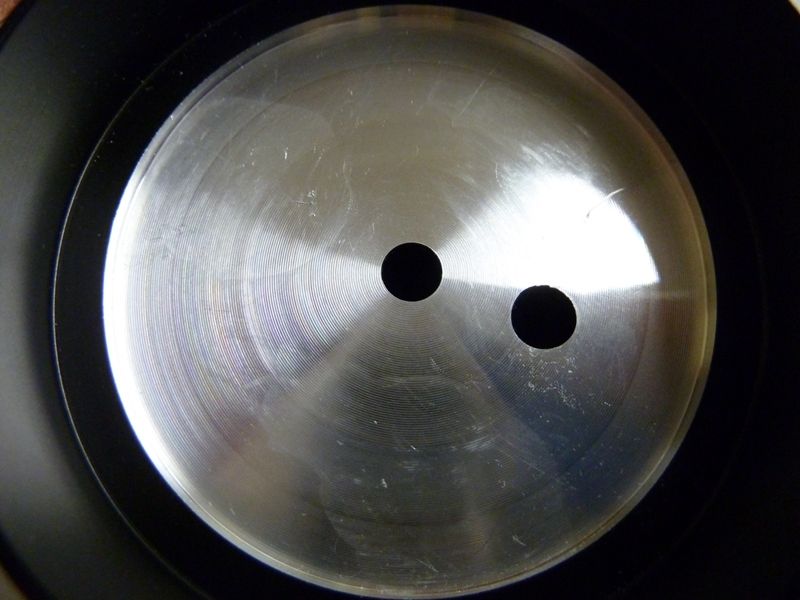
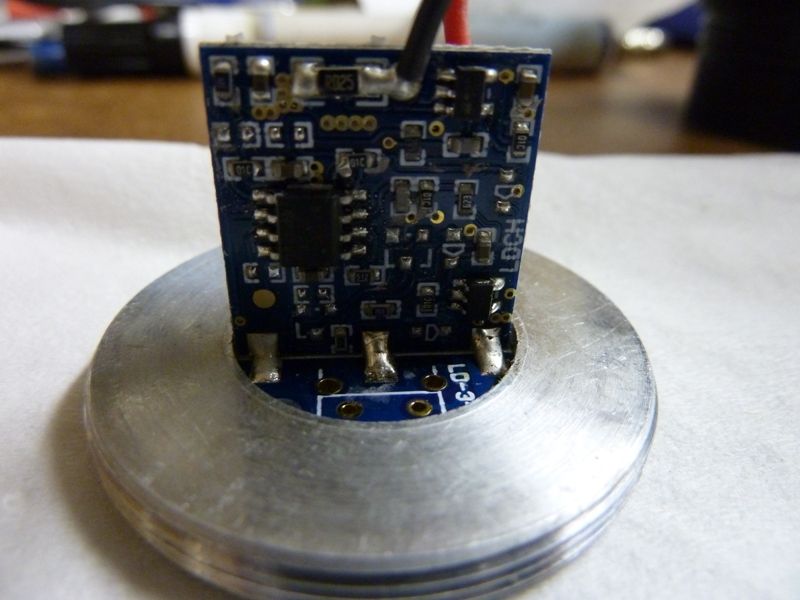
Boy, sure wish we could drop yours in the lightbox to confirm, too bad your not just down the block! Have'nt seen the Dry driver, but I'd have to assume it's got the same form factor as the stock driver?? Maybe big assumption. Here's pics of the stock driver:
I dodnt' look into trying to pop it out of the alum threaded piece, so not sure how hard that is. Also, the Dry driver may be mounted differently? Really I have no idea... I suggest you try to contact Ric about the driver swap -- hoping he'll respond.
The driver is easy to take out of the ring. There is a small ring that holds it in. It doesn’t have any holes in it, so I just pressed down on opposite sides of the small ring with needle-nose pliers and turned and it started moving. Once it moves it will be easy to turn the rest of the way.
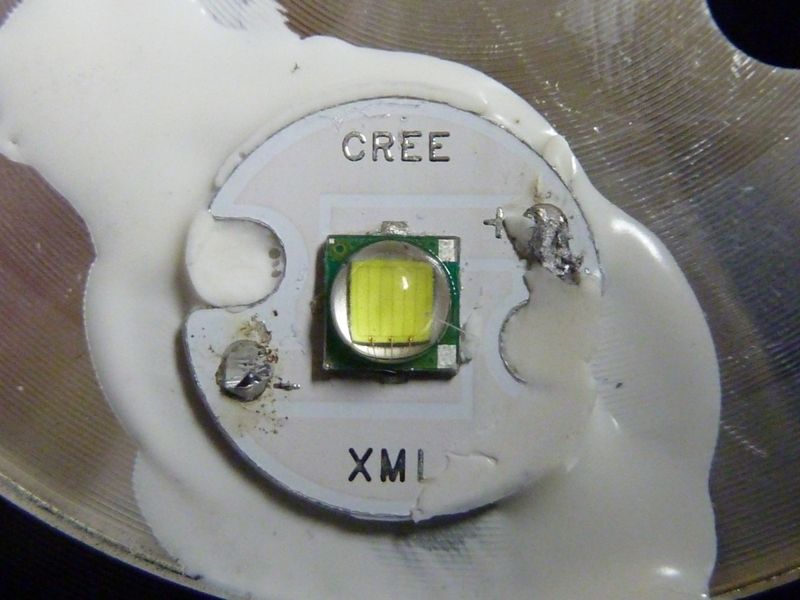
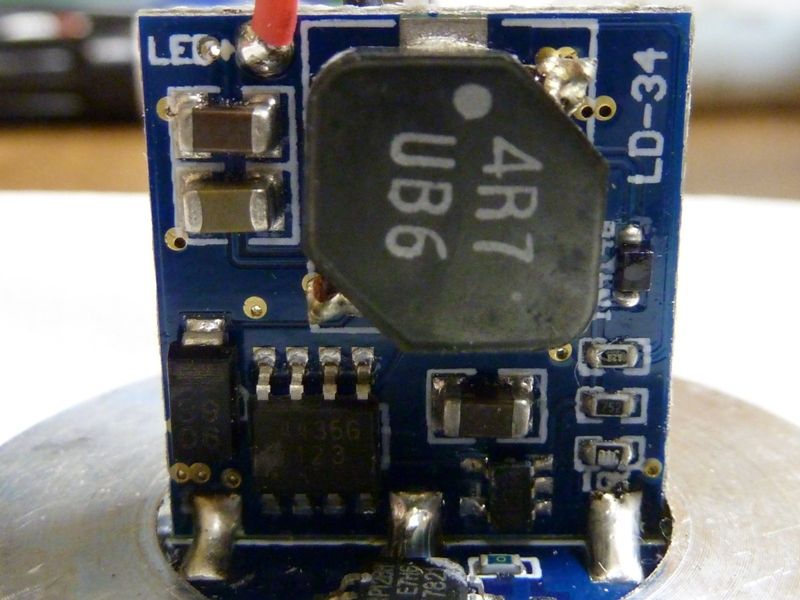
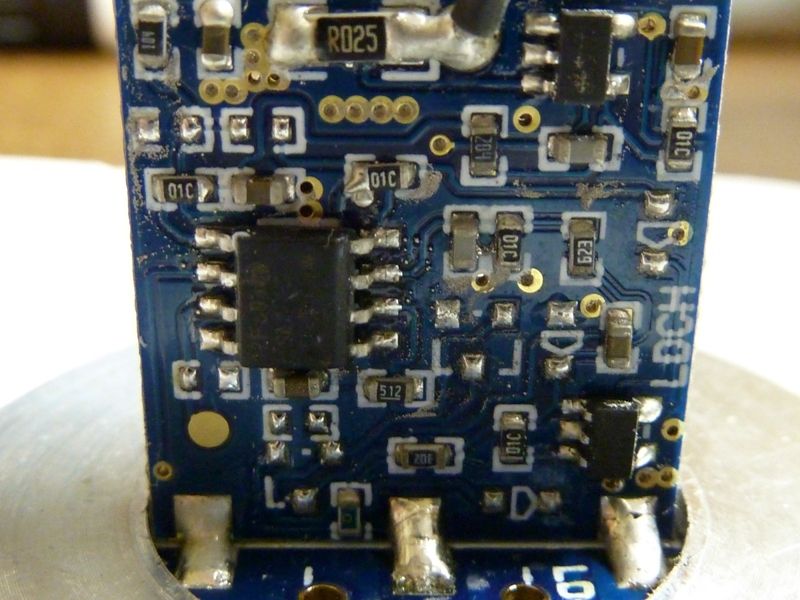
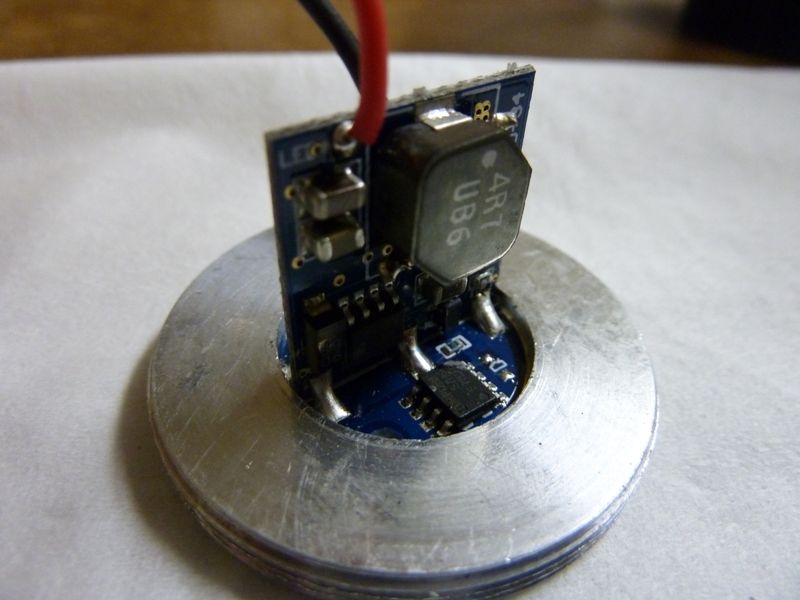
The DRY driver doesn’t have the tall board, just a small daughter board. It is supposed to fit in the same spot as the original driver.
Yup, just the wires. Tightening down the ring can get interesting because of the lack of holes.
I did manage to add a hole in my finger with the pliers. Maybe try not to push down too hard. I don’t think it has to be as tight as I tried to tighten it
I would assume so. But why would you want too? Any good Panasonic based 18650 can handle the 3.8A it draws from each cell. Even bumped a little it’s a non issue.
I guess if its ultra low resistant, it might get a little jump in output. I know Panasonic PD’s did give my BTU a little boost in Tom E’s testing. If that’s the goal I can understand using them.
Next time you have it apart cut two notches in the face with a hacksaw or small file. Same thing I do with those silly lens retainers in the head of a 501b.
Yeah, that’s a good idea. The 10-15 times I’ve had this apart, I still haven’t added notches… the pliers have added deep enough scratches to be considered notches now
just got back in from playing with my shocker. its a beast man. very clean tight beam. It’s amazing what can be done these days. I would love to see it modded like you have done. How are you centering the emitters? Do you use the original holders? Again, kudos bruddah!
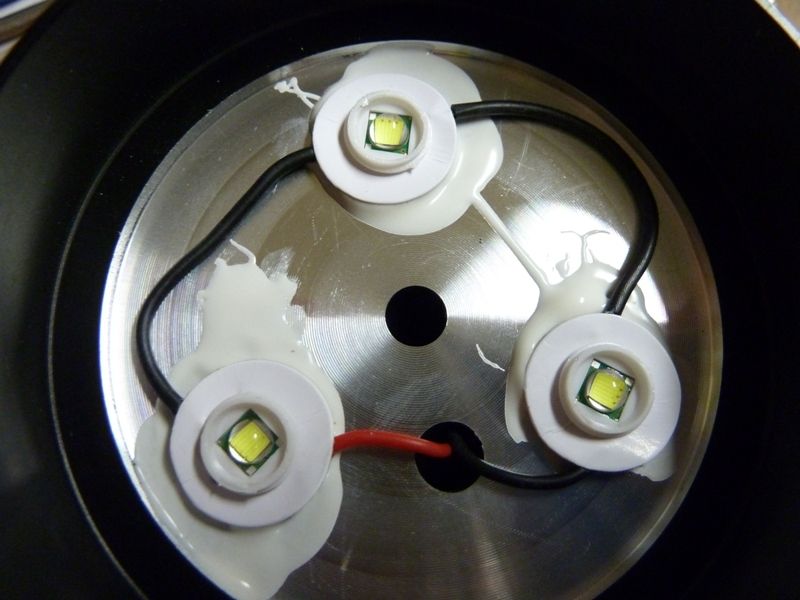
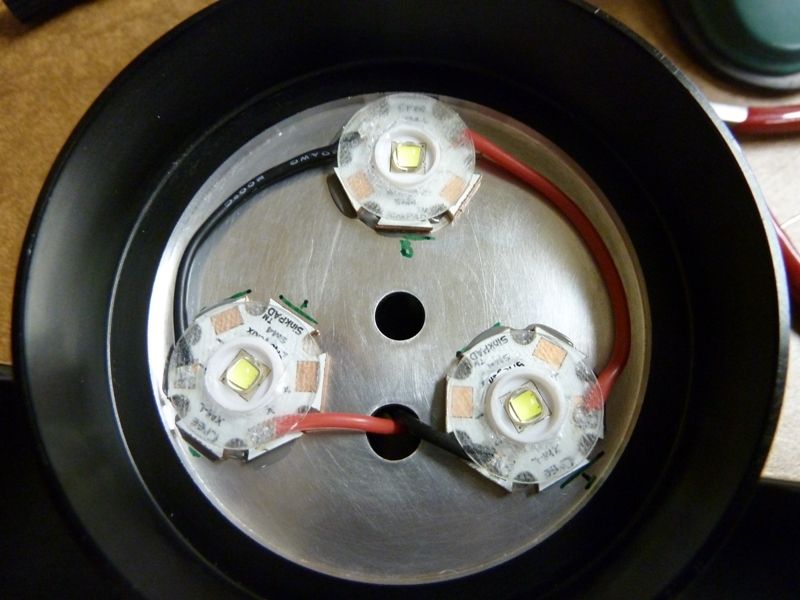
Rich - you are probably talking to relic or comfychair, but just finished another Shocker mod, finally. Got 25% increase in lumens, 38% increase in candela. On KeepPower 3400's, lumens at 30 secs is 3,597 and throw is 167 kcd. On fresh Pana PD's (no magnets, just straight), lumens at 30 secs is 3,685 and throw is 173 kcd.
Before the mods, base #'s on stock Shocker plus UCL/p on Pana PD's using magnets: lumens at 30 secs is 2,937, throw is 125 kcd.
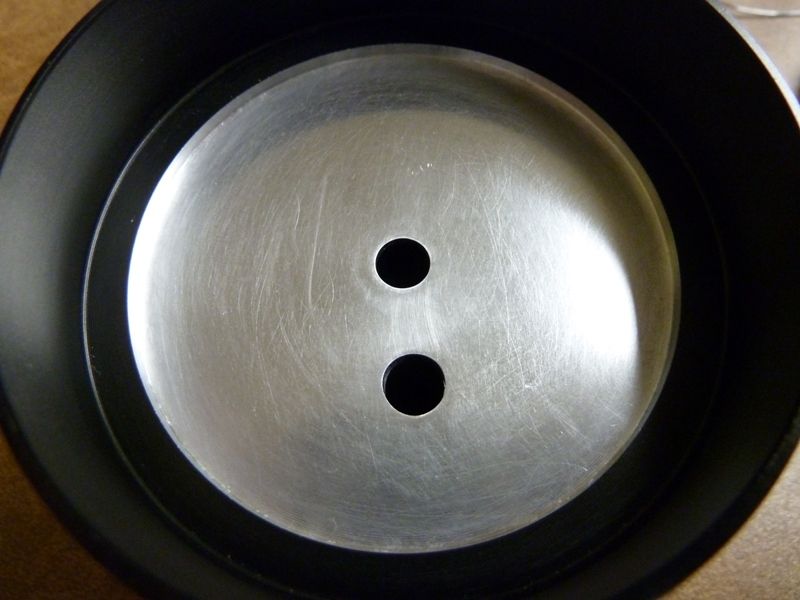
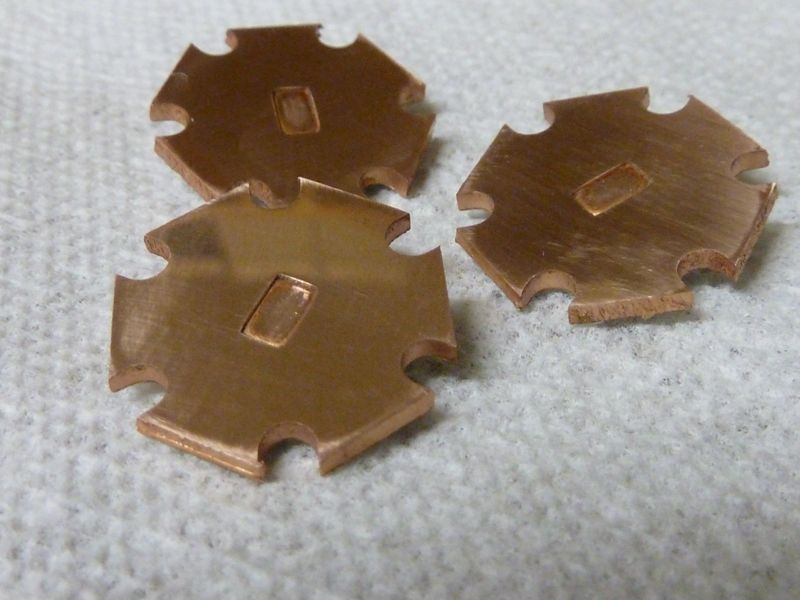
Used XM-L2 U2 1C's from IS, 20 mm SinkPAD's (from VOB), 20 gauge silicone wire, AS5 under the SinkPAD's and a little Fujik on the edges of the SinkPAD's to help lock it down. I did re-use the original centering plastic rings, but Fujik'd them in place to hold them. Then, custom cut 3M plastic isolator rings (from IOS I believe) to cover the wire connectors. Also, using the stock Shocker driver. The battery carrier was modifed for just the 3 battery springs - bent the top loop inward of each of 3 springs, then soldered in solder wick wire (1.5mm) after wiping them down in iso. alcohol, and added extra solder to the base of the springs. I also (always now) sanded/polished the bottoms of the SinkPAD's and top of the pill from 240 grit to 2500 grit (8 levels of grit). The pill top if the shocker has heavy circular machine marks and made sure they were gone.
What's weird is the lumens on the Pana PD's actually goes up during the first 30 seconds, but on the KeepPowers, it goes gently down, but only like 40 lumens.
That was all!! Nothing to it! (just a few days...) Now time for the next, and next, ......
Cool Tom. Looks like your going to be busy with a bunch of BTU’s now
Hopefully its a little easier now that you have done a couple of them.
Anyway, anybody on the fence about modding your BTU - DO IT. A BTU is an awesome light - a BTU with XM-L2’s on copper Sinkpads, put together with expect care by someone like Tom = a BEAST of a light!!
Look at it this way - a BTU modded can have 30-40% more throw & still put out 5-10% more lumens than a RC40. And a BTU and all parts needed can be bought for about 1/2 the price of a RC40. And with this quality work like above, I dare say it has quality to match the RC40 too.
And not knocking the RC40 - it’s pretty much King Kong of the high lumen throwers on the market and being from Fenix I’m sure its an excellent light. But that light as a baseline shows just how impressive these BTU’s can be.
Spending some time now on the battery carrier, can't quite figure out the overall design some good points, some bad points. The springs look like high quality and soldered well in place, but they are so soft considering all the weight involved. I was thinking of replacing them all, but not sure if the springs I buy are really any better, they may be worse. I've seen the plating just chip off on some springs, like when you bend the top loop of the wide end. A TN31 or TK75 carrier is soo much more cleaner and tighter in design, though the stand-off pedestals and caps look high qual on the Shocker.
Two things though are definite: bend the top loop on the 3 battery springs, and add more solder to the base of all springs. I did the solder wick down the middle of the 3 battery springs, but didn't remove the springs to do it - was able to solder the bottom to the outside to get a solid connection to the base. Would have prefered removing the springs, but they had a pretty clean solder job on the springs so wasn't sure how easy it would be to remove them. Overall though with the spring mods, I got about exactly 100 lumens out of it, with KeepPower's or Pana PD's. Makes me wonder now if the 2 springs to the driver would have paid off mod'ing as well...
Tom E has pretty much done everything I have done, except I went a little further and smoked the driver
I have much lower measurements, but the modded BTU is easily the brightest light I have, both in throw and lumen output.
I’ve heard people say it is too heavy or too awkward, but I’ve put it through the paces and it works well. The weight is no problem, side clicky would be nice.
 (just a few days...) Now time for the next, and next, ......