BBC taken from Tim Allen. Last year I was playing around with making dedicated heat sinks for 7135’s and came up with this And since then I’ve been itching to use the idea in a mod. Layers of copper sheet separated by thin copper wire rings. There have been some great custom milled lights done lately where the heat sink is also part of the exterior of the light which seems a very good idea to me.
So I cut a strip of copper sheet(~.5mm thickness) and drilled a series of holes then used a 7/8” hole saw to make some copper washers. 
Then I flattened them out again between two washers in the vise. They don’t need to be perfectly centered as there is extra but the three on top didn’t pass QC.
I
Next I wrapped some solid copper wire around a slightly smaller pipe than my intended then shifted it to the actual copper tube to cut the spiral into rings. 
Then I cut 2 brass sleeves that fit over the copper tube ends and assembled it with flux, clamped it in the vise and soldered it. After filing the outer edges even (chucked it in the drill press and used a sanding block on the spinning part) it came out like this. !http://i1166.photobucket.com/albums/q619/Rufusbduck/C5B917EF-B392-4132-ACD2-0827E4374940-832-00000237E 3DDD749_zpsdf0d2977.jpg!
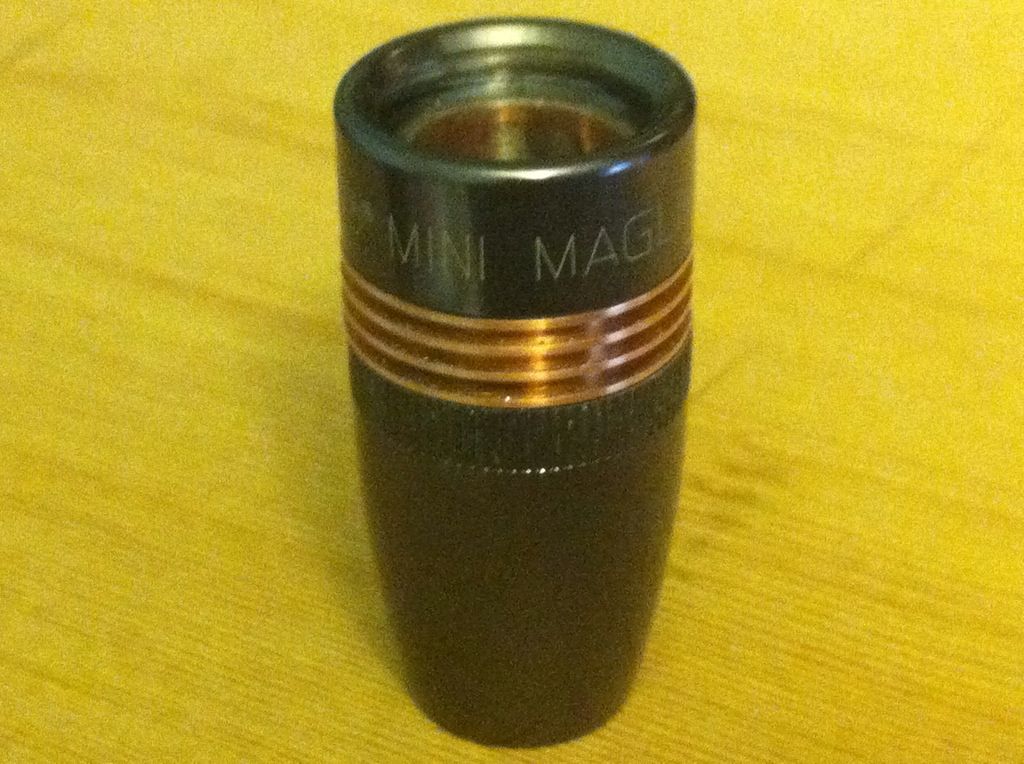
It still needs a bit more sanding before a final polish but I’m very pleased that it came out so even with nice narrow spacing(the fins take up 5mm of the overall 16mm length). It is destined for a semi-shorty custom AAA Minimag and there will be some other new(to me) mods in this light as well. Stay tuned(or not as it could be awhile).
05/07/13
This driver is much like the one for my last solitaire mod. The 7135 chips are removed from the board and AA’d together into a stack (380mA bin) but this time after cutting down the board I ground the bottom of the board completely smooth and a bit thinner as well and made a new copper contact plate tinned on both sides. Traces no longer needed were scraped off. 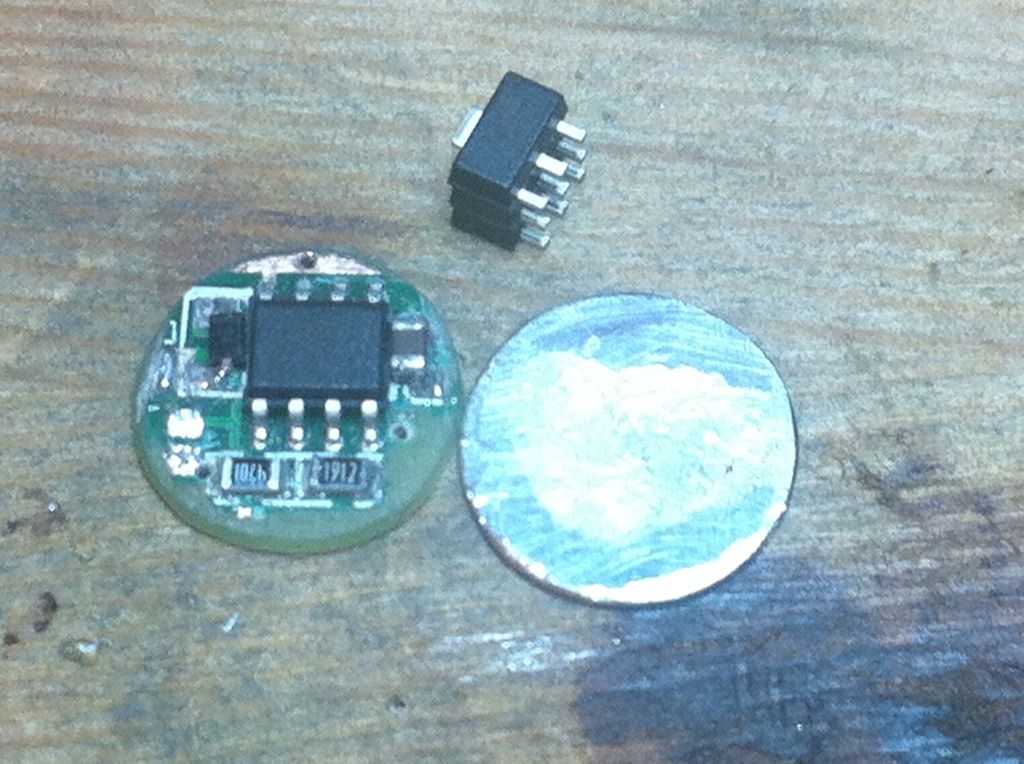
The holes you see in the bottom of the board are where the new ground wires will run for the mcu, capacitor, and low voltage sense resitor. Also needed are paths through the board for Vdd, Vin, and Led-. The contact plate was adhered to the bottom of the board with Fujik, the holes were continued through the copper and ground wires soldered in place. Then the stack of 7135’s was reflowed in place. 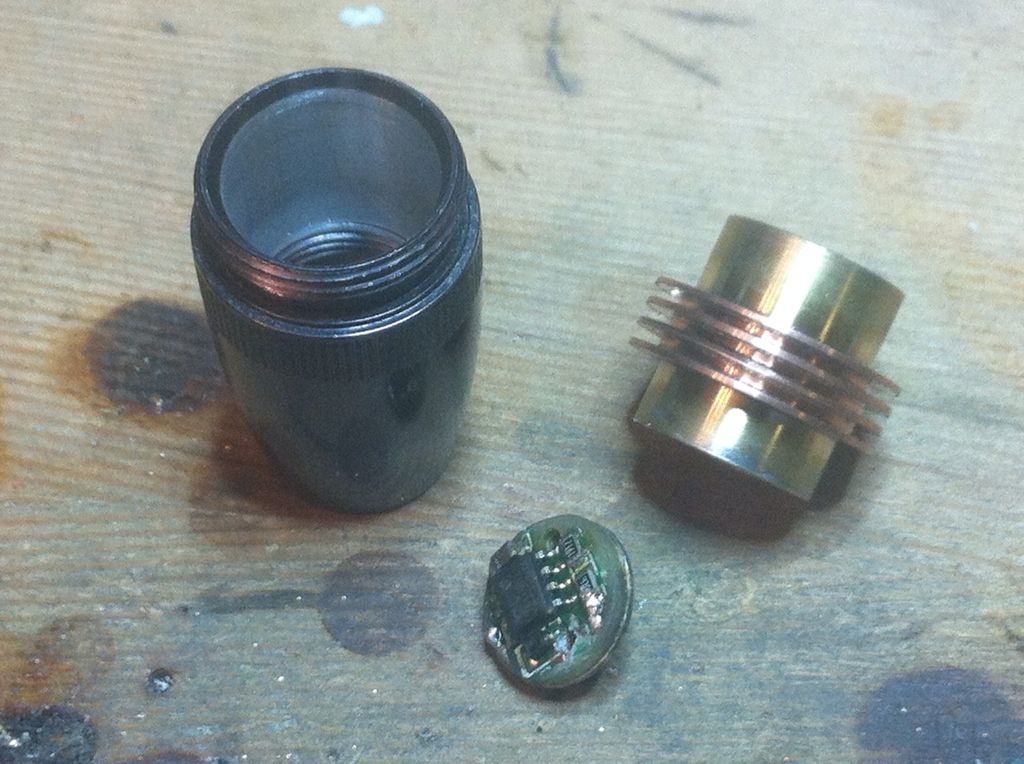
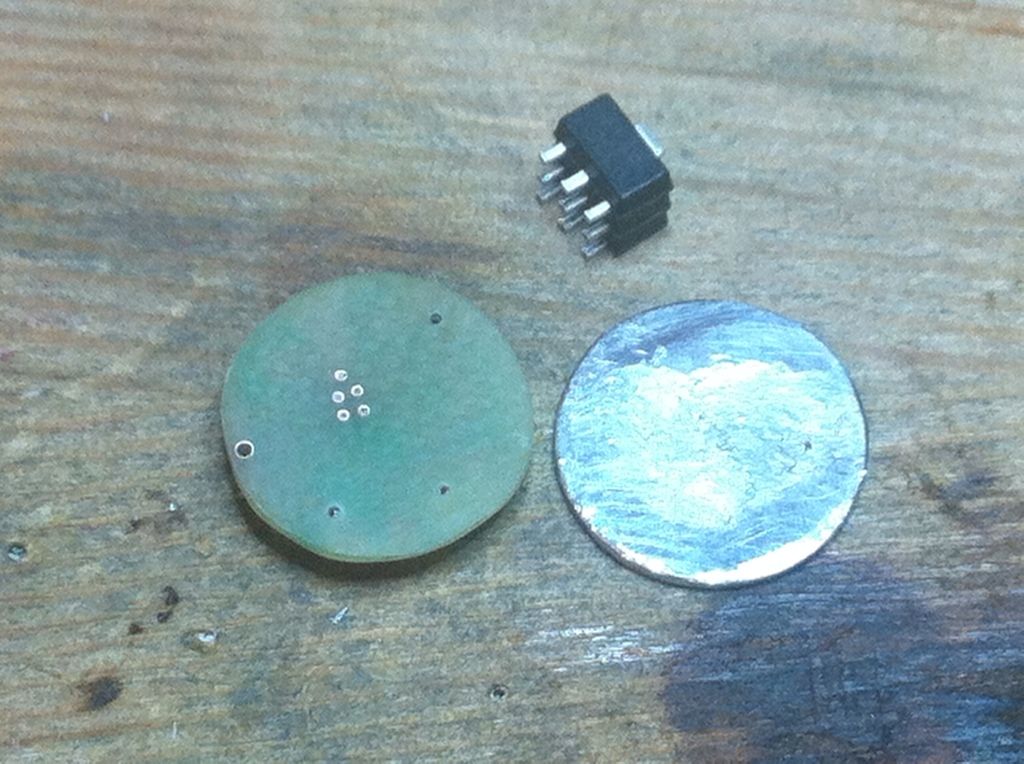
Other side of driver. Hole on the left is for led-. There are actually two holes side by side on the right. One for Vin/led+ and the other connects to the remains of the Vdd trace. The very small ground wire connections disappear in the reflowed solder. Remember, this board once measure 17mm Dia and is now 12mm Dia. Once those wires are added, this side will be potted into a cylinder with a positive contact pad over the chips leaving the rim of the plate exposed to make contact with the deanodized battery tube.
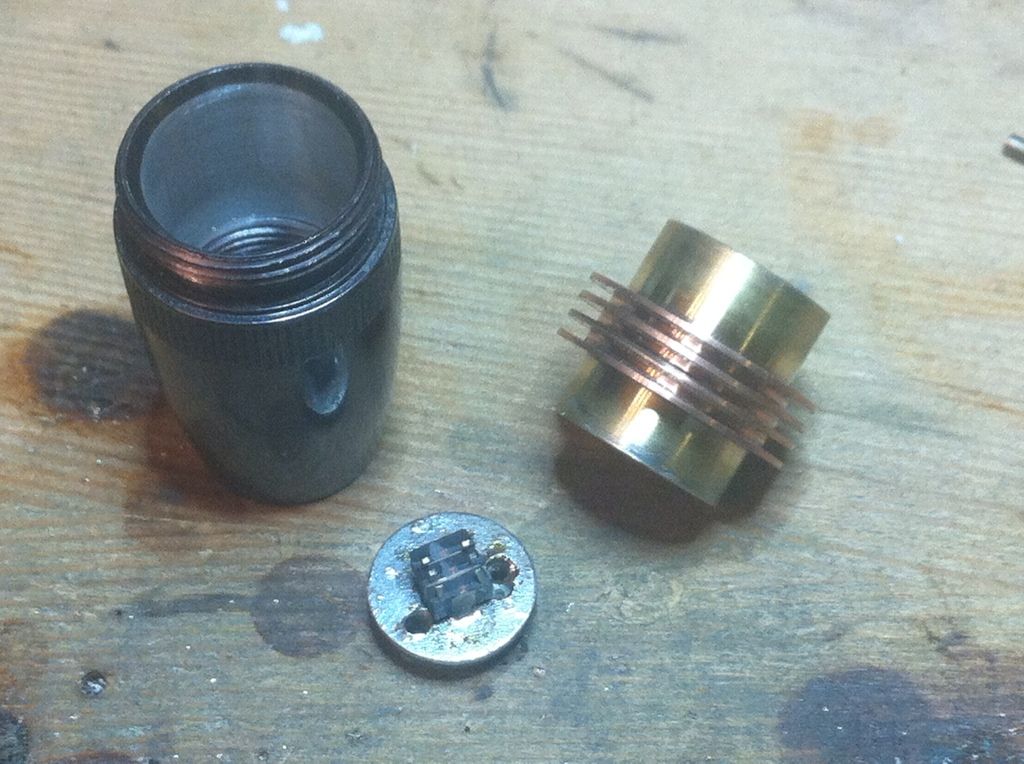
The head will be cut at the knurled section and is bored to fit the brass sleeve so that when reassembled the copper fins will appear in the middle of the head.
I’m sure by now some are wondering”BUT WHY?” and for them I have no answer. All I can offer is that by observing OL, Match, and JohnnyMac, I have become hooked on small Maglite mods with classic stage seven flashaholic symptoms. The excellent work done by those members blessed with a lathe inspires the plagiarist in me. Add some alchohol and bar knapkins and you get one of my creations. “Can I” gets more play than “should I”. I hope you enjoy reading these threads as much as do those of others here.
5/11/13
Here’s how the fins look in the pewter AAA Minimag head.
5/12
Tested the driver today, 1.11A on high, .345A med, .061A low. Close enough to 1.14A for 3 x 380mA chips. I used long skinny leads on dmm.
5/17
One of the design goals was to make this light as short as possible and to that end I ordered some of the short size “f” springs from IOS. Diddling the tail cap entailed cutting both ends off, drilling the center bore out to 1/4”, pressing in a tinned section of copper tubing, and soldering copper bits to it.
Not much left after the cuts. This how it looks with the copper pressed into the shortened piece. 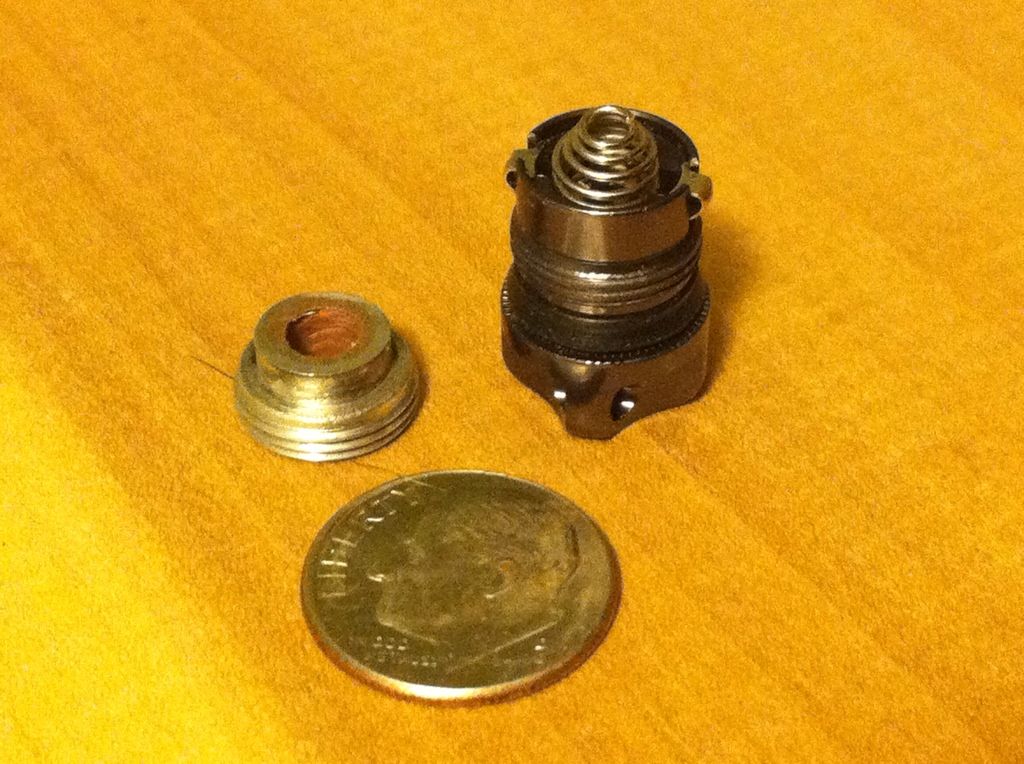
And here with the plates and spring added. 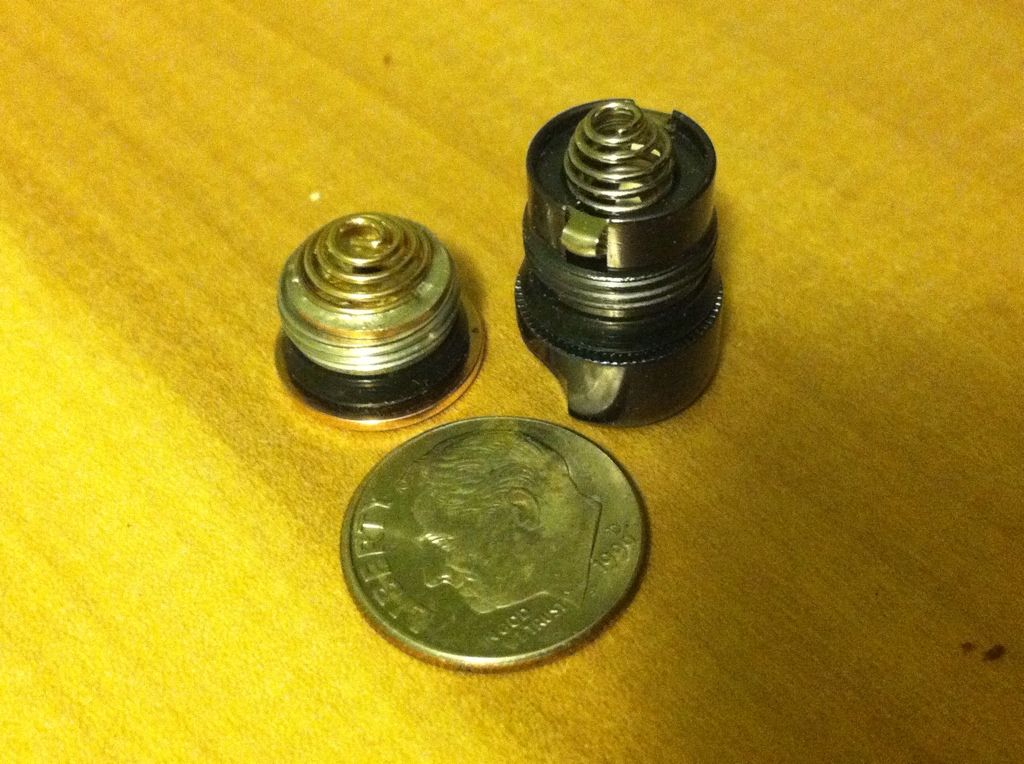
5/18
Now, where do I cut this thing?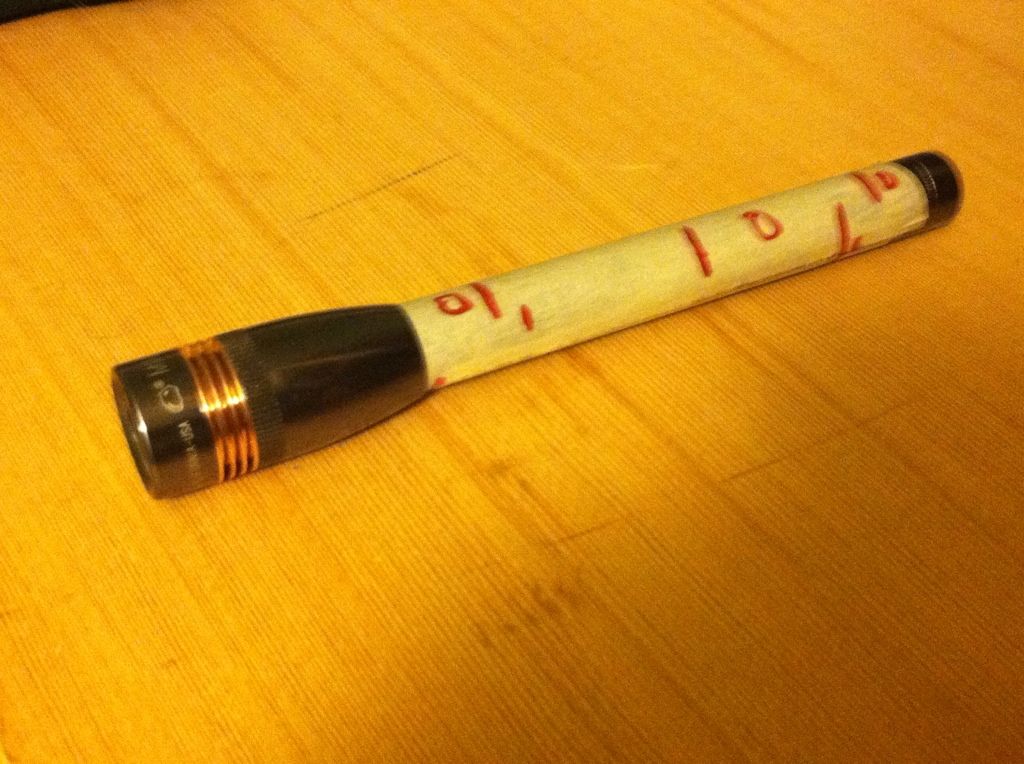
That worked ok. About the same size as a Solitaire but brighter. 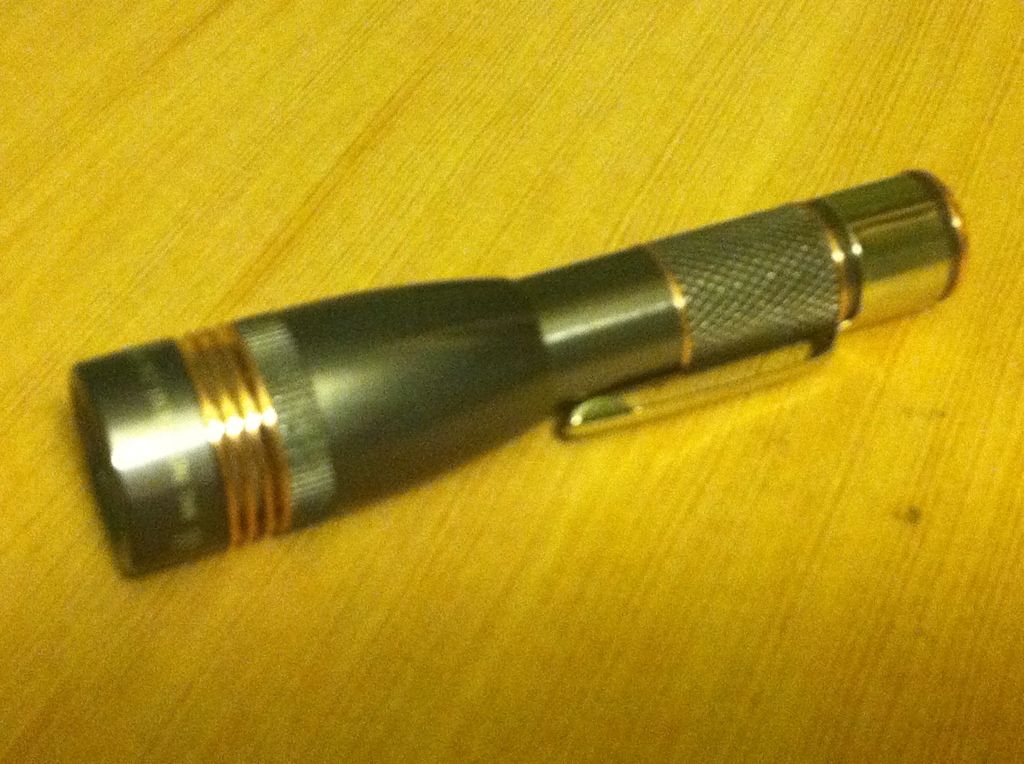
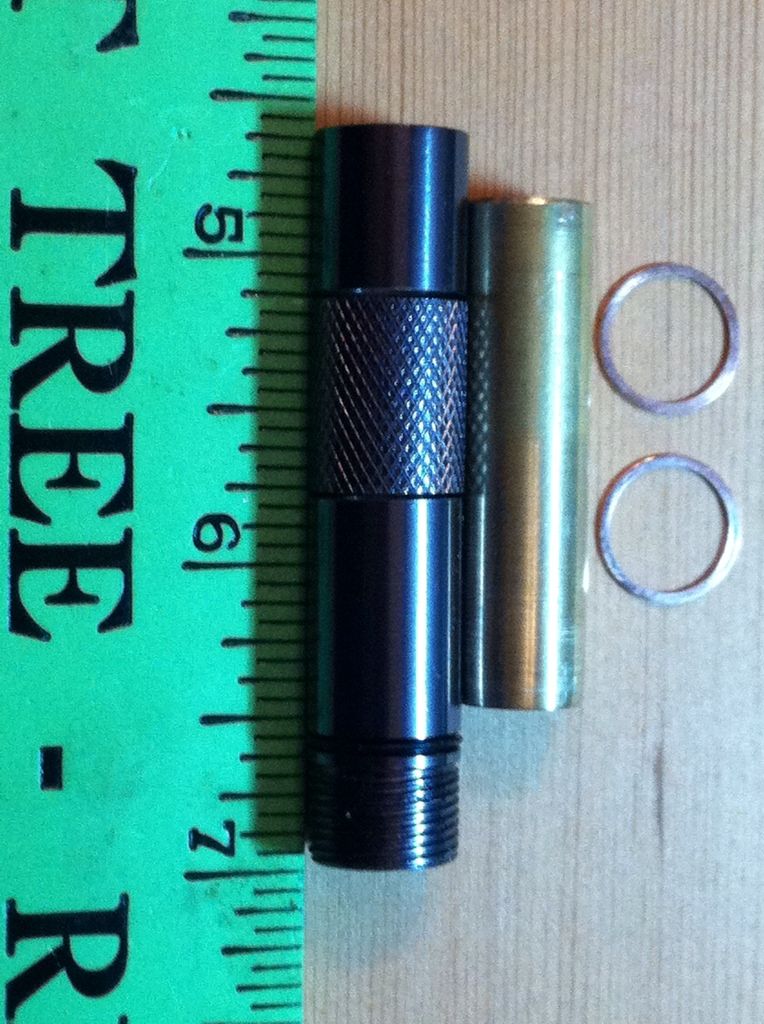
Just for fun I made some mini fins(ID 11.1mm, OD 13.1mm, thickness .44mm) to dress up the cuts in the tube and to act as stops for the clip. The tail cap also is bigger than the tube(13.2mm vs 12.7mm). Overall length when “on”, 82.5mm.
The Sinkpad is reflowed to the pill and the driver potted in. I’m using the light as a jig to make sure they align properly and will have to wait until I get home again to fire it up. It’s not a flame thrower, just another 10440 Minimag.
5/25
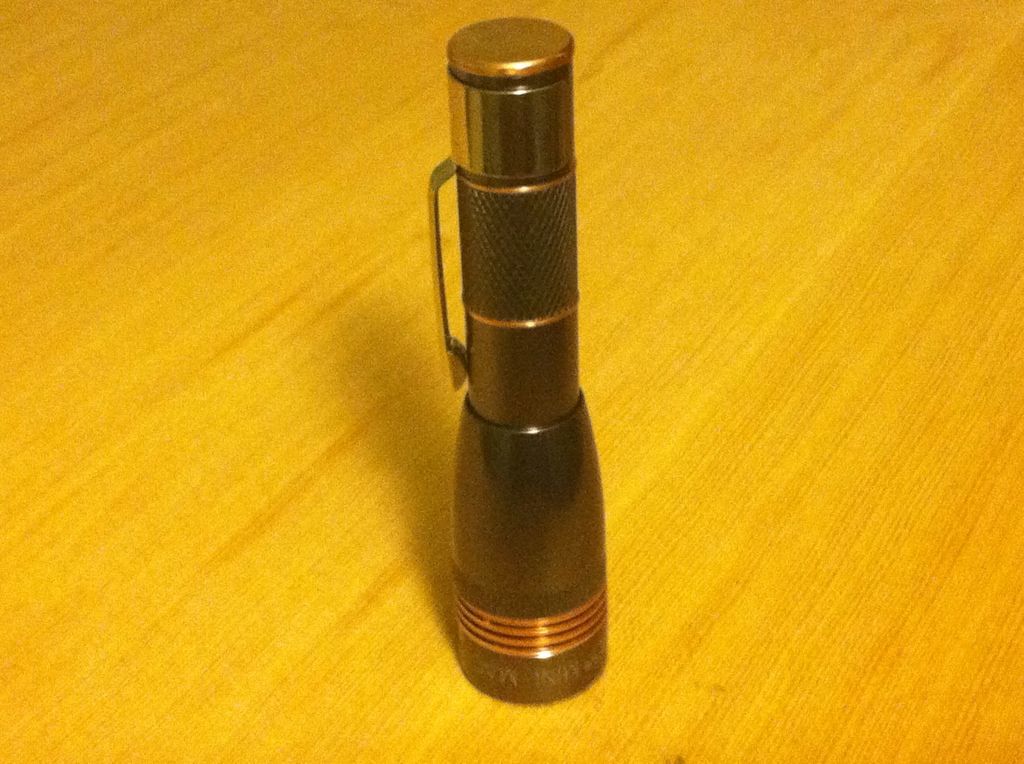
Here it is. In the previous pic the tube was assembled but not glued with JB Weld.

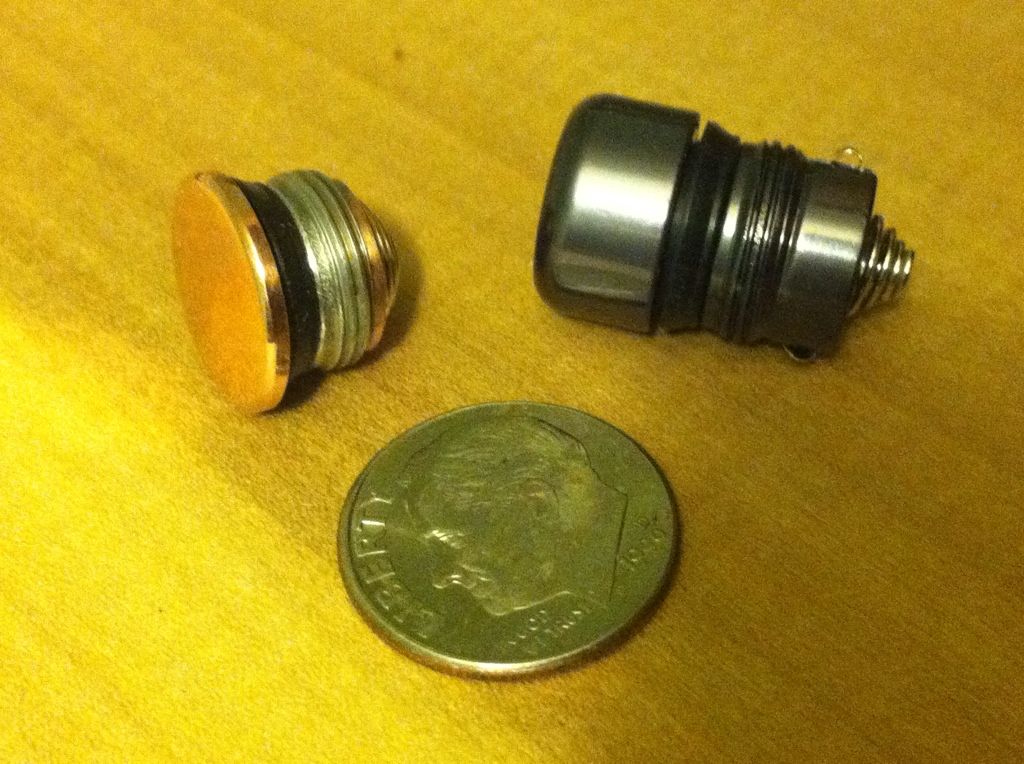
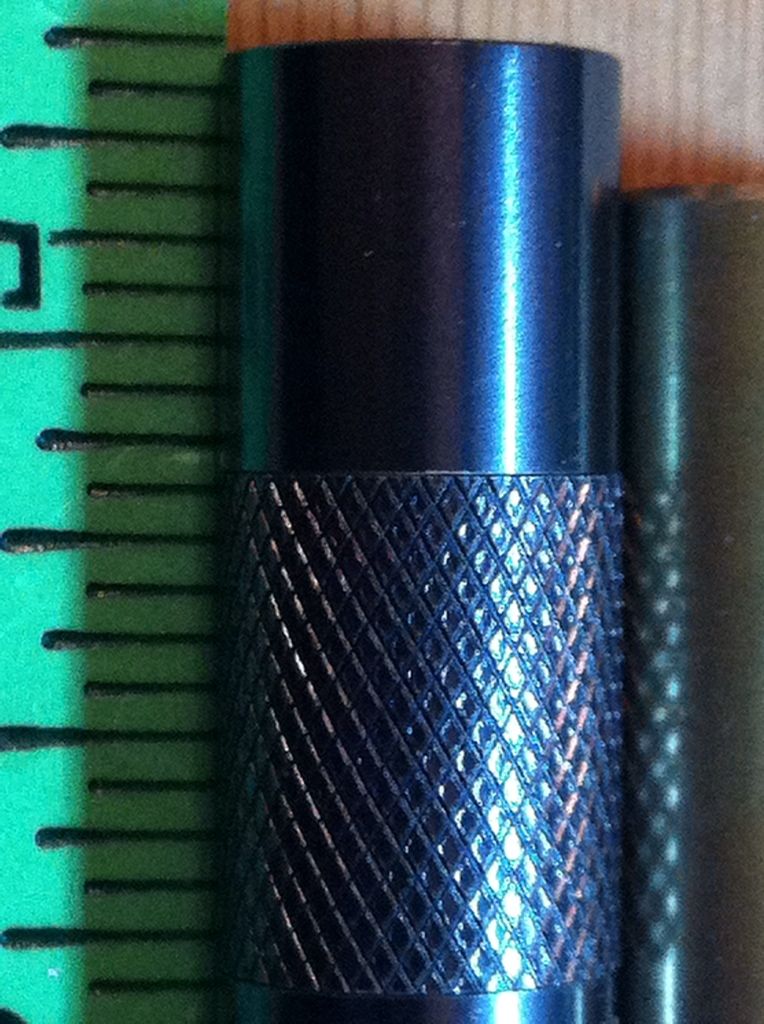
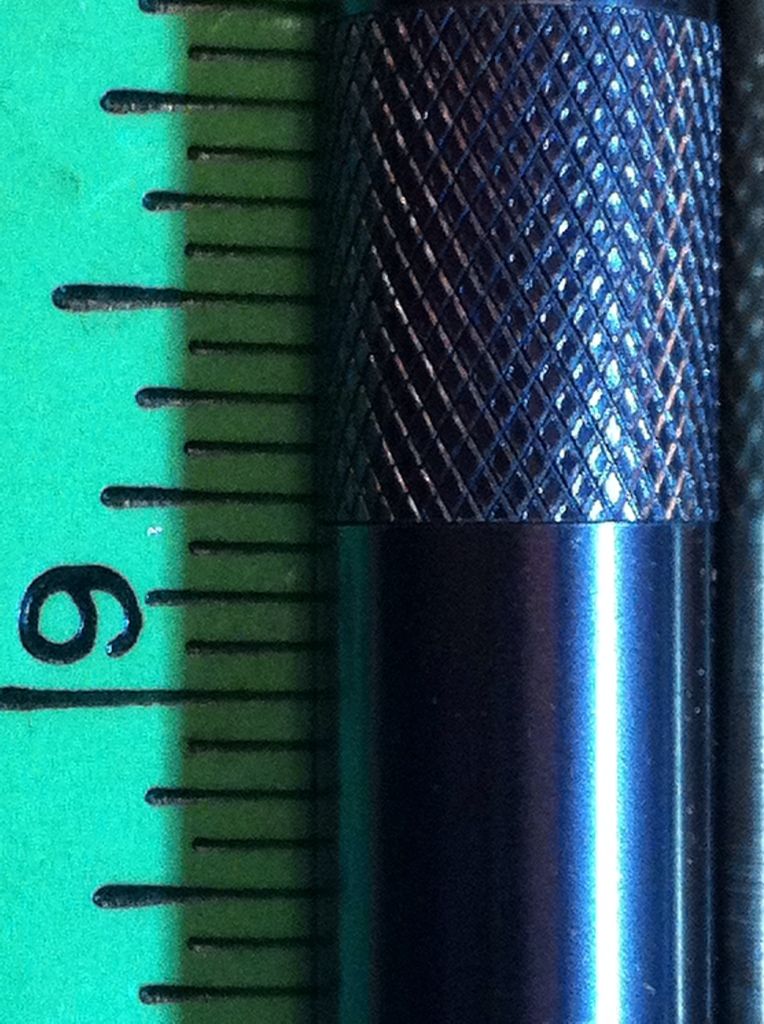
Here are a few pics of the parts before assembly. I made a particular effort to file the knurling so that section ends at the
apex or midpoint of the diamonds at both ends. The brass sleeve is what holds it all together and maintains circuit continuity. The copper rings aren’t necessary to hide the joints which fit nicely without any pressure but I like the way they look. A direct copy of OL’s work.
Some other small changes to improve the light. I cut, filed, and sanded a lip on the front of the optic to allow it to project about 1 mm through the bezel. This, along with relieving the backside(interior) of the bezel allows the optic to move forward even more. These combine to give more thread engagement for the head, some of which was lost by adding a driver.

Lastly, to snug in the optic and improve its water resistance I put a 5/8” OD o-ring between the optic and the head and filed the bezel end of the head piece so that there is a nice compression fit on the o-ring.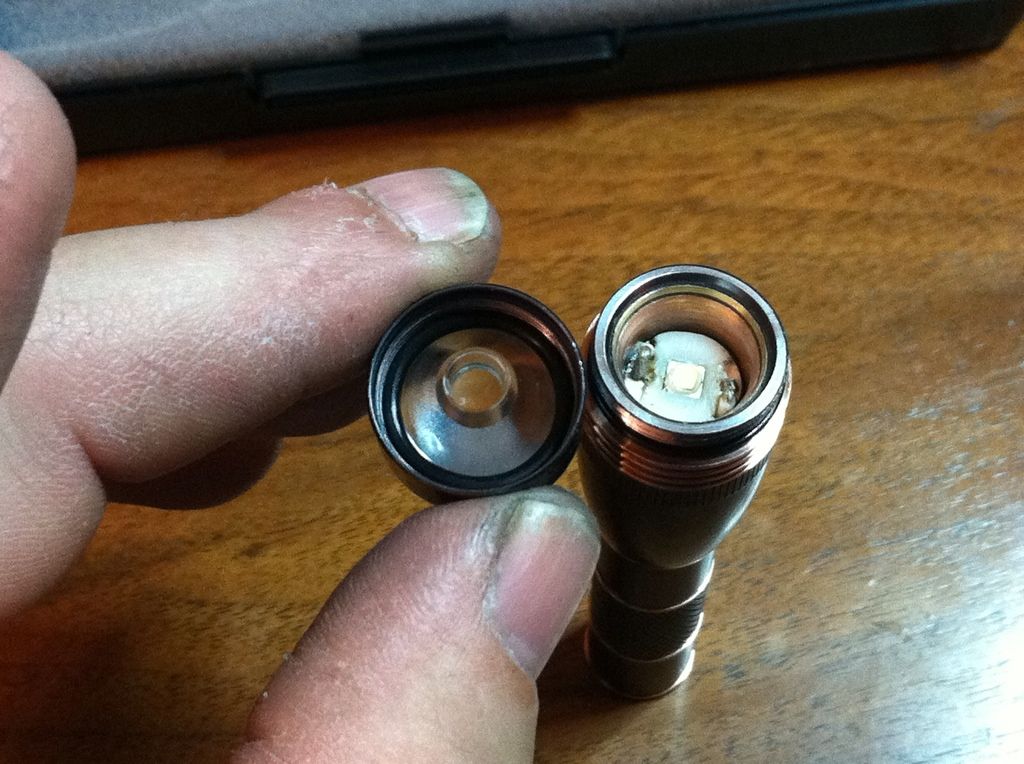
A fully charged efest 10440 pulls 60 mA on low, 350 mA on med, and 1.11A on high so the driver survived the build.
6/03
After a brief stopover with Texaspyro to measure lumen output and the thermal effect of the fins to whom I owe a debt of gratitude for this as well as shipping on the light, it has now reached its home. Someone far more capable than I has posted a few glam shots at the end of this thread for you to see. Even working on this light under magnification I never saw it look this good. Dale can shoot!
