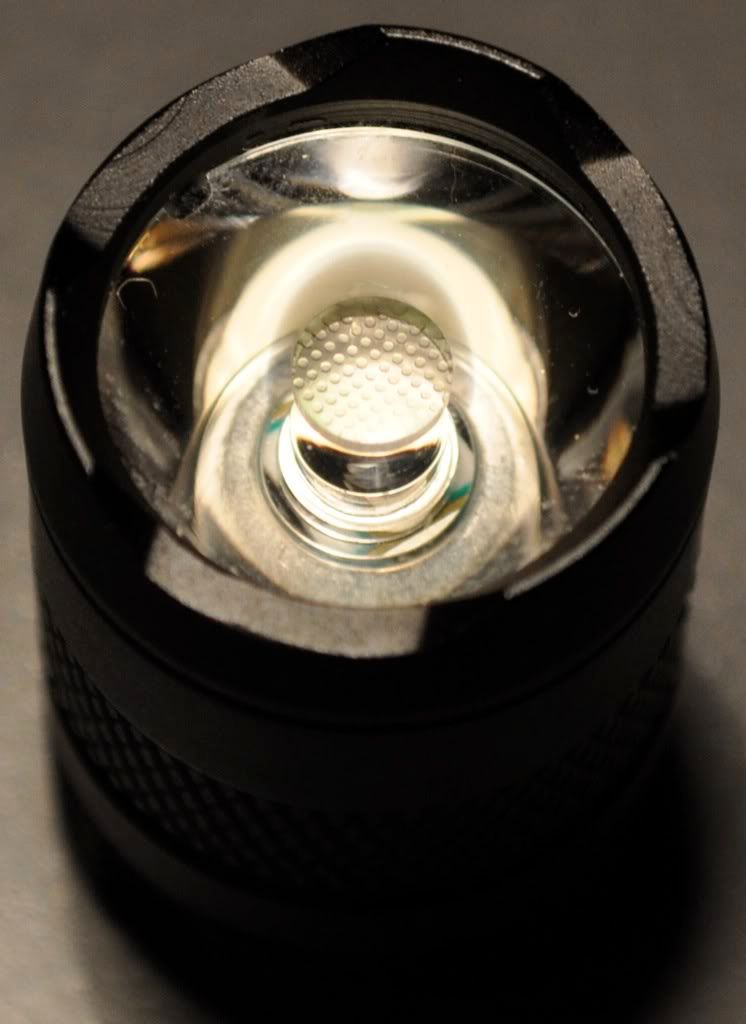
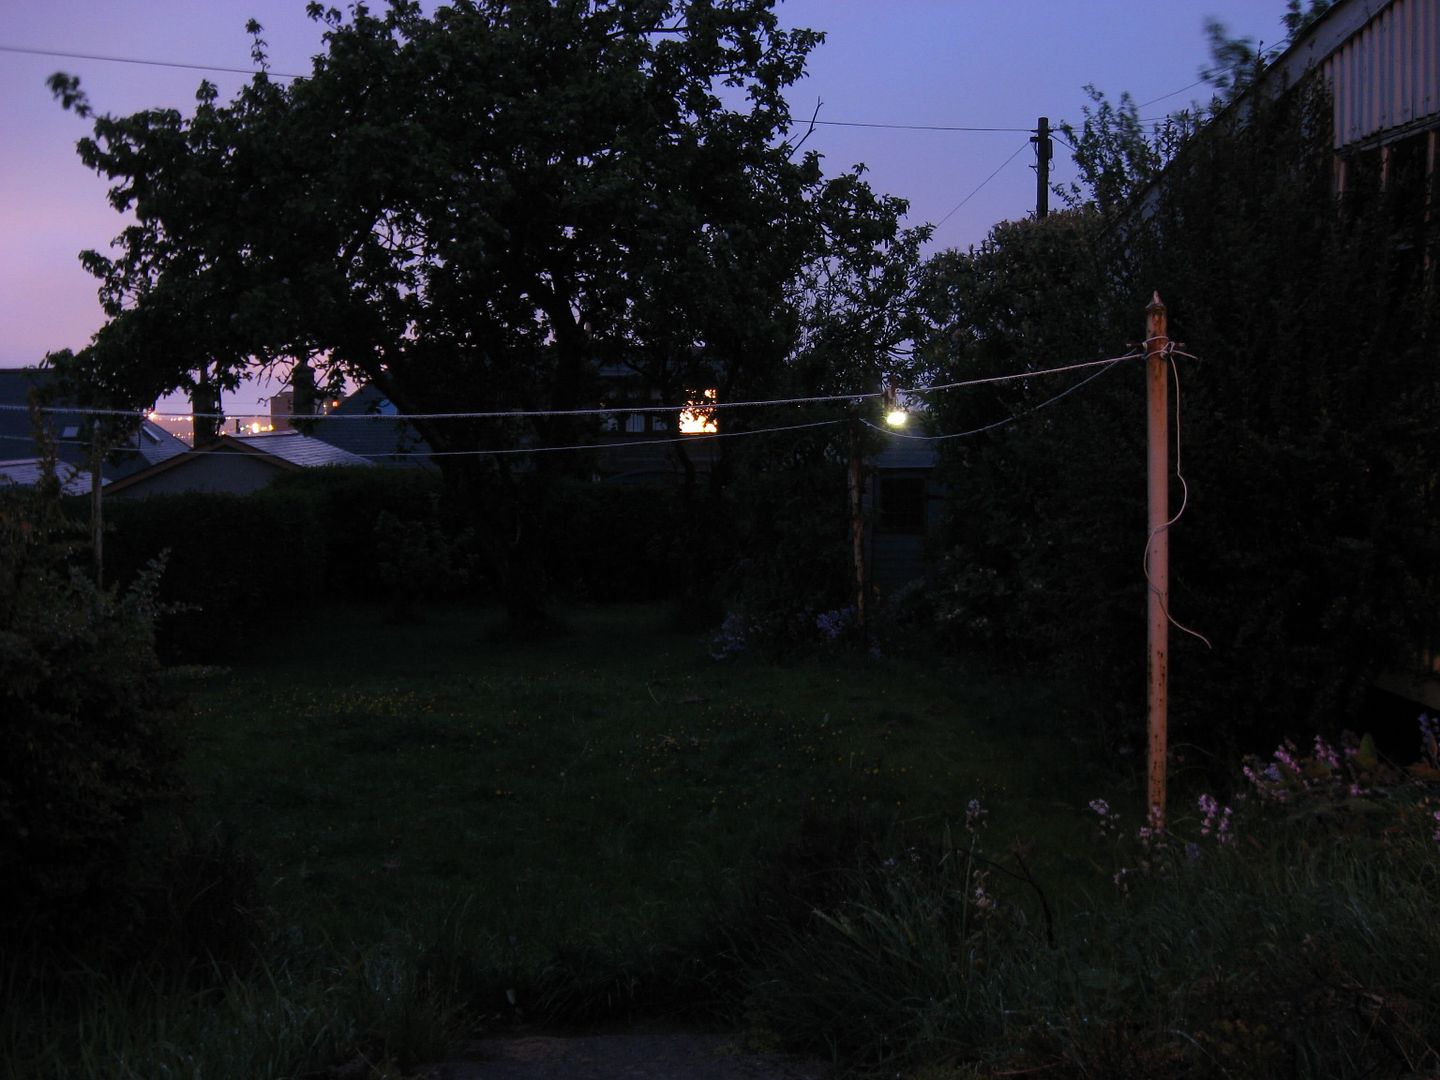
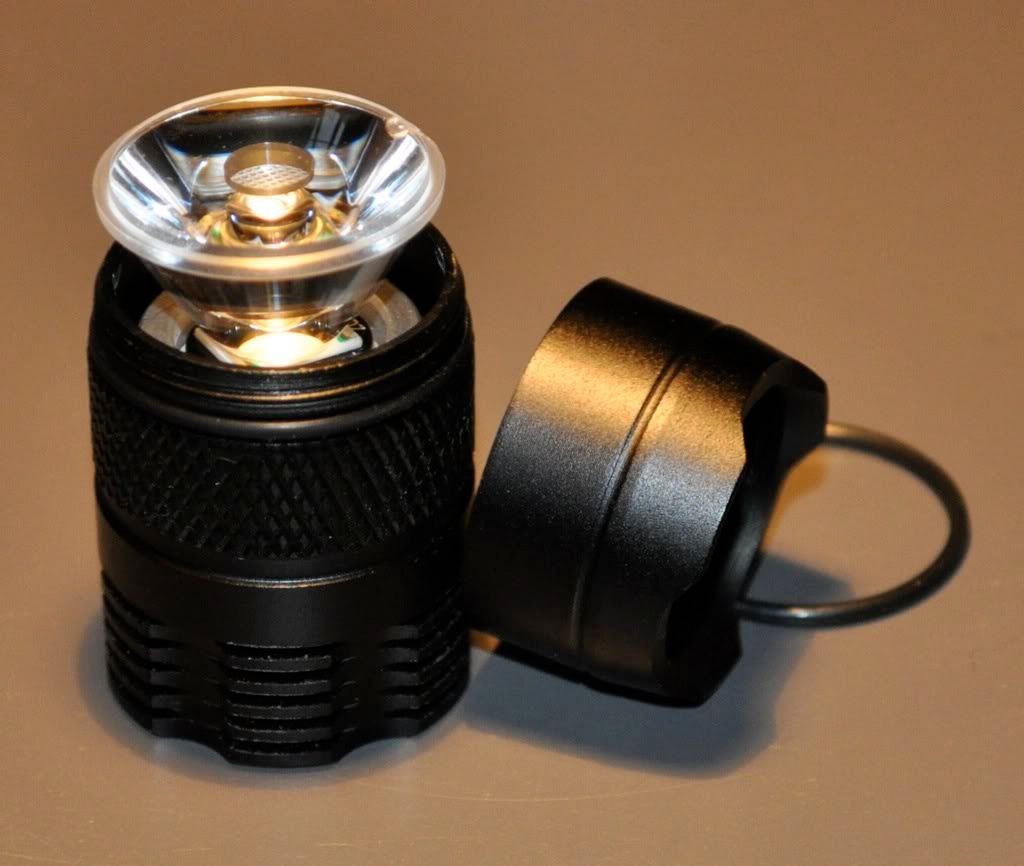
TIR optic (total internal reflection). Gives a beam unlike anything else. A big hotspot with next to no spill.
Strong clip
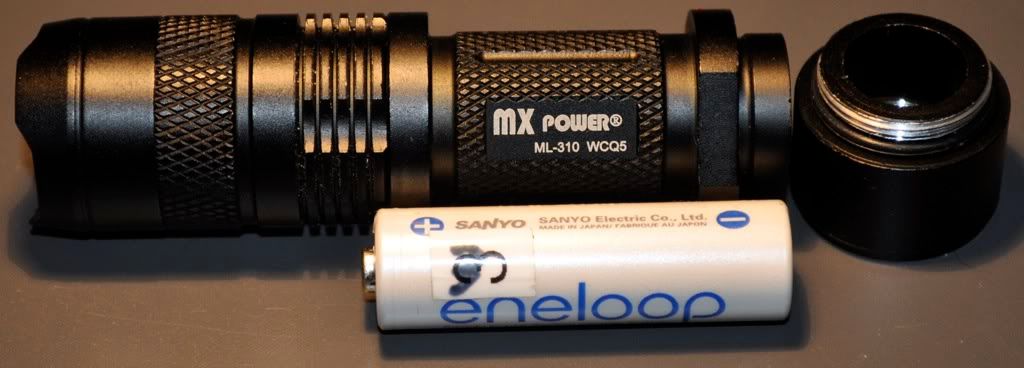
Essentially a 6 mode light as it is quite a bit less bright on AAs so you have RCR123 H/L/strobe and AA H/L/strobe
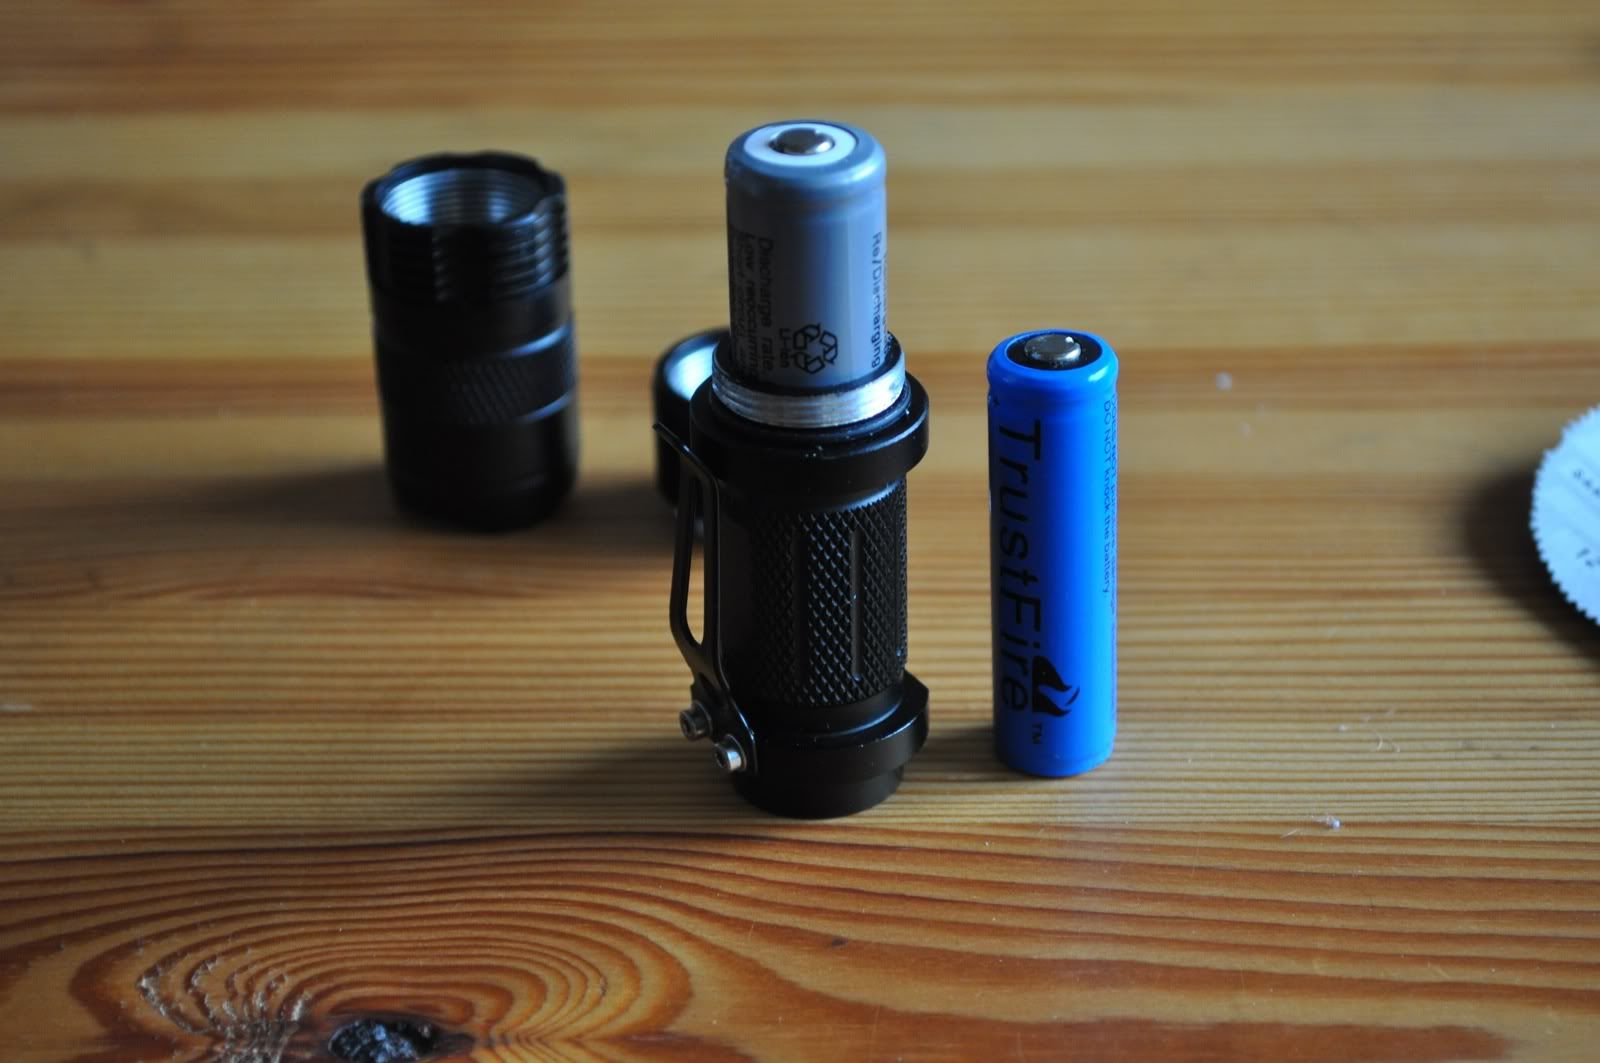
Can use alkalines, NiMH, 14500, CR123, RCR123. As long as you carry the extension tube for AAs
Cons:
Toothed bezel - a few minutes with a bench grinder will sort this out though.
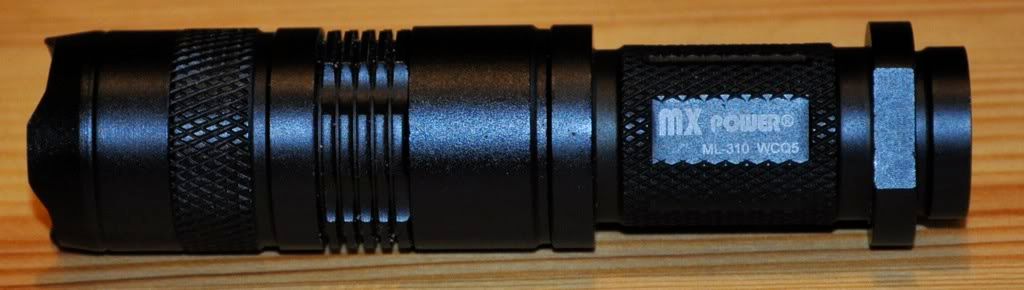
For me the knurling and finning is excessive and too sharp.
Switch is not intended to be moved much - the O ring came out in 2 pieces. Will toss in another one and remember not to remove the switch.
I think it is ugly - many disagree.
Awful O rings - this may just be my one though. Water resistance highly questionable. Not that it'll stop me from trying it.
Features / Value: ★★★☆☆Copy and paste, maximum ★★★★★
This is going to be a few days in preparation. Now off to take photos. Interestingly, Mr. Admin has just put up a review of the Romisen RC-I3 which is a very similar type of light, but can take 2AAs which this one can't. I'm pretty sure it's a Cree XR-E LED but the TIR optic is very, very firmly attached to the PCB with the LED on it and it felt like I'd rip the LED clean out of it before the optic came off. From that quick look, the LED board appears to be only marginally in contact with the light body with poor implications for heatsinking. This may be unfair though. The photos will tell all once I get the thing torn apart. It already seems that I'm going to have to replace nearly all the O rings in it - unscrewing the bezel section caused another one to come out in more than one piece.
For me, the toothed bezel is annoying. I like a little scalloping on the bezel so you can tell whether the light is on or not, but these teeth are silly. They will shortly succumb to Mr. Grinder and his partner in crime, Ms. Diamond File. You only really notice the effect on the beam at close range and it isn't nearly as bad as the Klingon bezel in my sig. Since this light has no spill worth mentioning, the teeth don't affect it.
Build Quality: ★★★☆☆Copy and paste, maximum ★★★★★
O rings! The switch action is short, firm and positive. The knurling is a little sharp for my taste and will give no real advantage for grip as most of it isn't going to come into contact with your hands in normal use. The threads feel nice, no grating, graunching or squeaking here. I'd like to see more threading on the AA extension's male end though. That said, it isn't going to fall out. Nothing appears to be glued which is good if anything goes wrong. Water resistance is dubious, but might be OK. I will try this. I think that if I can remove the plastic bush in the AA adapter section it'll also take 17500 cells for more than double the runtime of an RCR123.
Sorry for being a bit premature with my post as I know your review is in progress but if you come to strip it down please confirm that the bezel unscrews as in the DX picture because I'm damned if I can get it off mine?
Looking forward to hearing the rest of your views on the light.
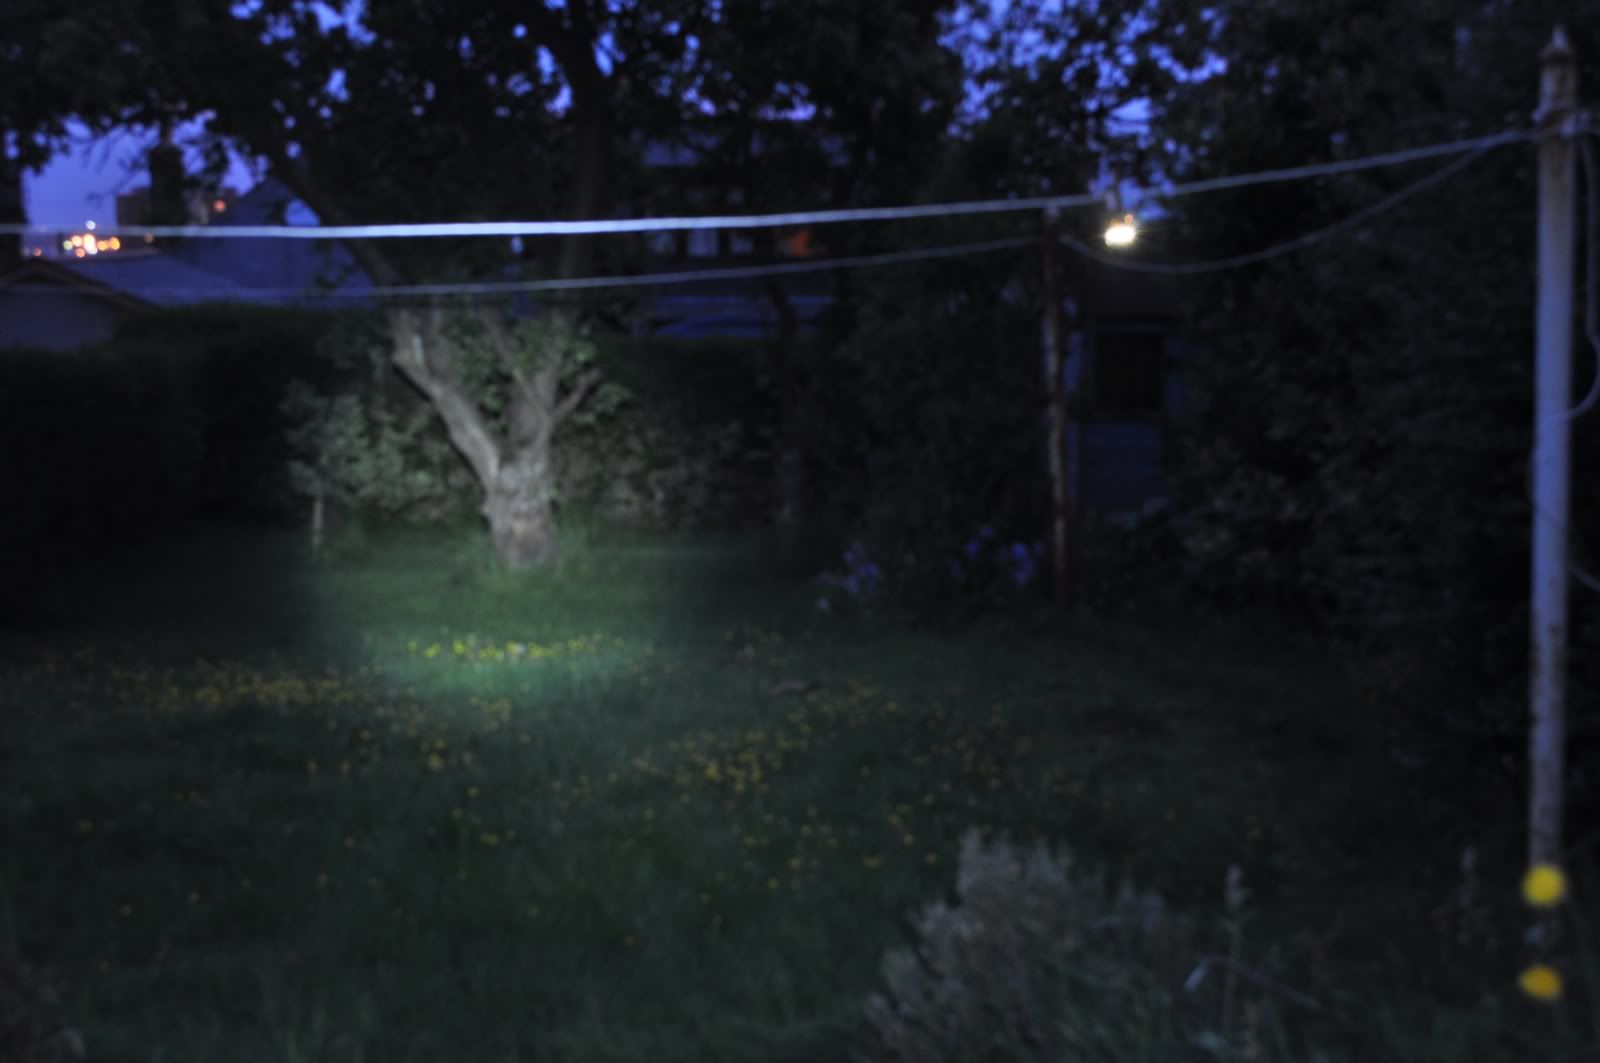
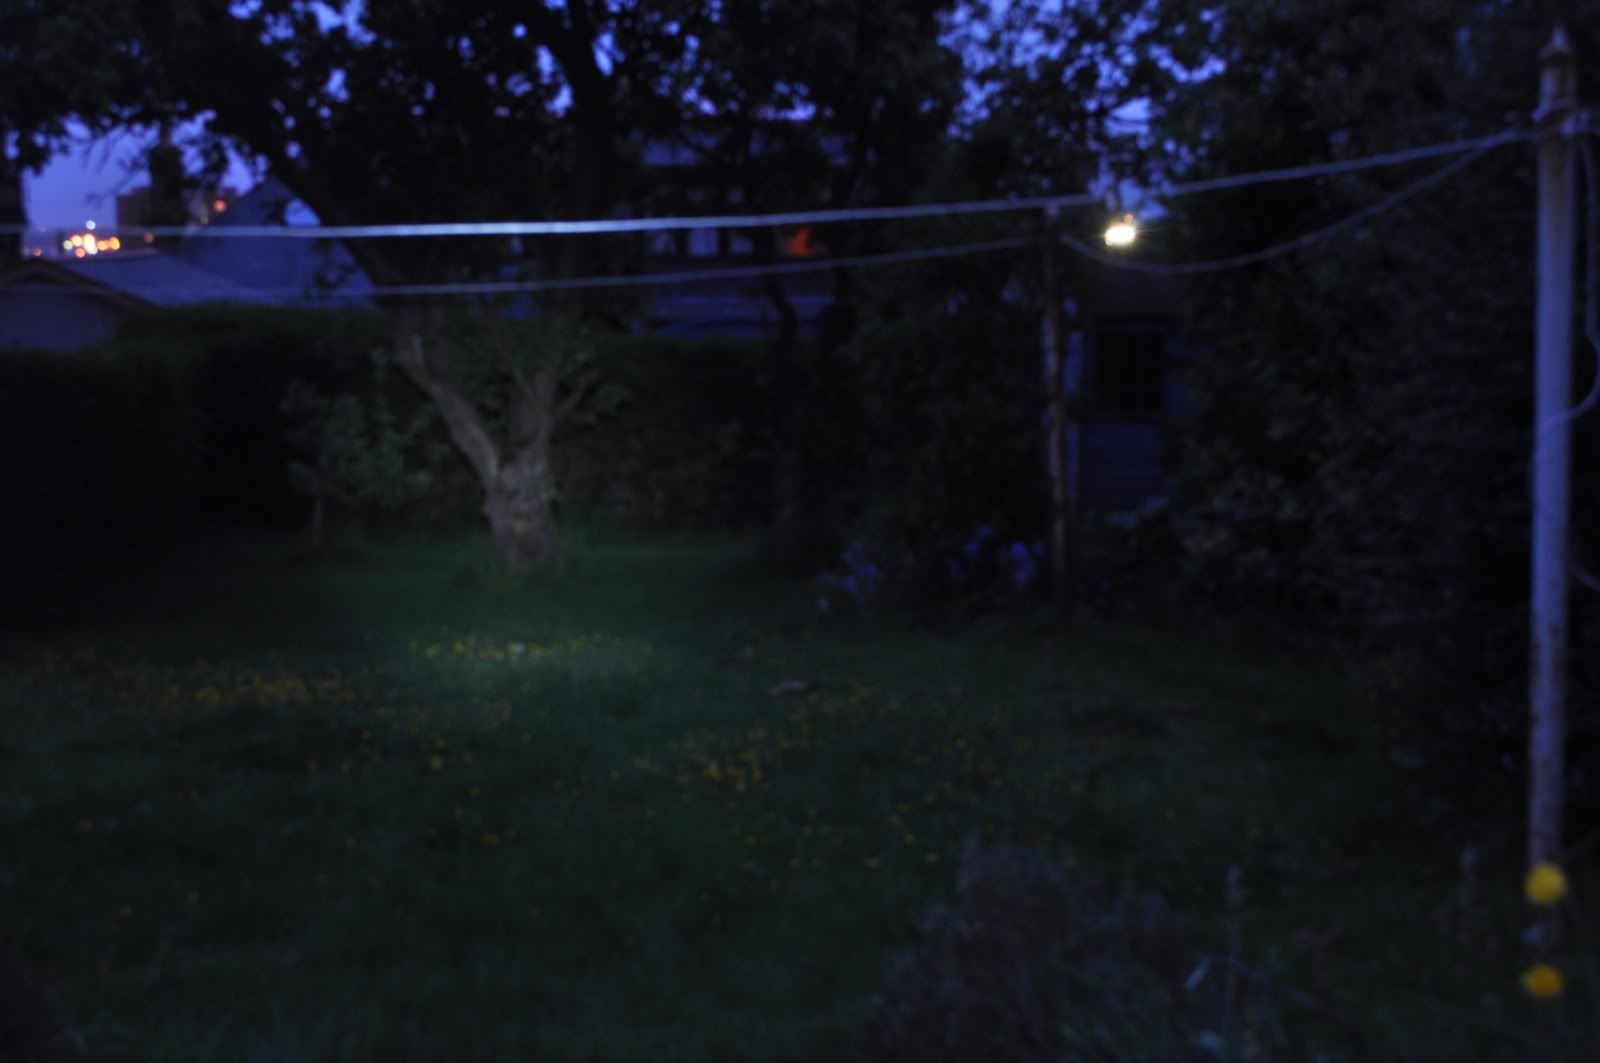
I have two of these lights. Bought the first one just because...(DX shopping spree) When it came, took the AA extension off, placed a 16340 inside the tube, and almost got blinded! When pressing the switch, it takes 1/4 a second to turn on. (Write 100 times: not to look into the led when the flashligh doesn't come on after pressing the switch!) It has a pretty large hotspot and throws quite well for the size.
It is(most used) my farm EDC light. That's why I have 2.(neither broke. One to abuse and another to use...) I'm not very fond of it's looks, but I really like it's beam. It easily throws 60-70metres and gives a 10m wide usable ball of light. The clip is ok, but the screws are rubish. I don't know if it's because of abusing it, but they are always loosening up.
It's a zombie light a with designer beam.
I have also a Romisen RC-A4, that is this light's twin and I prefer the MX.The RC does not tail stand and even if it's a thrower, has much more spill.
One question: Can I change the romisens lens to a TIR one? Can I buy it on DX? Wich one?
In principle it looks like it ought to work, but that plastic bush is firmly attached in there and I suspect non-destructive methods are not going to work. There is no way any 18mm diameter cell is going in there and it is almost airtight with my allegedly protected 17500s. I've not yet seriously tried to shift the bush though - but the back half will accept my 17500s which are the same length as my protected 14500s.
So if I understand correctly, the AA aluminum battery extension has a plastic bushing inserted to hold a AA battery in place. You were able to insert a 17500 into that spacer up to the point where it contacts the bushing. Your protected 17500 is the same length as your protected 14500. This sounds like a great candidate for a dedicated 17500. Are you going to give it a try? You could always use paper or tape wrapped around a AA later if you wanted to go back..
Looking at the pic, It doesnt look like the male threaded part is much larger than the AA, so I dont see how the 17500 would fit. That would make the aluminum threaded part paper thin if that black ring is the entire thickness of the bushing. Am I seeing this correctly?
I can see how it might fit in the female end.
Id buy this for the dedicated 17500 light, but dont want to invest in 17500's and the light if it wont work that way.
It will, I am pretty sure fit, once that bush is pressed out. With what I've got to hand I couldn't get it out - using an A size NiMH (17670) as the pusher and a 20mm socket as the catcher turned out to be a bad idea. The cell contained quite a lot of energy still and vented quite impressively. It came from a totally dead laptop battery pack. I now have both thermal and alkali burns on my hand. Ah, just like the good old lab days. I have to go and see a mechanic tomorrow so I'll try it on a hydraulic press to press the bush out. Will let you know if it fits once I'm done.
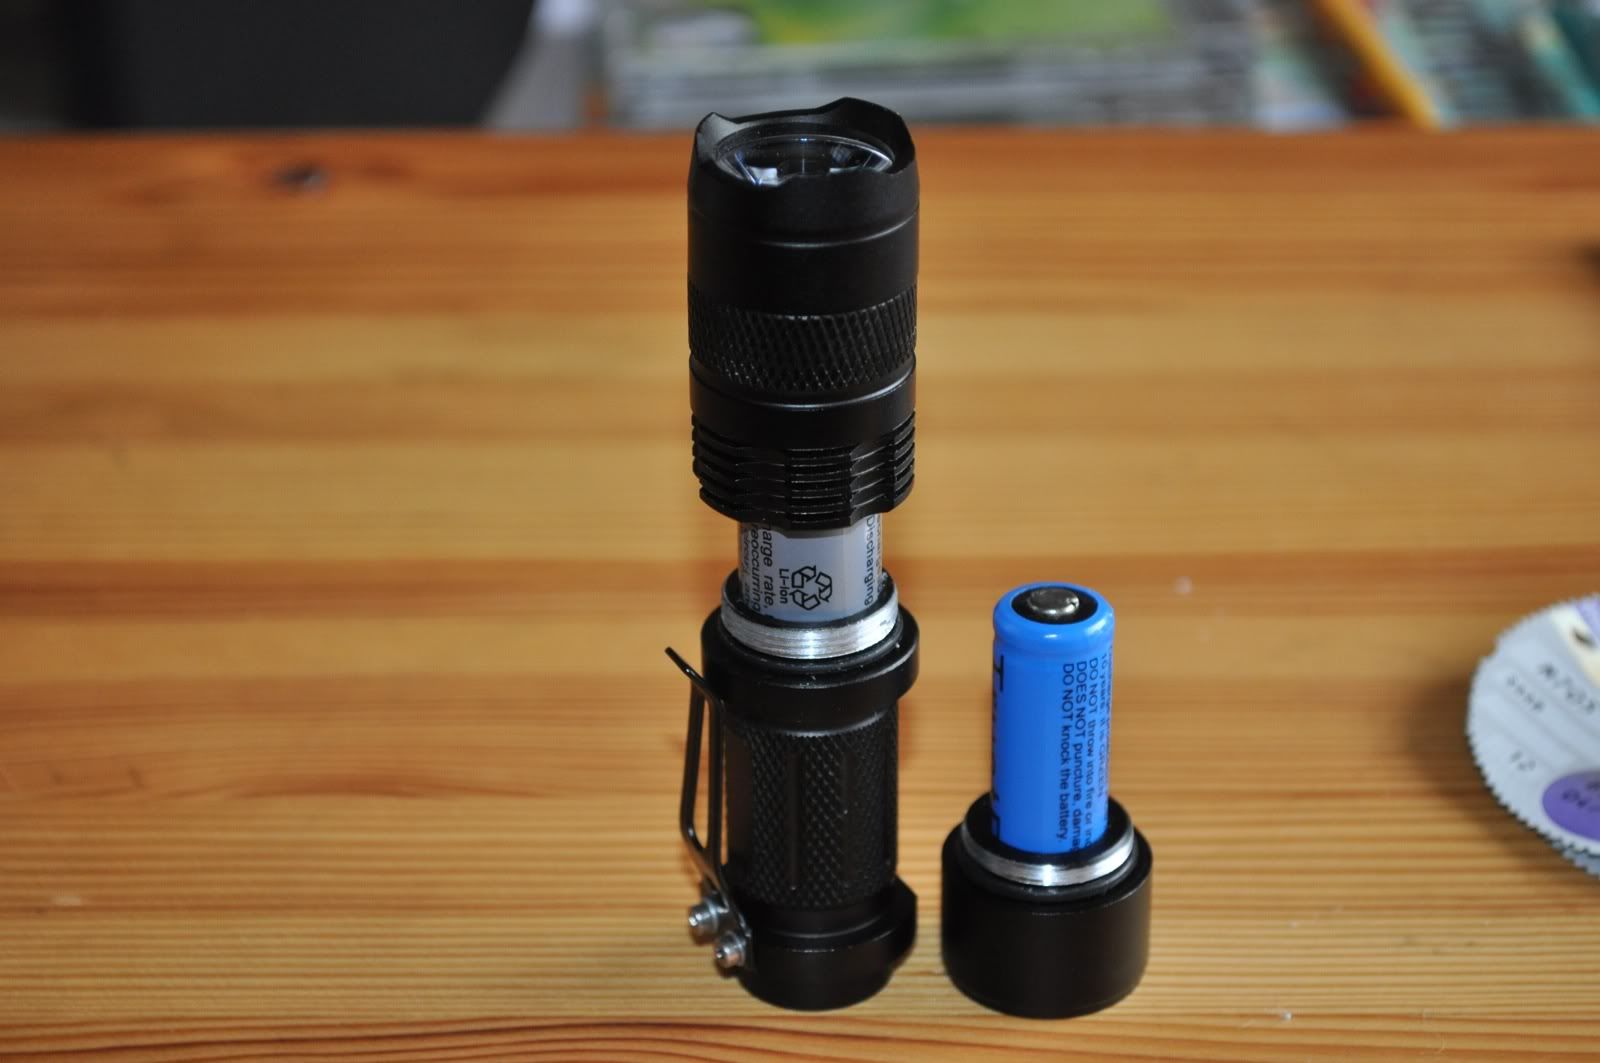
And a 17500 with the head perched on it and the spacer alongside.
I've done enough destruction for one day so I'll leave the more energetic methods of debushing (Sadly voting for Obama worked in the US, but won't work in this light) for another day.
Oh my gosh! I'm sorry you burned yourself (in more ways than one). I hope it isn't to serious.
After you recover, maybe you could try boiling it to see if that softens the plastic bushing, and then try again wearing gloves and a deep well socket.
With the 17500, this looks to be a fantastic EDC! What are your thoughts? Good luck with the press tomorrow!
I've had way, way worse. A pair of jeans used to last about a week before something nasty had eaten them. At 2 weeks my lab coat wouldn't have enough of it left to make a duster.
A mild burn to the left thumb is no big deal. I was a chemist back in the late 70's when that meant handling large quantities of dangerous materials all the time. And what I was testing was sewage just to add some biohazard fun. You did get to be good at washing your hands though....
Boiling is a good idea though - and remember not to use NiMH cells for drifting things out. Off to put the kettle on.
Boiling doesn't seem to soften it enough to let it shift. Was well worth a try though. Time for a press tomorrow. It's probably drill out easily enough if I had a drill press but it'd be nice if this could be a reversible mod.
HAHAHA! I just read your other thread about your HS-802. Sorry you're having such a hard time of it. I must say, you certainly are a tenacious fellow! (Damn those idiots that assemble these cheapo lights. LOL!) Perhaps a blow torch might be the next step. Following extraction, maybe a buffing with a rouge wheel to polish the aluminum adapter would add character and distinction. Does sodium hydroxide remove the paint and anodizing from the aluminum? Have you experimented with GITD paints on the host body?