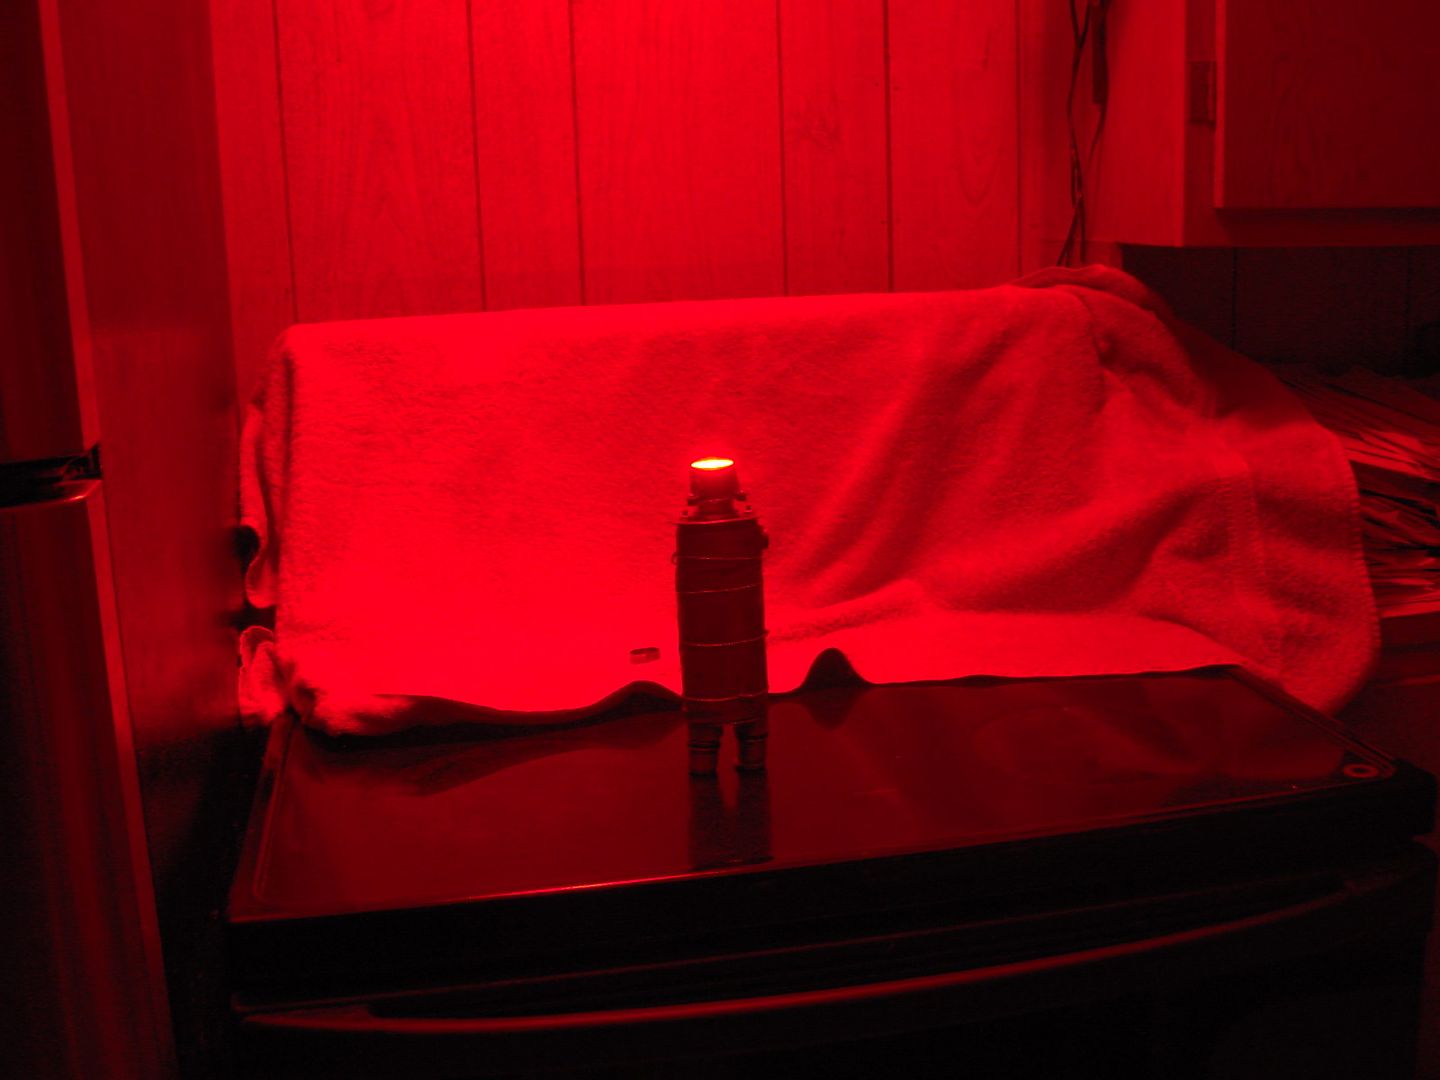
My idea is to create an antique looking copper zoomie. Going to throw out a sketch I made, and hopefully I can execute. Given time, there could be some surprises down the pike.
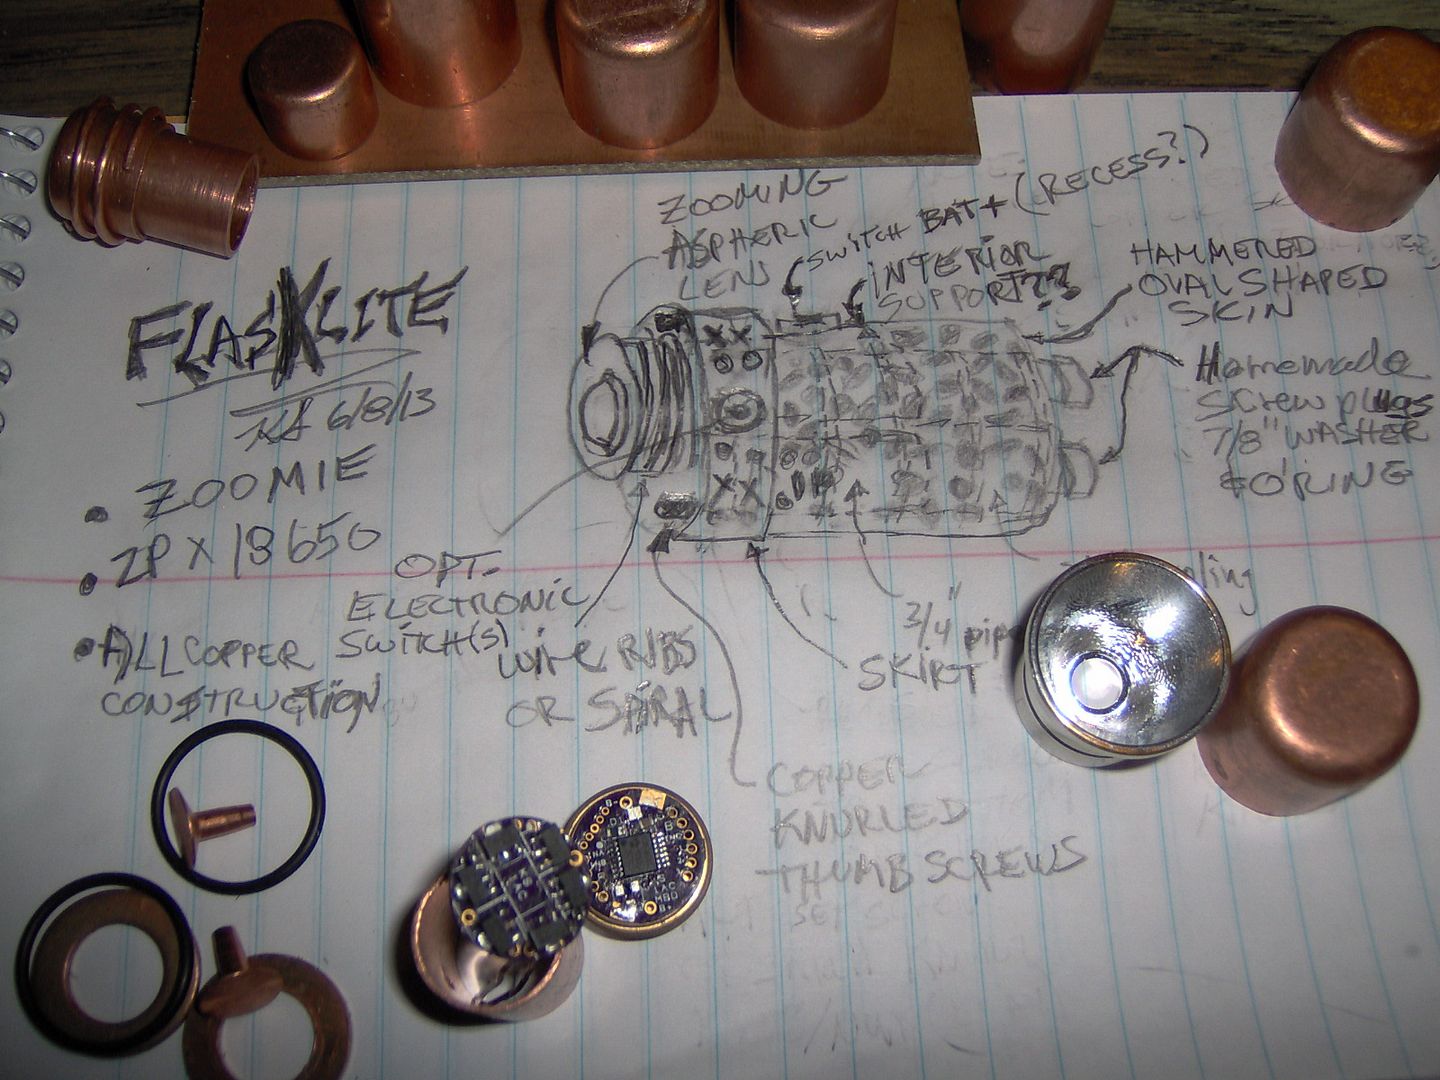
P60 Mods for zoom function. Double o-rings!!!
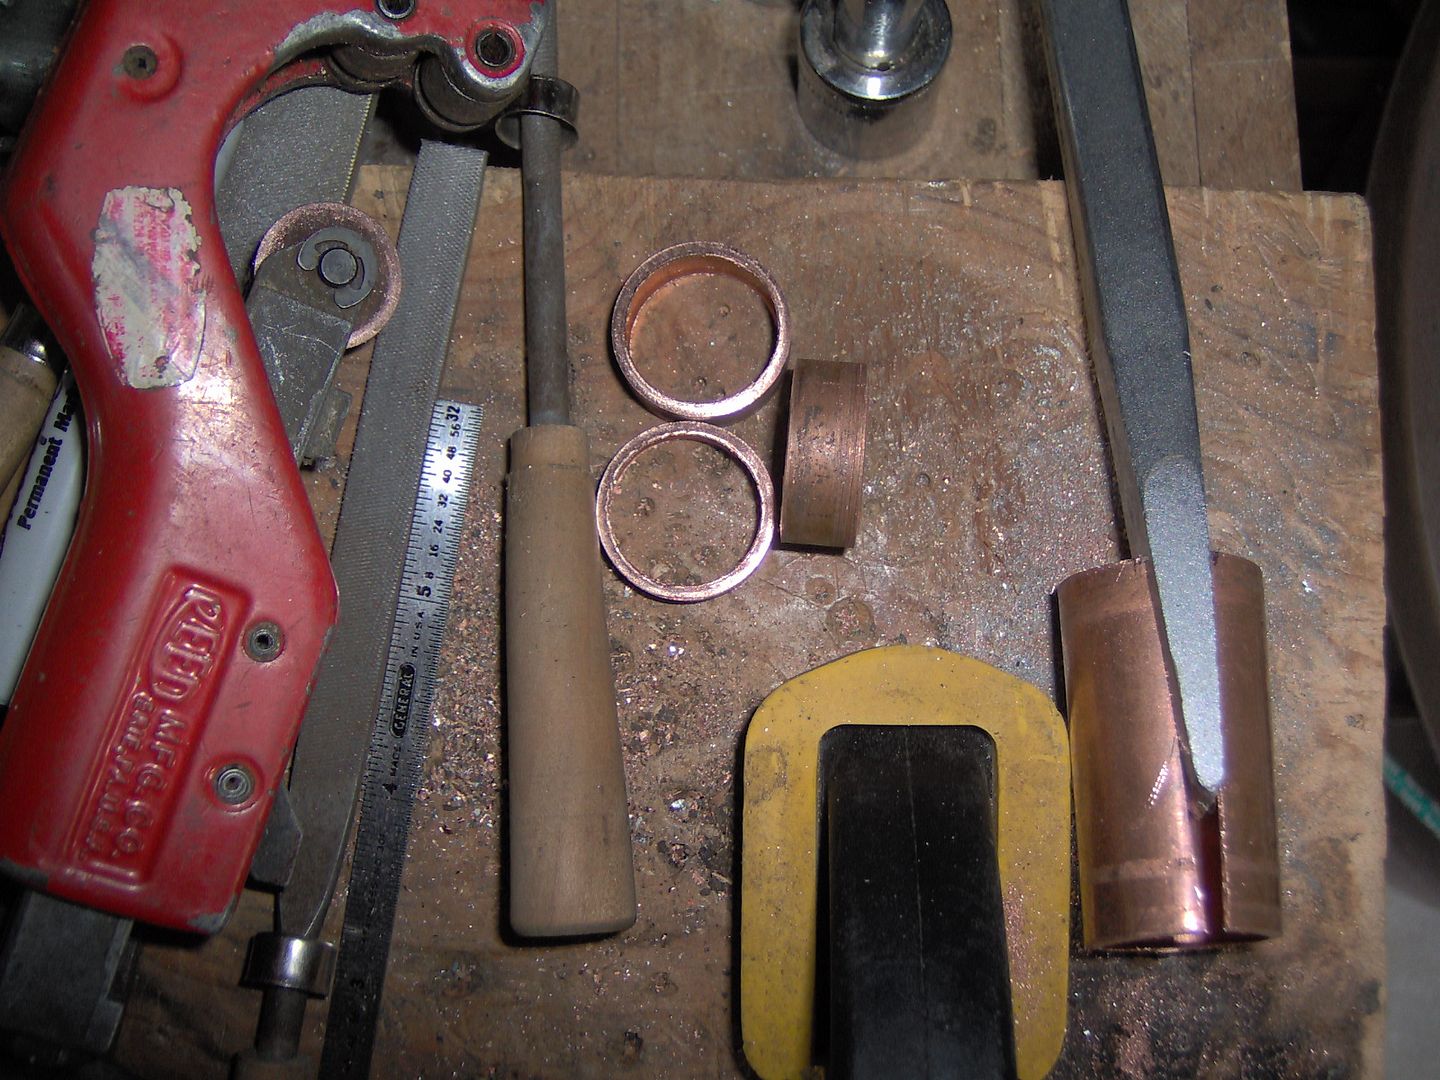
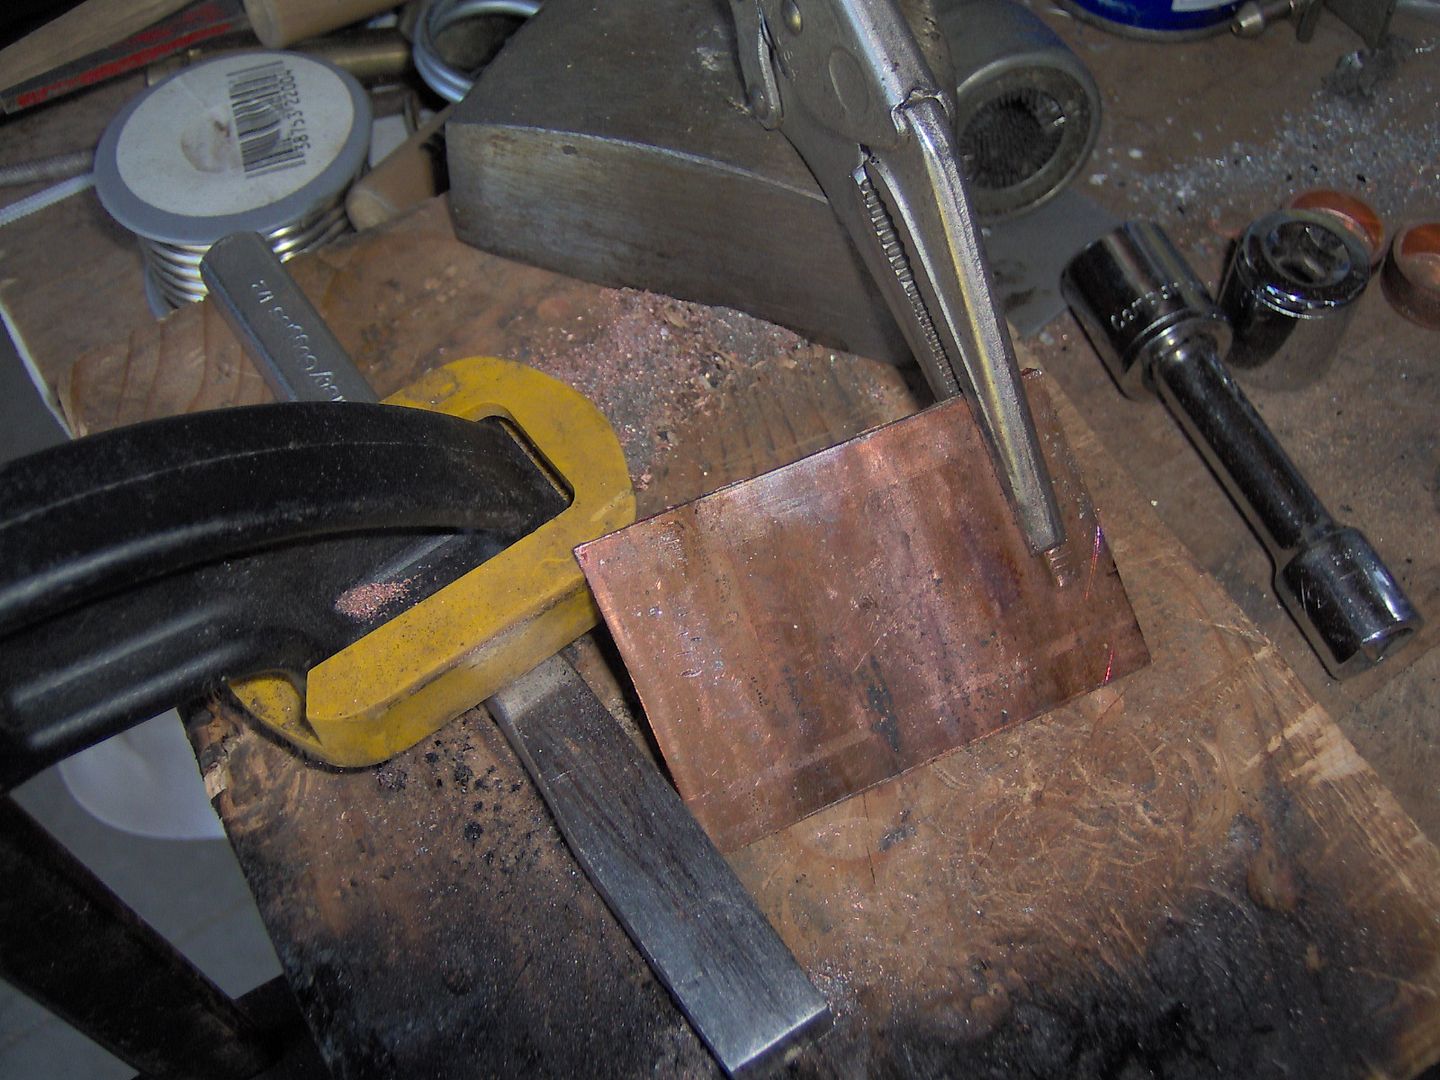
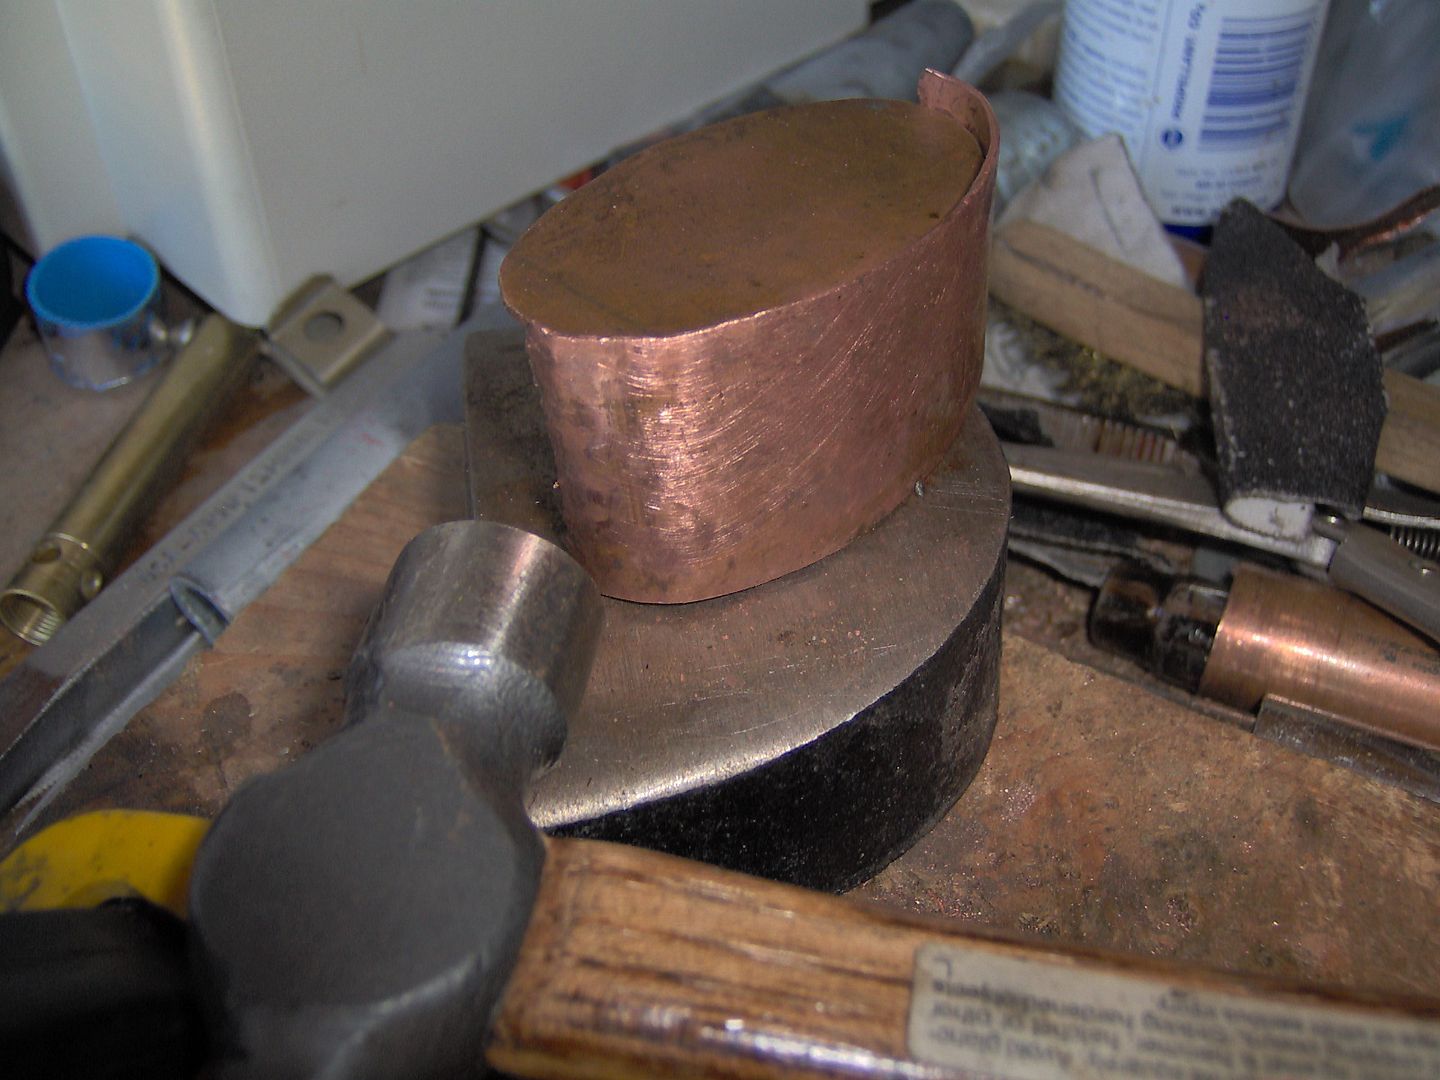
Split some pipe, heat, unfurl with vise grips, pound flat with hammer, cut with left hand tin snips. Repeat.
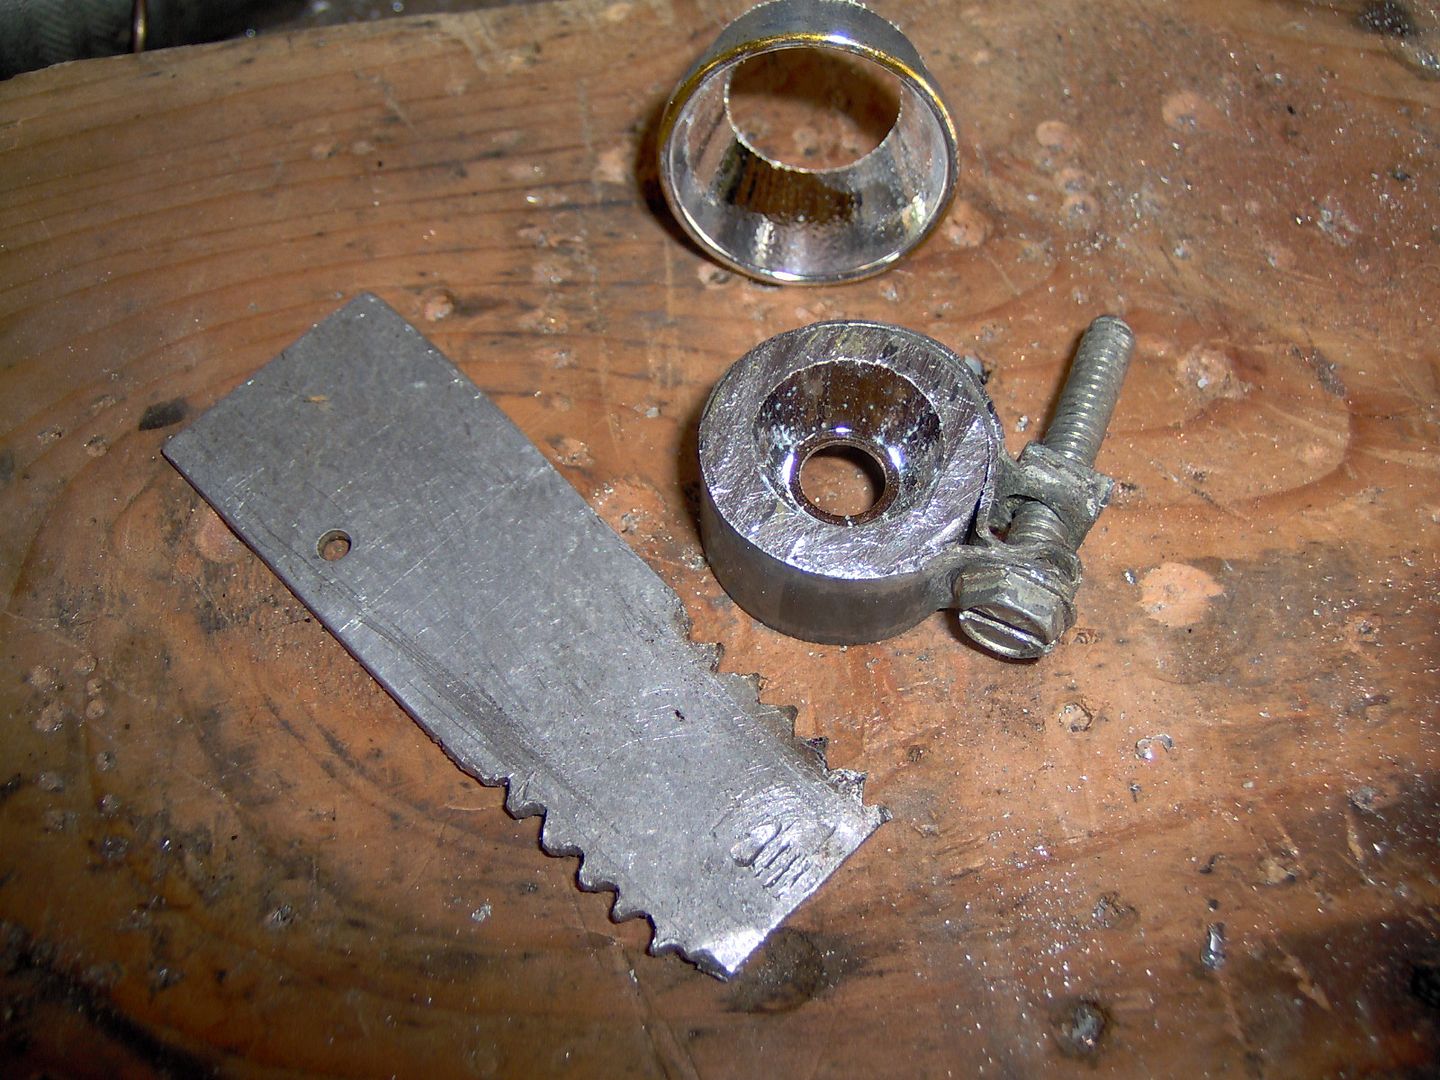
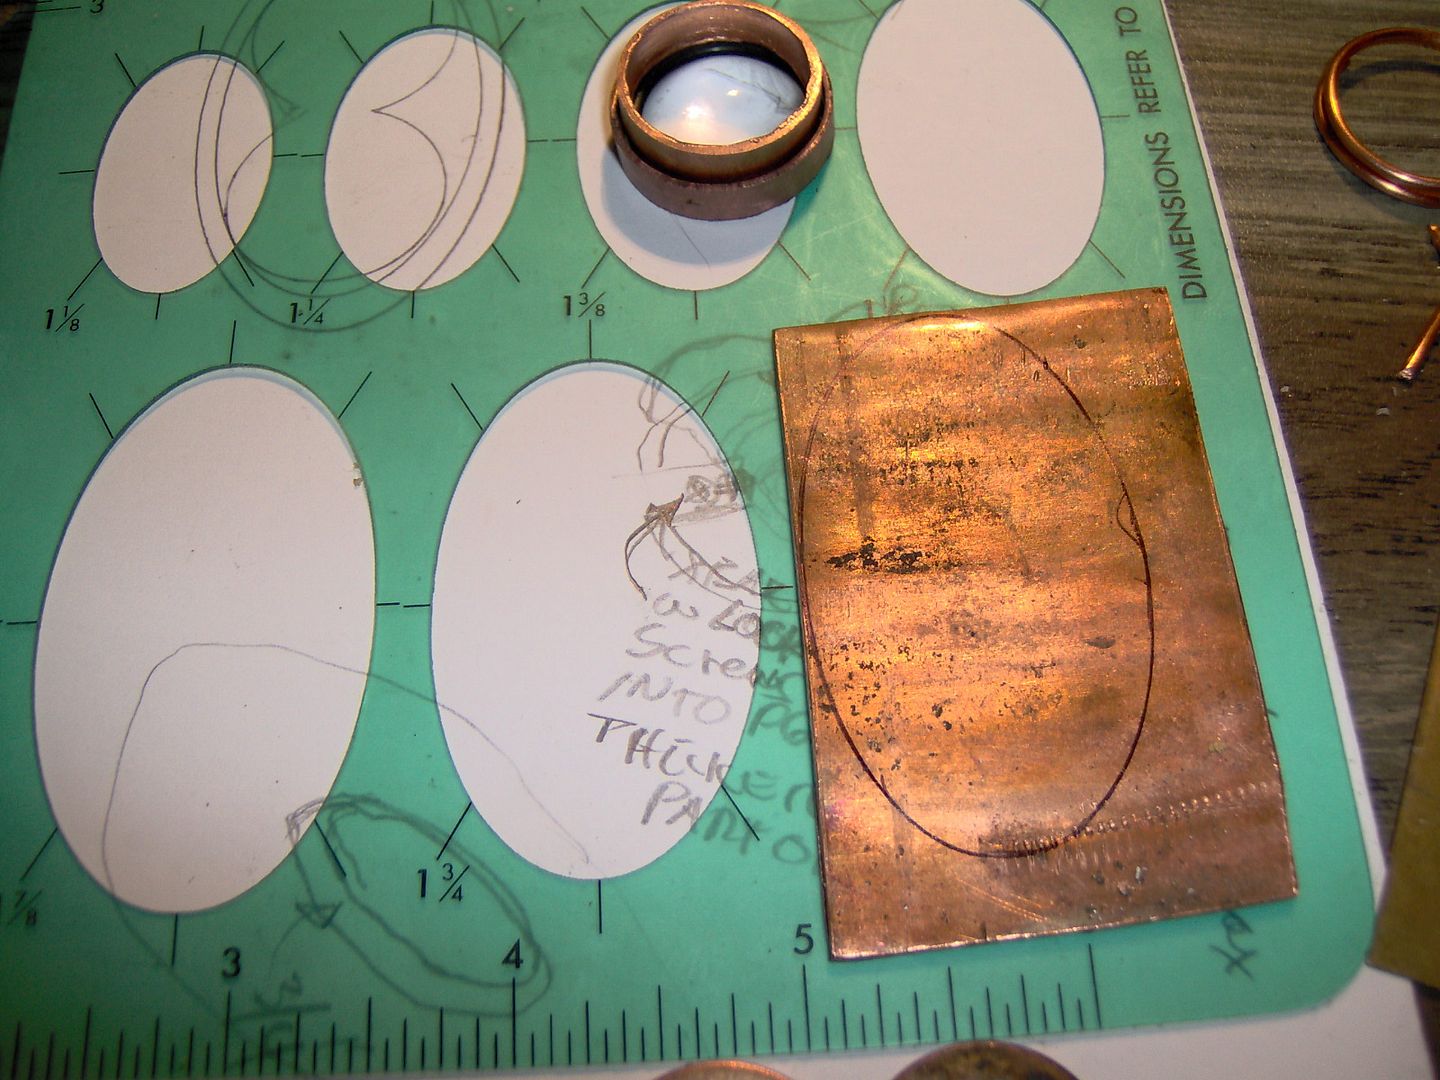
Old school Pickett template. I mean that in a literal sense.
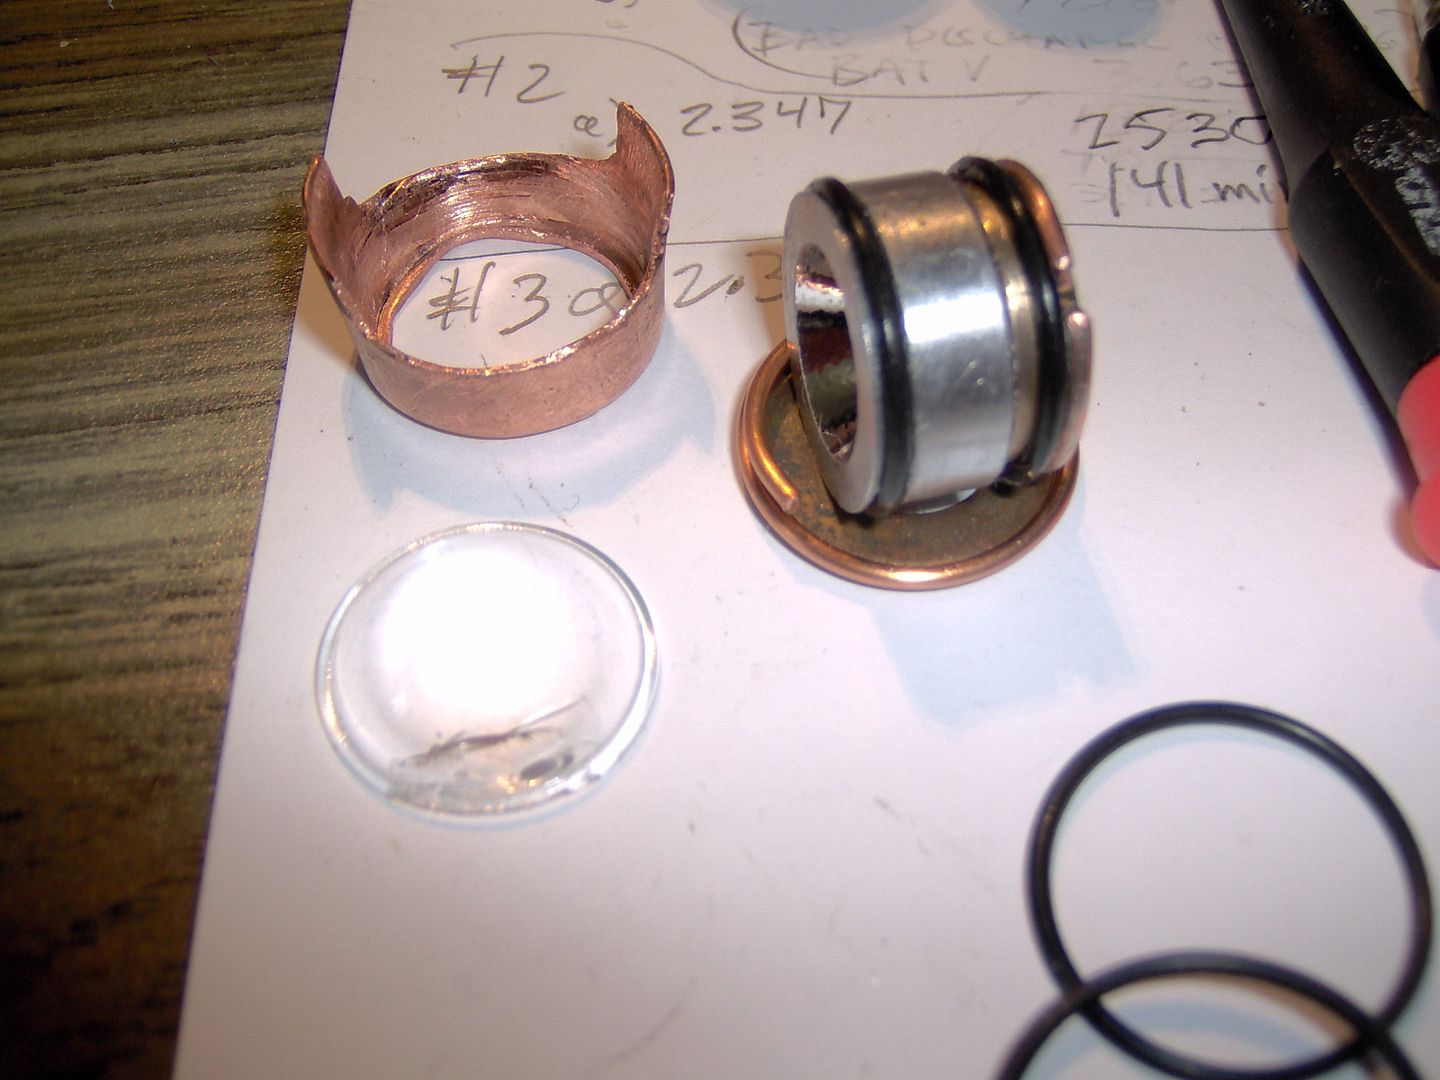
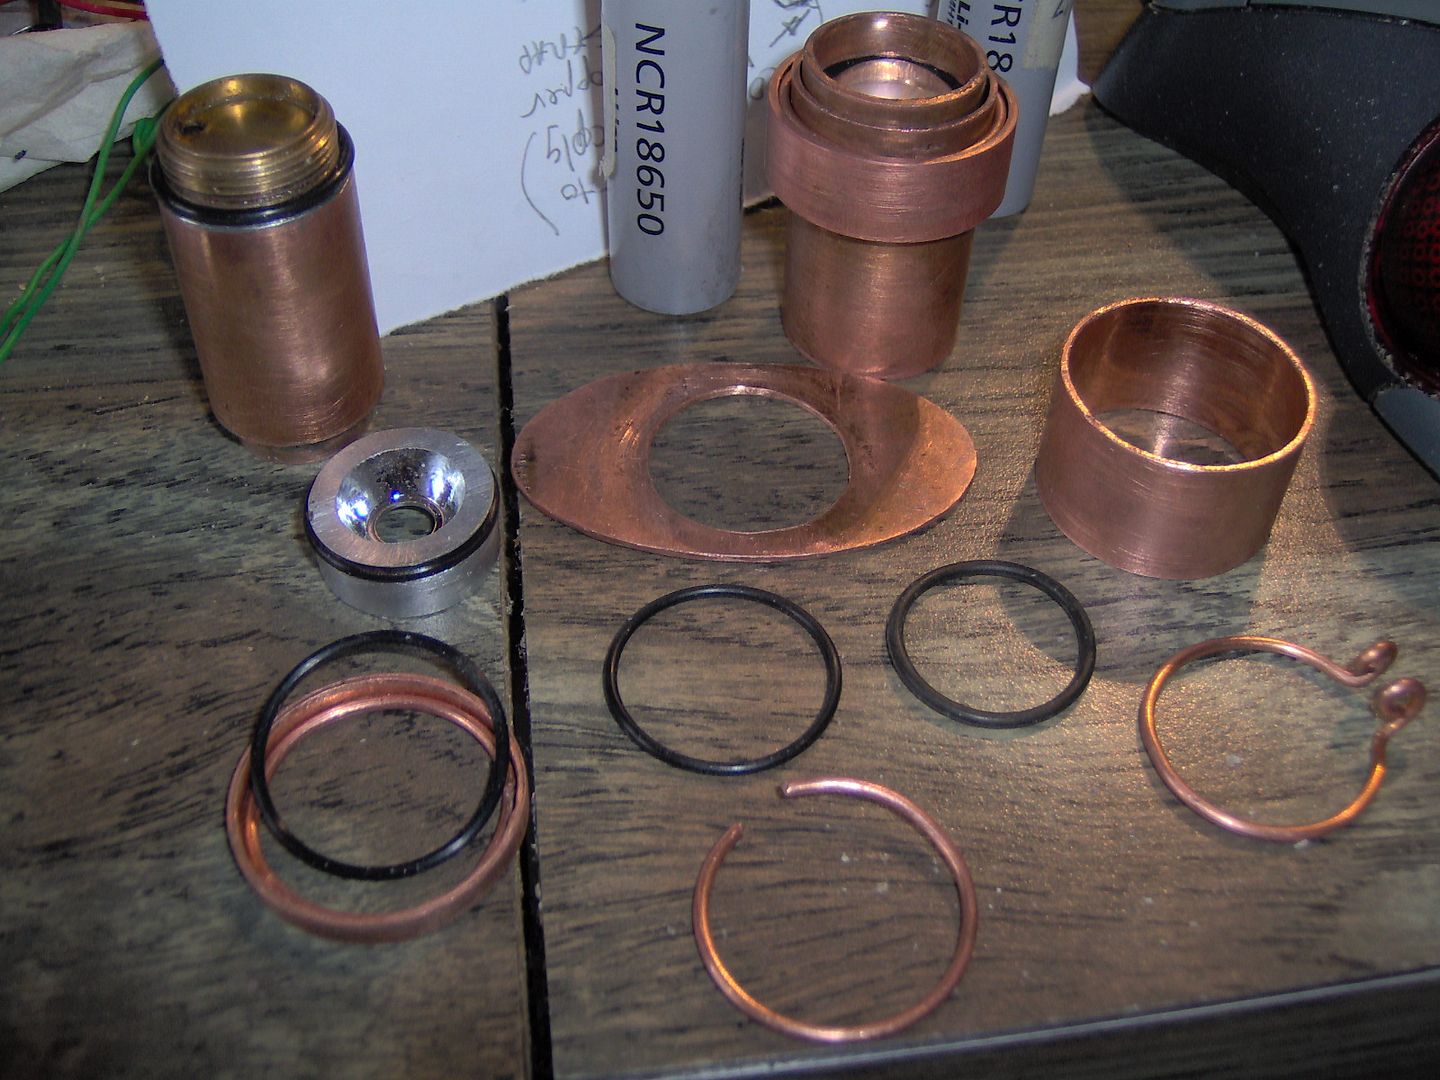
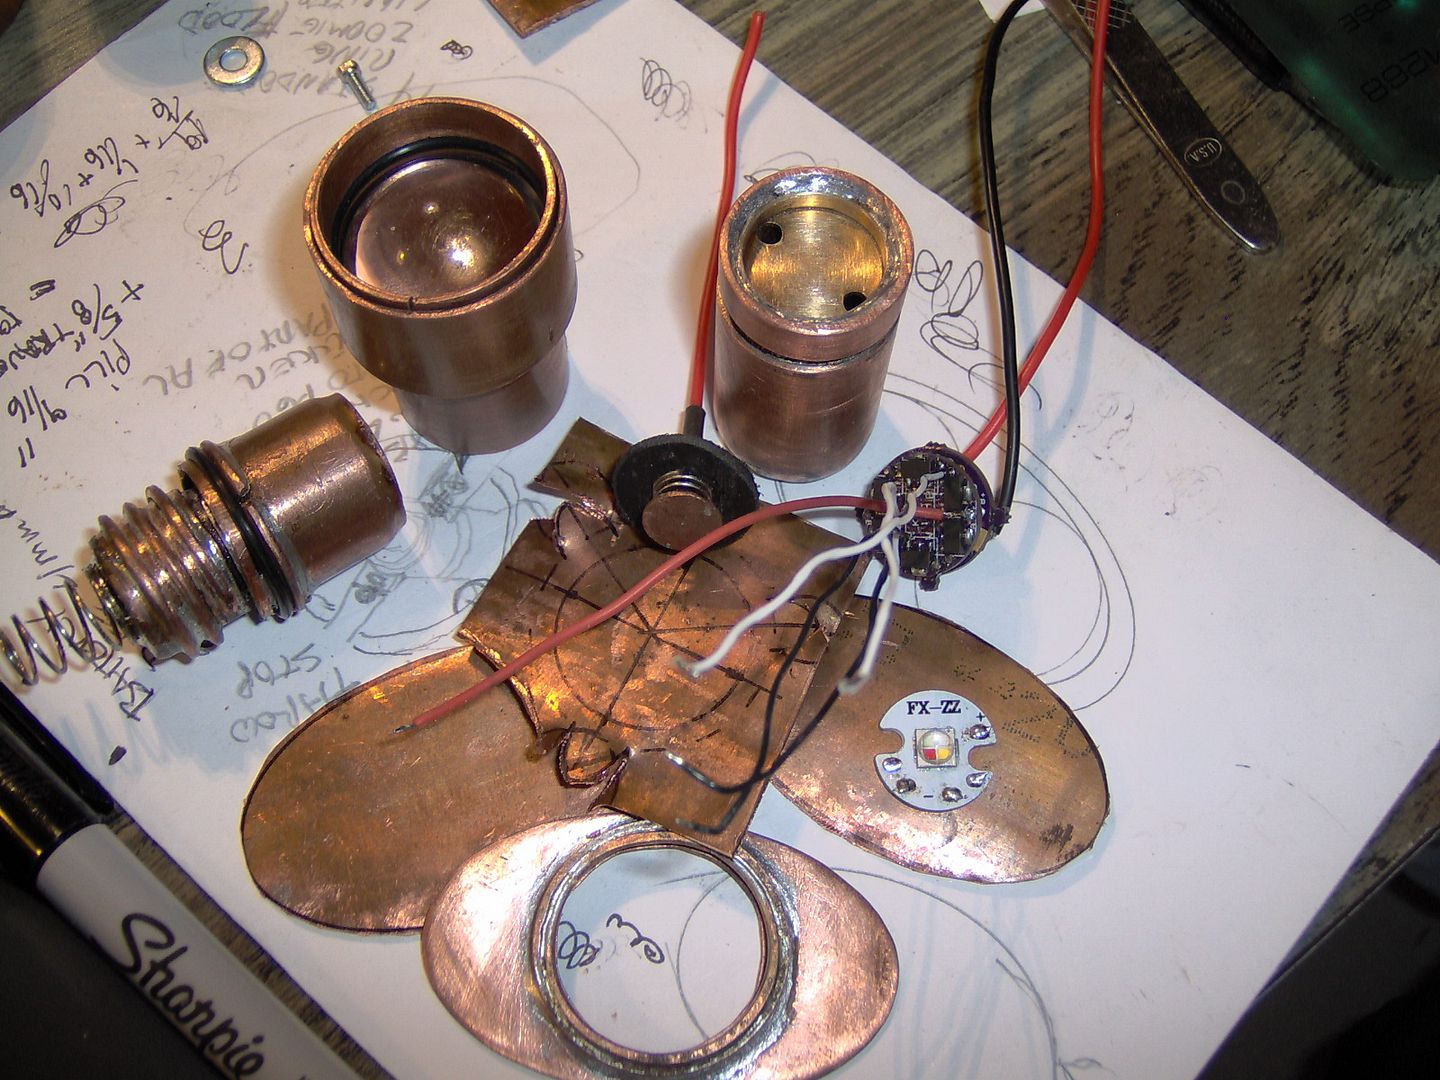
Pill extender (inner tube), various parts, outer tube with head mocked up.
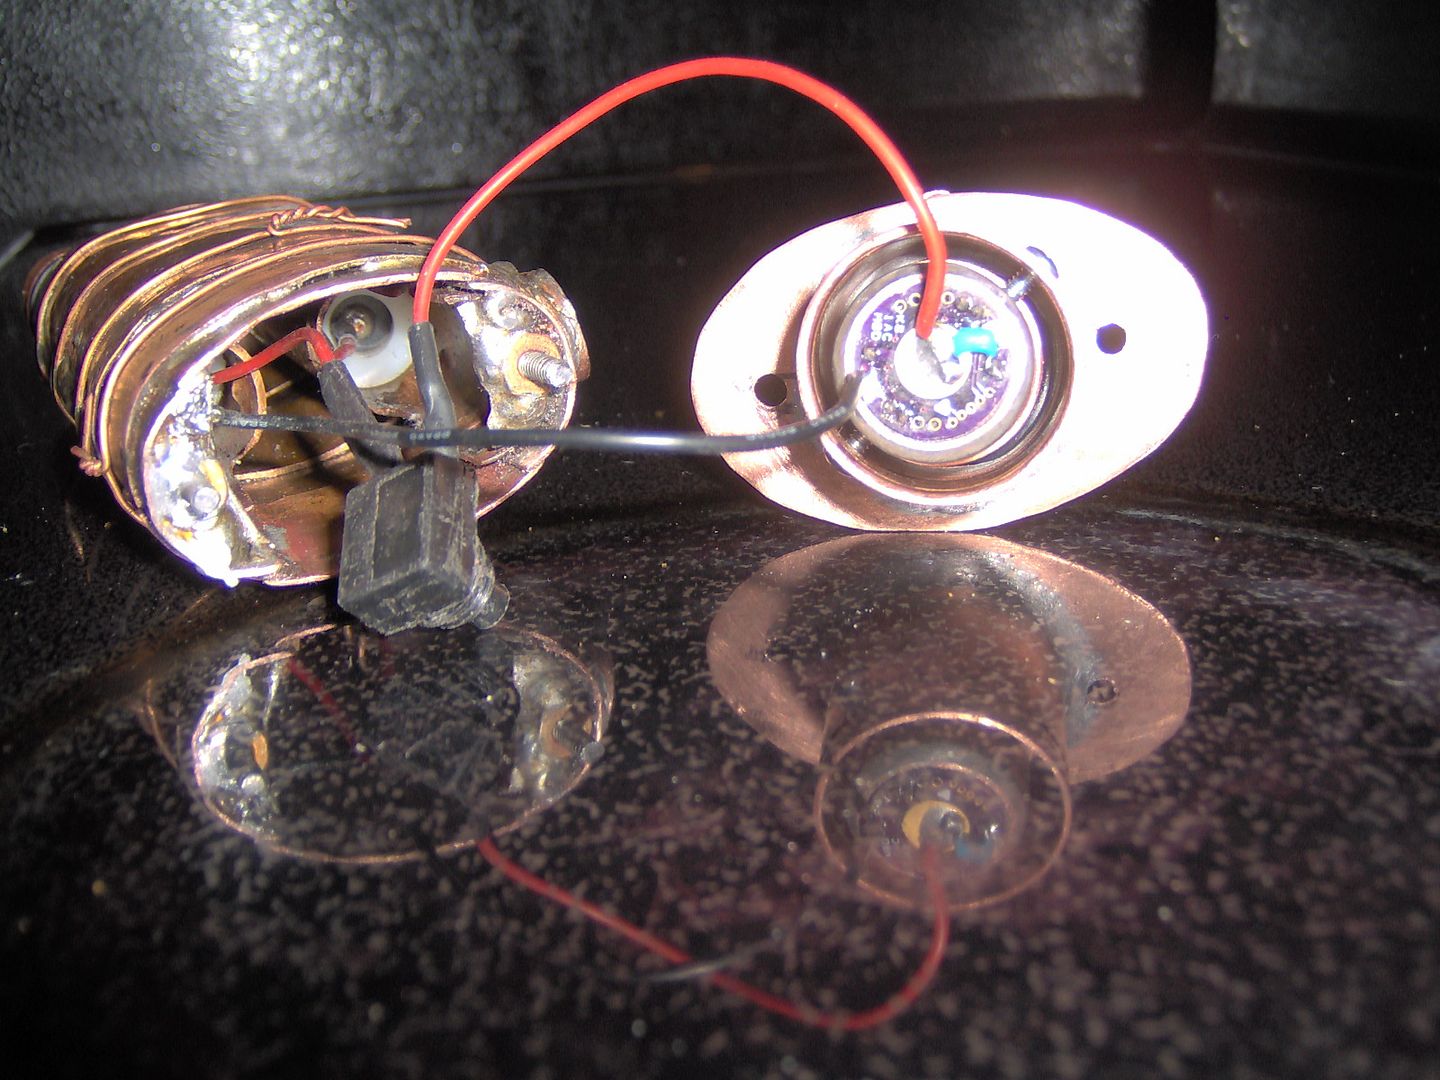
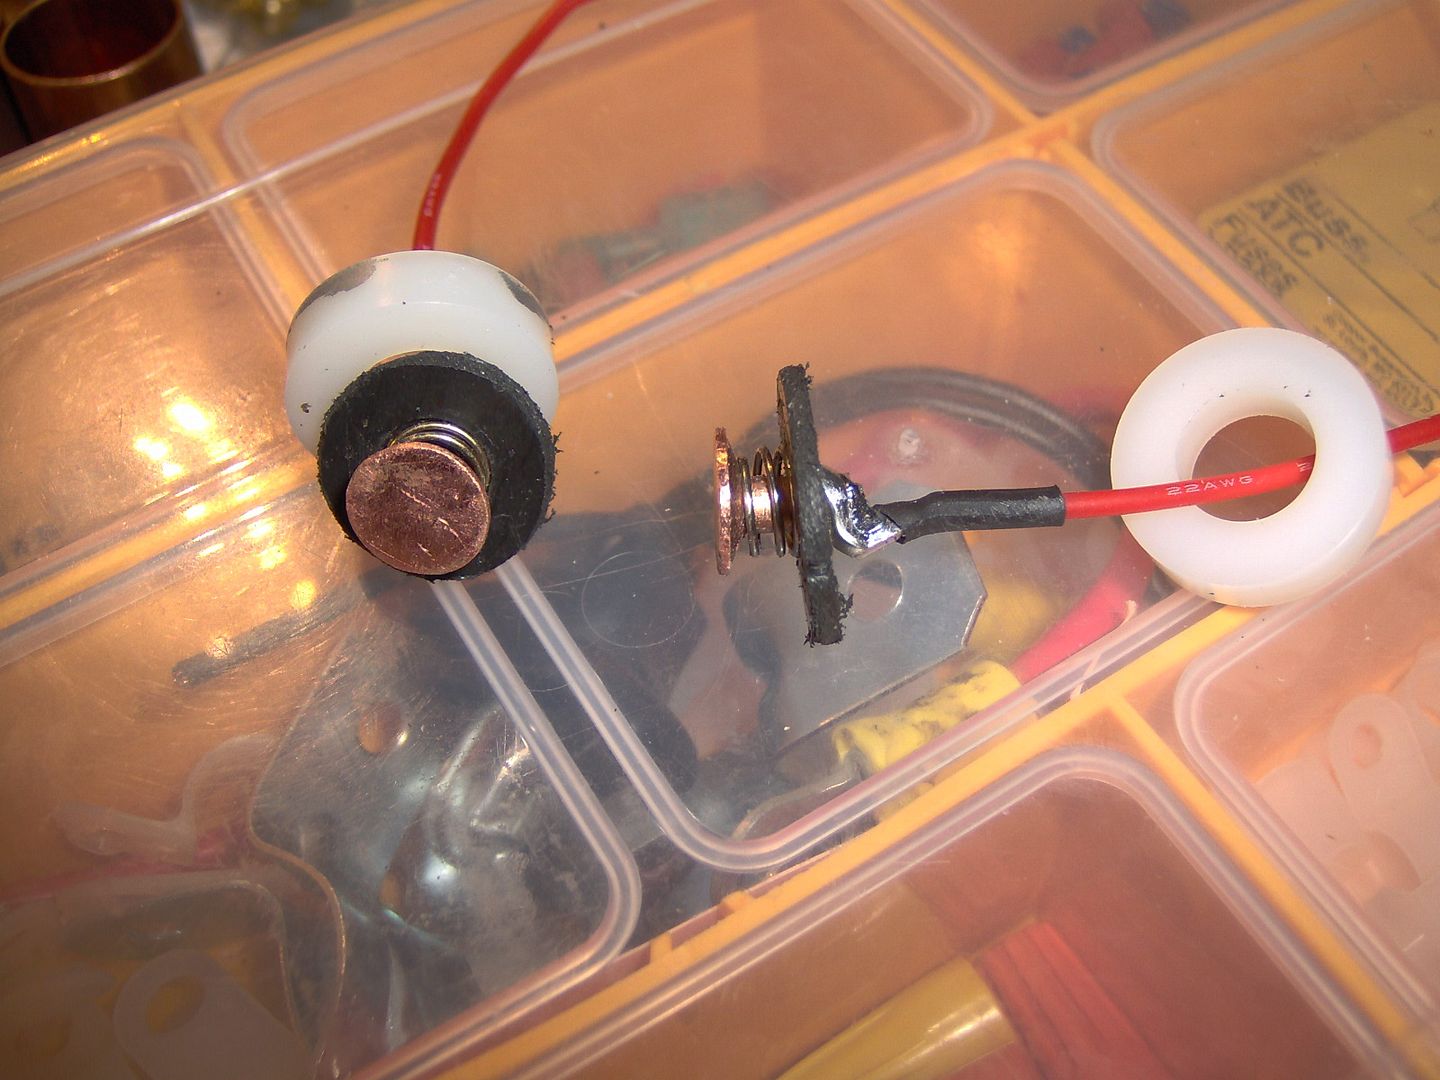
Here I’ve made up the positive contact spring assembly. There’s a trimmed up copper belt rivet, cutdown positive P60 spring, some abs from the salvaged 18650 battery holder, and a bent ring terminal. This will be a big help for the salvaged NCR18650 laptop batteries that I’m going to use. The battery tubes have been cut and punched to provide a backstop for the 3/8” I.D. nylon spacer.
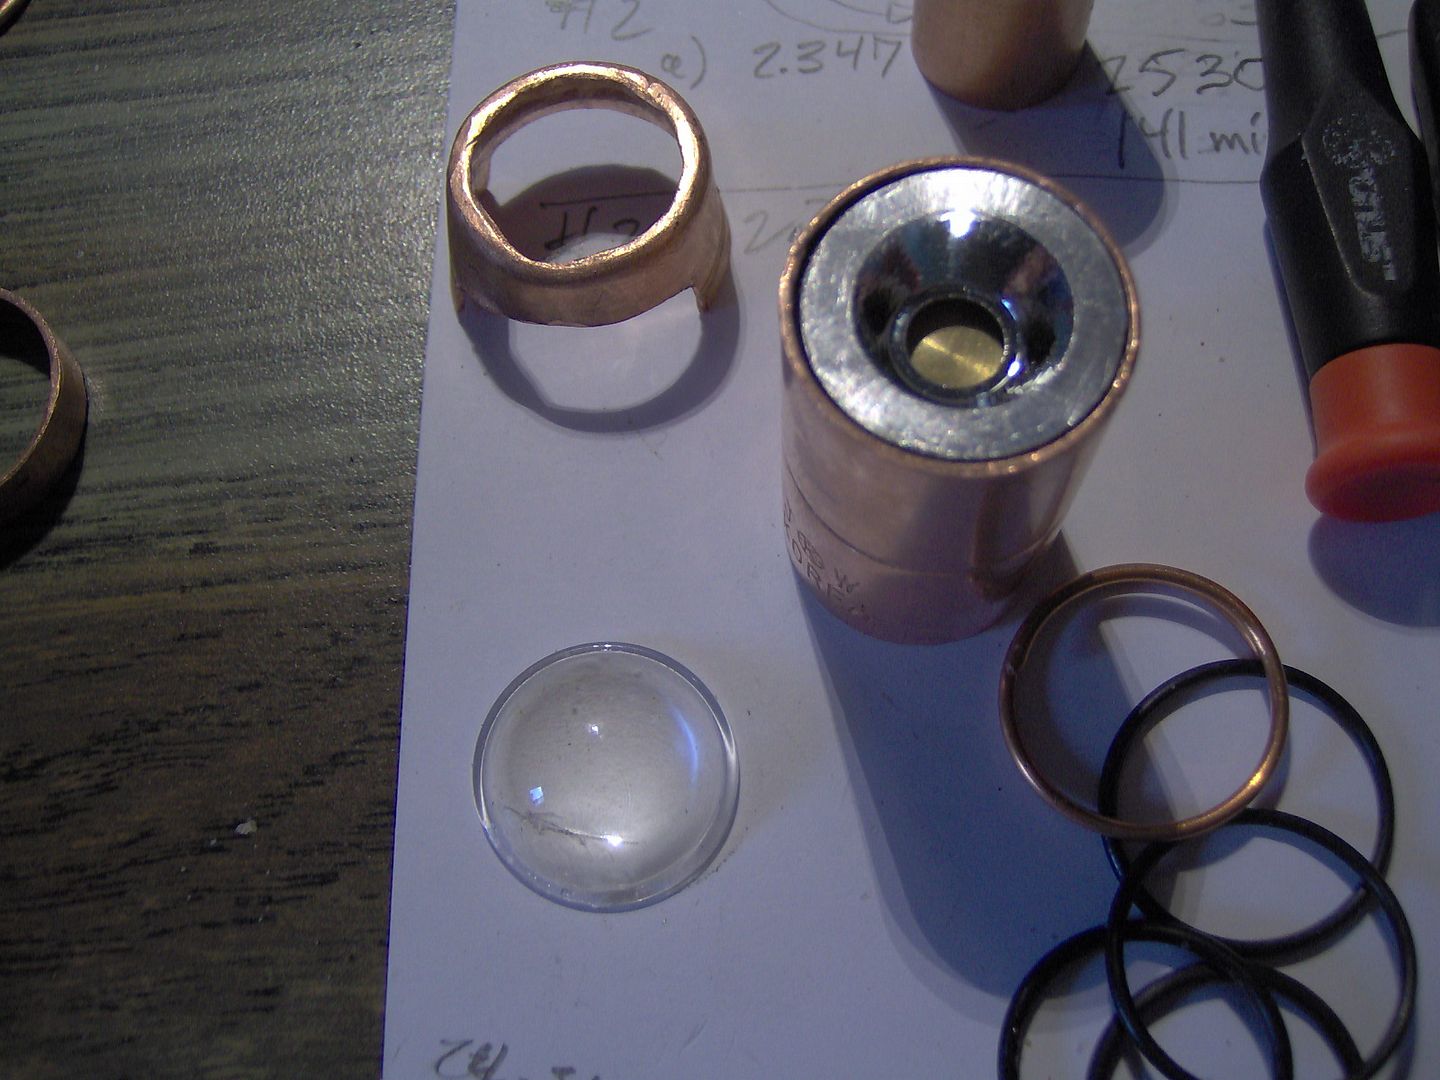
Another parts pic:
The aspheric replacement is going to be a perfect fit, THANKS Old Lumens! The mini reflector idea had to go, it produced a weird and wide orange peel halo. Think 007 movie intro with the camera shutter effect.
Got a working copy for the tailcap finally, just need to duplicate….oh boy, oh boy ![]() .
.
Using some wire and small cutoff from 1” coupling for a “captured” o-ring on the top faceplate. That will seal the outer sliding tube.
Have an outline drawn up for fixed plate that will help secure the lens head to the outer tube. I was thinking of using some set screws at first, but I want to have some light pressure on the lens and o-ring assembly.
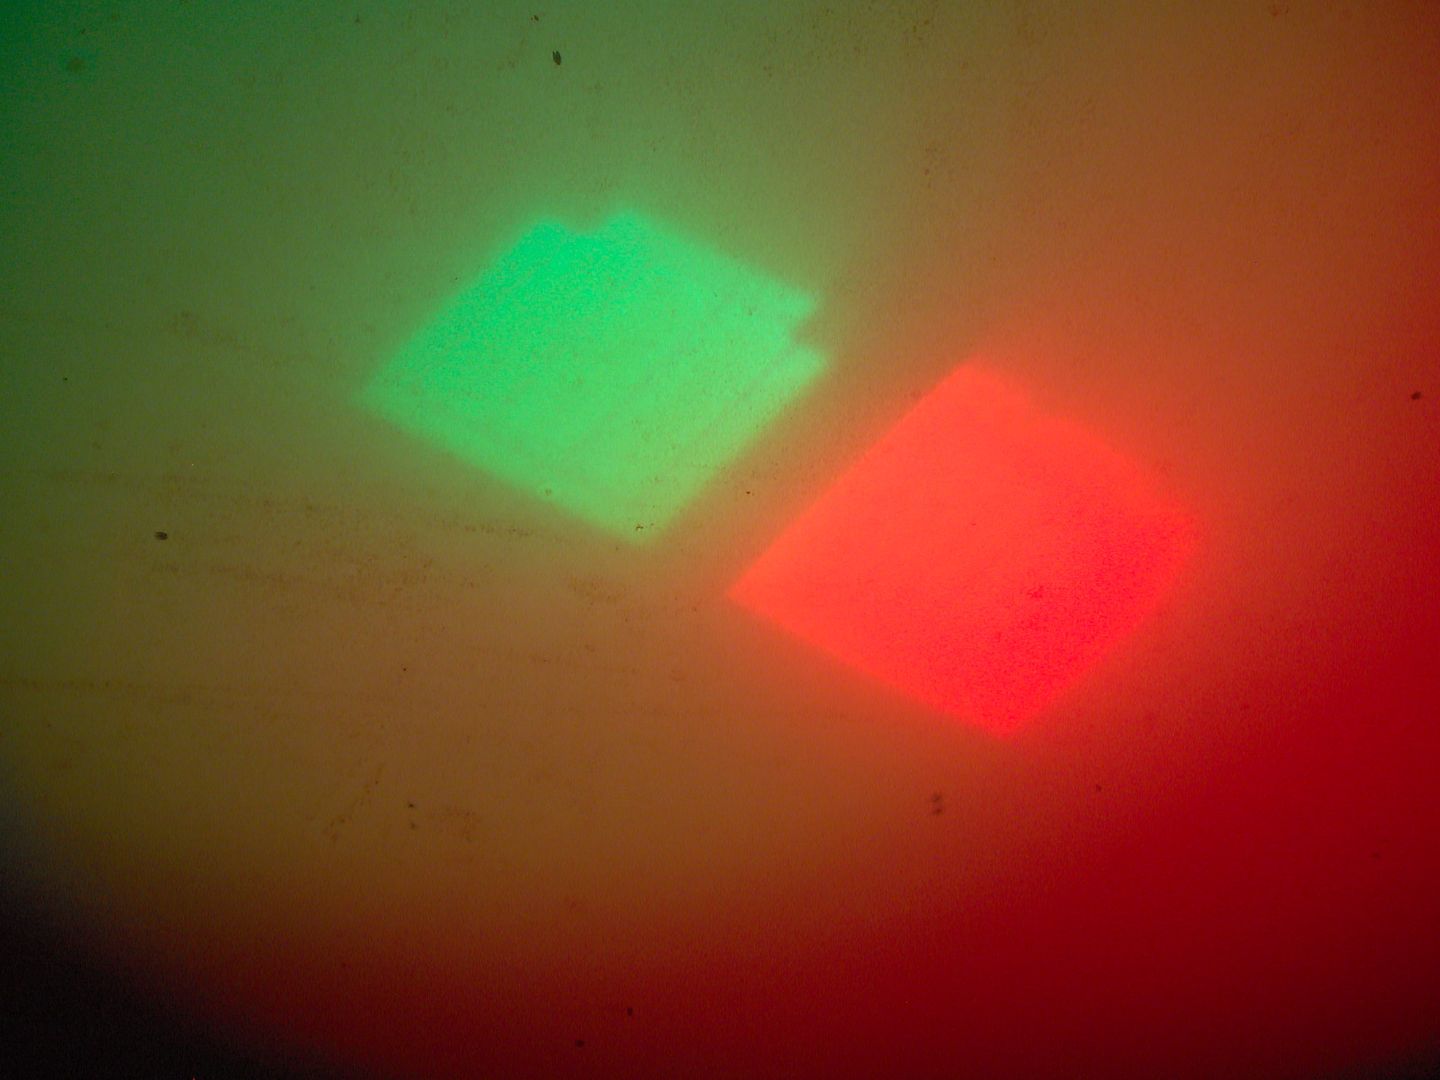
I will be using a Cree XML-Color emitter from Intl Outdoor, with my custom 4x1Amp AMC7135 slave board and micro board stack.
More thought process. I need to get this done, so I can get my kitchen table back!
Now, on to making more copper fairy dust.
……
Got the ballpeen out. What a pleasure to beat on some copper. Getting a little frustrated? Go to Hammer time! Here is the top skirt, it’s going to be split…just because.
Here is the switch tower that I made for a Judco switch. Also made up a faceplate to seal it off with a small Fastech rubber boot.
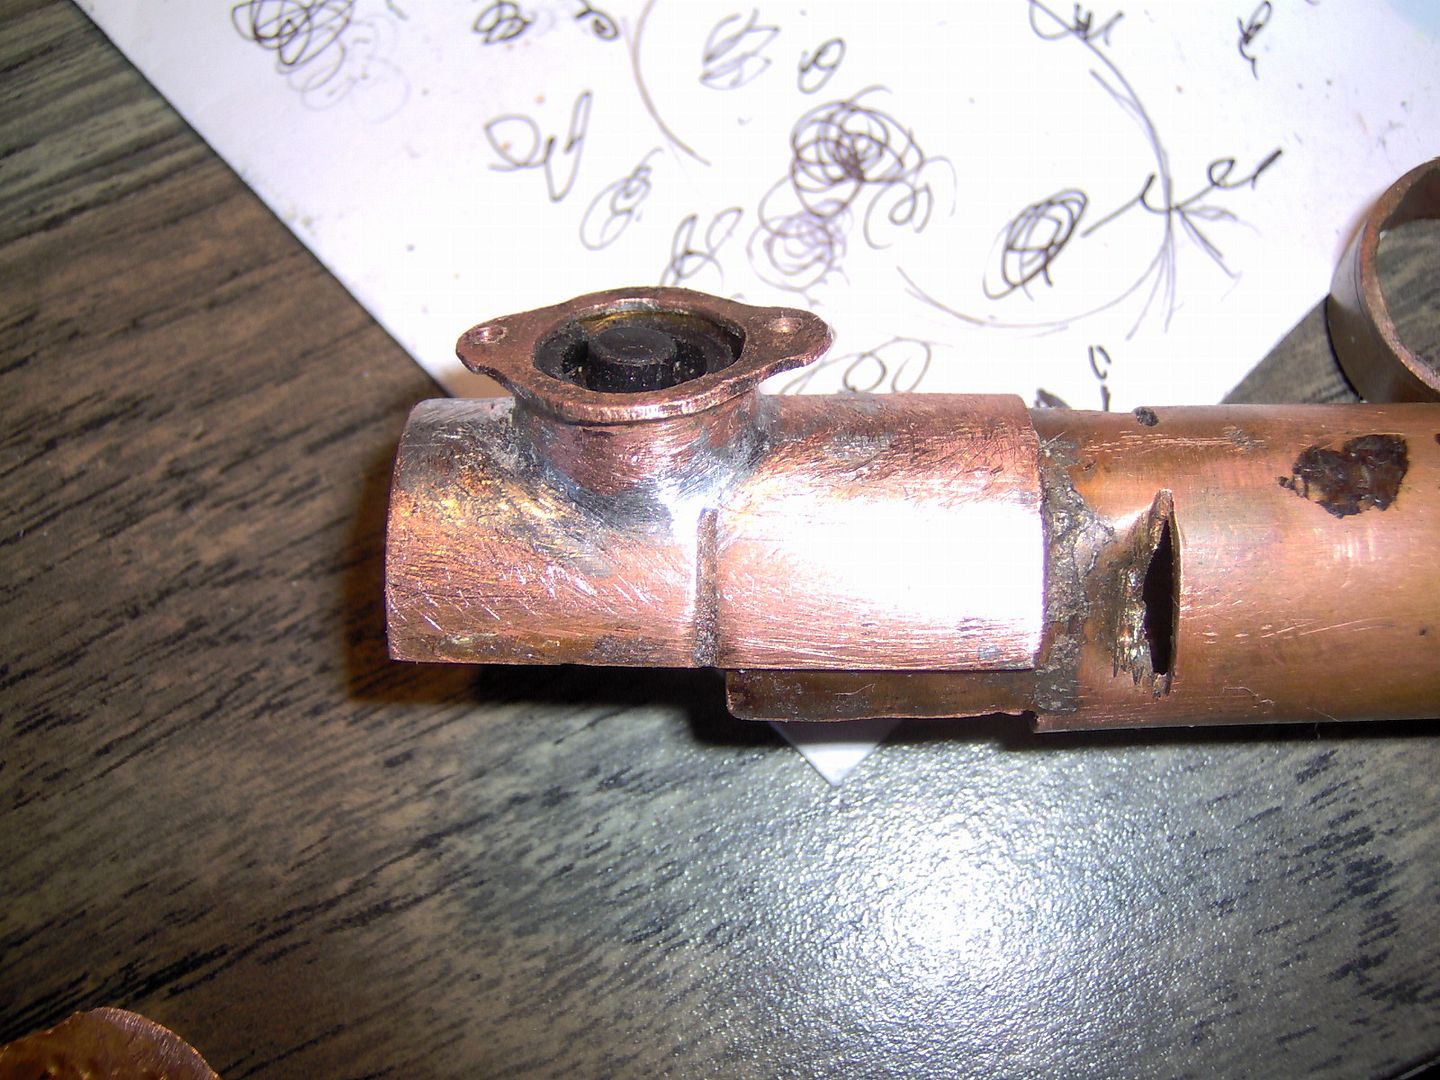
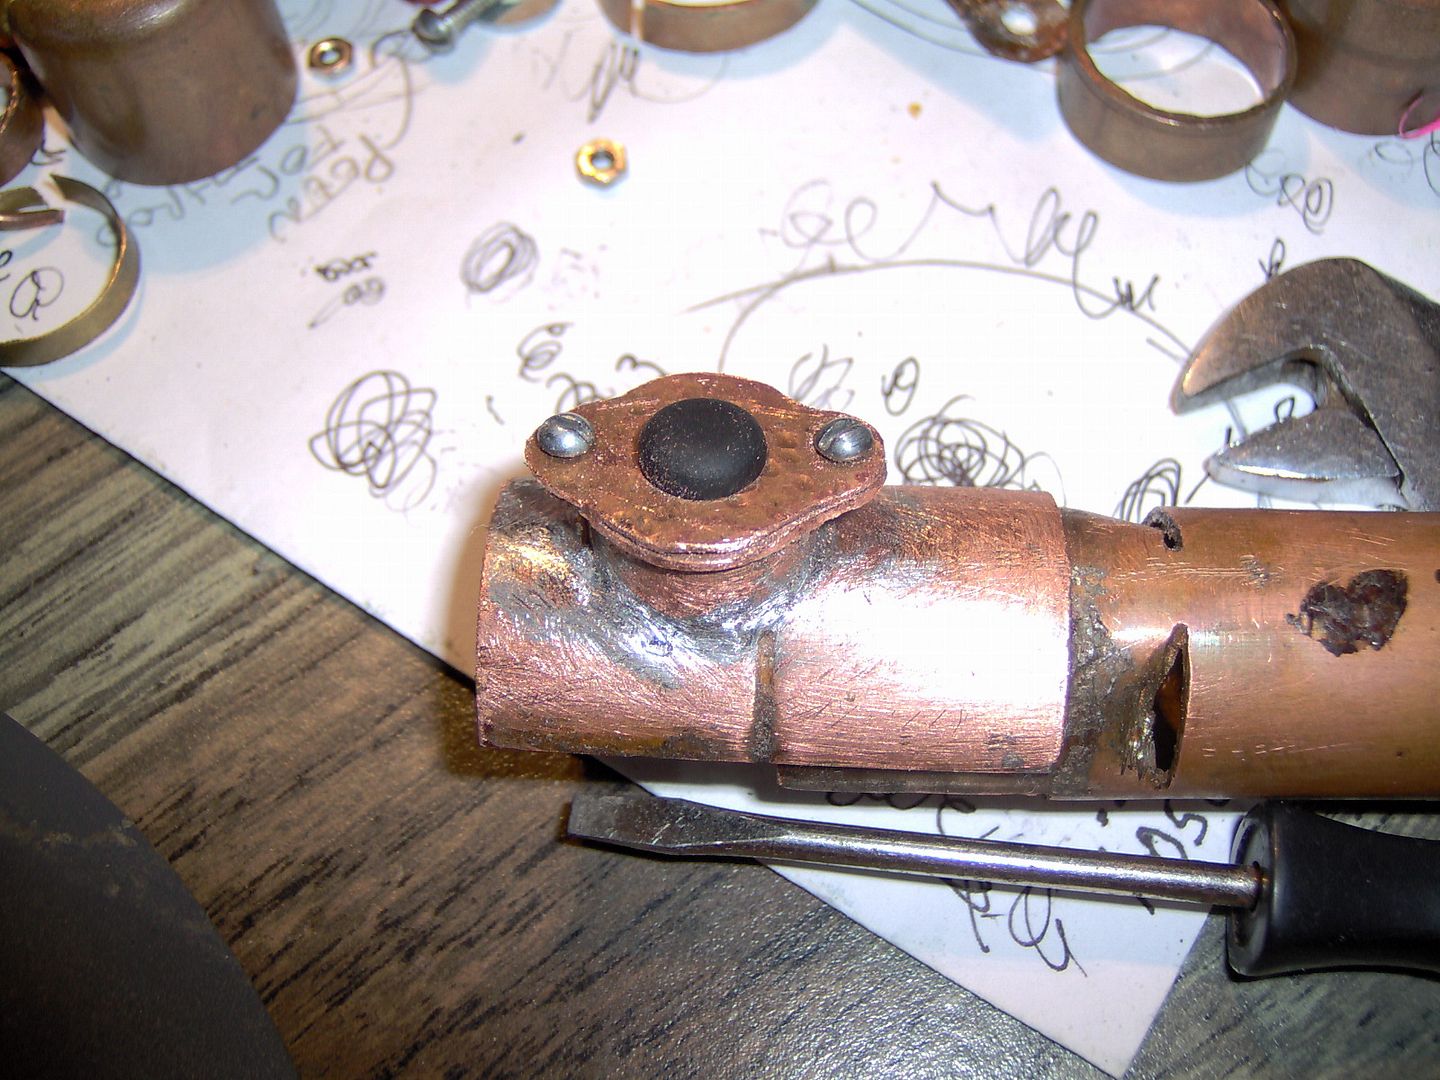
Oops! A different kind of de-doming. I really have to watch how the solder process goes now, and more clamps to hold things in place.
Want to build your own P60 pill? Here is the remote driver end, it goes something like:
- 3/4” pipe, insert short 5/8” pipe, and solder.
- use rat tail file till 17mm board fits.
- snip 0.015” brass shim to fit, press 17mm board till flush, then solder.
- if you have a slave board like me then file some more, till 16mm board fits loosely.
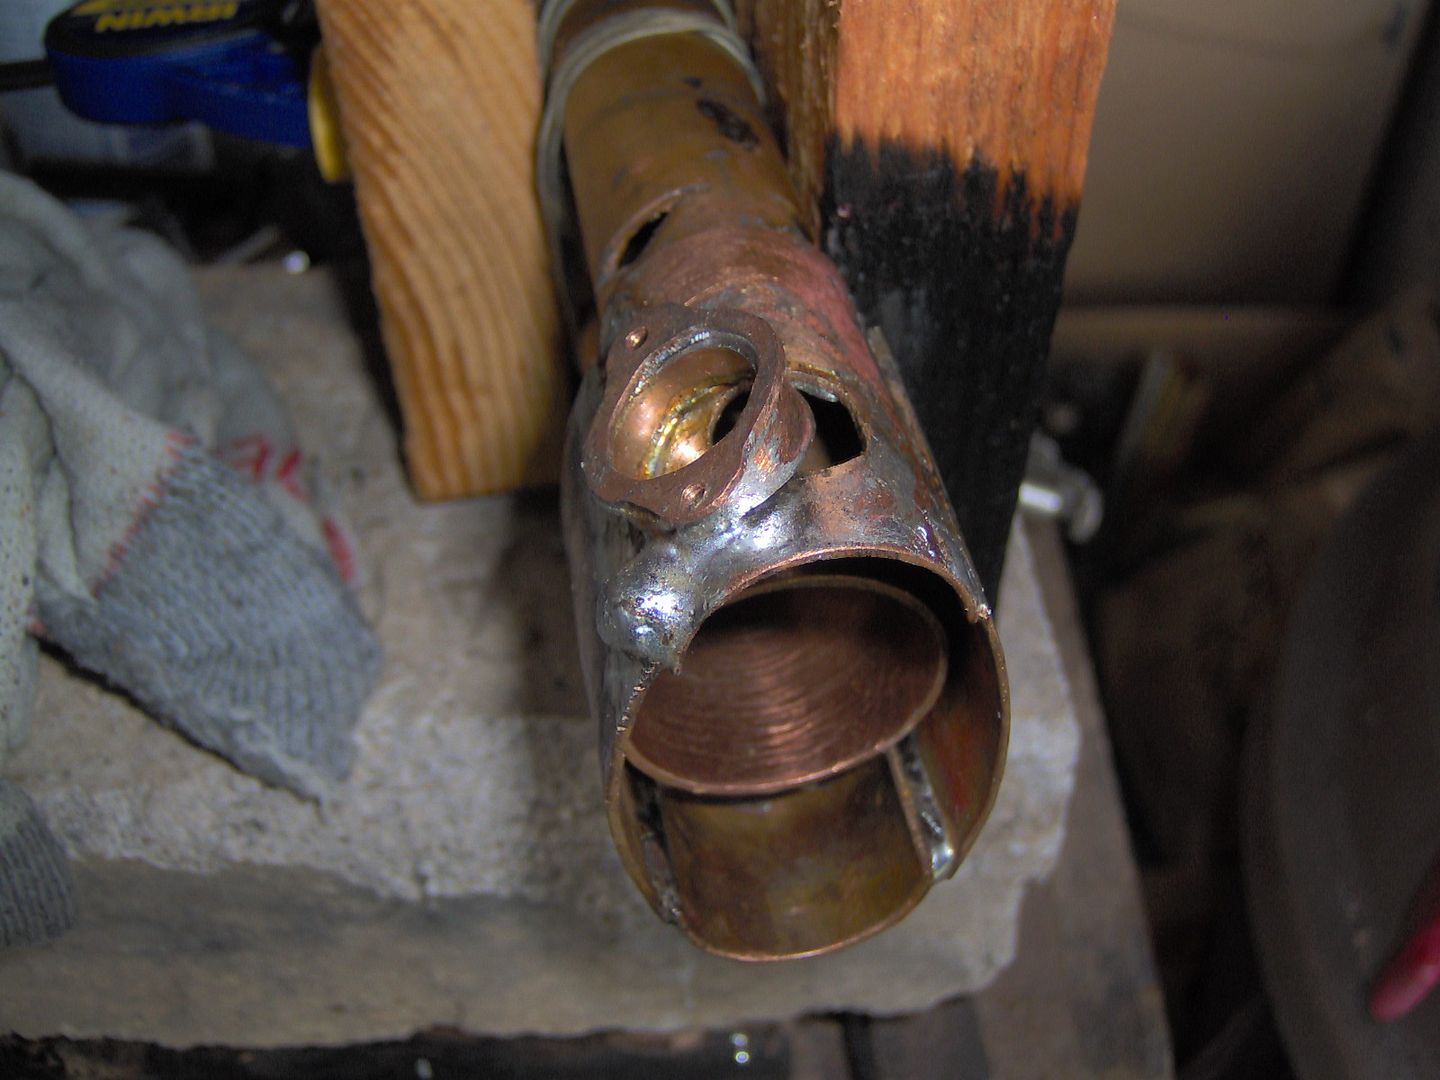
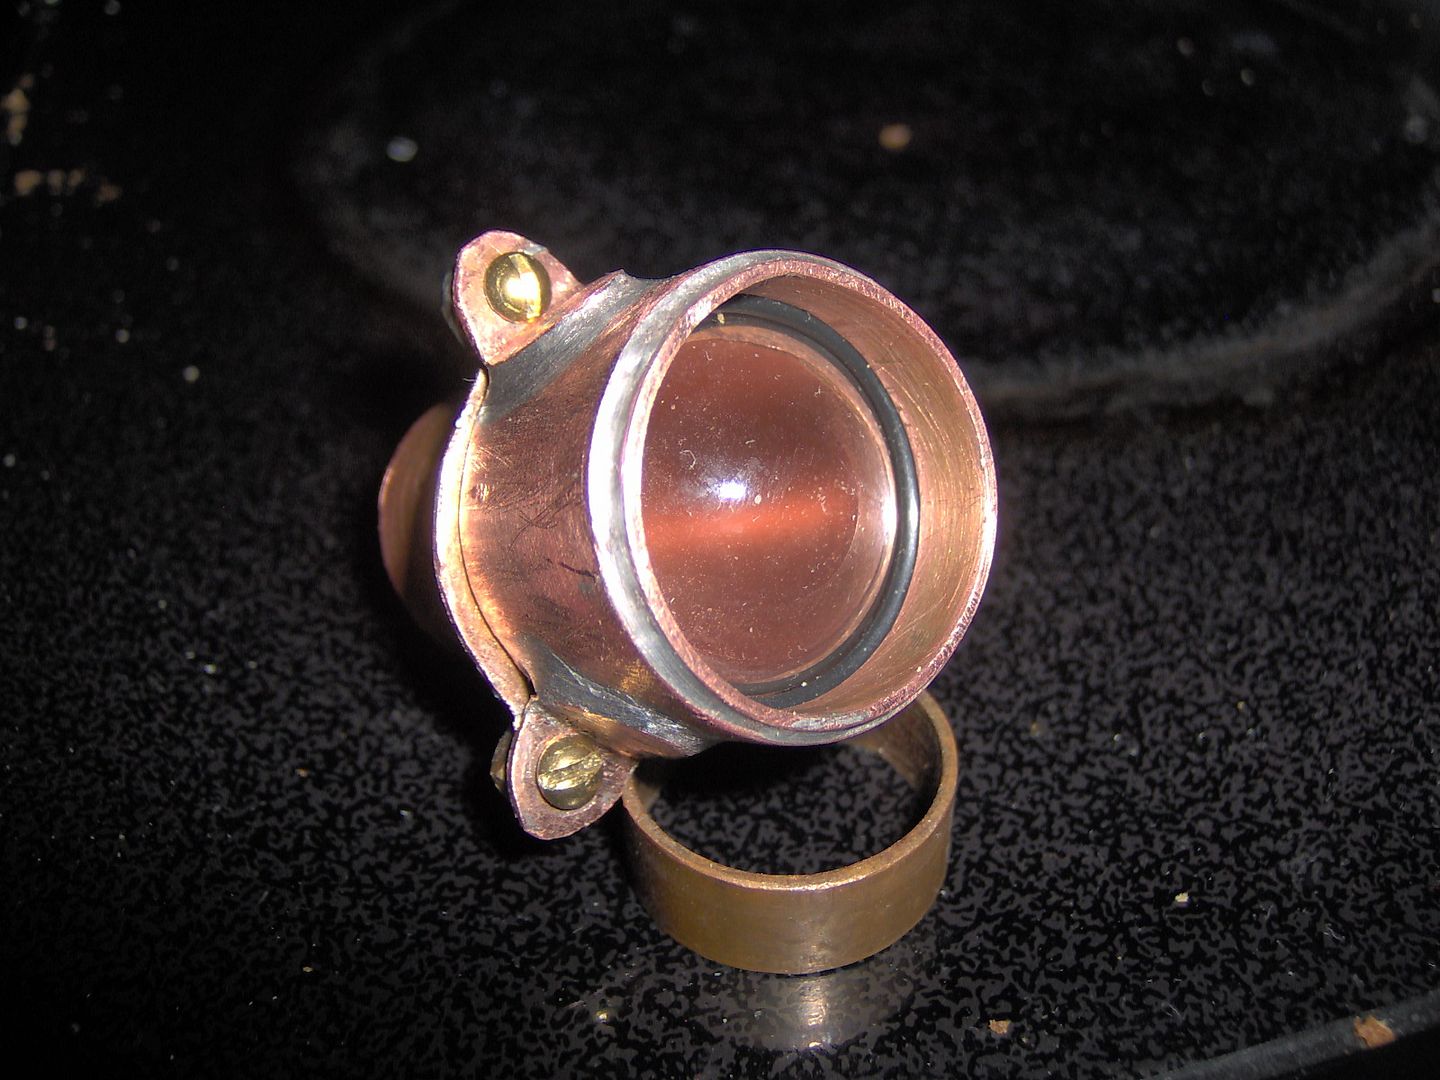
The bezel is done now. Secured head with 4-40 brass screws to anchor plate which is soldered to the sliding outer tube. There’s going to be total of 8 o-rings, with three in the bezel.
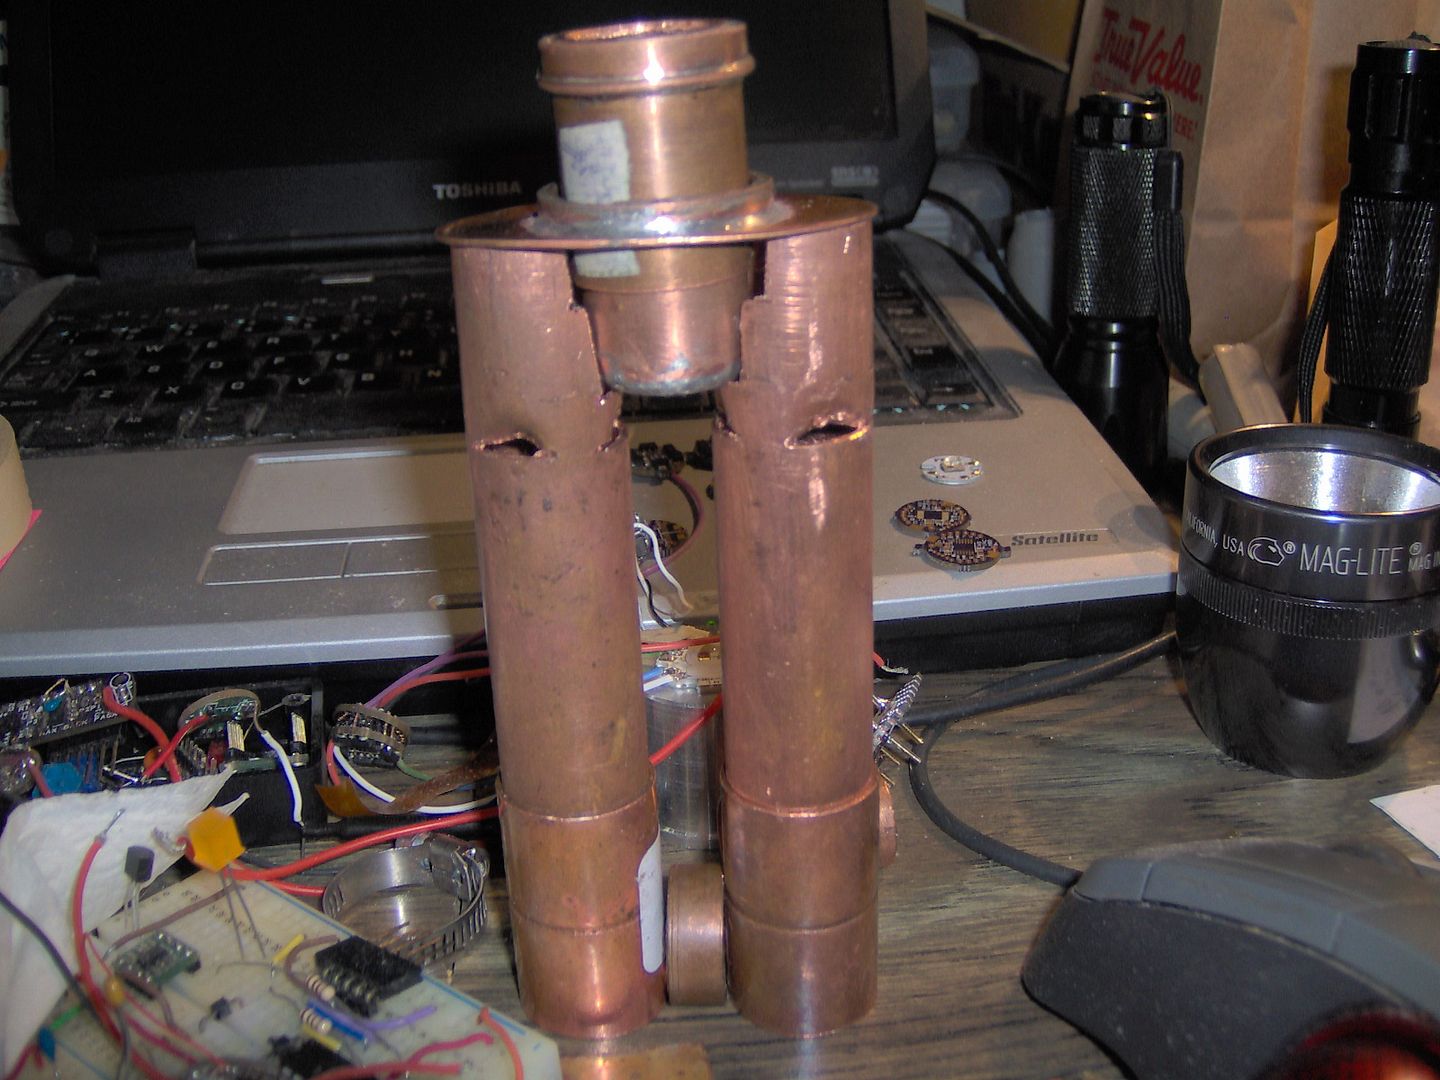
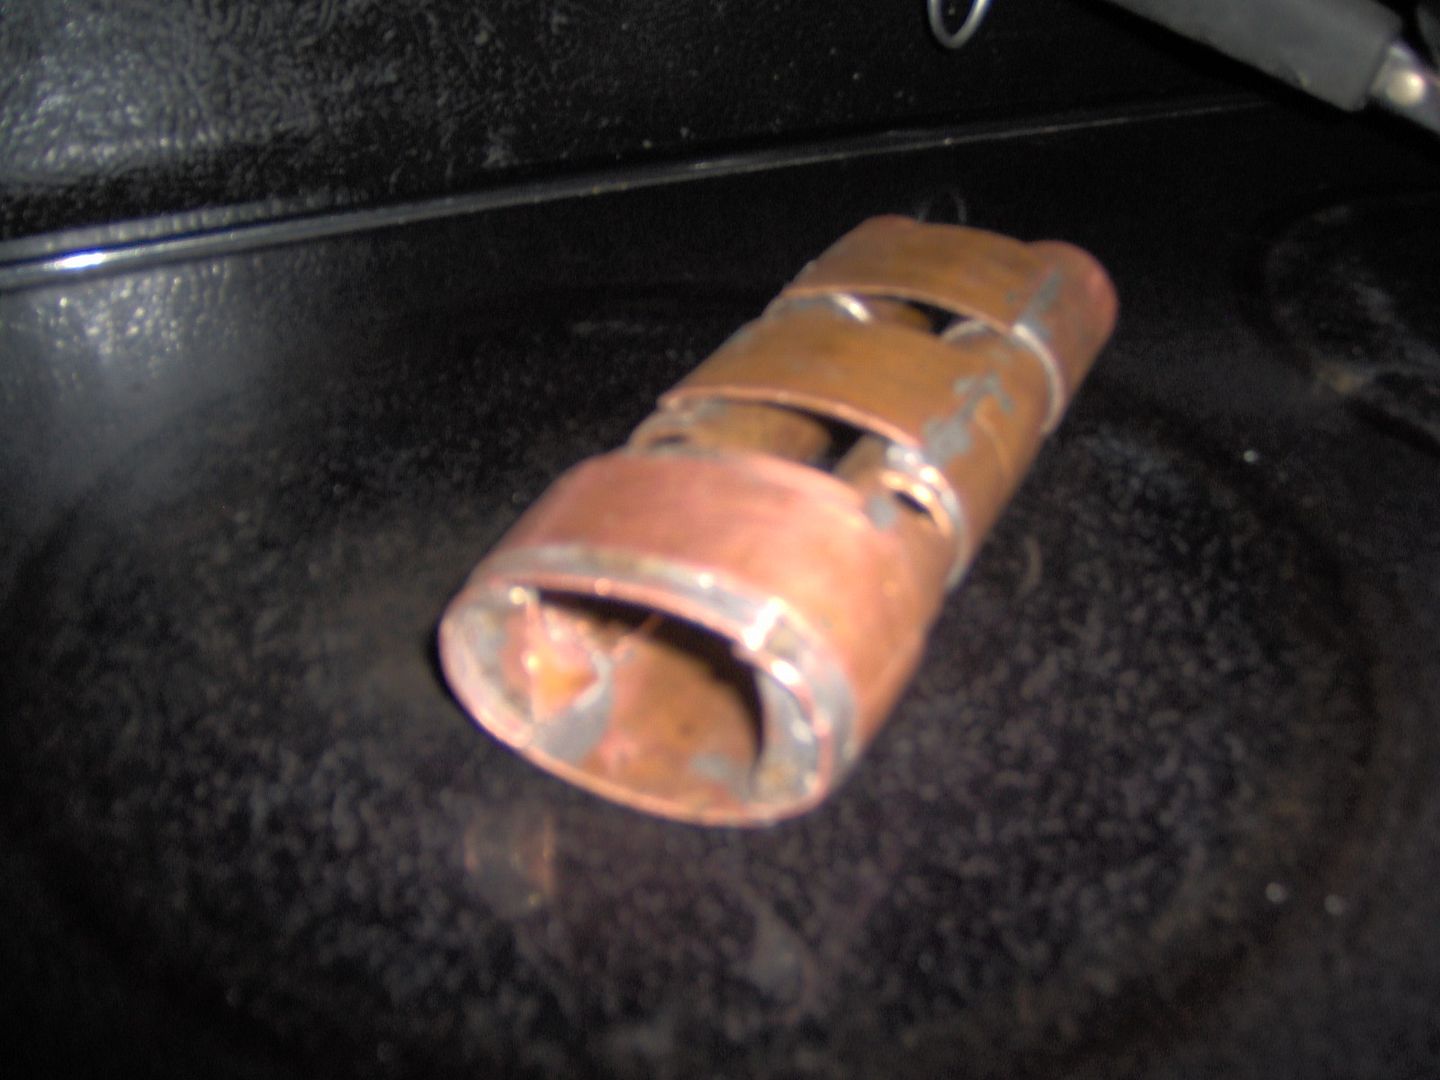
Tube trusses and skin support. Top plate mounting tabs to receive 8-32 screws. The light is on it’s way to recovery from major delamination (or unsoldering) event. This was due to a clamp slipping while soldering in the tabs.
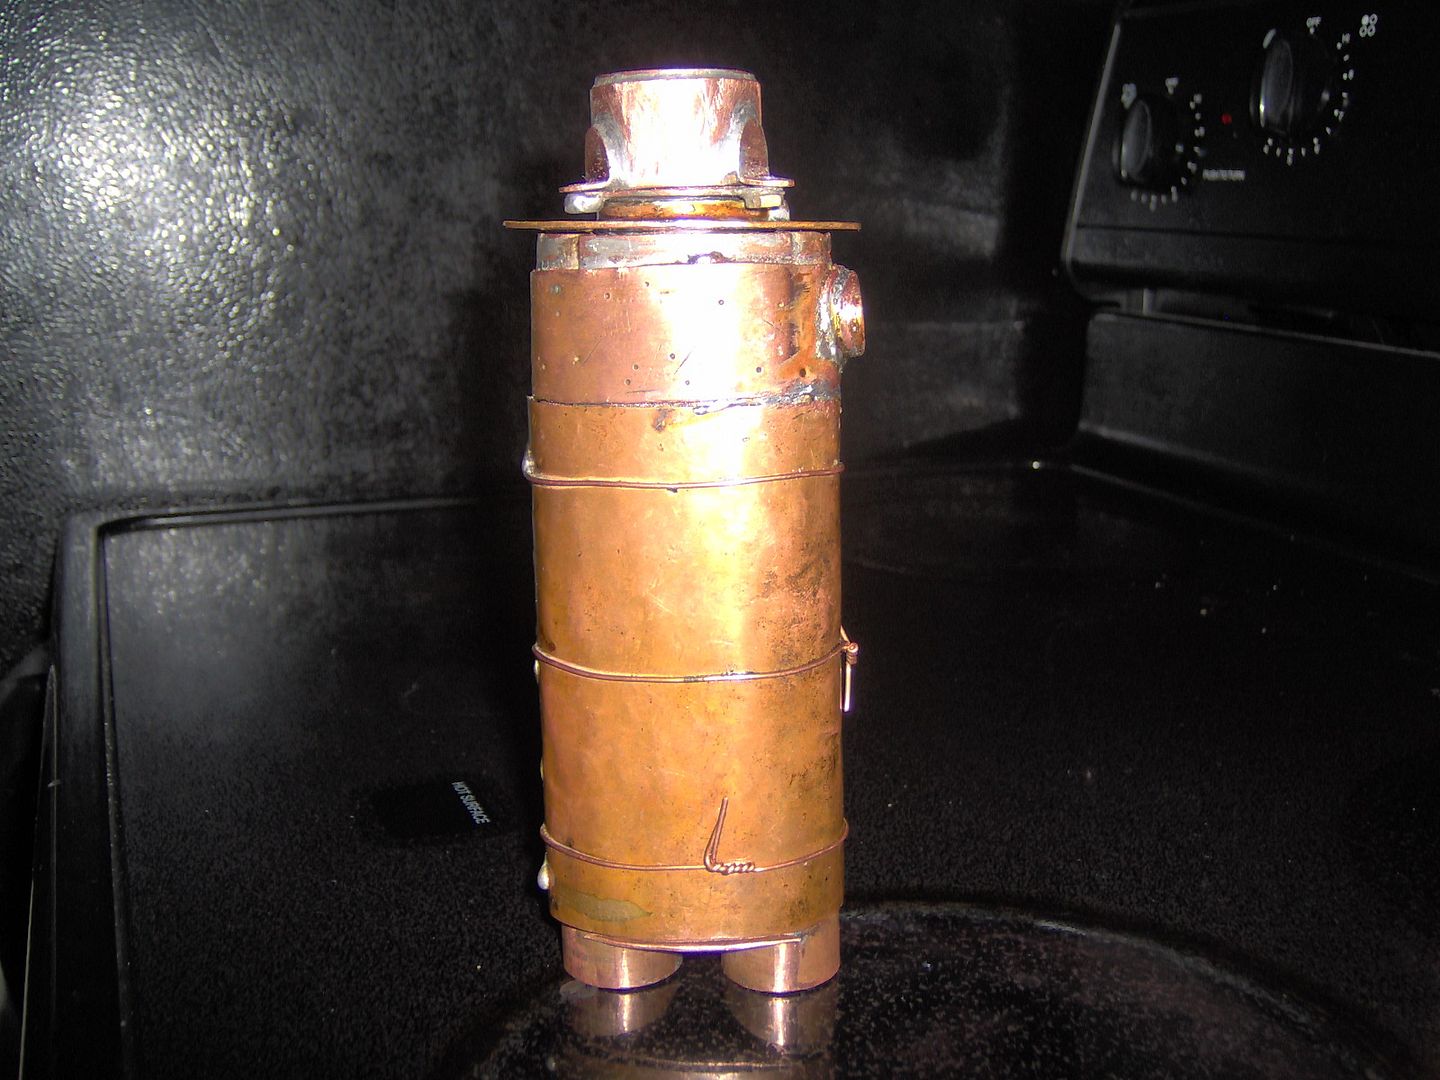
The hammered copper body is starting to take shape. I’m having no problem supplying the antiquing process, intended or not. Stole RBD’s copper wire clinches to keep things together. The wires are staying on till the end (or maybe longer) to keep everything in place.
This thing is getting heavy! The sheer mass of copper is becoming problematic for soldering. When sufficient heat has been applied to solder something, the whole surrounding area is on the brink of letting loose.