I'll try. I still don't have the night time beam shot skill.
I don't know the current the emitters fried at. Here is what a happened. I'll admit ahead of time that I was not exercising the due care (from the emitters' perspectives). I was trying to dial in the trim pot. Started it at the mid point and got 4.3amps. That is pretty much the stock current. Expected that given the trim pot's specs. Started the process of turning a few turns and then reconnecting cells and testing current. After many iterations, I became concerned that I had a bad connection or bad trim pot. So, not wanting to unsolder the trim pot and test it, I decided to just short the trim pot, connect cells for a split second to see if current jumps. The emitter flashed the moment I connected (2 cells) and then the emitter no longer worked. No current flowed after the flash and I didn't see the current reading at the time of connection.
The second emitter. So I knew I had a good connection to the driver, but maybe the trim pot didn't work. So I turned the trim pot all the way up. Based on what I read about the lowest resistance the trimpot was capable of, I figured I was going to end up there anyway. Connected the cells and the same exact thing happened again. Flash, no longer worked, no current flowed after the flash, and didn't see the reading at the moment of connection. Probably didn't even register a reading as fast as it happened.
I know, I know. I knew better. Was tired and impatient. I need to not mod when I feel that way.
EDIT: I will add that this driver is deceptively beastly. I don't know how far the trim pot is from max, but it is further than I expected. Looking at the voltage sense resistors, they are physically large. Don't know the size spec, but they dwarf the typical sense resistor you see on drivers. I'll add this. I have a TN31 that I have to fight to get it in 6 amp territory. This driver gets there easy and is rock solid. The current doesn't fluctuate. I need to find a way to make this driver a slave to another MCU.
Up to 309kcd. Fabbed a copper spring (actually a dome) and that really increased the out put. Guess the half-ass copper tabs were not putting enough pressure on the cells.
Dropping the emitter back has really brought the light near focus. Right now the top of the reflector centering ring is flush with the inside of the reflector. Charging up some cells and will work on fine tuning the focus.
I guess what does looking so inexpensive have to do with flat-out raw size, big amps, and skilled determination ?
You could take a .99 cent store flashlight with these same basic dimensions and turn it into one relative blasting beast if one were so determined.
Never necessarily judge any light’s potential just by the look of its tube. :bigsmile:
This light has always had the bones even at $22.98 much less $12. One just had to recognize what it already had compared to others way more expensive that didn’t have it.
Unfortunately, I don't know the answer to your question. I have to remove the tail cap to measure draw. So that takes the copper dome spring out of the equation. Out of the light, with good connections, the emitter was getting 6.75 amps. At the tail, current settles down to the following readings:
High 2.83 amps
Med 1.23 amps
Low .29 amps
To complicate matters, I also turned up the trim pot 1/2 turn. So I should be getting more than 6.75 amps to the emitter. I need to center the emitter base. I will remeasure everything then and report back. Do you think I should up the current to the emitter to 7.5 amps while I'm at it? I'm quite tempted to.
Could you give us a close-up of where you connected the pot, and a link to the exact pot please?
This is the trim pot. Most of it's range is not used because it goes up to 10 ohms. I only have the above pictures for now. Next time I take apart the pill, I will try to remember to move the inductor out of the way and snap a picture. Legs 1 and 2 are soldered to the red wire. Leg 3 is connected to the black wire. Polarity does not matter. The 2 wires run over the top of the vertical pcb and connect to each side of the voltage sense resistor bank. If you magnify the below photo, you can see the wires soldered on each side of resistor R200.
This light has always had the bones even at $22.98 much less $12. One just had to recognize what it already had compared to others way more expensive that didn’t have it.
I agree. I told someone else that with this light you are buying potential. I wish I had a lathe like MRsDNF. He has replaced the weak points of the light and turned it into a proper beast. Actually, if I had a lathe, I would still lack his amazing skill. Well, one needs to have dreams and folks to look up to. So at least I got that.
I don’t think your imaginative creativity will run out either. Look at what O-L creates with just a drill press.
Where there’s a will there’s a way. Finding someone that has a lathe that shares your passion isn’t close to impossible especially if you turn them on to that passion as well. Then you both benefit equally.
I even had one once. Absolutely stock looking 1964 2-door Falcon with a hi-po 271 hp 289 4 Hurst on the floor. ’Twas light on it’s feet and shocked more than a few in a cloud of tire smoke.
The only thing missing here is BEAM SHOTS. :bigsmile:
Great job ImA4Wheelr, that’s quite a thrower you have there. Thanks for sharing, you have got me thinking about what to do with that second DST still in plastic. Really like the driver mod.
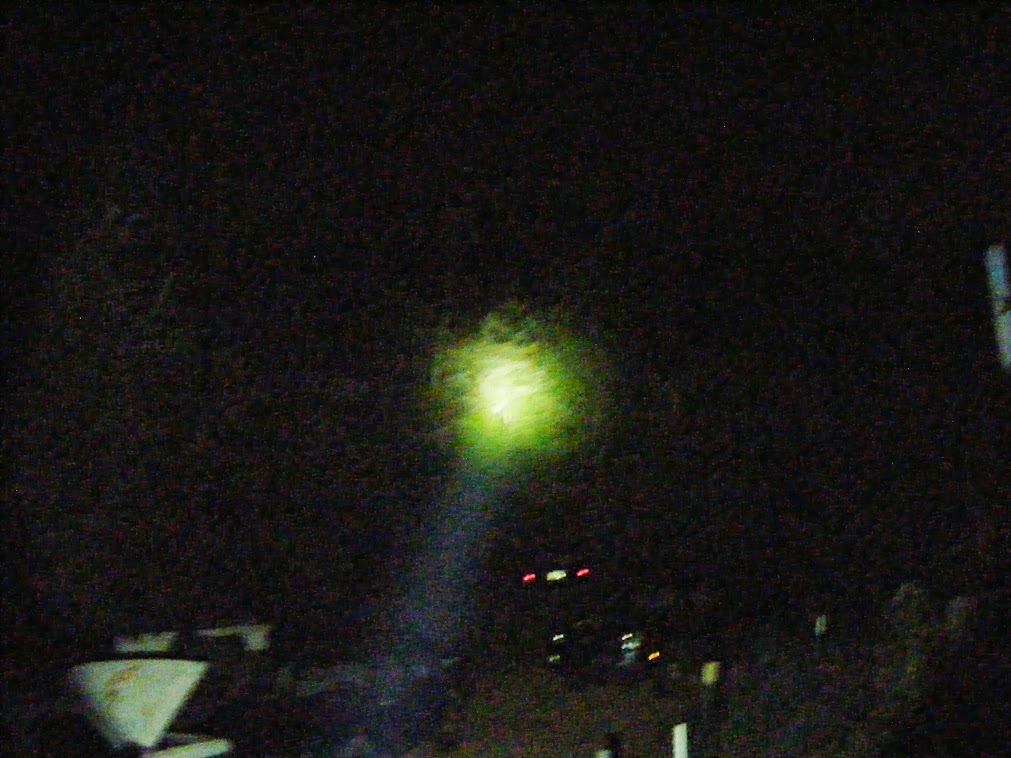
I'm terrible at outdoor beam shots. In these pictures, the light and camera are about 10 feet high (I'm standing on the top of a stair case. I don't know the distance to the trees. I will measure and get back on that.
There is no area lighting. So a nighttime control shot would just be black. I don't have a daytime shot yet. Here is a "control" shot using a Supfire M6 on high (unmodded) to get a overall idea of the scene (Sorry for shaky hand):
Here is a shot of a Shadow JM26 (resister modded with copper wire bypass, xml u2 2c or 3c) on high:
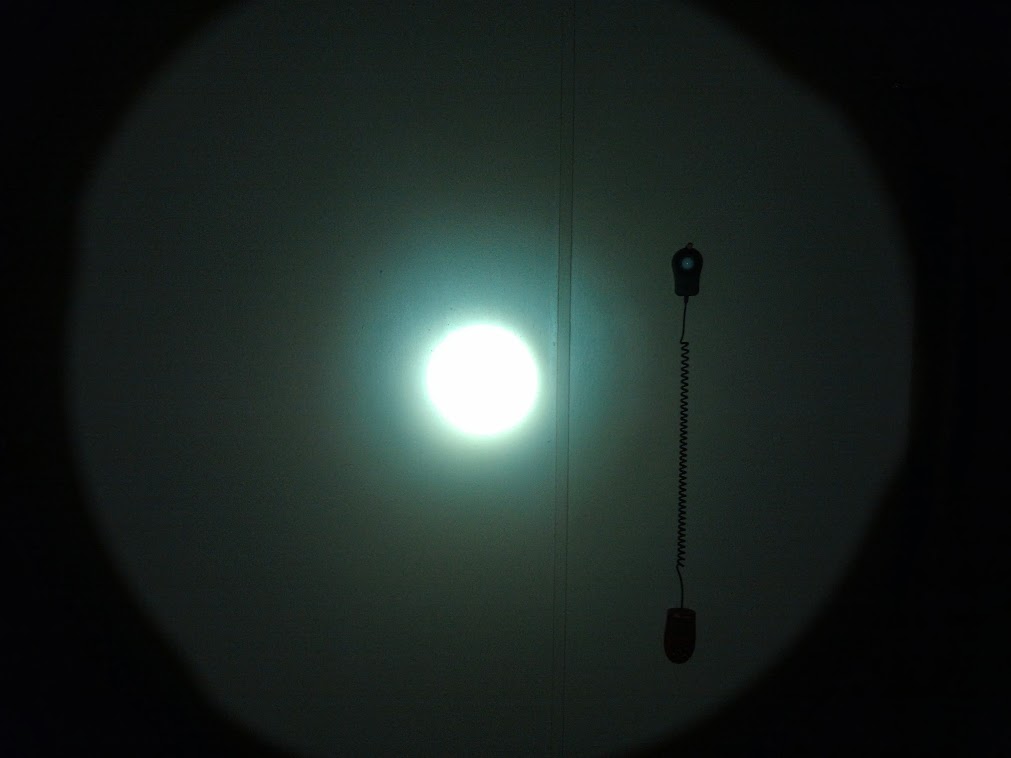
Here is the DST on Low, Med, and High:
In real life, the center of the hot spot isn't quite as saturated as the med and high pictures below. You can clearly see what your looking at in the hot spot albeit it is quite bright. The camera must be compensating or something, but these shots are comparable to each other.
Thanks Moderator007 for your earlier compliments. It's a dedicated thrower now. Kind of a pencil beam, but I guess that is the price to pay to throw. I wish the light had the wider spill of the TN31. But then, you could build 3 of these and strap them together for less money.
That driver looks different, but looks worth trying out. The numbers on the drivers I have say "TR-0159D".
I took a second look at the pics of the drivers side beside, I can’t tell any difference in component layout. They may have slightly different components but the locations are the same. One way to find out I guess, going to add it in my order.
Thanks ImA4Wheelr.