I can really relate to this, Garry. I’ve forced myself to slow down and try to enjoy the process. If you don’t have the time, of course, that would be difficult.
I’m gonna have to settle in this case, it’s a mini C8 and it’s all JB Welded together! It’s got a nice beam, quite a bit of light from a 3” mini for sure. Was looking for twice that though. Might be partly the small cell required, but I’m thinking there’s some resistance pulling it down as well.
I have a full sized Convoy C8 with an XP-G2 R5 2B on a SinkPAD pulling 4.55A through a stacked Qlite and running from a Samsung 20R. It’s 883 lumens out the front at 30 seconds, fires up at 969 lumens out the gate. ![]()
Edit: Good luck on the reflector, it’s much much harder than you might think! The key is in not damaging the very sensitive plating. ![]() How are you going to hold it? How are you going to get the dust off the inside of the reflector? Can’t wipe it off. Washing it will almost certainly leave water spots. Almost any touch to the plated silver finish will leave scratches. A tip, mount the reflector backwards in the bezel, use the host to hold it and the emitter hole will be out in the open where you can get to it, plus you’ll be working from the non plated outside.
How are you going to hold it? How are you going to get the dust off the inside of the reflector? Can’t wipe it off. Washing it will almost certainly leave water spots. Almost any touch to the plated silver finish will leave scratches. A tip, mount the reflector backwards in the bezel, use the host to hold it and the emitter hole will be out in the open where you can get to it, plus you’ll be working from the non plated outside. ![]() A rubber sanding arbor can be expanded inside the battery tube at the back end, then the arbor can be mounted in a drill to slowly spin the set-up. This will allow you to, hopefully, cut the hole a bit larger with a dremel tool without doing damage to the perfect mirror finish inside. If you clean it afterwards, a mild soap such as shampoo can be used, boil water to rid it of impurities or use bottled water and then blow dry it to stop spotting.
A rubber sanding arbor can be expanded inside the battery tube at the back end, then the arbor can be mounted in a drill to slowly spin the set-up. This will allow you to, hopefully, cut the hole a bit larger with a dremel tool without doing damage to the perfect mirror finish inside. If you clean it afterwards, a mild soap such as shampoo can be used, boil water to rid it of impurities or use bottled water and then blow dry it to stop spotting.
Thanks man, it DOES sound difficult! I was just going to run a drill bit in there and then blow off the dust. This lack of planning is what results in ‘less than successful’ projects. Thanks for the heads up! ![]()
yes, i suck a soldering
If you are going to use an actual drill bit to enlarge the reflector, be VERY careful, you might end up tearing the reflector instead of making a clean cut, especially if you don't have a drill press and a good way to hold the reflector. I ended up marking mine with a sharpy and then grinding it out with my dremel because I currently don't have access to a drill press or firm enough vise. I wouldn't try to drill it out free hand. My hole isn't perfectly round, but really it doesn't affect the beam pattern and the plating wasn't damaged.
To rinse the reflector I blew off all I could then I rinsed it with some 97% isopropyl alcohol. It isn't perfect but good enough. Distilled water or fairly pure isopropyl alcohol shouldn't leave noticeable spots on the reflector (it is the minerals in the water that leave the spots).
I have not used it yet for this purpose, but I am sure this thing from my toolbox will do the job of, in dutch it is a 'gatenruimer', don't know the english word. it enlarges holes by scraping off the edge. it does not produce grit that dirtens the reflector, just clean scrapings, if you apply it from the front end from the reflector, the scrapings will probably just fall through the hole.
Tapered reamer - great tool to keep on hand! Ordered mine from Sears online here in the US (ship to store), but it's also available at Harbor Freight (don't know the quality though).
Ok, Harbor Freight calls it a "T-handle reamer".
-Garry
Always gratifying at least. I like trying new ideas and they rarely work the first time mainly due to my still weak soldering skills. The more effort I put into something, the more dissappointing the failure and the more gratifying the success. I still feel relief when I get the expected current from stacking chips.
Oh I hear you! ALL of you that is ;-)
totally. I’m sure I even hold my breath while I’m hooking it up or switching it on ![]()
Just finished another light. On assembly I have learnt to test at every stage. I hooked the driver up to the led, nothing. Test the led by itself nothing, hook another led up to the driver nothing and finally another driver onto the led and we have light. I have no luck at all with these electronic things. If I had not tested before ass anfd finished the light I would of lost far more hair than I did. ![]()
Are you amazed EVERY time you work on a light and it's successful?!
Yes, every time.
Nice reamer, gotta find me one of those! Not sure from this side if it'd help me out or get me in worse trouble...
That bit about testing, it's true. At every stage keep a running idea of how it's working, then if something goes wrong it's easily solveable. Finish it and have something go wrong it can be a nightmare to find out what the issue is! That said, do I always do that? Nope! lol, and it get's nightmarish sometimes too!
There are those here that have the entire plan laid out, start to finish, finish to start, every possible detail written down and planned for. While I am getting better at anticipating the end or near end, I still find myself running into a wall on something I didn't foresee. So giving some thought to the whole process, planning it out in your mind even if you don't write it down on bar napkins (you know who you are!) will help to keep you from getting snagged on something when almost done. Whether it's stripping some anodizing on threads so your ground will be solid, drilling and tapping a small screw so, again, your ground will be solid, or preparing for a way to solder the ground ring to brass press fit into the pill so, you guessed it, your ground will be solid.
I've had some ground issues. :P When going for high power, you have to make sure both ends are solid as a rock. You want the current to flow, you DO NOT want something to come loose and short out a 20A cell!!!!!
THAT’s amazing! You guys do such intricate work, creative work, ground-breaking work, every day it seems. I would’ve thought your self-confidence would be through the roof!
This makes me feel better. ![]()
One word reply.
Yes!!!!!!!
Funny. I know just how you feel I just finished my first build this weekend. I put a LD-29 and a XML2-T6 3B in a Ultrafire F10. It took forever..... and I had to 'Fix' the driver after I raged on the thing !
!
But it works quite well!
Hmm, I hate so say it and load the suspicion upon me of being awfully self-confident, but no: I am not always amazed if a mod actually works. I do think a lot about if what I do is feasable beforehand, that compensates for the little actual 'workbenchtime' I have for the hobby, with work and family going first. But it makes that I do not make a lot of design errors. I do scr*w up a lot of the practical work though, but manage to fix most of that, that does amaze me sometimes.
I was TOTALLY amazed yesterday when my cheap old benchtop drill press actually turned an aluminum rod true! I was able to take a 1" bar down to 29/32" and cut a recessed end into it for the Qlite driver, all on the drill press! I clamped an old high speed steel planer blade into the drill press vise at an upward angle, used the down travel of the drill press to be the "lathe". Hey, it worked! :)
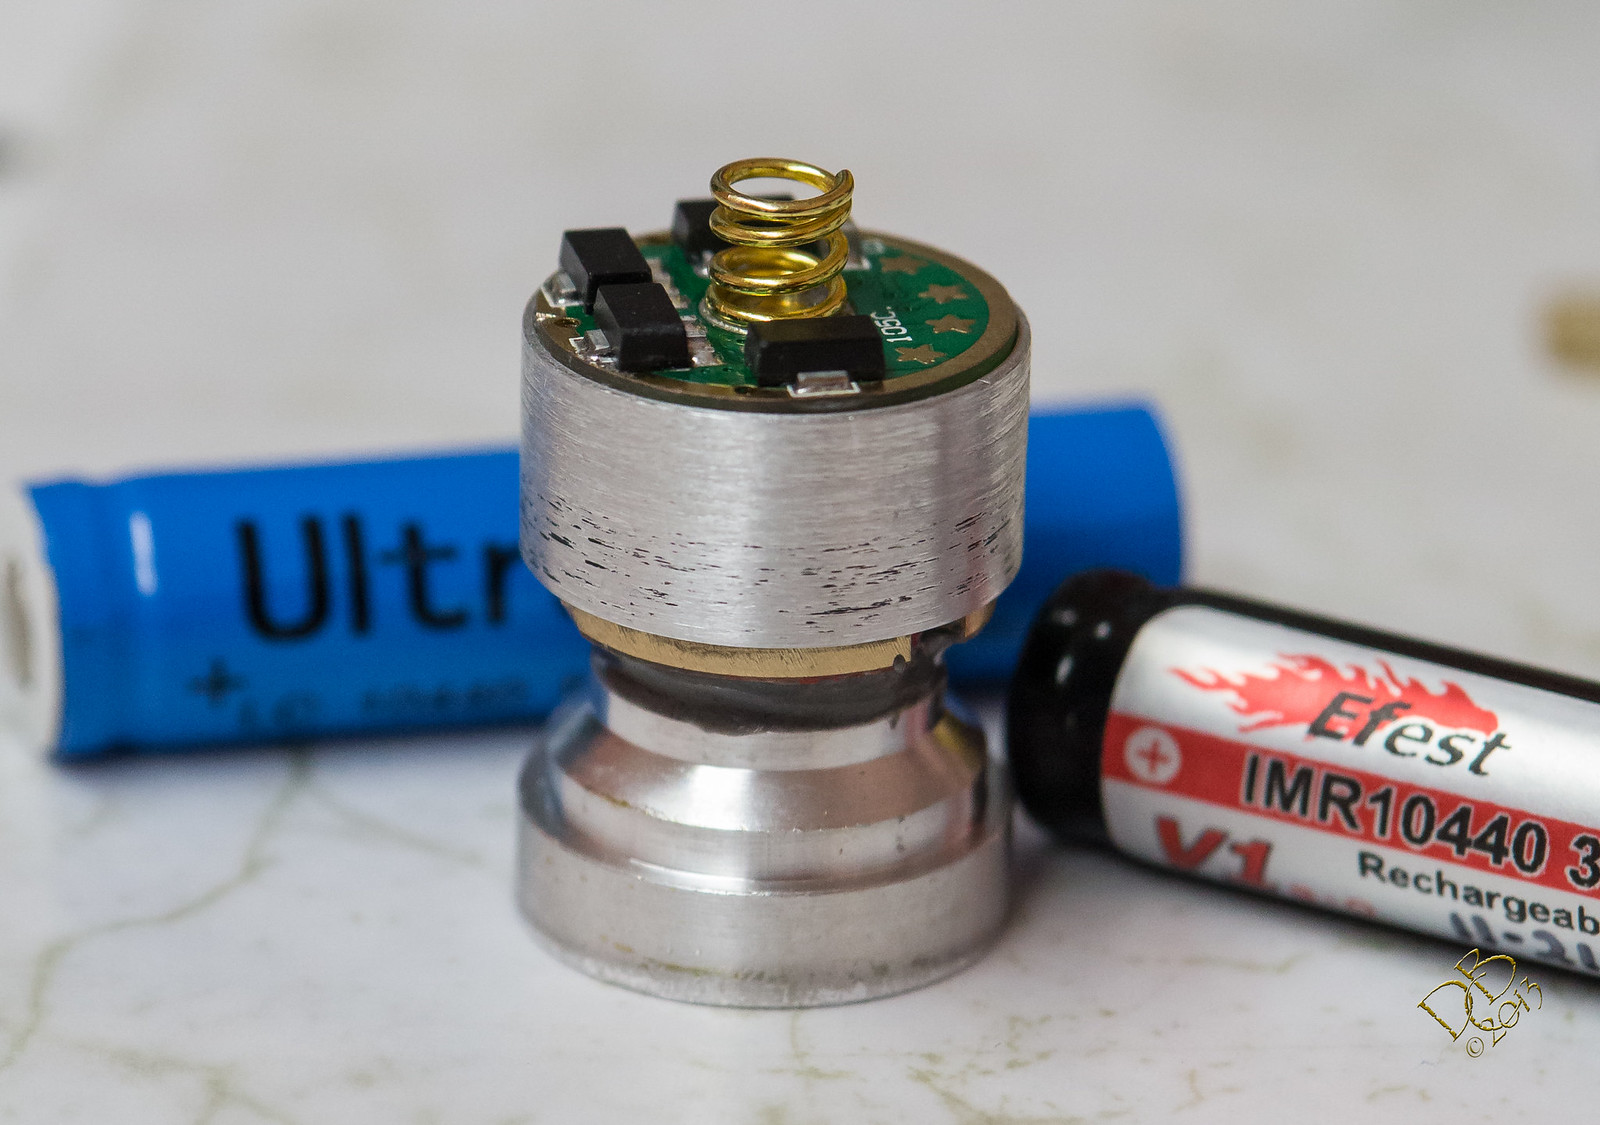
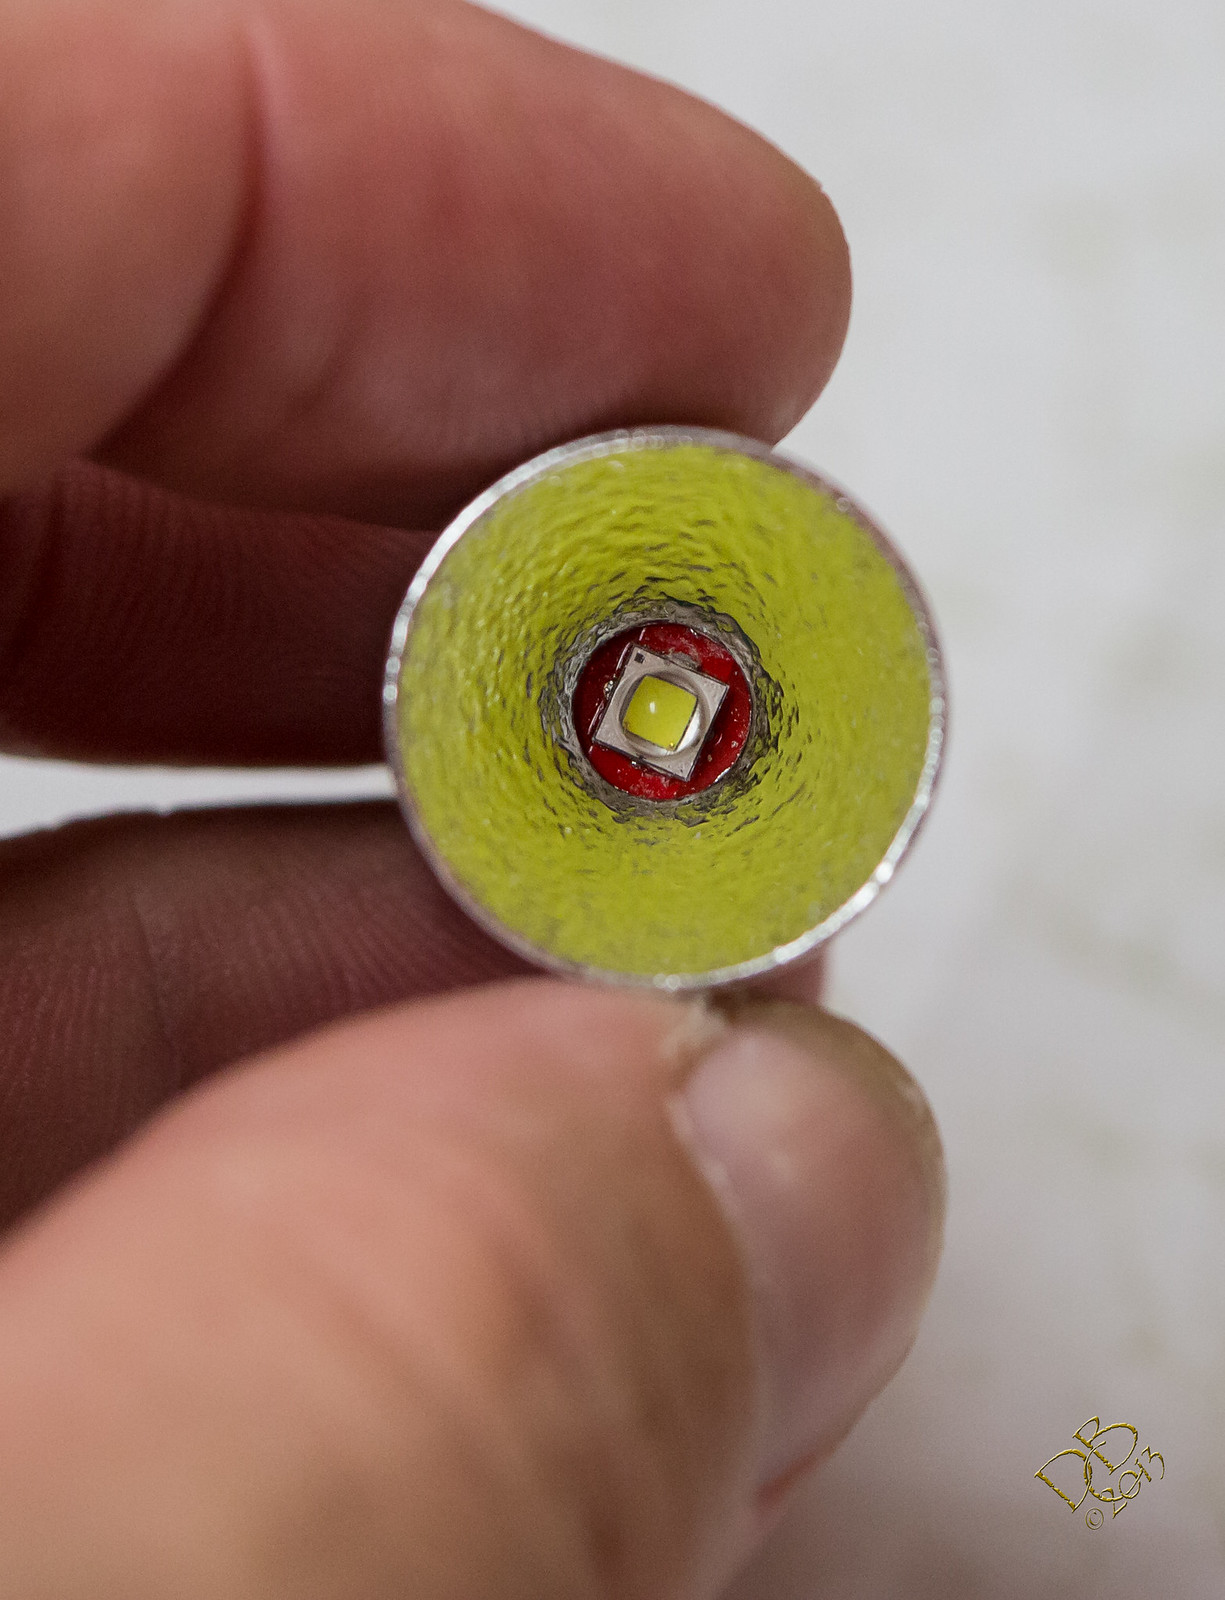
The black in the aluminum is from a black sharpie to show me where to part it off for the Noctigon. ;) That's an 18mm McGizmo reflector on top of the XP-G2.
That’s impressive DBCstm! I’m a little shocked to see a P%pfire in the background though… ![]()
hahaha, yeah, well, never use it...was checking length to see if it might be shorter than the Efest IMR10440 for the miniC8. I got that years ago when I got the LD01.