I’ll pack it up tonight and get it to you first thing in the morning. (Or ASAP, Ice being the determining factor) Want the little cross-over’s too? I’ll pack em.
Great. If the jumpers are packed, fine. If not I can live without them.
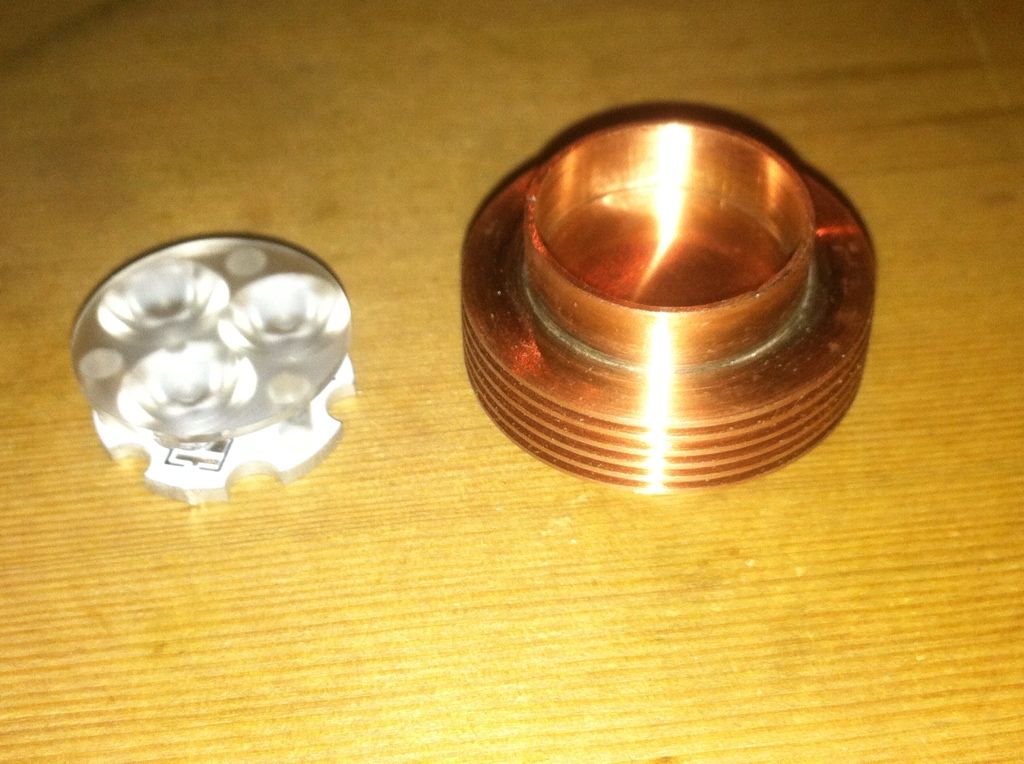
I stayed up late last night to bore the head, cut it, and hone the inside to fit the fin section. It starts on the drill press with the head pressed into a block of wood. Using first a step drill and then a 3/4” hole saw to widen and deepen the bore.
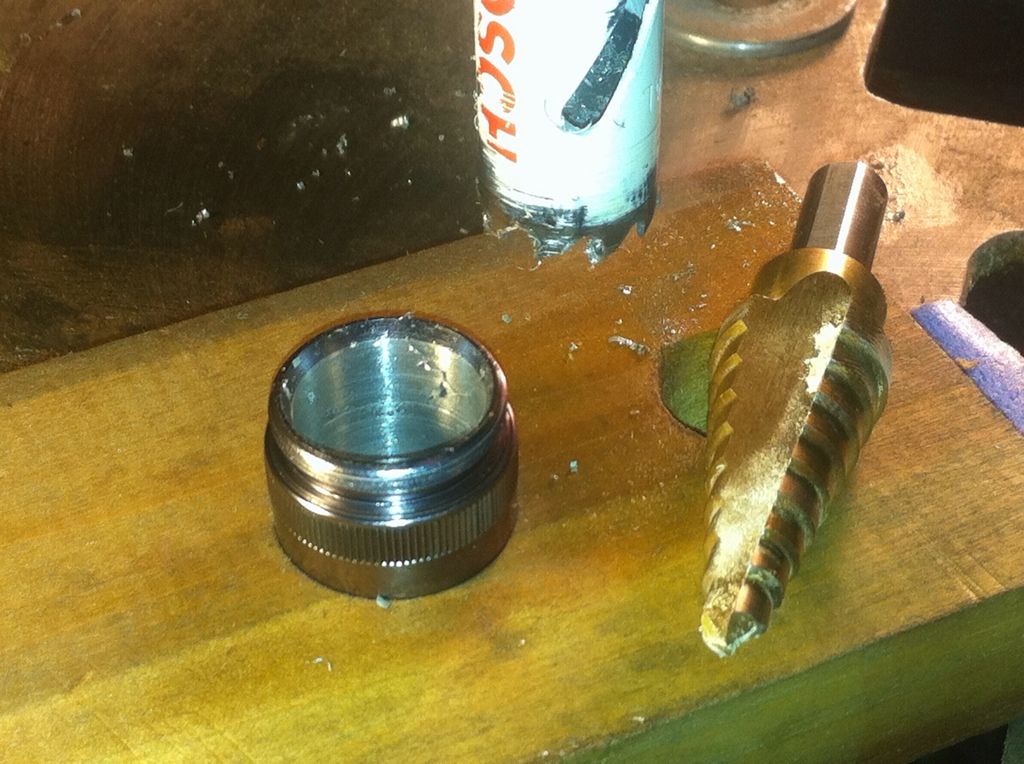
Last time I cut the the head freehand with a thincut dremel blade. This time I took a page from OL and used the same blade but in the drill press instead.
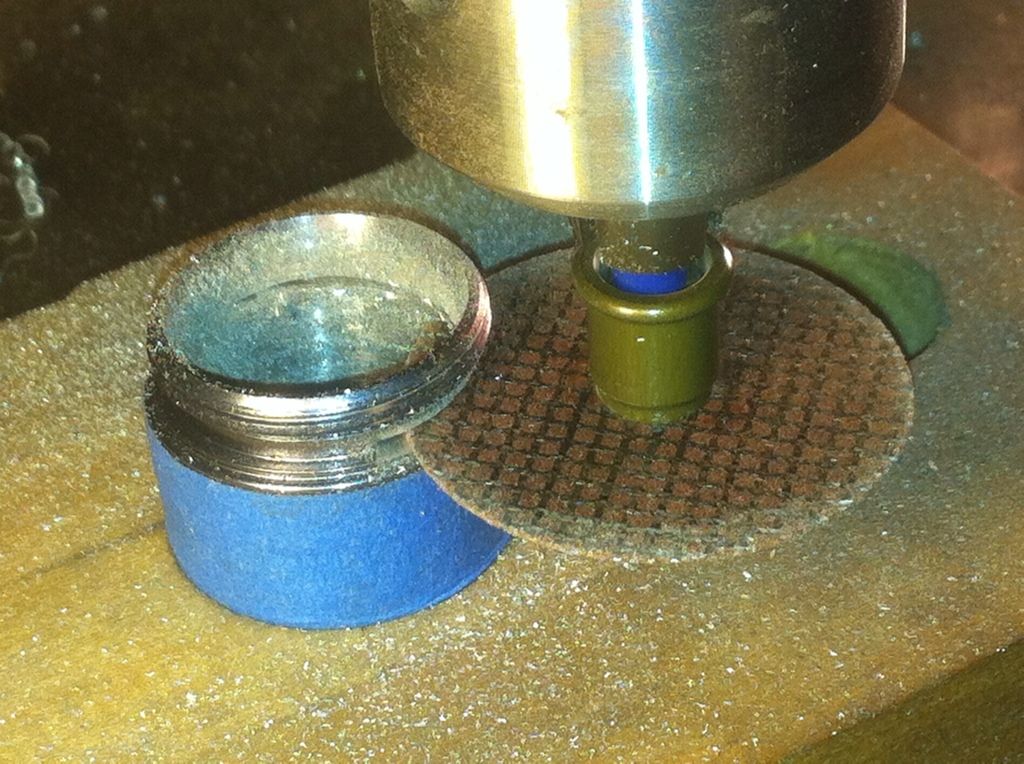
After that it was just a matter of spinning some wet/dry sand paper in the two pieces to get the ID from 19mm out to 19.4mm when the parts would slip over the fins without too much play.
The fit is nice with very little play but room for some epoxy. The parts don’t get glued until the pill is done with led and driver both installed.
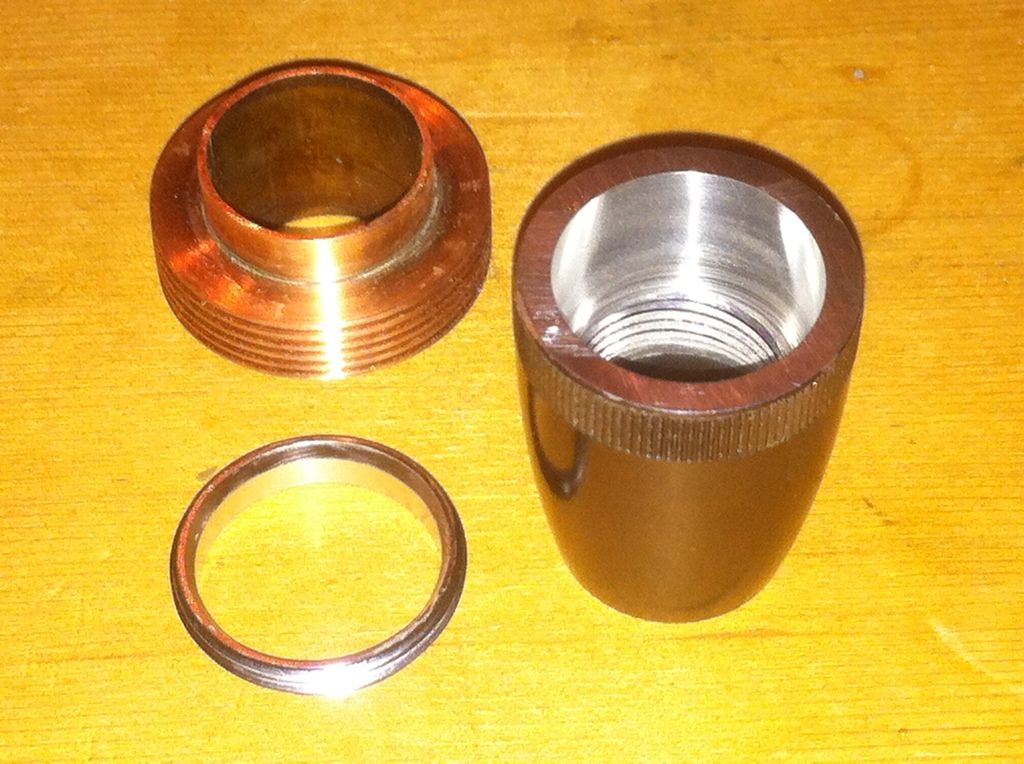
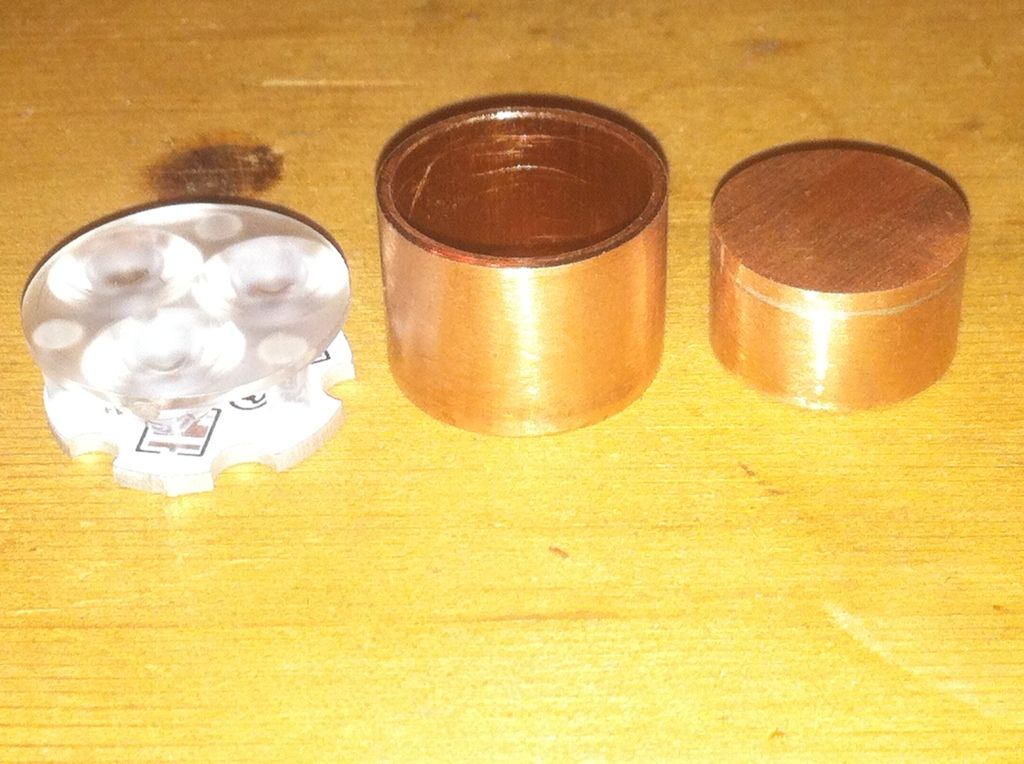
To that end I stayed up even later and made the pill. The copper on 1” fittings is much thicker than the copper sheet I have(1mm instead of .5mm) so I’ll use a piece of that(annealed and flattened) along with 1/2” pipe and 1/2” coupler. Here I’ve already soldered the thicker flat piece to the 1/2” pipe and filed it flush.
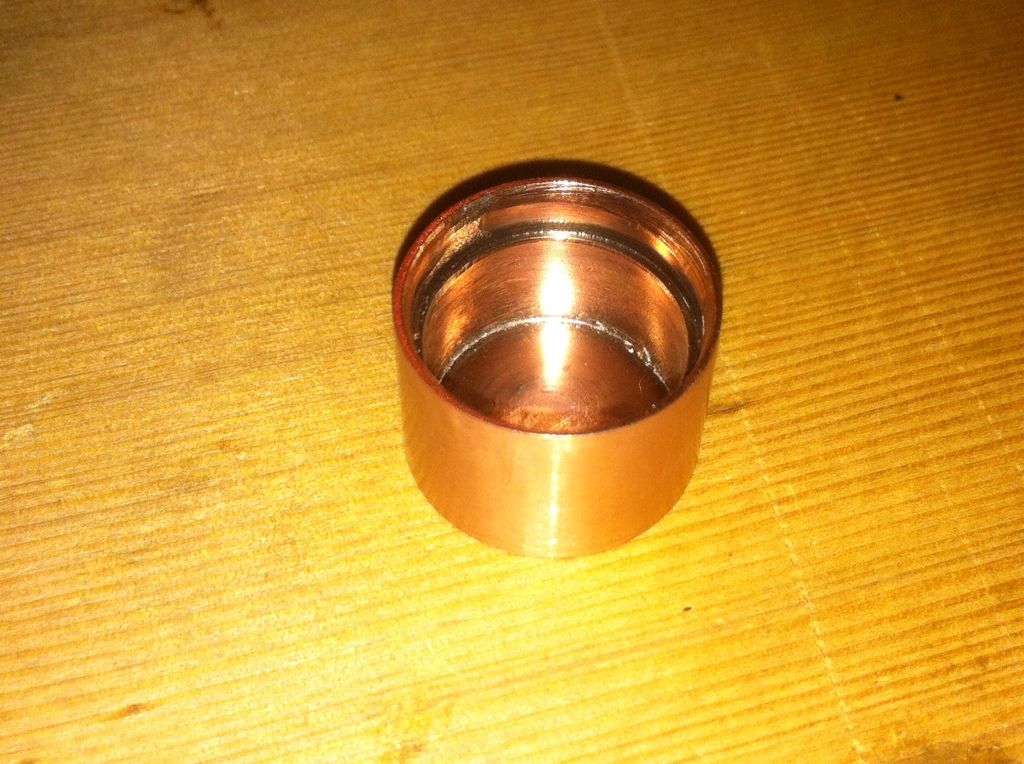
Next I press these two parts together and solder them as well.

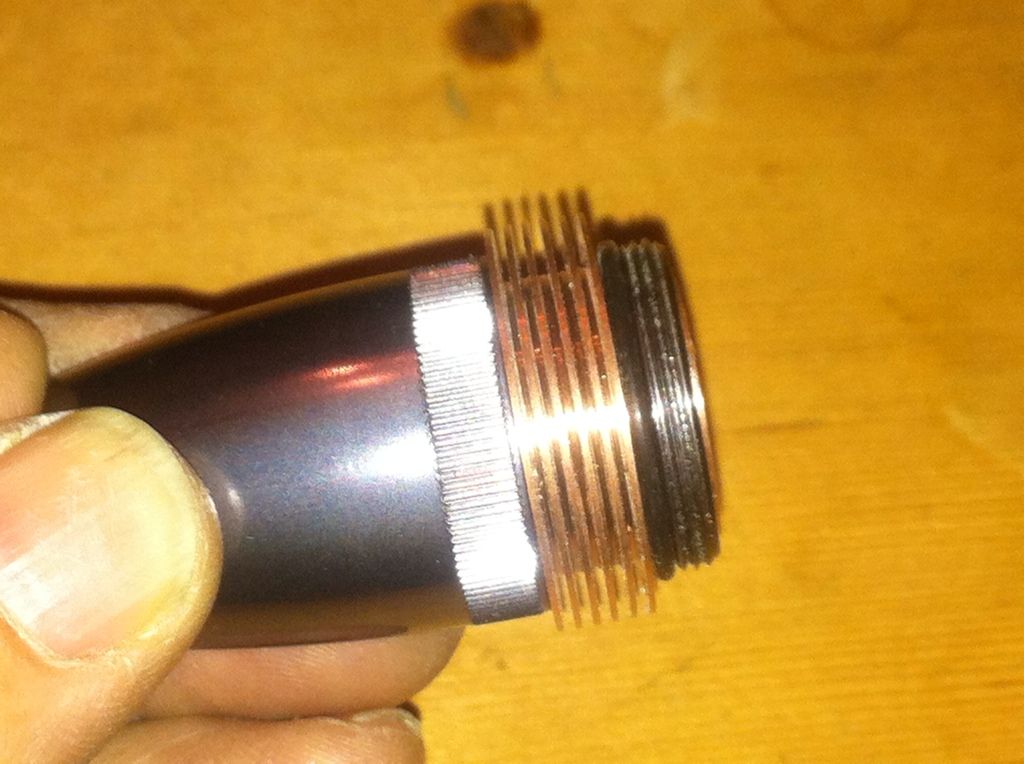
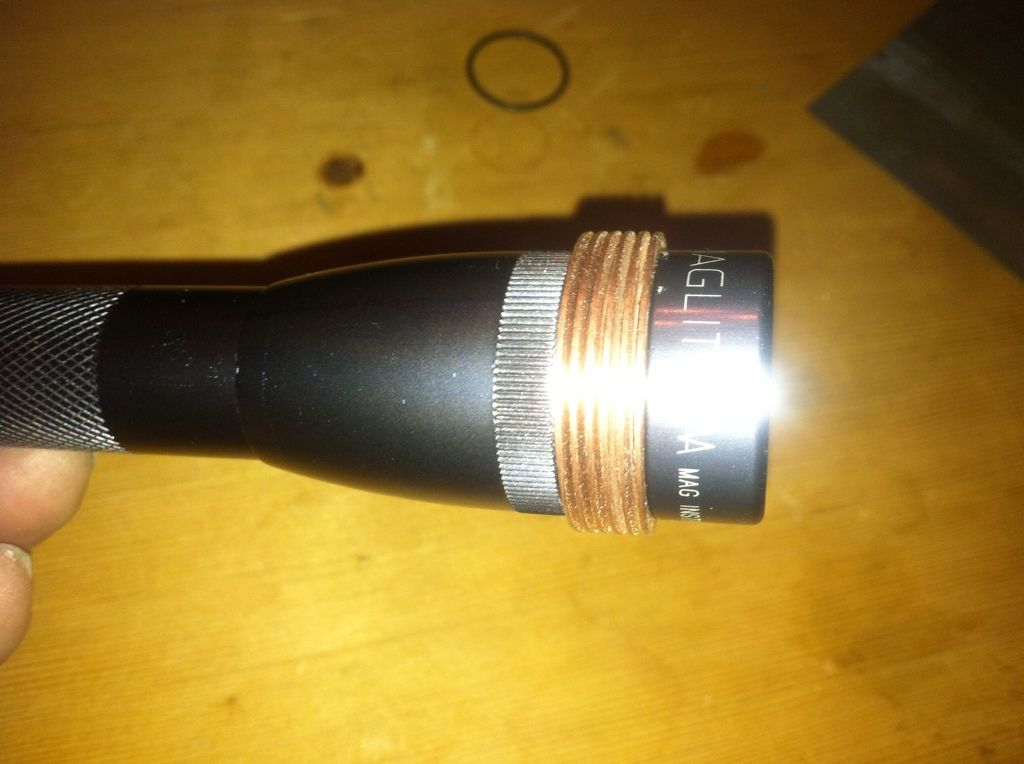
Now to test the fit in the fin section.
This is a very snug press fit. Not quite requiring a vise but not at all loose. With the copper noctogon soldered to the top it should have good heat transfer to the fins. About 7 hrs work in this post including photos.
Thanks for the detailed pictures. I could follow what was happening with what little grey power I have left. I could also well believe 14 hours if you had said that. I would have taken 30 and theres not a hope it would look like the perfection you have created. Nice work indeed.
Beautiful craftmanship! Love that attention to detail! Thank you for sharing :-)
I’ll have to turn down the noctogon before I solder it to the pill. The optic peg inserts fit the ID of the fins but the posts do not so that’s how much material needs to be removed. Also, the outside of the posts will need to be sanded down as well. Alternately I could cut 3 slots in the fin tube and that might reduce the leverage on the posts caused by a fixed board and rotating bezel.
The anodizing on colored Minimags is very weak so I don’t count on it to isolated the head from the tube electrically. Instead I isolate the driver ground from the pill and give the driver a second ground contact plate that can only contact the polished end of the tube. I learned that trick from JohnnyMac on one of his Micromags. It works great but it’s a whole lot easier to just use a single sided board and stack extra chips, JM couldn’t on his build as he was using a buck driver with no gnd ring at all. In this case the 15/100 program isn’t readily available on a single sided nanjg board so needs must when the devil drives. Here is the pill and driver from my edc triple Nichia Minimag. The pill is much the same except this one has an OD of 20mm instead of ~17.5mm for the pewter Minimag.
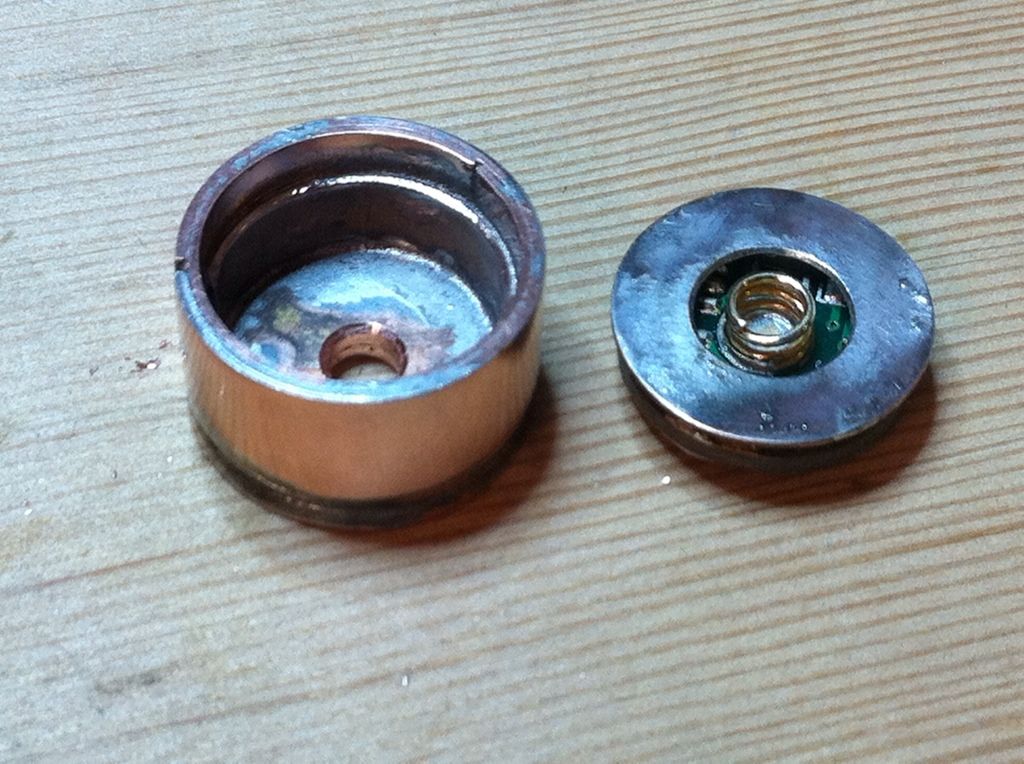


The pill on the left holds an XML and is cupped the other way. This pushes the led closer to the driver but maintains a large contact area with the head. The two are interchangeable in the same light. I did a poor job centering the mcpcb and the lens holder sits cocked as a result.
I love watching your work Scott. its awe inspiring.
Something about triples make them irresistible. :heart_eyes: It’s just so beautiful.
Loving this build!
Looking great Scott, are you planning on leaving the fins protruding from the head for air contact? Looks good that way, in my opinion.
Triple Noctigon and some other goodies should be in your hands Monday. ![]()
Come on Dale. You read worse than I do. Yes the fins are staying proud of the body. Should be good for 5 amps. ![]()
Dam* I’m getting old!
I’m thinking of adding some shape to them as well, maybe just a half round from flush at the first fin and out a few mm then back to flush(or nearly). I prefer the flush look of the little bro but do want more surface and why repeat?
I hear ya on the style front Scott, and yes, of course.
Thanks for busting my chops Steve! ![]() I’ll quote “Right now it’s still a few millimeters larger than the Minimag head and I think I’ll leave it the way.” and since Scott was talking about boring the head to fit I made the mistake of assuming he meant that the entire assembly was larger in order to bore the Mag head and have more copper in play. Geesh. The things I have to put up with. Now move over, and pass the popcorn!
I’ll quote “Right now it’s still a few millimeters larger than the Minimag head and I think I’ll leave it the way.” and since Scott was talking about boring the head to fit I made the mistake of assuming he meant that the entire assembly was larger in order to bore the Mag head and have more copper in play. Geesh. The things I have to put up with. Now move over, and pass the popcorn!
You can easily go for the aesthetics here as it won’t be making such a large power/size ratio. Much larger, thicker, more robust copper sink and fins with the larger light. I’ll want you to do this trick with D MagLight when you’re done. ![]()
Hmm, let’s see, Mag D head with alternating copper and aluminum fins, shorty mod for 2s2p 14650 and mtg2 5k, a few brass bits and maybe some firefly trits to keep from losing it. (red body, green trits). And of course, an OL cabochon switch. Now that’s what I call flashlight porn.
Maybe Tofty’s 10A switch? Wonder if we could get MR S Did Not Finish to make a tail cap for it? We could take our time figuring out the details, S wouldn’t get it done til next Spring anyway. ![]()
Oh! And a JacktheClipper lanyard! ![]()
Now wouldn’t “bar napkin” make for a nice ap.

Not at home. ![]() All I can do is sit here picking my - and thinking of stupid things to write.
All I can do is sit here picking my - and thinking of stupid things to write.
Lol, well, then you better get a stack of new napkins and a fresh drink, there’s designing to do! ![]()
Really great read and build Rufusbduck. I wish i had time to try something like this.