I’ve got an idea! I’ll let you know if it pans out.
Allegedly, anodizing doesn't affect the thermal properties in a significant way. It might be measurable, but that doesn't mean much. If your wife says 'it's cold in here!' and you raise the temp from 63.4* to 63.8*, that's measurable, but probably not likely to do anything to stop the complaining. :)
A change in output of 1 lumen is measurable, but how much work would you be willing to invest for one lumen? How many lumens would an improvement have to be to be worth whatever work required to get it?
Just placed a order for 2 cant wait ![]()
Sure, I’m just suggesting something that could potentially improve a poor heatsinking solution.
I bet even small changes in thermal conductivity at the interface will have some effect when the contact surface from a loosely threaded emitter shelf is already minimal.
I don’t know how hard it is to remove anodizing though so it may not be worth the hassle, maybe the same benefit can be had by just slapping some thermal paste on the threads instead…
Removing the anodizing won't improve anything, as it's not a hindrance. It's not one of those little things that when combined with a bunch of other little things adds up to something meaningful, it just doesn't affect it one way or the other.
Now, an anodized outside surface has better radiative properties than bare aluminum, but for internal parts it doesn't matter.
I got my COURUI today. Eleven days. Wow! I really like the look and feel of this light. Now I have to decide what I’m going to do to it.
I’m getting a reading of .290A accross the tail on high. What am I doing wrong?
Did you remove the filament wire before taking the reading? ![]()
How’s the output of the light in general, you’d notice if that was the actual drive current. Would be very dim.
No, I didn’t remove the filament. I just placed my probes on each end.
It was bothering me, so I took an emitter reading… 2.22A. Man, those wires sure are microscopic. The light throws great. I only tested off my balcony, but it went through a dark area, accross a highly lit street and lit up a dark alley on the other side.
Well that’s the problem, you’re only reading a fraction of the true current like that. The majority is still going through the wire and not being measured!
For accurate current readings your DMM needs to be in series with the circuit without any other conductor in parallel.
I just got one of these light the other day. I found this thread and I was excited to see it being modded already. I was thinking about a SSR-90 but I see the pill is pretty low on material. I have 3 of the Courui 12 XML lights. One which is heavy modoed with 12 XML2 U2 LEDs and a Hyperboost driver. I did the exact mod on the tail contact plate you did with the screws! I just had to share that! Awesome job!
Here is my 12 XML build thread: Kinda getting off subject of this Courui but Im very proud of my Courui 12 XML2 light! haha!

I’m just having fun ![]() t08 on the right, big head on the left -both modded as mentioned (captured with a phone so please excuse the quality, it’s cold here)
t08 on the right, big head on the left -both modded as mentioned (captured with a phone so please excuse the quality, it’s cold here)


OMG that’s awesome, i cant wait for my 2 comes in from KD and those pics are nice for being on a phone
Mine arrived from KD yesterday. I haven’t taken the driver out yet, but the rest appears to be the same as in the OP pictures.
Only notable difference is the led is on a thicker 25mm aluminium star.
The beam is nice & uniform, & well focused. I like the UI; H-L-off. Hidden strobe.
Happy with this light - even in stock form it’s up there with some of my better modded lights.
Will be taking some measurements in stock form before modding, for comparison ![]()
![]()
![]()
must……not…….order……
It’s really big Gords.
……………… ahhhhhhhhhhhhhhhh. I can’t visit this thread anymore!
Nice pics btw janko.hrasko.
Sorry guys, this probably won’t help much… ![]()
Couldn’t leave this poor light lying around in pieces anymore…so I did a quick mod/assembly with the DrJones MOKKADRV 7135 driver and a XML2 U2-1D from IntlOutdoor.
To say I’m delighted with the combination is a major understatement! ![]()
Ok so step one was to PM DrJones and get some suggestions on which one of his momentary switch firmware options would work best for this light. I had been eyeing the MOKKADRV and he basically confirmed that this setup would work well in the light. I liked the quick access to High and Low and strobe through a double click, plus programmability should you need to change things around.
I also wanted an extra mode that I could dedicate to moonlight so I asked him to add a fourth output mode, no problem ![]()
-
When the driver arrived I stacked some extra 7135s.
I think in the end I added 2x 380mah chips and 6x 350mah chips (basically using up loose and spare chips I had around) onto the 8x 380mah nanjg board. Total should be 5.9A, which should be just about right for an XML2 on copper.

Here’s the stacked DrJones driver mounted onto the original driver with all the components removed. It’s a mess since I was in a bit of a hurry but it works well. The driver is grounded/mounted/soldered to some copper tabs which also help remove heat from the 7135s when they are in regulation. I have yet to run extended tests with the light to make sure this is working properly without the chips throttling back because of heat, but I think it will do just fine.
The little red wire is the control wire for the momentary switch which is soldered to the first star on the back of the nanjg board. Instructions on DrJones site were easy to follow and simple to understand.
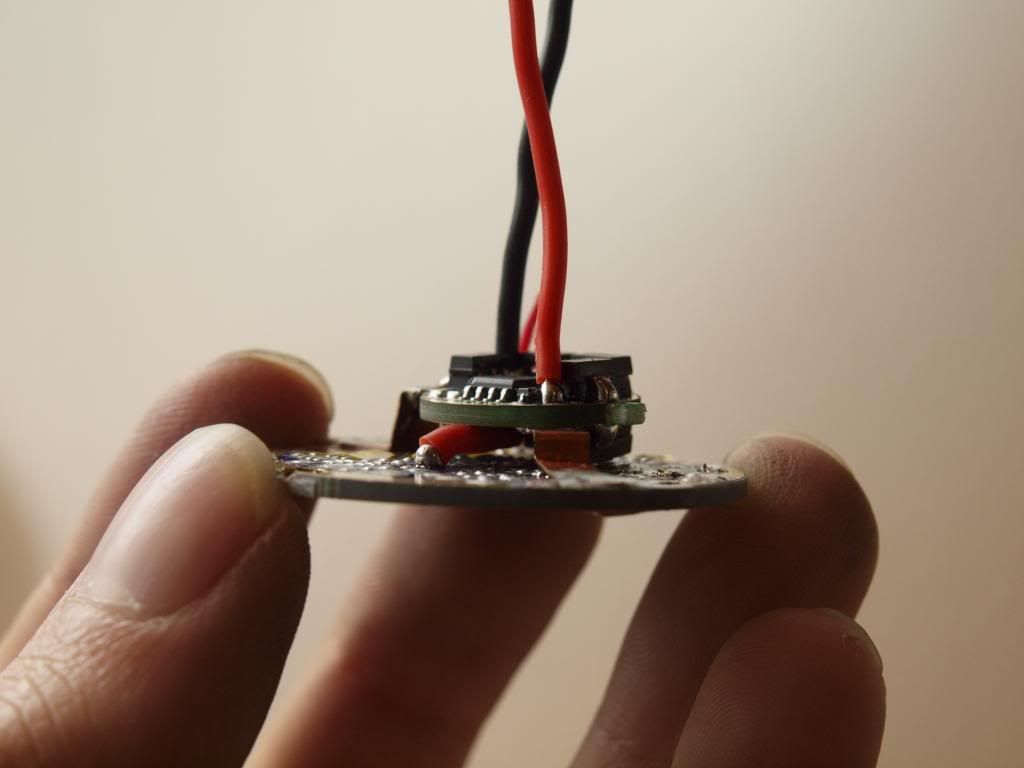
I was going to stick a thermal pad on the underside of the driver to transfer a little more heat into the contact board but then I forgot to add it before I soldered the tabs in place. Shouldn’t make much of a difference anyway, but it would have been better than air. ![]()
-
For the emitter I decided to try one of those new XM-L2 U2-1D from intl-outdoor. I was keen to see what that tint would look like, since in theory it should offer a really nice balance between the 1A and 1C bins without being overly blue/purple or too green, and potentially with all the emitters being very tightly grouped near/on the BB line. Expectations were high but a potential dedome was on the cards if I didn’t like the tint.
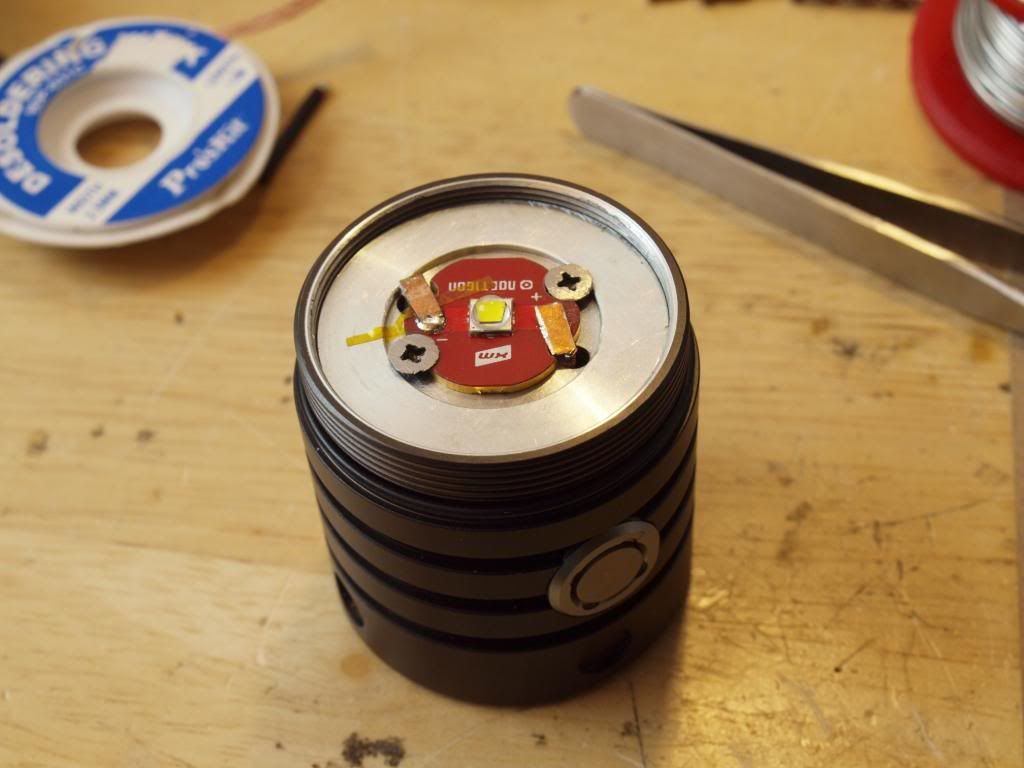
I also drilled and tapped some holes to screw the emitter pcb down tightly.
Reason for this is I hate dealing with thermal adhesives and I’m not going to risk a badly pressed down emitter going smokey and potentially destroying a reflector as nice as this one! Has happened to me more than once when focusing HD2010s.
Since this is a bit of a temporary solution I didn’t go all out and add the press fit aluminium slug to the back of the emitter board as I had intended.
janko.hrasko’s method of inverting the emitter shelf also didn’t work well on my sample because I have rather deep machining marks on the back of my emitter shelf that were too deep to remove by sanding alone. Seems someone got a little too aggressive with a dremel to remove whatever needed to be removed, and unfortunately they’re right underneath the center of where the pcb would mount. ![]()
I did however add some thick copper wire coil between the bottom of the shelf and the emitter shelf rim, so that at least I could tighter the shelf against this and get a bit more pressure on those crappy threads when the shelf is in the focused position. This works ok but it’s a definite bottle neck in the thermal path and needs to be addressed in the future.
When my lux meter finally gets here I’ll do a runtime/output/temperature test of this setup to see the extent of the thermal sag and then again after I beef up the heatsinking to see if there is any measurable improvement.
Then I lightly lapped/sanded the emitter shelf and the back of the noctigon, just enough to remove the slight edge burrs, nothing extreme. Between the pcb and emitter shelf I added a small amount of Arctic Alumina thermal paste and screwed it down tightly.
On top of the pcb I soldered thin copper strips to the contact pads and then soldered 20Awg emitter wires to these strips to get as flat a setup as possible.
I also had to file down the tops of the countersunk screws that I used to hold the pcb down.
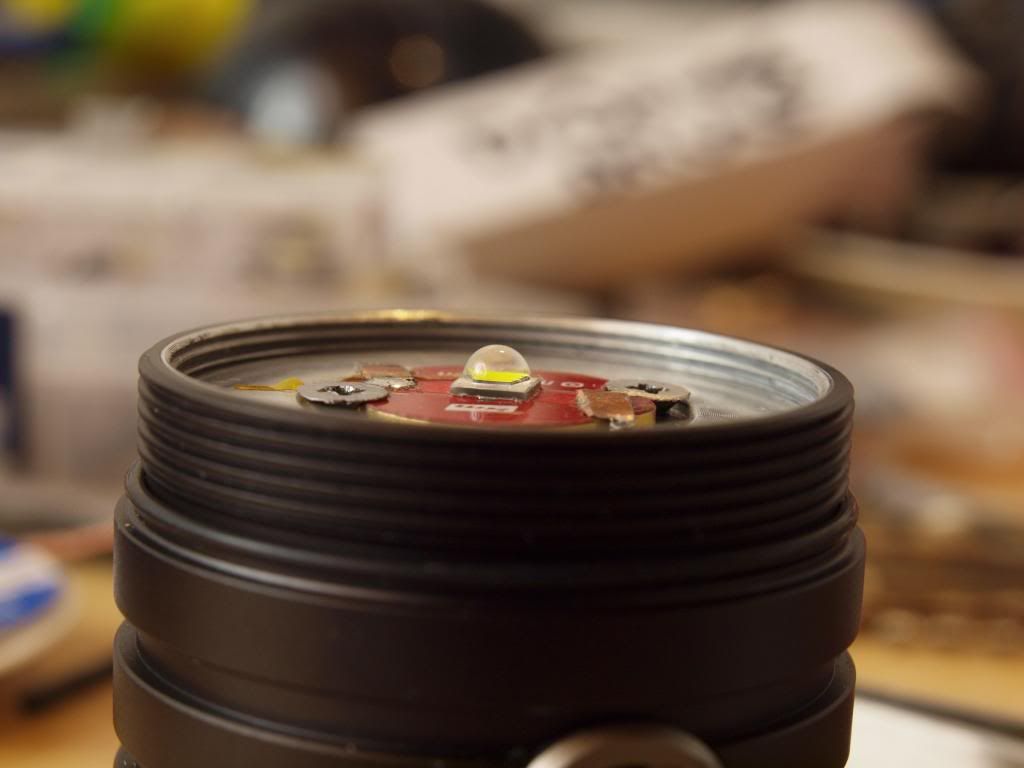
For a centering ring I went back to the stock one but sanded it down considerably, this is a good way to find your ideal focus point. Just take small amounts off the bottom of the ring and keep reassembling and checking until you get it just right ![]()
-
First tailcap measurement with stock springs showed just 4.41A, way lower than the 5.9A I was expecting. So those springs had to go, they’re really flimsy and this shows just how much voltage is lost to them even at only around 2A across each one. I swapped them for some chunky gold plated springs from cnqualitygoods and even without copper braiding the reading immediately jumped to 5.85A, that’s more like it. Again I was in a hurry so I didn’t braid them yet but the added thickness and better pressure from these new springs made a huge difference.
Right so now I have a HD2010 XML U2-1C on copper doing ~5.8A on a fresh cell and a Big Head XM-L2 U2-1D on copper doing 5.85A on fresh cells.
-
Let the battle commence…
J) :exmark: ![]() 8) :arrow: :bigsmile:
8) :arrow: :bigsmile:
…battle over…HD2010 is dead in the water! ![]()
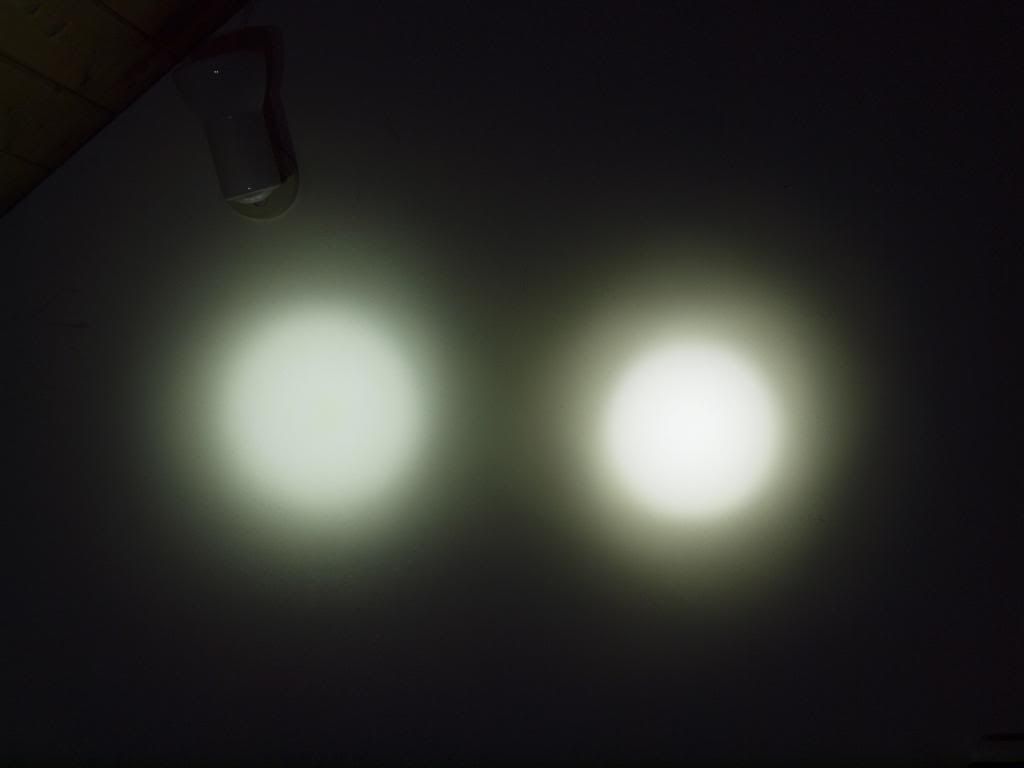
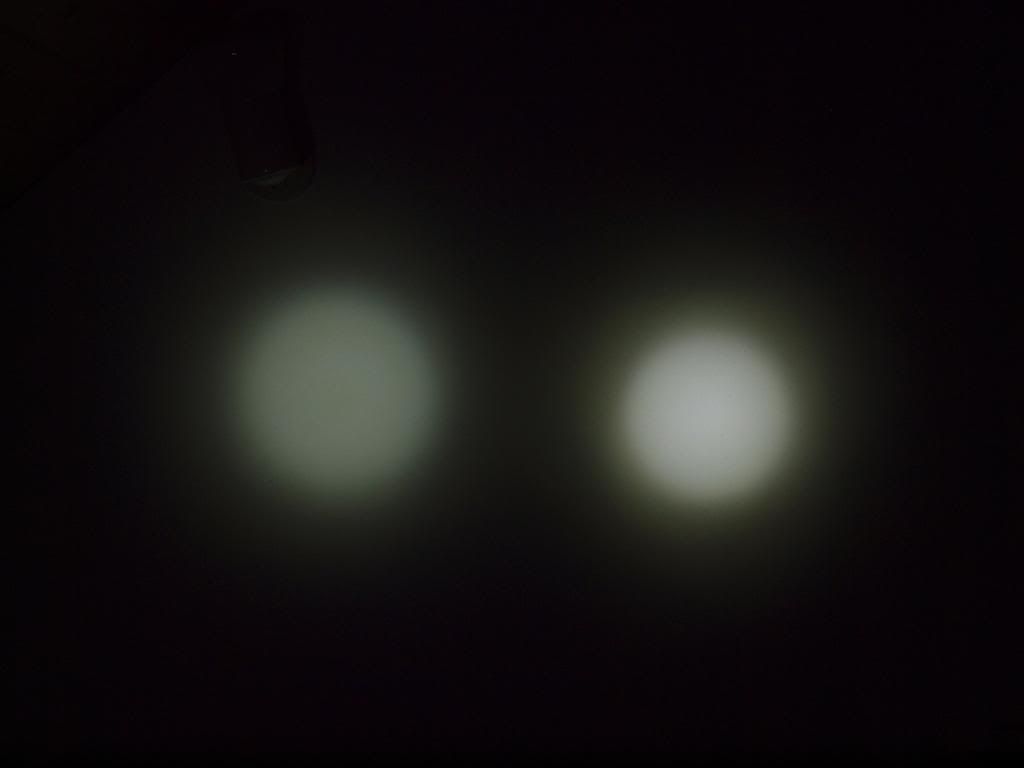
HD2010 on left and BigHead modded as above on right. Both lights are drawing basically the exact same current and picture taken about 5s into turn on, so any thermal sag isn’t factored in.
I’ve also since taken a little more off the centering ring to get a slightly tighter focus on the bighead light and the hotspot is now even more defined and slightly smaller/more intense again.
It’s really no competition and at distance the throw advantage of the bighead is even more pronounced, it’s currently raining so I can’t take any beamshots outside but this comparison should give you some idea of the output.
And the 1D tint is fantastic, very neutral (in a CW sense) far less green than 1Cs and warm enough so there’s no hint of being too blue as all the 1As I’ve seen are. On top of this it looks to have considerably better colour rendering than all my other cool white xmls/2s with reds that pop quite a bit more than the old XML 1C. Frankly it puts it to absolute shame in every way. It’s a really fantastic premium looking cool white tint so the dome is staying right where it is. I have plenty of nasty blue 1As that can get decapitated instead ![]()
—
Next delight is the UI from the DrJones MOKKADRV driver, it’s superbly well thought out and feels really premium. From off a simple quick click gives you High, a second click turns the light off again. A longer press from off gets your straight to your lowest setting, in my case that’s a nightvision preserving Moonlight mode. Holding the button longer when on in either mode, starts stepping through the modes, first ascending and then after getting to high descending back through the modes. A quick double click at any time gets you to strobe, which is quite fast almost like the old HD2010 strobe. Superb.
Of course everything is programmable and custom mode levels are even permanently storable via eeprom write so you don’t lose them when swapping batteries. Very pleased with it all and the light is just a joy to use now.
Ok that’s it for now ![]()
Thanks for sharing your mod Linus. Looks like a real winner.
HD-who now?