its now “Racoon hand sized” too. ![]()
That is awesome! Great work DB!
That is pretty sick. Keep us posted.
Mr_Krabs wrote:That is pretty cool. But you basically turned the SK68 into a C78 . . .
Well, I don't believe that DBSAR or anyone else ever claimed what we do around here makes sense. Prolly wouldn't be much fun if it did.
Sweet looking light! I’d buy a light like that. ![]()
Topic is now updated with photos and description. ![]()
Damn, i which I own the right amount of toys…errr…tools to do this al for myself!!!
(once when I worked at the Federal Institute for Materials Research and Testing they had a sweet machining shop! Damn I was thinking about an “internship” there…)
Great work man!
That´s nice! I´m in!
No really, that is really a nice light!
my next project is to build a small anodizing tank to be able to re-anodized the aluminum parts. ![]()
Easy copper plate
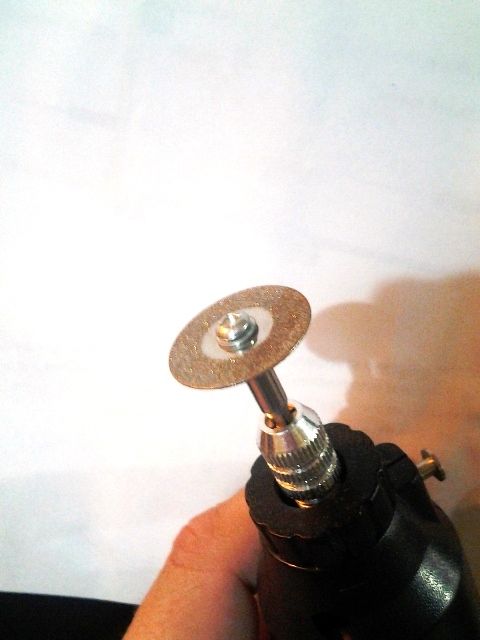
Pre ’84 or ’82 all copper penny, sand smooth, drill small hole in center, put on dremel cutoff wheel tool or harbor freight one, spin and grind off diameter on sandpaper or hobby file till it fits in the pill, epoxy/RTV down, then epoxy/RTV the emitter base to that
Or cut out a plug from a sheet of copper if you can find some ![]()
I retrofitted a larger zoomie this way, even went so far as to solder/braise the copper disk to the copper sink pad (line up wire holes, put solder paste between, drop in stainless frying pan, apply heat till solder melted), then reflow the XM-L emitter off the aluminum one (same process as above), went from 1.4mm aluminum to a little over 3mm thickness of copper, also brought the led almost flush with the pill and touching the bottom of the aspheric lens in unzoomed mode, a MUCH larger flood pattern
lol you read my mind. that is what i used, was an old Canadian penny, with the surfaces sanded smooth on a disk-sander, then spun-down to fit the SK body, then with holes for the wires ![]()
Might have been the previous images you had that gave me the idea ![]()
Nice work on the inside too, I have done similar 'inside jobs' on the sk68 too, to fit various drivers, with the last one I grinded a few mm from the underside of the pill and fitted a slice of 17mm copper piping between driver minus ring and pill to avoid the component getting squashed by the pill.
Fun to see one of those blf-mini drivers again, I thought I was the only one using them every now and then in mods.
(off topic: I have a spare LuxeonQ led if you are still interested, see my thread)
Nice mod, I like the leave nothing unchanged approach.
Thanks for adding the progress pics and additional back ground. Lathe pics are the best. I've only seen a wood lathe in action. So to me metal lathes are like strange, mythical beasts that some here have managed to wrangle and use to create magical instruments of light.
your welcome. I will make sure to take more photos of lathe/Mill work then in future projects.
Below is a pic of the “Machine” in my garage. ( its a 3-axis Lathe / Mill unit / Boring machine combo. ) it really helps with the precision custom builds.

Oh man. What an awesome space. Looks like you have compressed air too. I could drink beer work there for hours on end.
Your machine looks like a little ripper. I’d be happy to see a few more pictures of it. Thanks.
maybe i should start a new topic on “our tools” for more photos of garage/shop spaces. ![]()
there is a beer fridge too in the garage/shop. ![]() i have a centeral 40 gallon Aircompressor with manifold system for the machines. ( this mill unit needs compressed air for parts of it to operate.
i have a centeral 40 gallon Aircompressor with manifold system for the machines. ( this mill unit needs compressed air for parts of it to operate.