I haven’t really been following what you can and can not do with this driver. What kind of control do you have over the temperature monitoring? When I get around to temp monitoring on my project I was thinking about a hidden temperature controlled mode. Instead of running on highest until too hot and stepping down to low I was thinking about running it on the highest it can run for a given temperature, lowering the output gradually as the temperature rises towards the threshold.
I have no idea how practical this will be until I try it out, but maybe something like this would suite a bike light better than going from high straight to low without warning, but it seems that this would be difficult on the driver you have as it appears to go to 25mA despite the low mode is above that.
^ Our options on this light are limited because we can not reprogram the unknown 14 pin MCU. The MCU is from the KD driver for the ________ (forgot model) bike light. So all I can do is tune the voltage divider that the thermistor is part of.
In your case, you what ever options you can imagine and program. I think many folks (Including me) will be interested in your work on that front.
I see. Yeah, your options are very limited in that case. As mentioned I haven’t been following to the full. I thought that as you where going to piggy-back a 13A that you might have had more options.
I’ll make a thread about my project when it reaches prototype testing stage. Right now I only have the driver board assembled. I have a host to test it in once I get the firmware ready for field testing, but the programming is taking it’s time. It’s a dual LED type like this project, but with both a mechanical and electronic switch.
For reference, the stock Yinding light has been measured with a case temp at 150 degrees at thermal stepdown. I can concur that my Yinding the other night was pretty darn hot when I ran it on high for about 5 minutes during a downhill descent. I was fine with the case being that hot (as far as potentially burning myself goes). I would likely also add an aluminum GoPro mount (seen in that thread linked above) to another aluminum GoPro handlebar mount (like these) and have it attached to my aluminum handlebar.
EDIT - Here is a link to the KD driver being partially used in this build. The light it is intended for has been referred to as the "KD2".
^ OK. Unless I hear otherwise from you, we'll stick with the stock configuration on themal step down. I image the case will likely hit 150F since there will be a small time lag before the heat hits the thermistor.
So, all the ingredients are on hand and adjustments have been made. I now need to finish deciding on how mod the driver to accommodate the cable gland for the new cable. Once that is down, it's assembly and some follow-up testing. I redo the OP with the complete build once the light if finished.
Mike C wrote:I see.
Yeah, your options are very limited in that case. As mentioned I haven’t been following to the full. I thought that as you where going to piggy-back a 13A that you might have had more options.
Yeah we started this project with the Attiny13a, but it had limitations that prevented realizing all the functionality Garry wanted. Luckily, the KD2 came out with all the functionality Garry wanted. Garry was able to get KD to sell just the driver. That put us on the long road to merging the 2 drivers for this light. The OP is crazy out of date and I will update it as soon as I finish this build.
Look forward to your thread. You said you will use the Attiny25? I know it may be a while before you get to that point, but should I order some now so that I can hopefully help with some of the testing?
That actually rings a bell… quite sure I did read this some time back.
In my headlight project I’m using the ATtiny84. It’s 14 pin with the 8K of programming space. I’m using about 5K of that as it is, and have a few more features to put in before I build the prototype light.
For the 8 pin MCUs in other drivers I’m using the ATtiny85 (also 8K of space). It fits on a 13A footprint with a little pin bending. This firmware isn’t really releasable yet, it’s on hold because I’m prioritizing my 84 headlight firmware. I plan to upload a Q-lite compatible version of the 85 firmware to ToyKeeper’s firmware stash when I’m done. As it is now it only works with my own drivers as I use different pins for everything.
The light is finally completed. I have totally redone the OP to document the final build. All other mods that were done, but tossed have been removed to reduce the size of the OP.
^ LOL. Good one. I took some "before" beam shots, but I'm trying to make sure I have the right ones. You take much better beam shots than me (by like 2000 million percent). Hoping you have some befores and take some afters. I have to say that I really love the tint of the emitters you provided. I'm going to order some. I thought I had that same tint, but mine are slightly different. That small difference is big though.
Mike C wrote:
. . .
Were you able to have any control over what the light steps down to when thermal protection kicks in?
In the end, I opted to keep the step down temperature at the stock 150 degrees Fahrenheit. The biggest reason was to reduce the likelihood of step down when Garry is riding because the step down is very drastic (goes down to .26A). Since the light will be handle bar mounted, it seems like a fairly low safety risk burn wise. If Garry puts the light on an aluminum mount and aluminum handle bar like he said, I think he will have no stepdowns. I didn't expect such a big lag (body reaches 166 at kick down), but I think it is a plus for this application. The aluminum mount will bring down the temp fast.
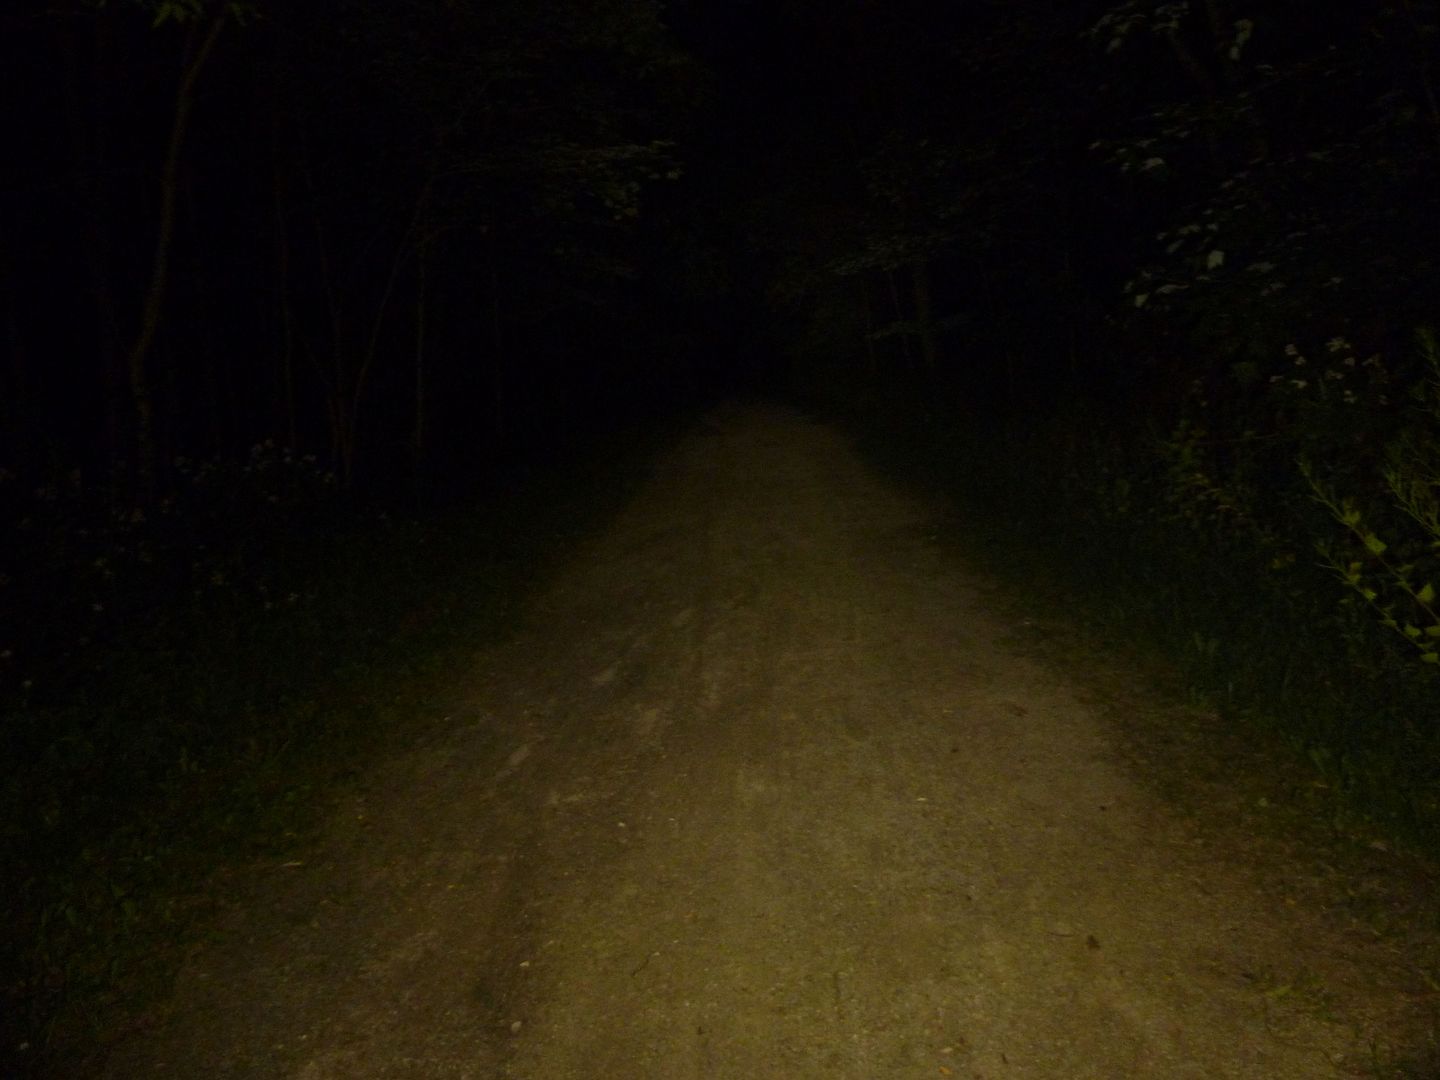
Got in a short ride on the local rail-trail last night to test the light. This light rocks! Huge wide flood with decent throw (throwy head lamp really combines for a killer combo) and with my favorite 5B1 tint! In use this thing gets hot quick! While I was riding with it (mostly slow. perhaps 8 to 10mph) it did not kick in. This was with the simple stock plastic mount (need to upgrade to aluminum GoPro style soon).
Some pics (description above the photos):
Low (I think it's level #2 on the KD driver as I mistakenly entered program mode and am unsure where I set it back to):
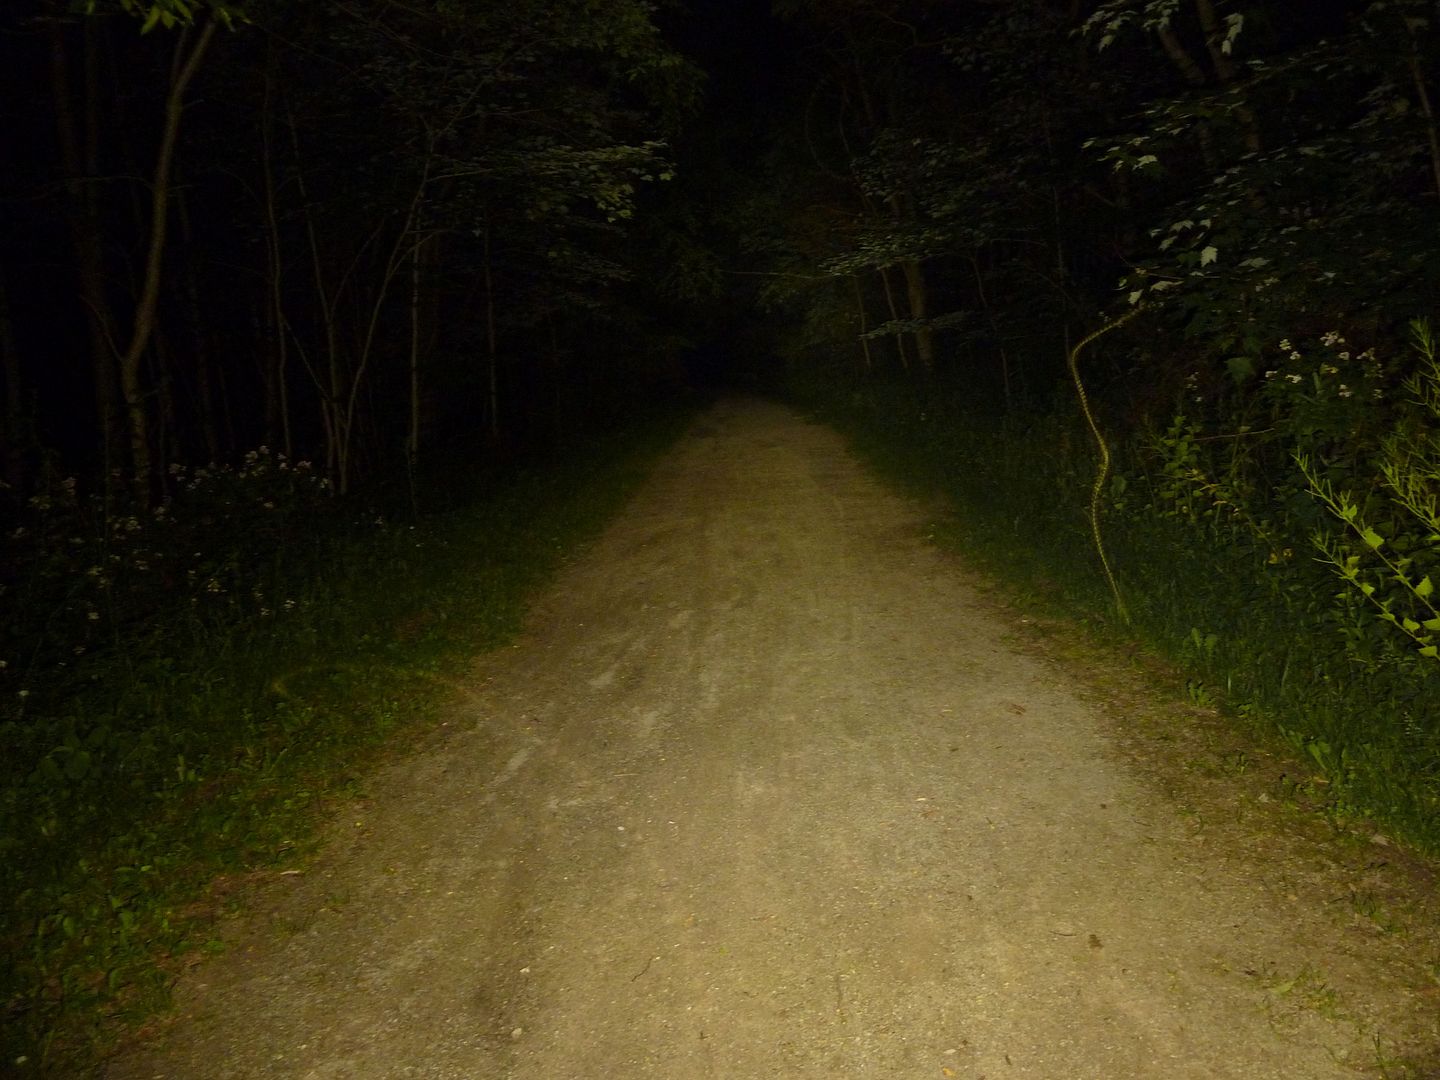
Medium (level 7):
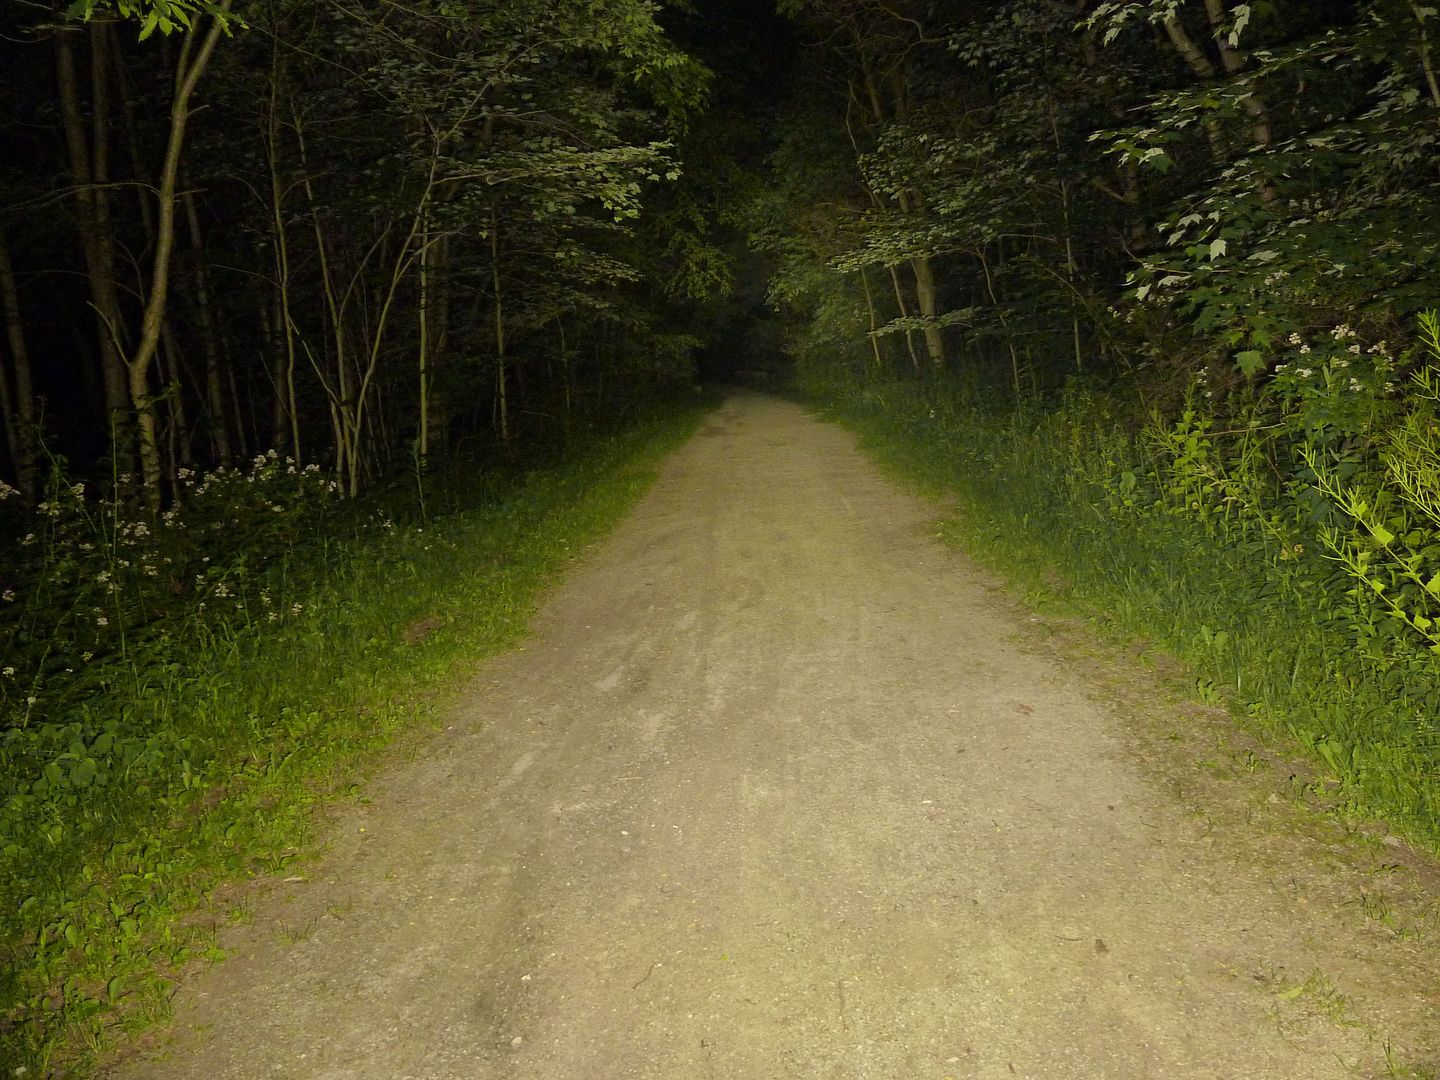
High (level 10):
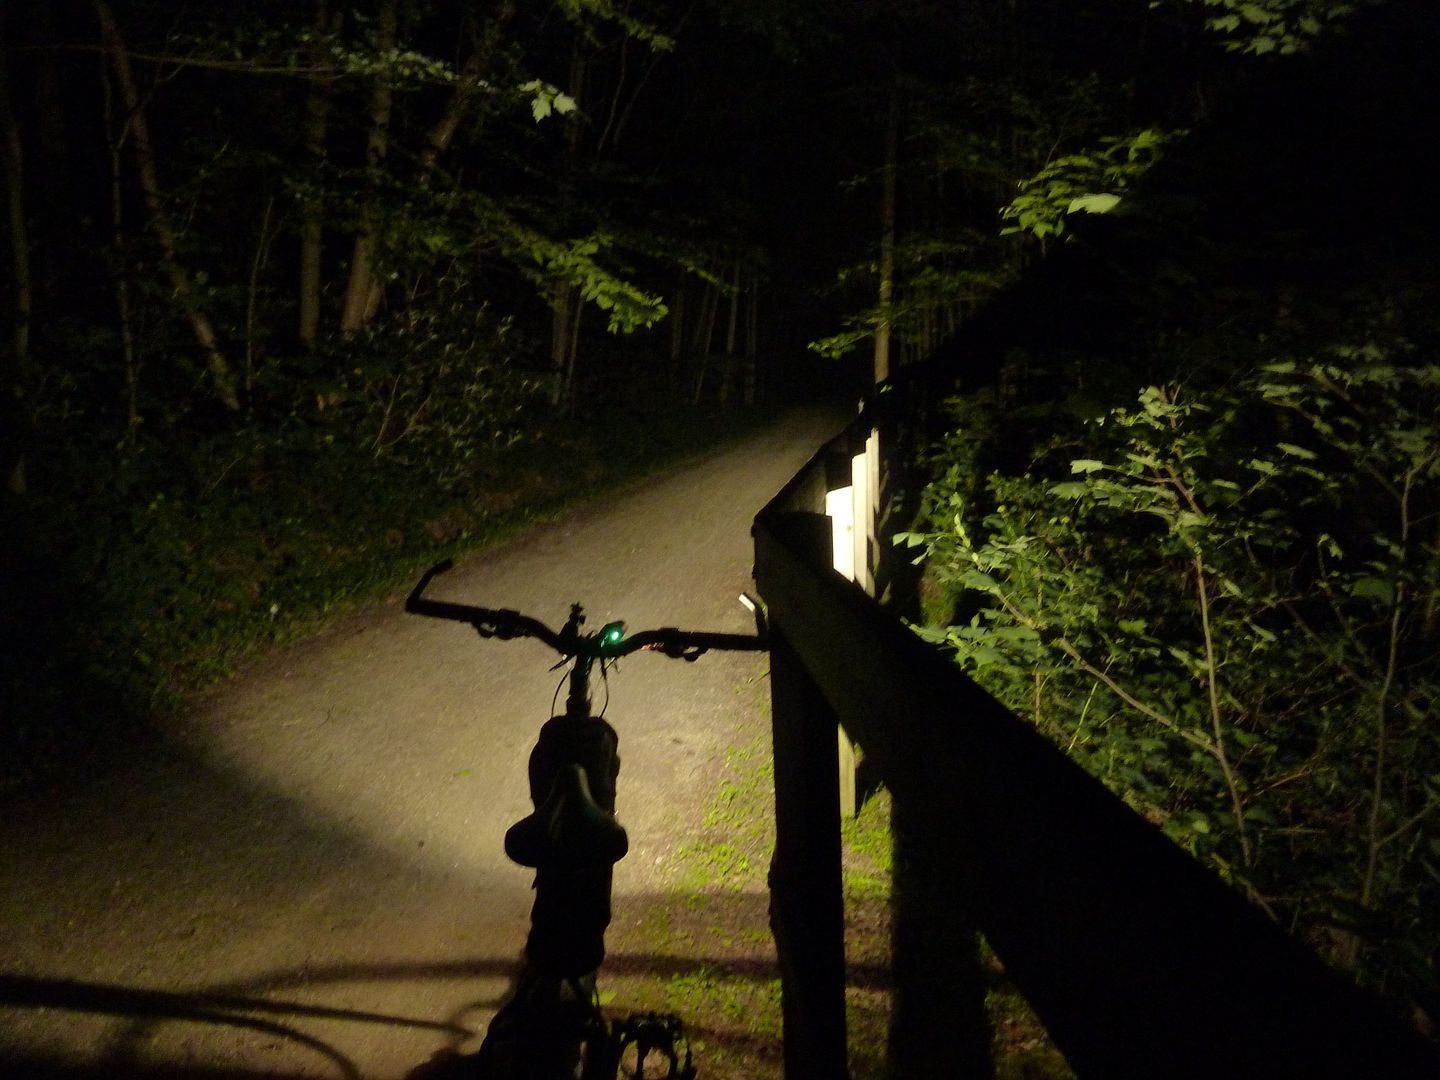
Stepped back from the bike for a shot to show the full flood on high:
Excuse the photos as I was not carrying a tripod and I had my camera mounted on a cheap handlebar mount that had a lot of play in it. The camera also mounted on an angle due to being on my riser bars so I had to tilt the bike to make the photos appear level :) .
I was NOT using a helmet light (nor wearing a helmet), but while riding I did hold my Convoy M1 XM-L2 T6 4C on my head to simulate and it looked great! Provided all the throw I needed.
Comparison "backyard beamshots" coming in the near future.
Thanks for the feedback Garry and the compliment MRsDNF. I really like those trail beam shots. You must have had a late night making that happen. I have to give you credit for the light's rockability. It was your concept to combine the beams at all power levels, go 5B1 tint, AR lenses, improve the heat sinking, and to controll all that with a solid mountain-biker-safe UI. I'm honored you asked me to make it a reality.
MRsDNF, you always seem to notice the critical parts of a process/build. You are right that it was a lot of work. It also was close to not working. I just about gave up several times. Garry was good at keeping me in the game. Now that it's done, I'm grateful to him for that. I learned tons from this build and it forced me to grow in areas I tend to neglect. I really noticed my growth last night when putting the final touches on my Rook. I'm a better modder now. I also learned that custom builds are definitely not my cup of tea. I really admire the folks like you that undertake them. It takes a special skill set and attitude to be successful at it.
EDIT: How do you get the pictures scalable to the screen like that Garry?
About the pics, I use the advanced post editor and on the "appearance" tab at "dimensions" you put "100%" (or whatever size you desire) in the first box and clear the second box. That simple.
Ok, here are my beamshots I promised. I was in a rush to beat a storm coming, and didn't notice the first shot was way out of focus (I did almost get some shots with lightning strikes in the background!) Also, the original beamshots had a wrong white balance setting and appear more blue than they should (should appear a crisp cool white). My modded beamshots are with the KD driver programmed at levels 2,7, & 10 (I think low is "2", but I never confirmed that after my accidental reprogramming). Keep in mind the stock light was only driven at +/- 1.4A per emitter and now it's modded to 2.4A per emitter. Original beamshots are only with both LEDs on (no sense comparing single throw / single flood shots).
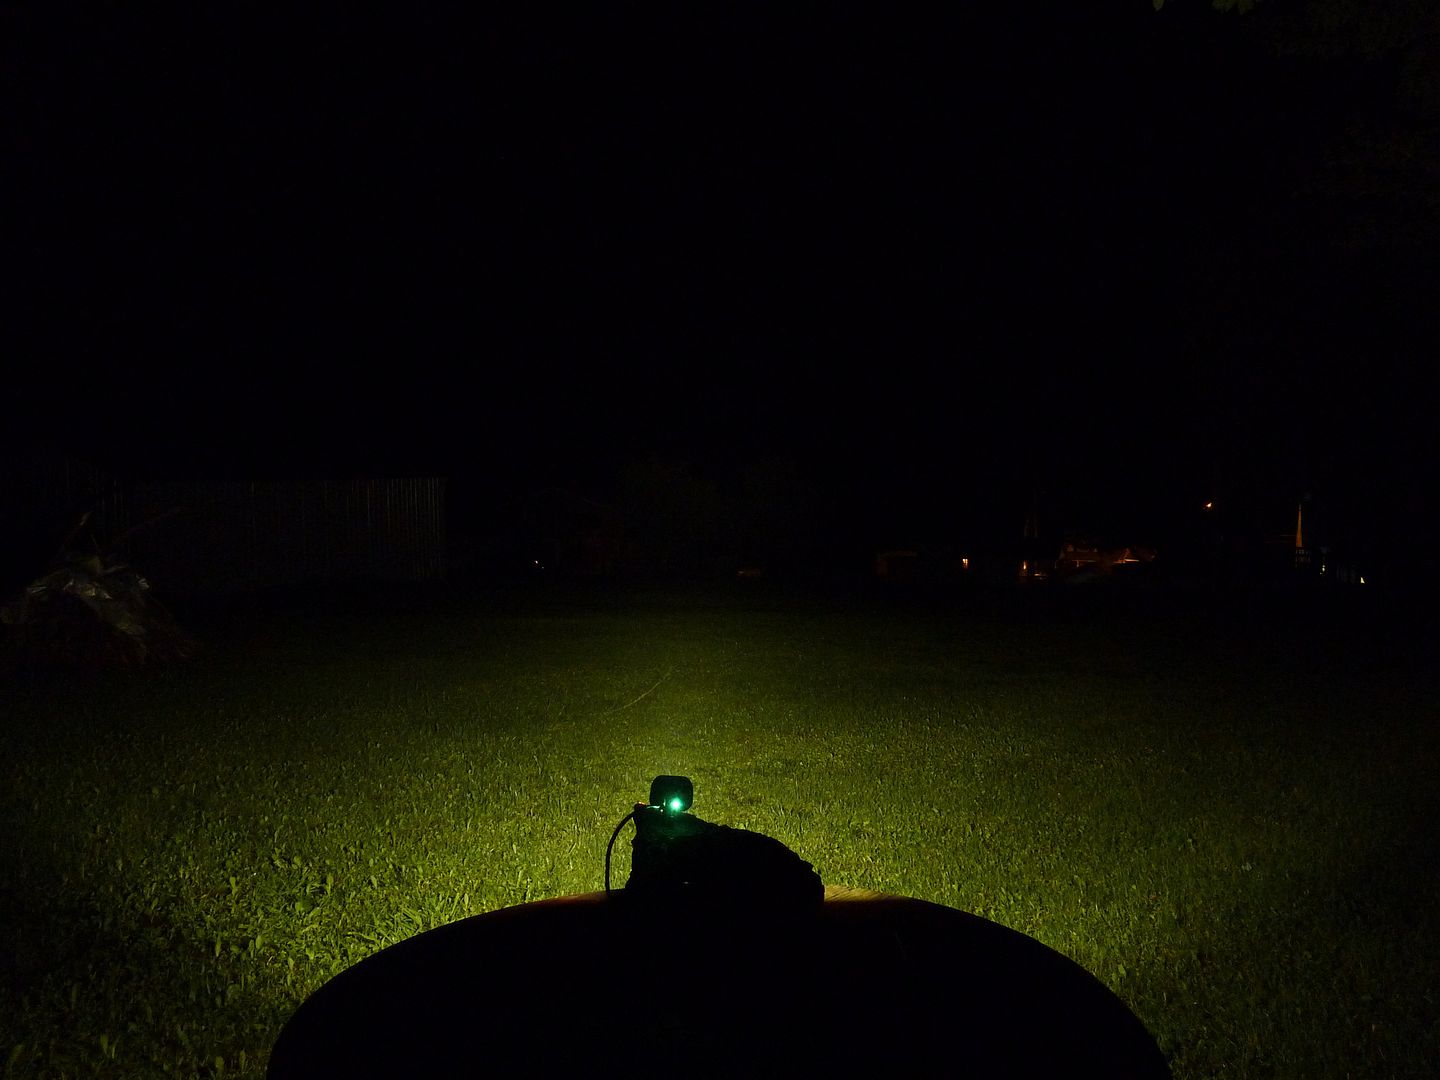
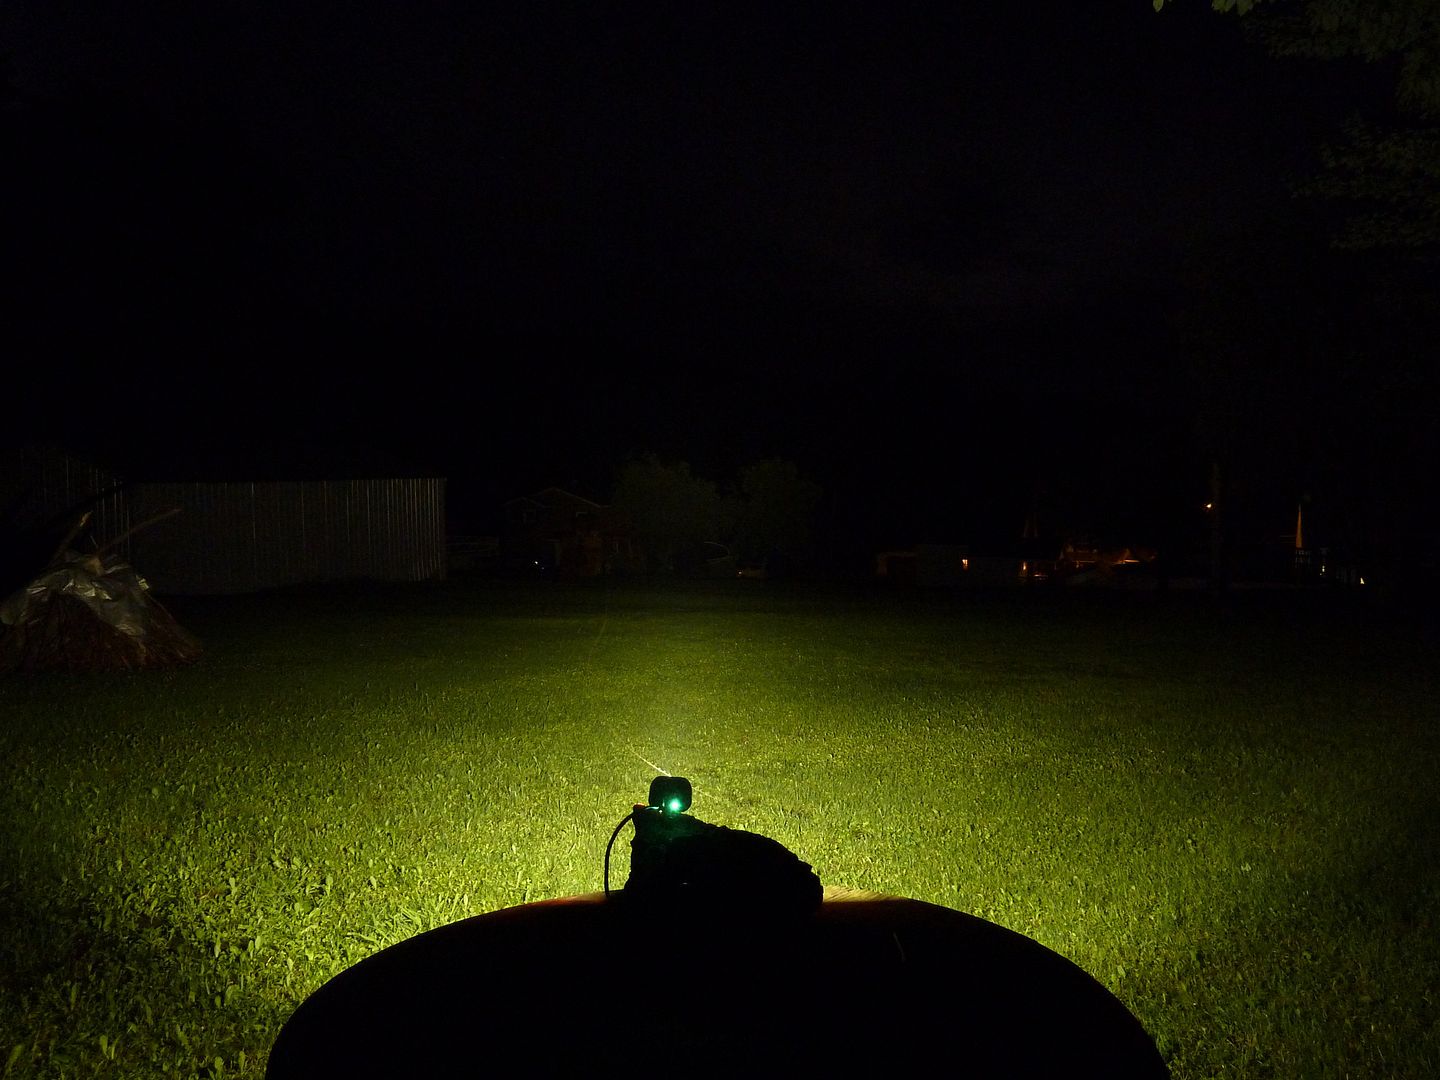
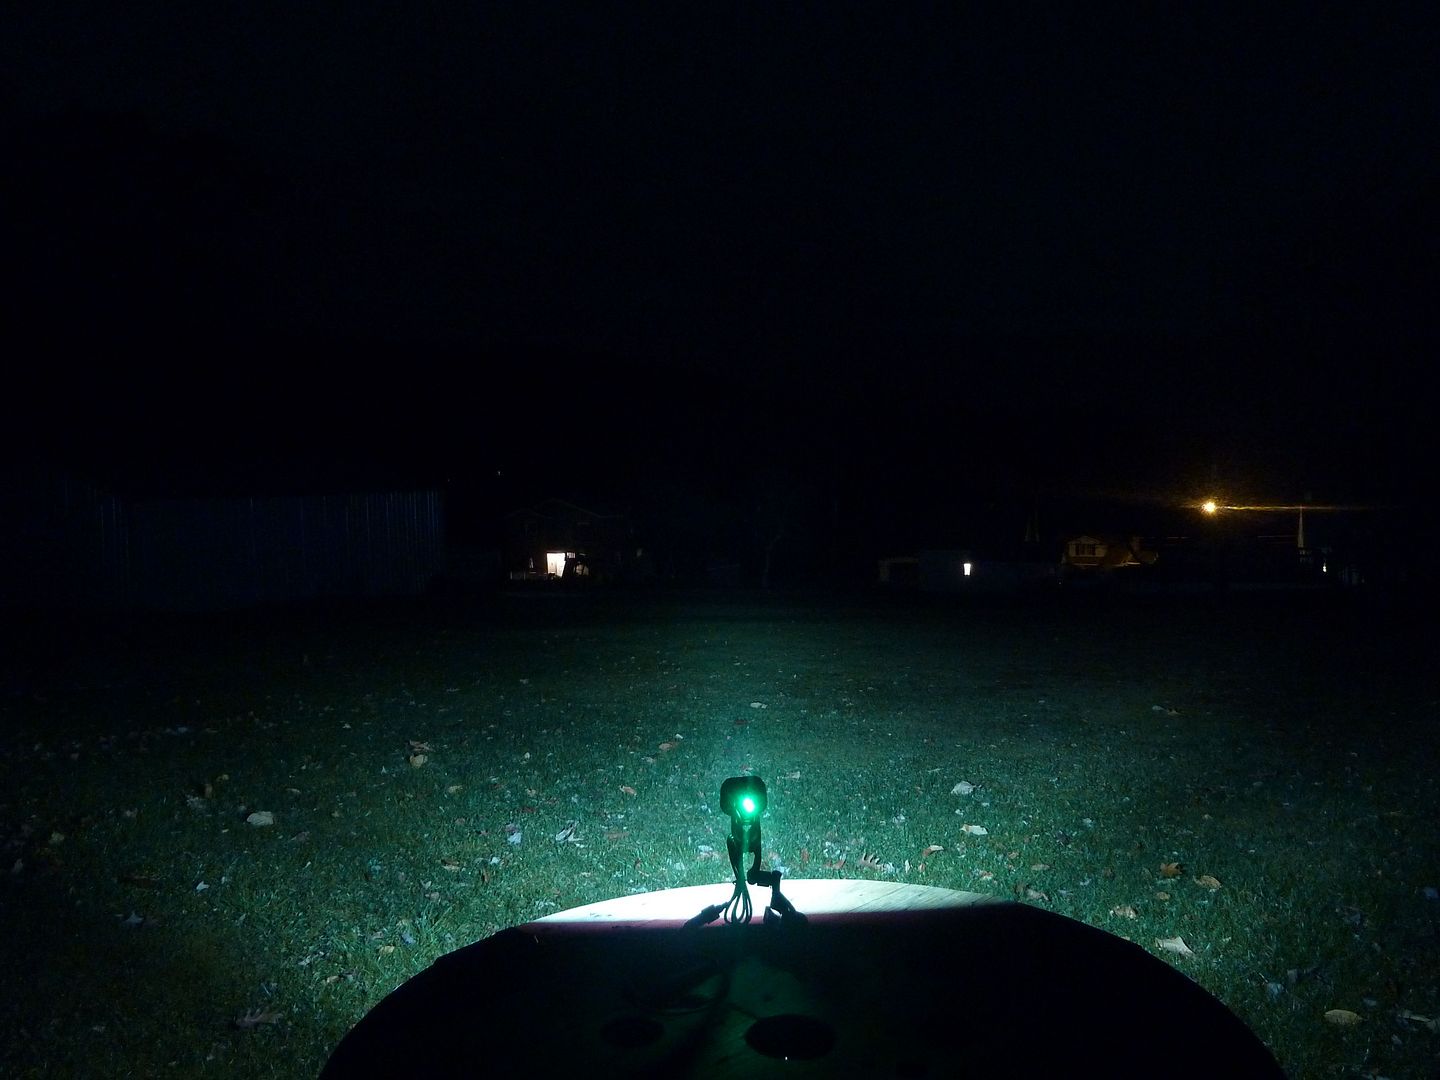
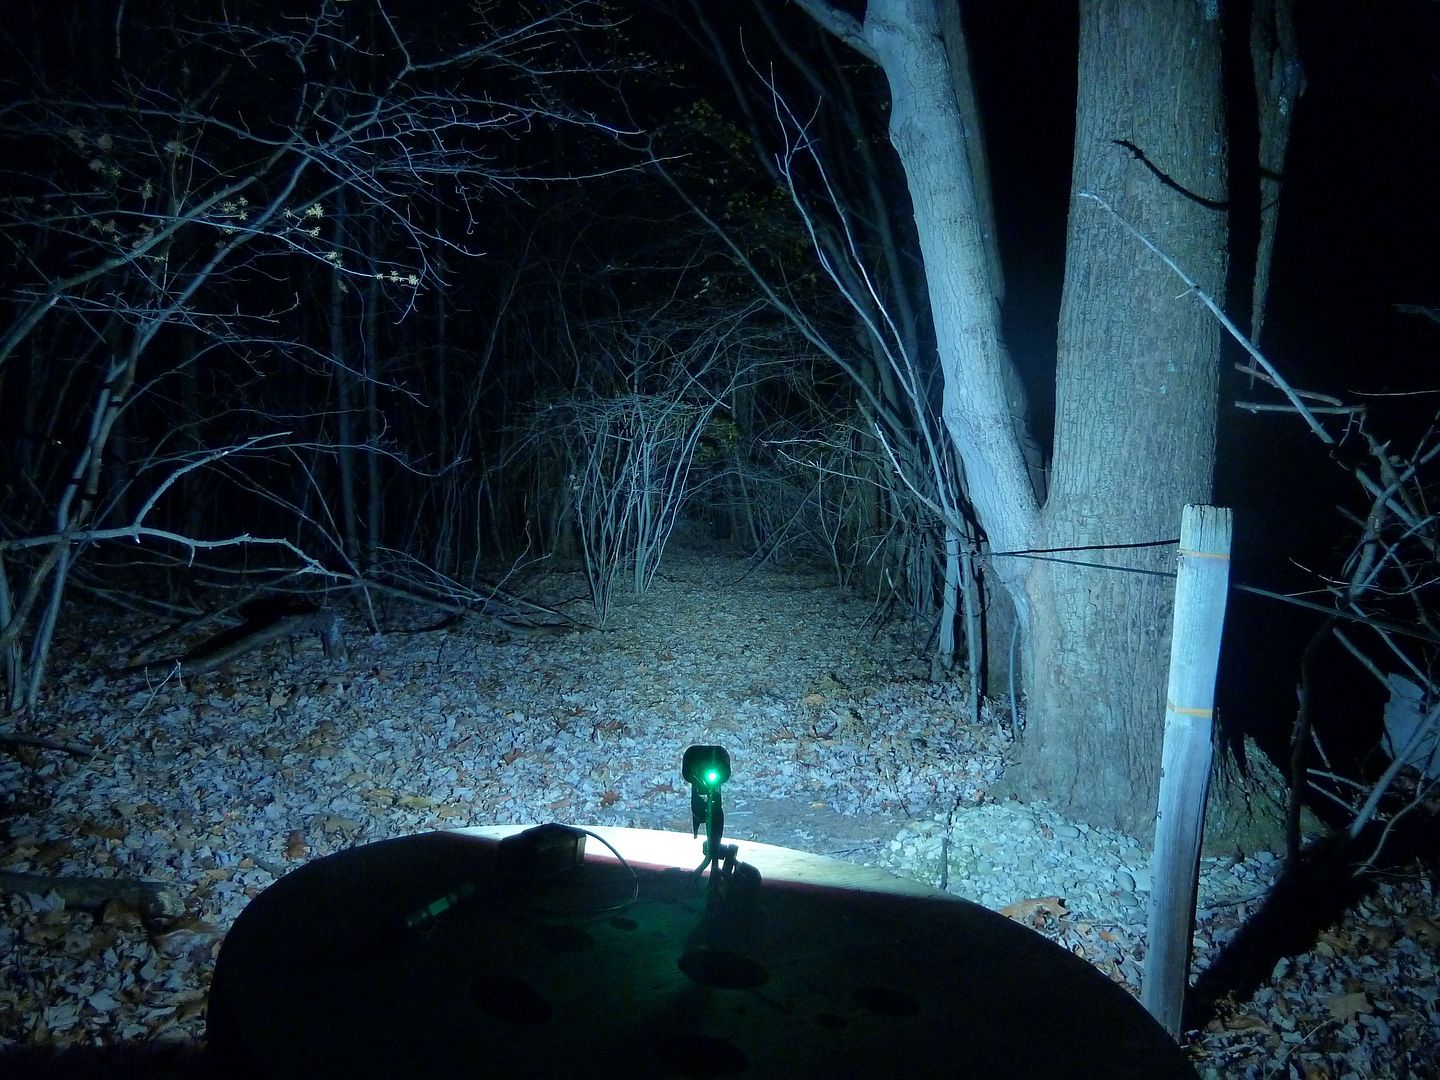
Modded Beamshots, distance to the two trees is approx. 185 feet (I aimed at the tree to the left). Approx. 275 feet to the house off to the left of the tree.:
Low:
Med:
High:
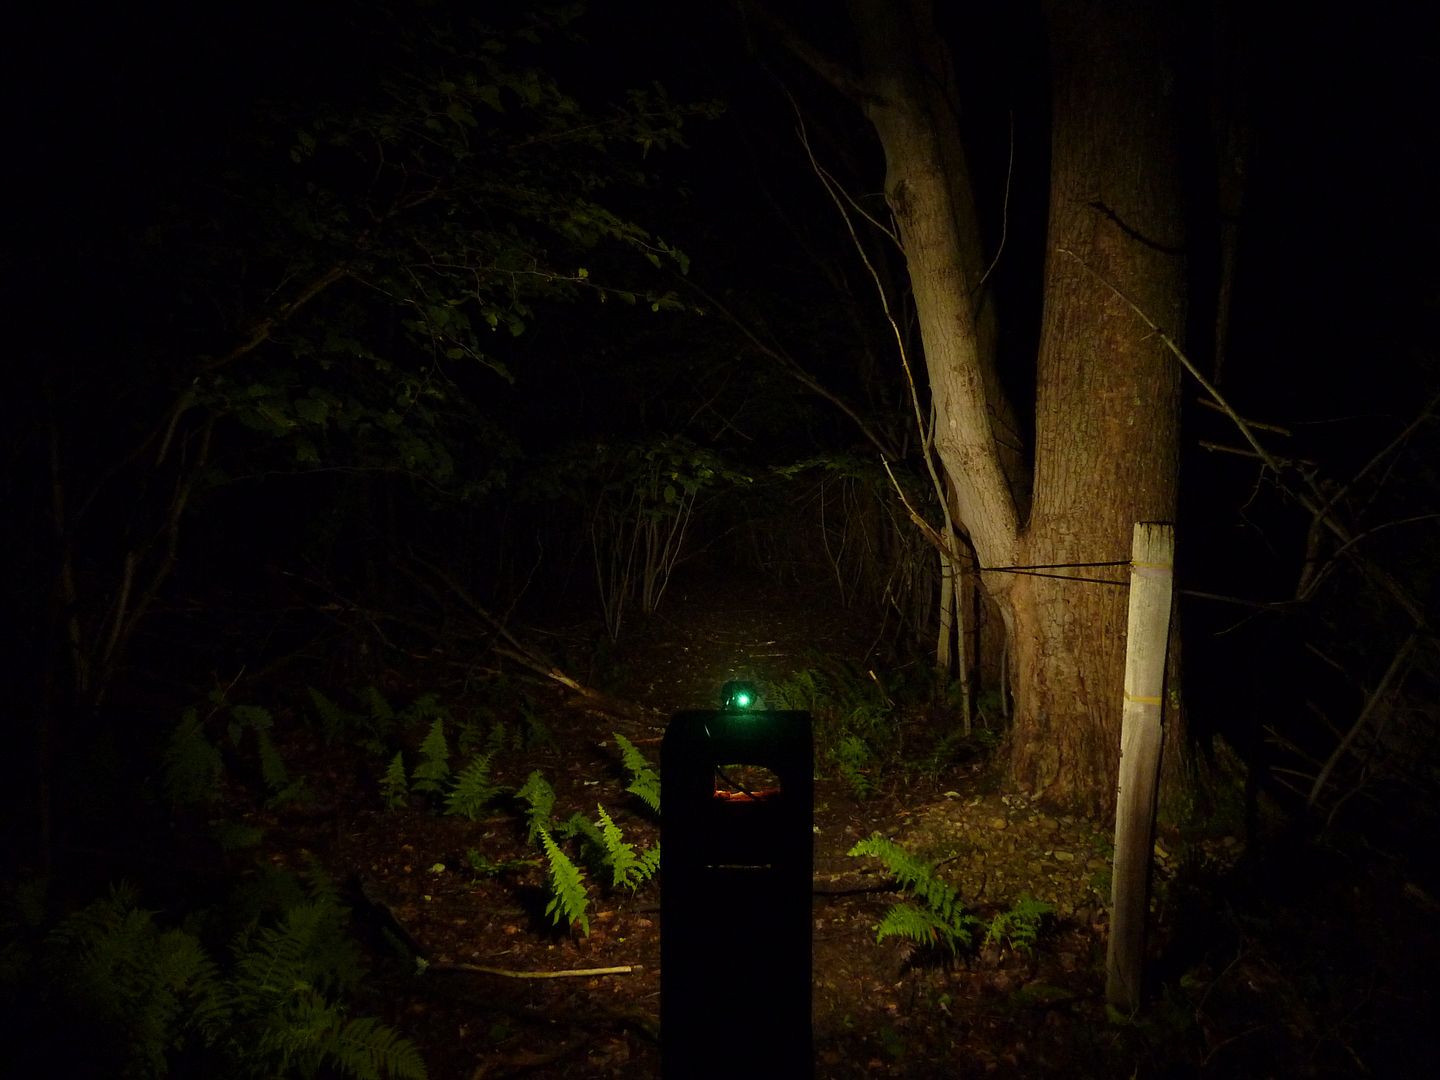
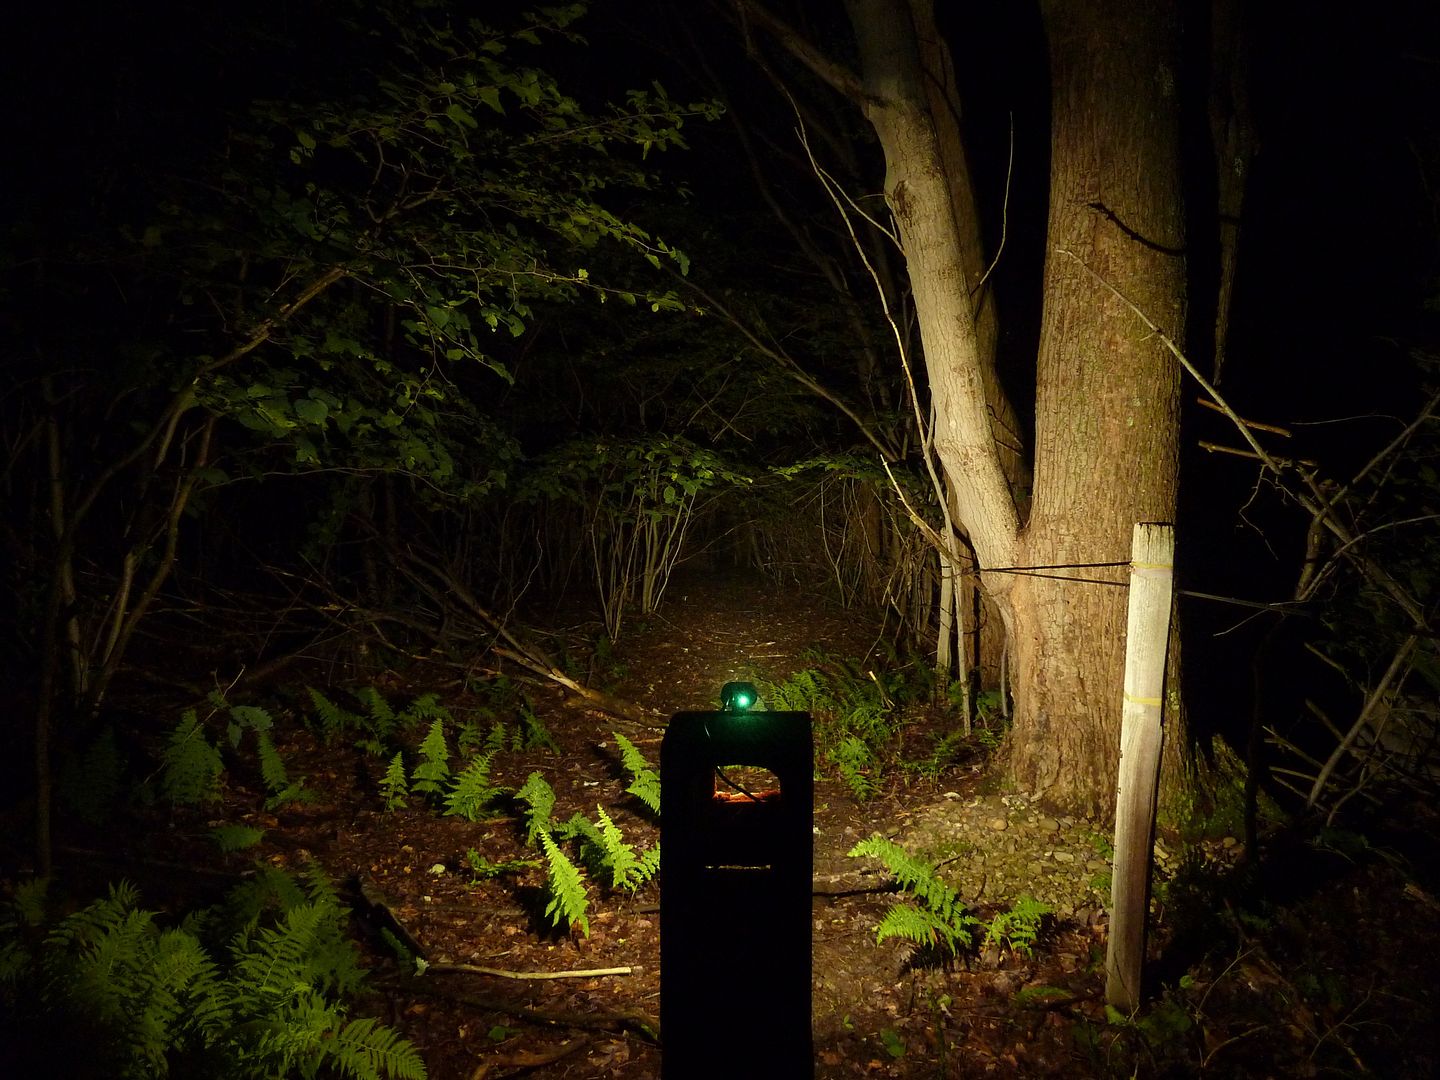
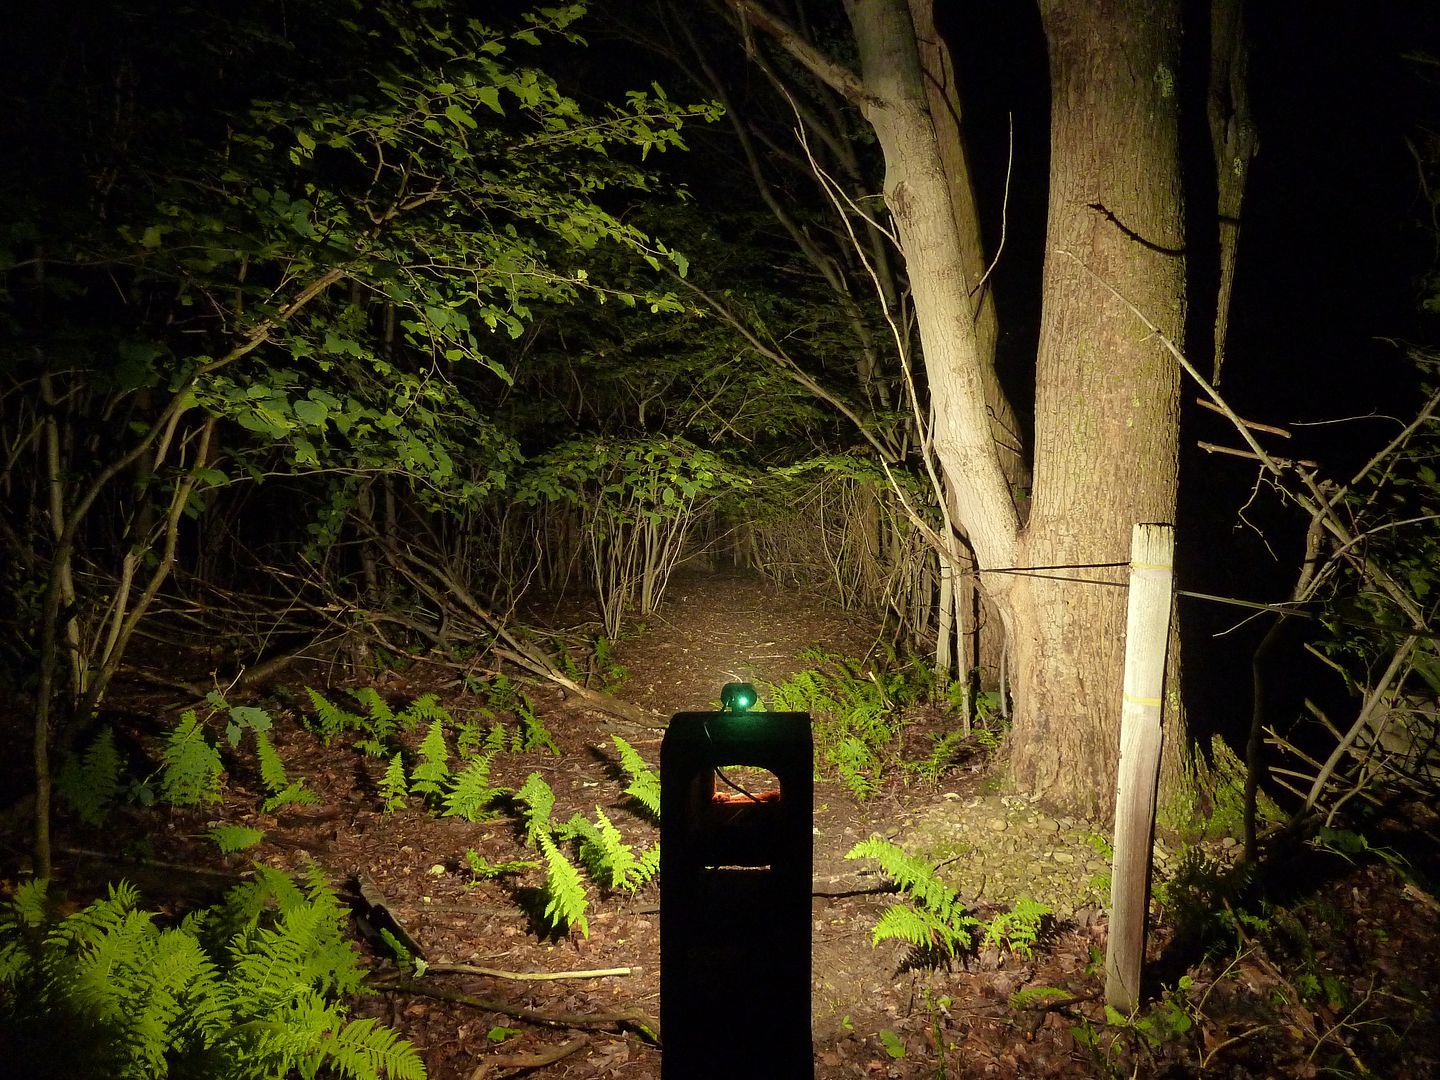
Wooded "simulated bike trail":
Low:
Med:
High:
Mouseover's with original Un-modded Light (Mouse Out=Original, Mouse Over=Modded):
Really nice beam shots. Really dig the tint of those emitters. Really make the colors pop too. Thank you.
I think the beam shots belong in your bike light thread though because that is a great go to thread to see the beam shots from all your bike lights. Or, maybe make a copy the above post there.
Done. Yeah, the tint difference really does makes things "pop out" better. Even though the white balance was off, it still affects the appearance of everything not just the light output, so the detail you see with the wrong white balance is still the same detail you'd see if I had the white balance correct.
Awesome mod. Seems like a lot of work though! Hard to understand transplanting the KD2 MCU was really the most effective solution given that you are unable to reprogram it. But the light seems to have turned out great.
I’m sure you are aware the 7135’s are spec’ed for max 6.0V (7V in absolute maximum ratings). I am curious how you have it connected?
Seems to me you could connect VDD to the midpoint between the emitters and that way the 7135’s never see the full battery voltage (it would see roughly half), but would still regulate the current. Another way to think of this is you wire it up like a normal 1S flashlight, but put an extra emitter and an extra battery cell in series with the battery supply (The extra battery cell would raise voltage, but the extra emitter would sink most of that). Current through both emitters would be the same, just as current through both battery cells would always be equal. Hope it makes sense. Can’t think of a downside but haven’t tried in practice.
Or perhaps you have it wired up to B+ and the parts are more robust than the datasheet indicates. Either way, I am curious how you have it wired up.