On my bare A6 the wires are silicon insulated which are easier to work with and also easier to damage with sharp things. My light arrived in fine shape but after 1 week of too often peaking inside it started going DD when the bezel was fully tightened. At first I thought reflector but the solder joints were low and the spacer disc is fairly tall. Then I noticed that the mcpcb notches were offset from the pill holes and sure enough when I pulled it apart there were cuts in the emitter wires. 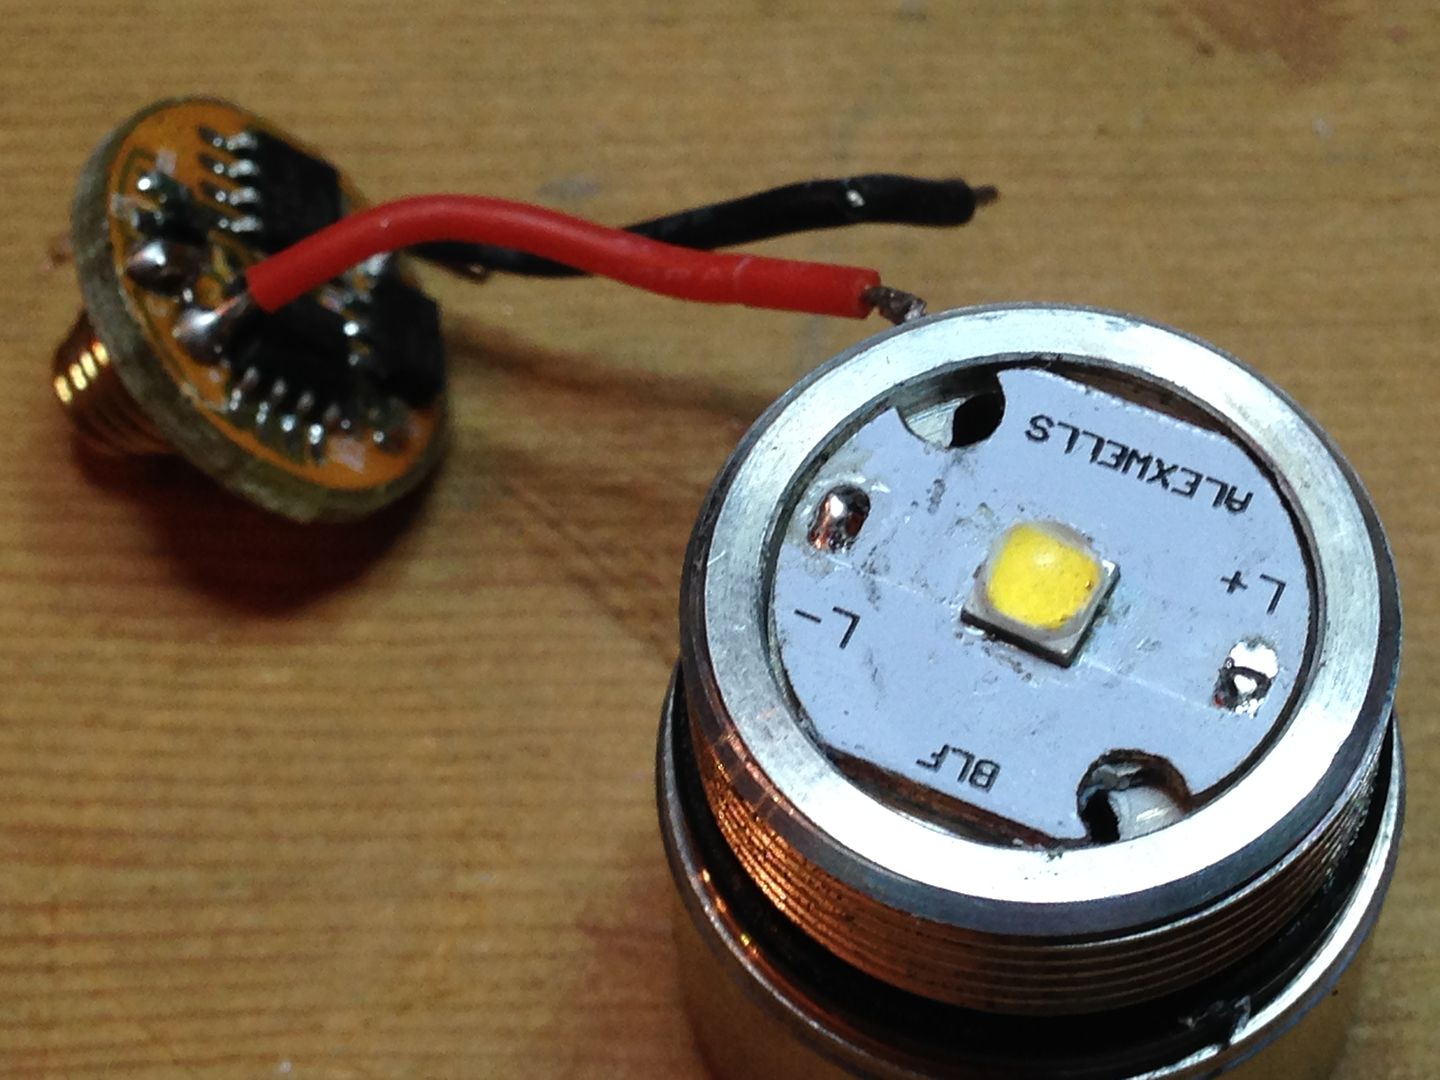 Fortunately there was enough length to recut and resolder them. To keep this from happening again I squeegeed
 some Fujik adhesive edit use AA or better adhesive as the Fujik proved too soft into the open spaces by the mcpcb flats. When this cures it will prevent the mcpcb from twisting with the head and shearing the wires. 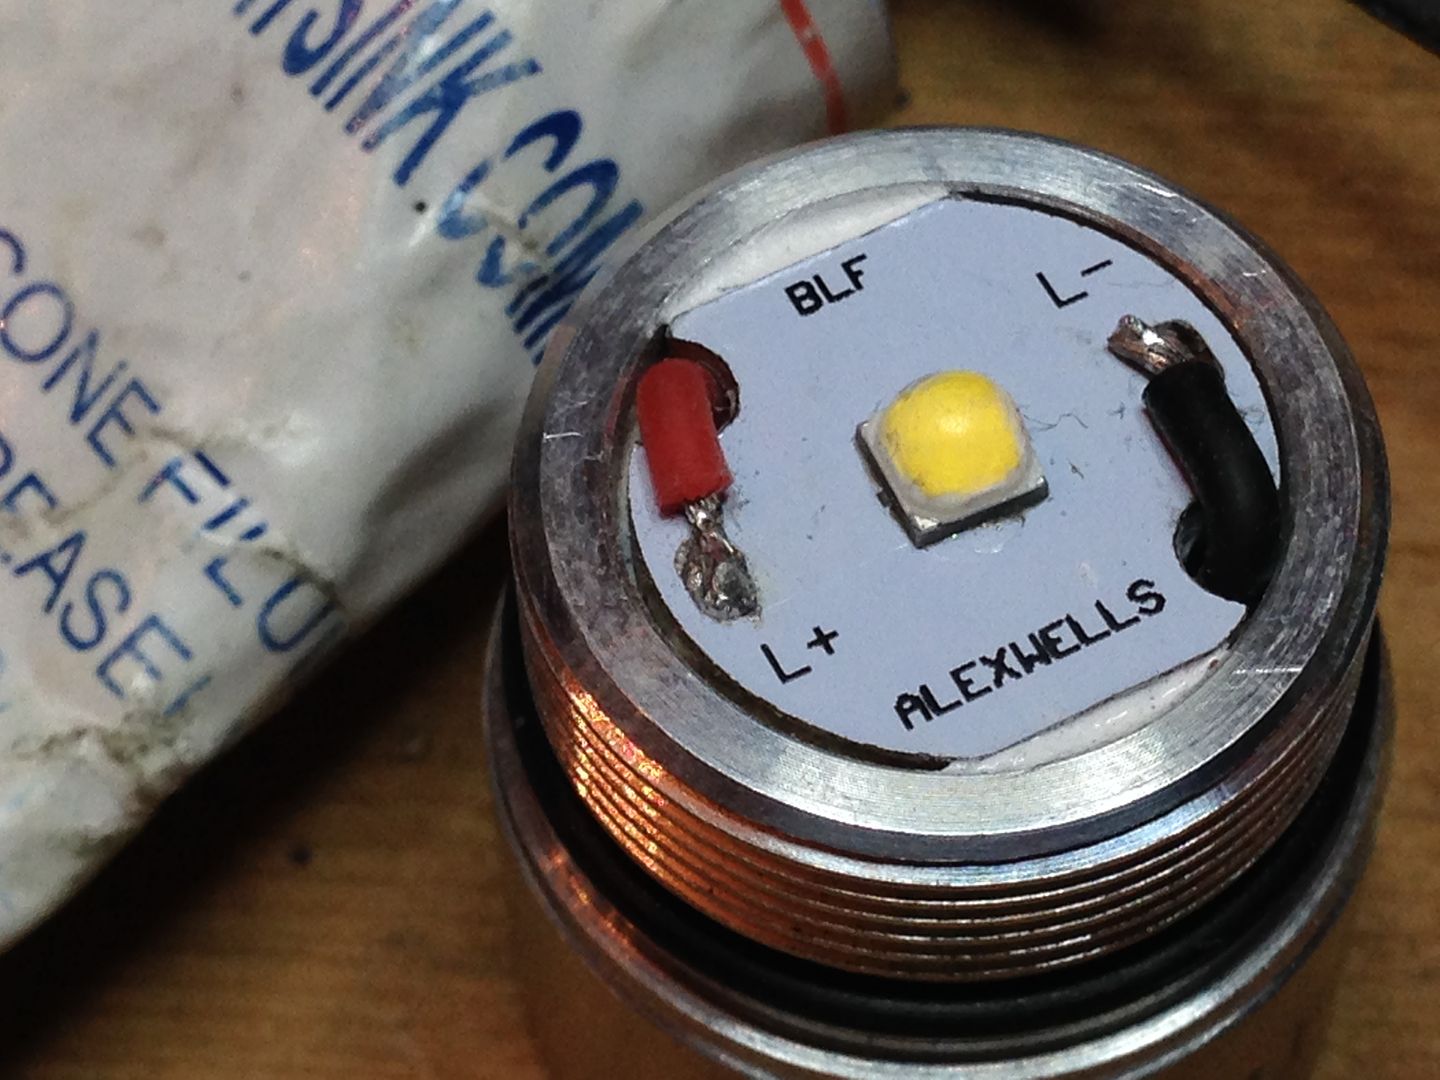
If I understand you correctly, you want to unscrew the bezel and remove the lens and reflector.
Be very careful when you do this. There is a white plastic centering ring placed over the emitter. Sometimes when you turn the bezel, this ring, along with the lens and reflector, turn at the same time. This can cause the sharp edge of the centering ring to cut into the dome of the emitter, slicing it, and sometimes dedoming it.
You should press down on the lens with something like the eraser of a pencil when you screw or unscrew the bezel. This holds the lens, reflector, and centering ring in place so that they do not turn when you rotate the bezel.
Another tip is to let the flashlight cool before unscrewing the bezel. When the emitter is hot, its dome gets softer, and it easier to accidentally dedome it.
I was able to get the O-ring correctly seated by carefully putting it in place (which is precarious, but doable). I had to stretch the O-ring a bit to pop it into the small groove where it fits.
Next, I placed the centering ring over the emitter, and stacked the lens and reflector (with O-ring) on top. I lightly balanced the lens on top of the O-ring.
Lastly, I slipped a pencil (eraser first) through the bezel, and gently pressed the eraser down on the lens. By pressing down on the lens, the lens, reflector, and centering ring are held in place so they do not rotate when you screw on the bezel.
Thus, the O-ring was held in place while I slipped the bezel over the lens and screwed it back onto the head.
Hope this helps.
Rufus thanks for sharing that. Nice pics! You mind if I get that in the main post?
![]()
Is there a kind of Fujik that “cures” (gets hard like glue)?
The Fujik I have stays creamy soft forever.
I recall there has been some confusion in the past about this.
The tube sets hard, SKU 1049304
The tub is non setting, SKU 1049305
https://www.fasttech.com/search?fujik
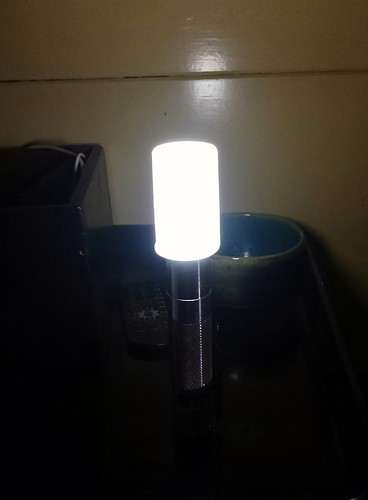
As a tailstanding lantern you can just place a film canister (the ones you get from intl-outdoor) upside down on the light, just loose with the lid still on it (helps diffusing)
Use it however you wish. I think a better adhesive should be used at the edges. The Fujik is too soft and still allows the mcpcb to twist. If you post a link be sure to mention the post number so people with different posts per page settings can locate it.
Good tip! I was faced with the same problem and here was my solution:

I rounded off the portion of the base that was binding with a razor blade. (I need go back and drill it so that it looks more presentable.)
Actually, I don’t know what’s keeping the base attached to the reflector. The base may just fall off on its own the next time I open the head up!
What about this?
https://www.fasttech.com/p/1341200
I have just started using that, so far i think it hardens but i haven’t really tried to pull anything apart yet.
Try it and let us know.
I recall searching a while back and finding those round-hole spacers are commercially available too.
As are some with adhesive.
They just picked the wrong one when assembling this light, I think
I checked out a light i had used it on and it seemed to have hardened, but i am not sure if it is fully hard beneath the mcpcb, it isn’t sticky and all the residue around it are more like plaster than anything remotely sticky anymore.
Unfortunately it isn’t are very successful mod (a XHP50 in a way to small double AA host with to little heatsinking) so i don’t want to take it apart, because i know i will never put it back together again when i have all these other fun mods ongoing ![]()
I used it to hold down the mcpcb that wanted to raise because of to stiff wires, and for that it wasn’t very good even after i placed it under pressure for a few days it still later seemed to not hold down the mcpcb hard enough. So as a glue it isn’t very strong if something is pushing against the bond.
I will get some AA for future similar needs.
But i also used it to mount a few 10W 12v red & amber leds on a old big pc heatsink without having to tap holes, to screw it down & for that it worked great ![]() just what i needed & i will use it like that again.
just what i needed & i will use it like that again.
I just checked that bond & it was solid as a rock ![]() i would probably have to use a chisel to remove if i wanted to. So 2 well prepared very smooth surfaces will bond very firmly at least if there are’t any forces actively pulling them apart with this stuff.
i would probably have to use a chisel to remove if i wanted to. So 2 well prepared very smooth surfaces will bond very firmly at least if there are’t any forces actively pulling them apart with this stuff.
hank, i think i posted the link to those very cheap 10w 12v red & amber leds in one of your threads, they work really nice if you have some 12v already setup somewhere try them out :), they where crazy cheap and seem to have a wider spectrum than the single color XP-E2’s we use in lights.
I wonder any of you can describe how hard the AA glues? Is it permanent as in you have to use so much force you almost damages the parts to get them apart or is it enough to bend with something and the bond breaks without twisting the mcpcb for example.
The problem with rounding out the hole is the disc loses it’s centering capability which is half the reason it’s there. The other half being to set the led to the correct height in the reflector. I’d recommend either fixing the ring to the star so it doesn’t twist or using a butterfly spacer that stats put and also doesn’t twist.
I cant help with the one you linked as I haven't used it. The two Fujiks I have used. I did buy a similar looking product to the one you linked from a local electronics store along time ago. I cant remember how well it worked but once I opened the lid and used it once the rest of the product in the tube went hard.
My other two A6’s seem to be affixed to the star. Only the one with the 1A tint is stuck to the reflector. I’ll probably end up gluing it down to the star, too. But until I’m ready to do that, I’ll just leave it as is and avoid opening the head up. 0:)
I want to thank Banggood and heyanqing1.
As I described in post #184 of this thread, moonlight mode was not working in my BLF A6. There was also a tint shift that seemed to come and go, making the beam yellow.
Without any fuss, heyanqing1 made arrangements to send me a replacement head. It arrived today. All I had to do was unscrew one, and screw on the other. All is now working well, and the 3D tint on the new emitter may be even better than the nice 3D tint on my other A6.
Thanks, guys!
The easy fix aside, this really worrying with all those BLF-A6 lights out there, you really must know what you're doing with this light. It happened to the minus-wire in your light but it could just as well have been the plus- wire 
The one I fixed the loose retainer on did not have silicon wire but something much tougher. That was a black ano unit.
Sorry guys… I’ve been pretty busy lately…… I think I need to take some of the great knowledge given here and get it into post#2. That way if you need to direct someone to your advice you can link it. I realize some of you had great ideas that have not yet made it to the original post. I will do my best to review the thread and get that updated as time allows. Thanks for all of your input thus far and if you have something that you’d really like to see in one of the first two posts let me know!